This tutorial coincides with steps 21-25 on page 7 in the Savannah Bag pattern.
Now it’s time to create interior zippered pocket. This is another area of the pattern where we need to concern ourselves with if we have a directional print. So, for this tutorial, I am going to be using this fabric for my pocket because it has a very obvious direction to the design.

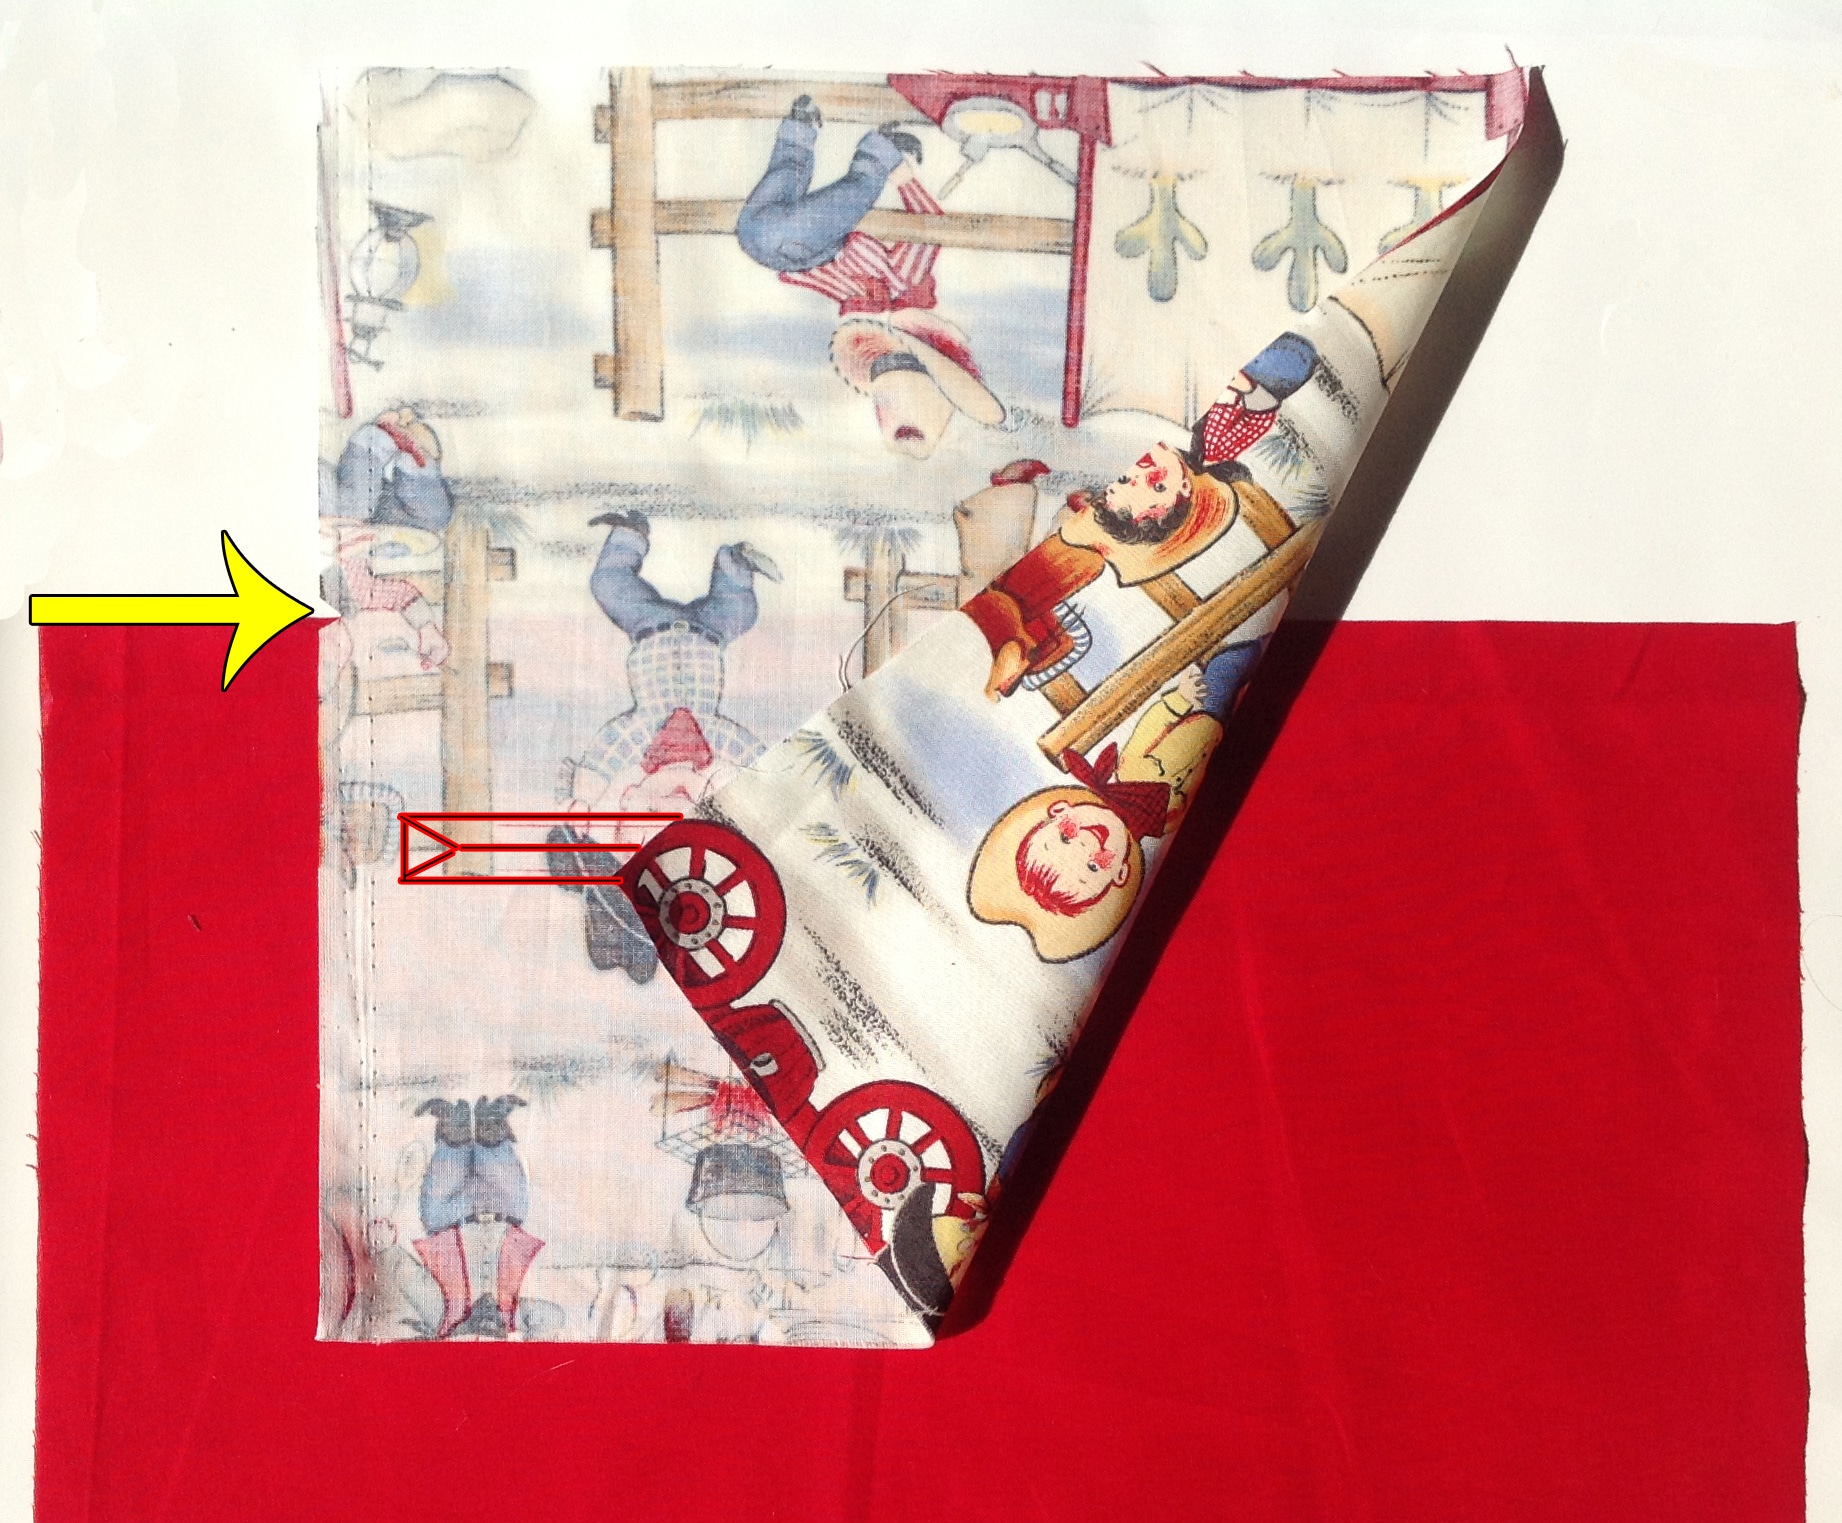
This red fabric will be the lining. You will have your lining interfaced but for the purposes of illustration, I am not going to interface mine:

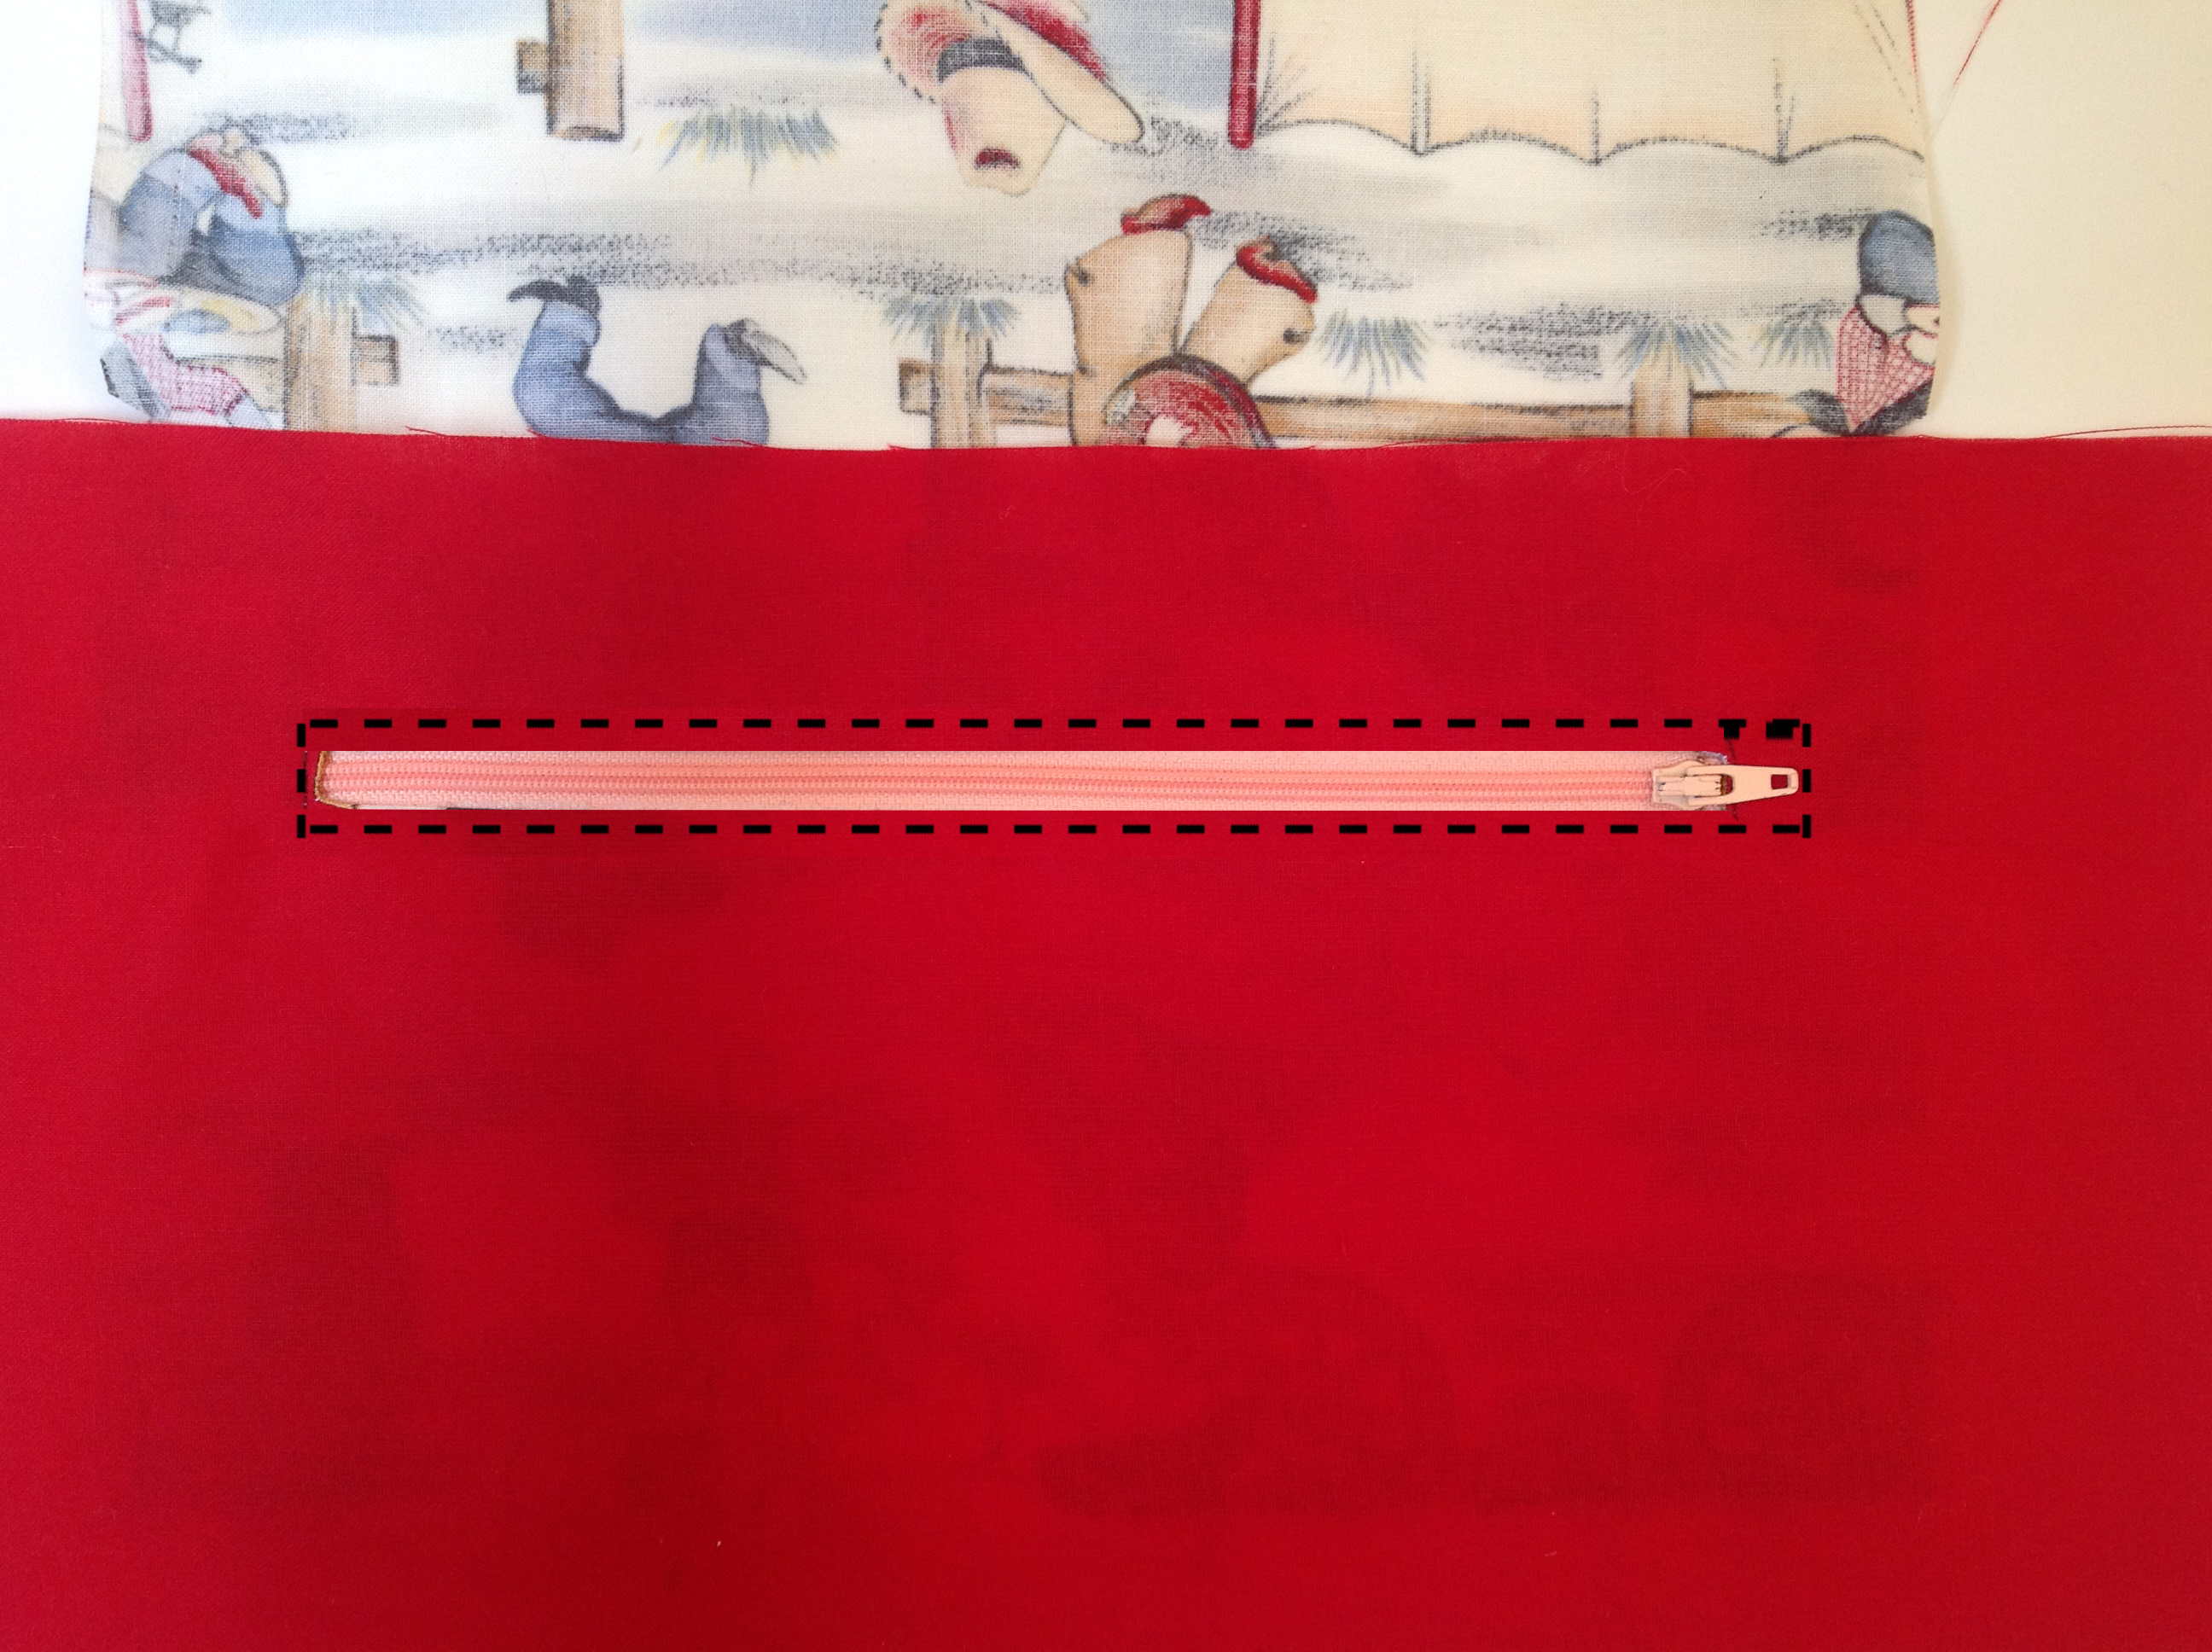
Place your pocket on the lining so that right sides of both pieces are facing. Align the snips (see yellow arrow) on each side edge of the pocket with the top edge of the lining piece. We also need the rectangle we drew on the fabric to be within the lining as well. Yes, if your print is directional it should be upside down. Be sure that the pocket is also centered on the lining – which is 2 1/2″ in from each side edge. So, it looks like this:
Then we just need to sew around the rectangle. Once that is done we carefully cut the lines on the interior of the rectangle through both the lining and the pocket. To make a really nice zipper opening, it’s important to cut as close to the corners as possible without cutting into the seam.
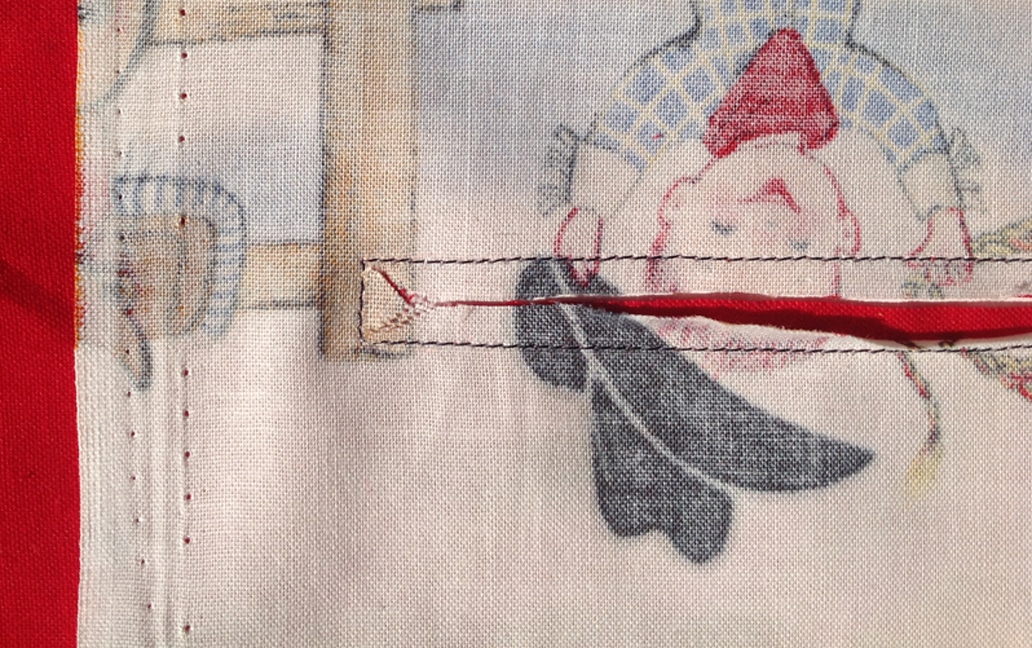
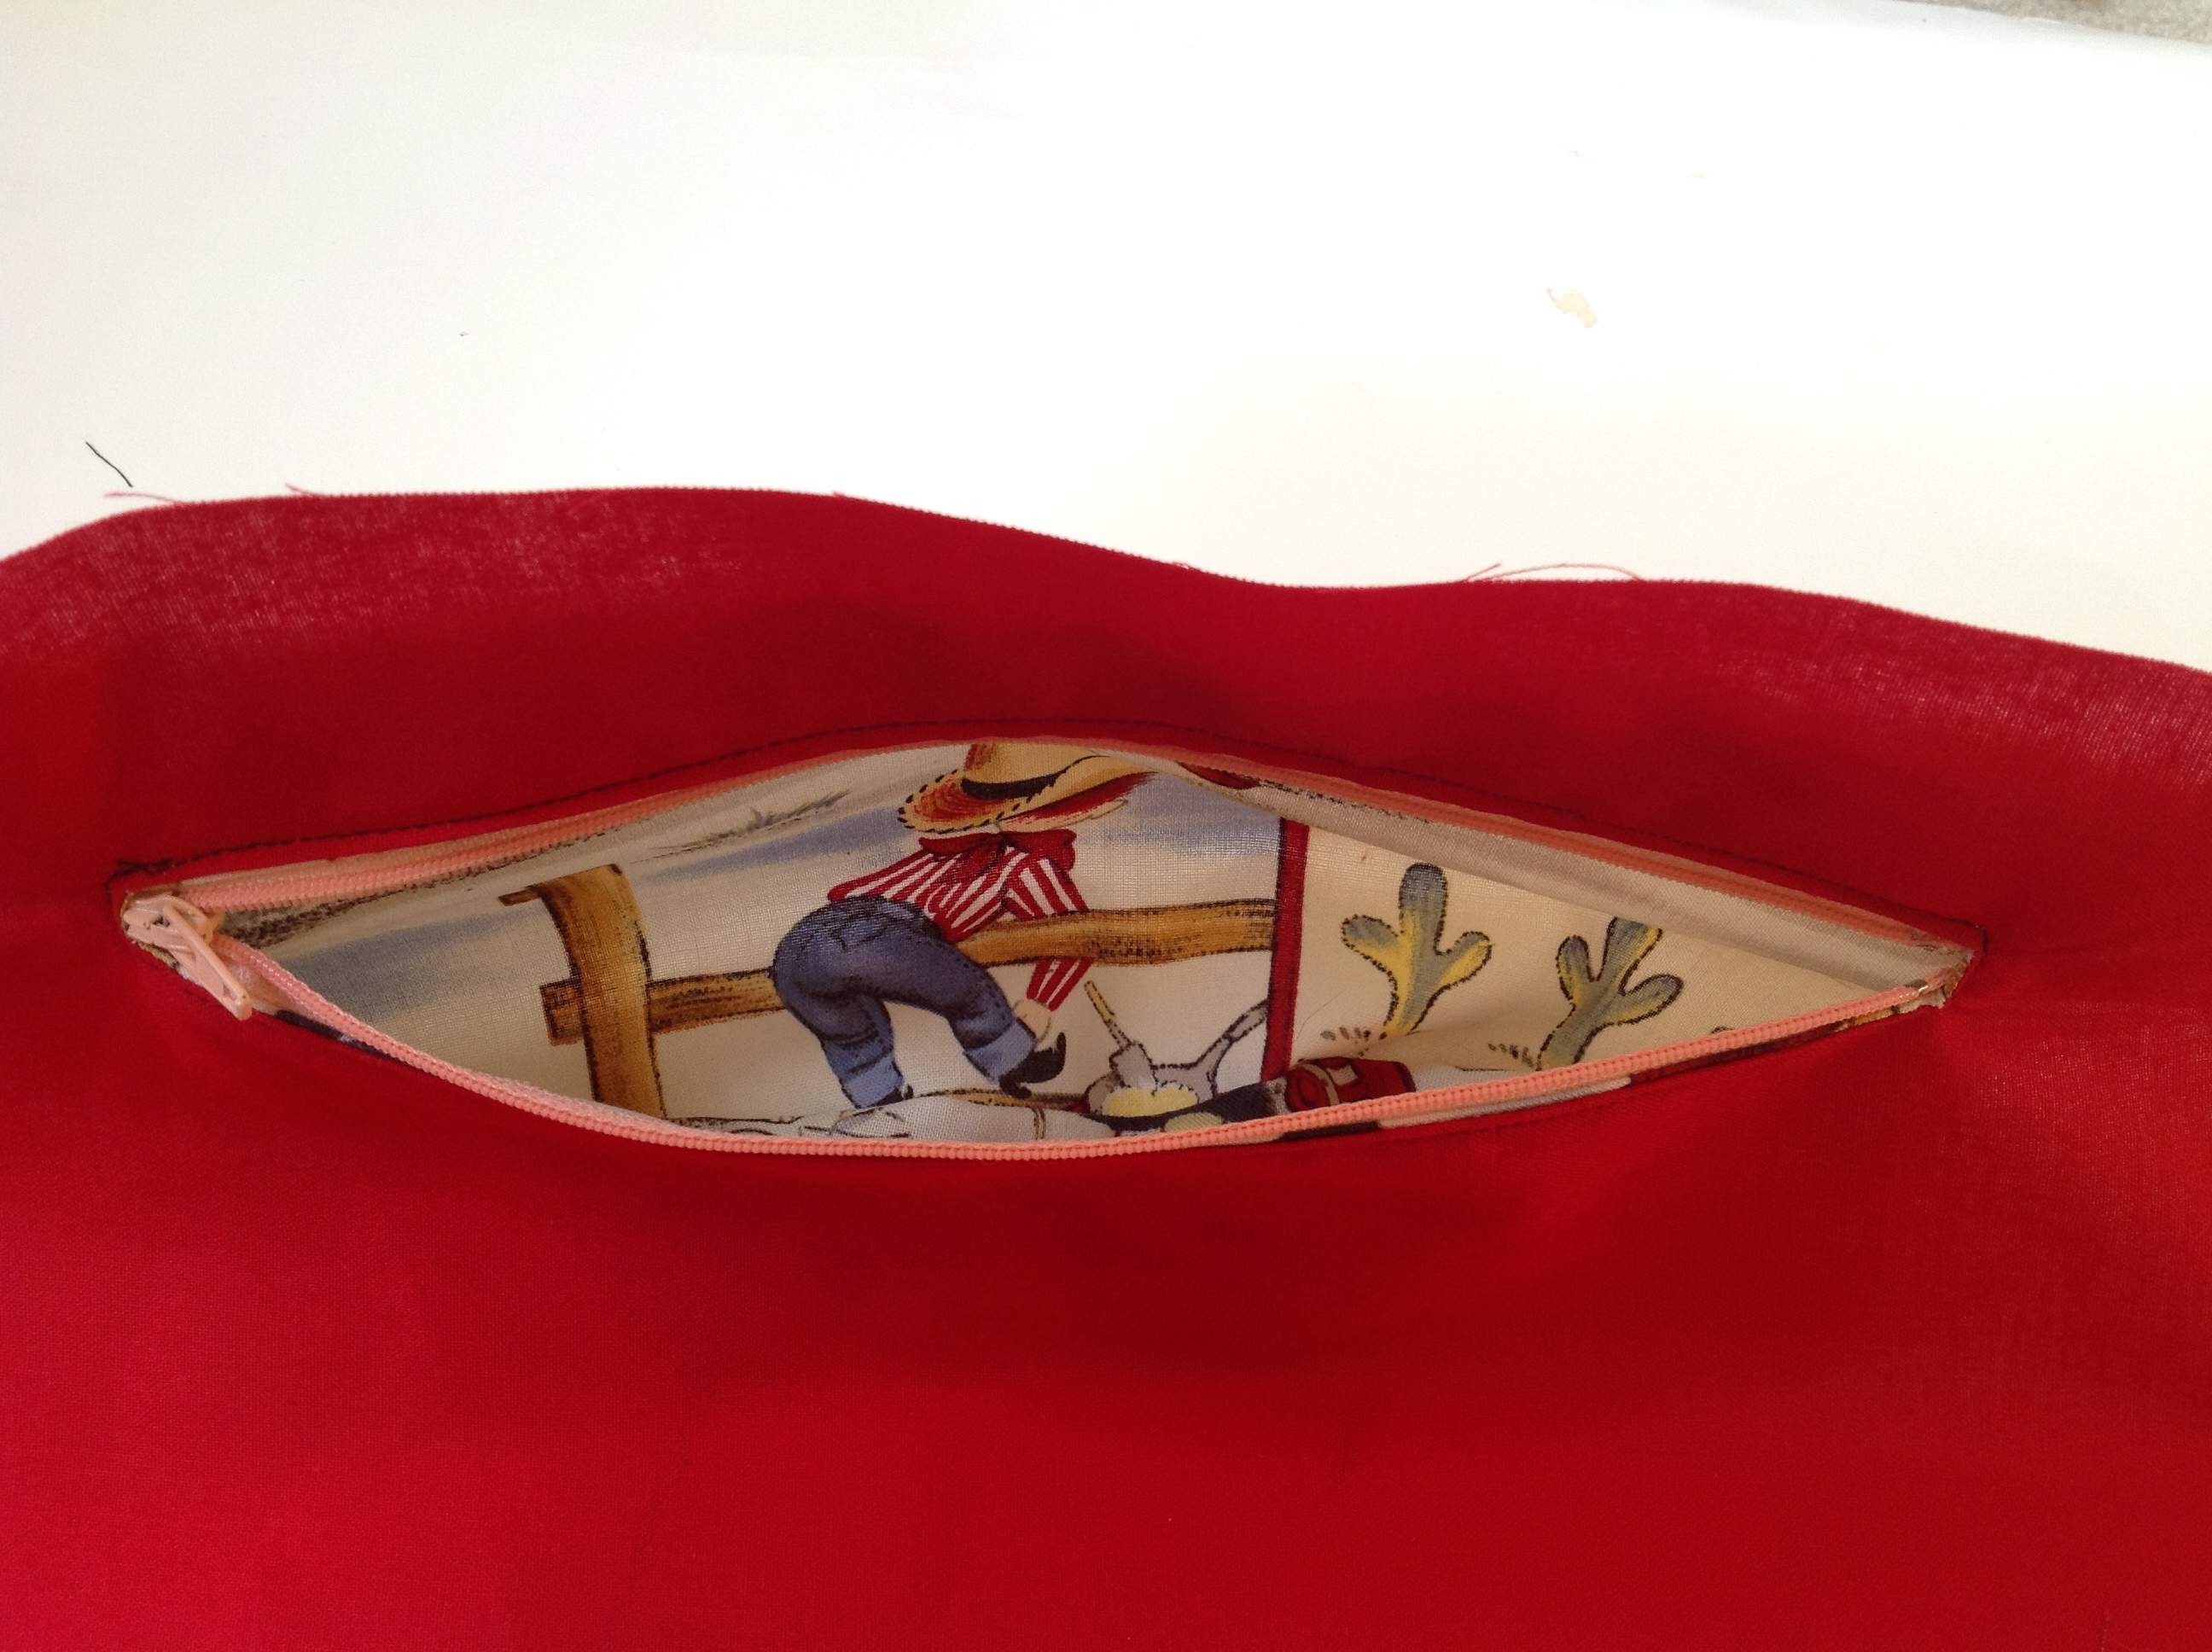
Now grab the pocket and feed it through the opening to the other side (wrong side) of the lining panel.
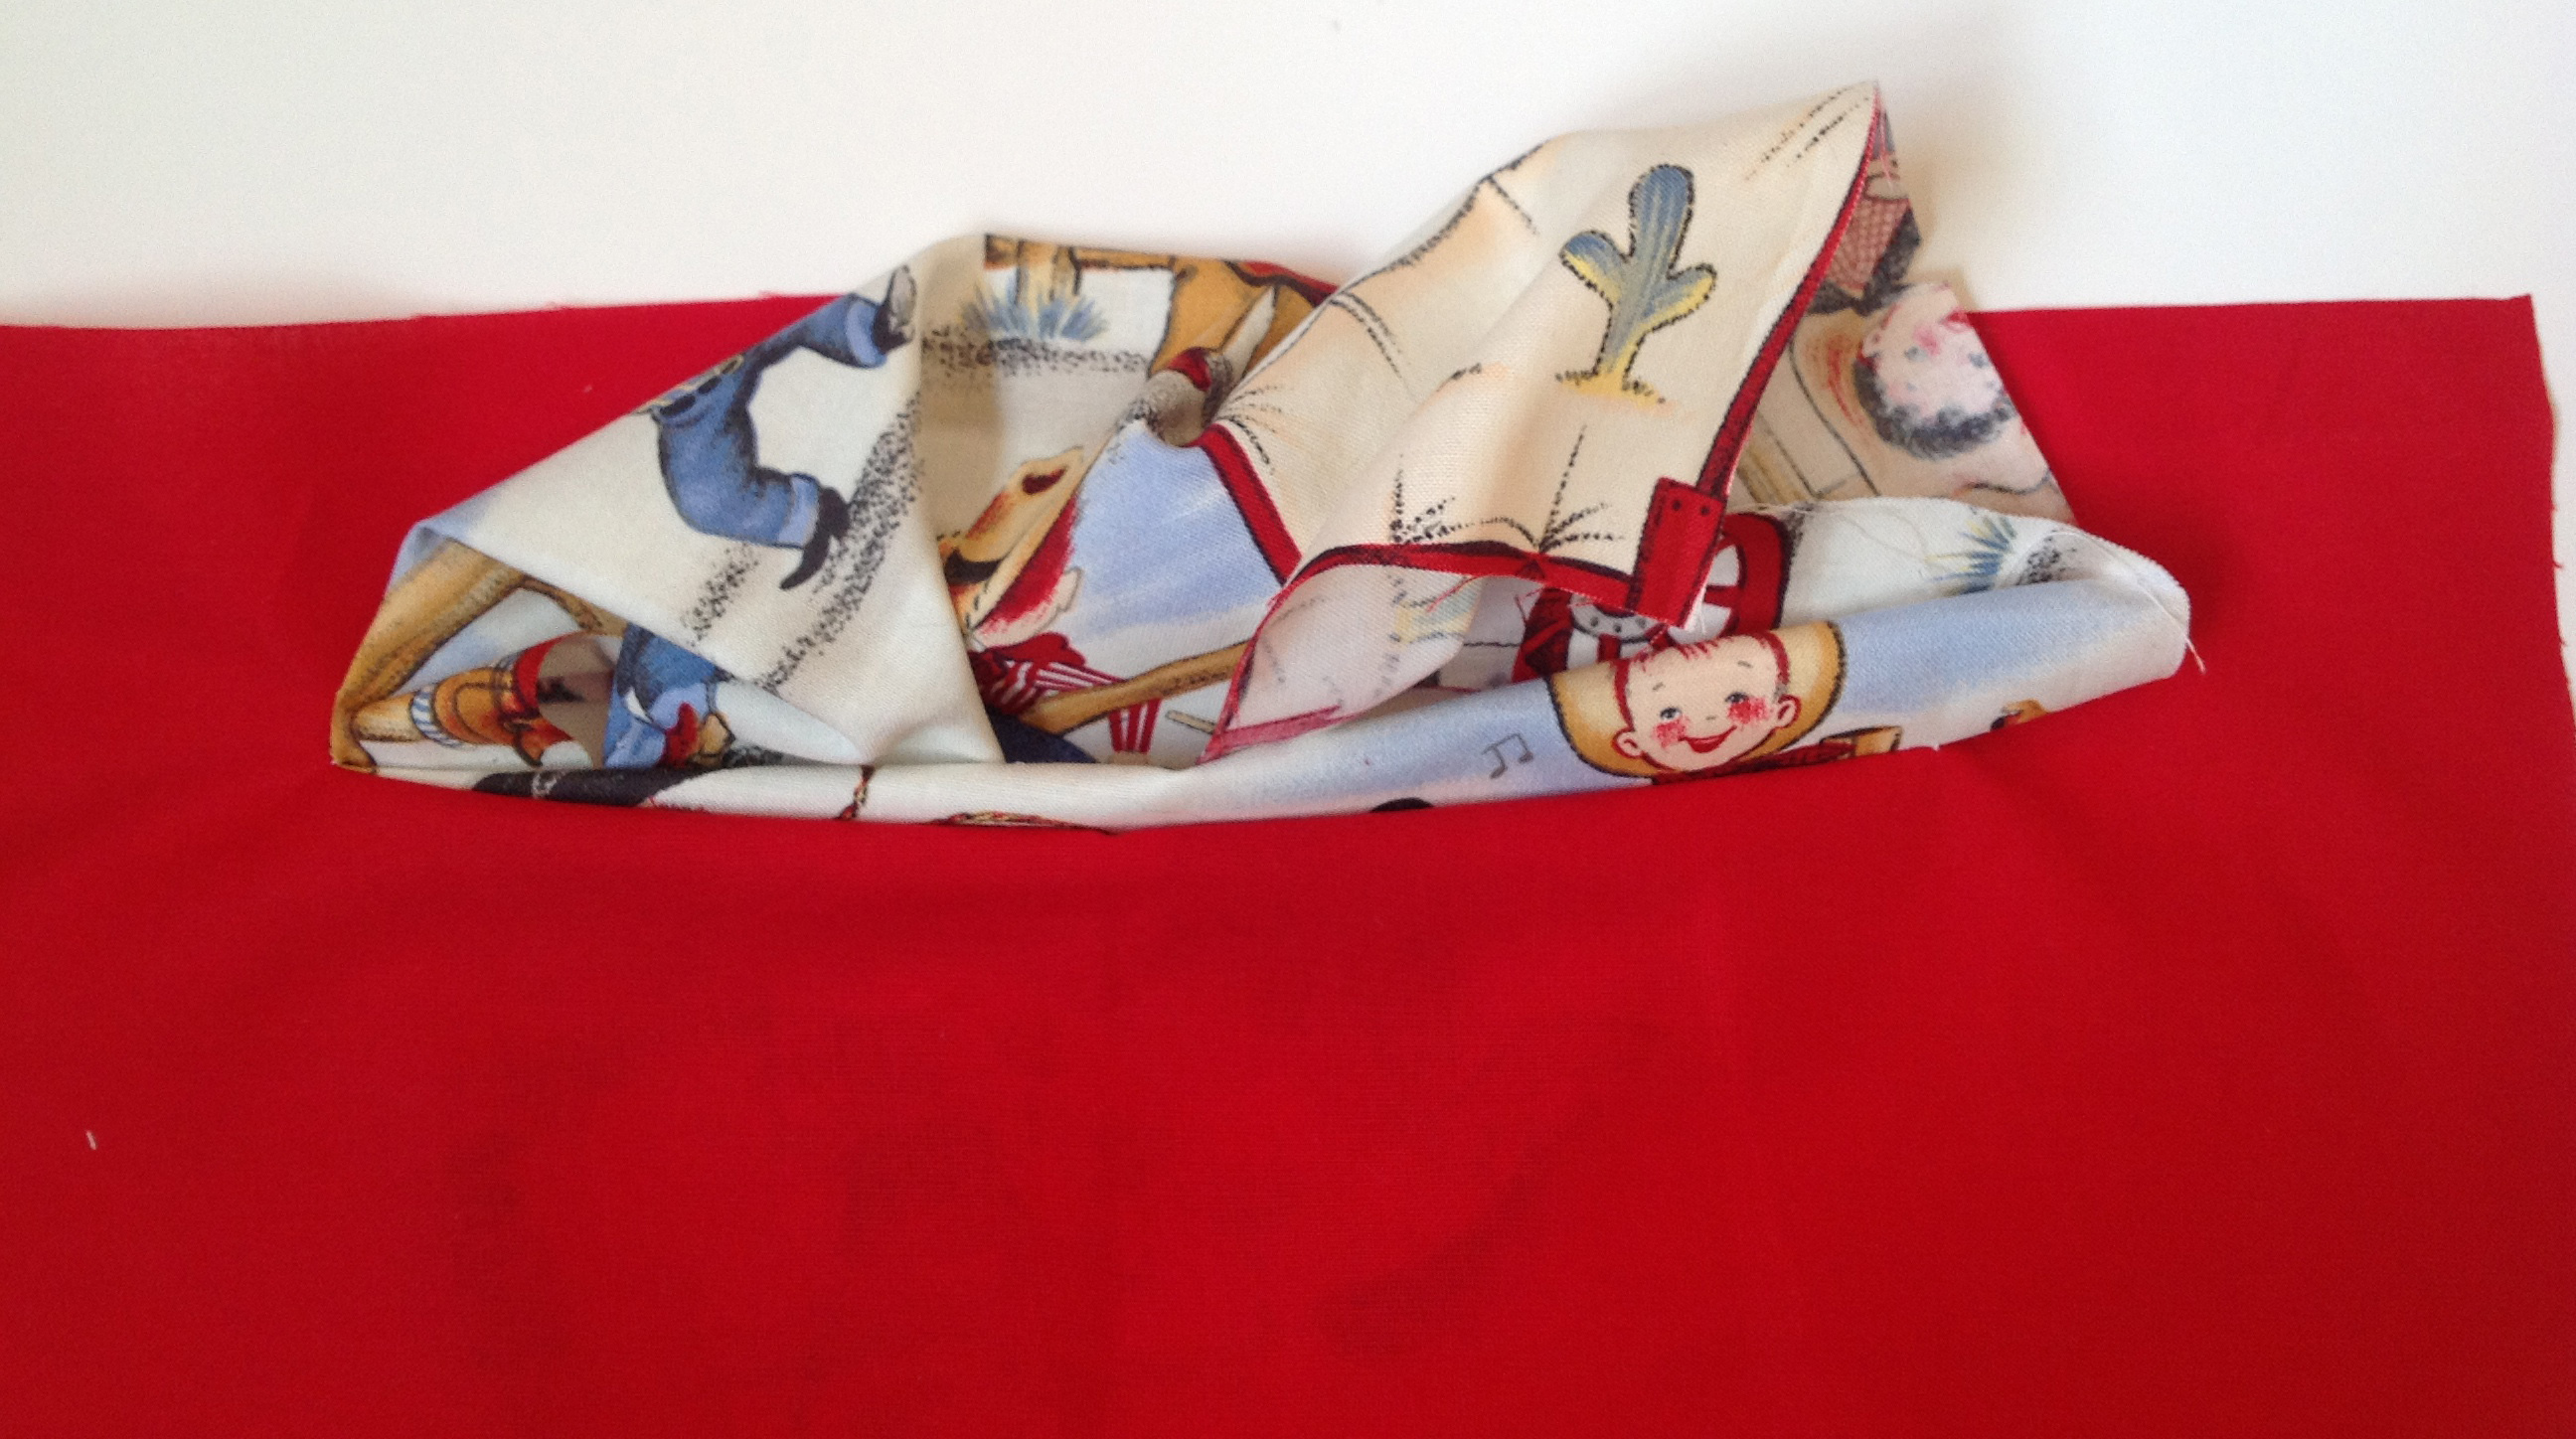
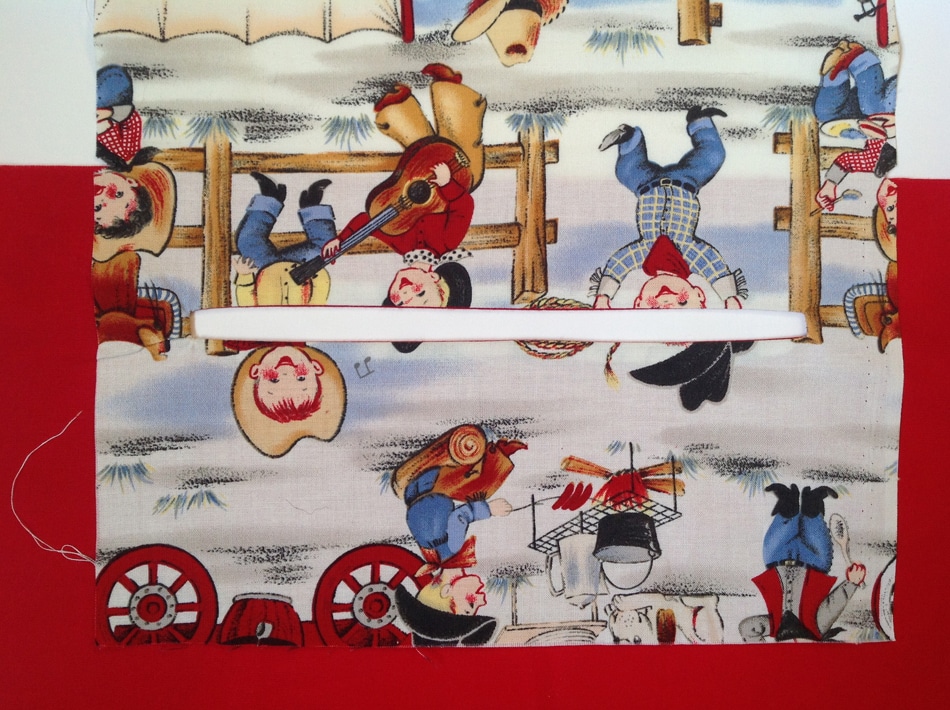
Open and press all the seams, and you will have this (as seen from the right side of the lining panel):

this is what it looks like from the wrong side of the lining:
Now, find your 9″ zipper. If it’s longer than 9″, that’s ok, just leave it long and we’ll shorten it later. We are going to center the zipper inside the window we just made. I like to use fusible web tape, Wonder Tape or a similar product on the front side of the zipper tape. This helps to keep the zipper in place while it’s being sewn down.
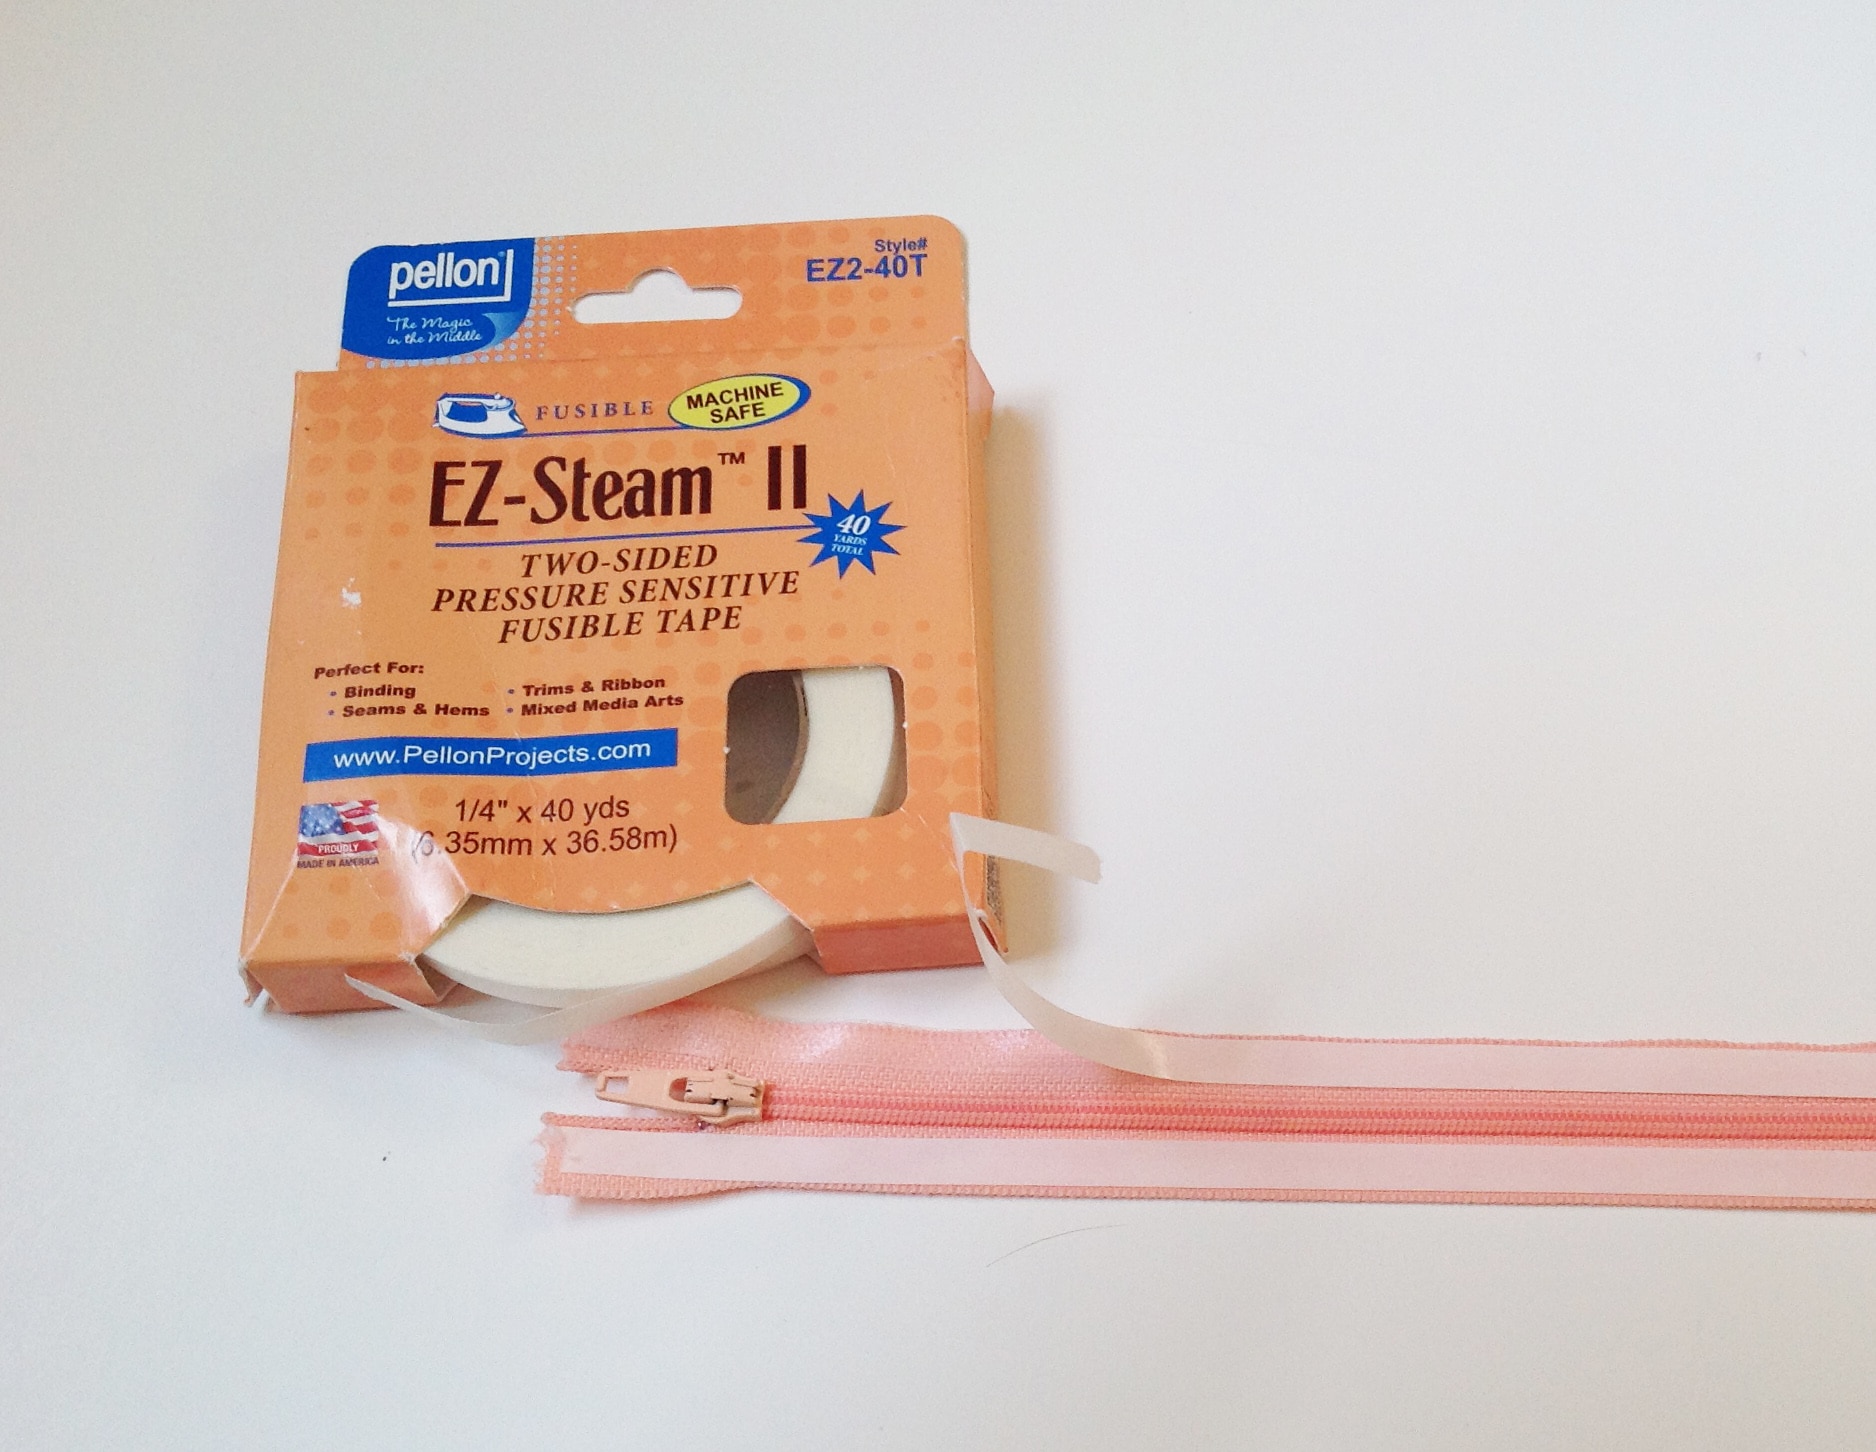
This product, EZ Steam II, is actually pressure sensitive, it’s a lot like 2-sided tape, it will stick even before you iron it on. I have to say, it isn’t my favorite, but it does hold. I really prefer the Wonder Tape.
Make sure you are putting the zipper on the panel from the wrong side of the lining and that the front of the zipper is facing the right side out through the window, then fuse it down. Then, you can just sew around the opening about 1/8″ or so inches in from the perimeter.
Flip the panel over and bring the top edge of the pocket down and line it up with its bottom edge. Make sure the side edges are aligned as well and sew all three edges. Be sure that you aren’t sewing the lining into these seams.

And that’s it!! The print is right side up and you are ready to move on to installing your top zipper and adding the lining.
Leave a Reply
You must be logged in to post a comment.