Hello!
This tutorial covers steps 20 and 21 in the Layla Bag pattern. If you need a closer look at any of the photos, just click on them.
This tutorial is for those of you who have chosen to make Handle Option 2 – where you are going to add some metal handle hardware later on.
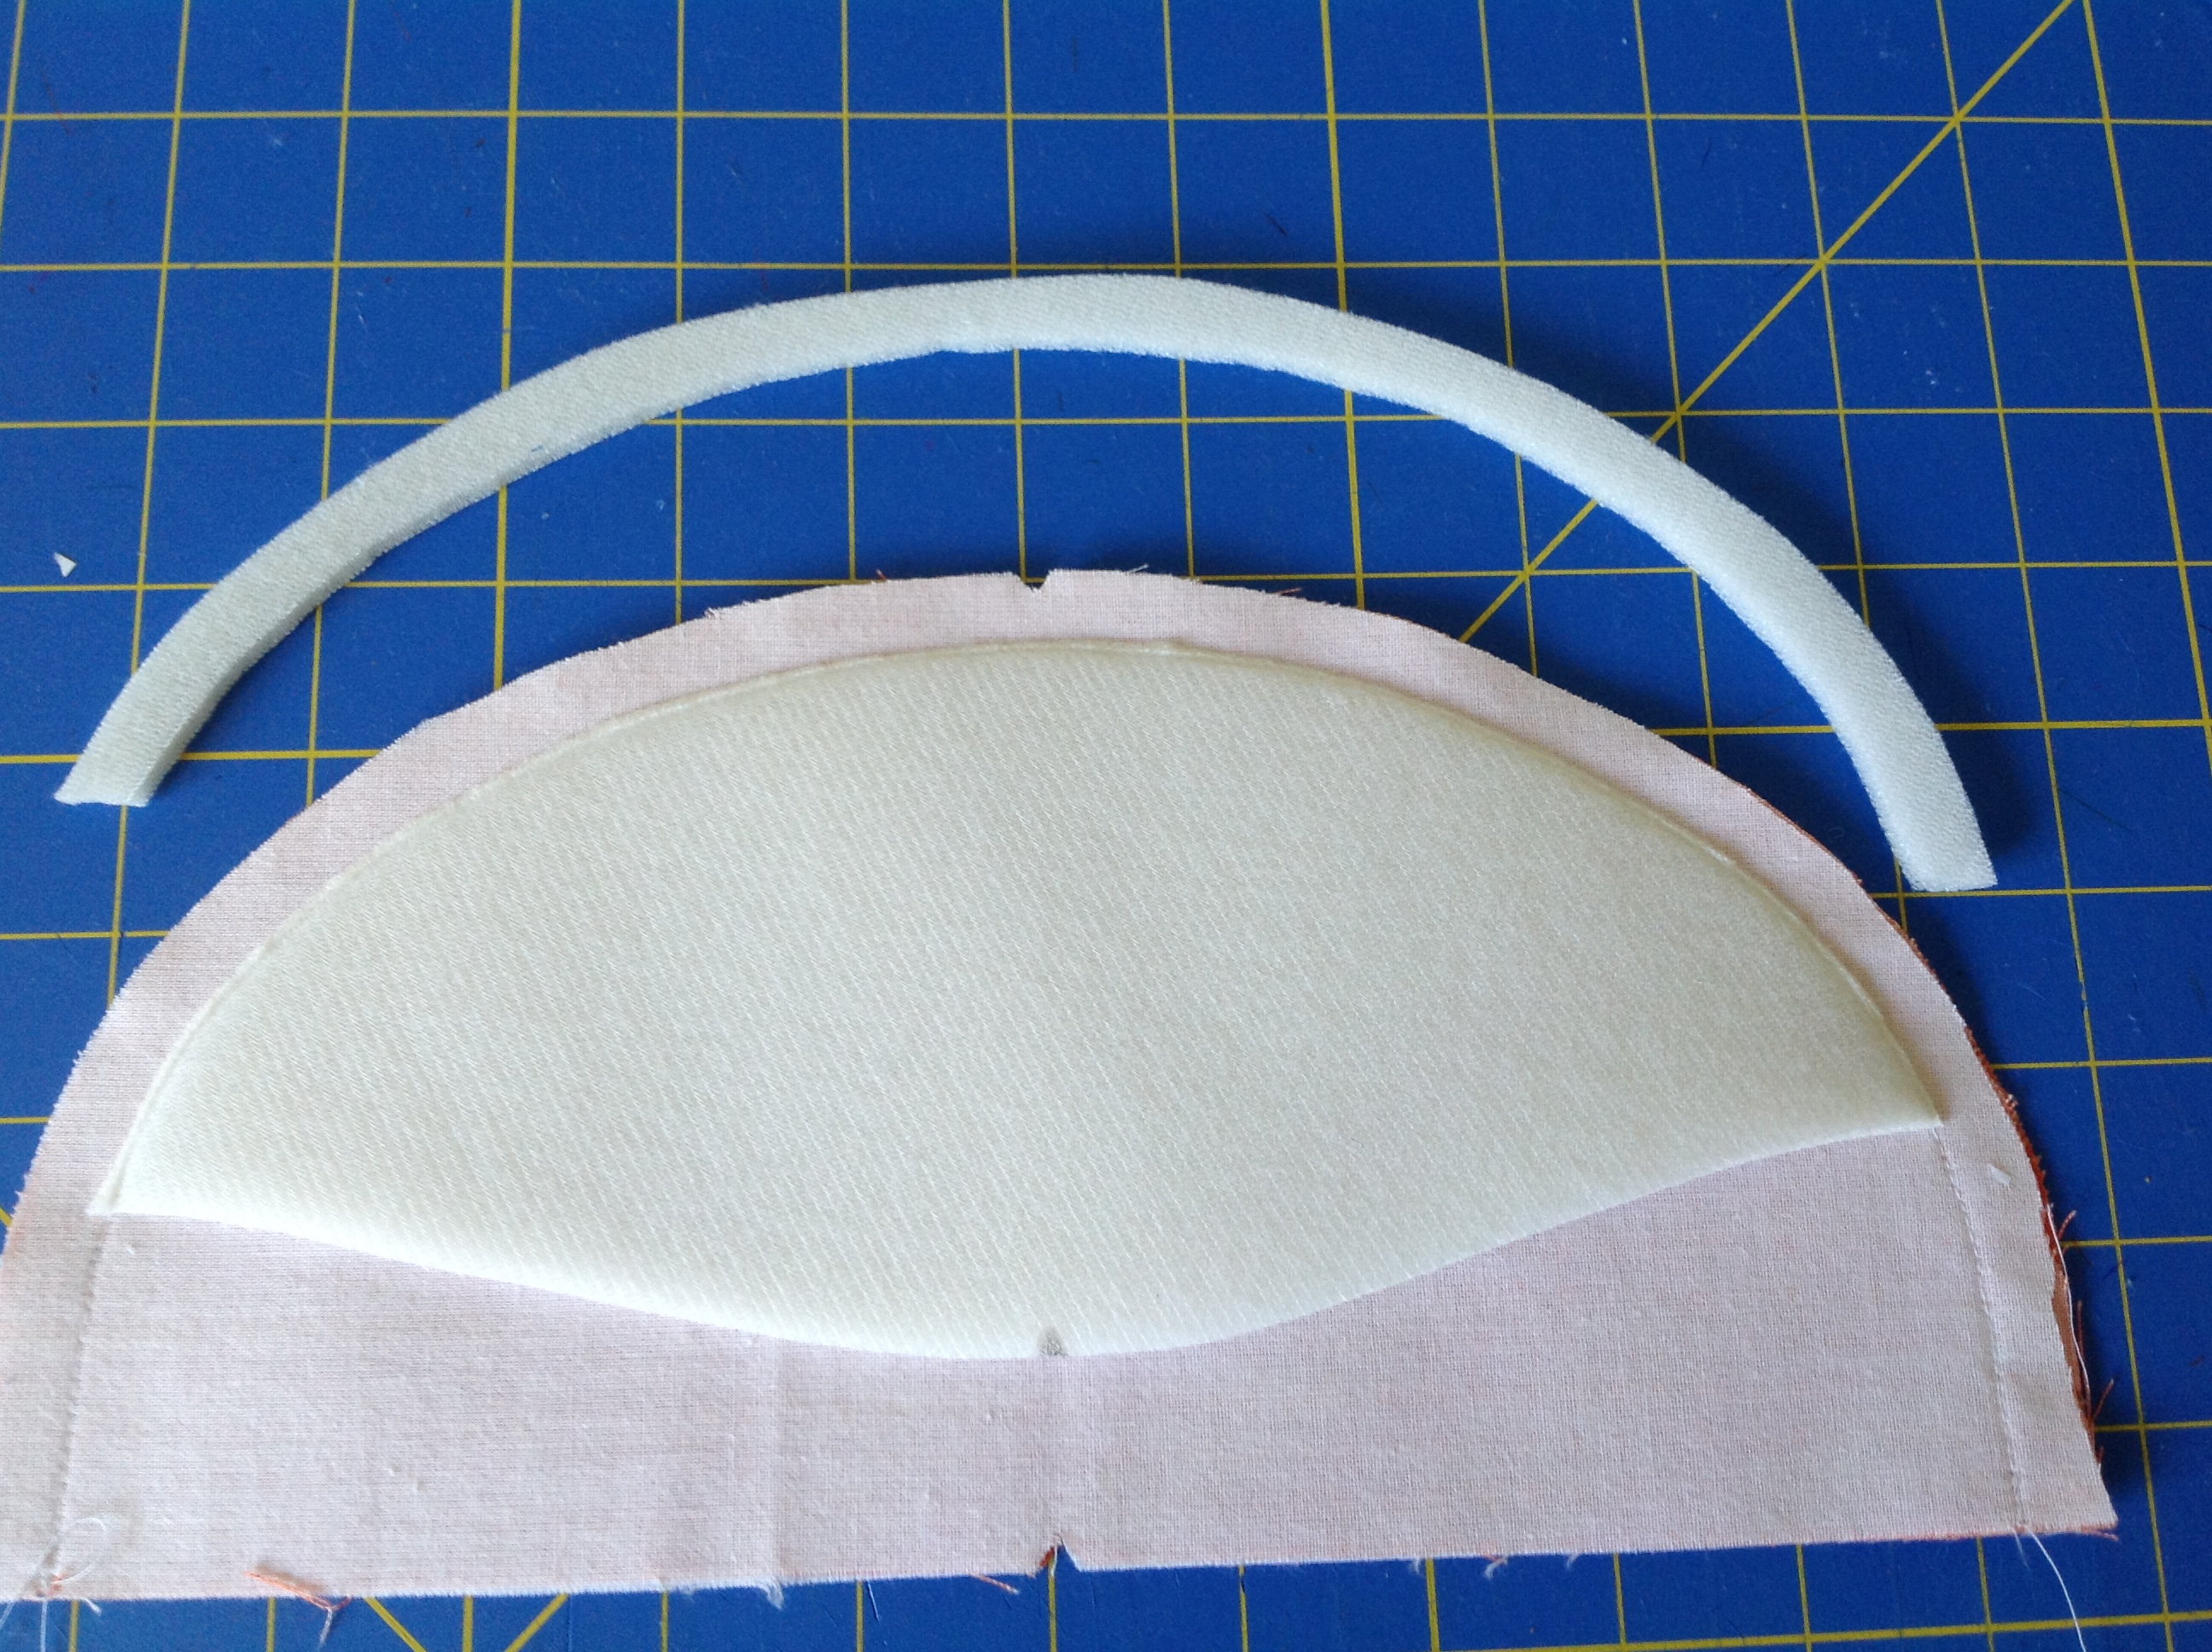
So, you will need your Handle foam stabilizer pieces and the fabric Handle pieces. At this point, you should have your interfacing already fused to the fabric Handle pieces and the oval traced on the right sides of them. For each handle you will need 2 fabric Handle pieces and 1 foam stabilizer piece.
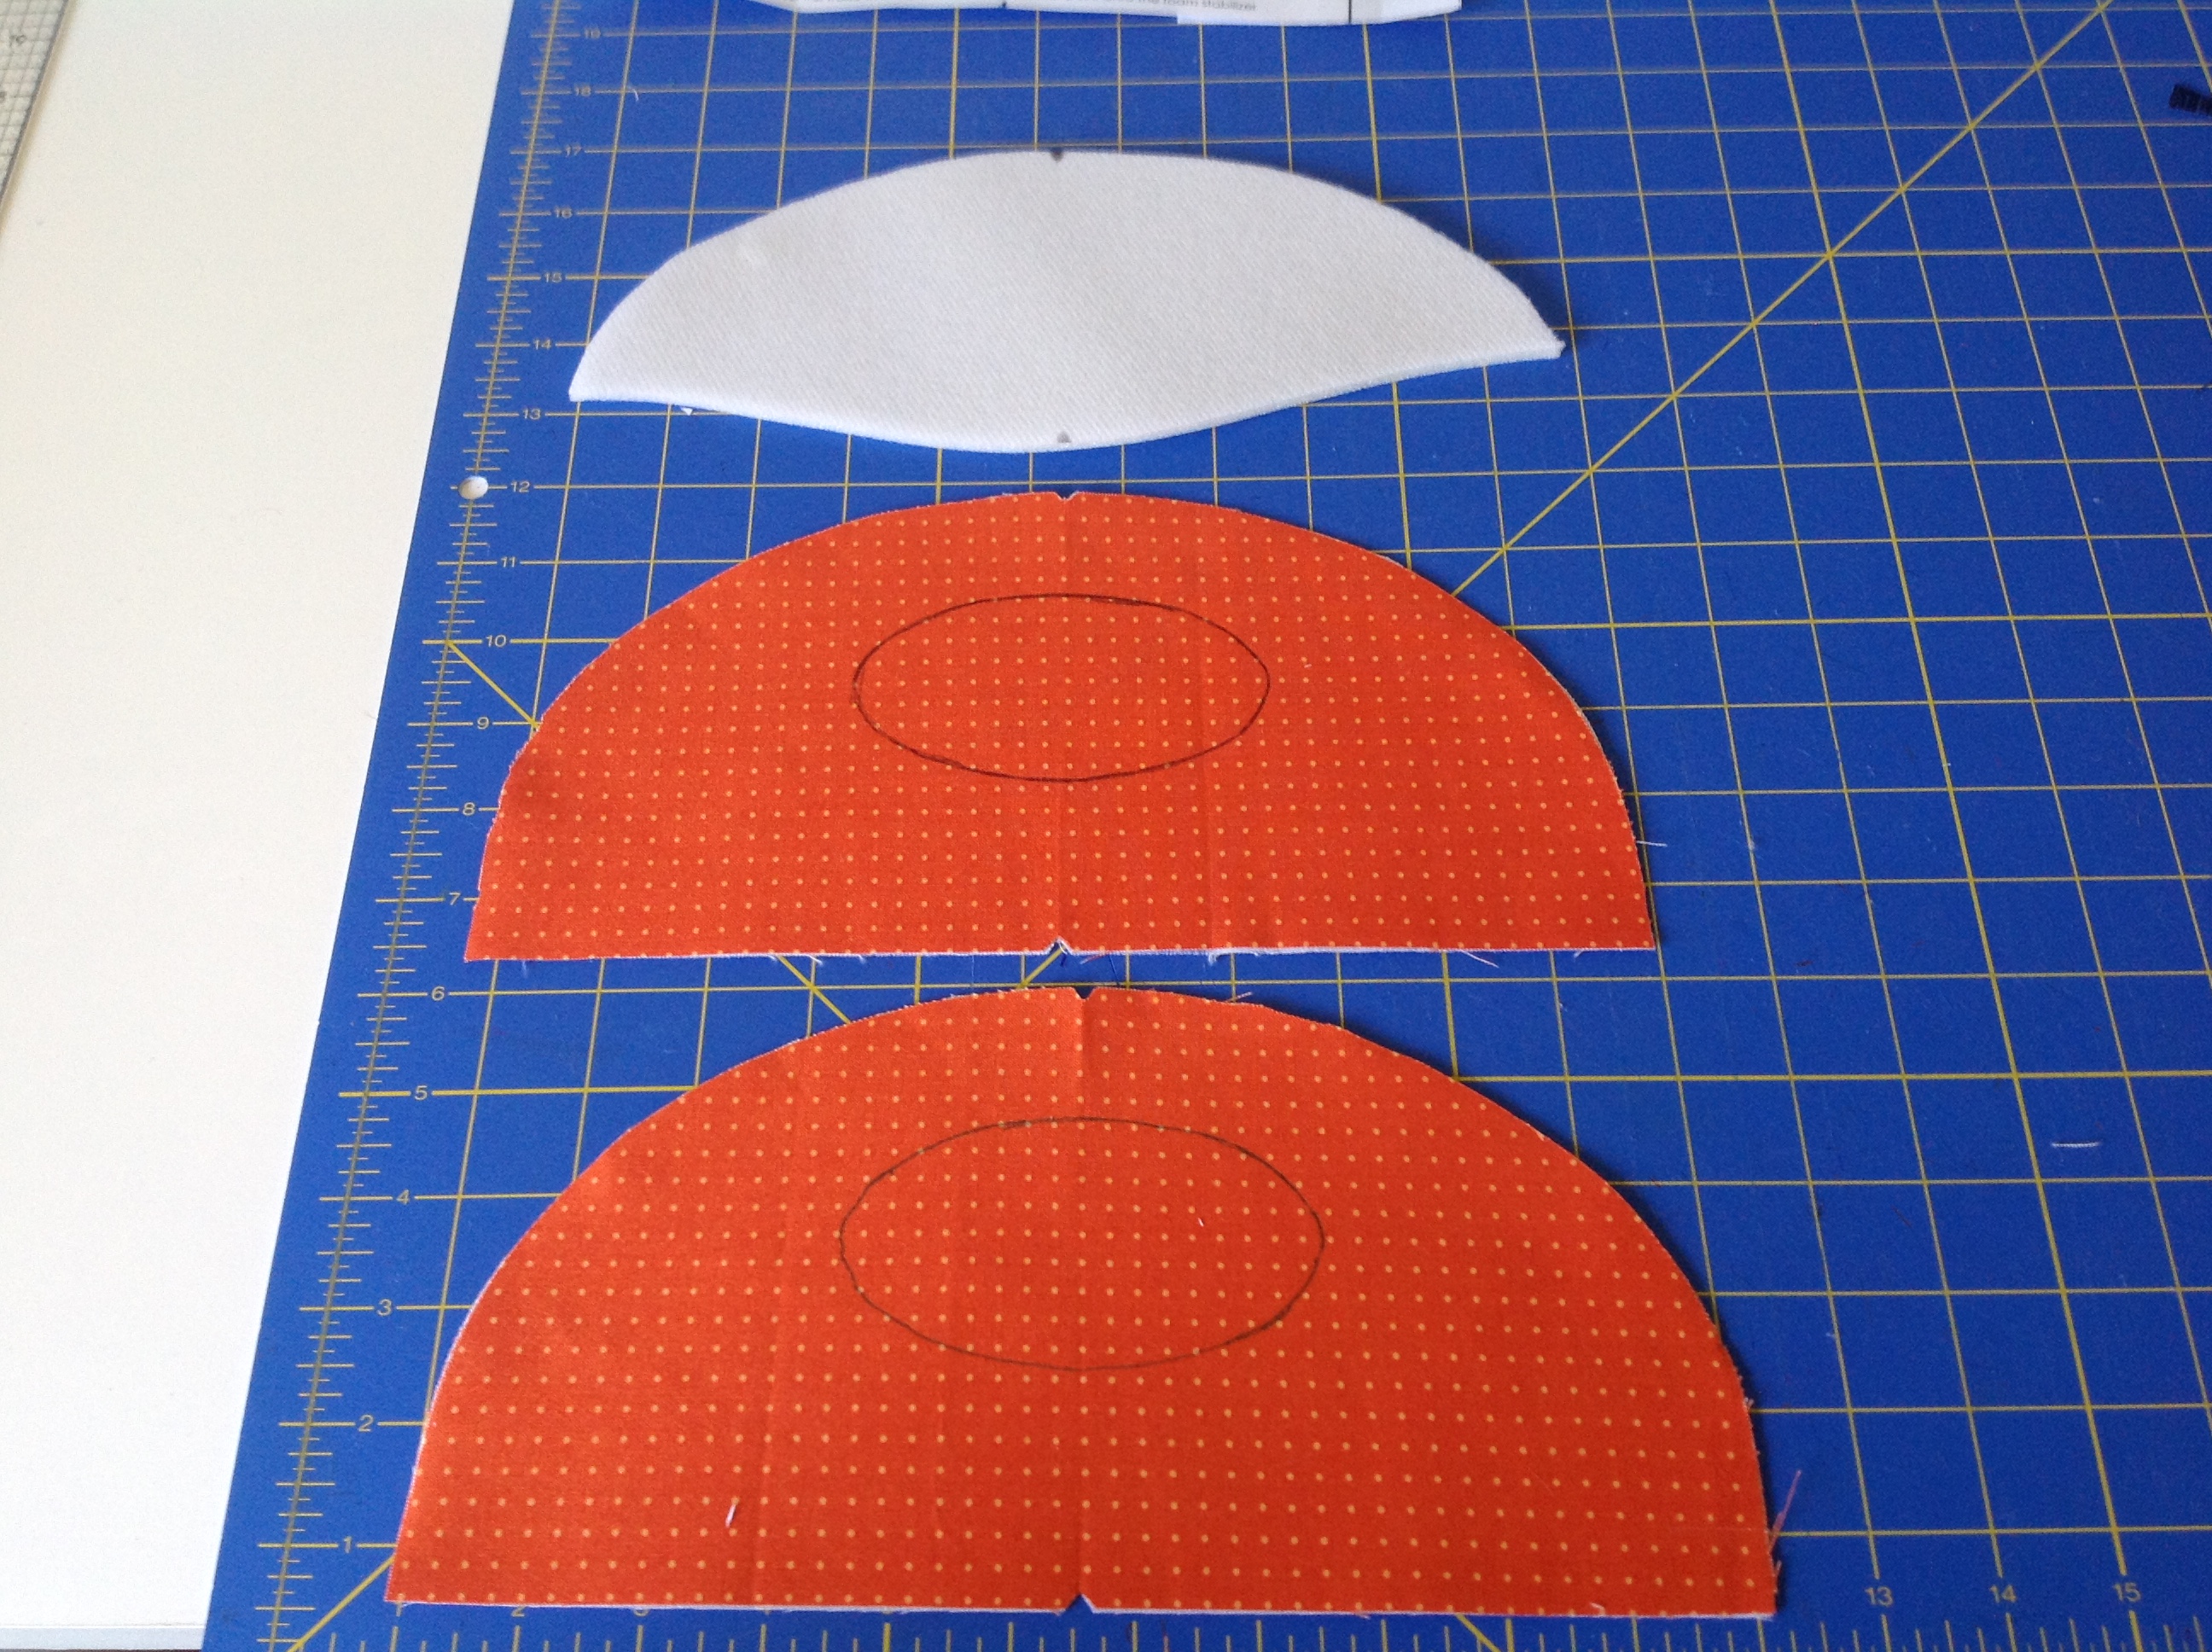
For the first handle you need 2 Handle pieces and 1 Handle Foam Stabilizer piece.
Put two fabric Handle pieces together with their right sides facing. Be sure all the edges and the center points at the bottom edges line up.
Put handles together with right sides facing
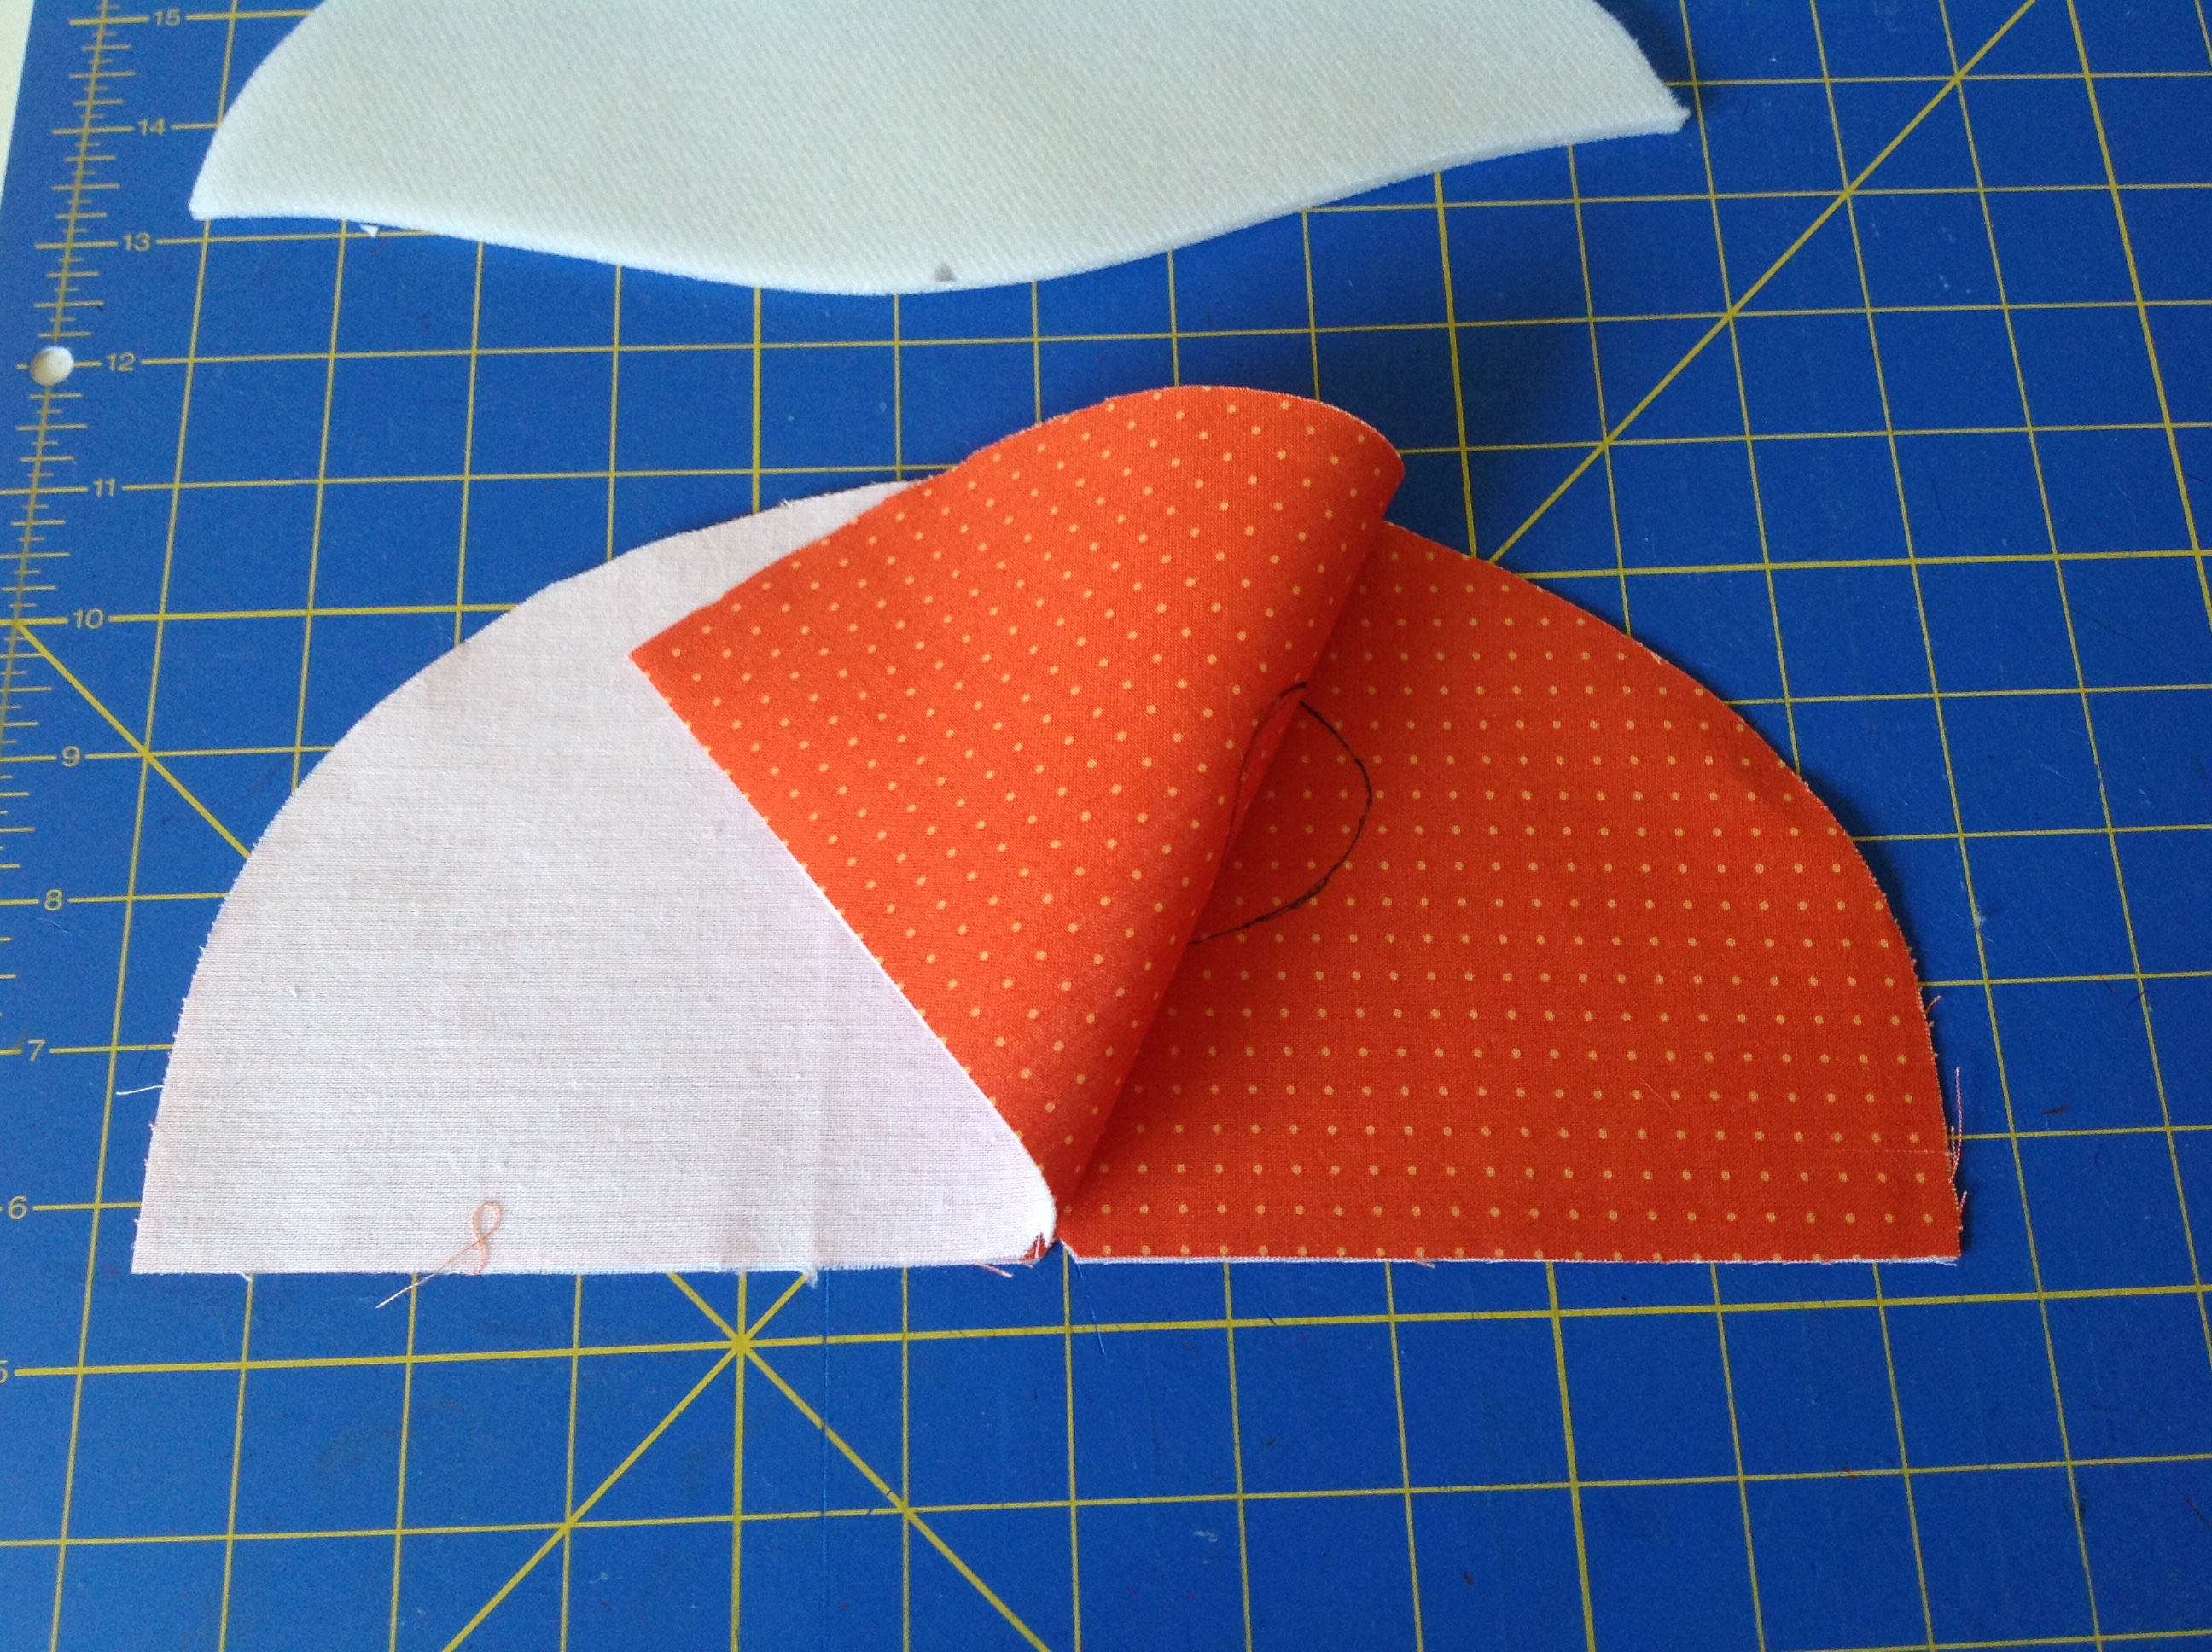
Next, place a foam stabilizer piece on the top so that the curved edges (and the center points) of all three pieces align.
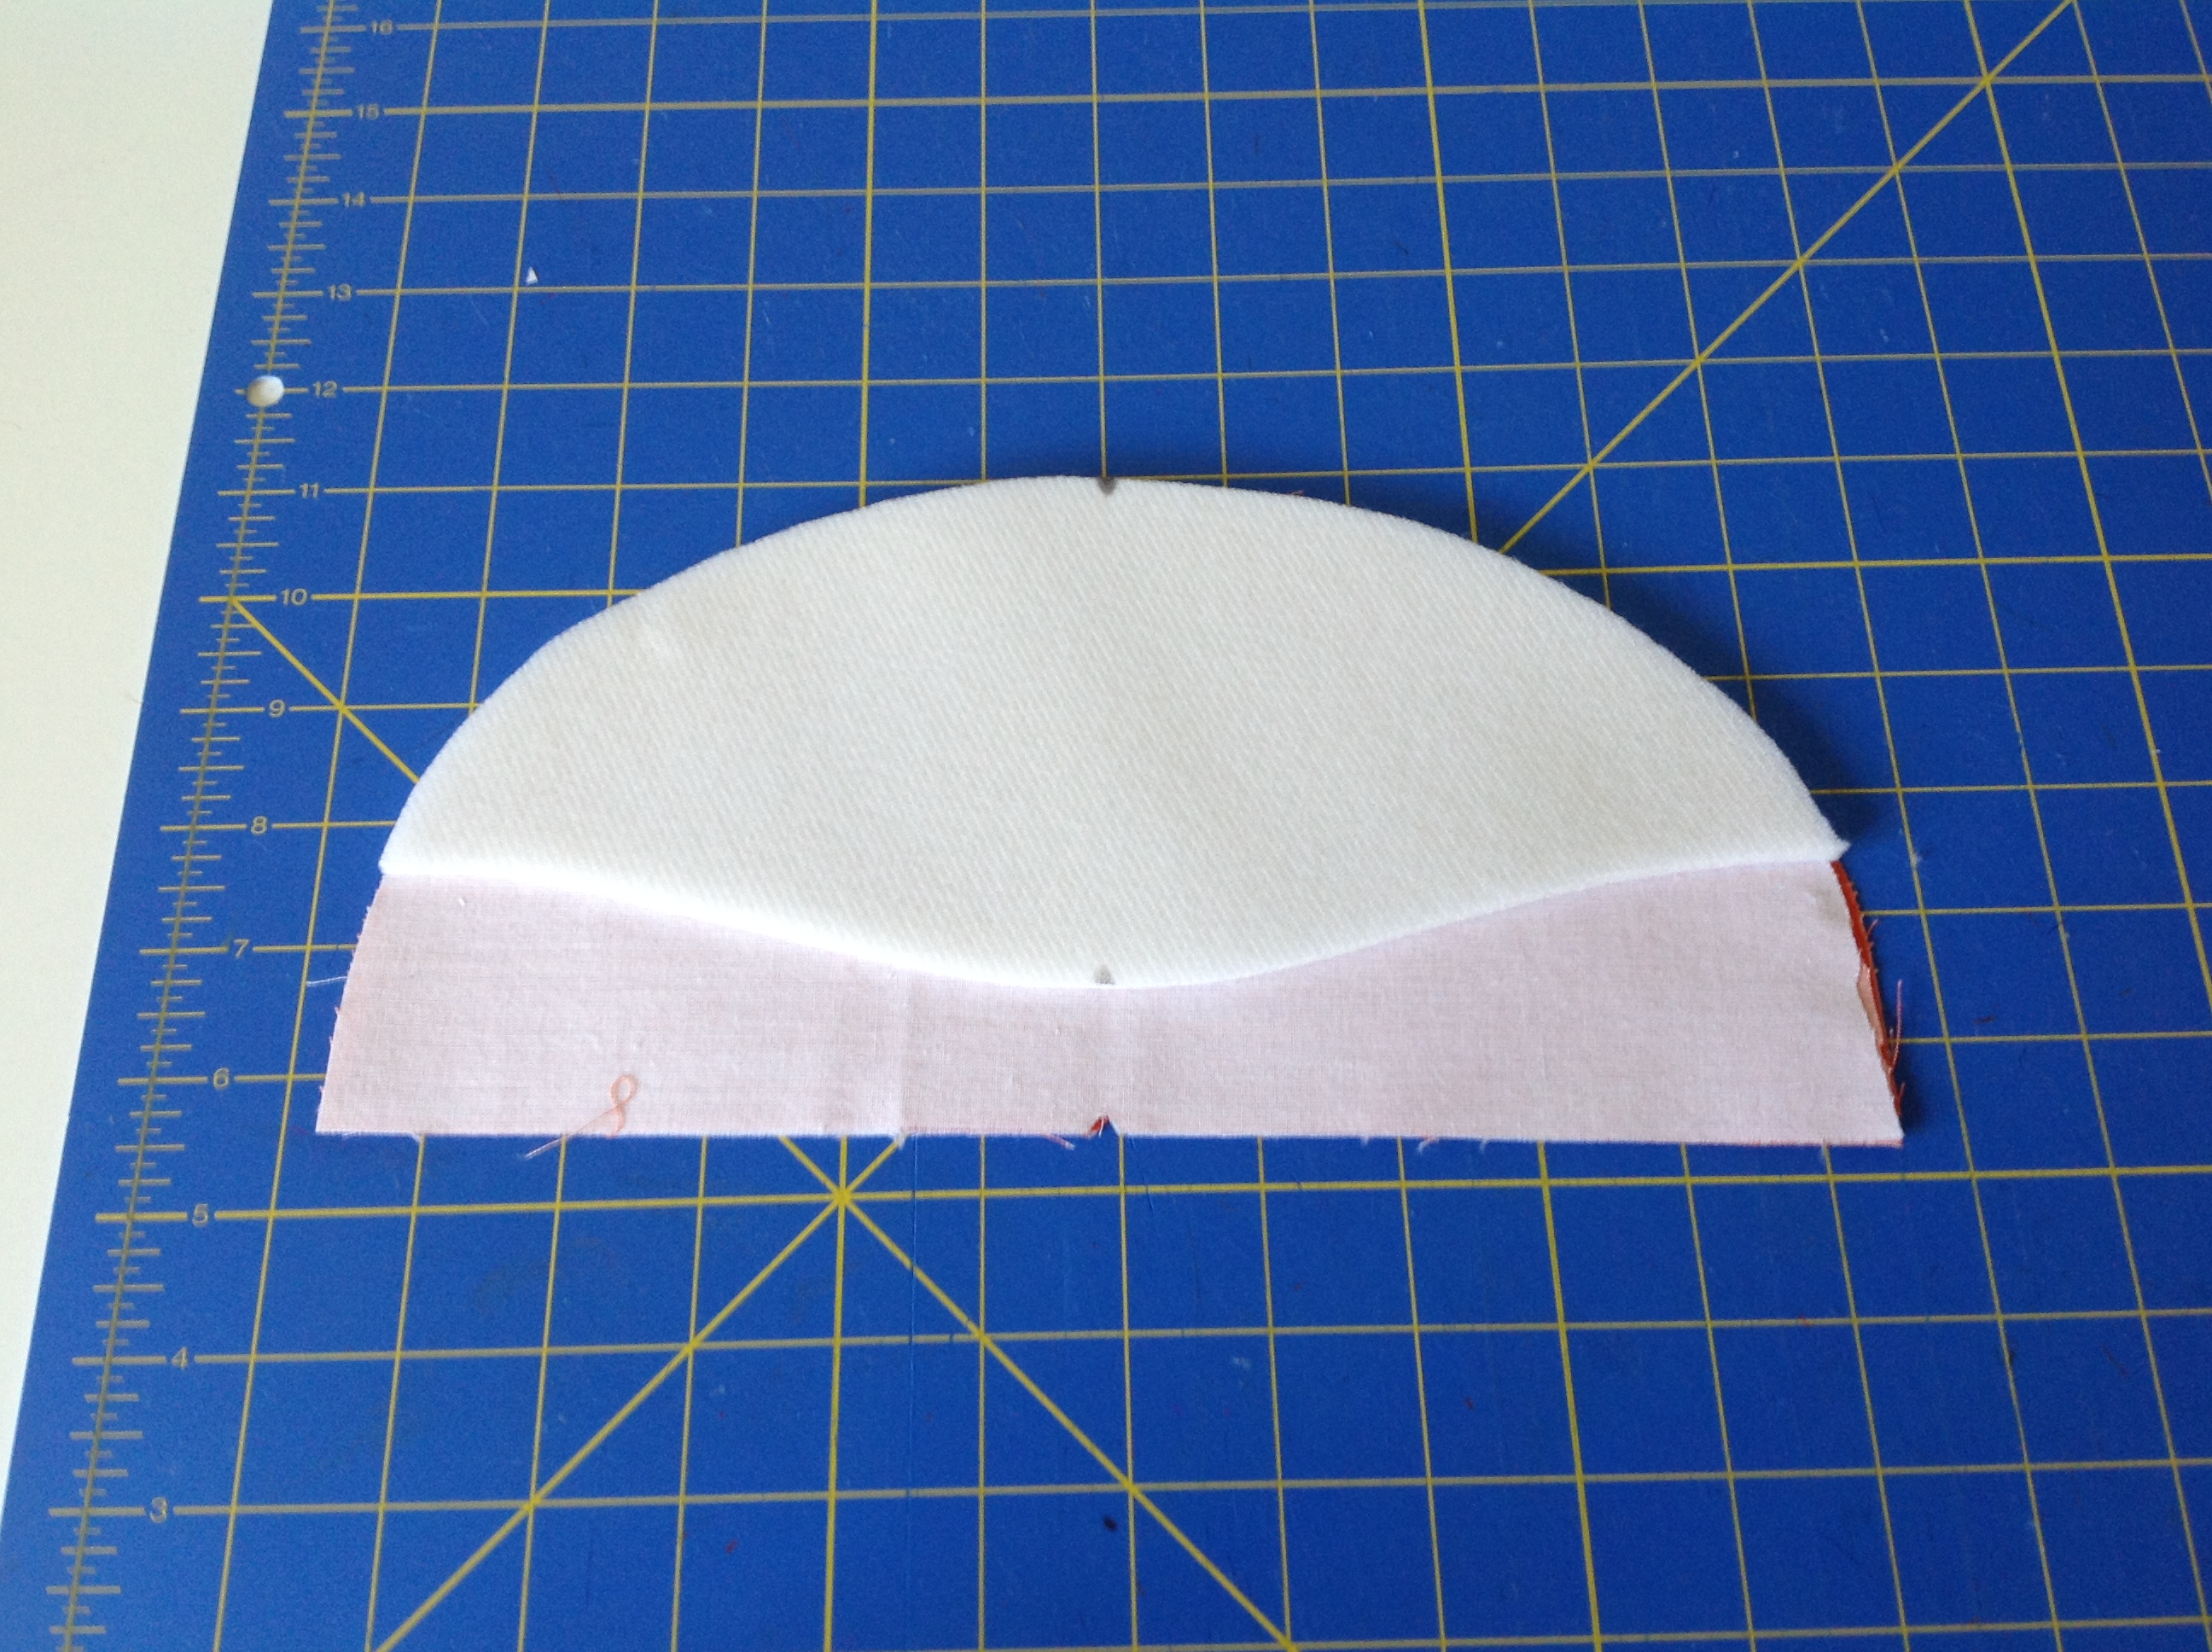
Align the curved edge and center points of all the pieces
Take that to your sewing machine and stitch around the curved edge using a 1/2″ seam allowance. If you have a walking foot, this is a good time to break it out, your results will be nicer.
stitch around the curved edge using a 1/2″ seam allowance
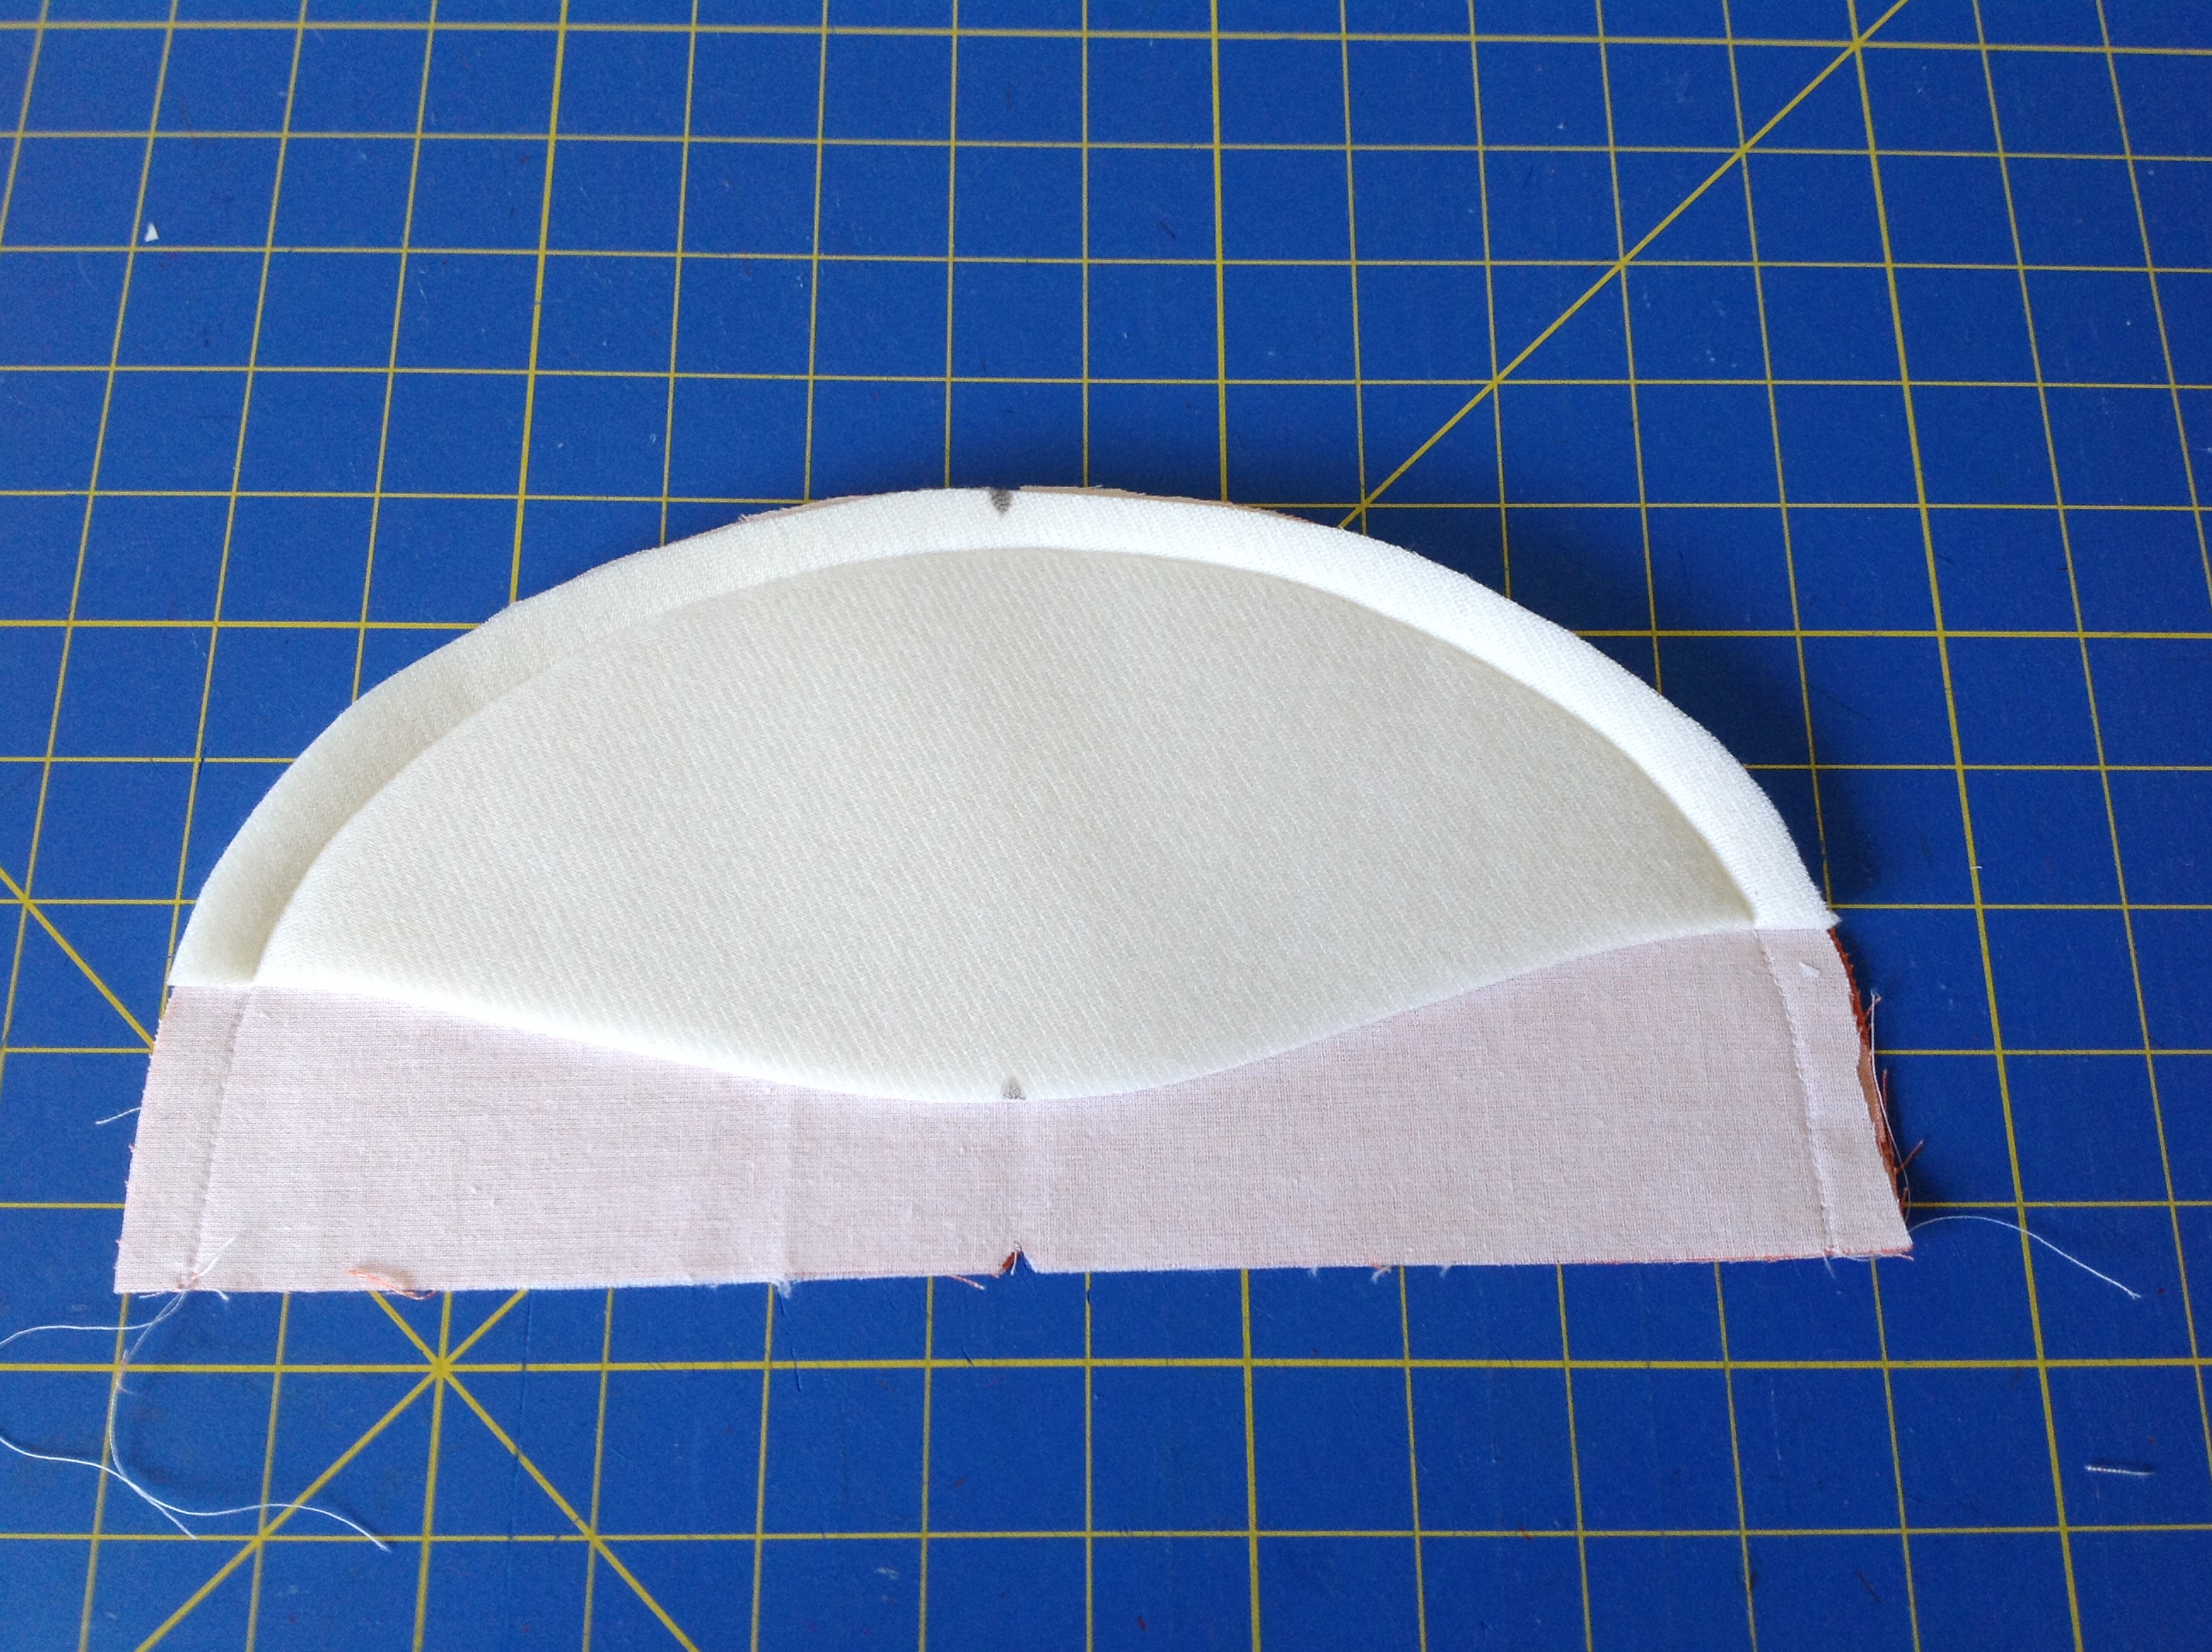
Now you are going to want to trim the foam stabilizer from the seam allowance – close to the seam, very close!! I find that holding my scissors parallel to and against the seam line allows me to cut very close without cutting into the seam.
trim the foam from the seam allowance as close to the seam as you can without cutting into it.
Now trim the fabric of the seam allowance. This time you want to trim very close but not as close as with the foam stabilizer – perhaps an 1/8″ or so. Resist the urge to notch this seam allowance instead of cutting it close. If you trim it close enough, notches aren’t necessary and you won’t have any of the notches showing through when you press it with your iron later on.
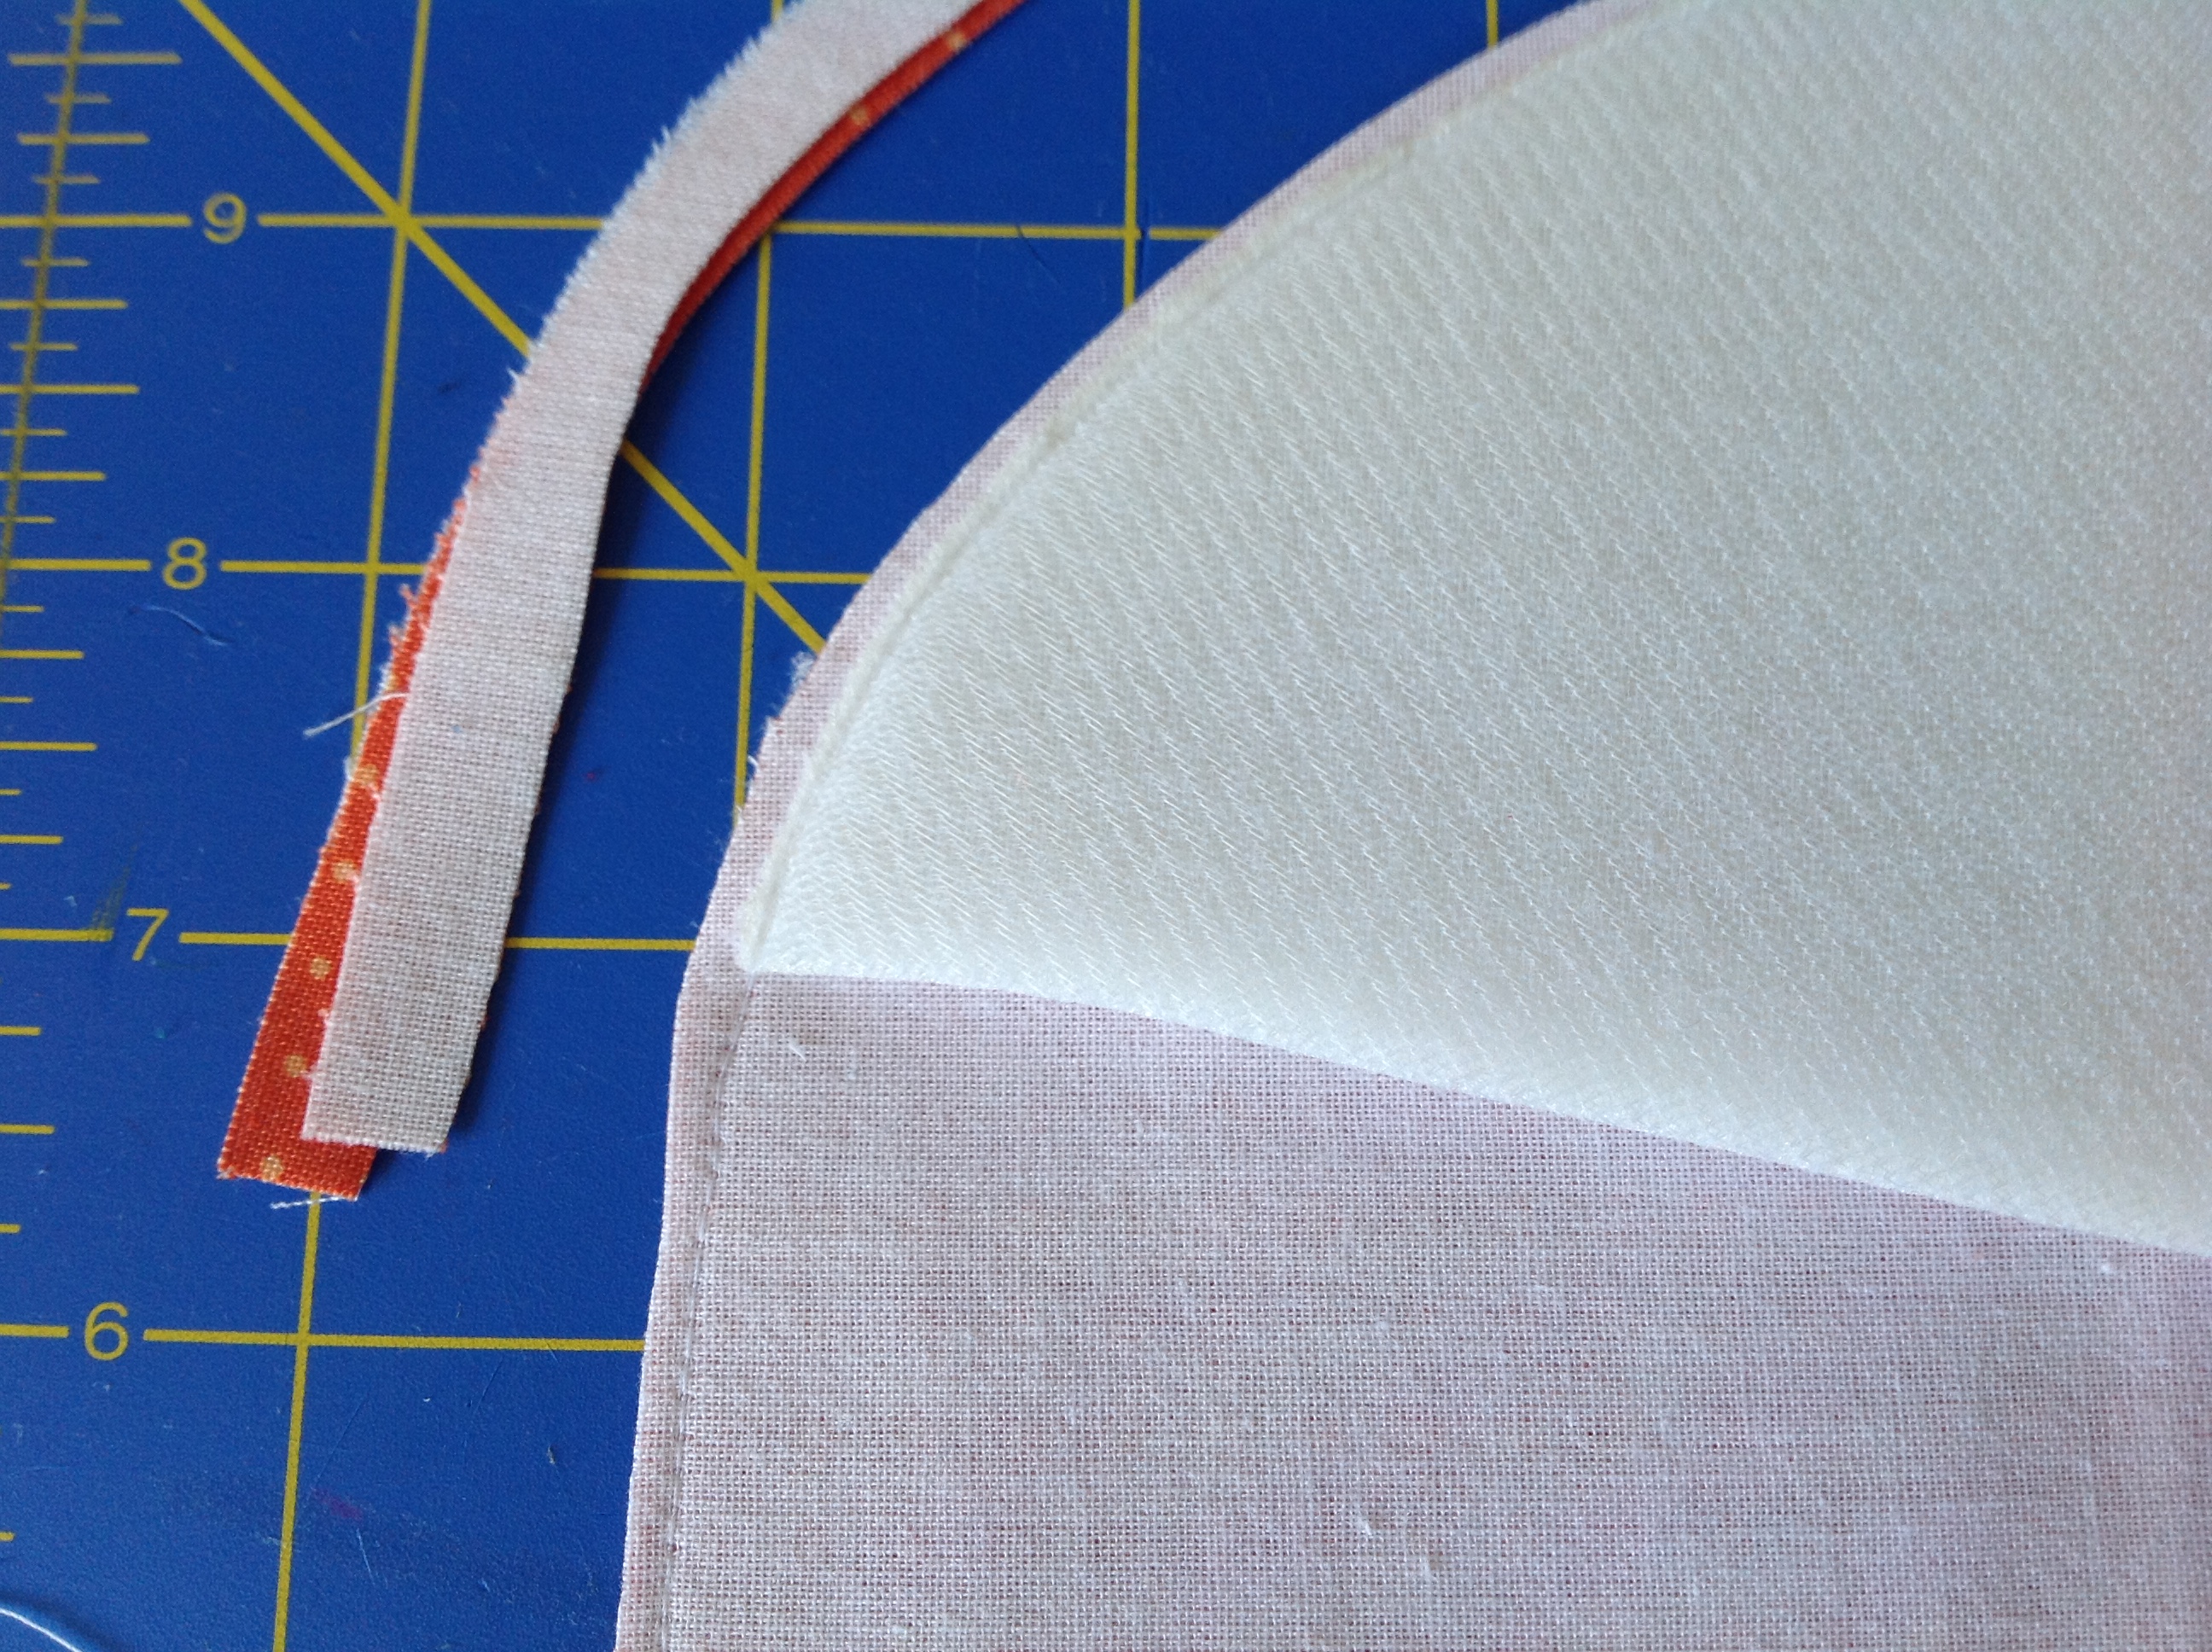
trim the fabric seam allowance to close to the seam line – about 1/8″
Turn the handle right side out and press.
press the handle with our iron
Now, if you chose to, you can topstitch around the curved edge. This seam adds a nice detail and adds a little more structure so I would suggest doing it. You could even break out a twin needle for this or, if your really brave, use a decorative stitch of some sort. I usually just use one seam. I’m sorry, I didn’t get a great picture of this so I am just “making it work!”
topstitch around the curved edge
Now we can deal with the cut out for the handle. For this step you might look through your presser feet and see if you have one with an open toe, in other words, one where you can easily see just where your needle is landing. Some of the feet I have with an open toe are below and might give you an idea of what you might have.
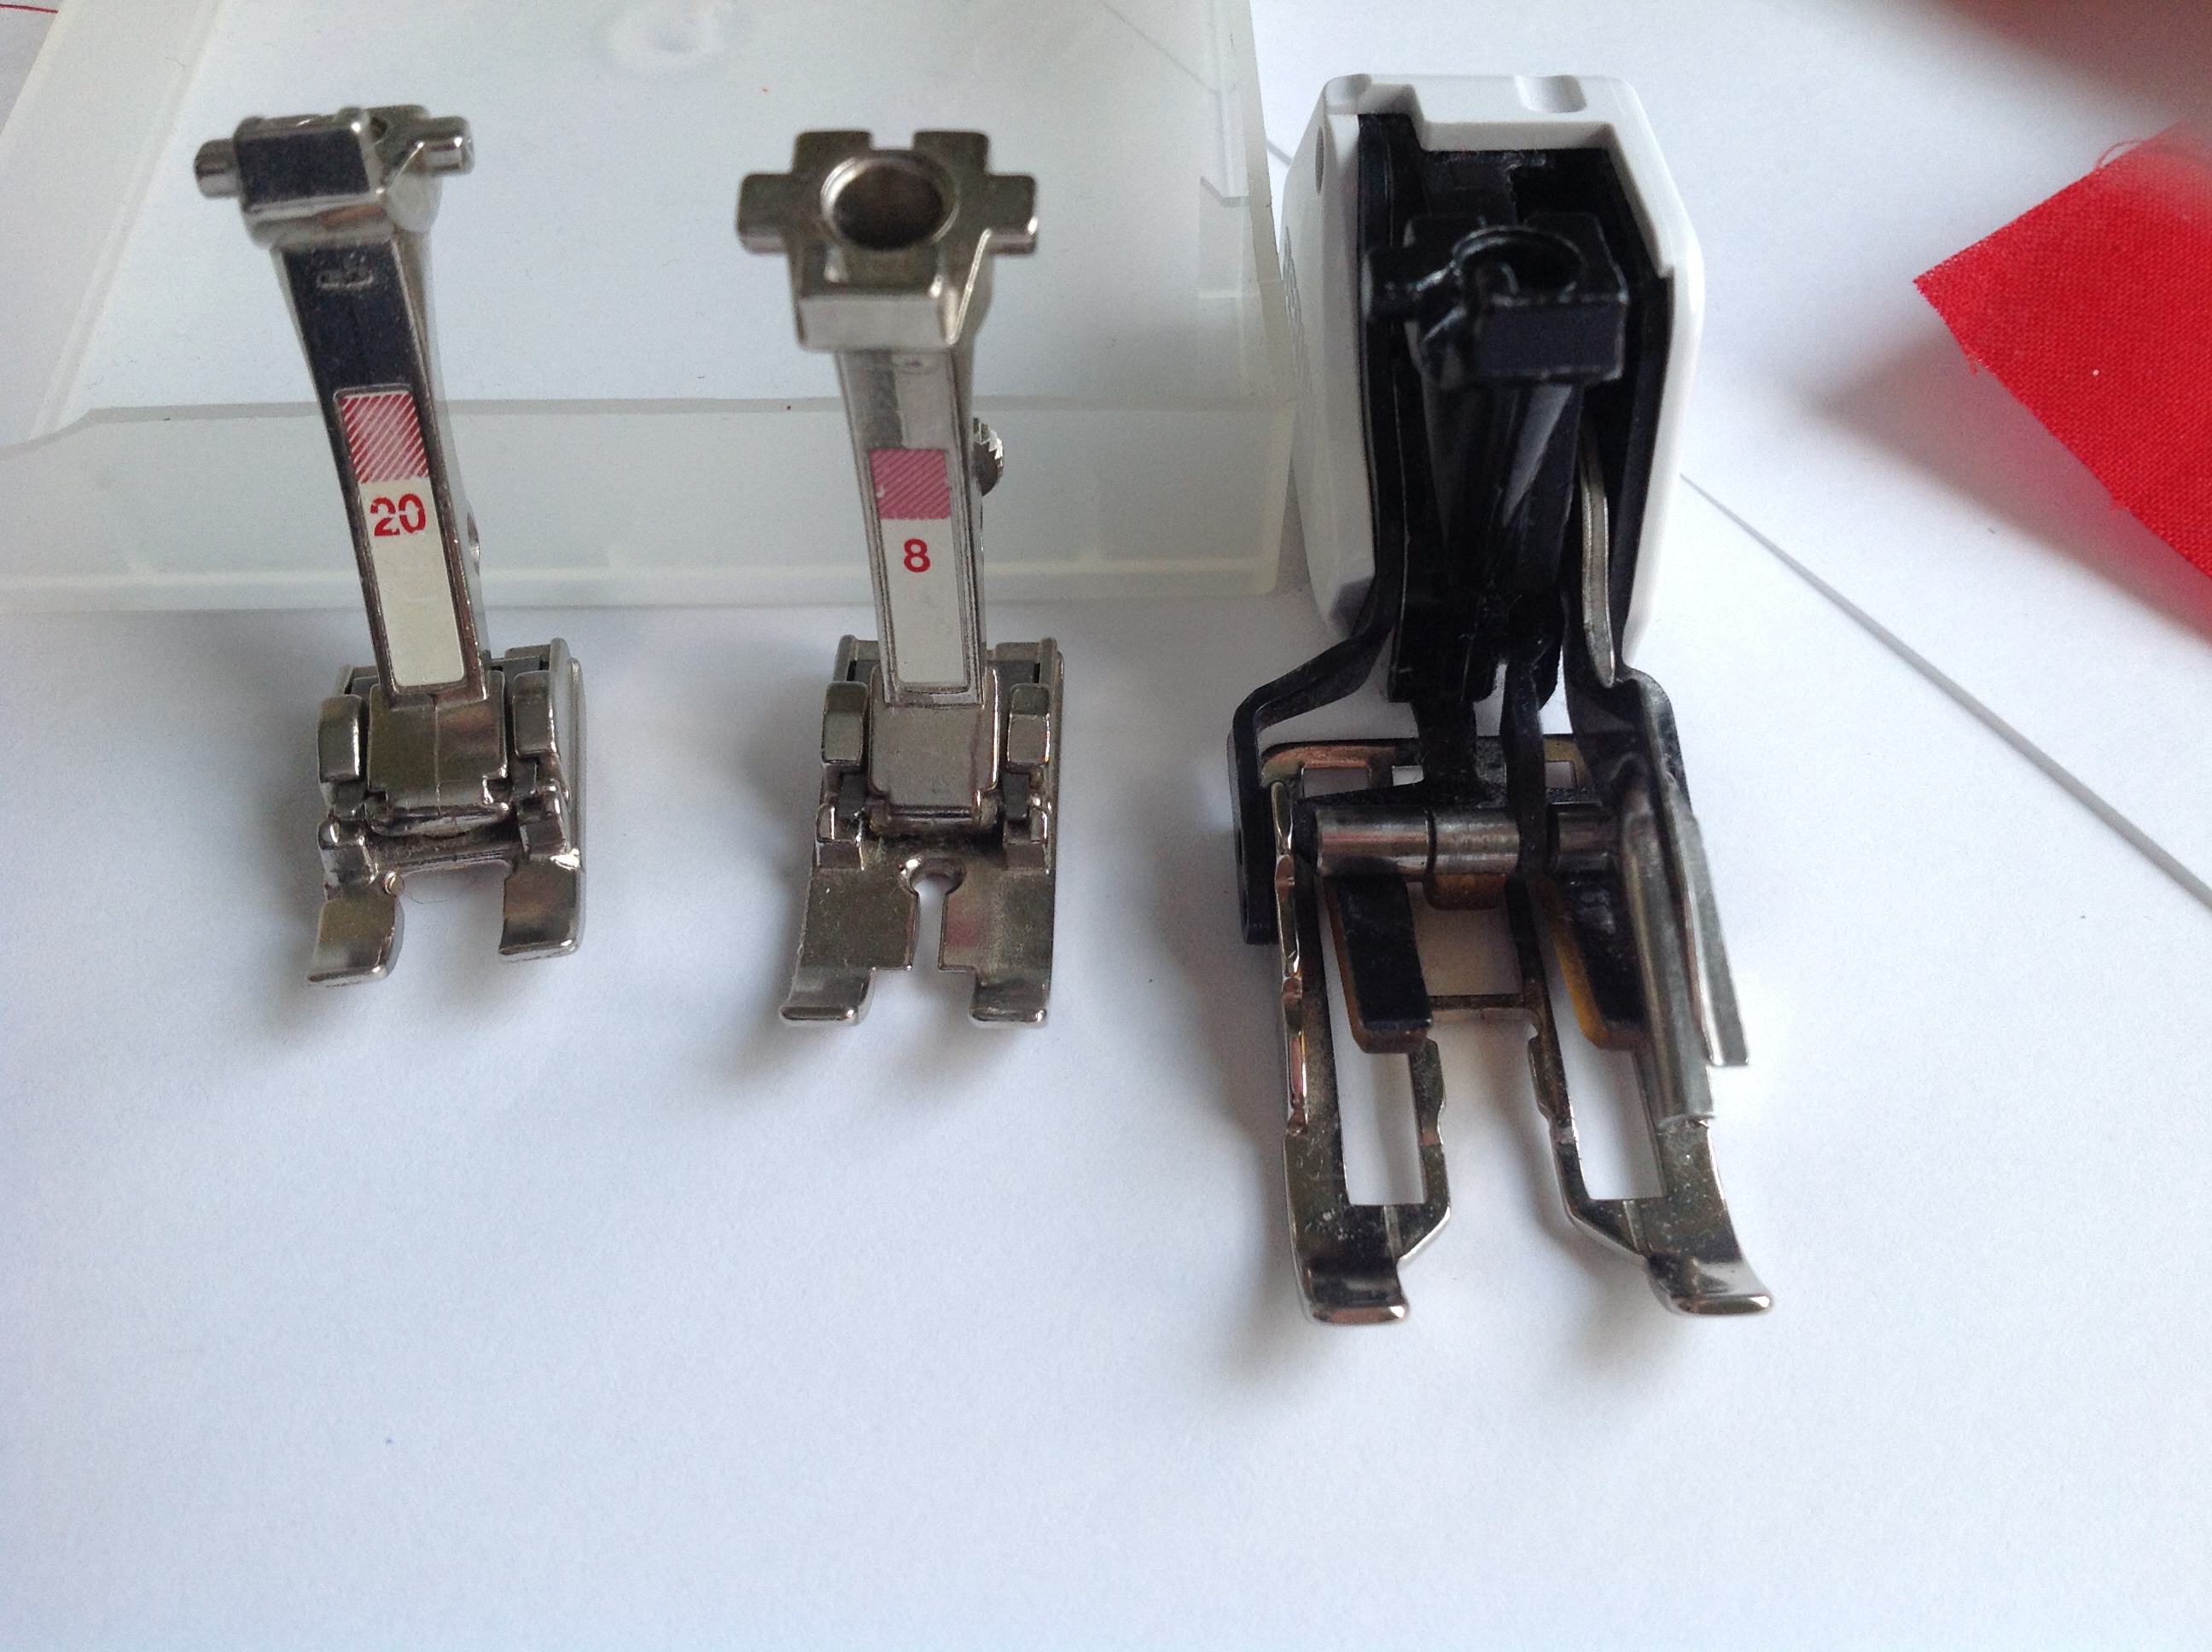
these feet make it easy to see just where you needle is going to fall
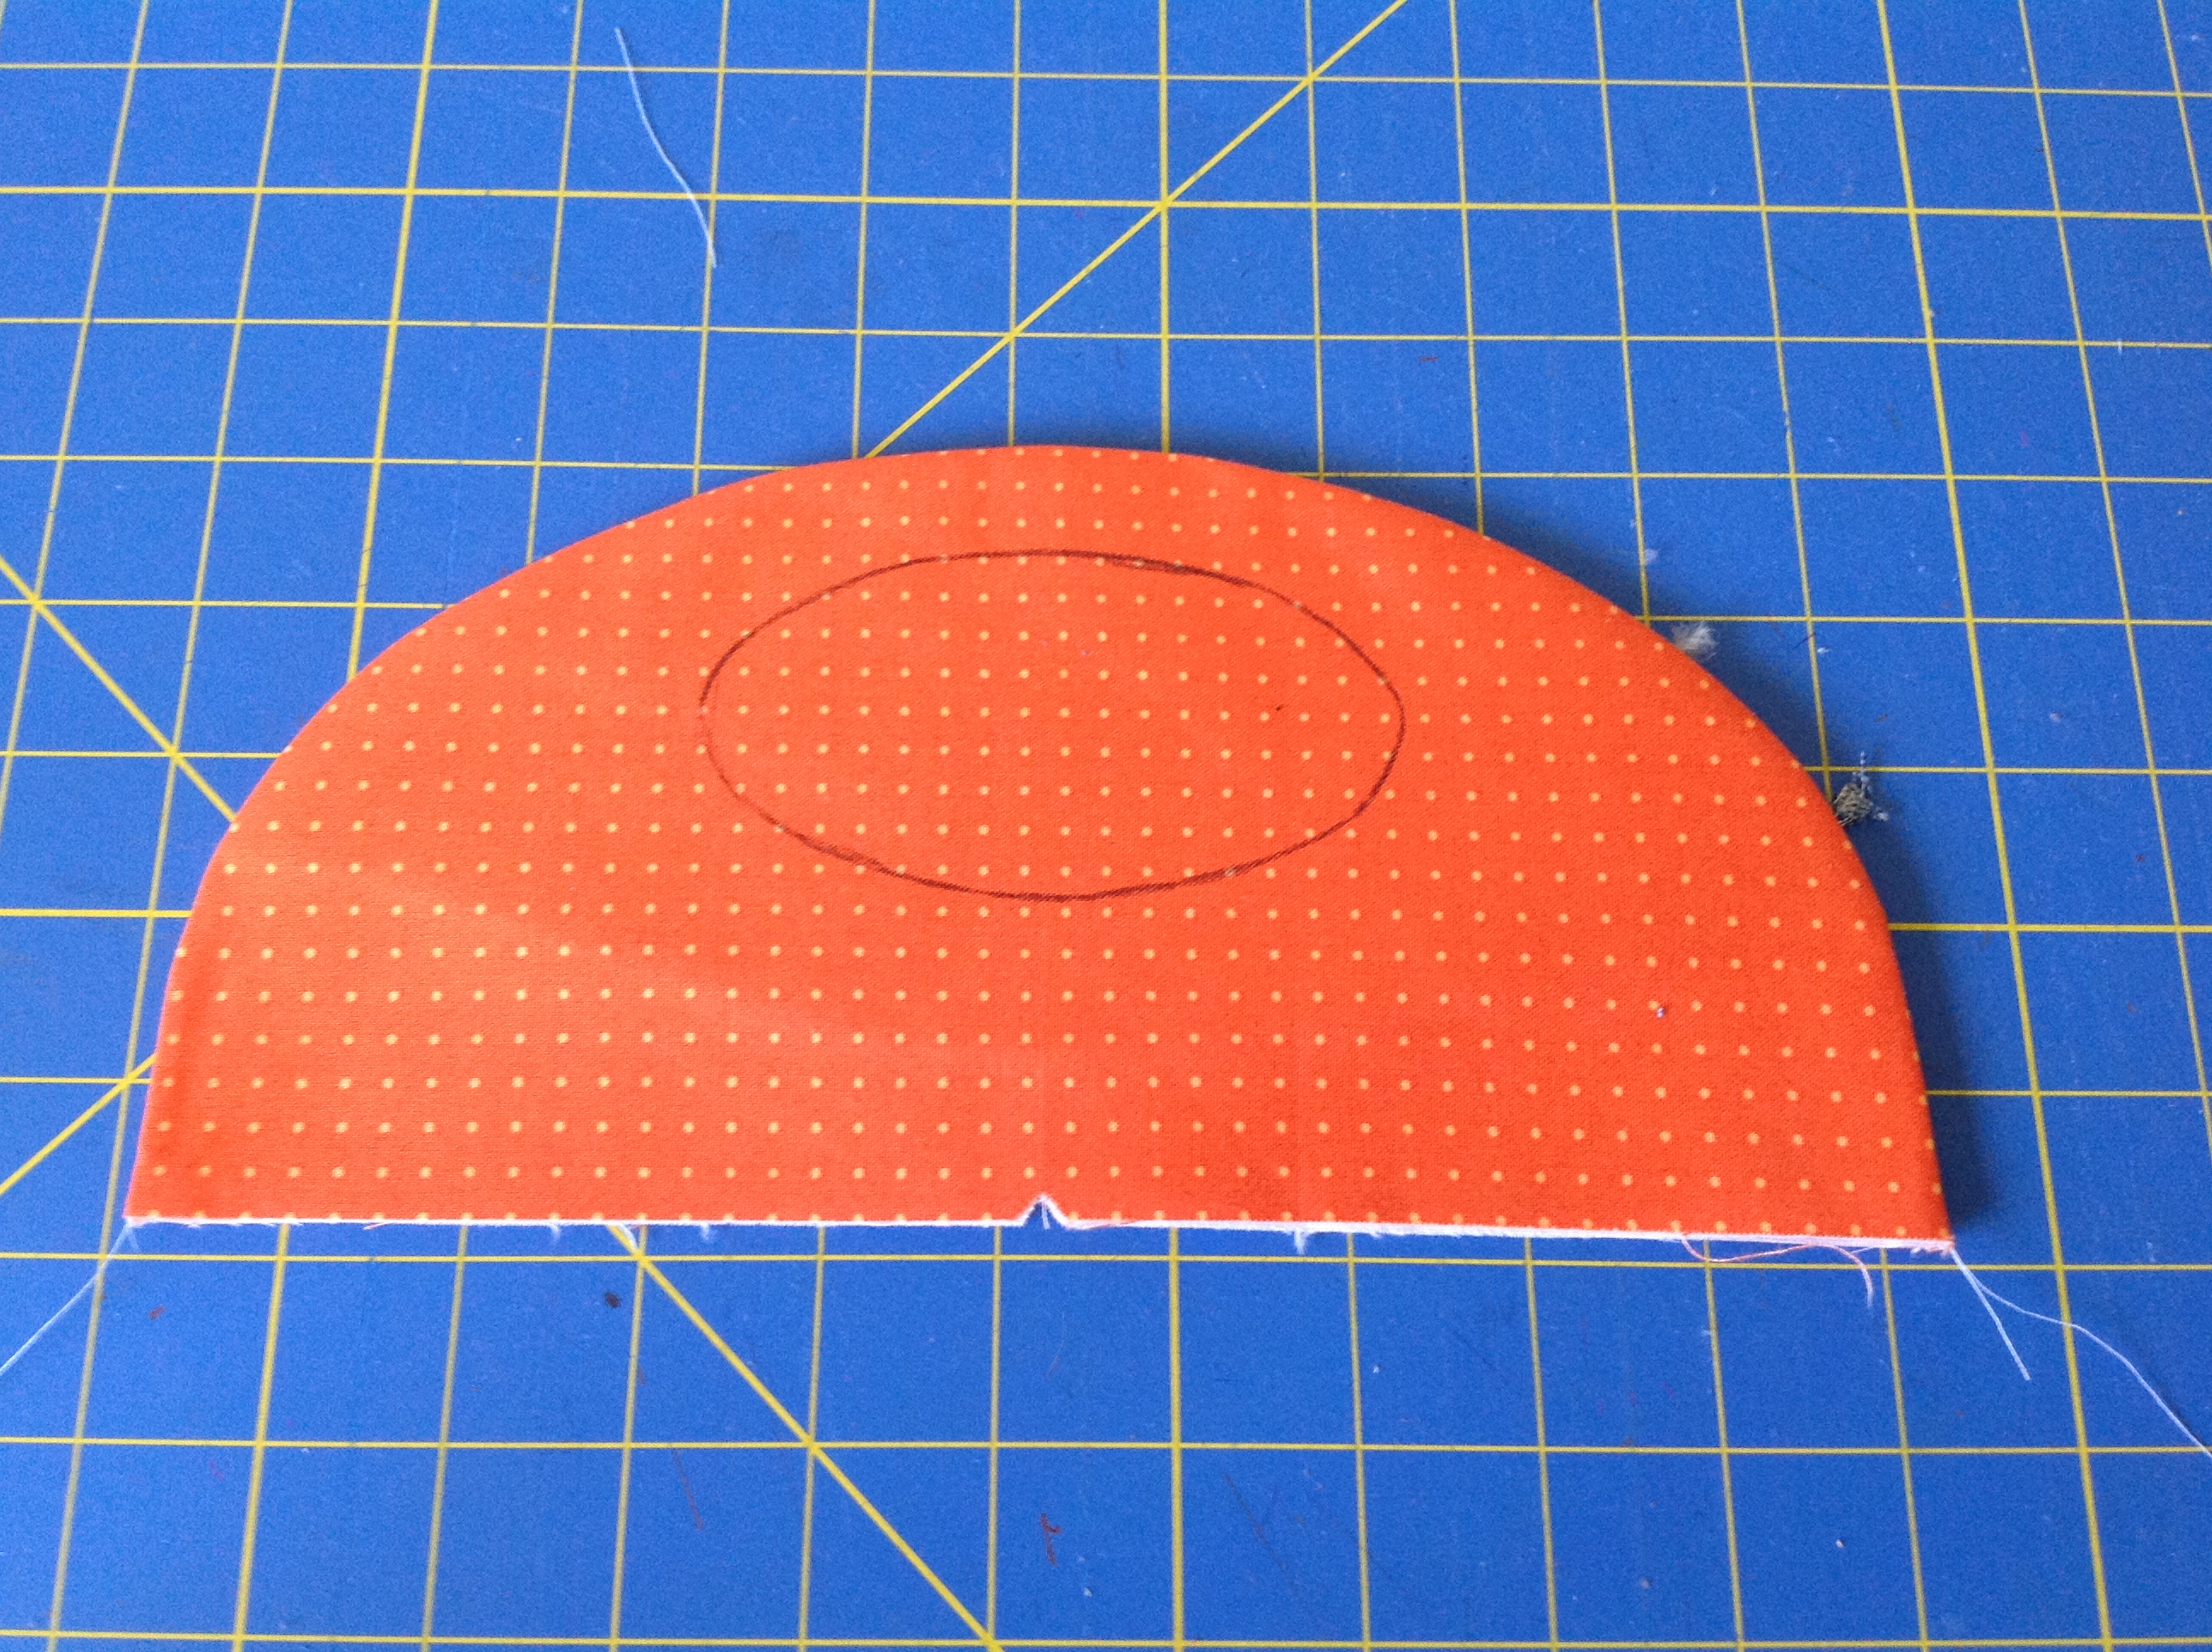
The reason you want to see what you needle is doing is that we are going to stitch right along the traced oval on the handle. You don’t have to be all that exact here because lucky for us, the handle hardware will cover up many imperfections but this is what I use when I need to do precise topstitching so I thought I’d share!
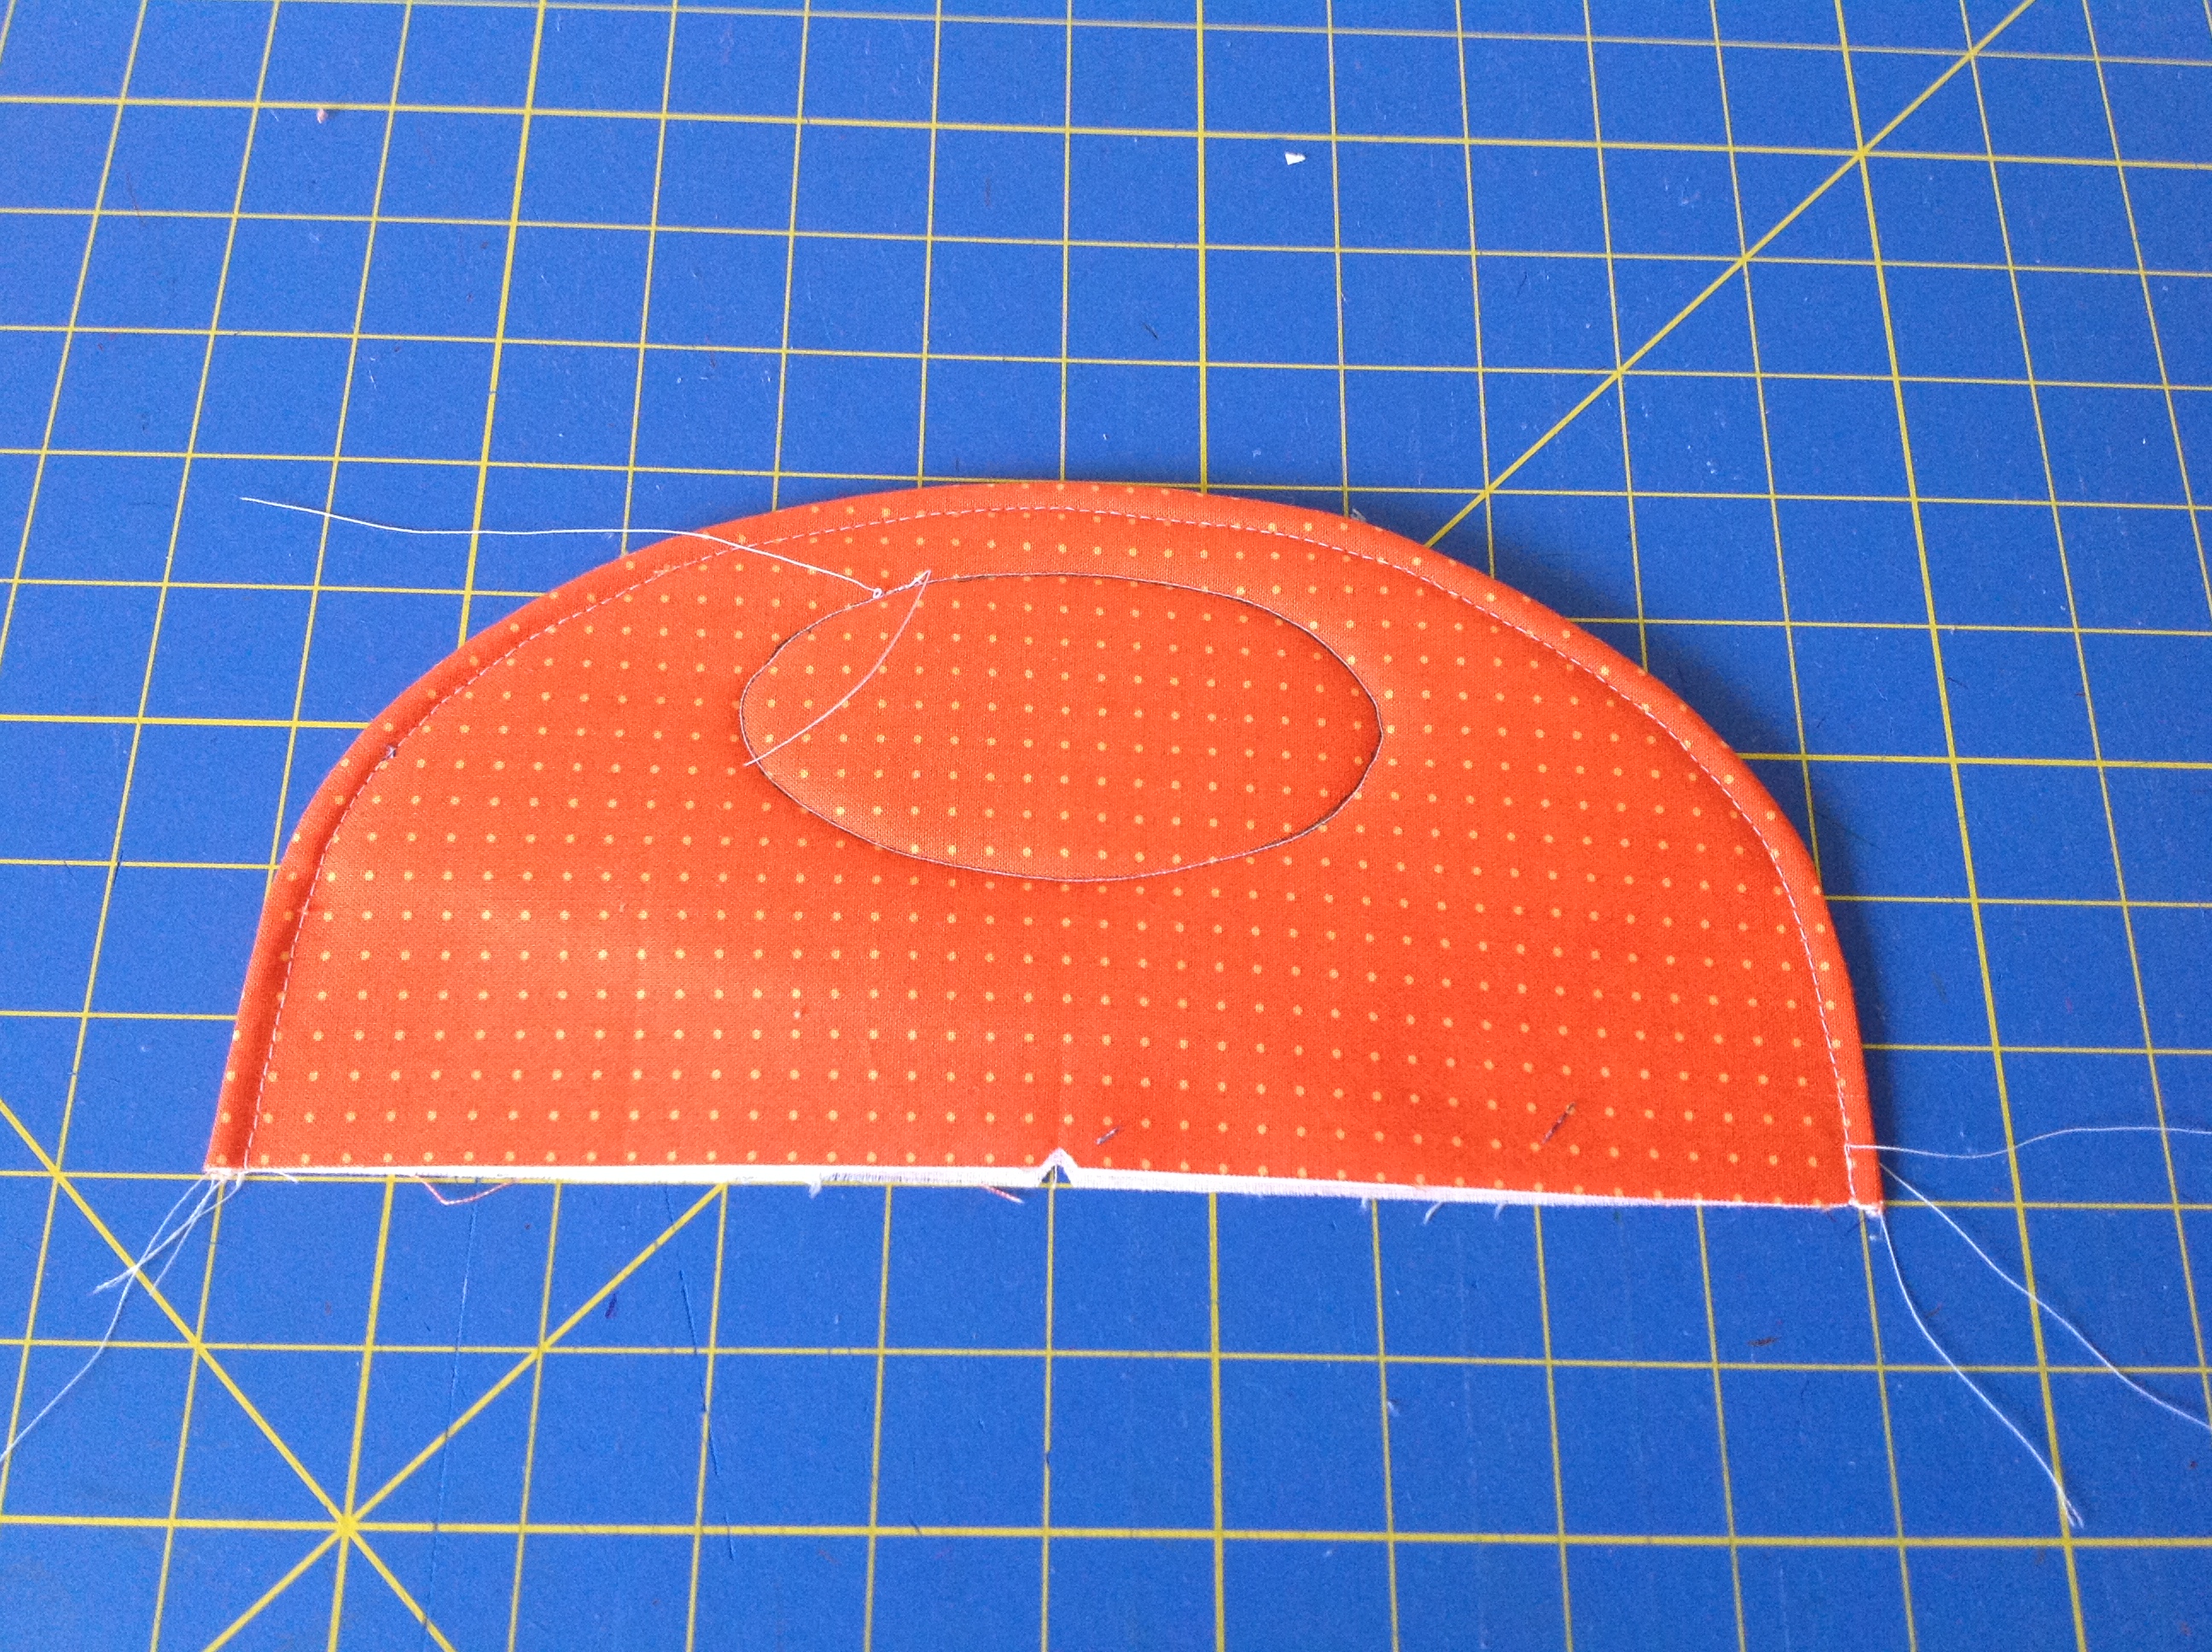
stitch around the oval traced on the handle
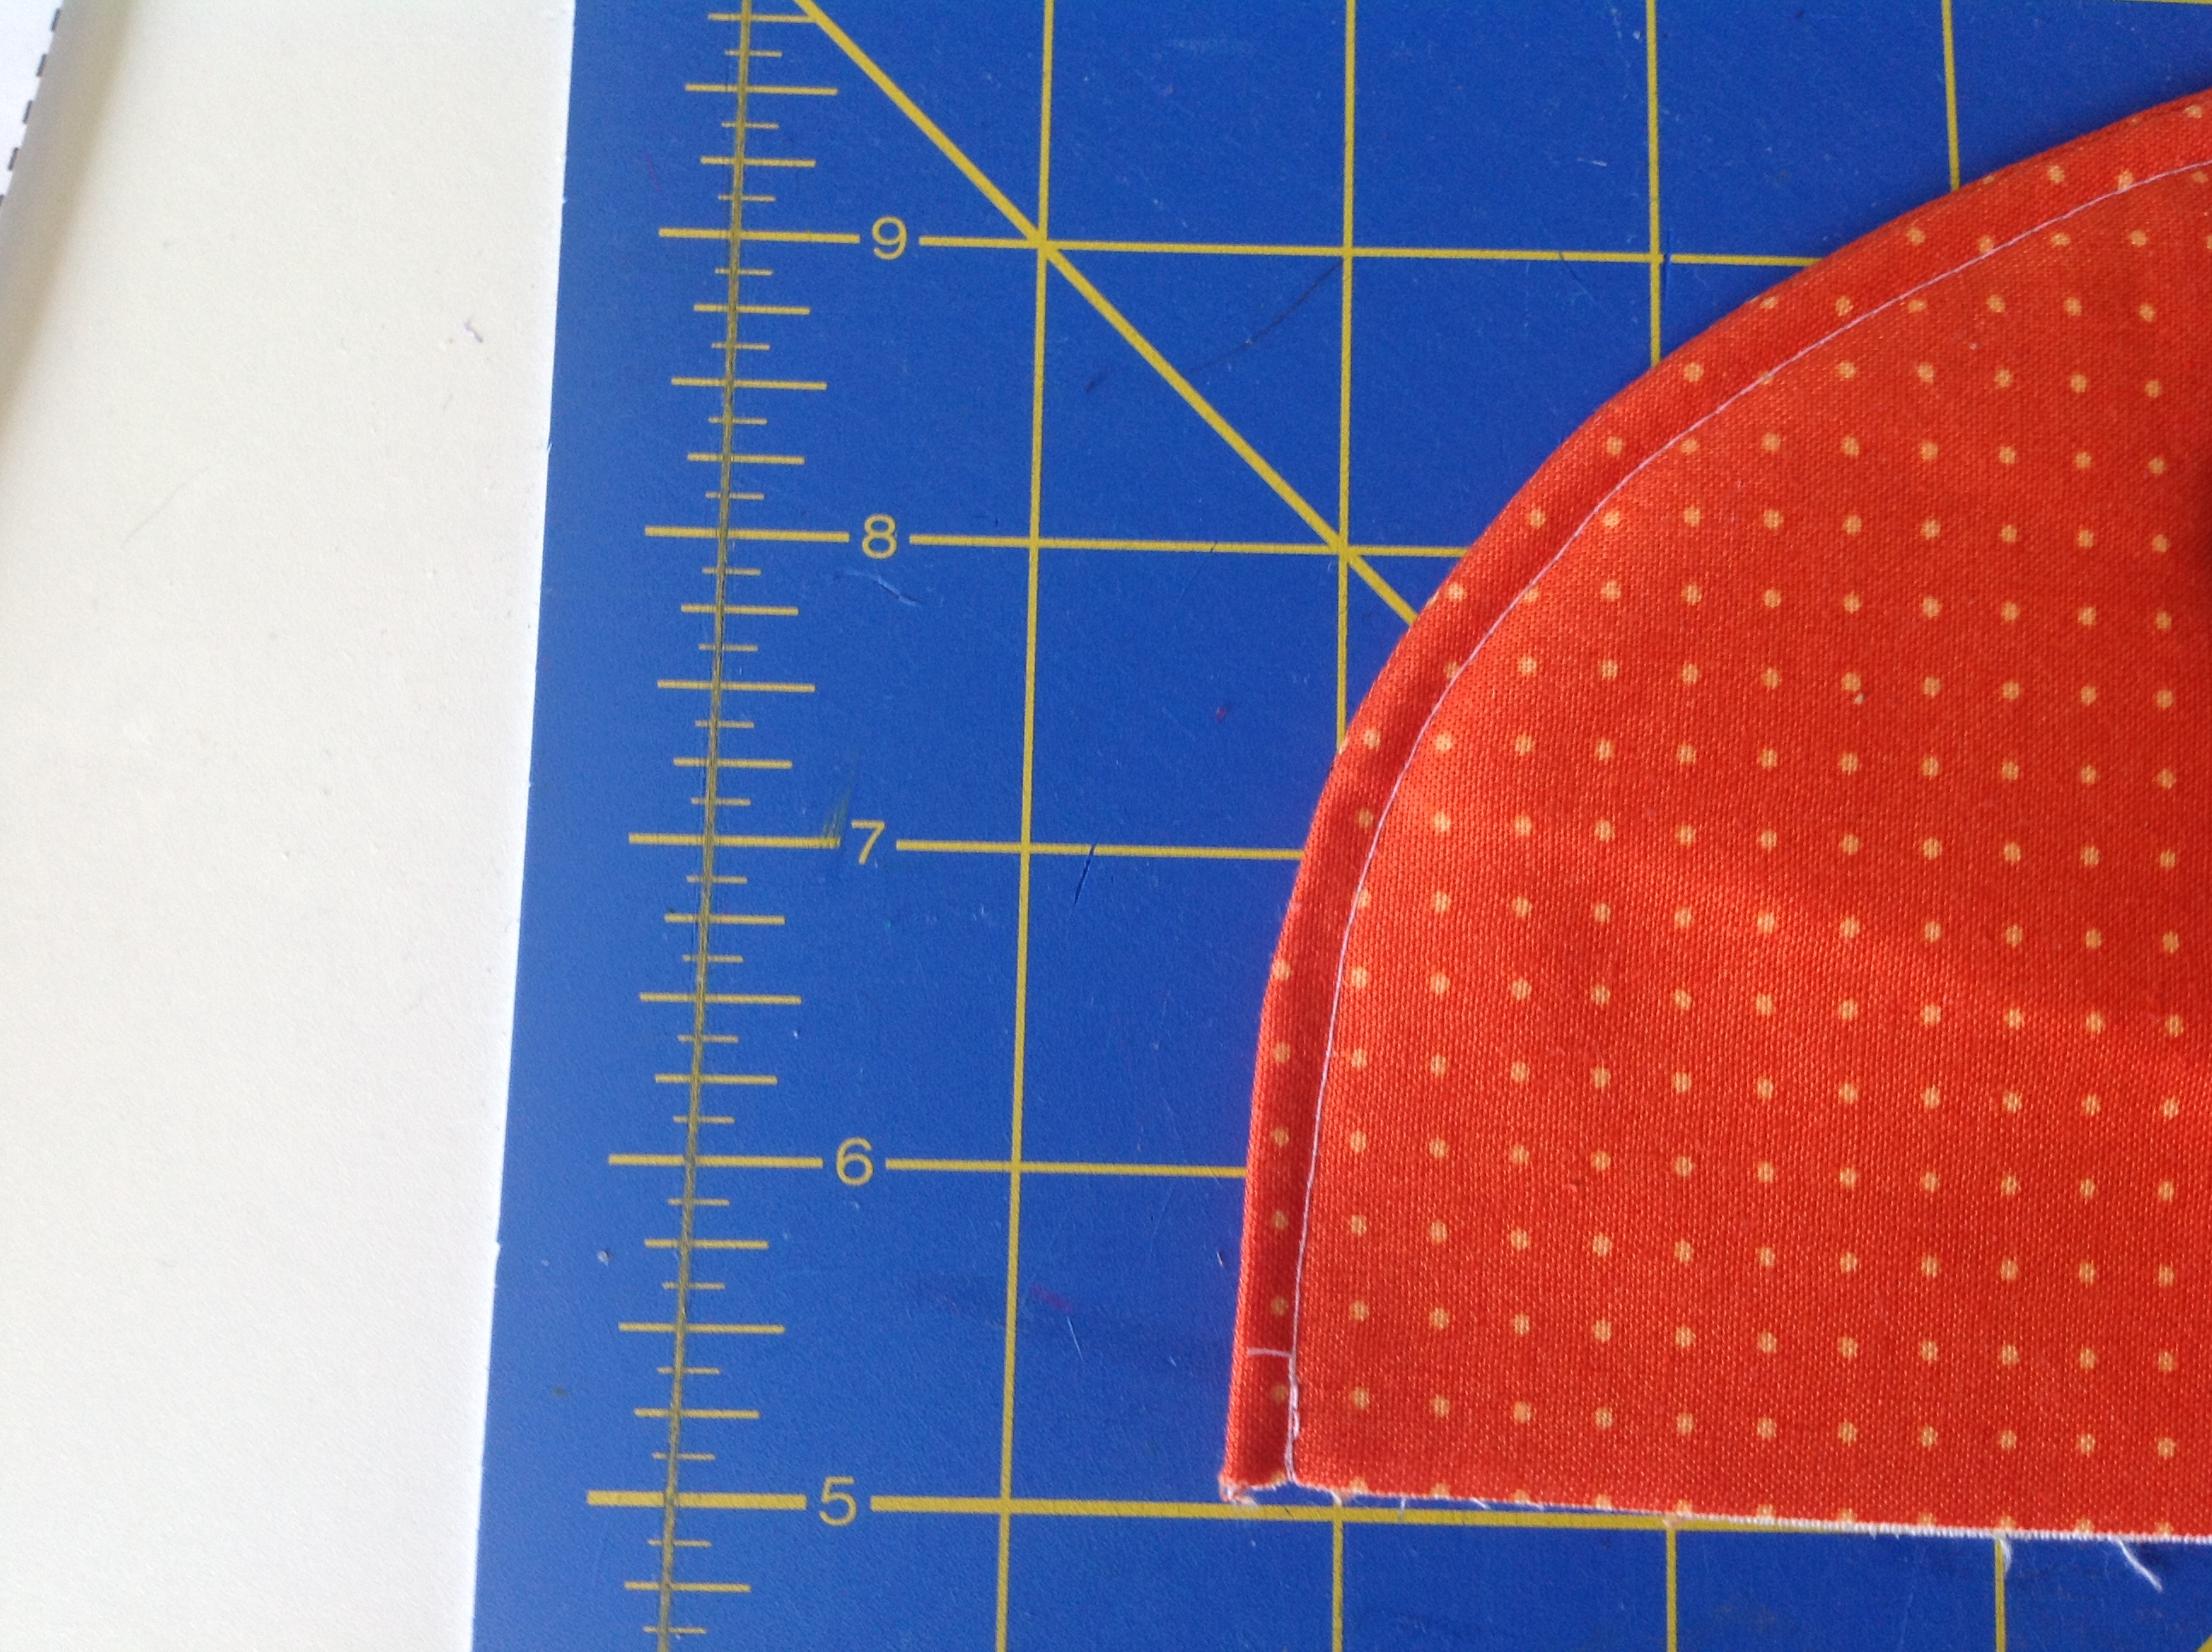
Grab your sharp scissors again and cut out the oval inside the seamline. You want to trim very close here as well.
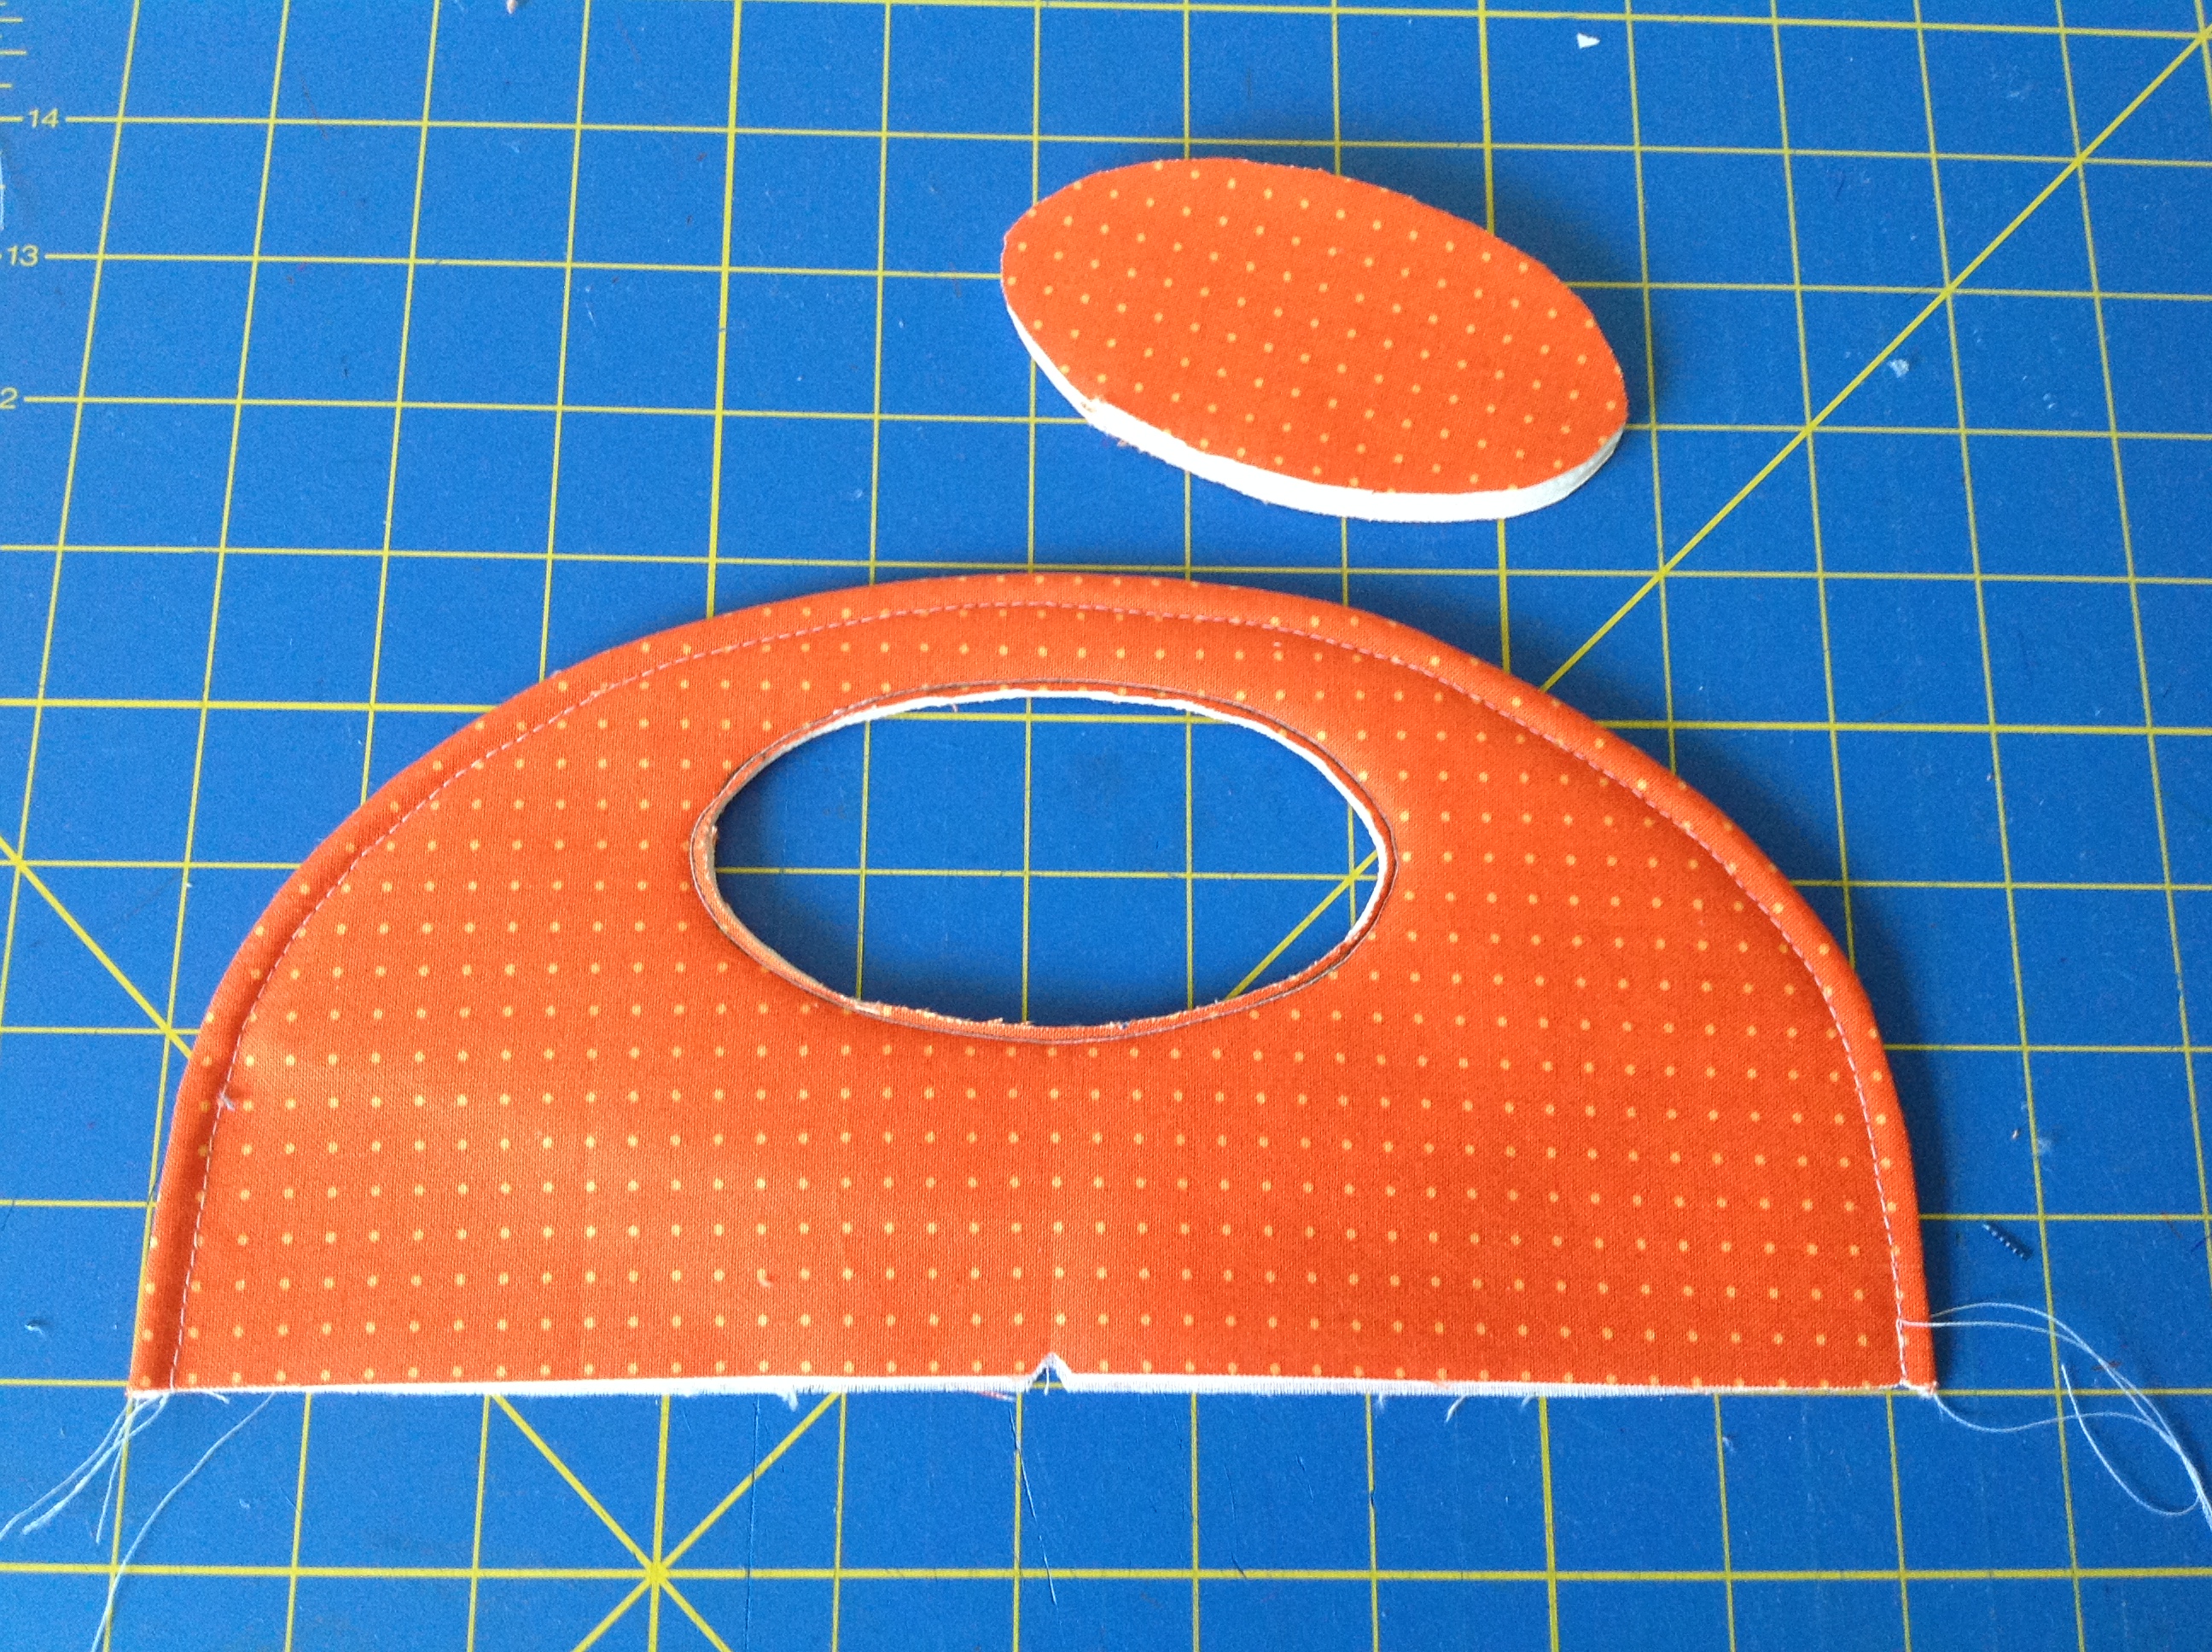
cut out the oval inside the seamline
You can add some fray check to the inside of the oval if you like. And that’s it! Don’t forget to repeat all of this to make the second handle.
For the next tutorial for this pattern, click here.
Hope you having a good time! Please let me know what questions you have! sarah
Leave a Reply
You must be logged in to post a comment.