Hello,
This tutorial will cover steps 22-27 in the Layla Bag Pattern. You can get a closer look at the photos by clicking on them.
At this point, you should have your handles sewn and you are ready to attach them to the body panels. This is where things get exciting because once the handles are attached, you can get a real sense of what your bag will look like when it’s done! yay!
So, grab your handles, the body foam stabilizer pieces, and the fabric body pieces.
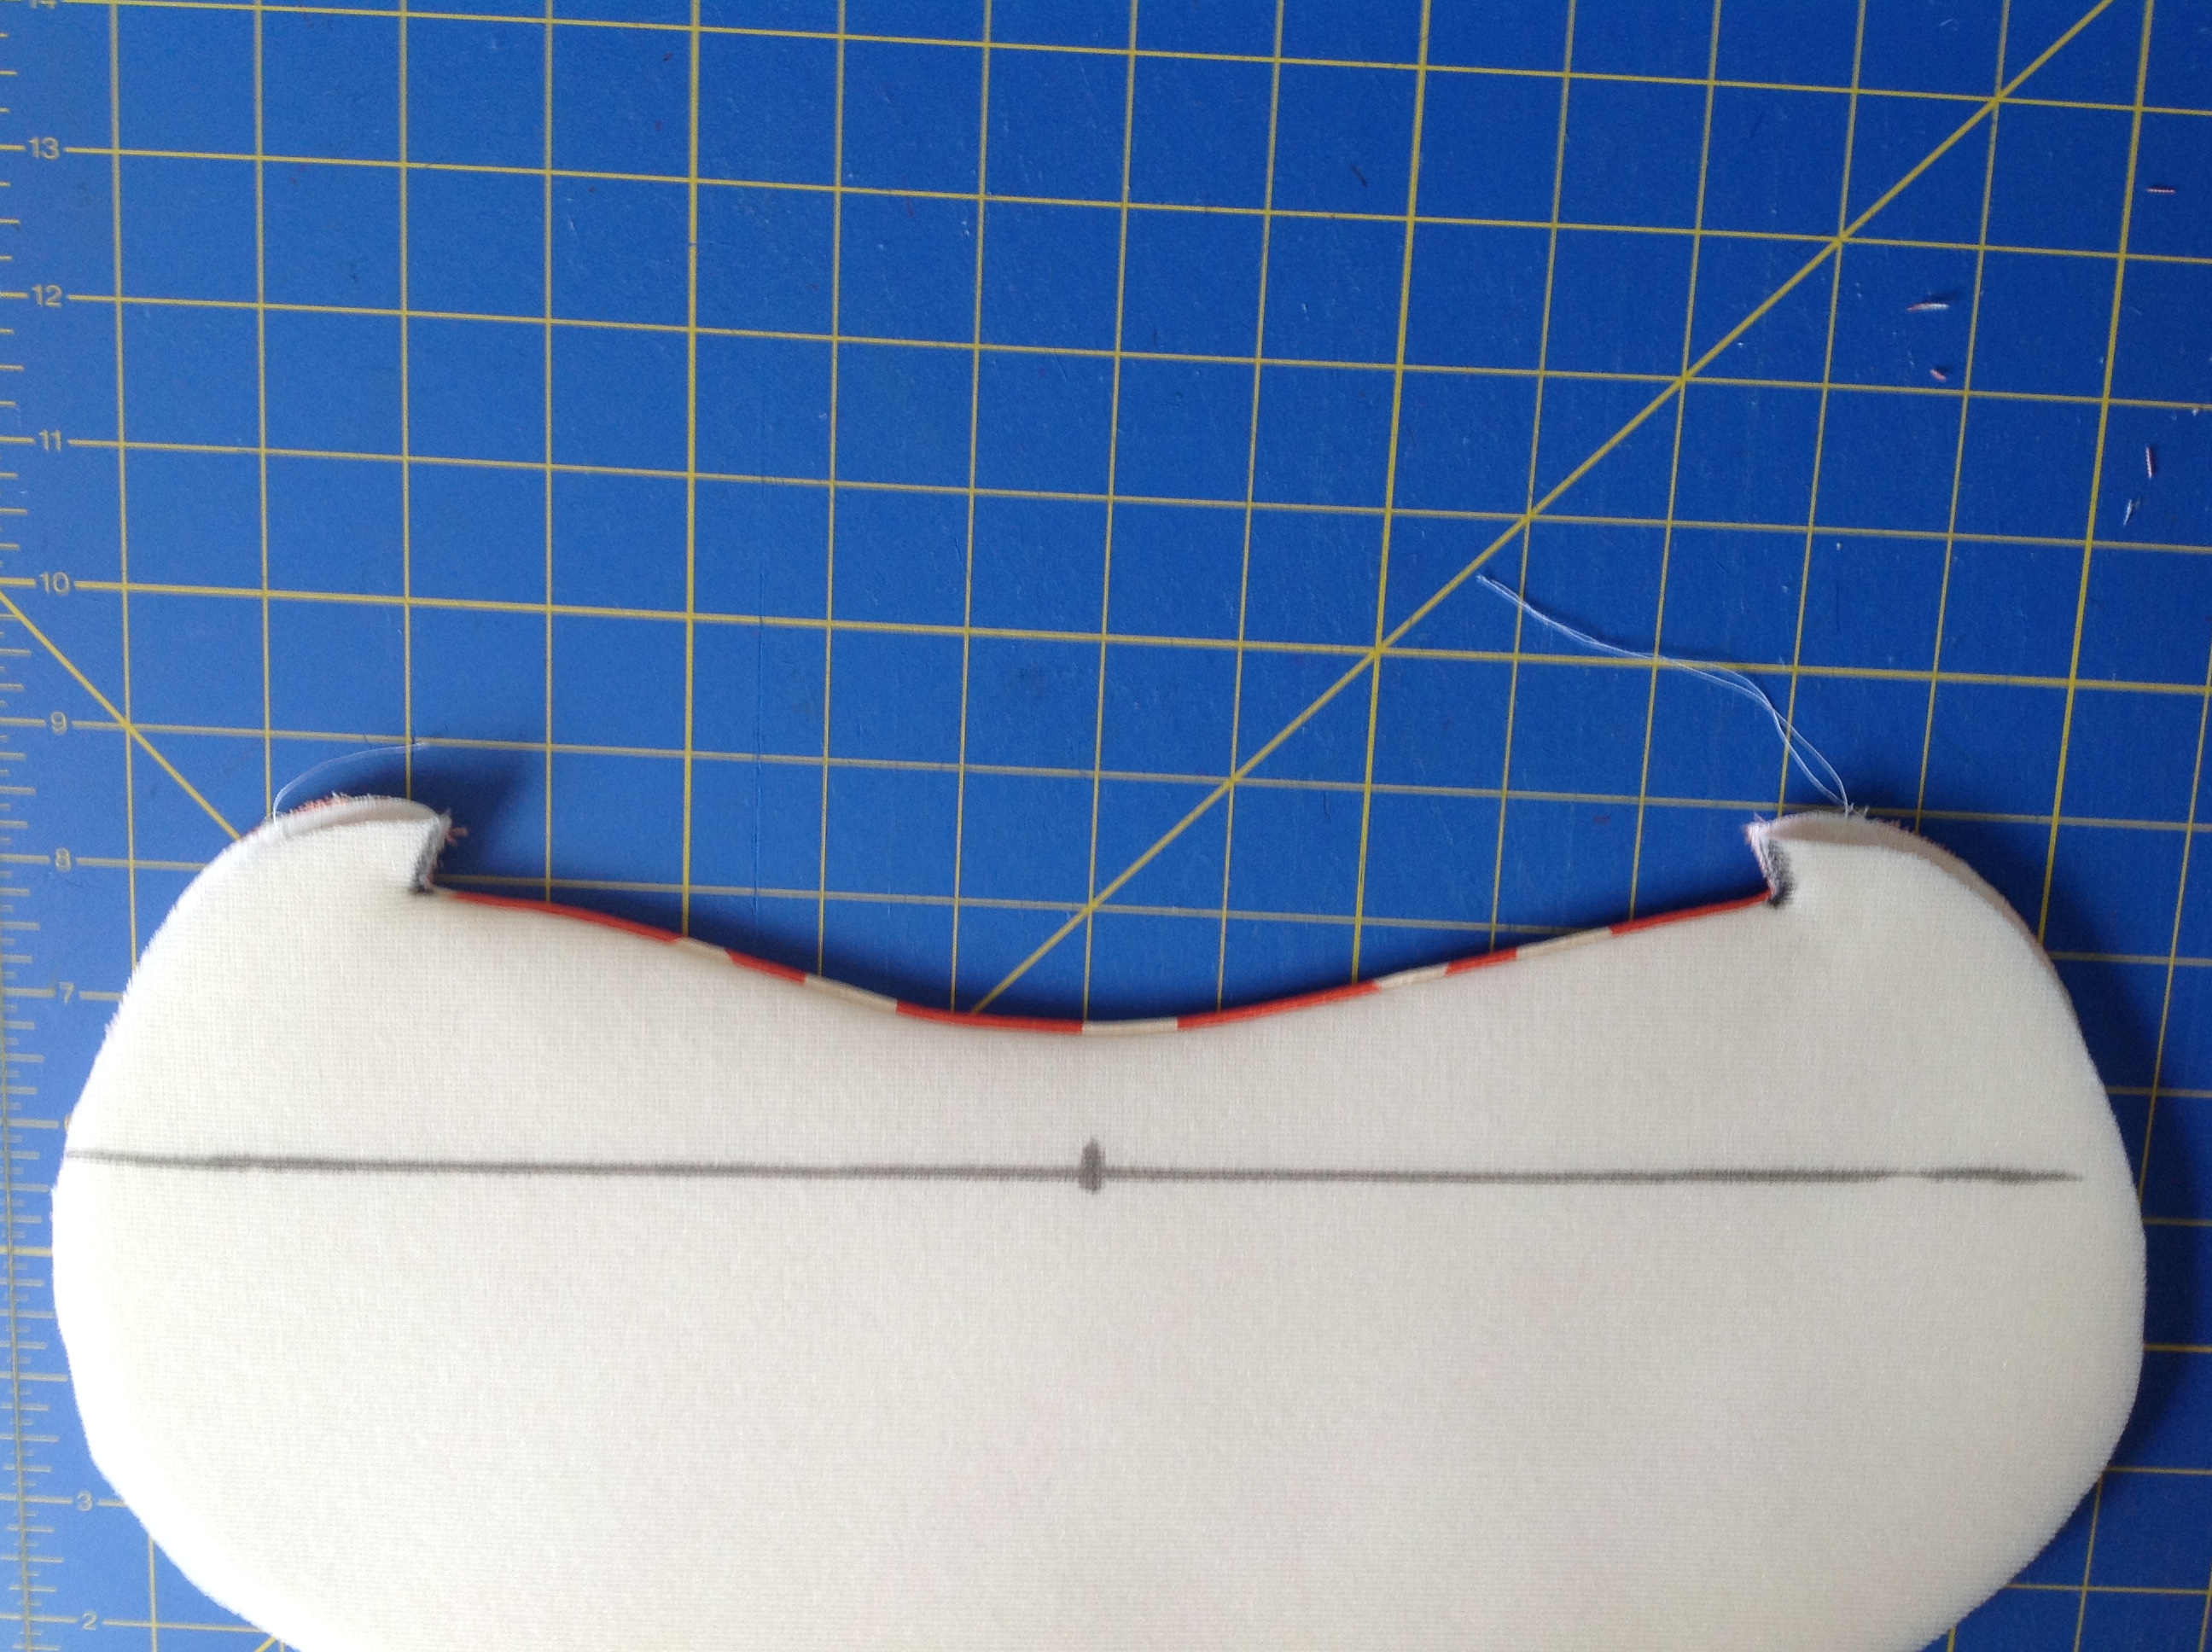
In step 5, you had marked a horizontal line on each of the body foam stabilizer pieces and the line’s center point. You also transfer 2 dots near the top edge. So your foam pieces should look like this:
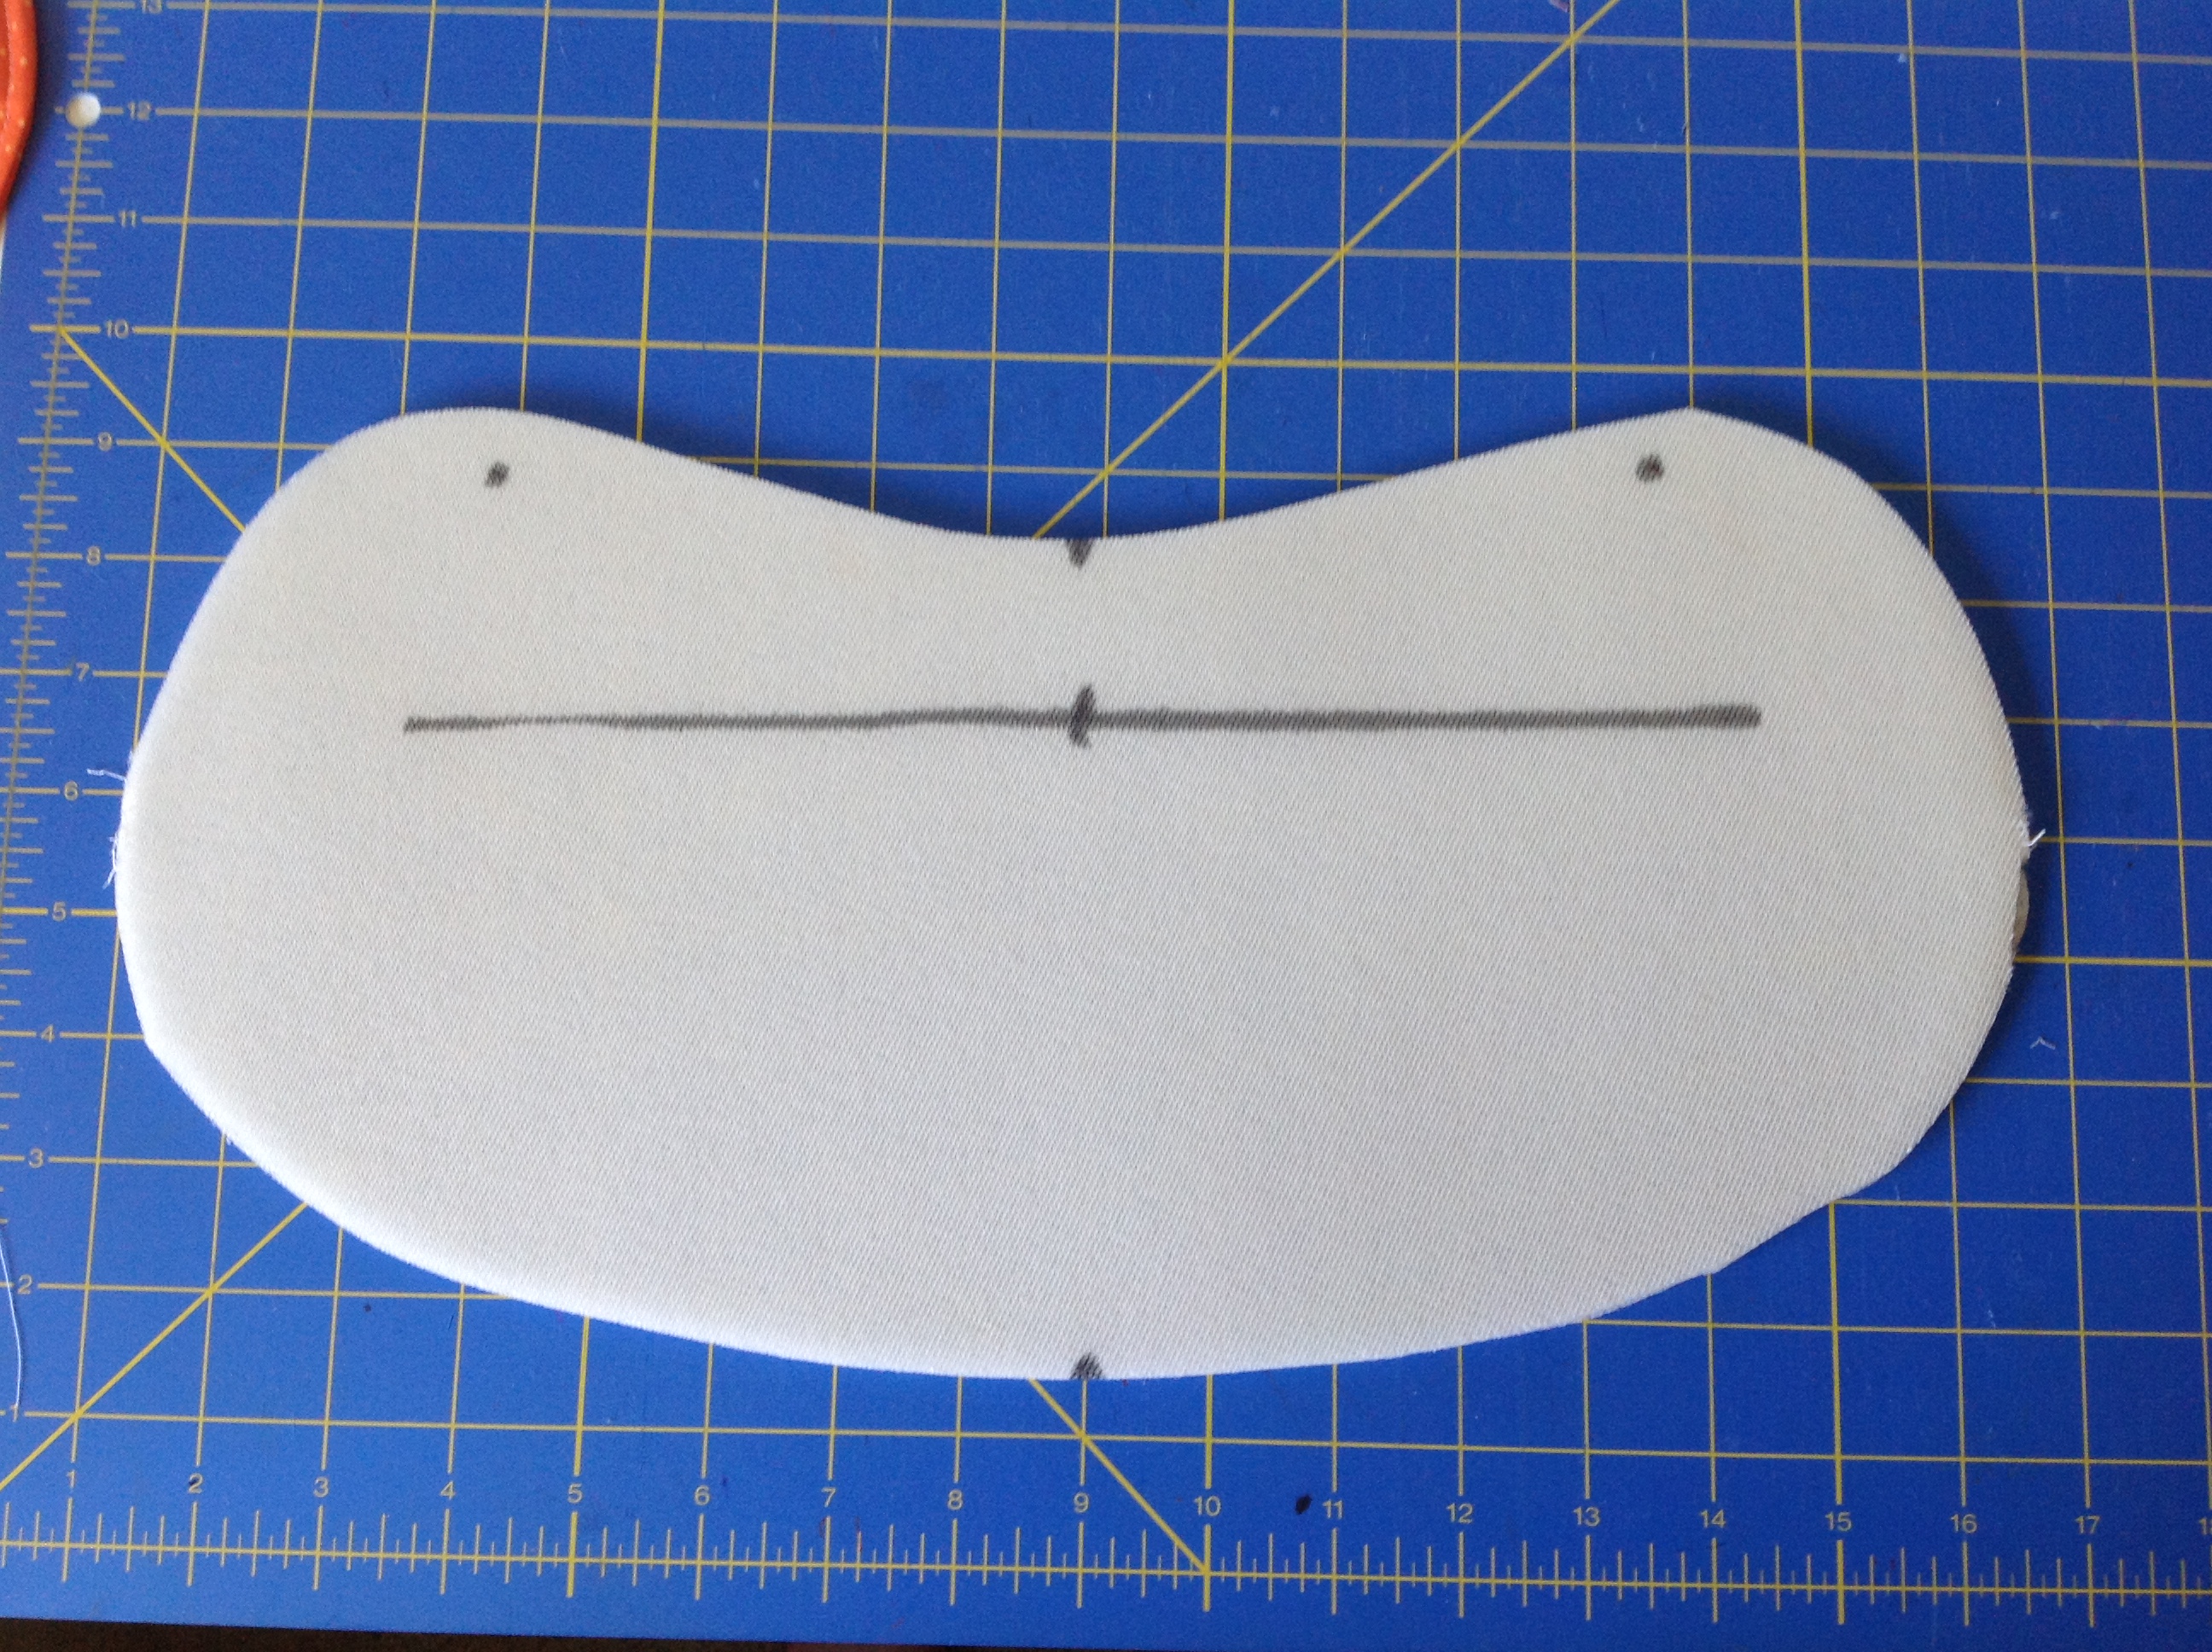
Body foam stabilizer with the marks from step 5. I have also marked my center points at the top and bottom edges so you can see them more easily.
Now, take one of the handles and figure out which of the two sides looks prettier – one usually does! The prettier side will be the right side and will face the outside of the bag. Place it, right (pretty) side down on the foam stabilizer so that the bottom edge sits on the horizontal line and the center points of both are lined up.
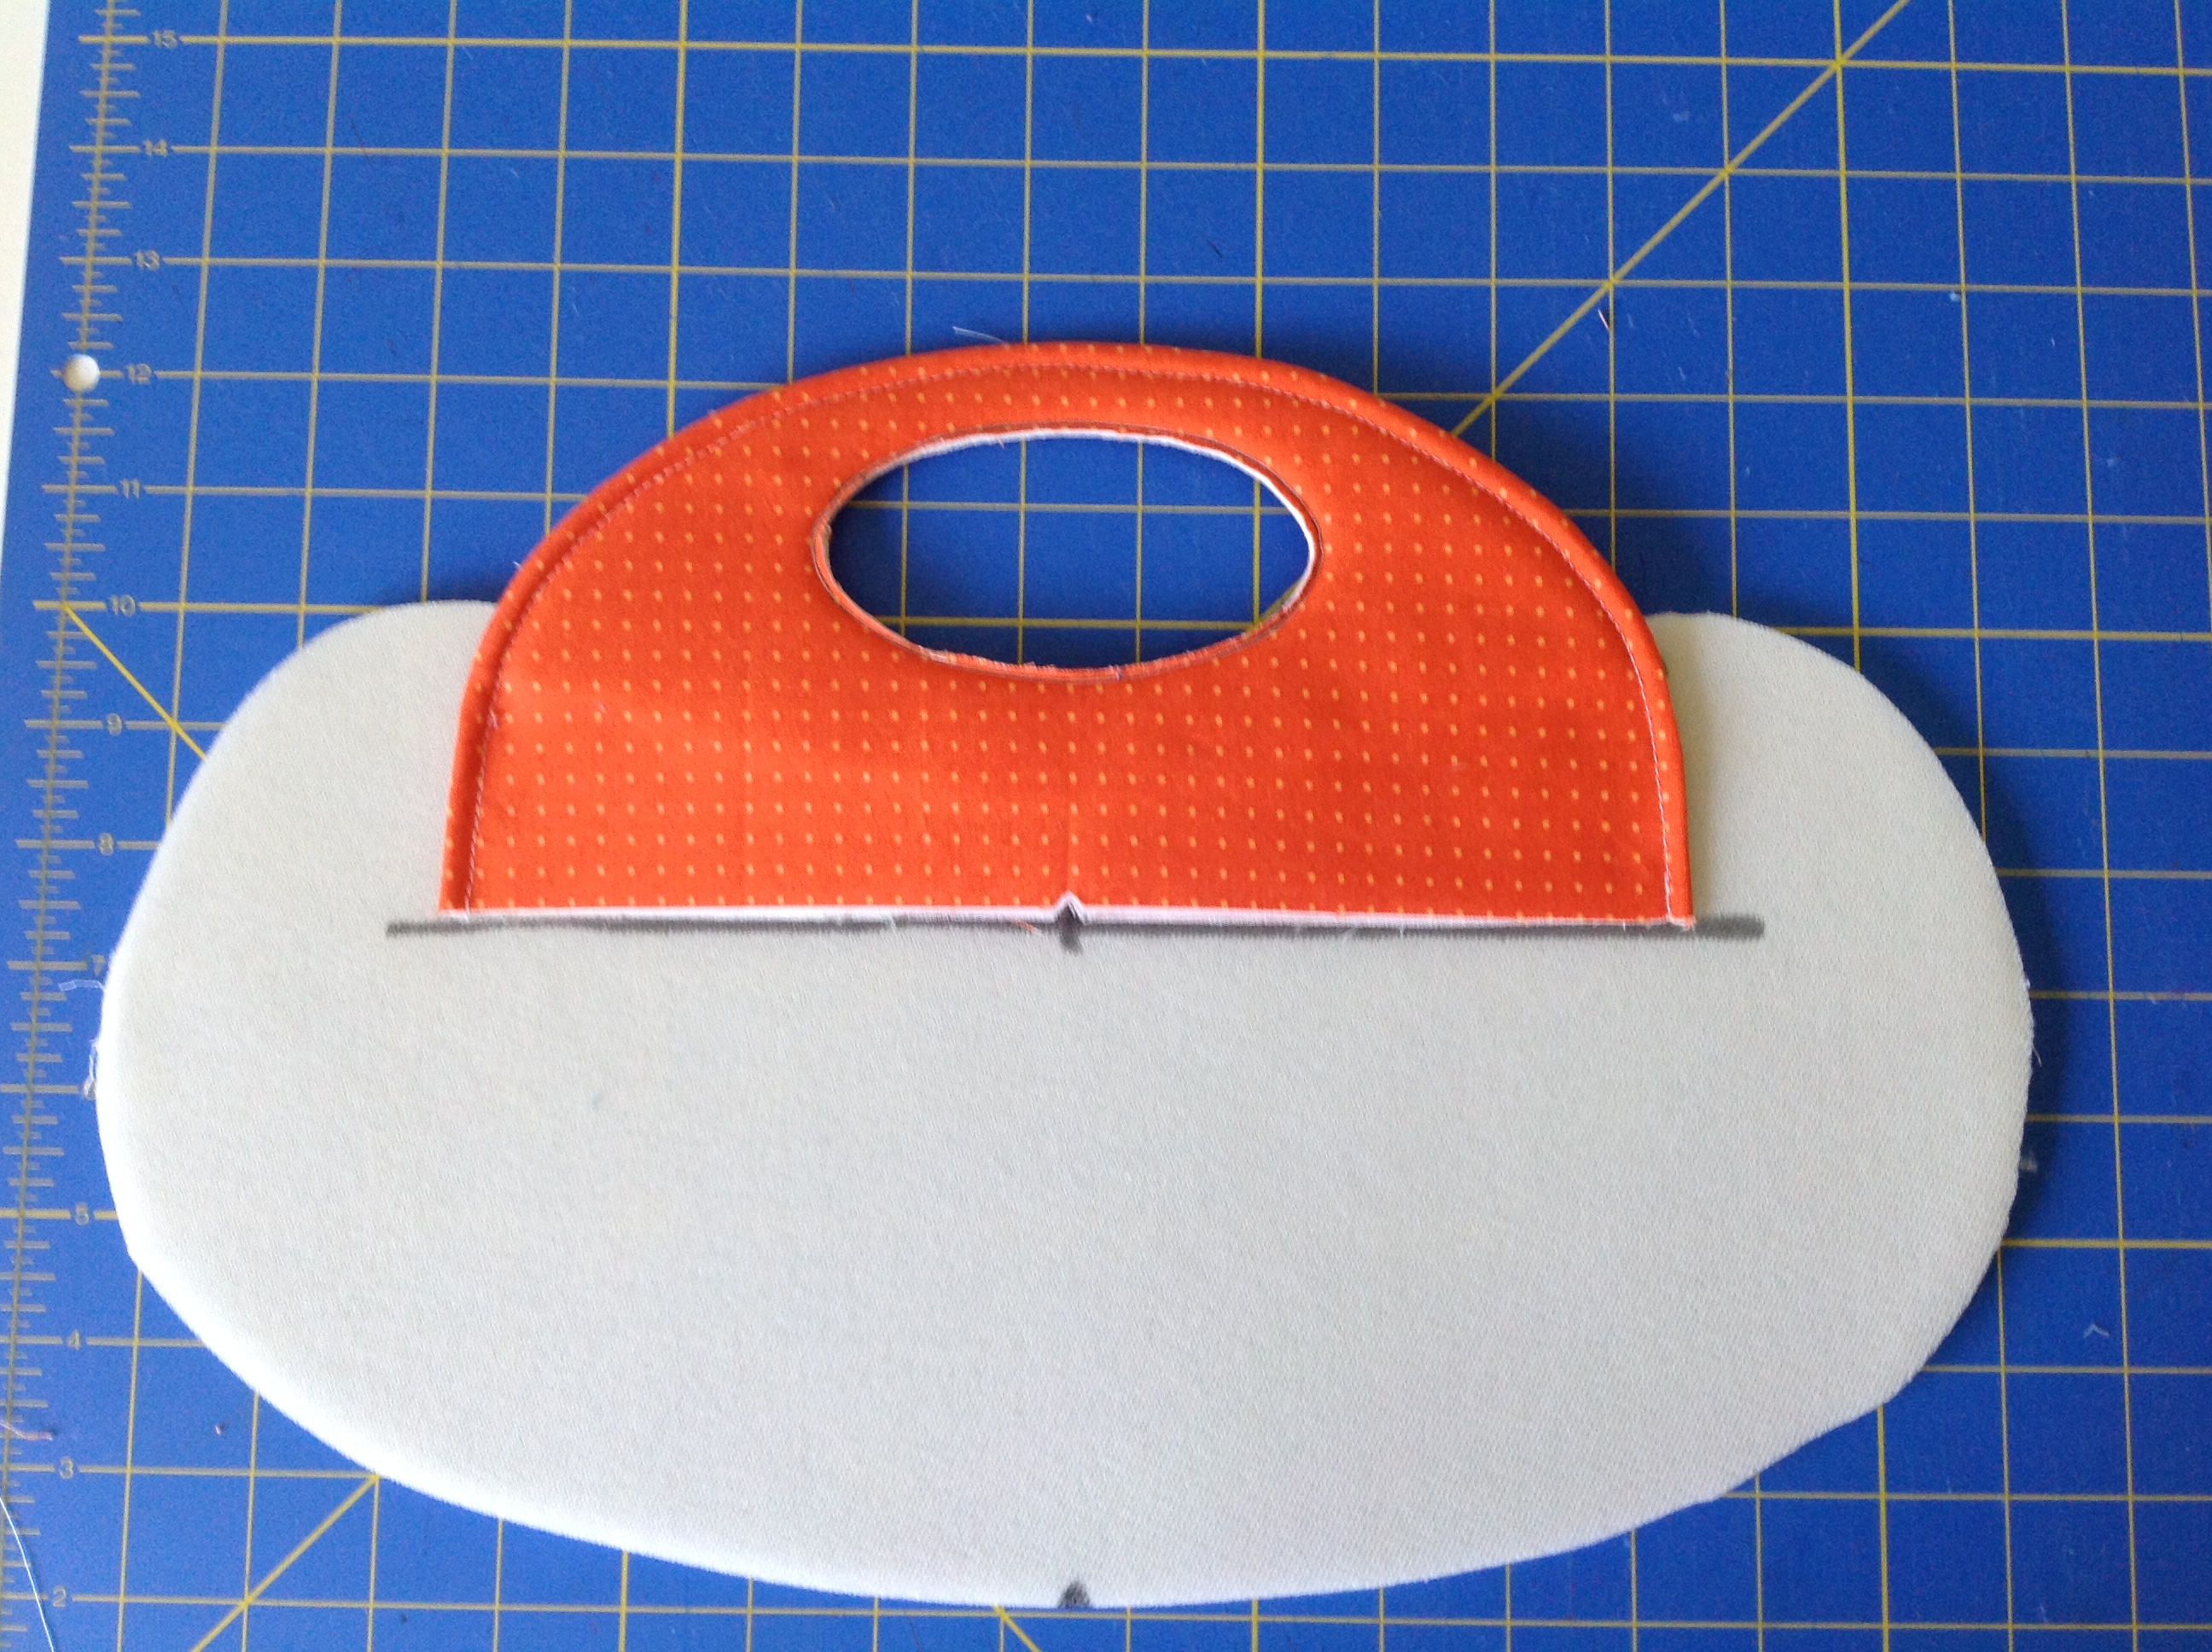
The right side of the handle is facing the table and the bottom edge is sitting on the line on the foam
Now mark on the foam stabilizer at each side of the handle from the top edge down to the dot.
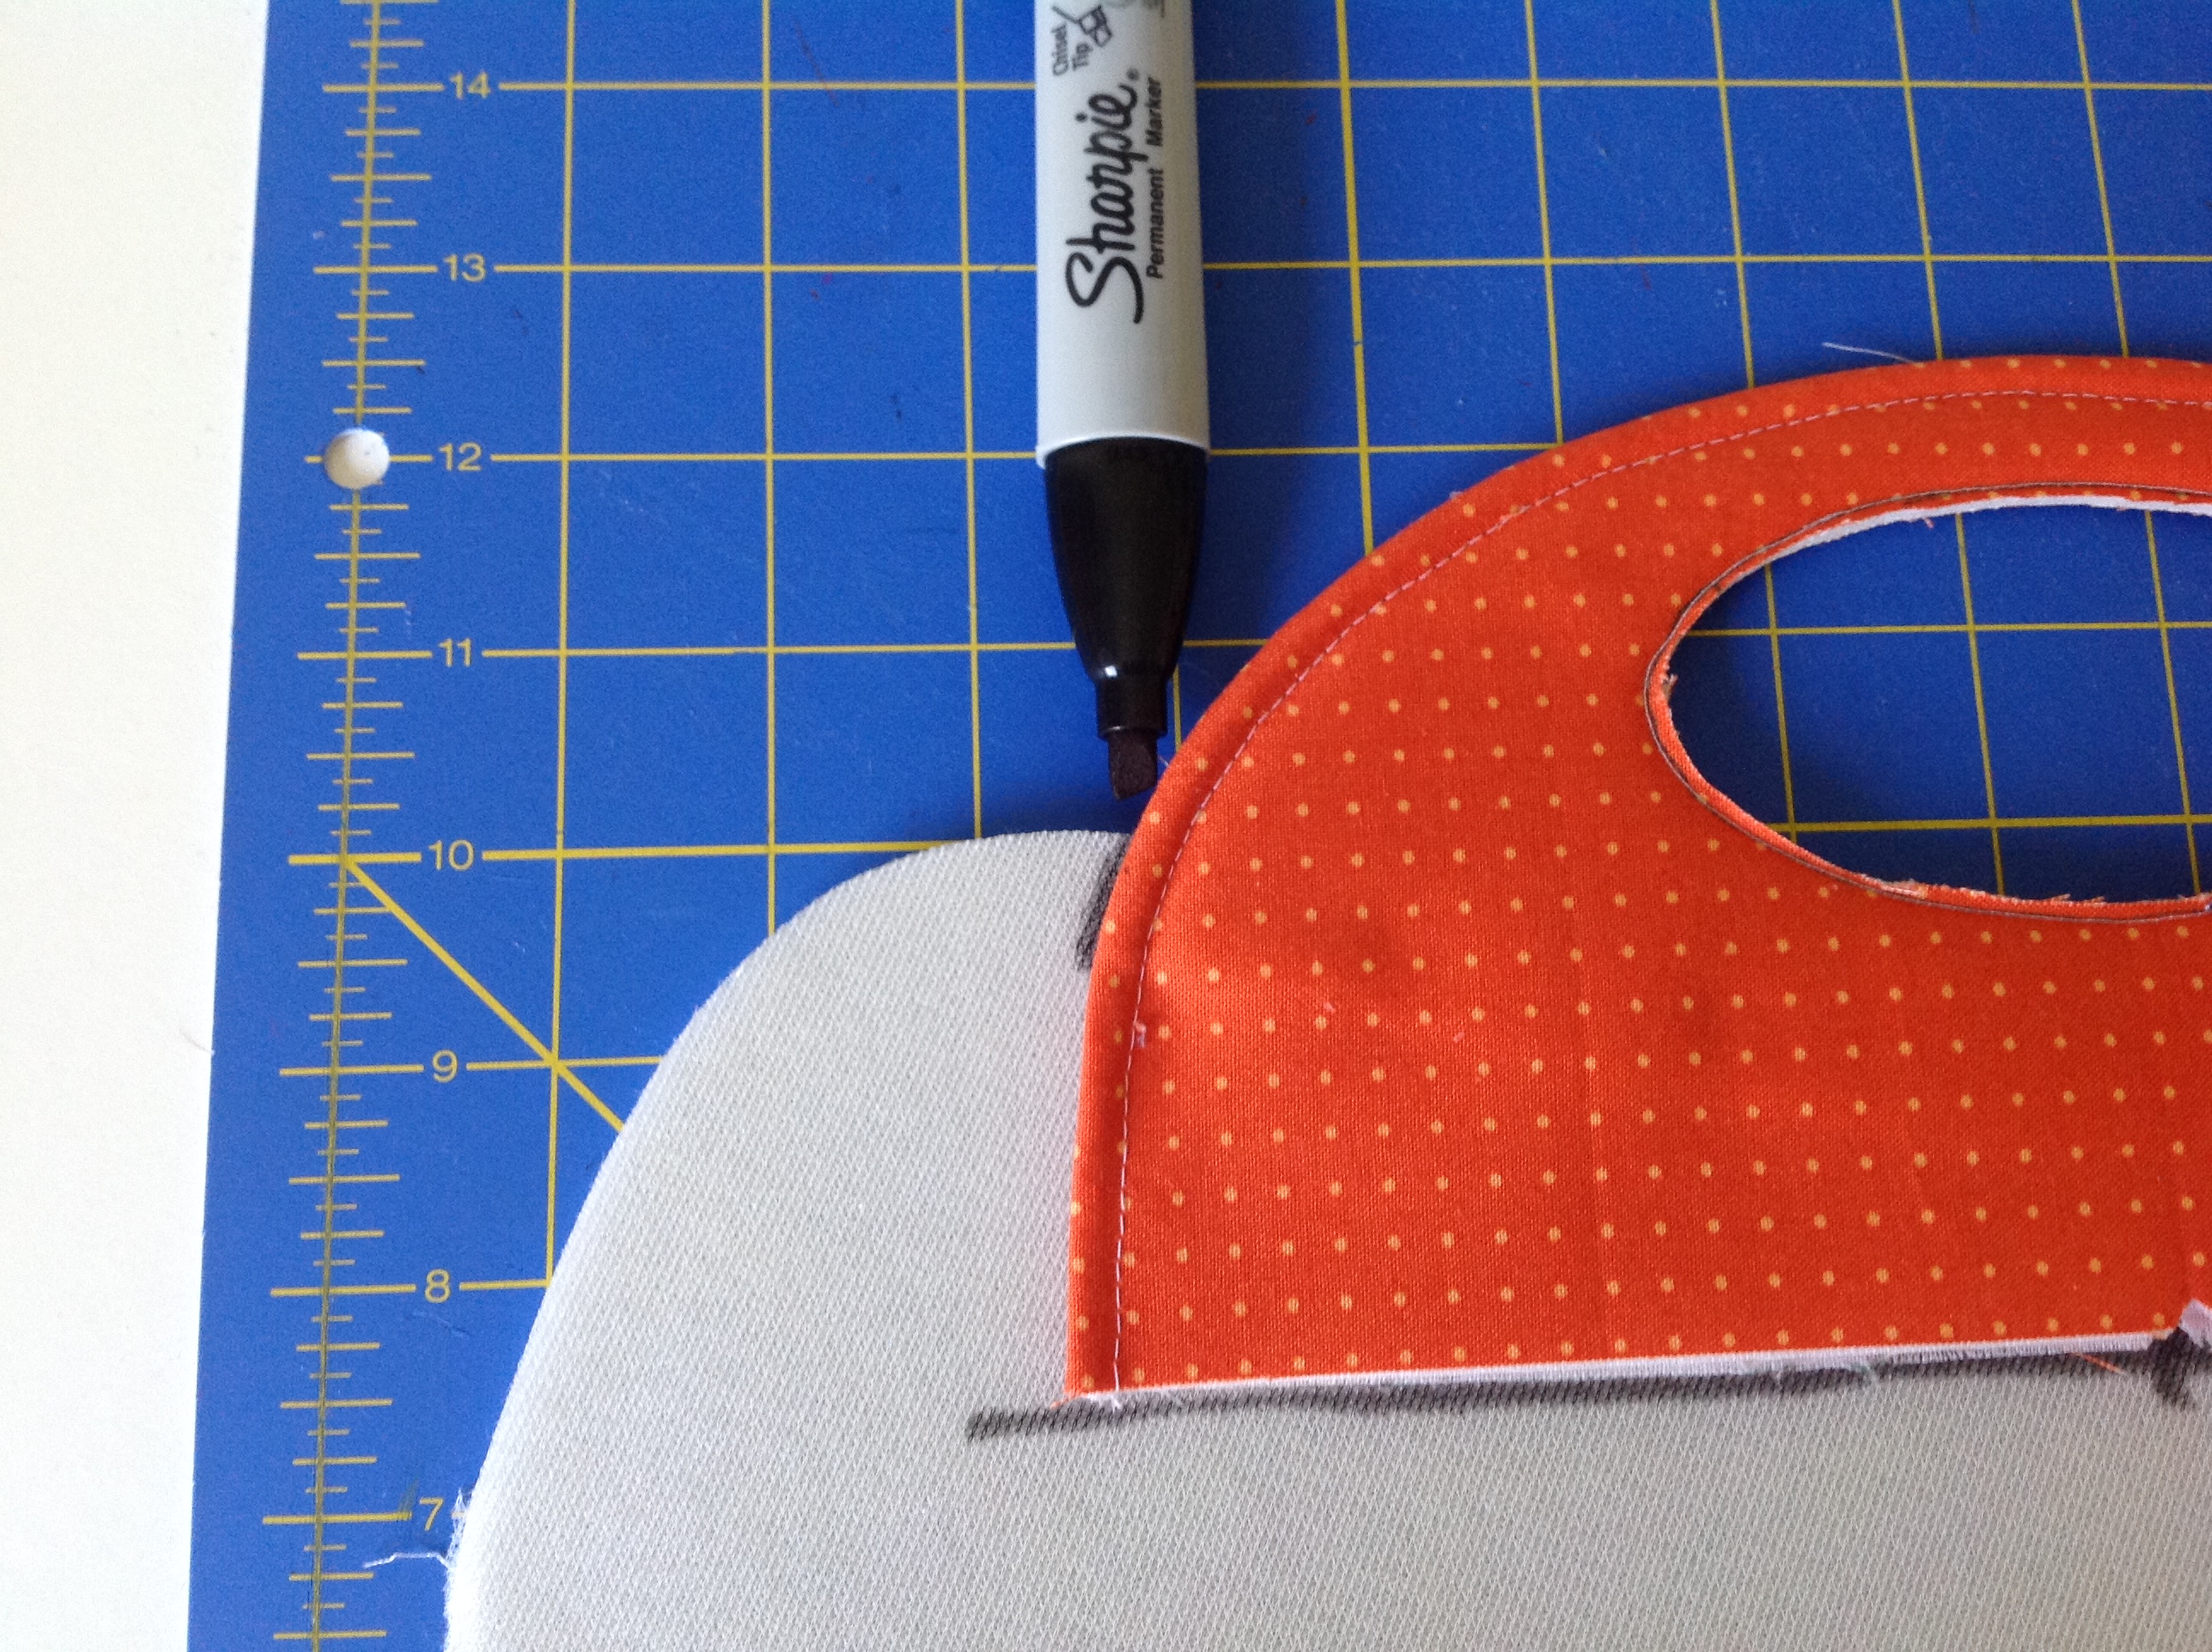
Mark each edge of the handle to the dot
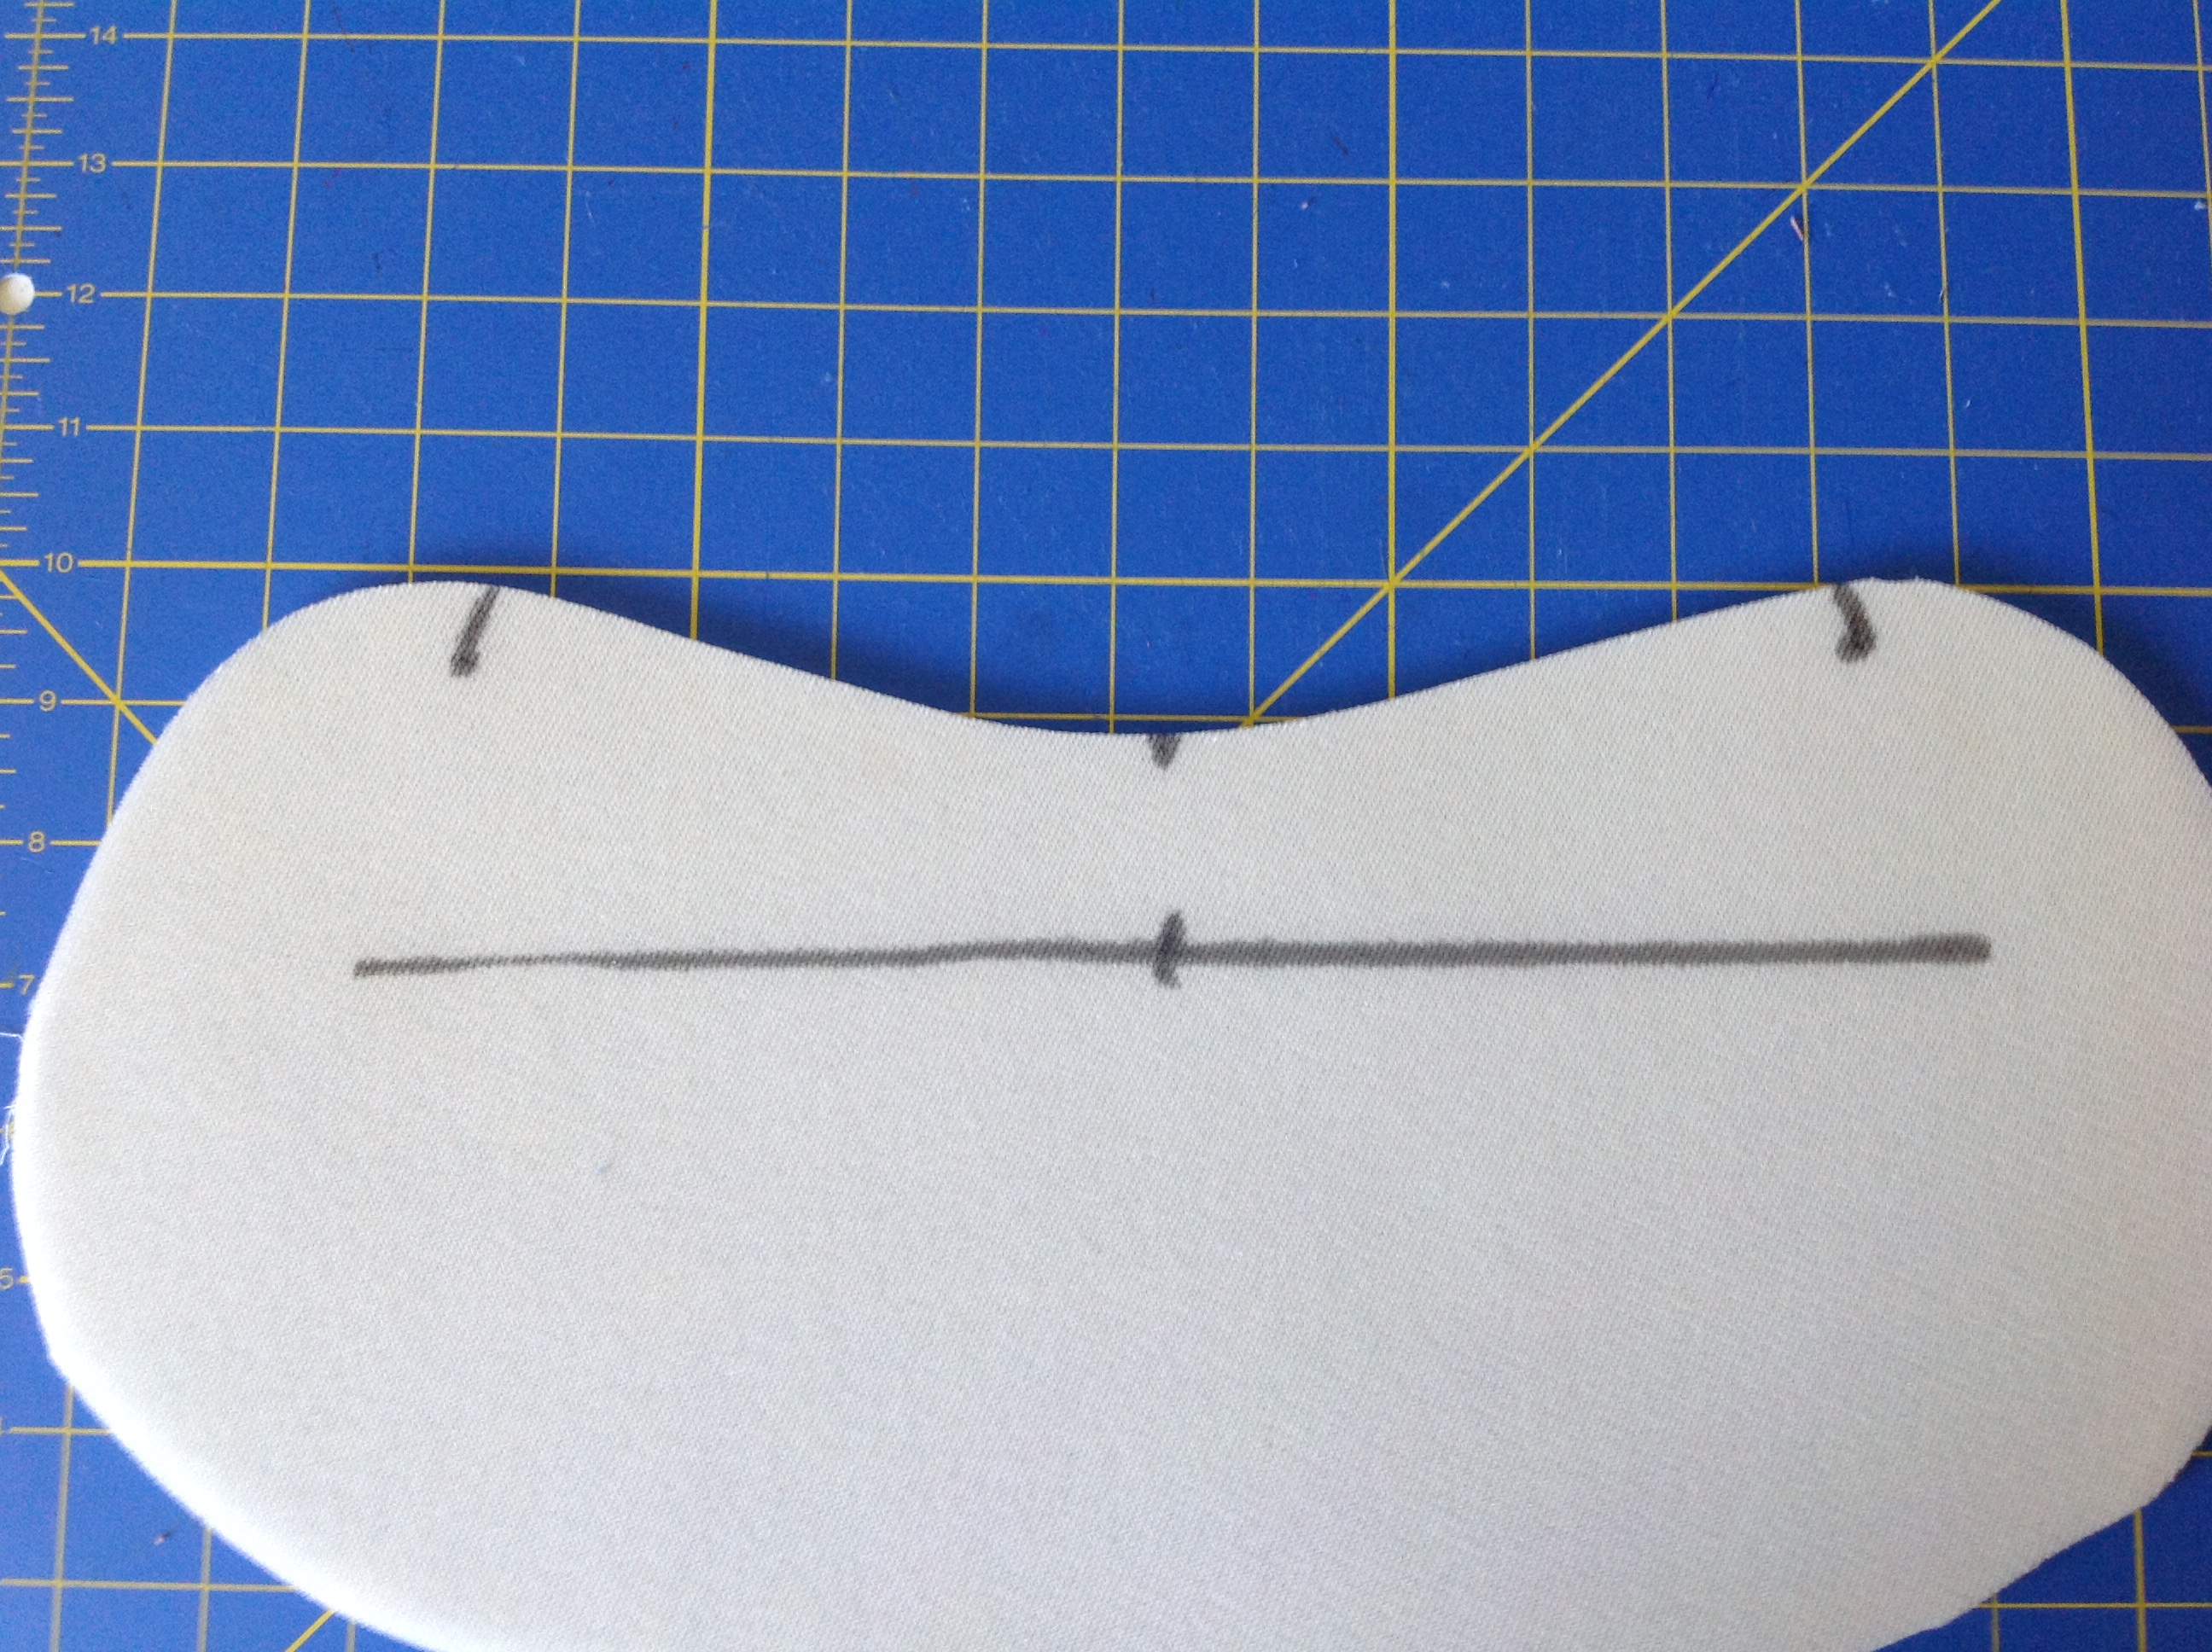
Cut along the lines you just drew. Make sure you stop cutting at the dot.
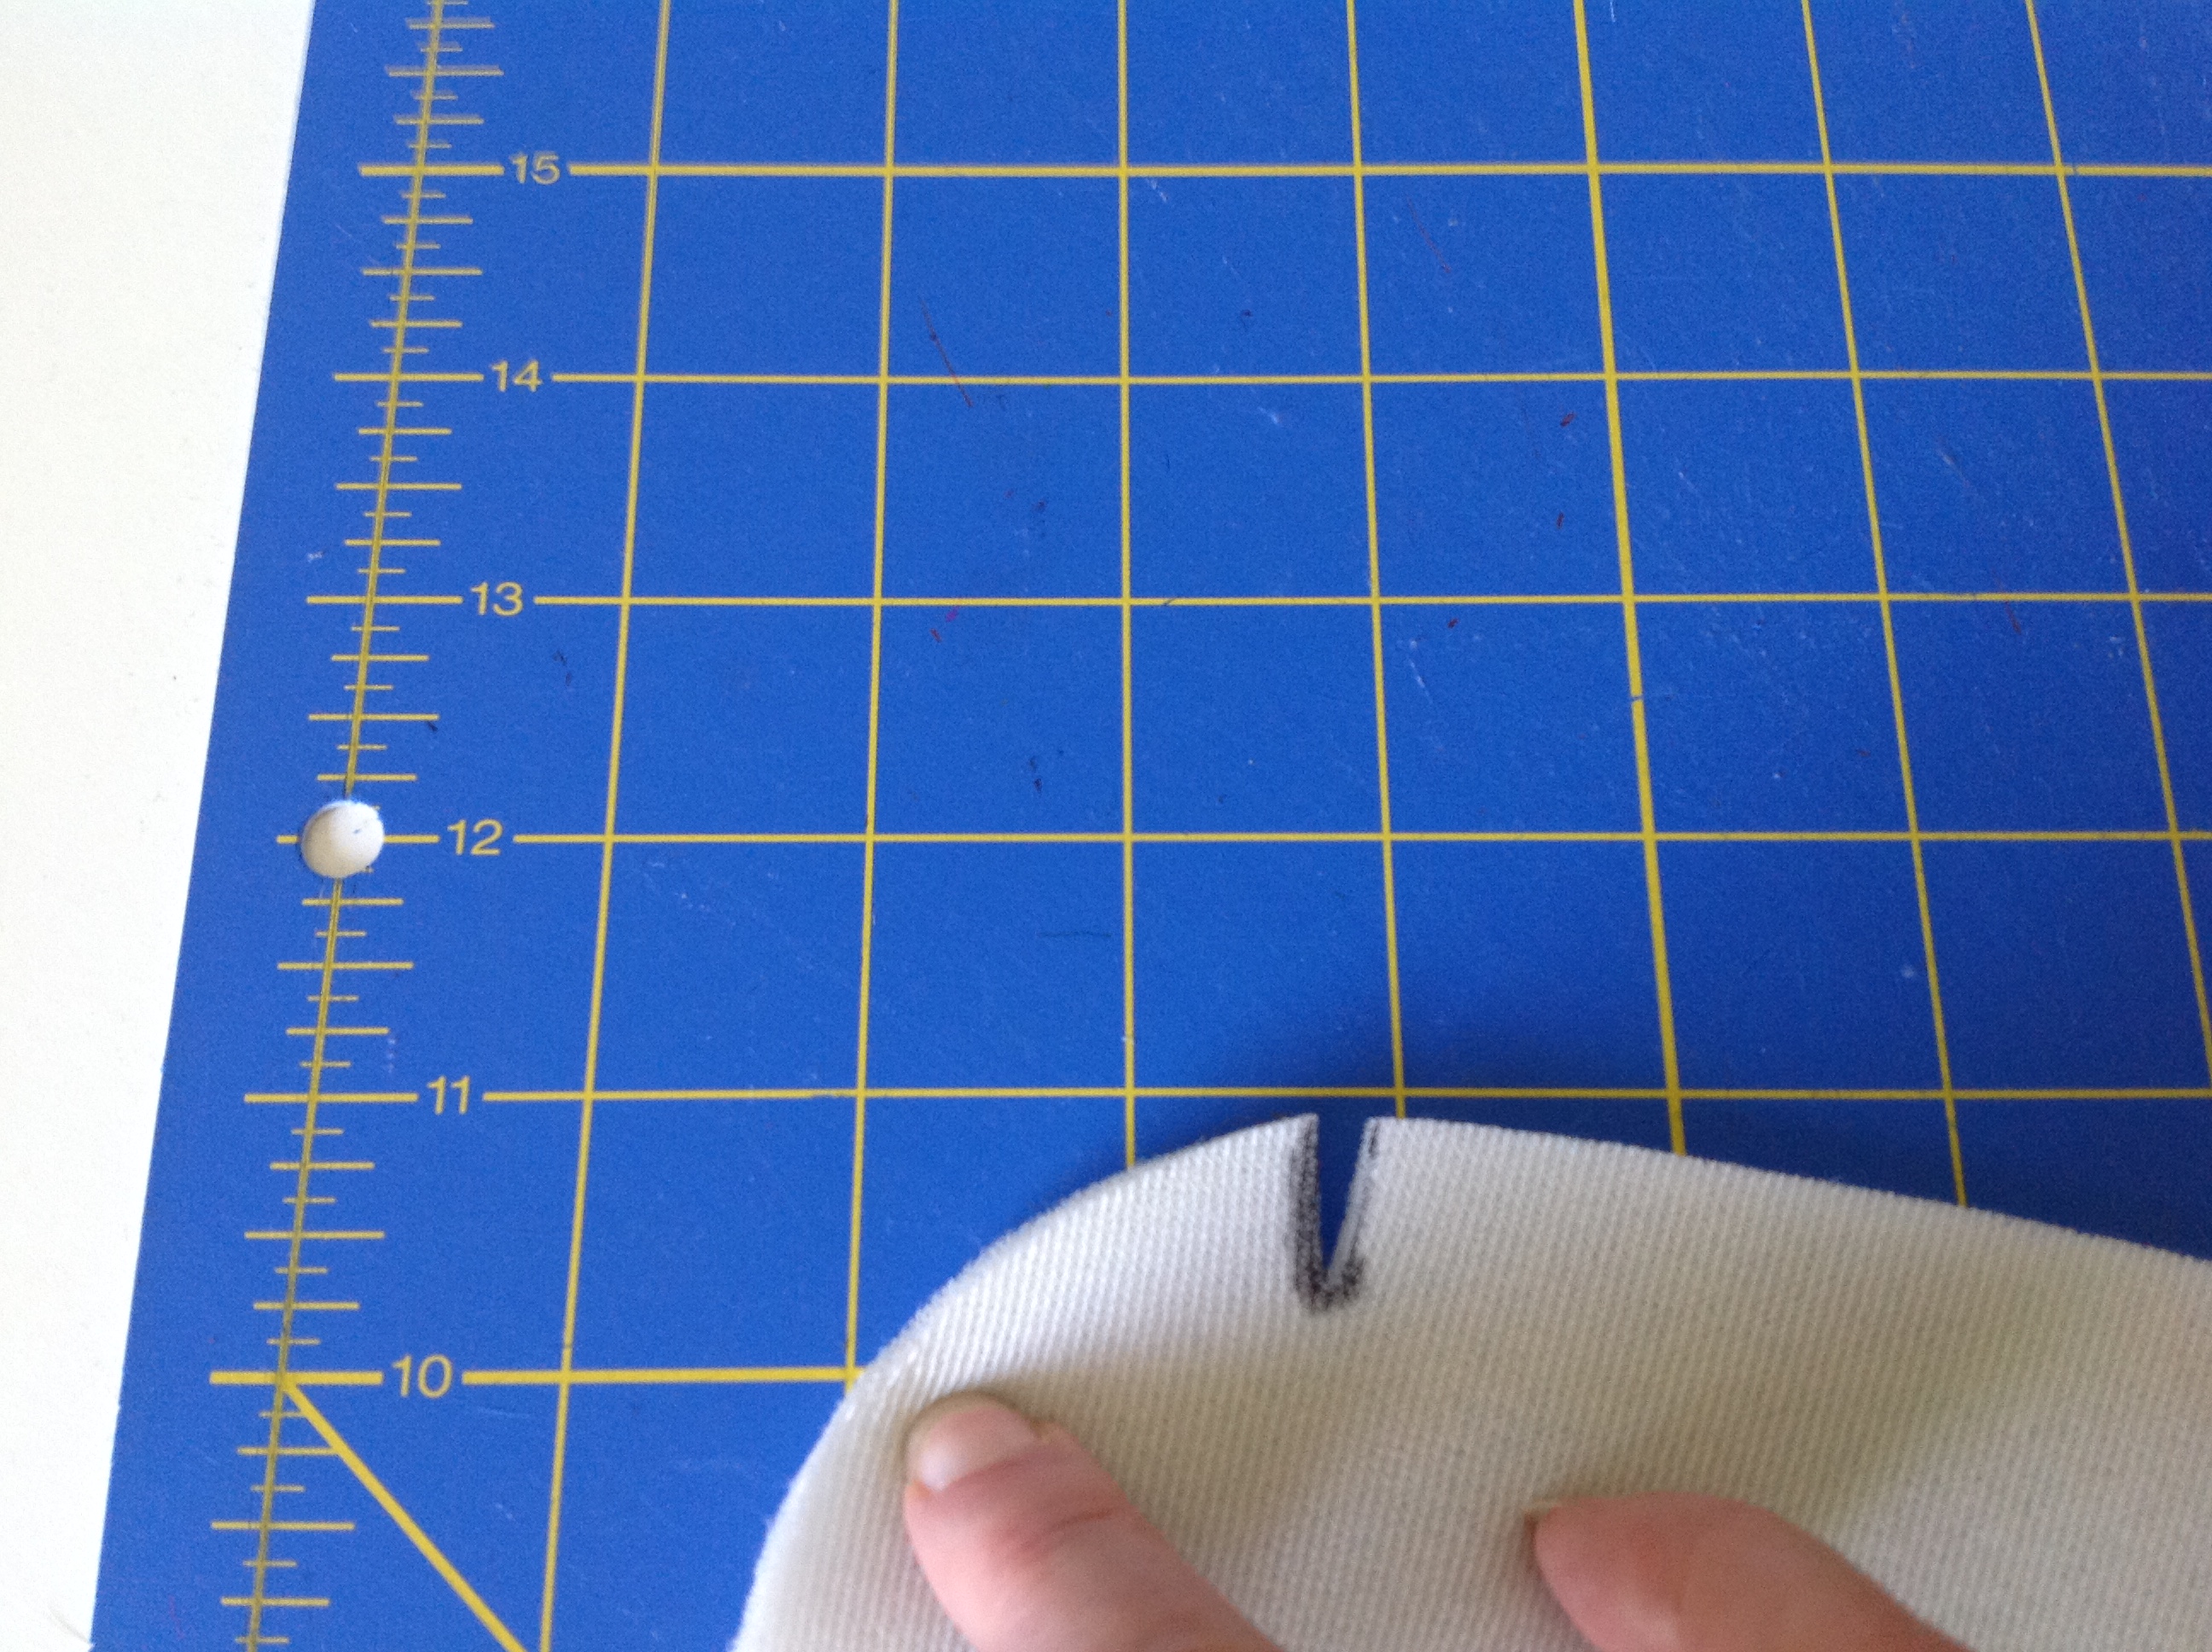
cut to the dot
So, now this foam stabilizer piece is perfectly marked to fit this particular handle. It’s a good idea, if you are going to step away from working on this for awhile, to make some sort of common mark on these pieces so you know that they go together.
Get one of the fabric body pieces and lay it right side up on your work surface. Lay the foam stabilizer on top so that the marks are facing the fabric. 
If you can’t see the snips, you might just go over them with a pen on this side.

Make sure your foam and fabric are aligned, then cut into the fabric along the snips. Be sure not to cut any deeper than the depth of the snips on the foam.
cut the fabric along the same lines as the foam stabilizer
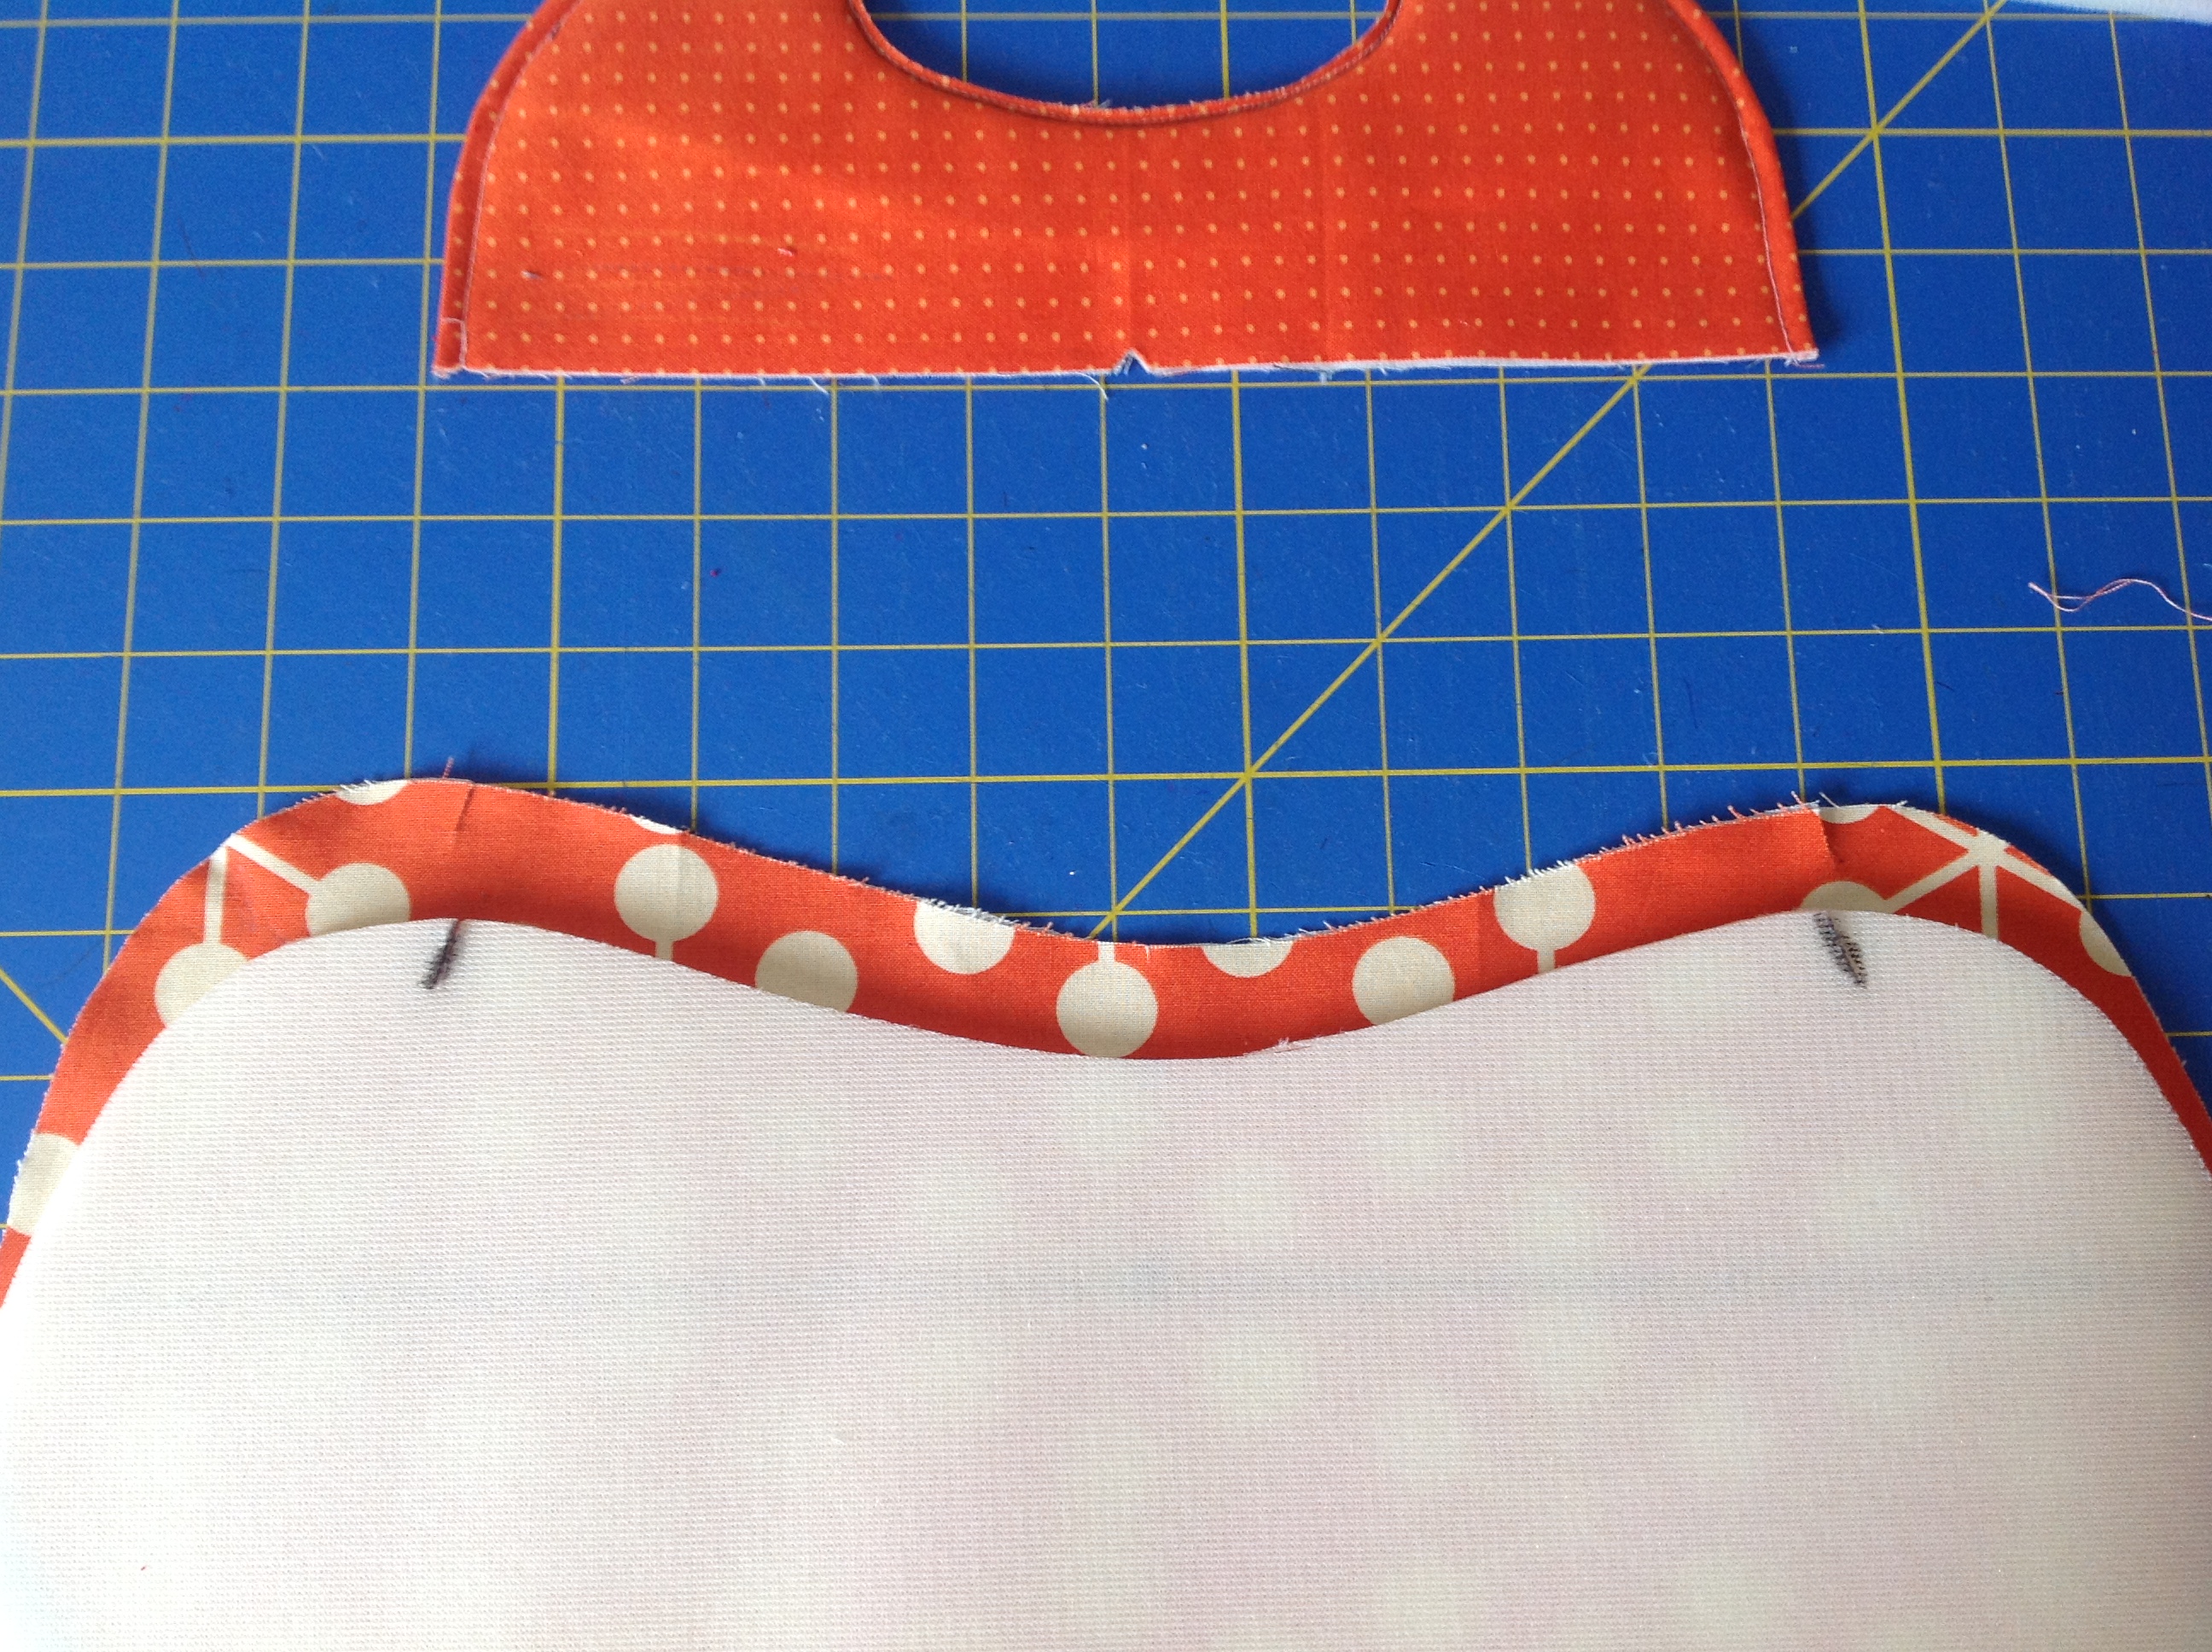
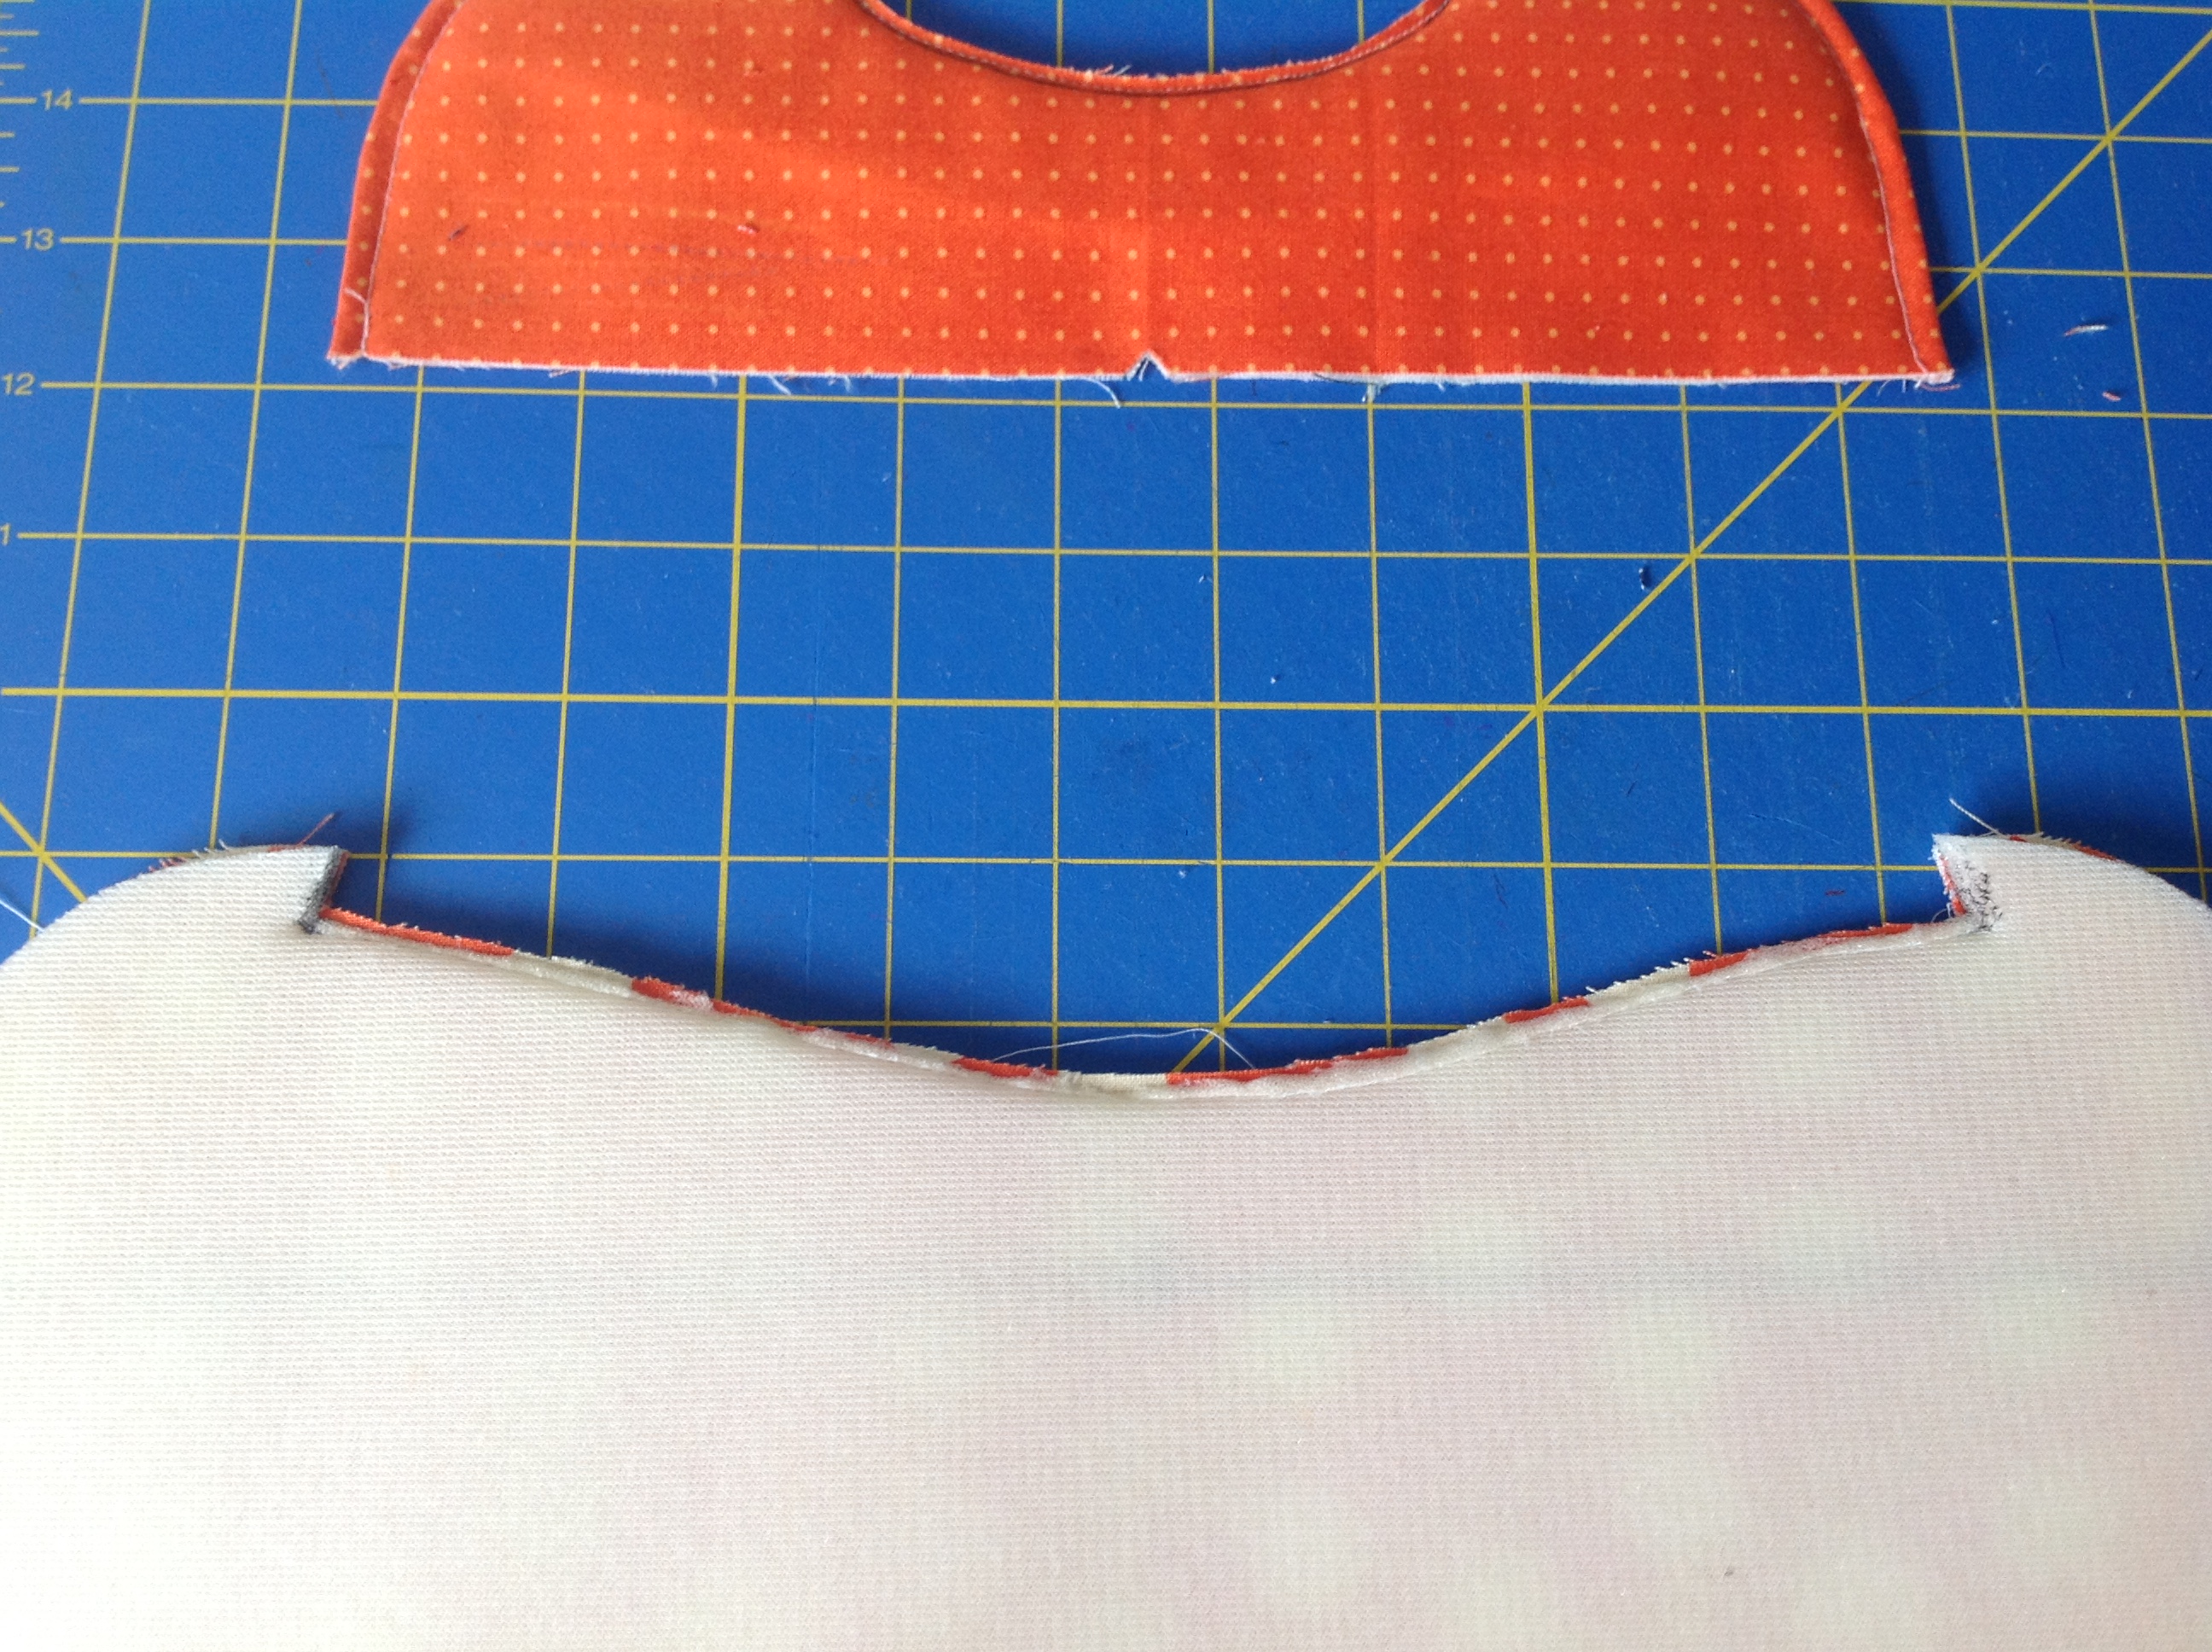
Take the pieces to the sewing machine and stitch between the snips using a 1/2″ seam allowance.
stitch between the snips using a 1/2″ seam allowance
Now trim the foam away above the seam line. Cut it as short as you can without cutting into any of the stitches.
Trim away the fabric about 1/8″ above the seam line.
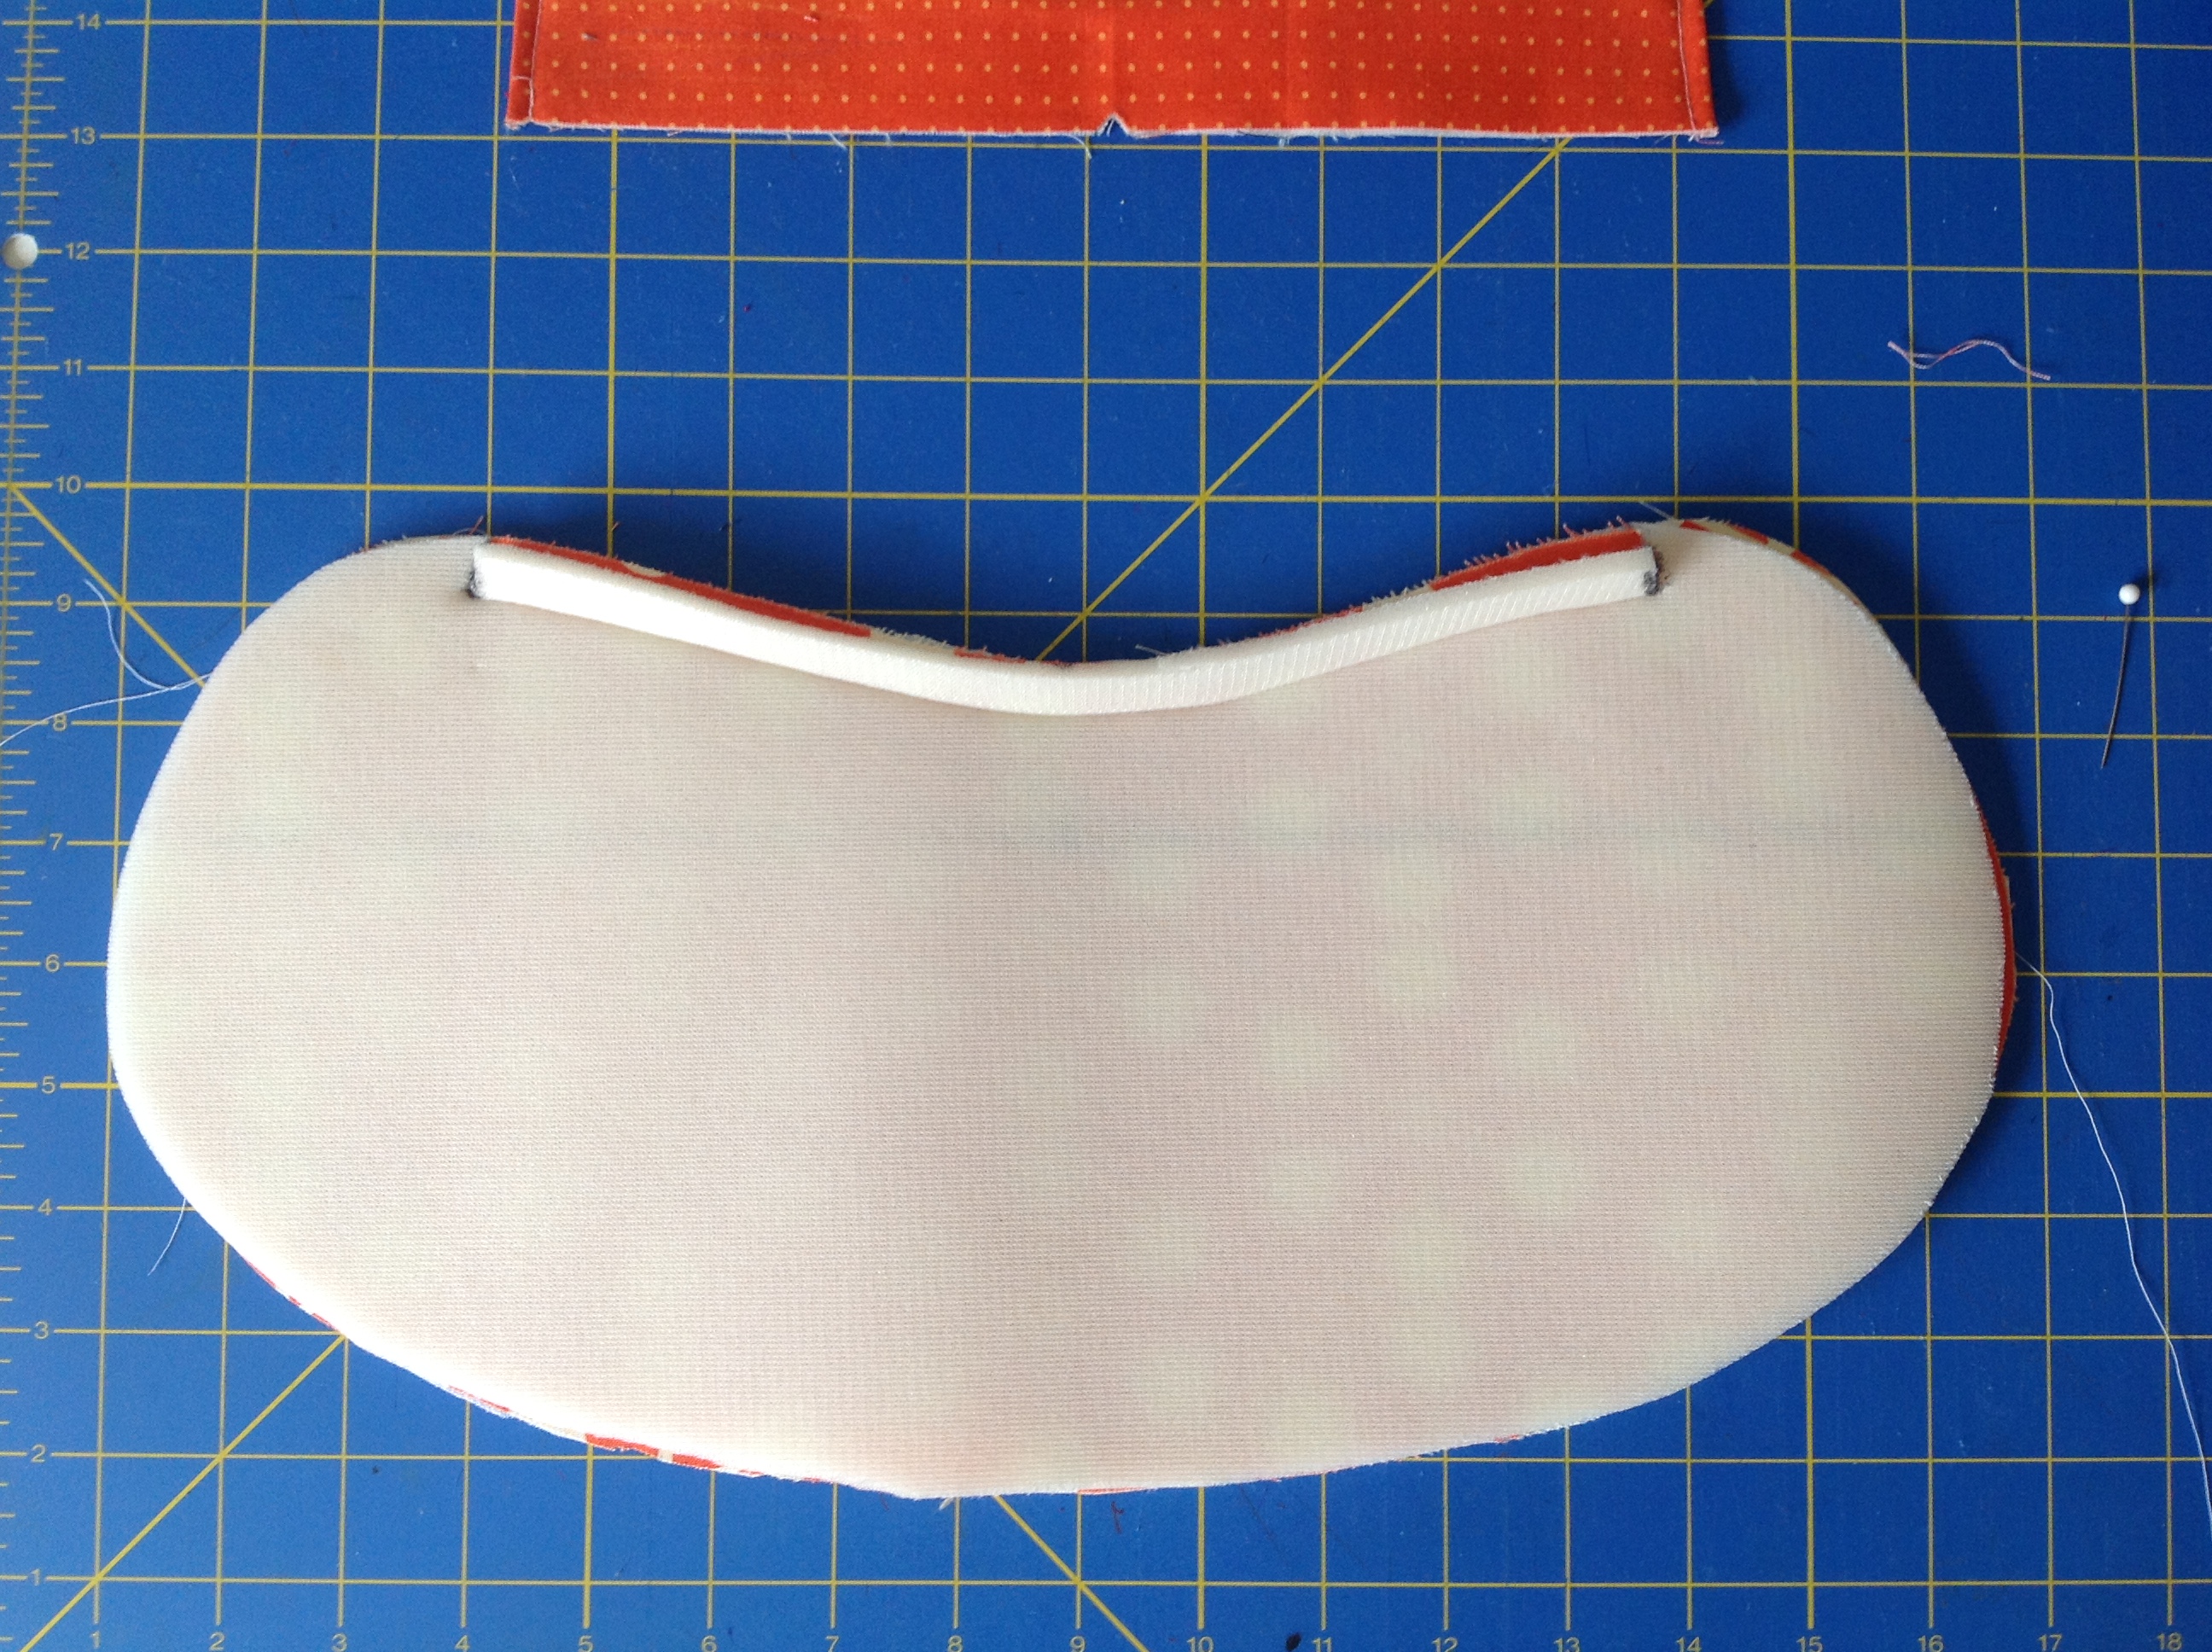
Turn the foam to the wrong side of the fabric panel. Go to your iron and press this seam. Press it so that the fabric is ever so slightly rolled to the wrong side so that you won’t see any foam peeking over the top edge.
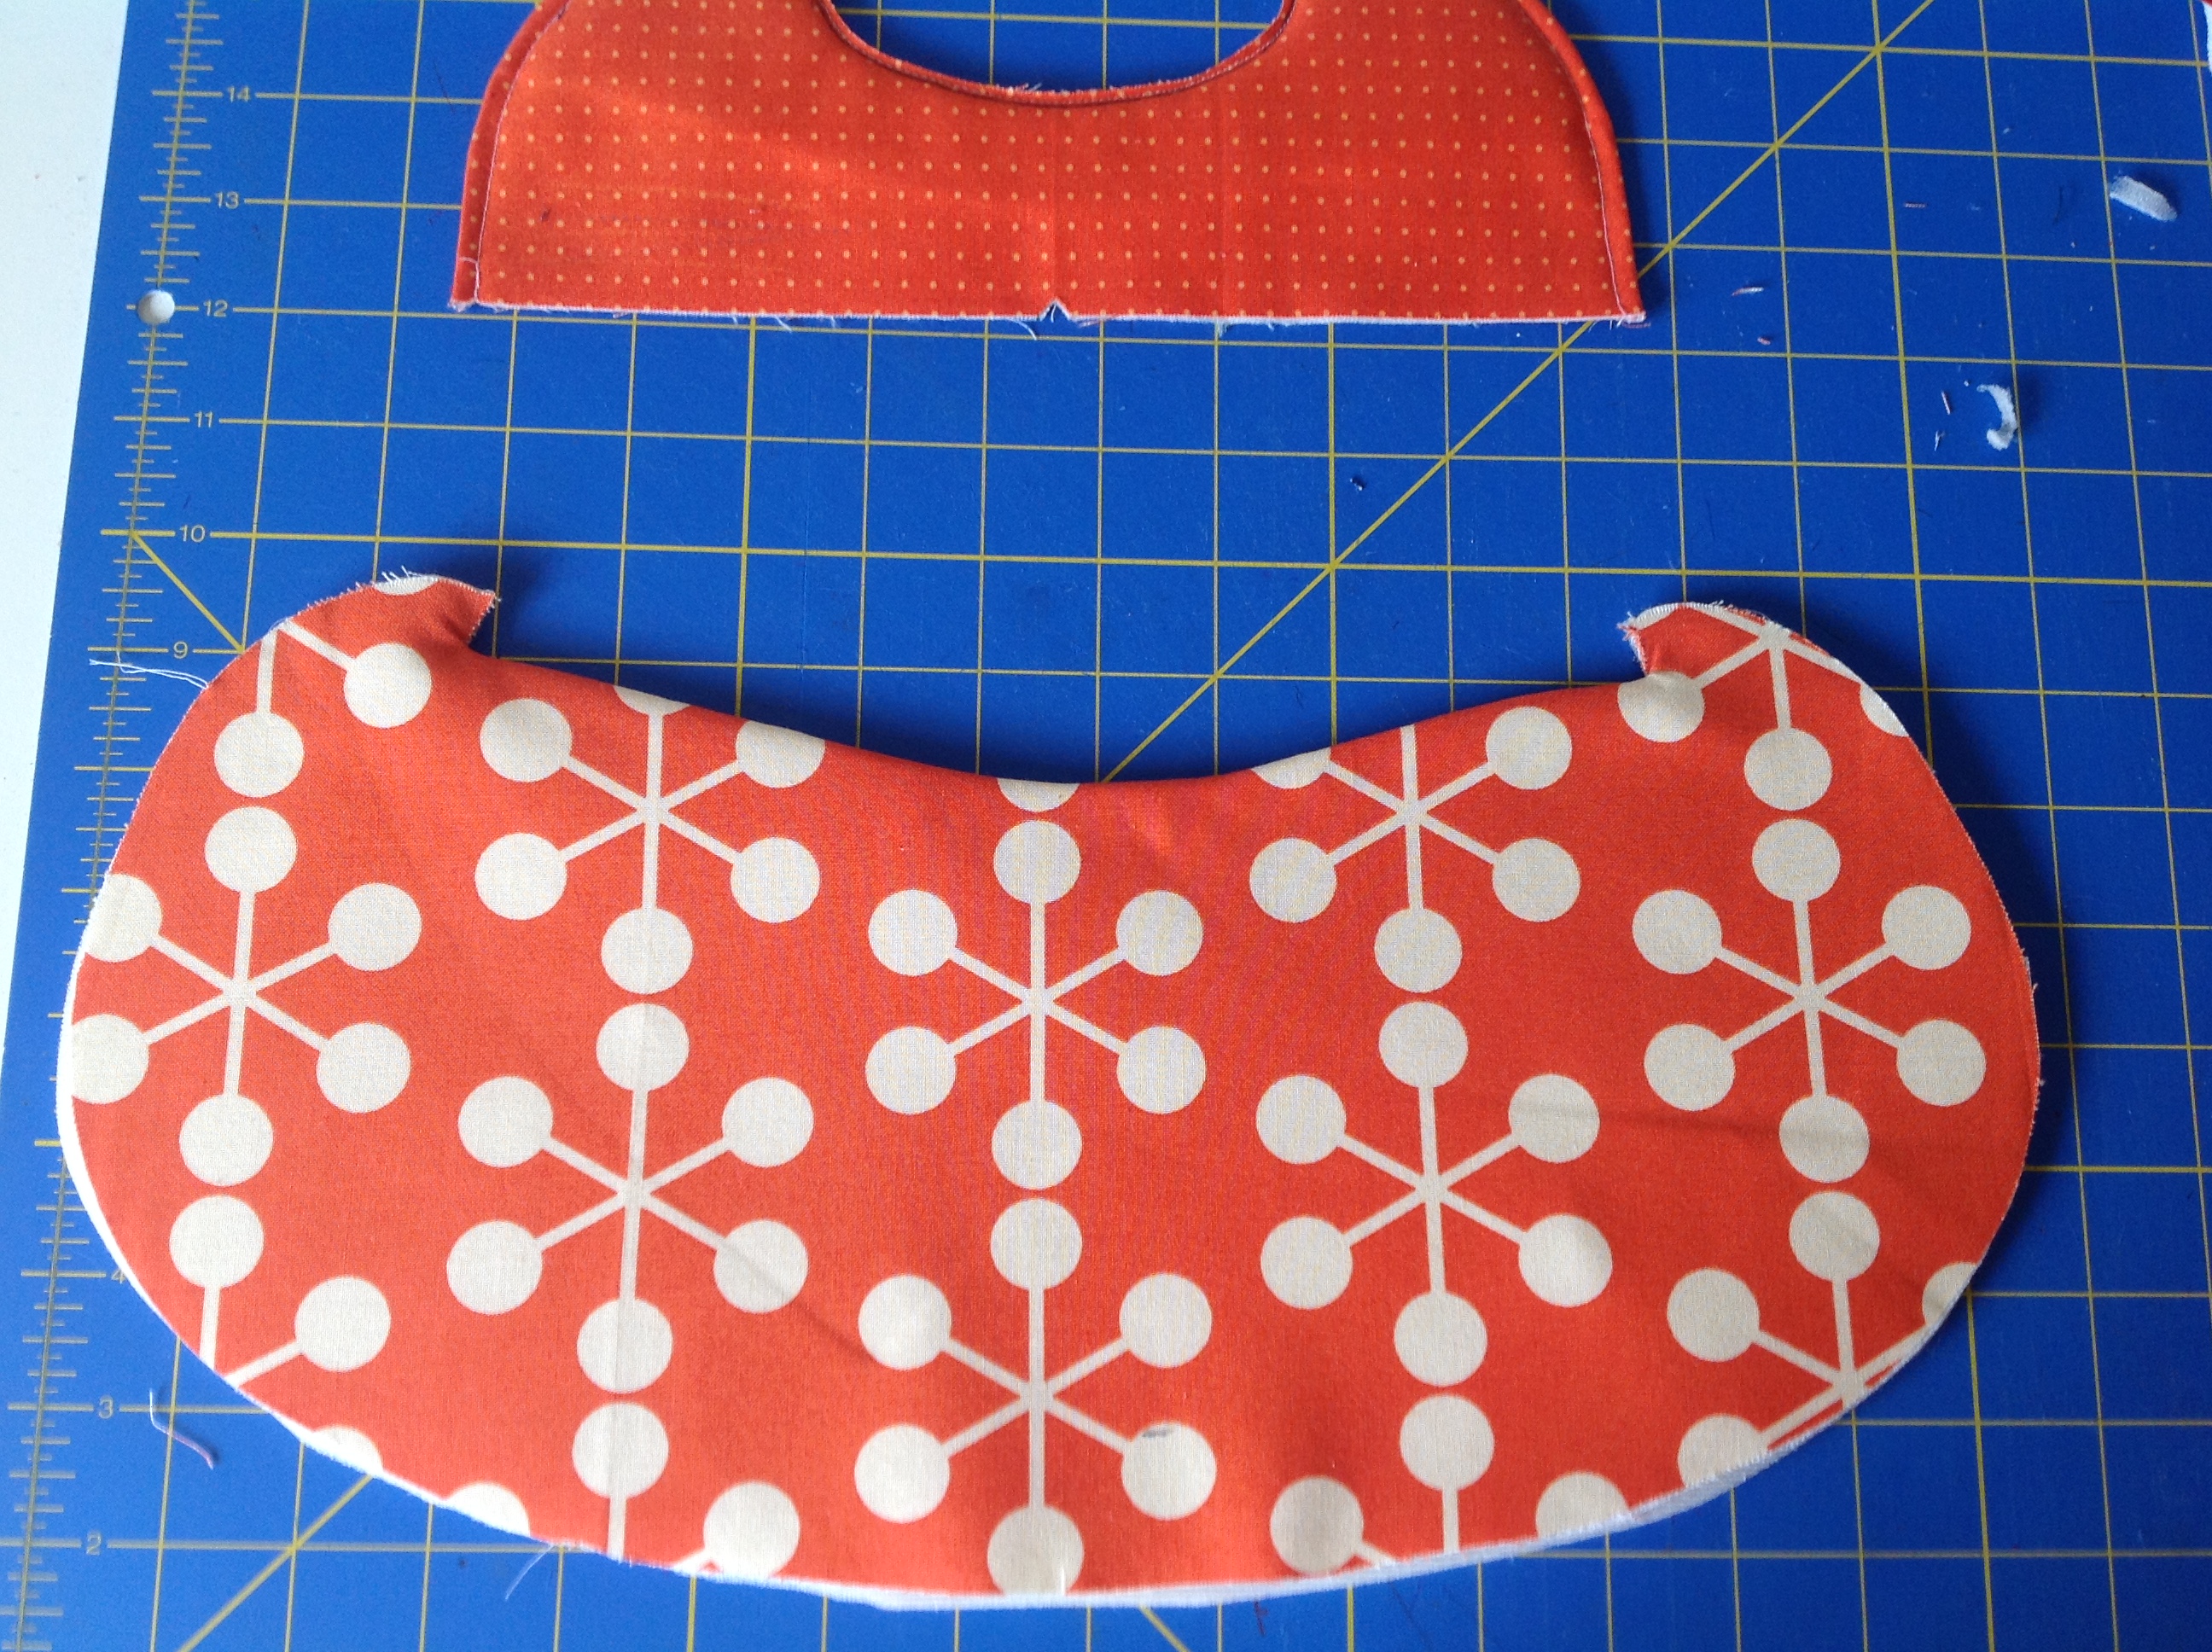
turn the foam to the wrong side of the fabric panel
press so that the fabric rolls slightly to the foam side
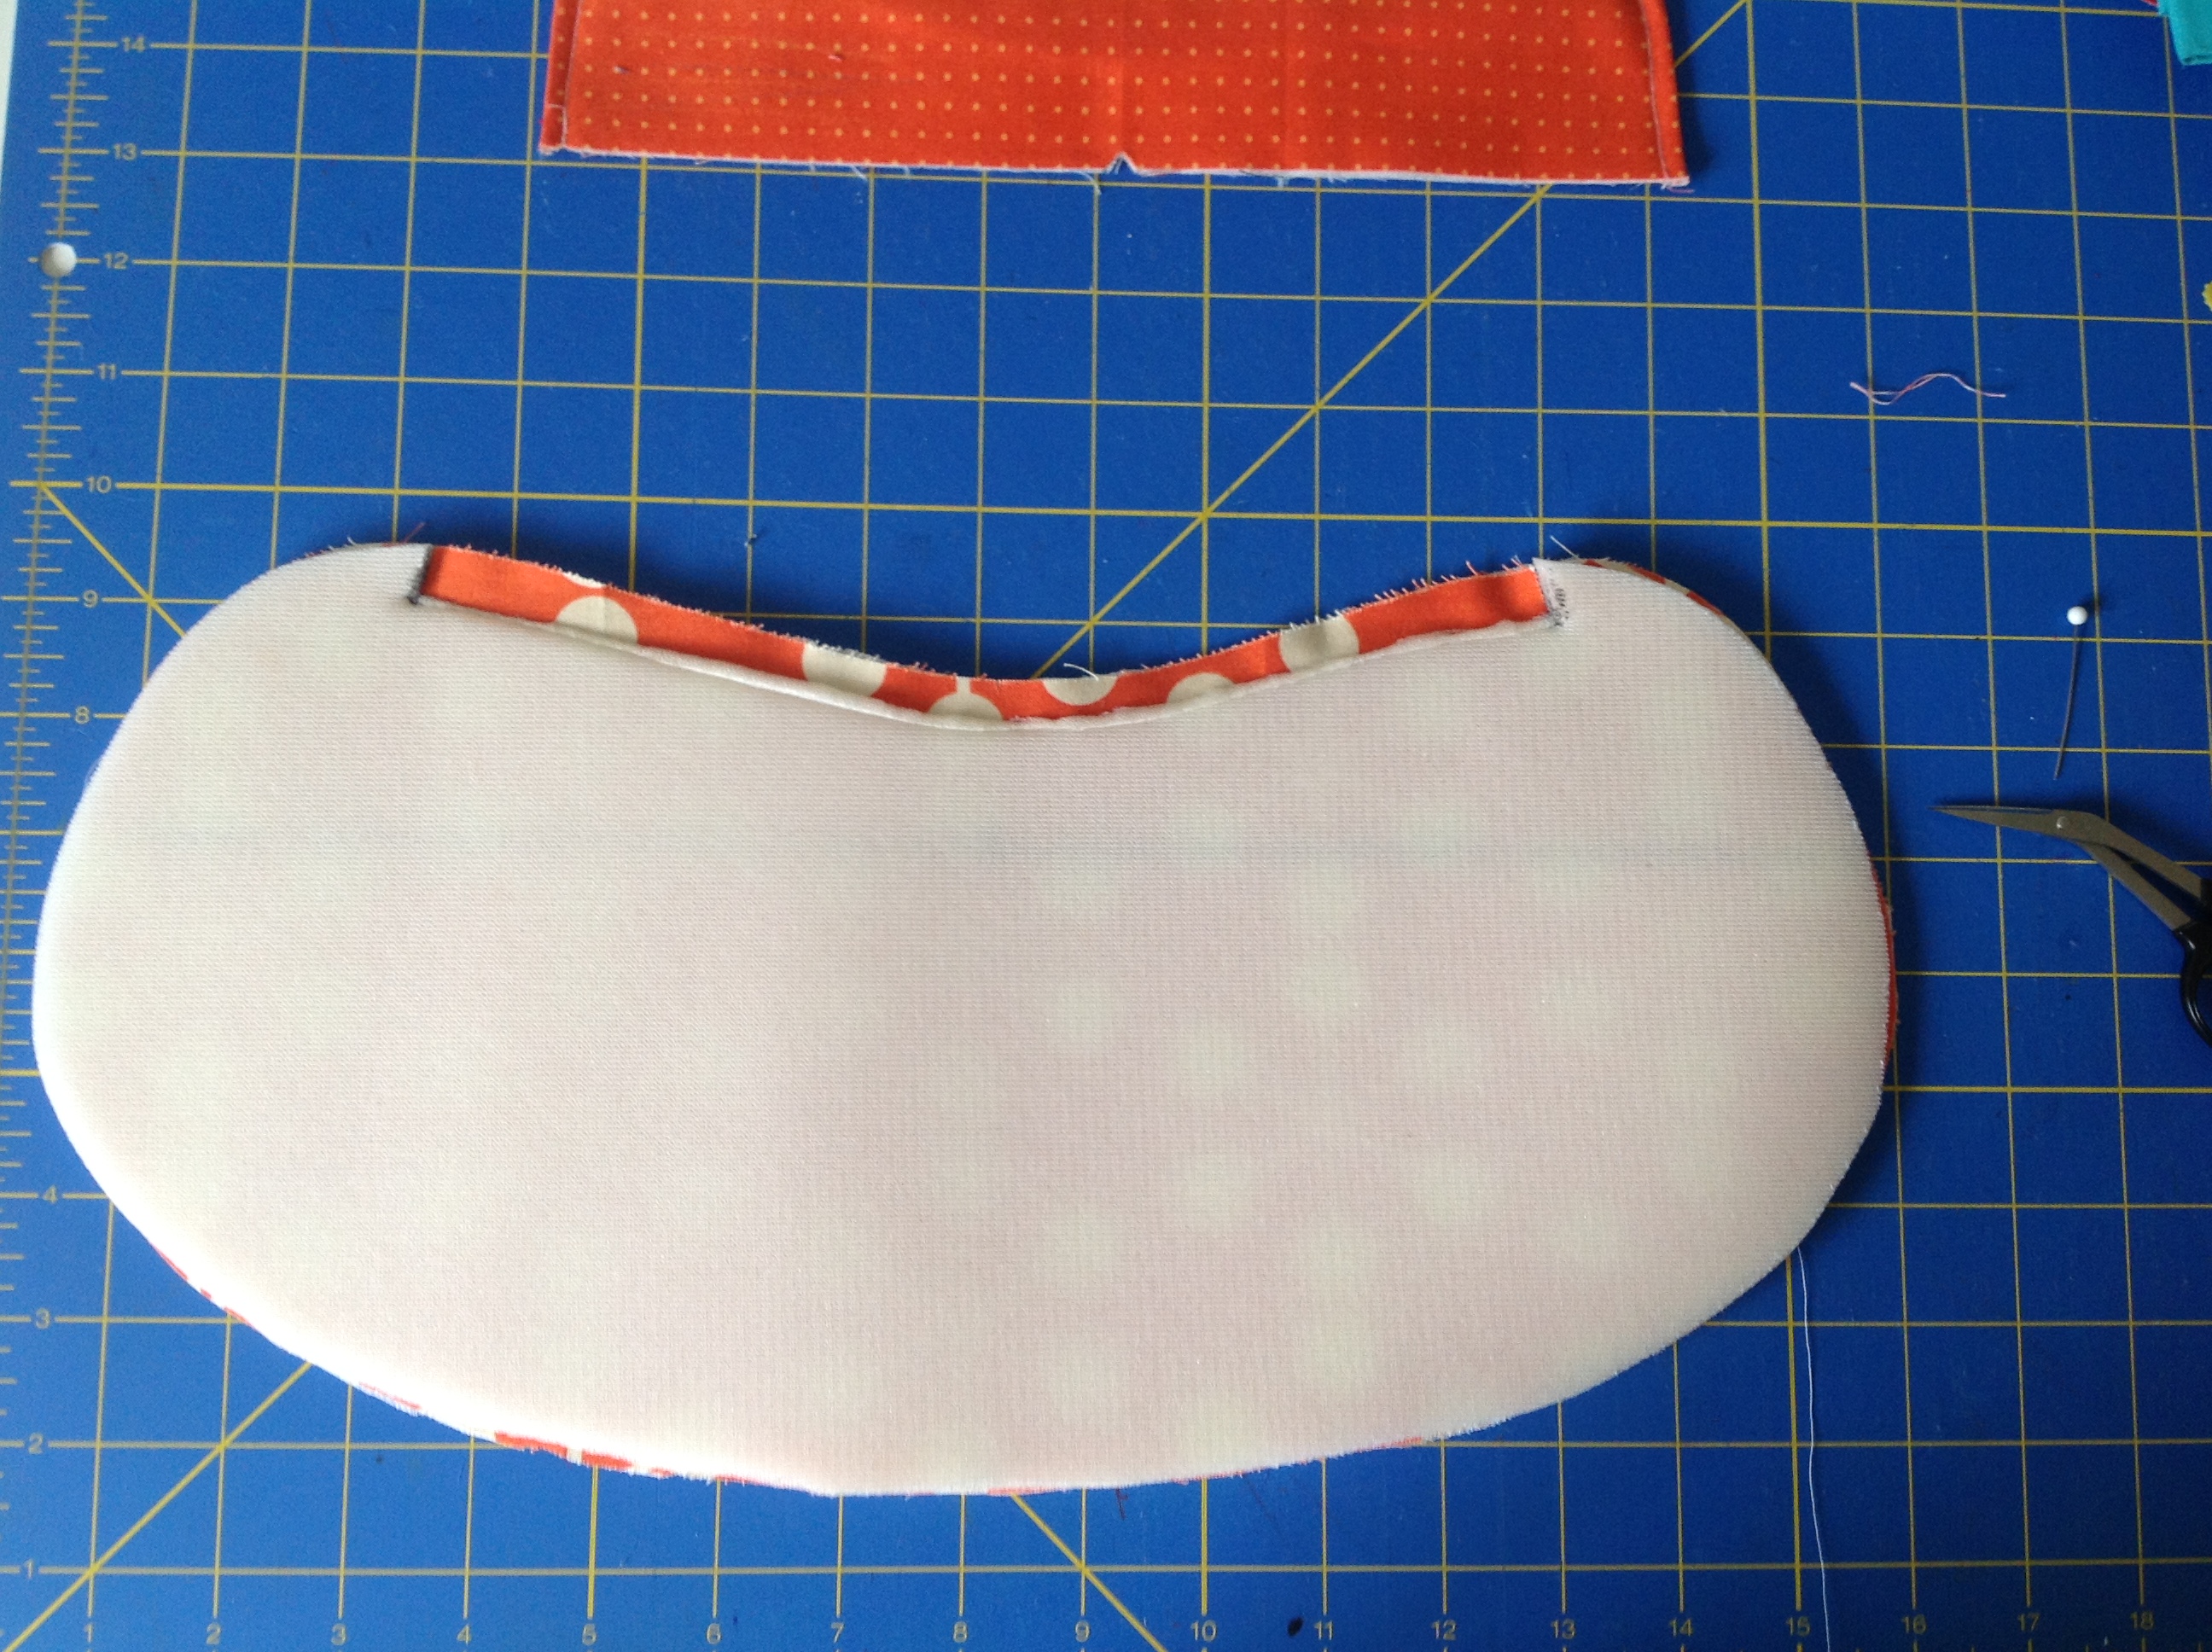
Once it’s all nicely pressed and the edges realign (it might be slightly shorter than the foam now and that’s ok), baste around the perimeter. You just need to stitch from one edge of the handle opening to the other, not along the handle opening itself. I use a walking foot for this and sort of keep the fabric taut as I’m stitching to make sure it’s laying nice and flat.
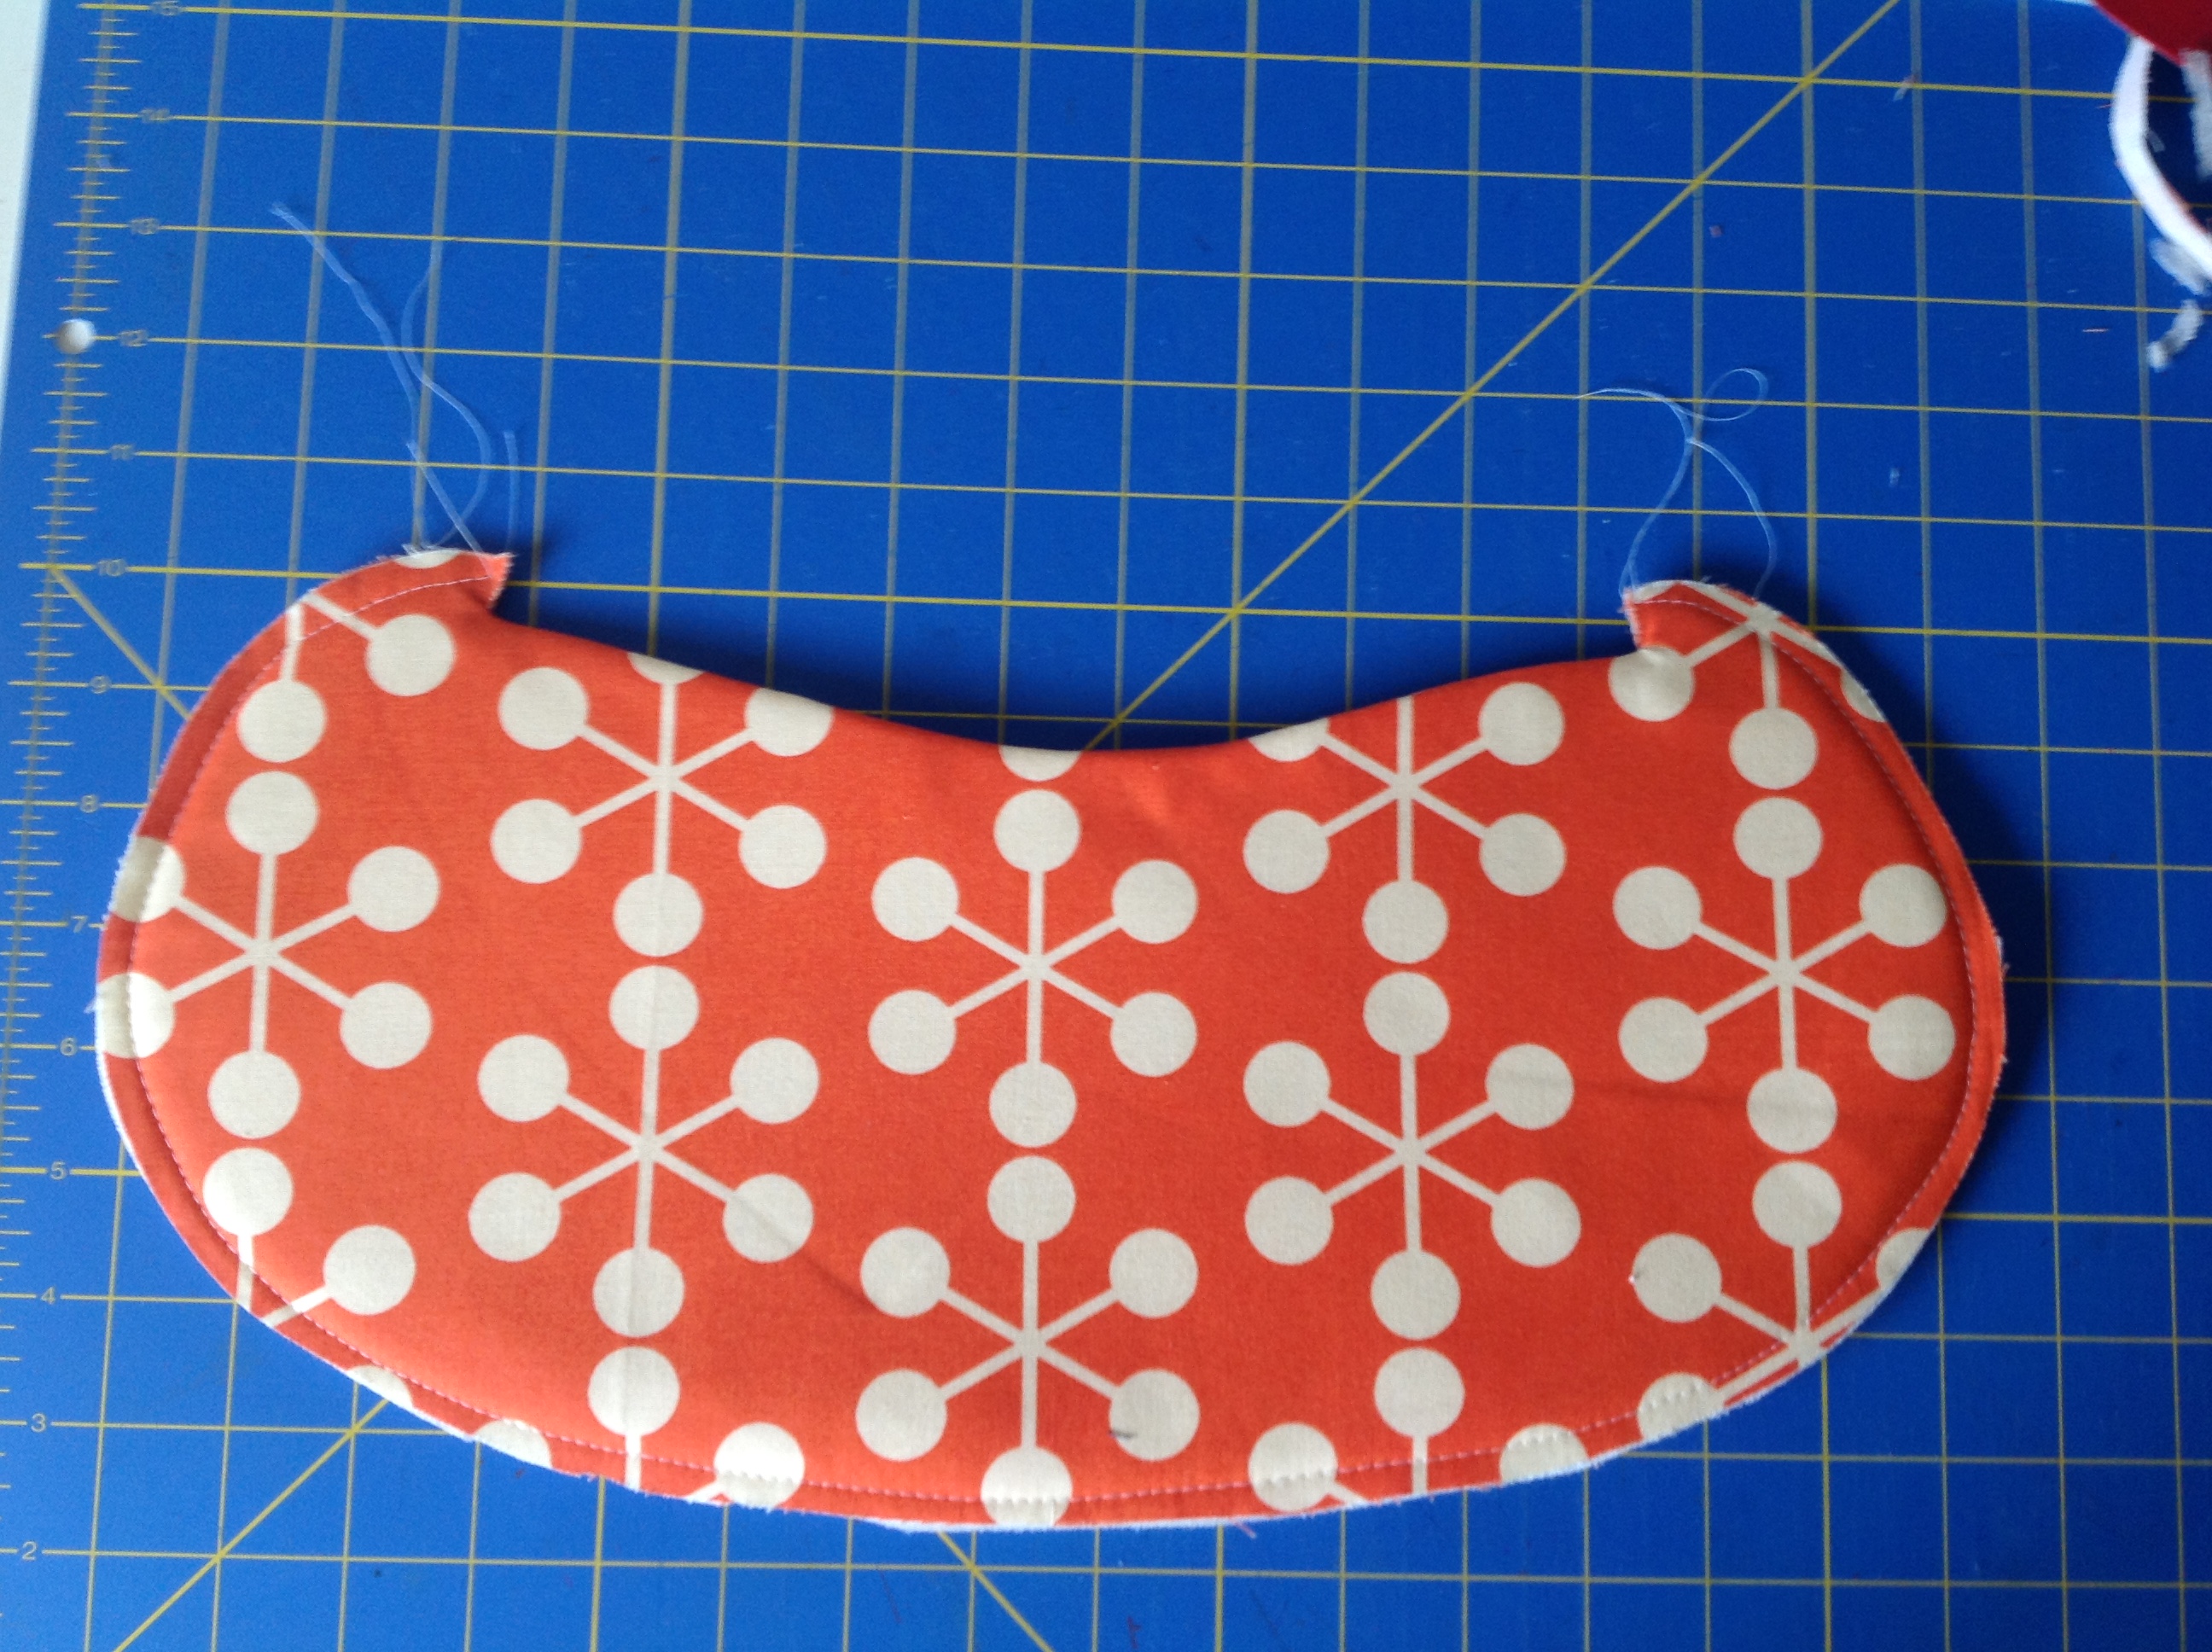
stitch around the perimeter – do not stitch the handle opening
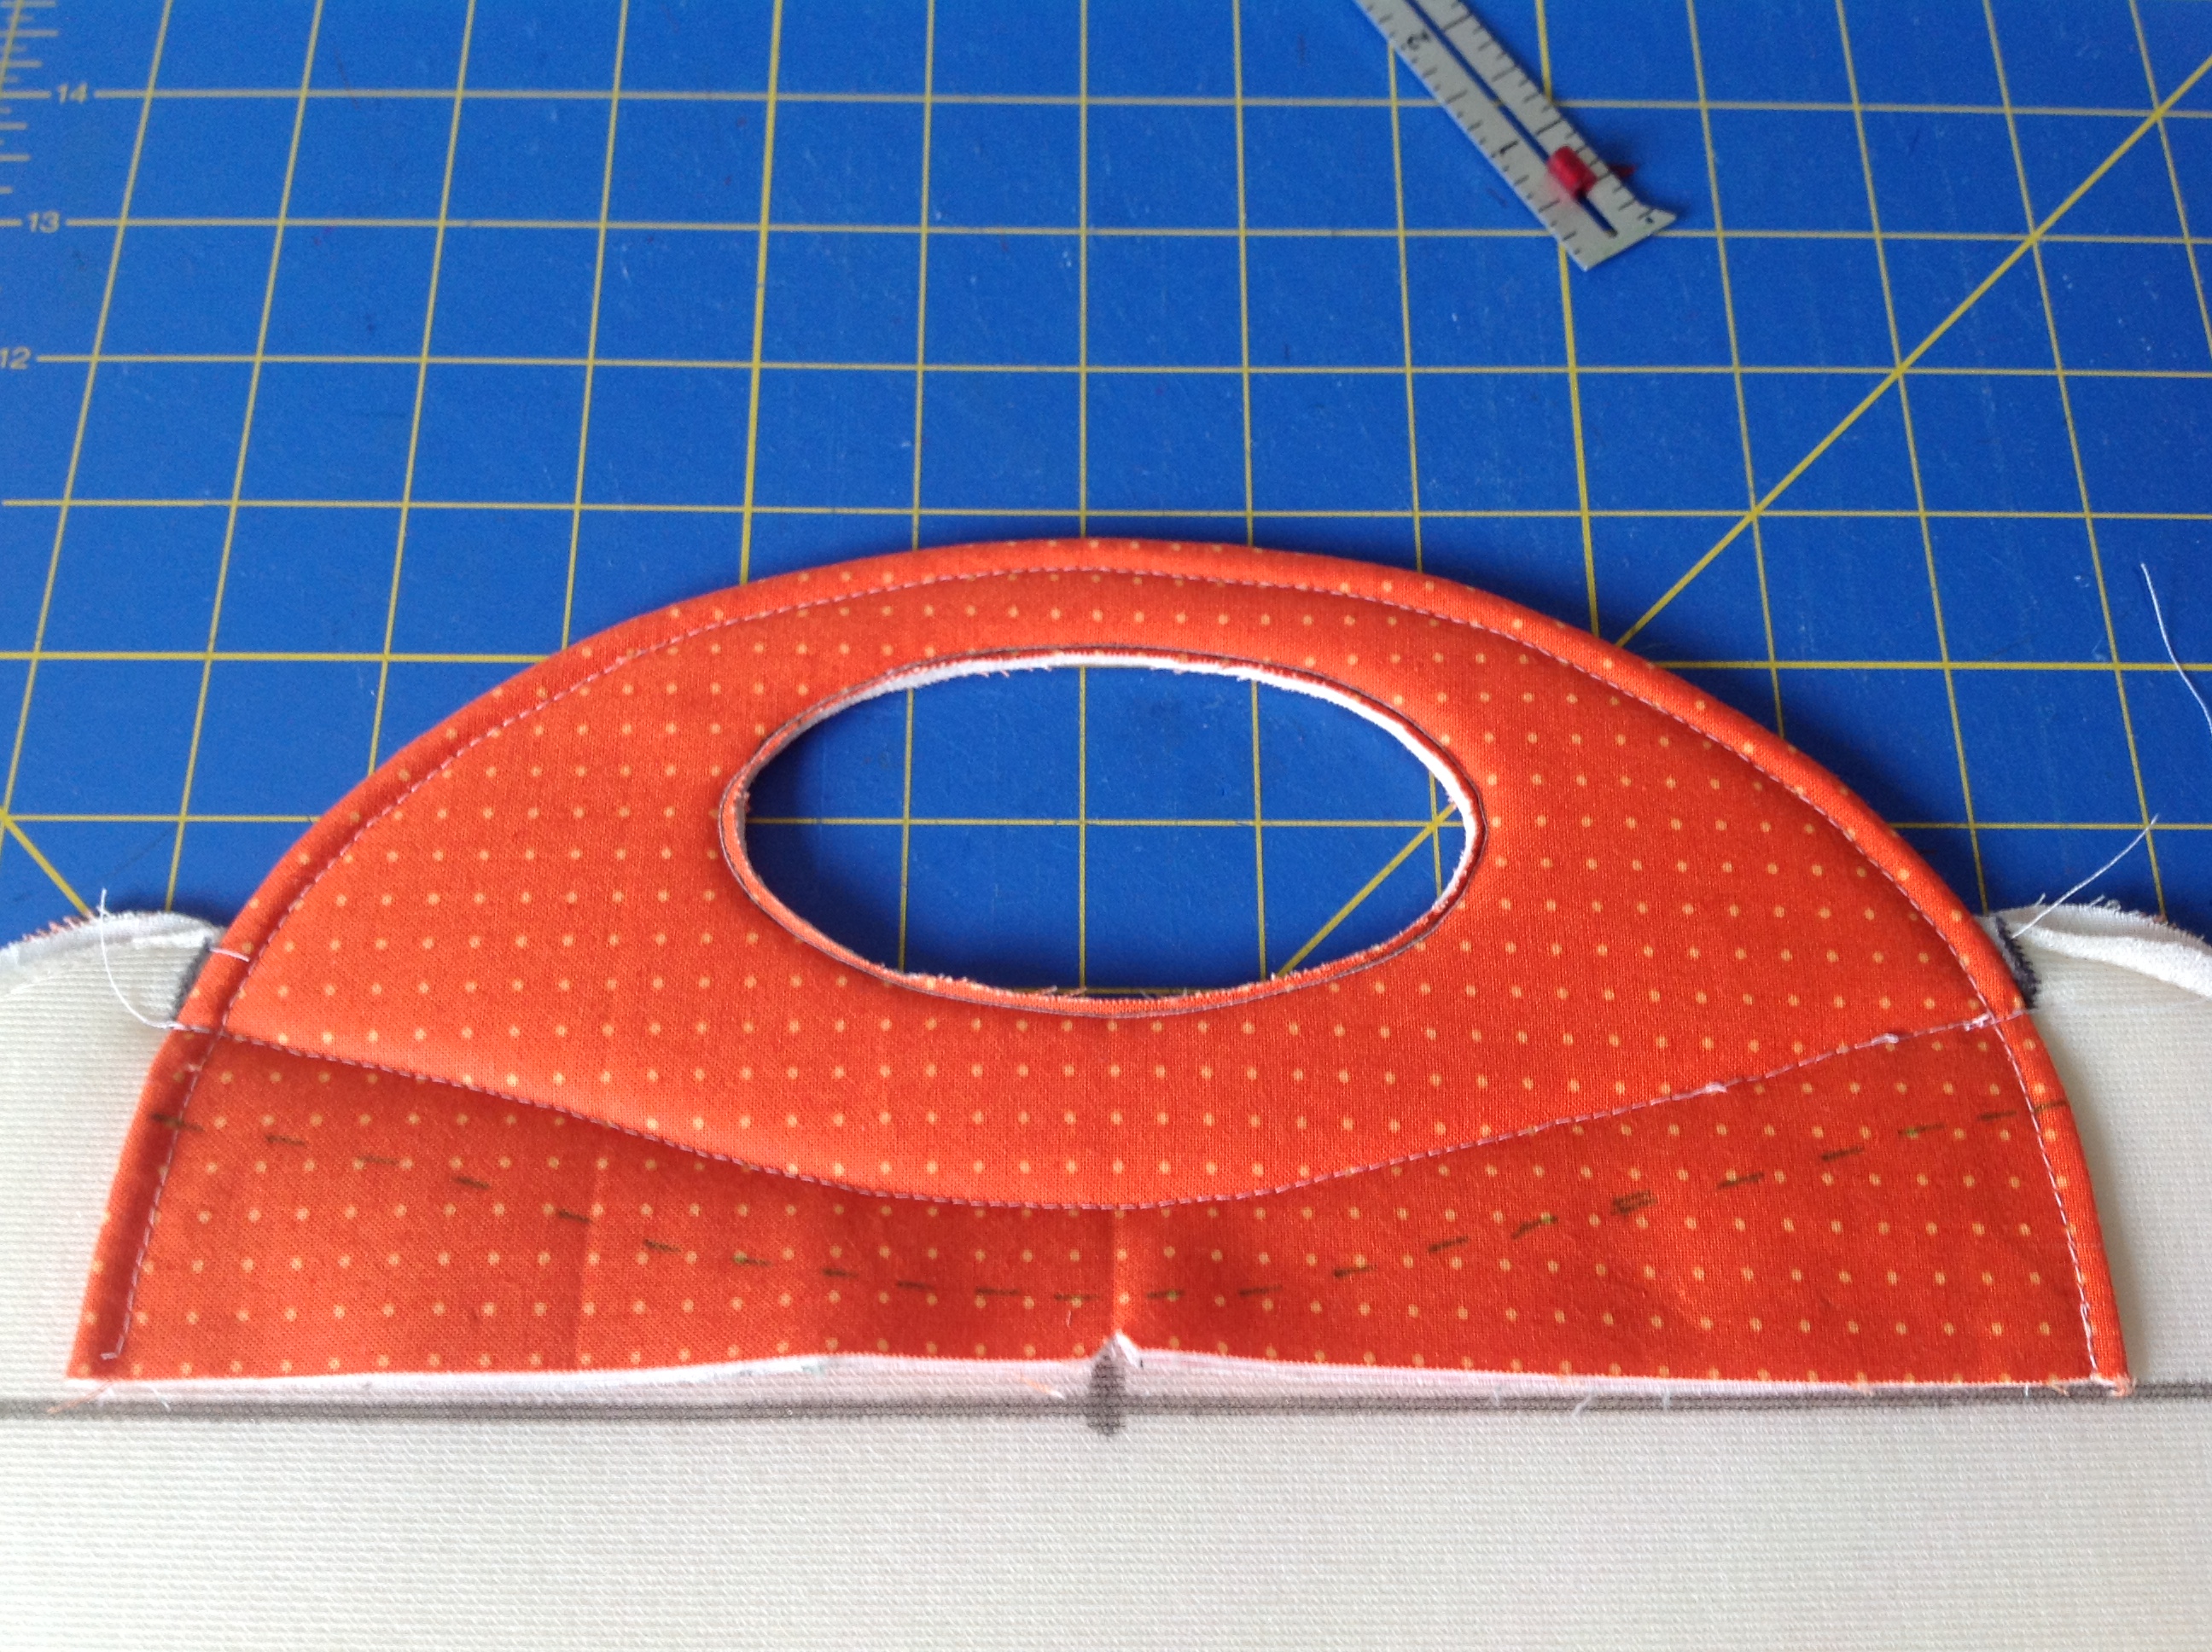
Now flip the panel over and find the handle. Once again, align the bottom edge of the handle on the horizontal line and align the center points. You want the right side of the handle to be facing the table. Below you will see I used pins to hold this in place. If you use pins, be sure they are flat headed and are near the bottom edge of the handle so you don’t sew over them. We are going to be stitching from the other side so you need to be sure they are good and out of the way. You could also use Wonder Clips or even a little basting spray or fusible web to keep the handle in place.
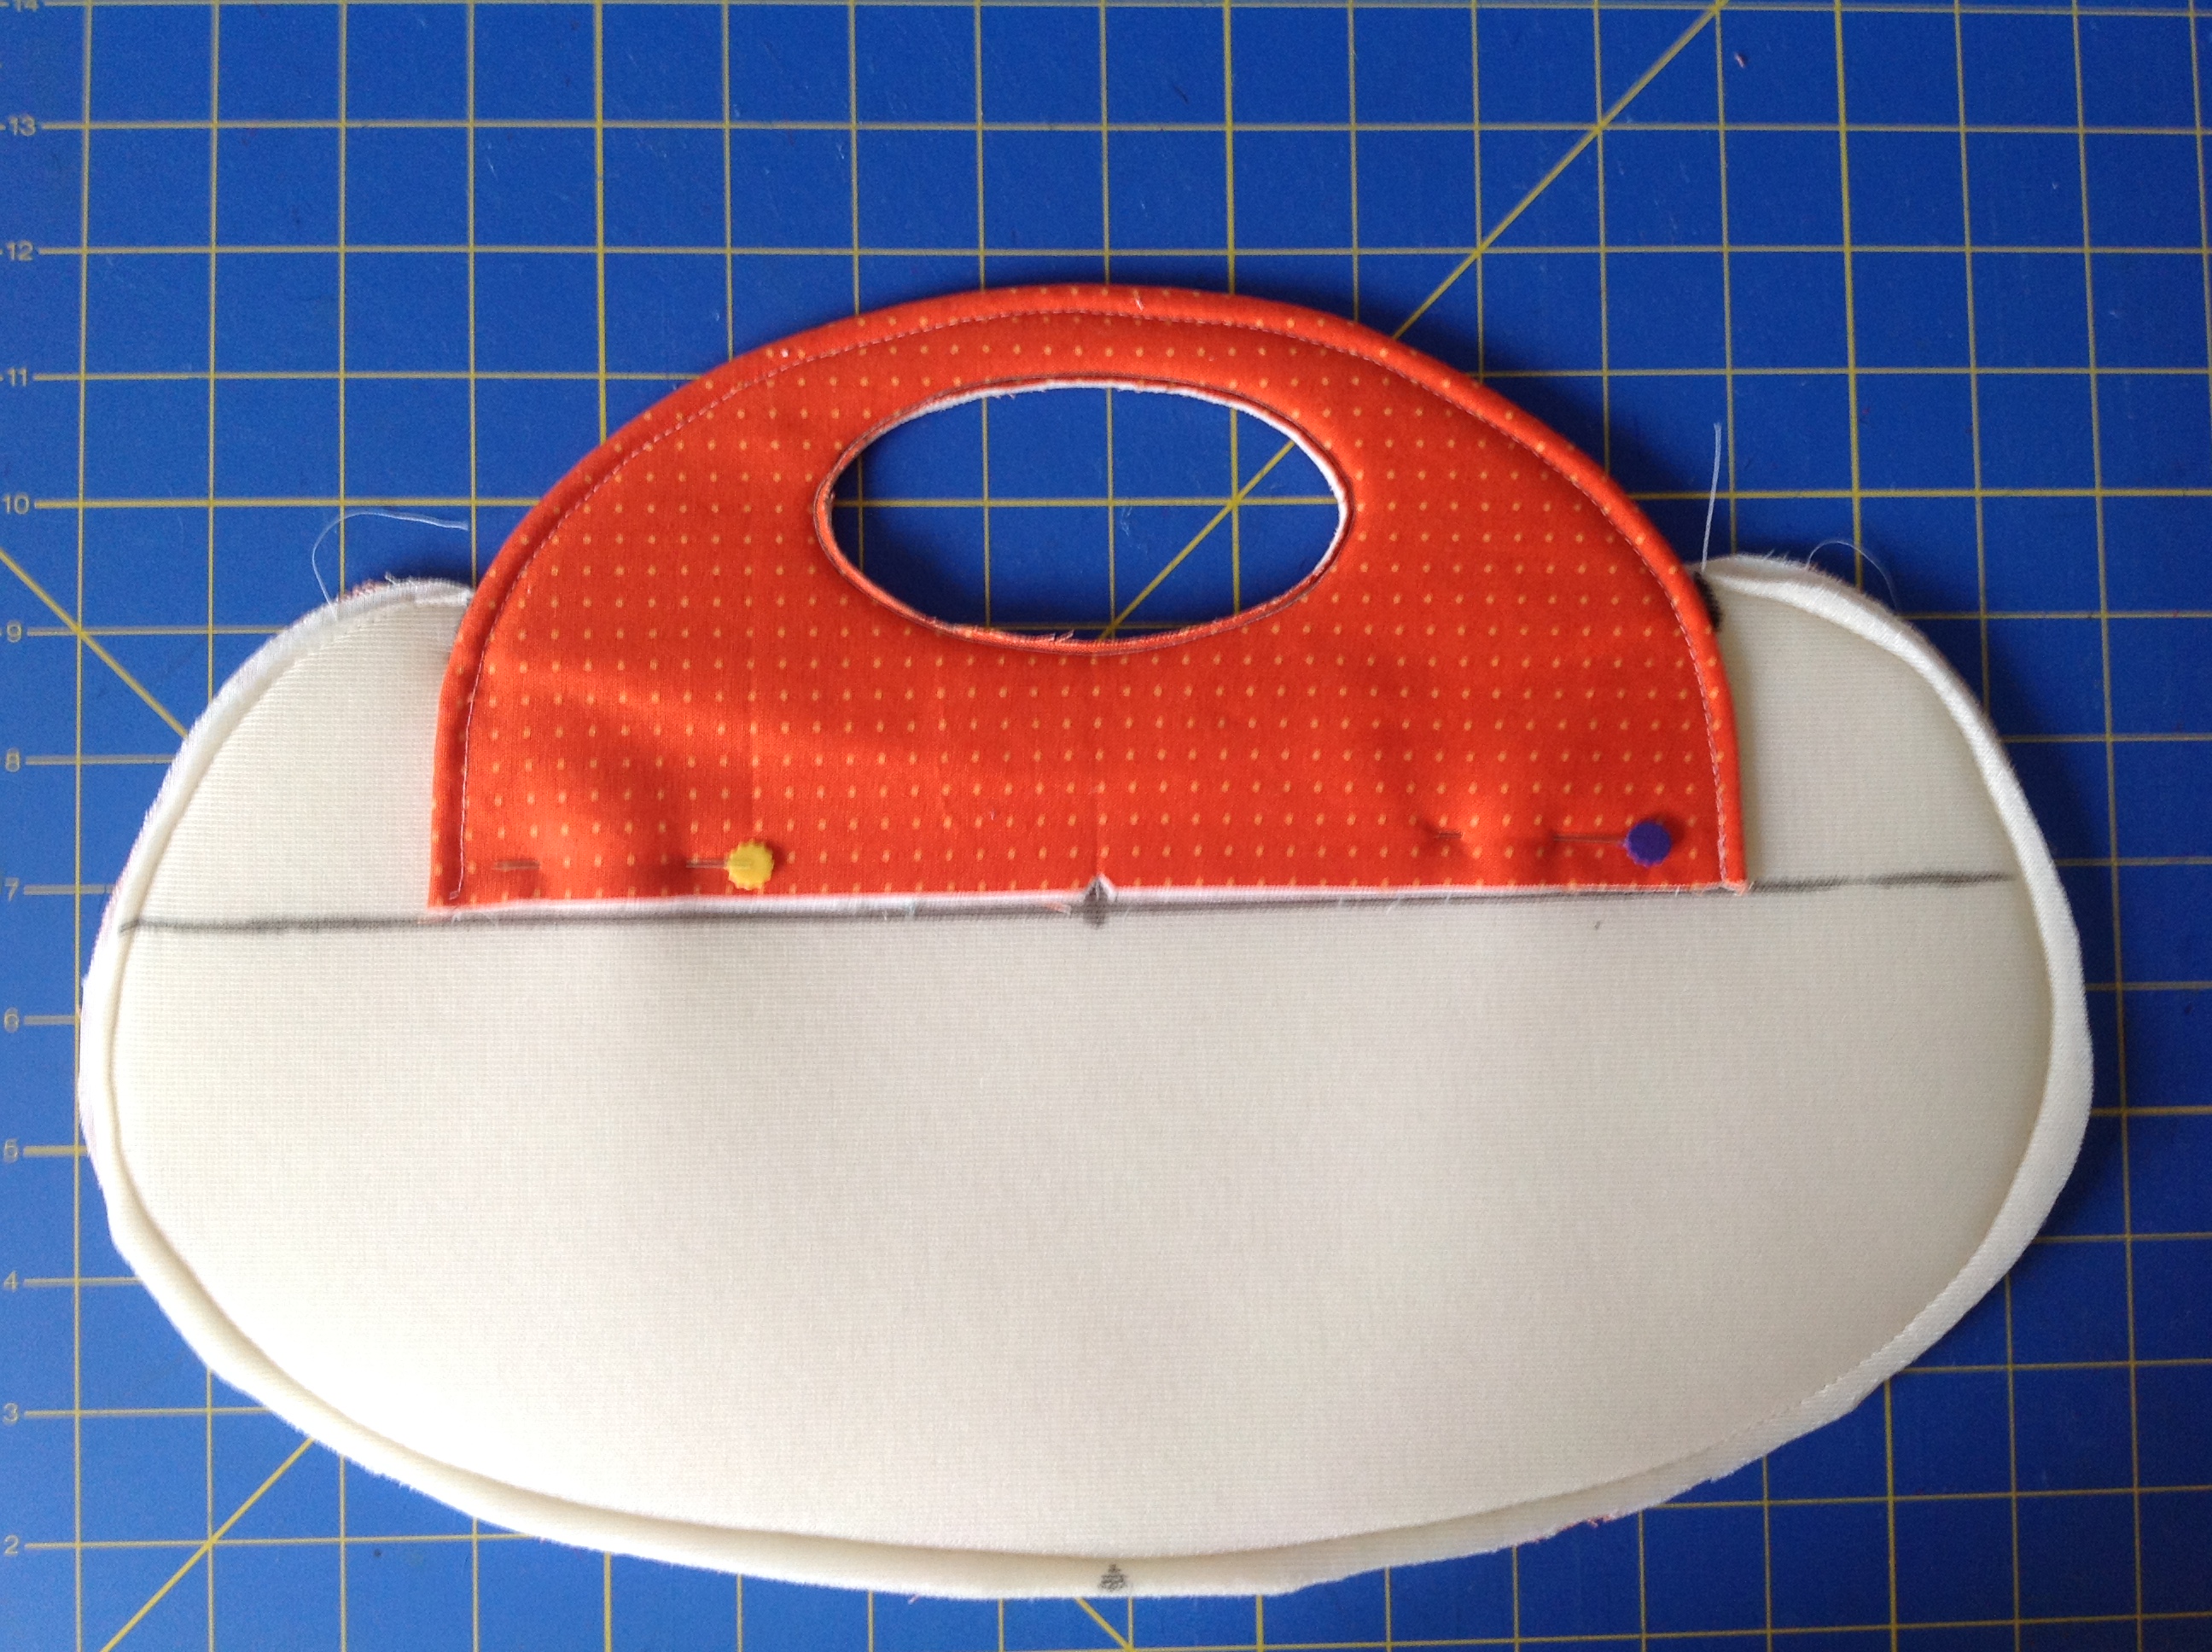
This is what it will look like from the front. The bottom edge of the foam inside the handle should be pretty well lined up with the top edge of the opening. 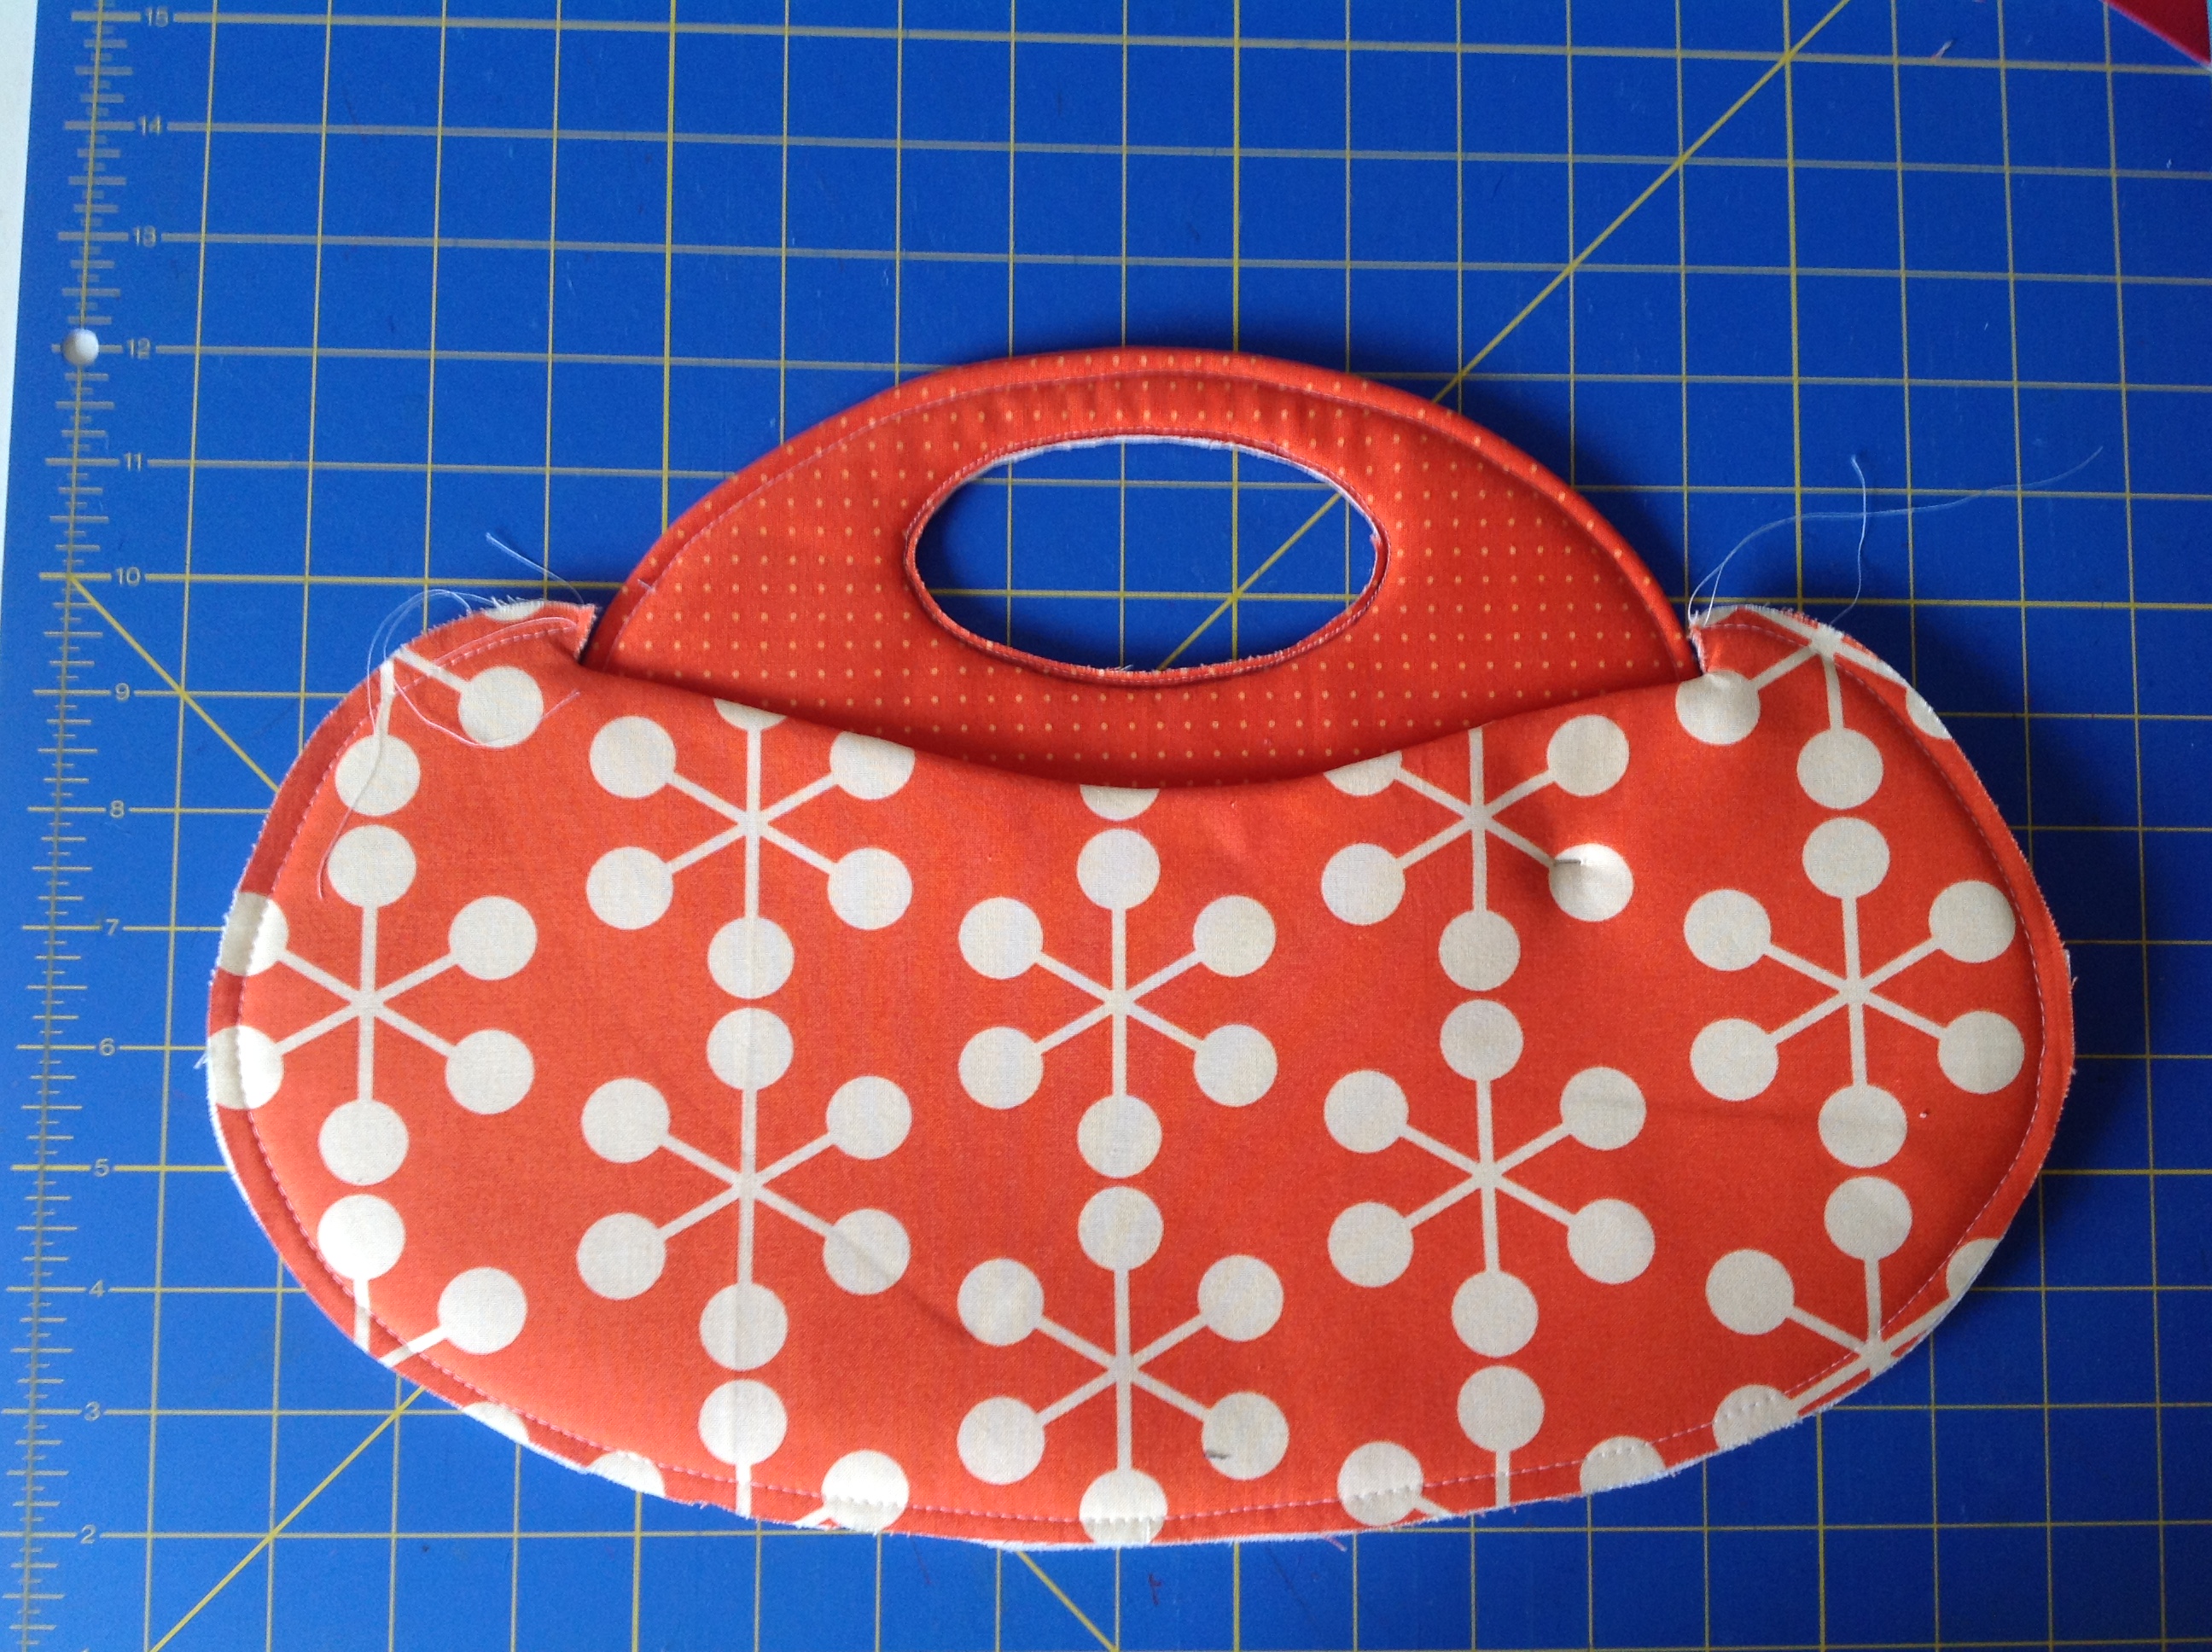
Topstitch the pieces together starting a few stitches before the handle opening. You will want to stitch this using a 1 /16 -1/8″ seam allowance depending on your taste. End the seam a few stitches past the opening.
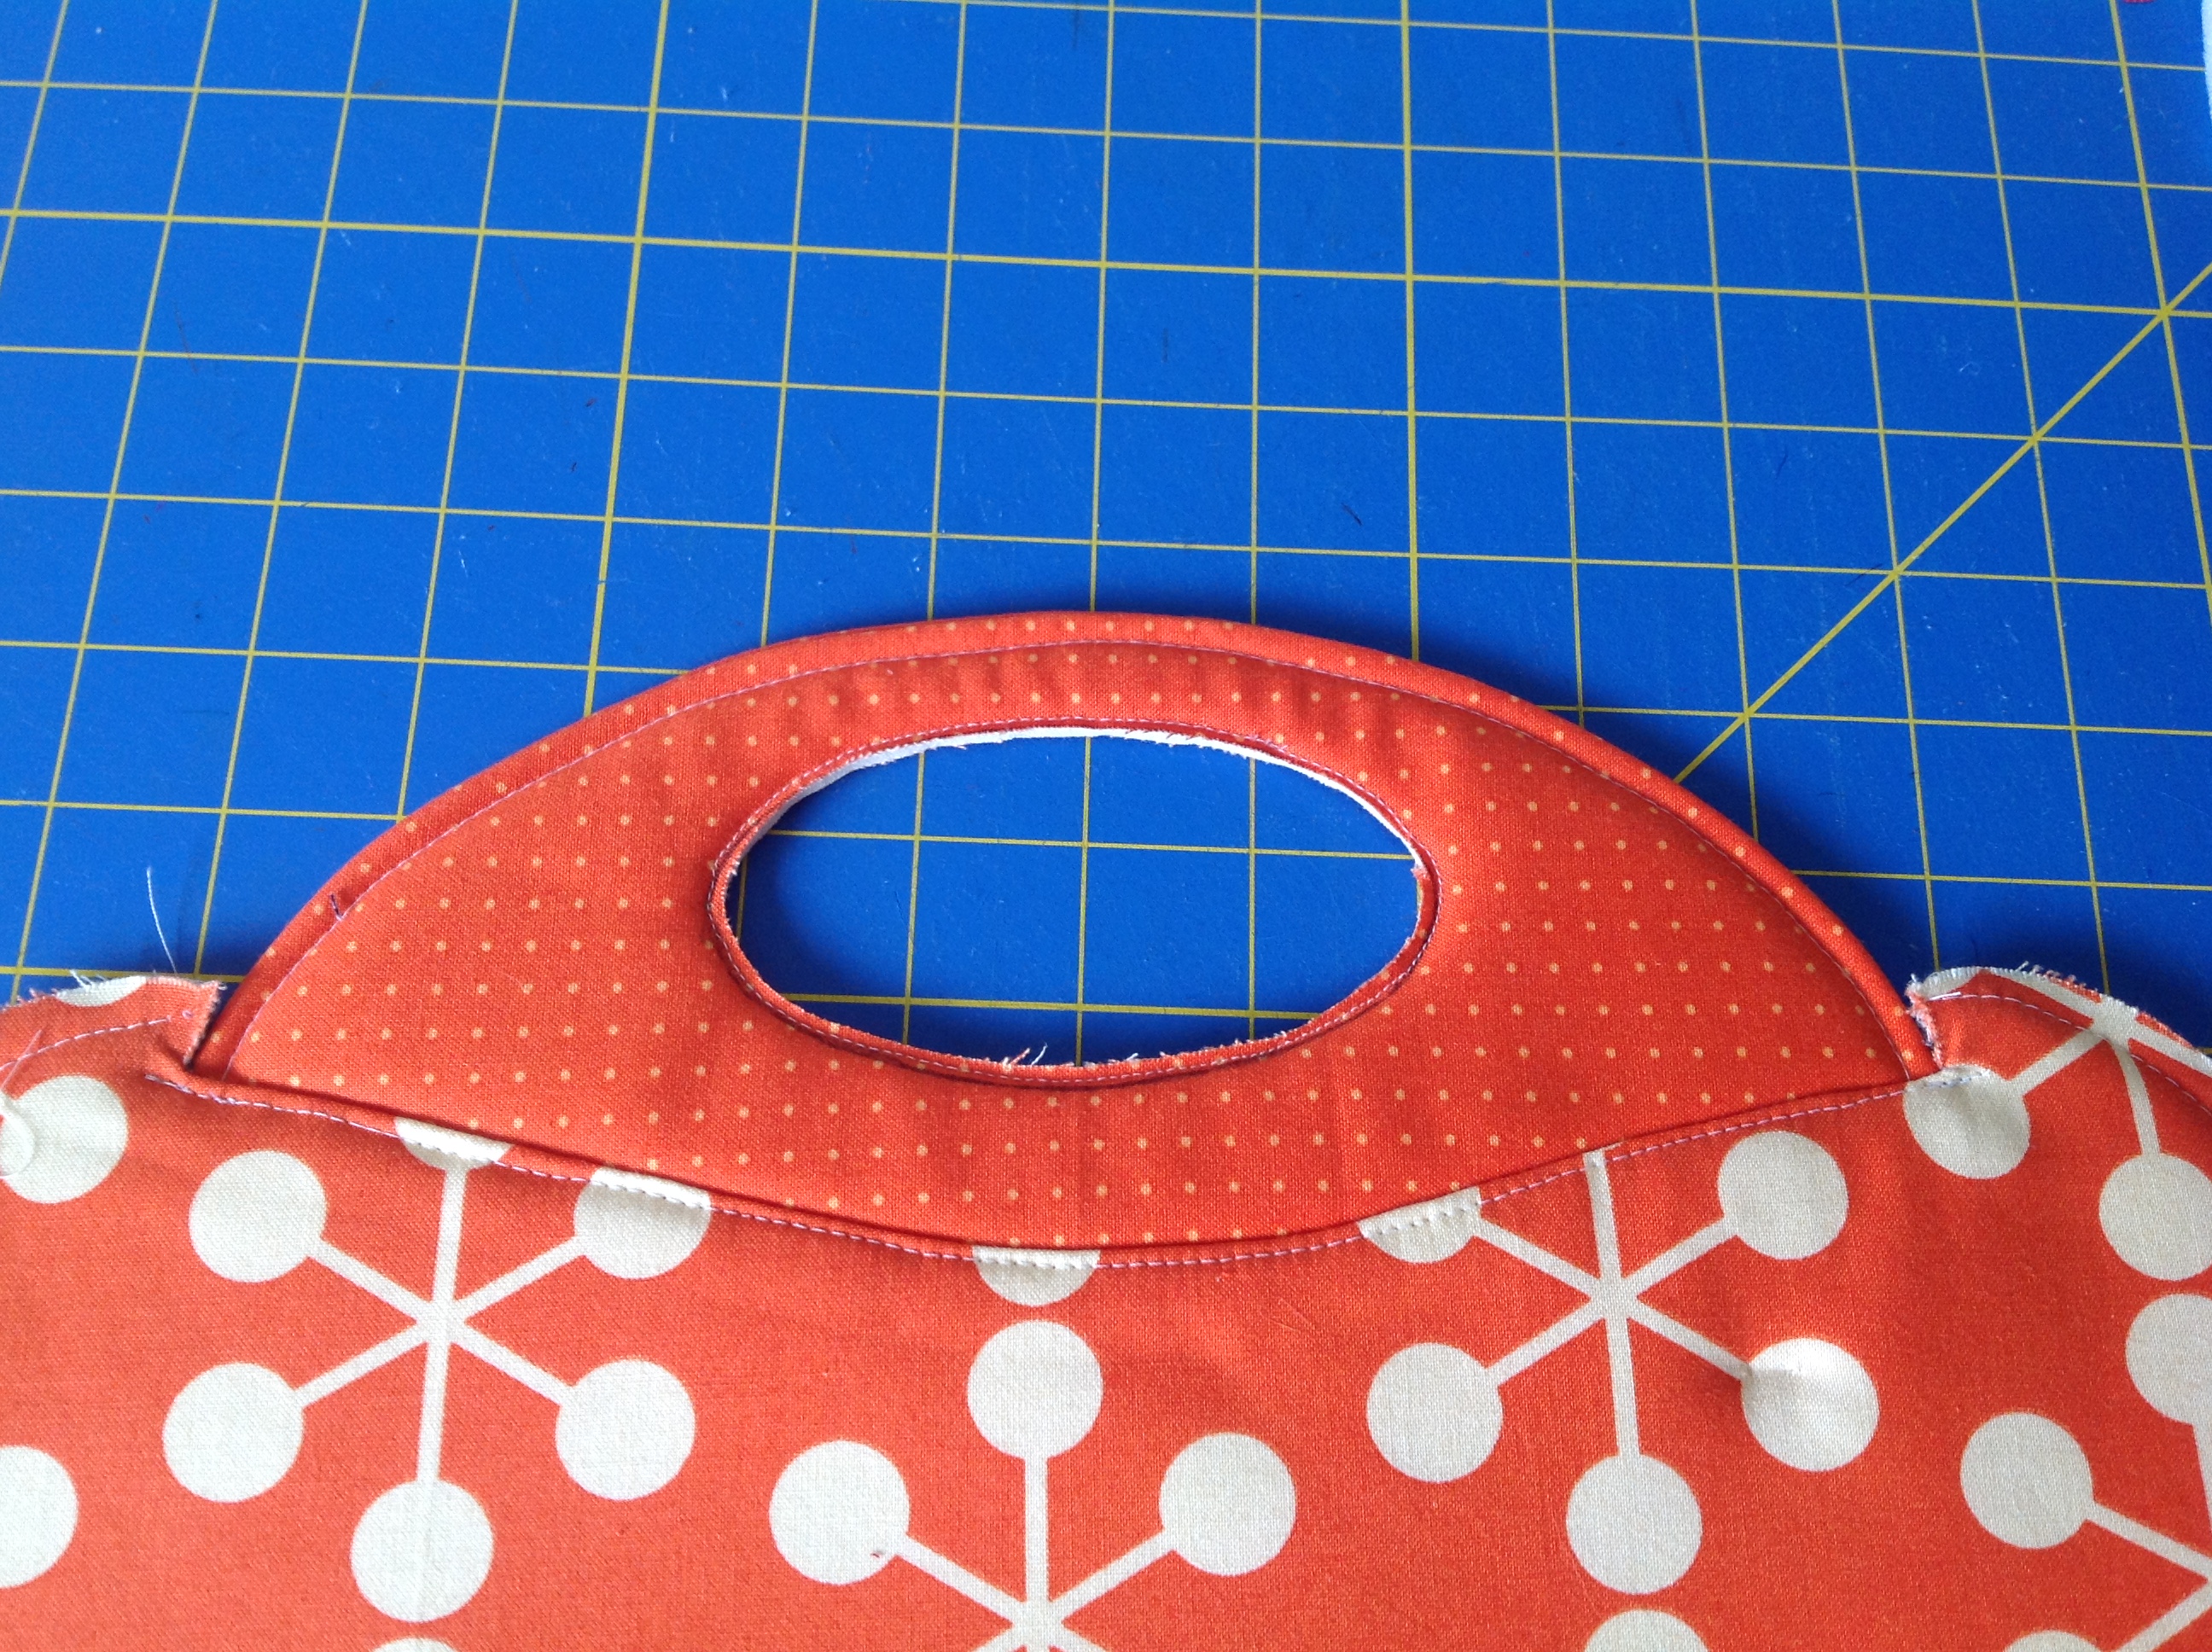
start topstitching a few stitch lengths before the opening and end seam a few stitches past opening
Now, find a seam gauge, if you have one, or a small ruler. On the wrong side of the handle, measure and mark a line 1/2″ down from the seam line. Make frequent marks so you maintain the same curves that are in the seam line. Also be sure to transfer the center point of the handle to this new line – I’m sorry to say, I forgot to do that in the photos below!
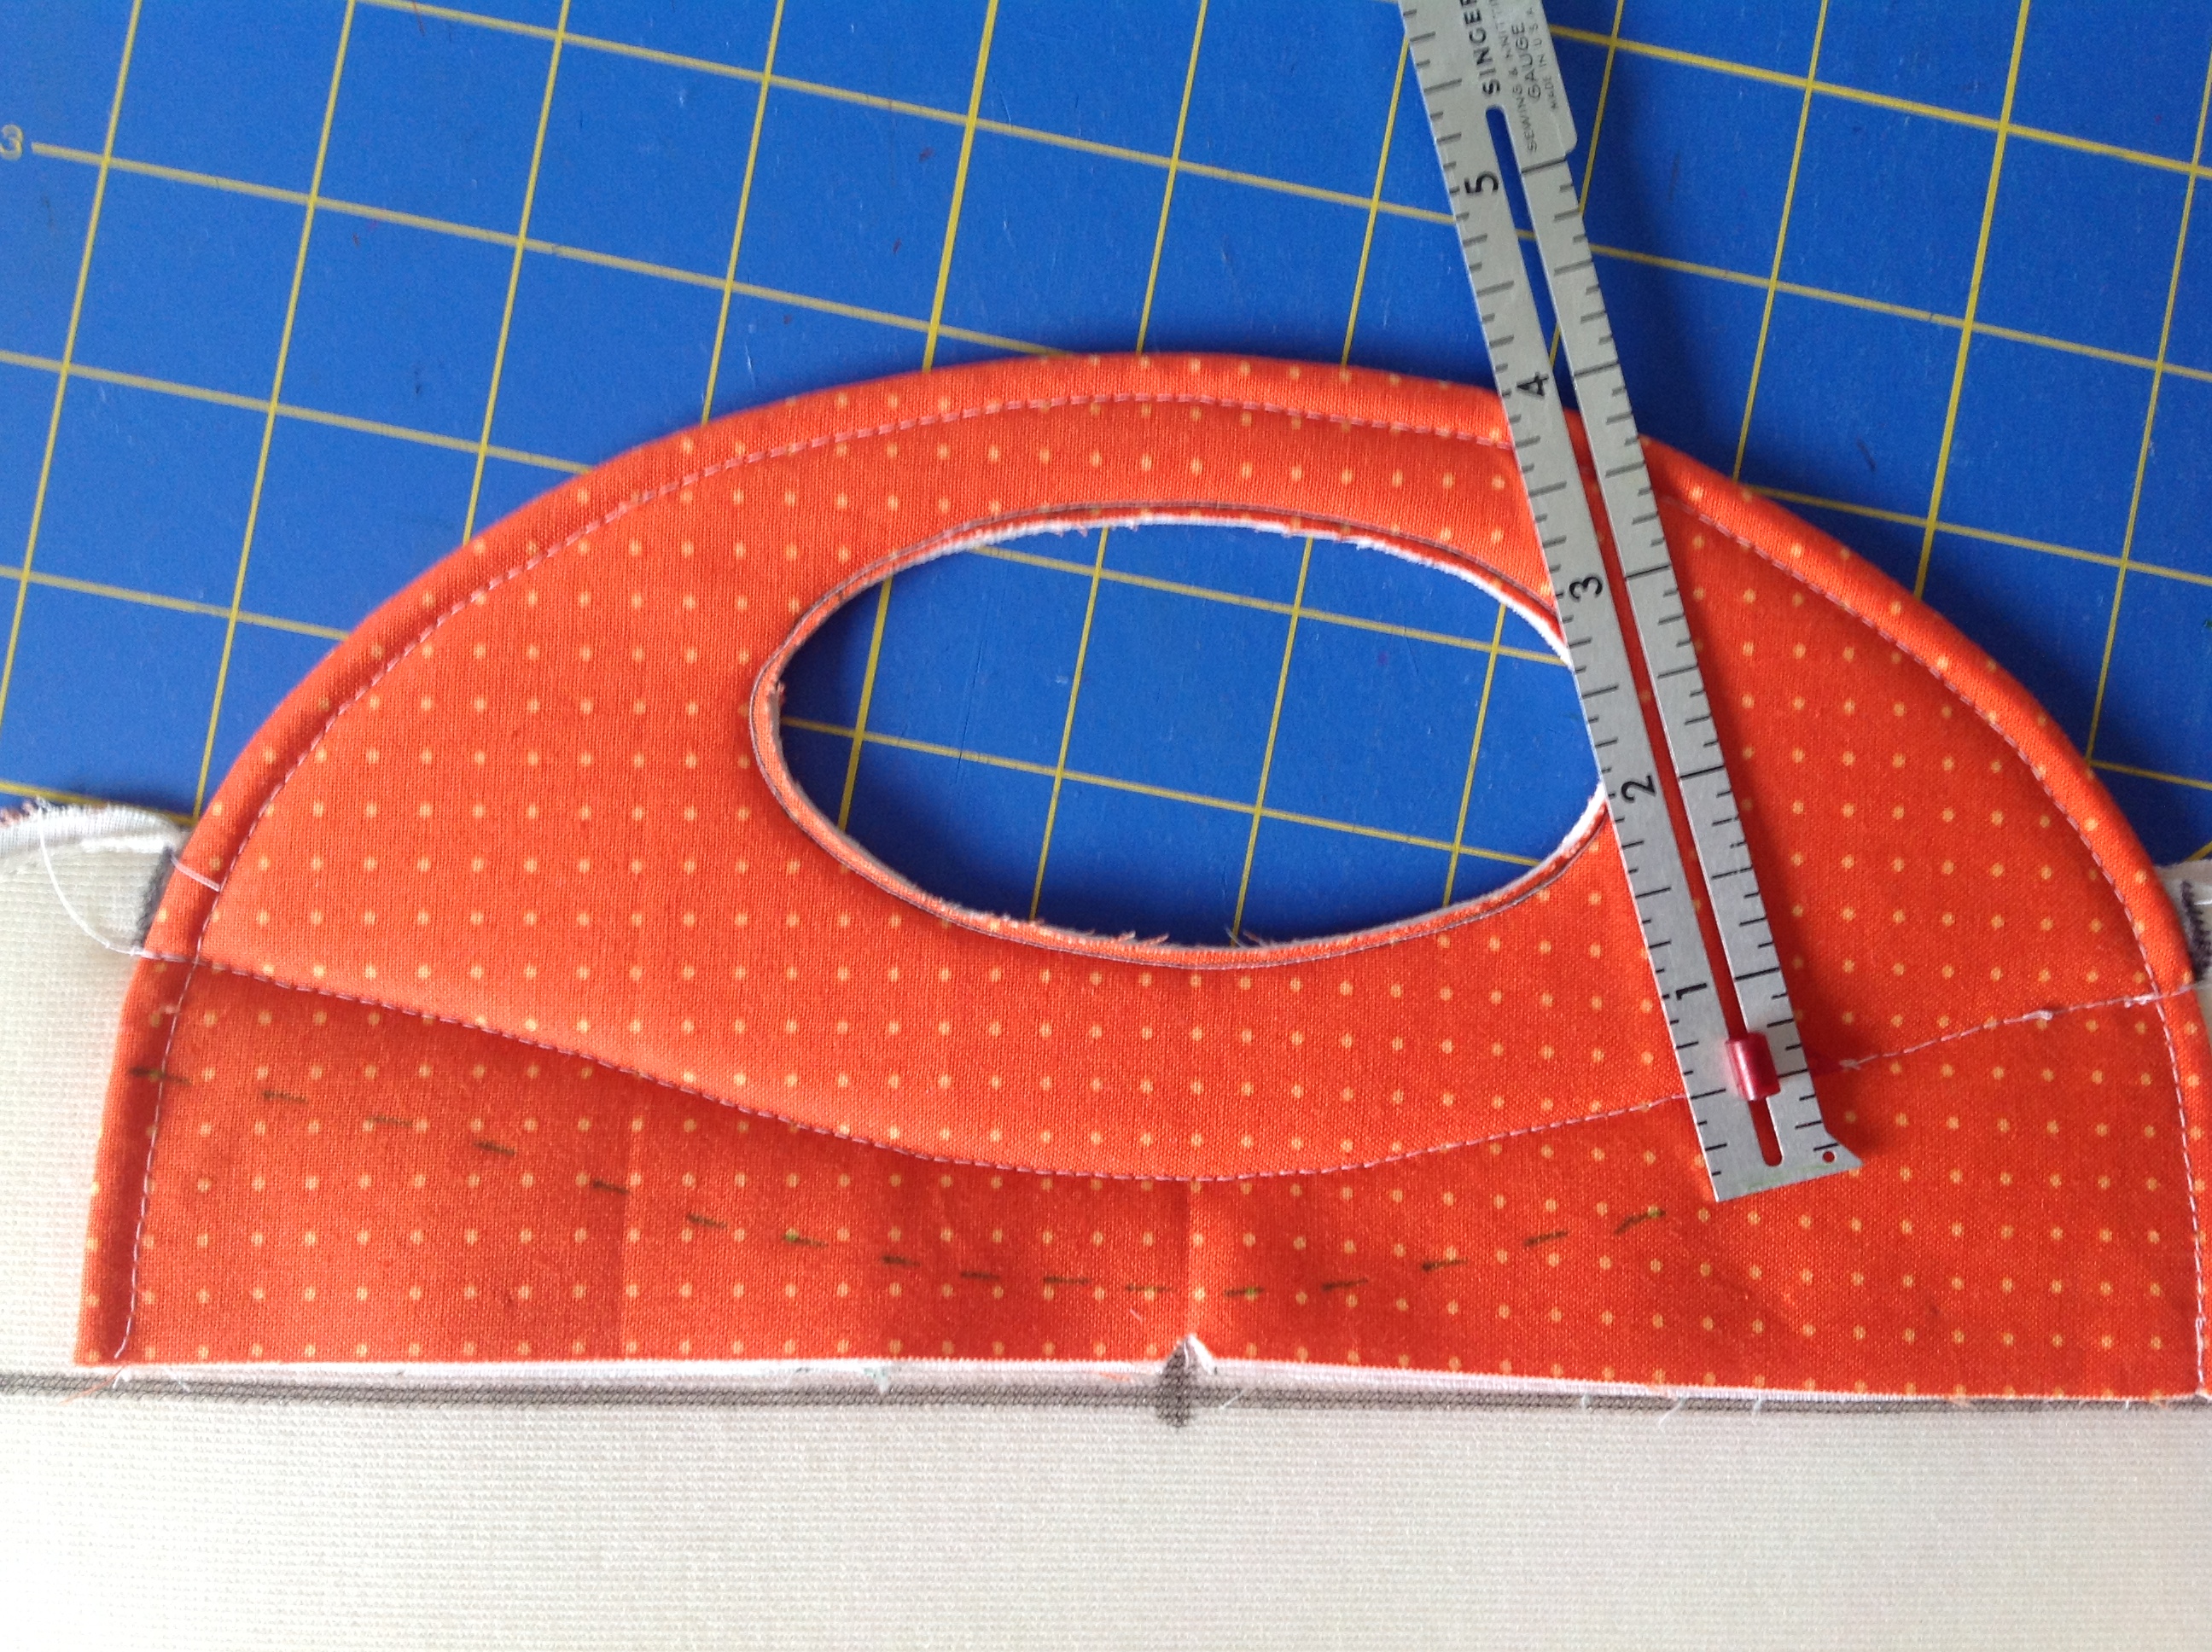
mark frequently 1/2″ from the seam line
Now cut along the line you just marked.
Let me know what questions you have!
For the next tutorial for this pattern, go here.
Have fun! sarah