Hello!! I am so excited to be sewing along with you! It’s going to be so fun to see all your creations and creativity.
If you don’t have your Cozy Cakes pattern yet, you can get yours here.
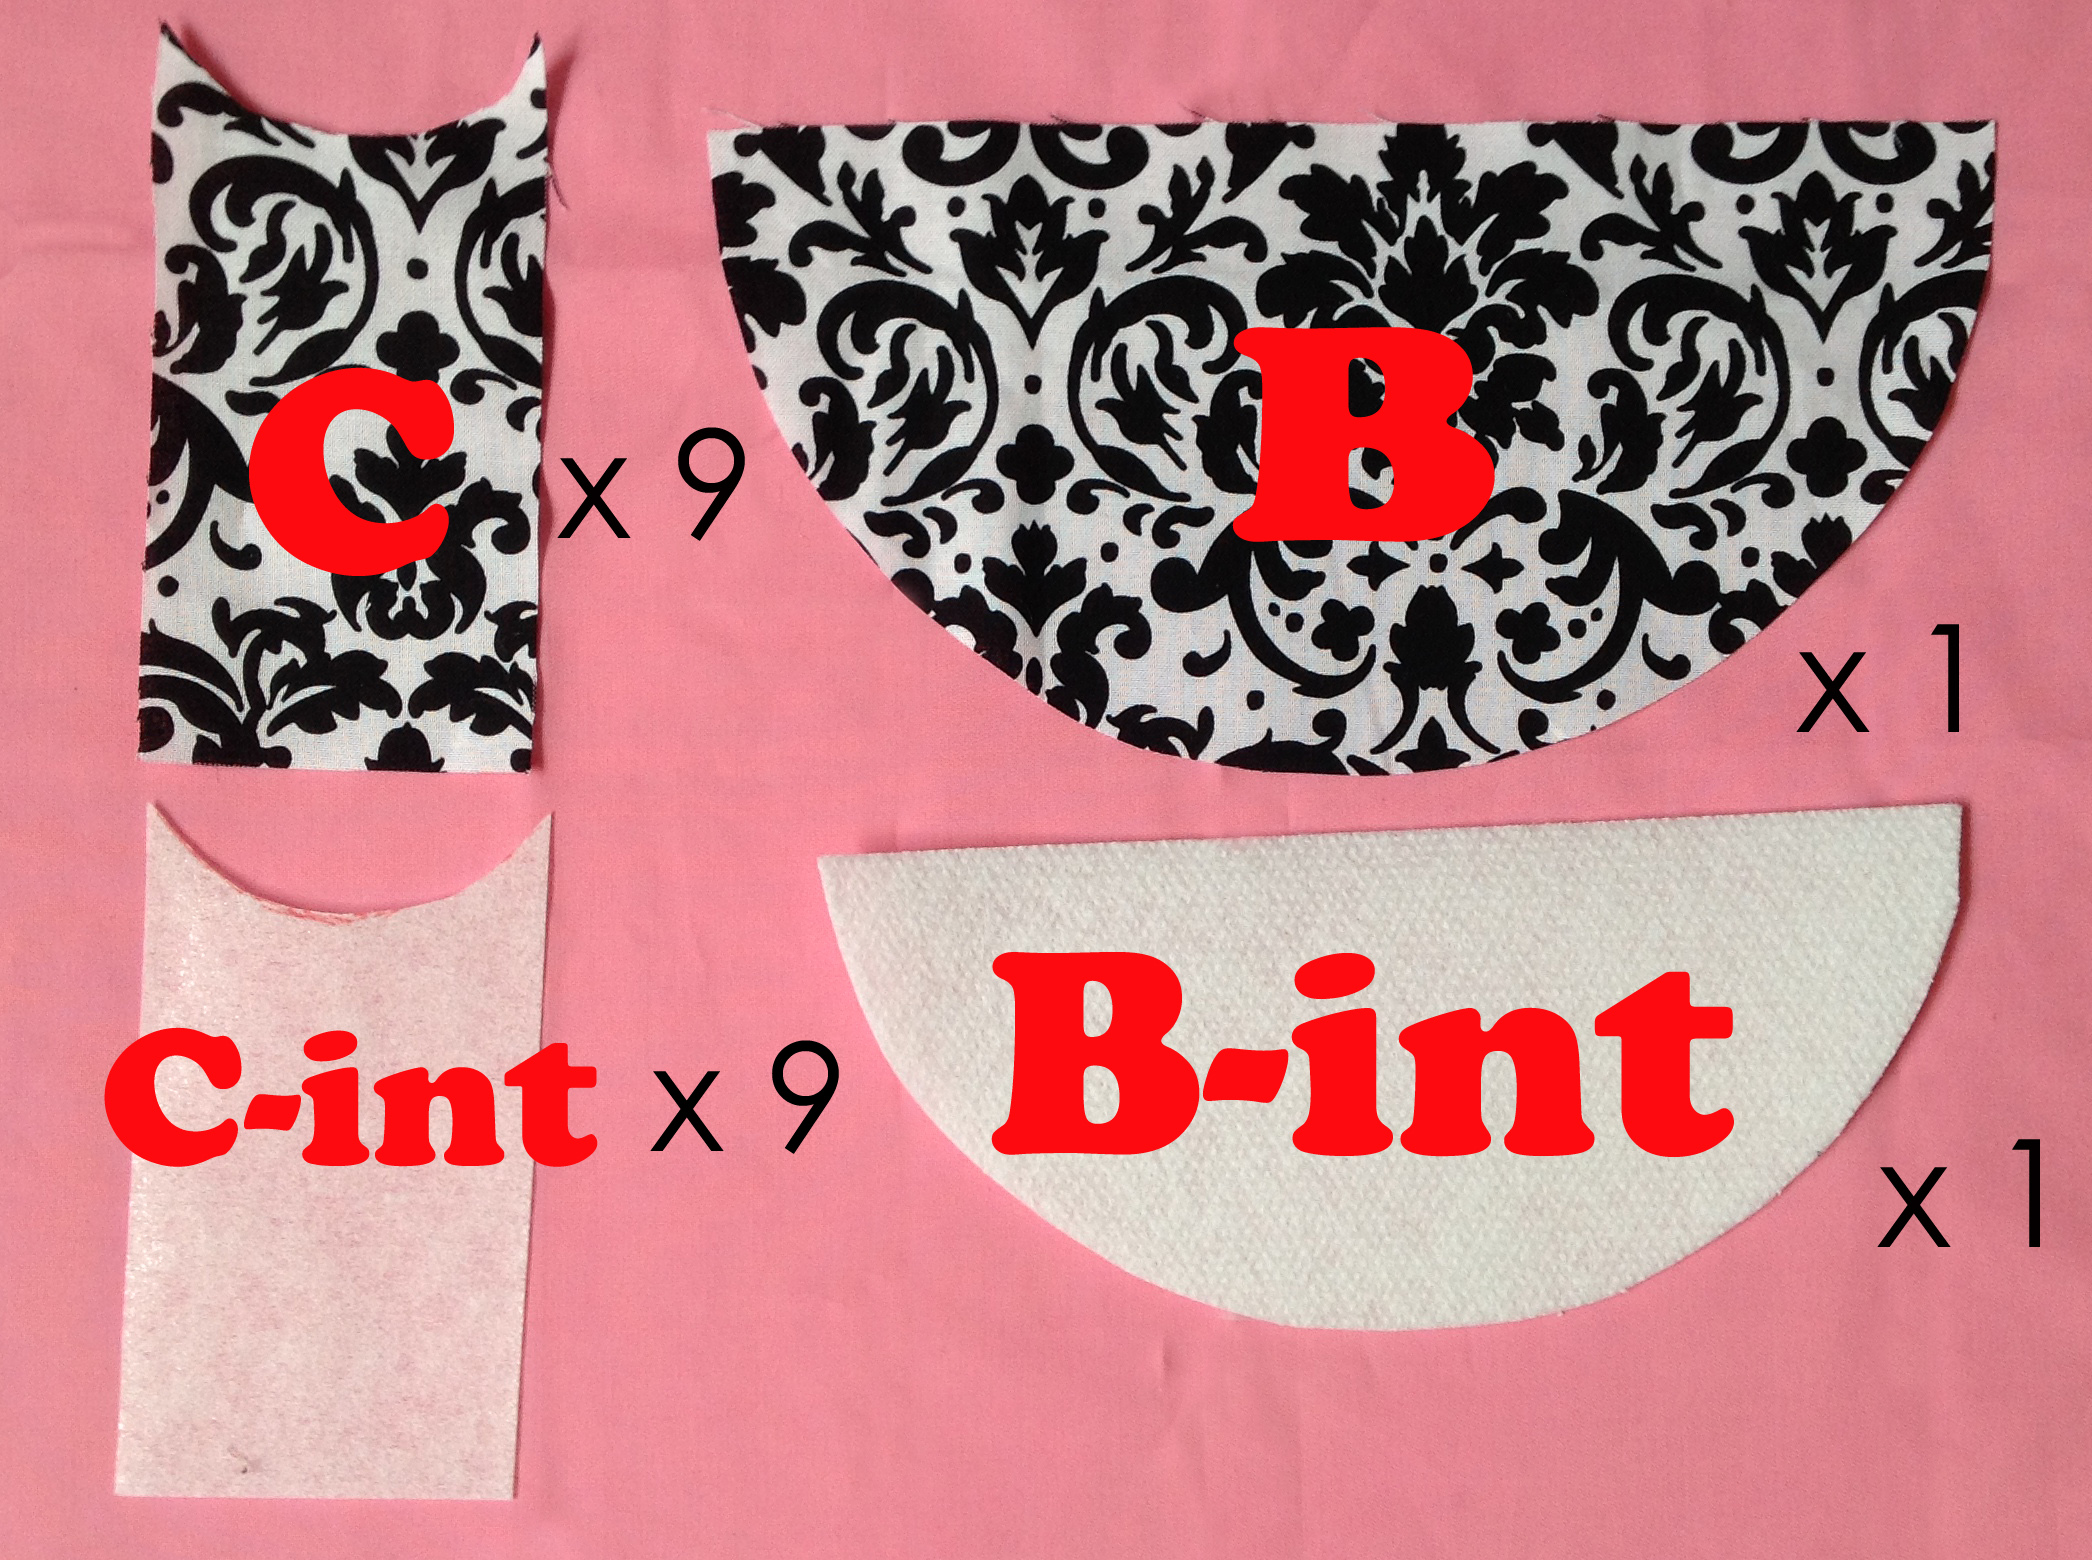
***UPDATE: Patterns purchased between July 2015 -Januaray 2016 – need an additional pattern piece called B-Interfacing. You can download it here. ***
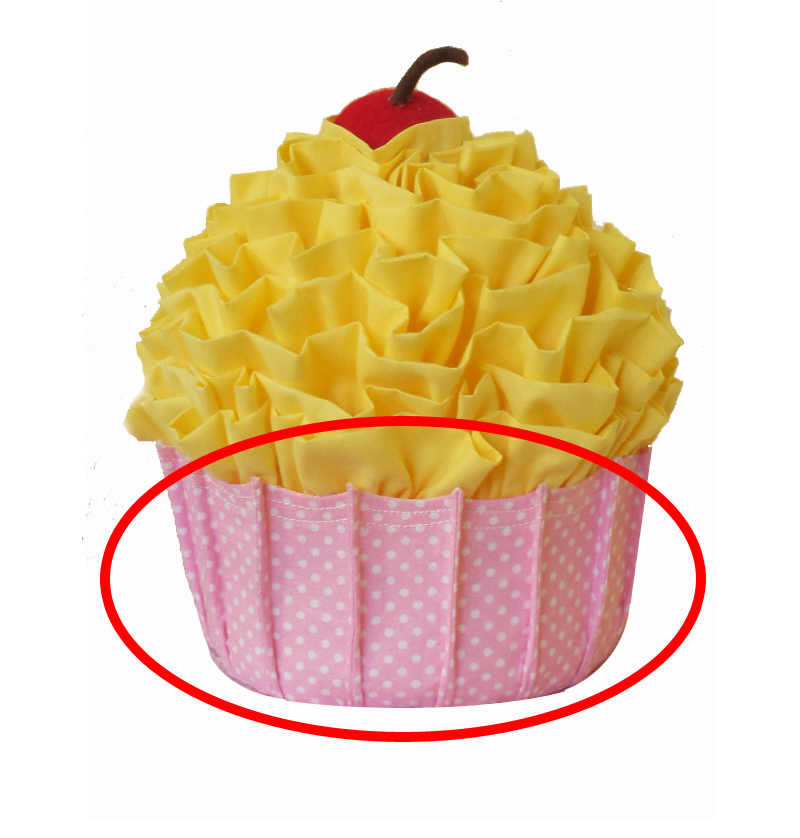
By the end of today we will have this:
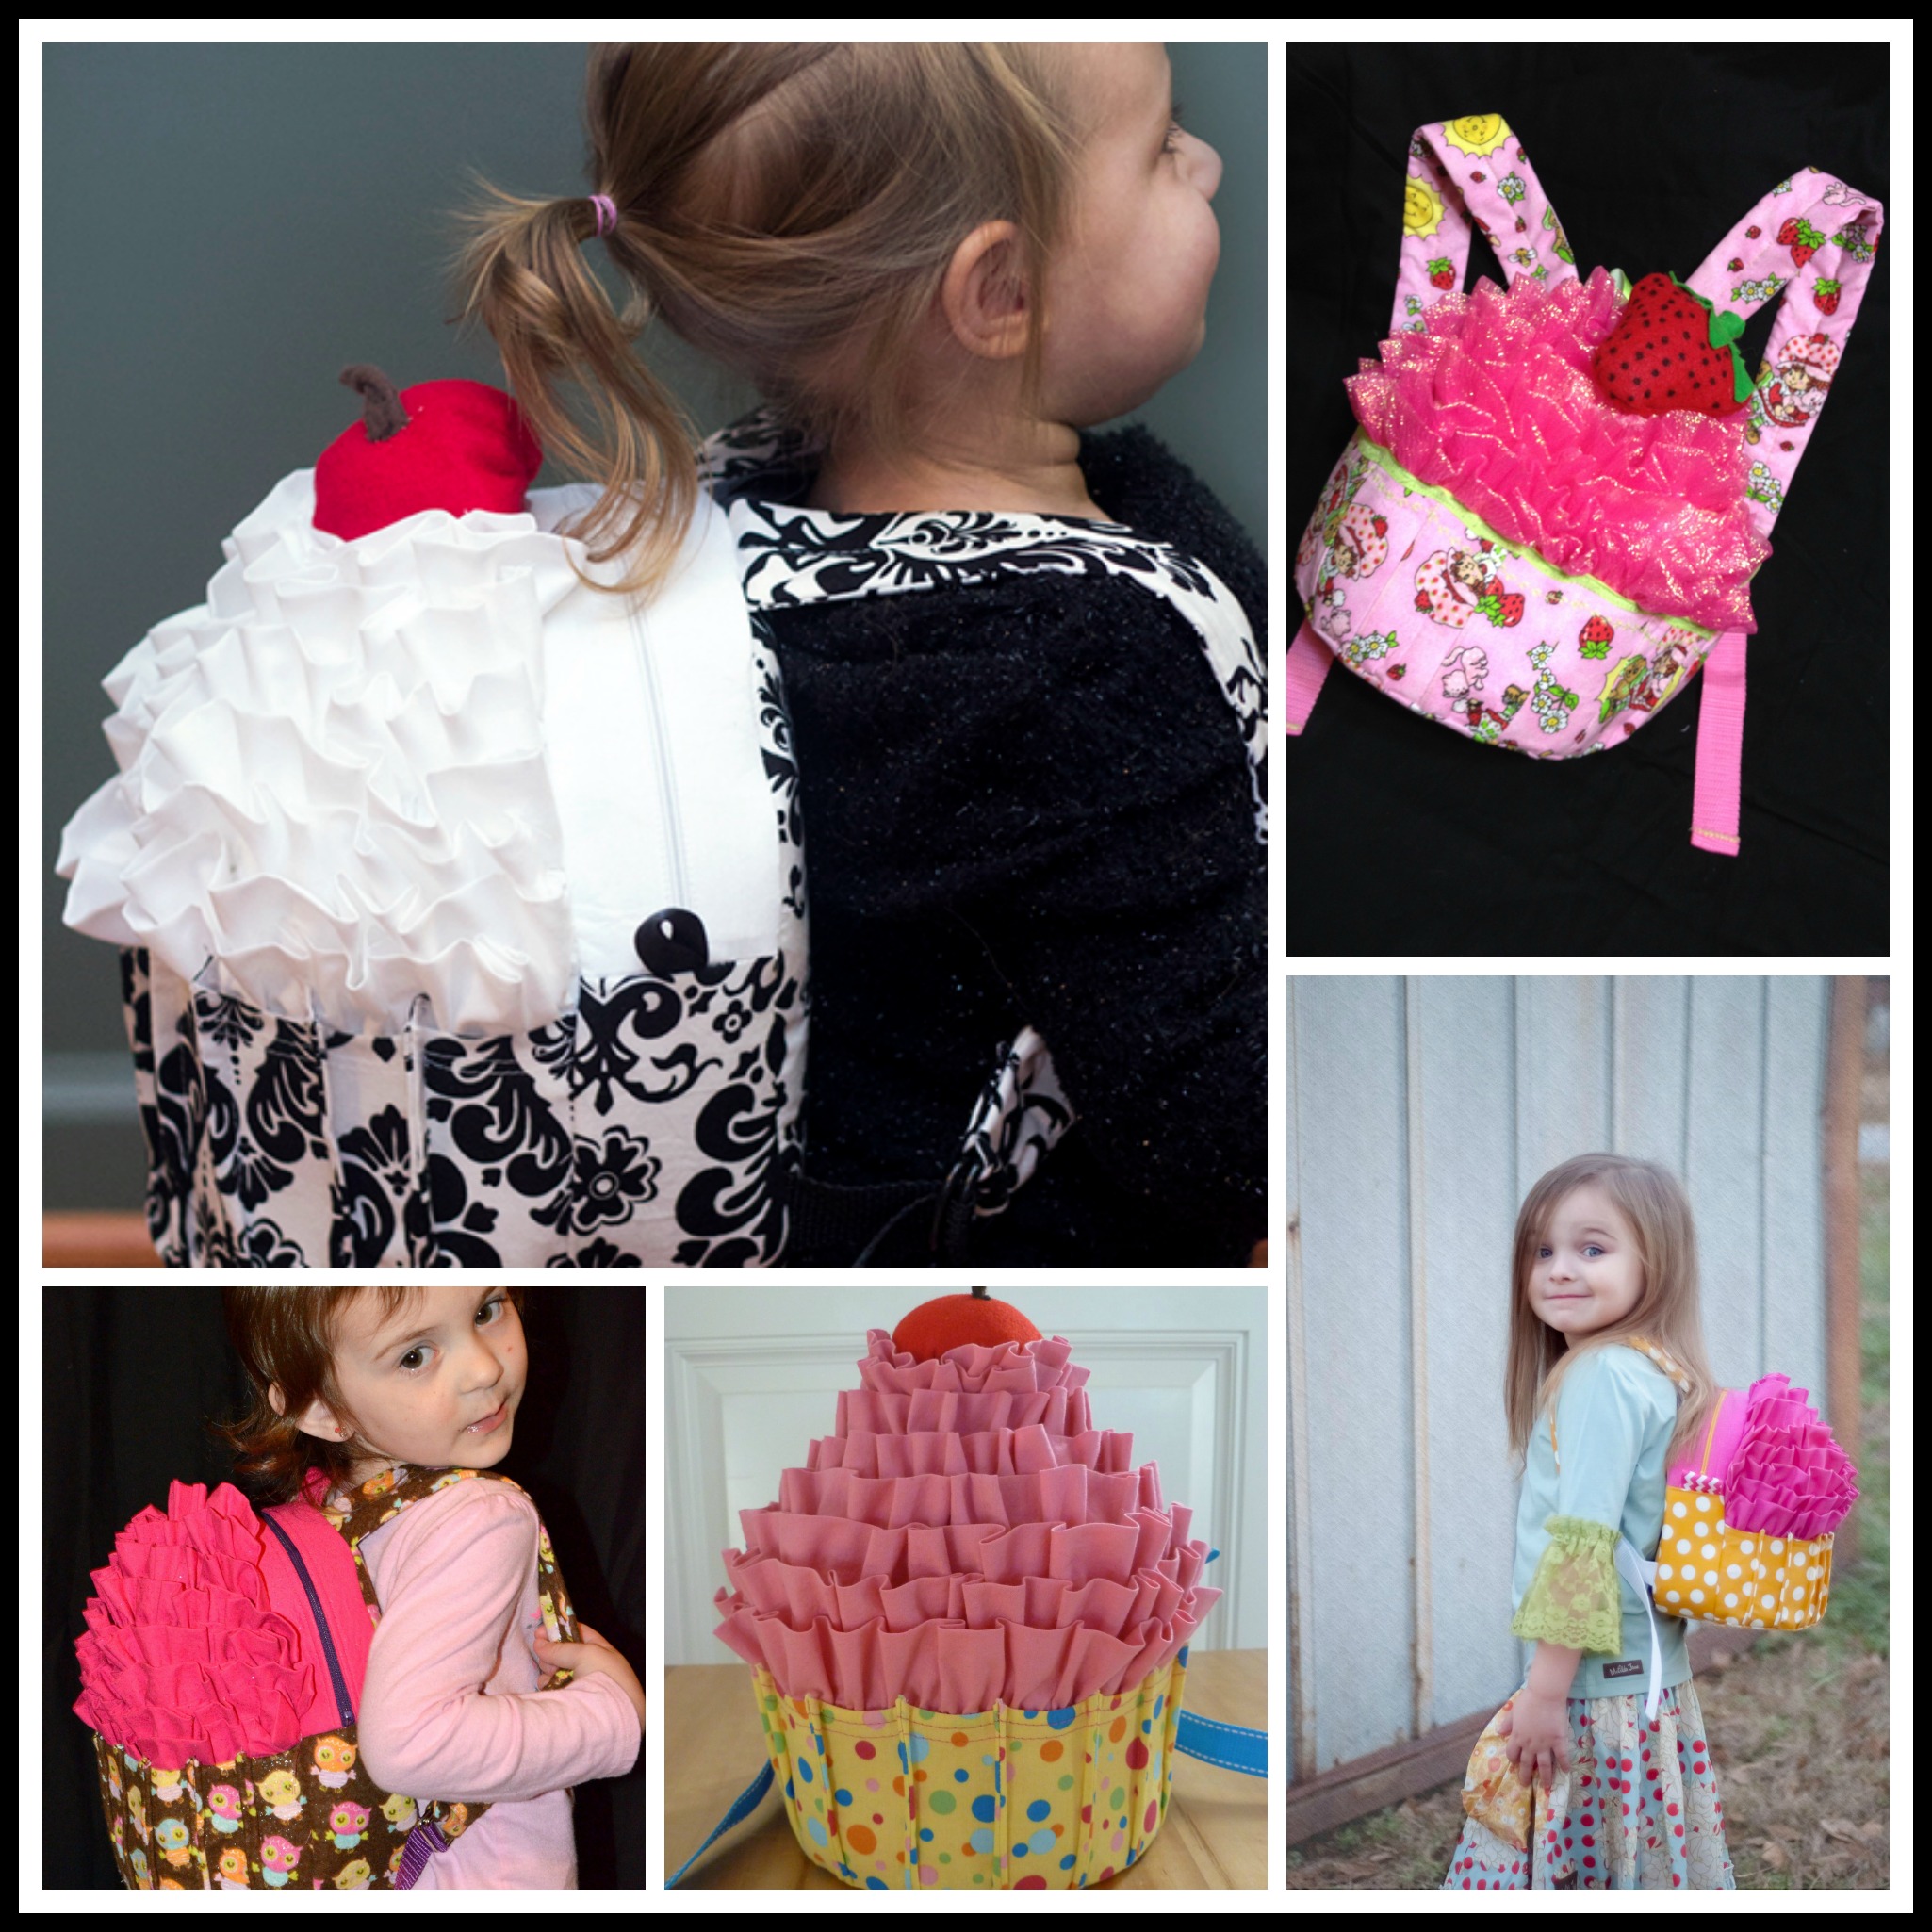
Before we start, I am going to encourage you to be as accurate in your cutting and sewing as you can and don’t hesitate to ask questions. This is an intermediate pattern that has half circles and curves that can be a little challenging – because with curves little deviations get bigger! I am not trying to freak you out or discourage you in any way, in fact, many of my pattern testers were advanced beginners, and they made some amazing backpacks (take a look below at what they created!). Please read through the pattern and use it in conjunction with the sew along posts. Don’t worry, we will get it done together!
IMPORTANT: Despite my best efforts I was horrified to find a few errors in the pattern as I prepared for the sew along. None of which will effect the construction or outcome of the bag, or anything like that. Two of them were the last changes I made to the pattern and I think I failed to save them (bowing head in shame) and 2 just weren’t caught during testing. Sorry for that! Anyway, if you have already printed out the pattern, don’t waste your ink, you can just make the changes on your copy. If you haven’t printed the pattern, I have posted the new file on my website, Etsy and Craftsy so you can just download the newest, corrected version.
Correction 1: For medium weight interfacing, it should be 1/4 yard instead of 1/8 yard.
Corrections 2: On page 2, under the cutting chart it says: ***If using a directional print, cut 2 @ 3 1/4 x 9 5/8″. It should say: ***If using a directional print, cut 4 @ 3 1/4 x 9 5/8″
Correction 3: On page 5 step 14, there is chart that looks like this:
Row # Cut J to length of… Ruffle to length of…
1 9 ” 5 3/4″
2 14″ 7″
The first 2 rows should say:
Row # Cut J to length of… Ruffle to length of…
1 9 ” 4 1/2″
2 12″ 6″
Correction 4
On page 13 the pattern piece should read “Pattern Piece B” not “Pattern Piece #2”.
Ok, now we can start!!
So, I am going to start at the point in the pattern where all the pieces have been cut and marked. Most of the cutting should be pretty straight forward. I did want t point out that is you are using a directional print (a print that has a obvious direction) for the wrapper and back panels, etc. you do cut your lower gusset pieces (G) a little differently. You will need 4 @ 3 1/4 x 9 5/8″ . If you have any other questions about cutting, post them in the Facebook Group and I’ll be happy to answer them.
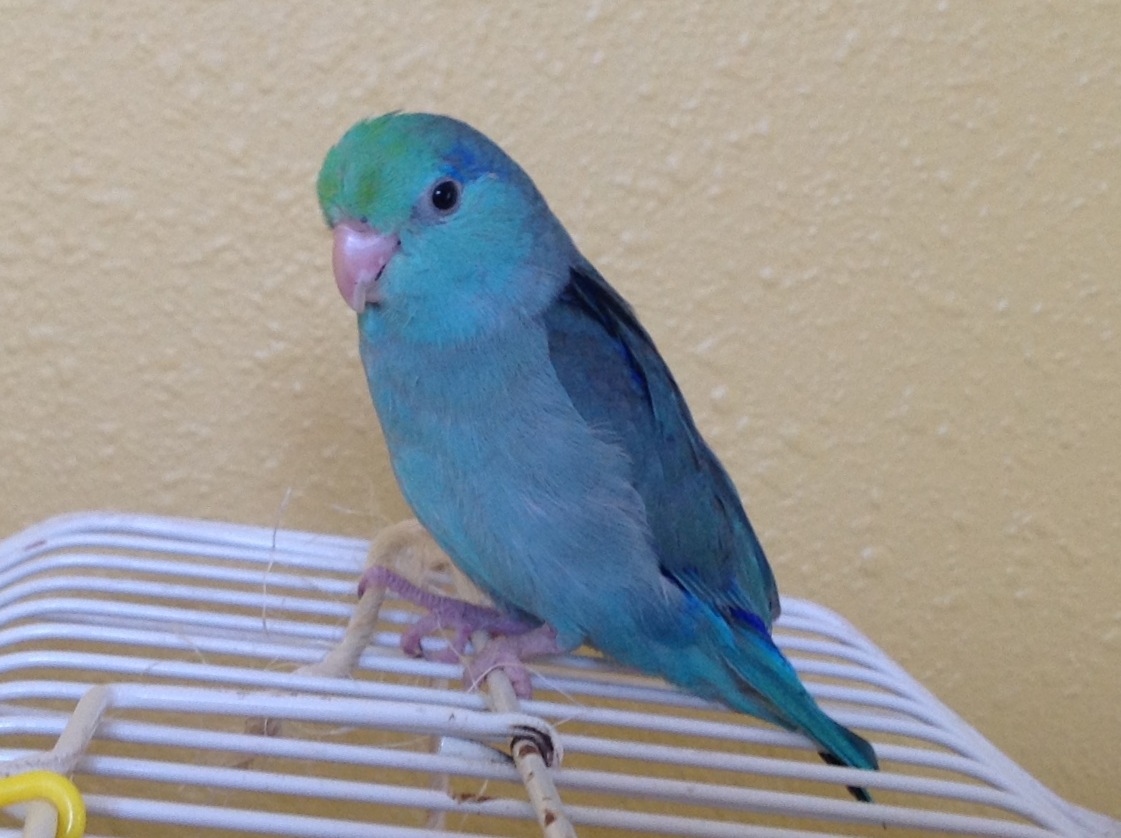
I’m sure this is the point where I should have a photo of all my cut pieces artfully fanned out for display, Unfortunately, I am a “cut- as-I-go” kind of girl, so in lieu of that, here is a picture of my parrotlet, Cheepy.
Today we are going to work on the cupcake wrapper, steps 1-8 in the pattern:
So you will need these pieces: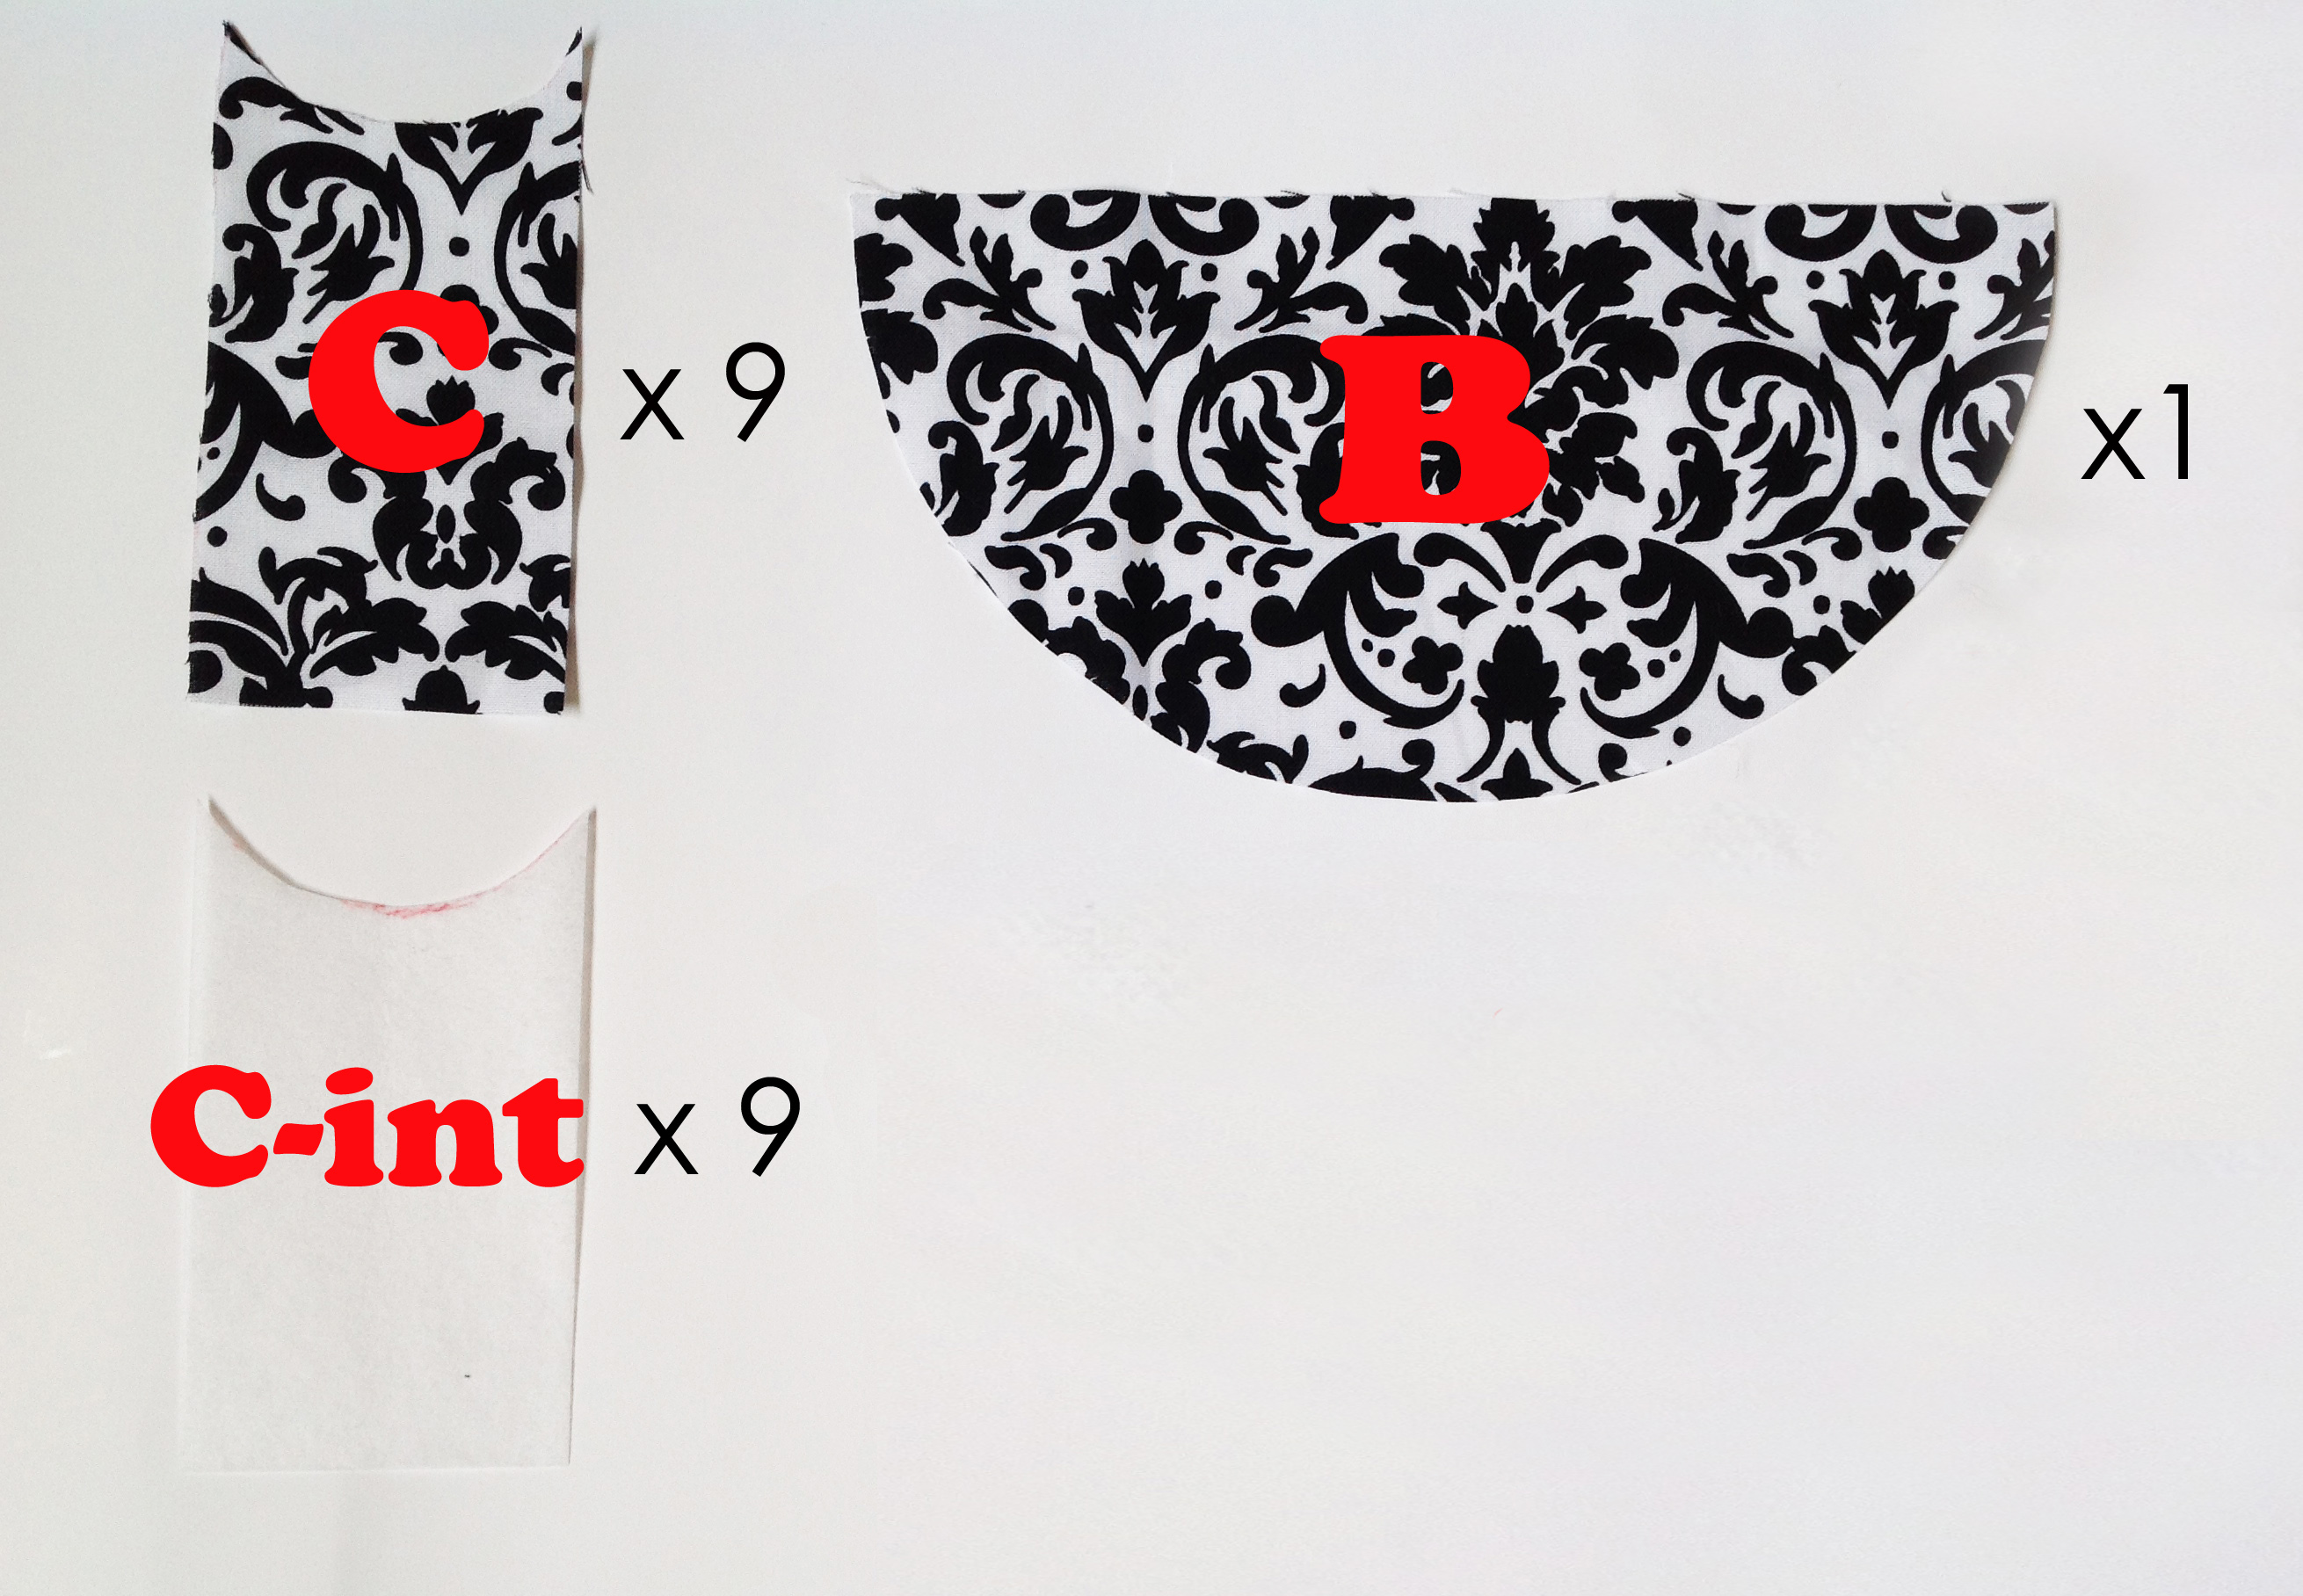
If you haven’t cut the “C” pieces yet, I posted a shortcut that will take some of the angst out of cutting and interfacing them (if you find that sort of thing angst-ful, like I do!). Also, keep in mind that you aren’t limited to just using a solid piece of fabric to cut these from, If you like a patchwork look, you could do something like this: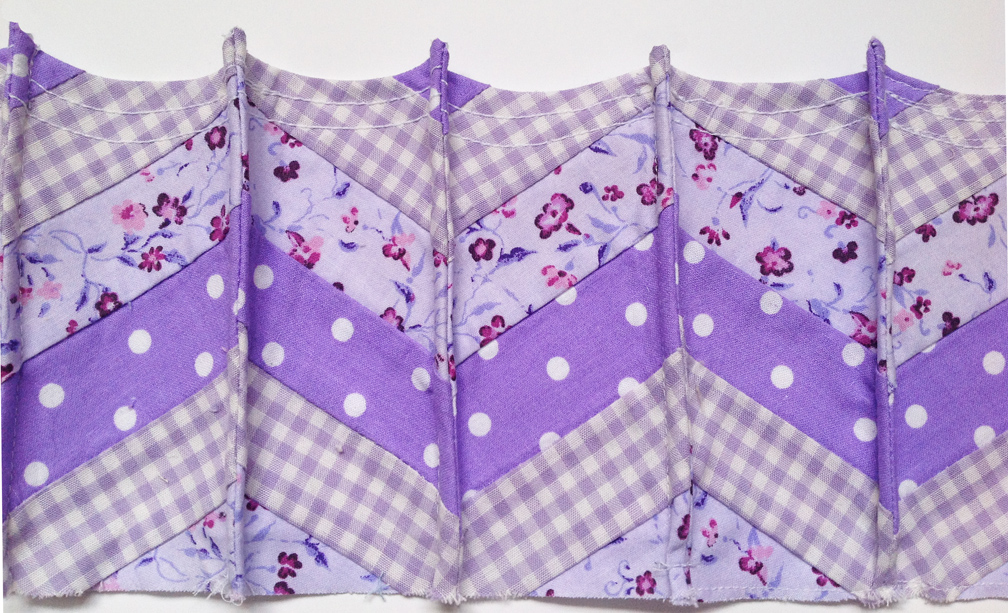
Today we will be using a lot of 1/4″ seams but please remember unless otherwise specified, the default seam allowance for this pattern is 1/2″!!
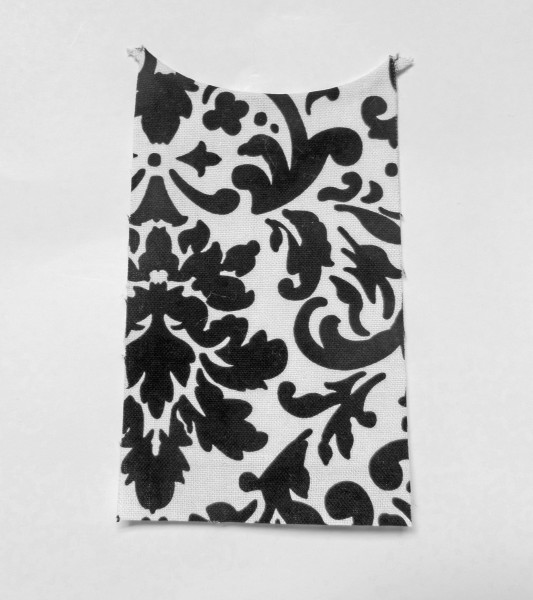
We’ll work with the C pieces first, so grab those and the interfacing (c-int). If you followed the shortcut, you have already done this step, so scroll on down. If not, finish the edges of each piece by either serging or using a zig zag or overcast stitch. Then, lay your interfacing glue side up (the glue side is shiny or, in some cases, bumpy) on the right side of your C piece and sew 1/4″ from the top, curved edge. For this step I like to use a 1/4′ piecing foot. Repeat with all 9 pieces. You can chain piece to make the task quicker.
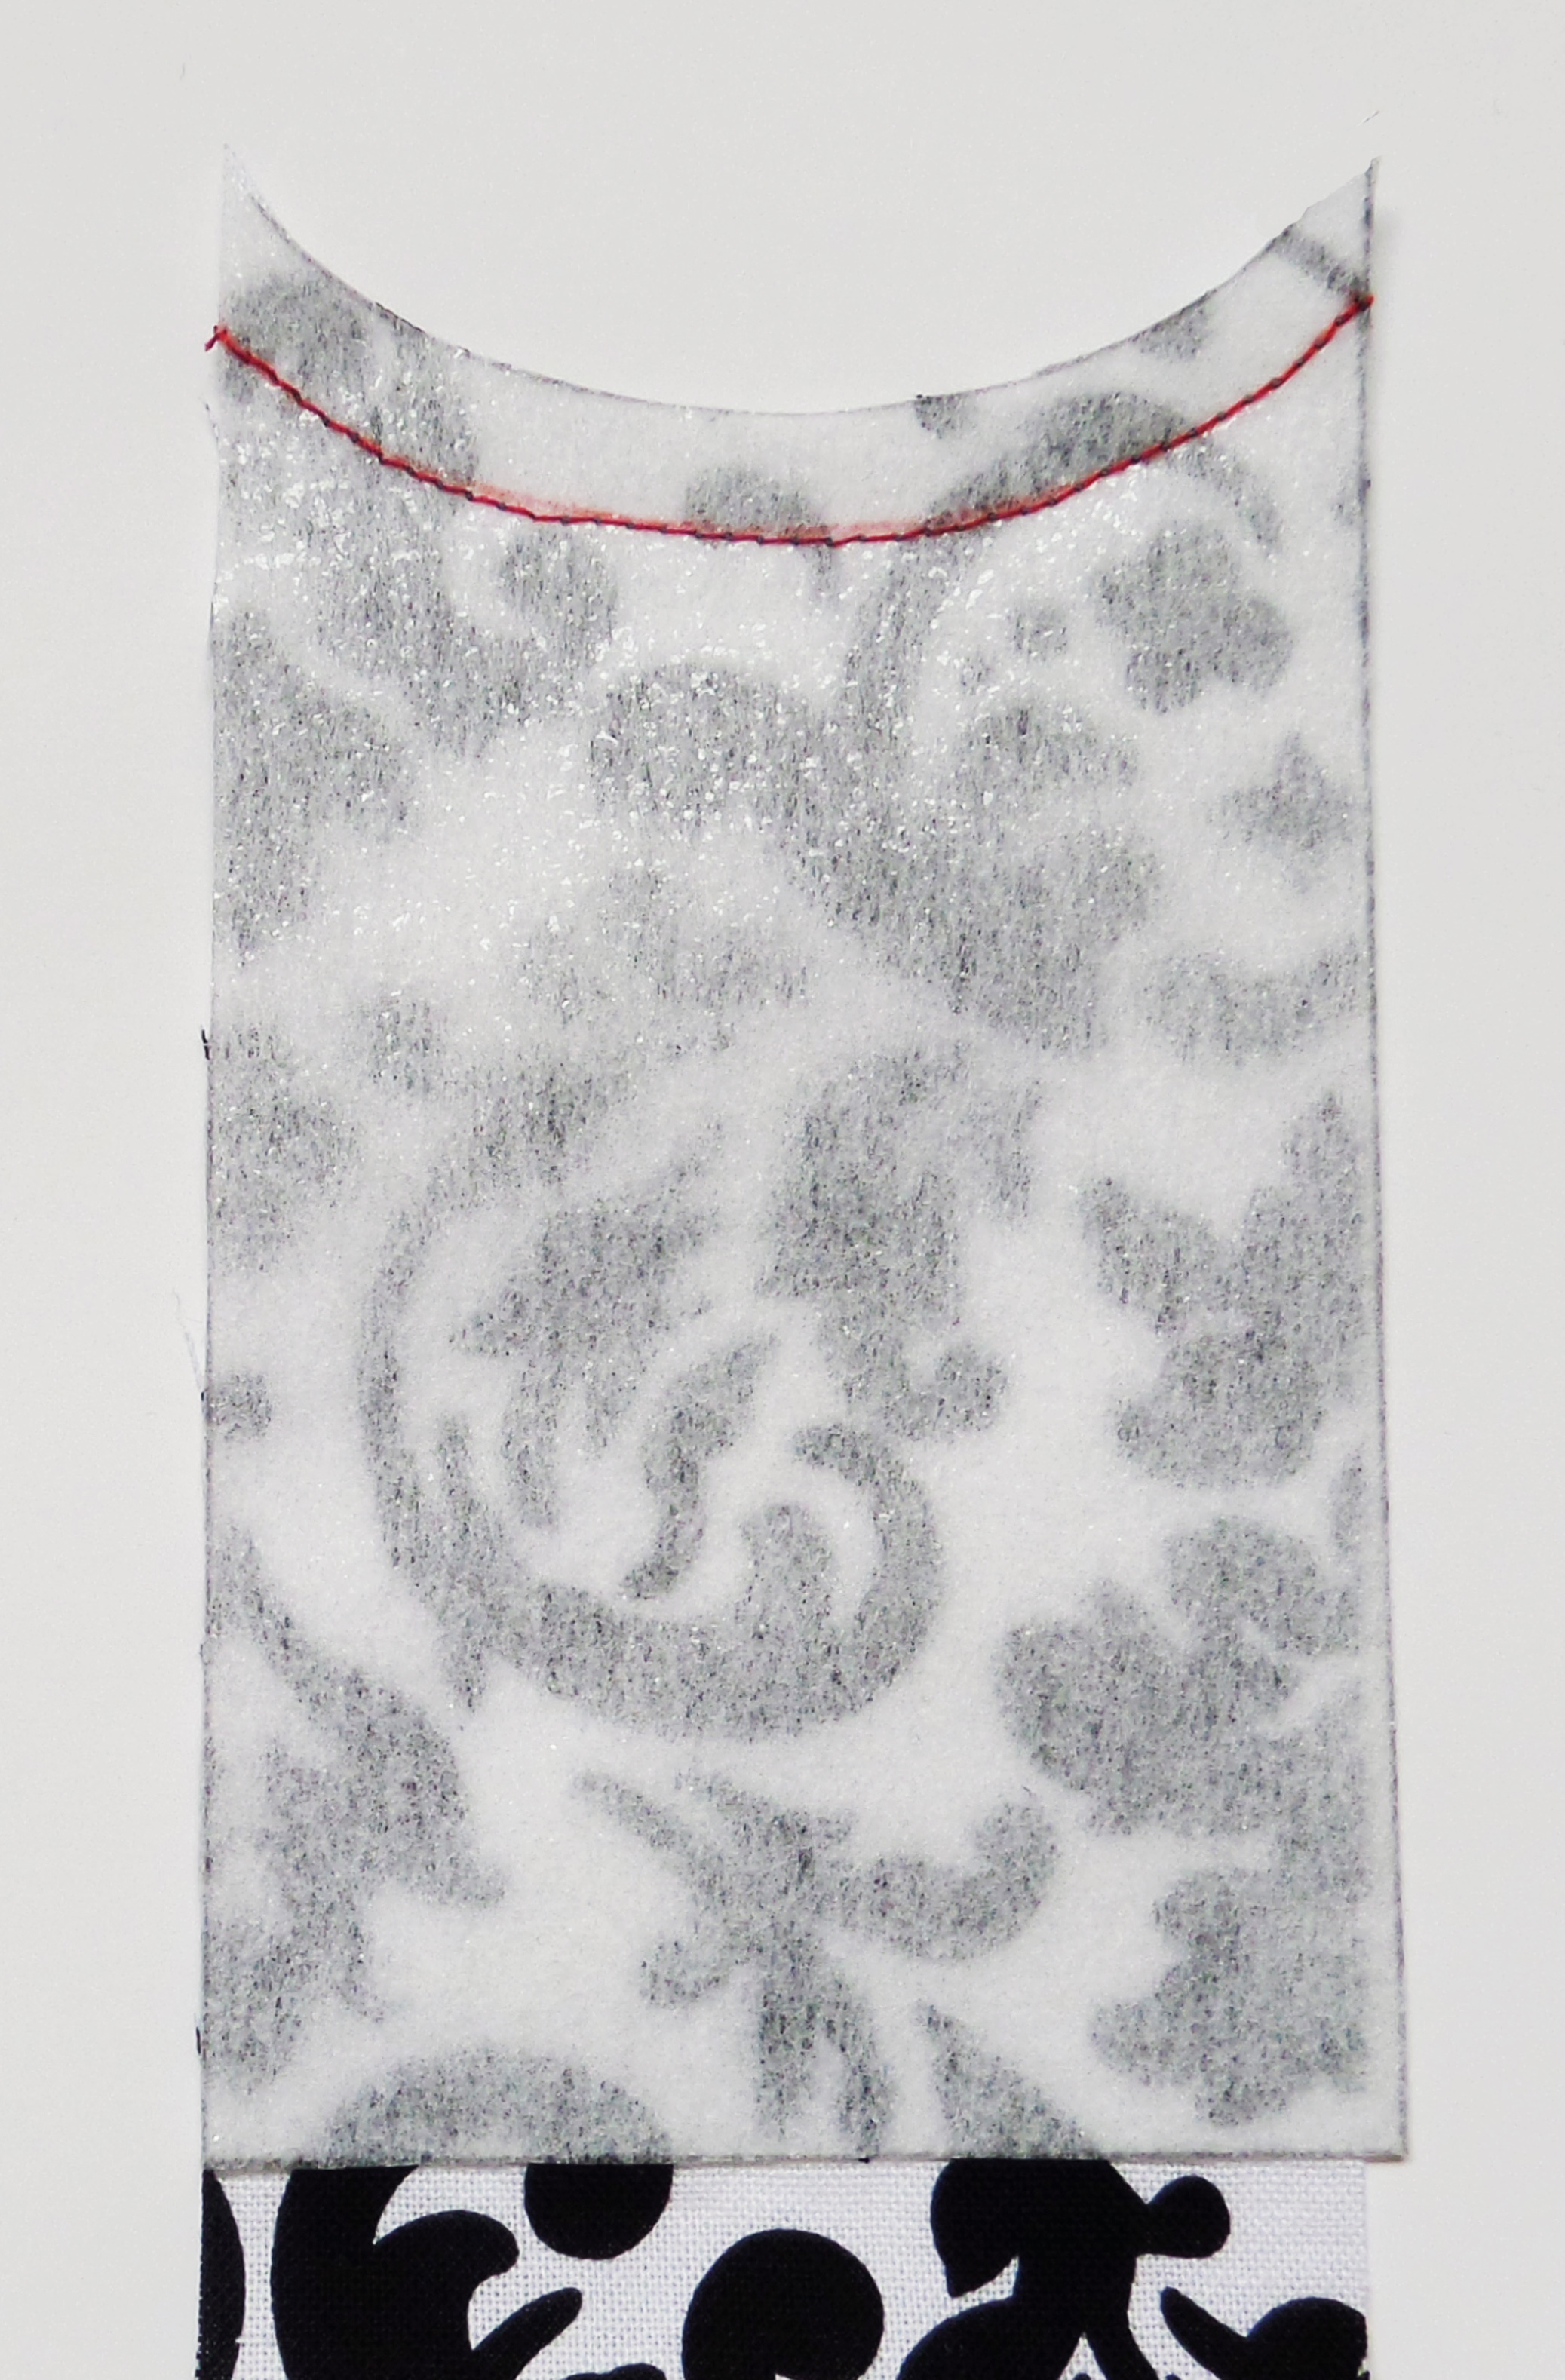
Now flip the interfacing the wrong side of the fabric and fingerpress the seam open. I find that starting in the middle of the seam and working out to the ends works best. Sometimes I use this seam presser thingy I got at a quilt show (basically, a piece of wood with a beveled end).
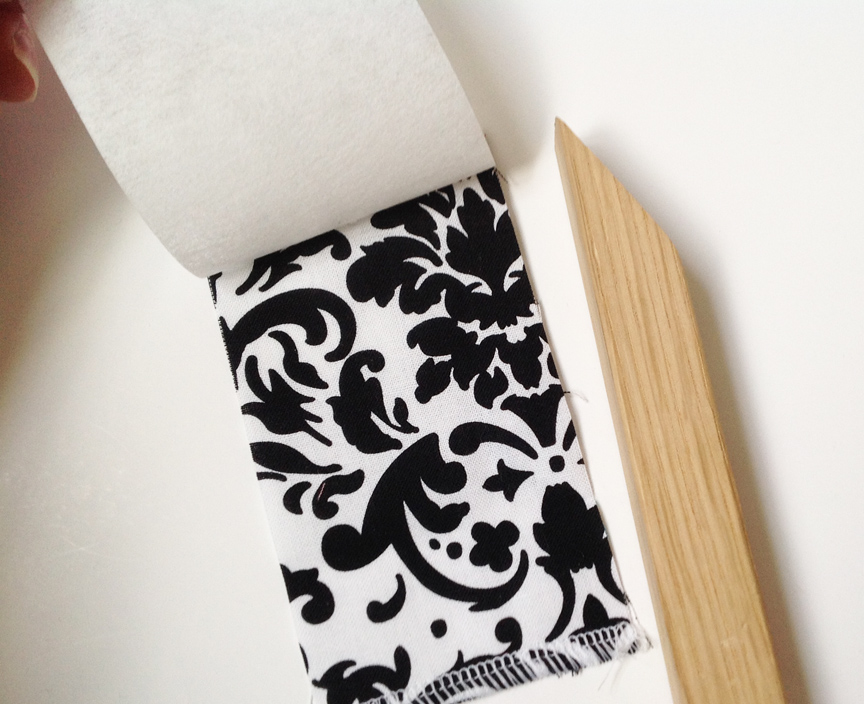
Fuse your interfacing to the back of the fabric. I start in the middle of the seam, and then iron to the ends while simultaneously pulling up on those those little triangles that appear (don’t burn your fingers!). Snip the little triangles off.
The next step is purely decorative, so you can get creative with it or not do it at all. I usually do a couple lines of stitching that follow the curve of the top. On this sample I used white topstitching thread. Unfortunately, I am now considering pink frosting vs. the white I had planned, so I am wishing I had done this in pink…. but I digress…Oh, and you can chain piece these also, which is pictured below.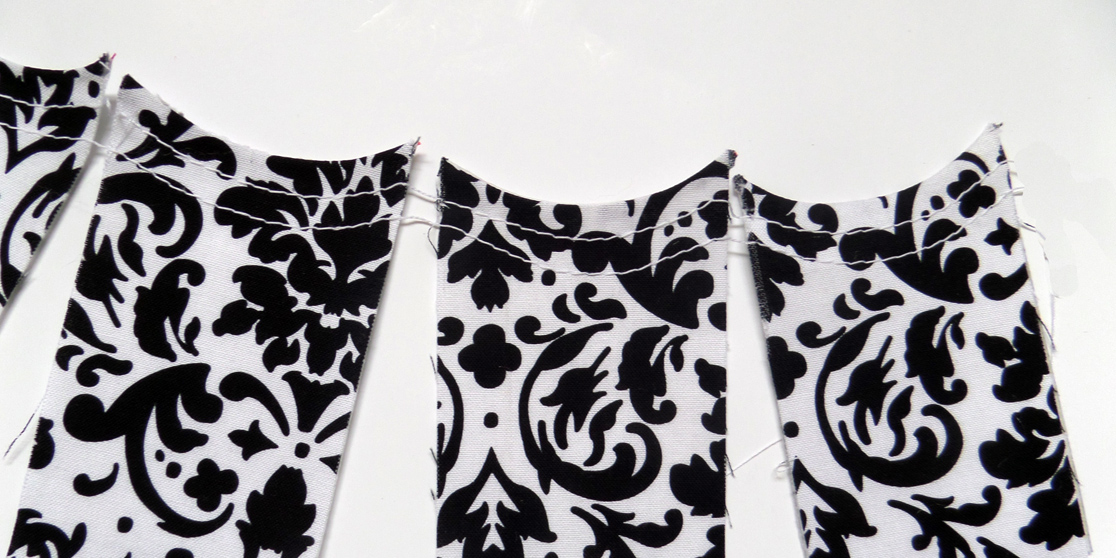
Or, you could do something more decorative like this: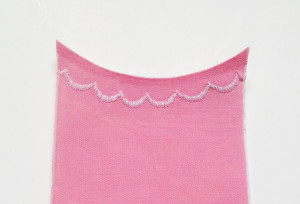
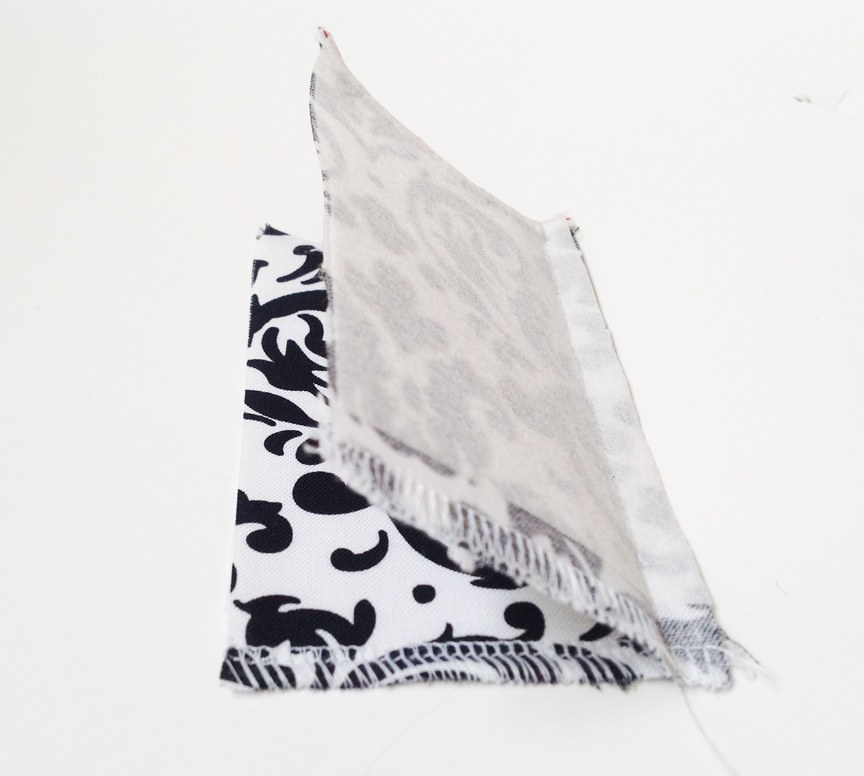
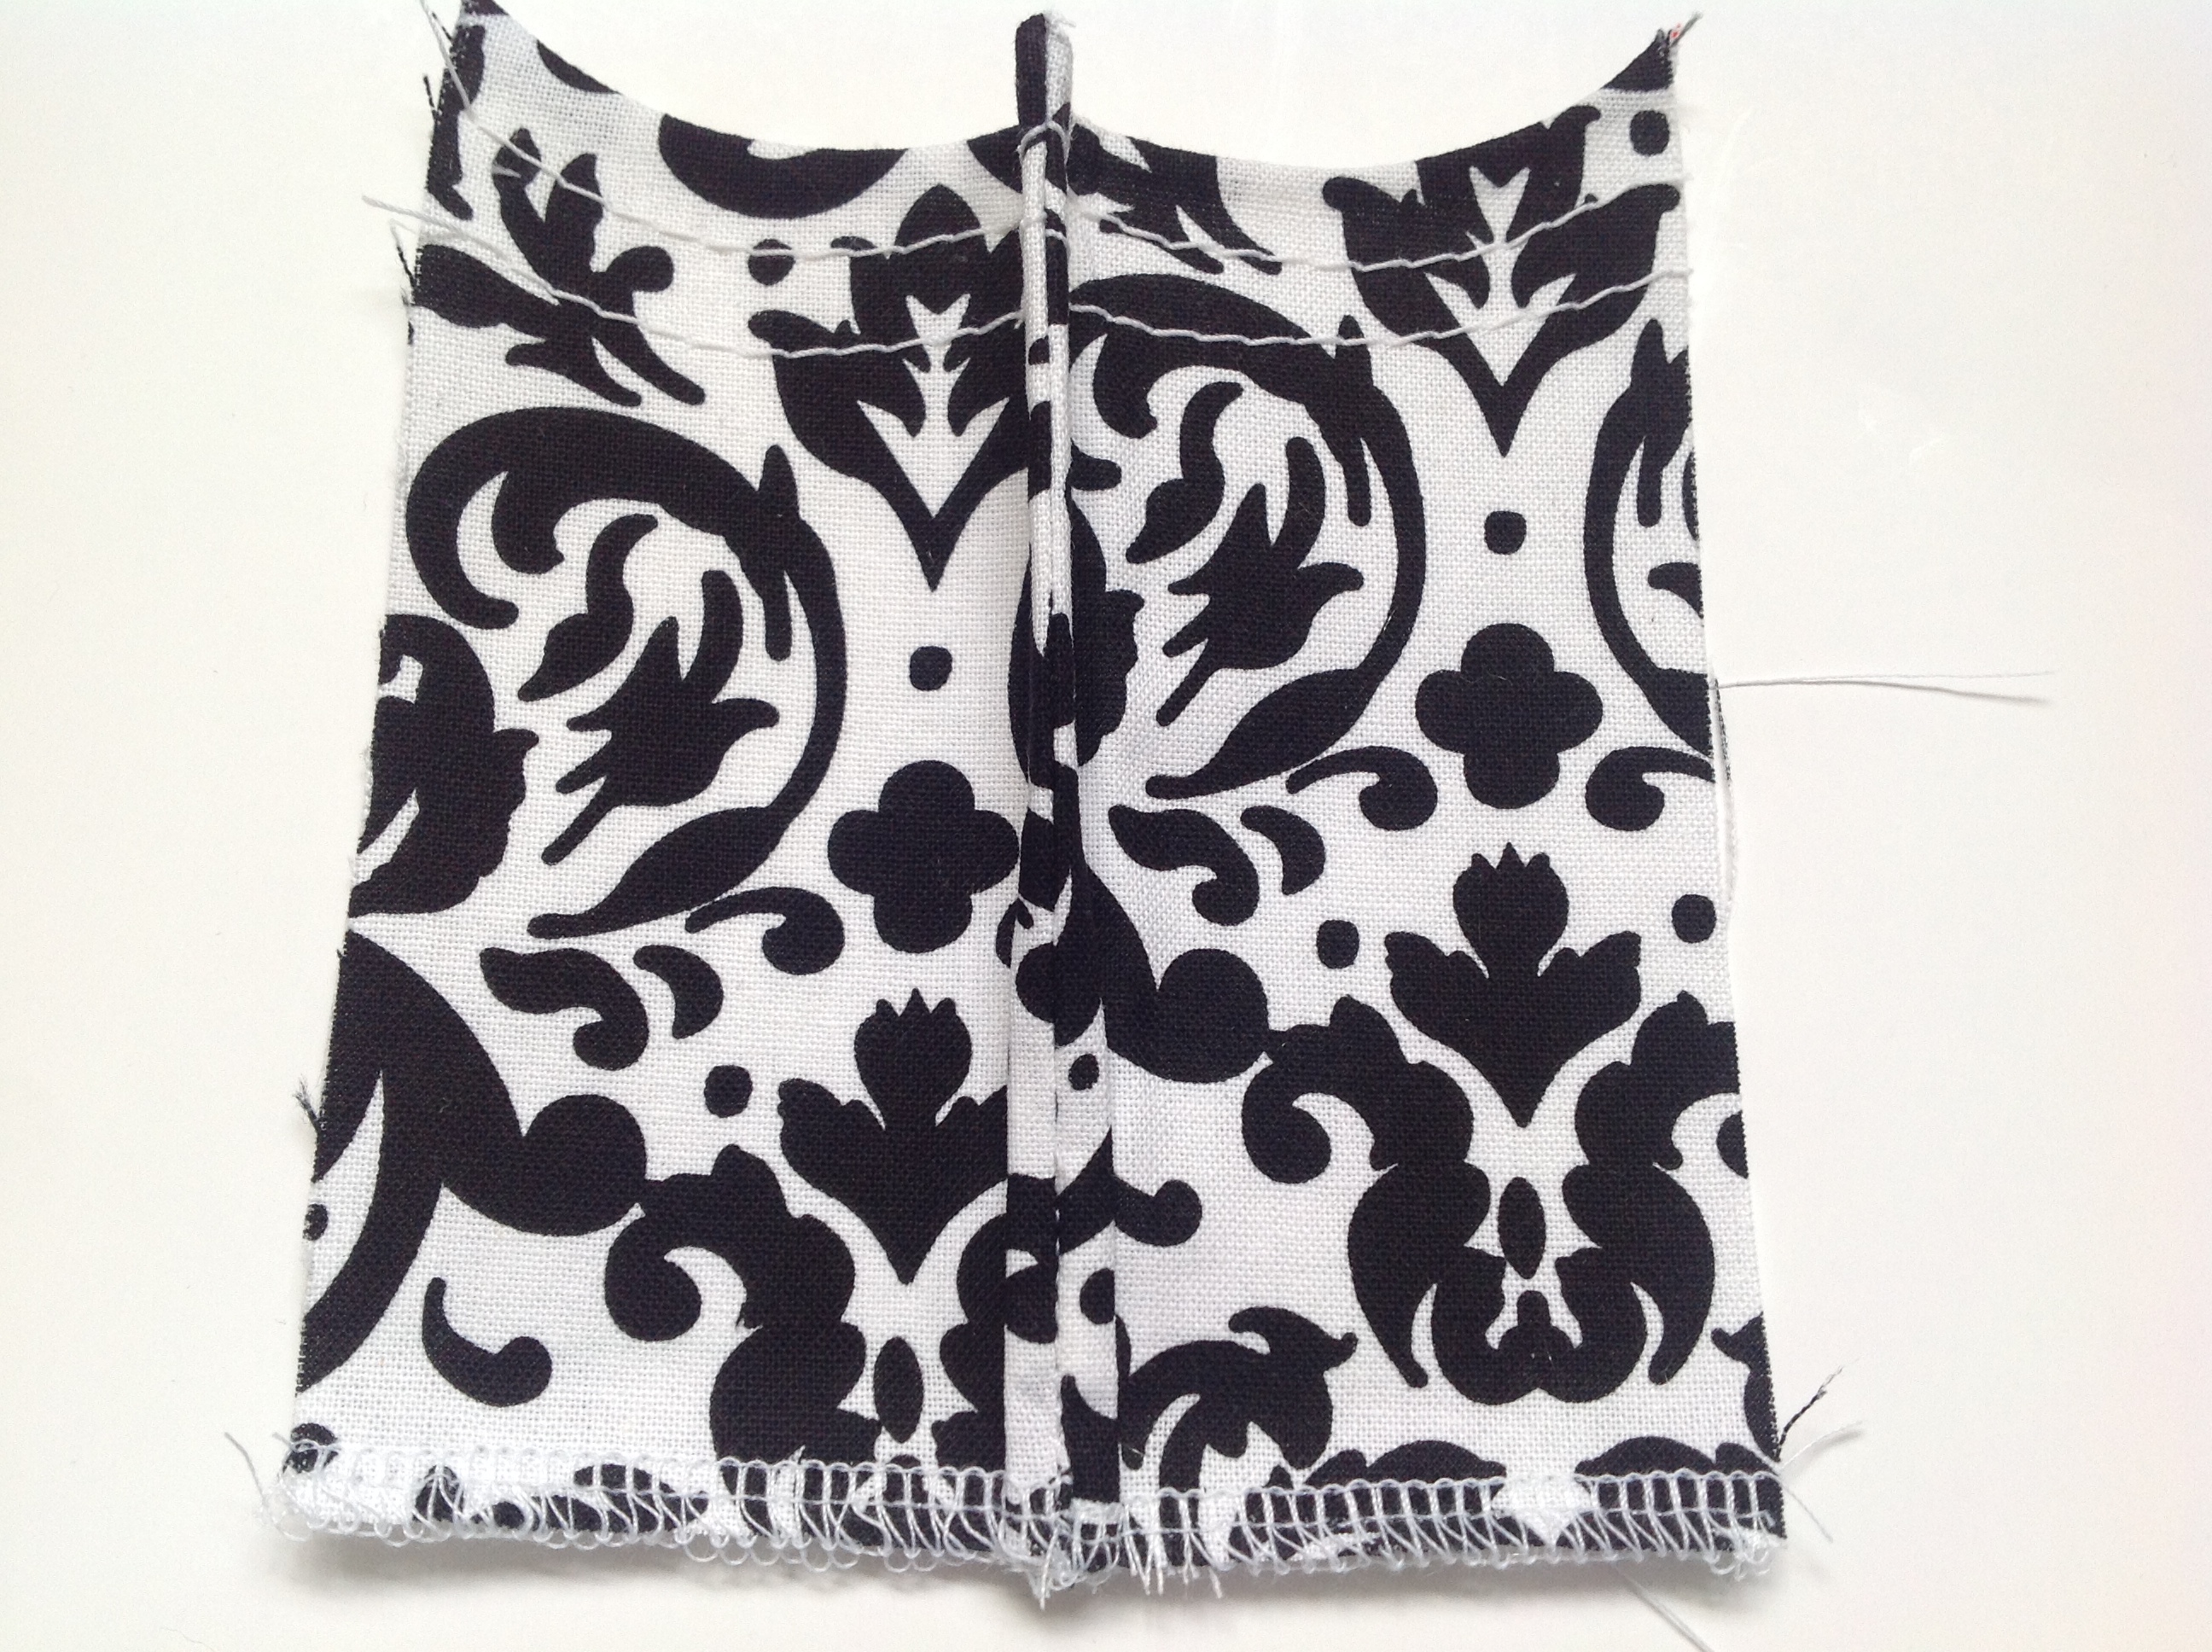
Now we’ll sew all the pieces together in a row. Take 2 pieces and put them right sides together. Sew them using a 1/4′ seam allowance. It’s very important for this seam and the next one to be 1/4″ because if you go over too much, your panel will be too short to go around the bottom. For a long time I thought following the side edge of the standard presser foot on my machine was 1/4″, it sure looked like it! But one day, after something had turned out too small (again!), I measured from my needle to the edge of that foot and it was over – curses! It was maybe 1/16 of an inch over – just a tiny amount, but it does add up!
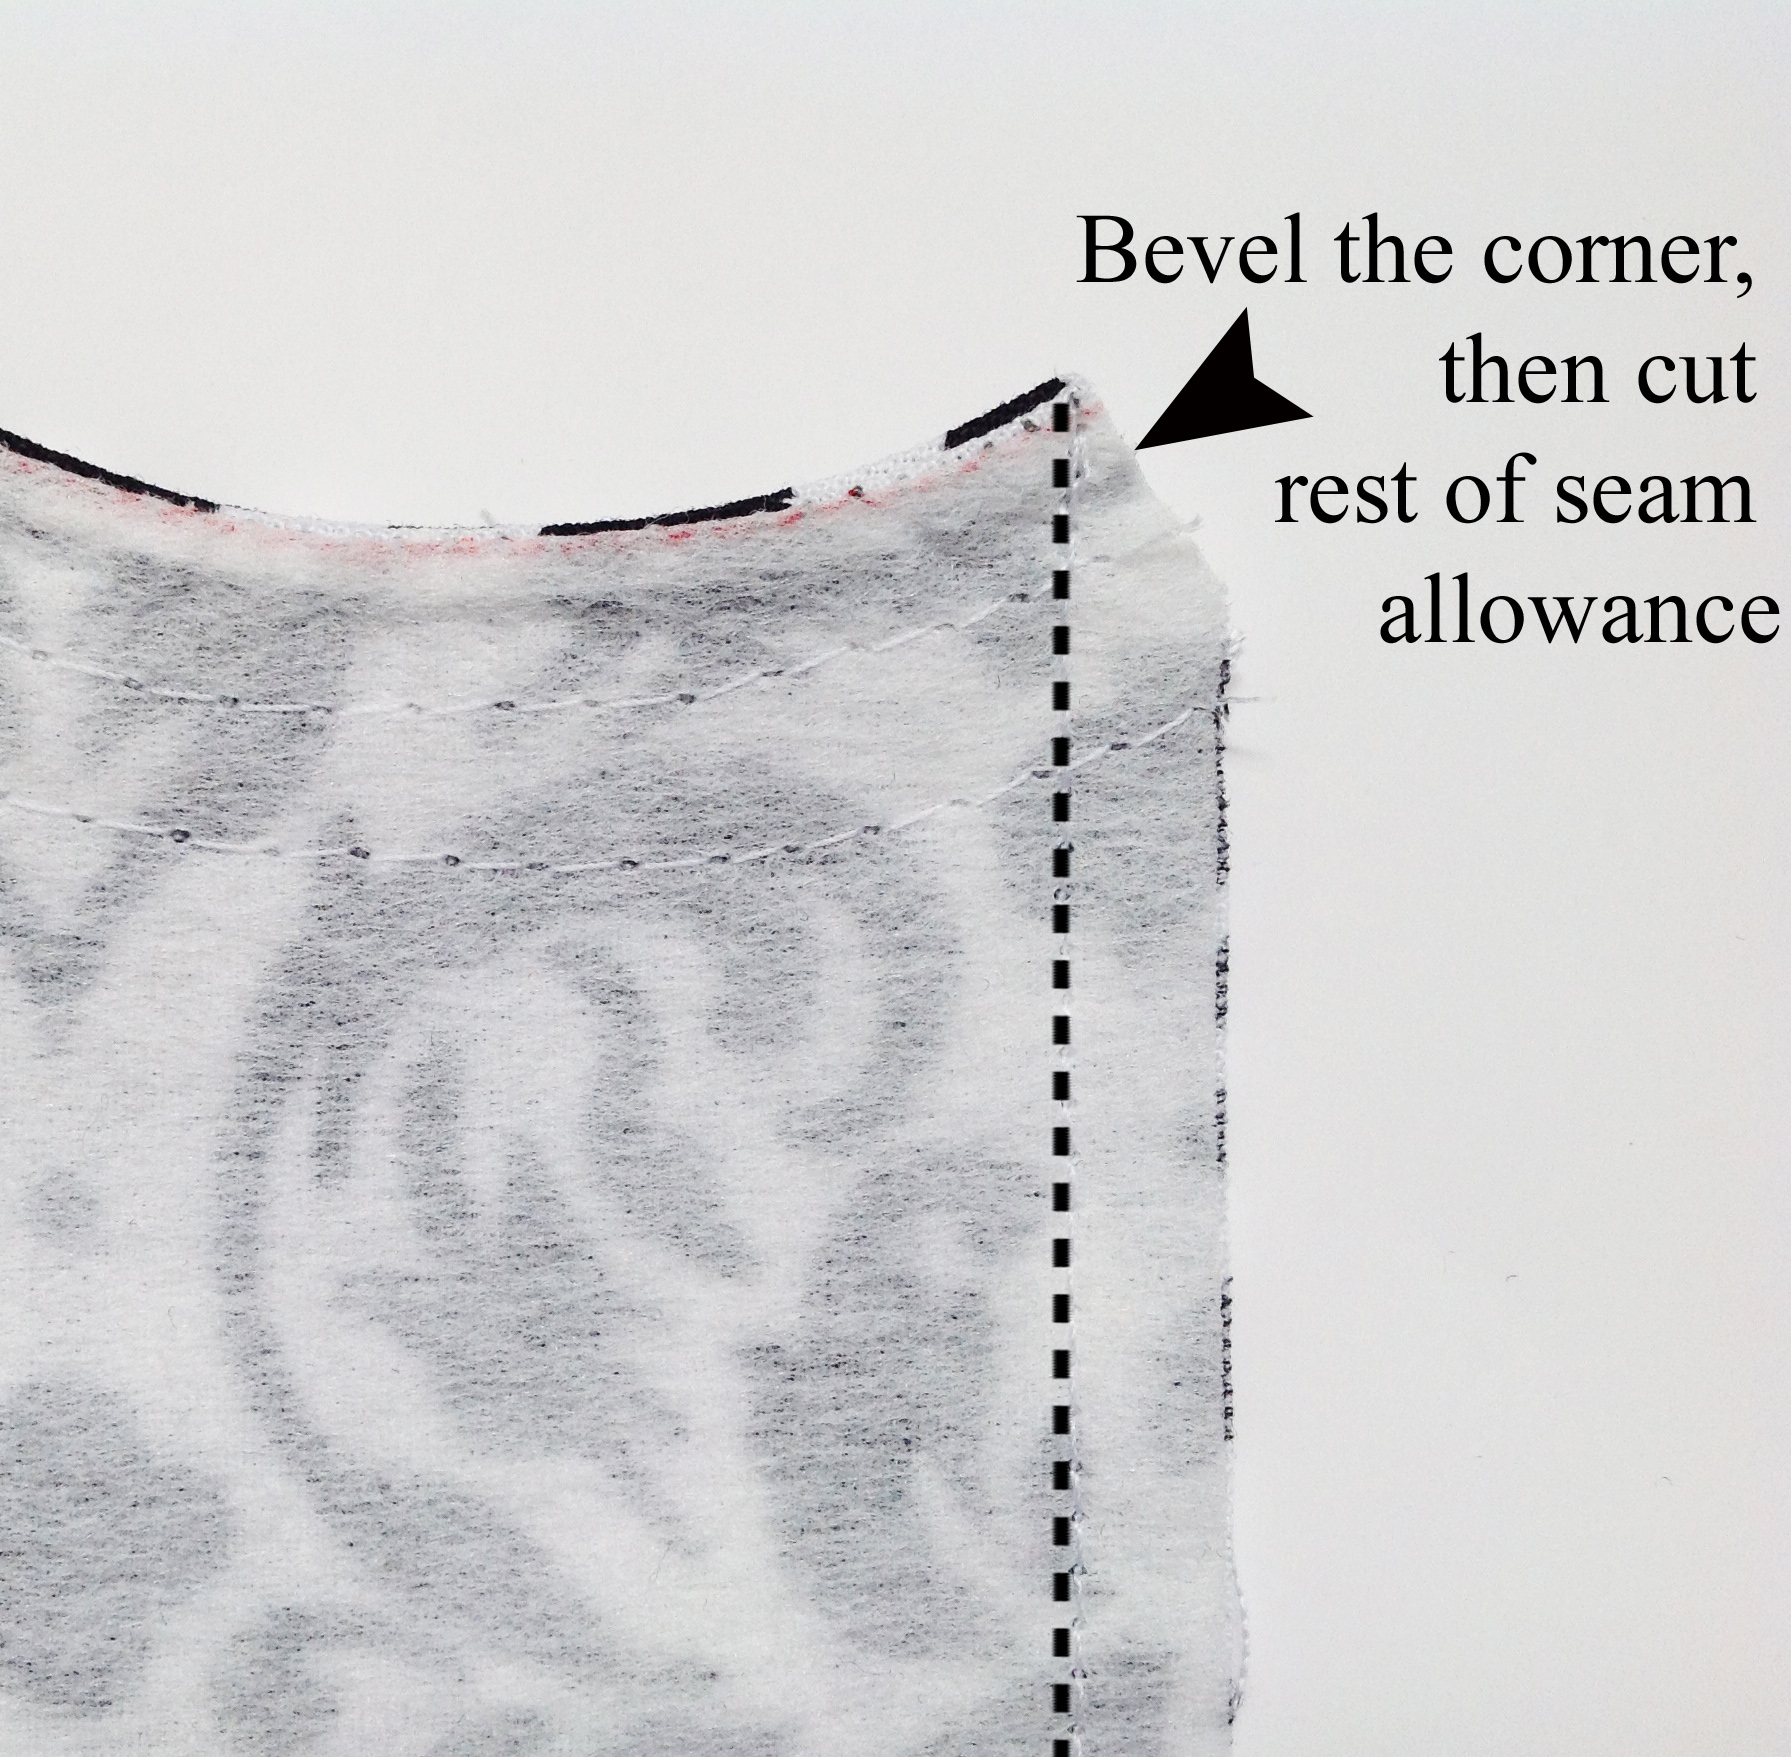
Bevel the top seam allowance like this – sorry, it might be a little hard to see…Then cut the remainder of the seam allowance to 1/8″.
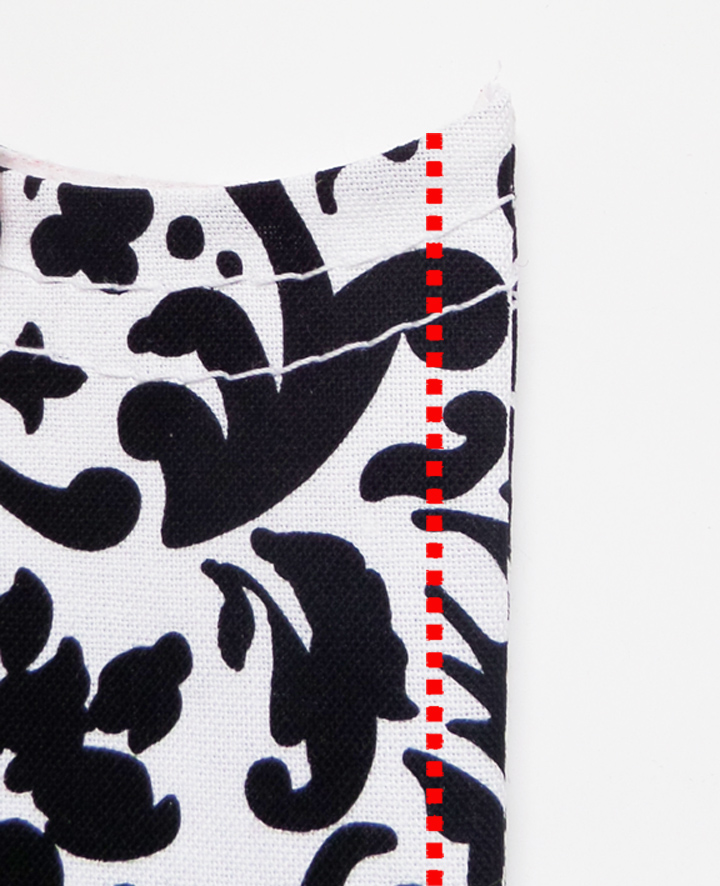
Now, open the panels up and bring the wrong sides together. Sew them again along the same edge you just sewed in the previous step using a 1/4″ seam allowance. This is called a French seam. It can be a little tricky to maintain your seam allowance with this seam because your foot will want to move off the bump created by the first seam that is inside the channel, so be aware of that. If you have a little of the first seam sticking out of the channel at the very top you can trim it and then use a little fray check.
Now we are going to flatten the channel at the bottom edge. I like to insert the point of small scissors into the channel, open them slightly, and the seam just flattens right out.
 Once your seam is flat, stitch in the ditch starting at the bottom edge about 1″ or so. You can also stitch a horizontal seam along the bottom edge if you want to be sure that whole seam stays flat.
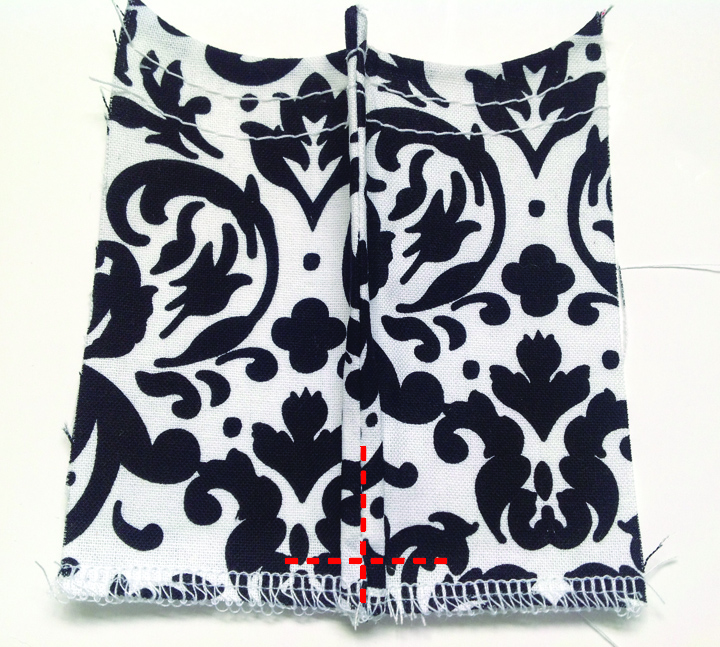
Flattening out that seam gives the seam channel a tapered appearance and makes it easier to attach to the bottom. 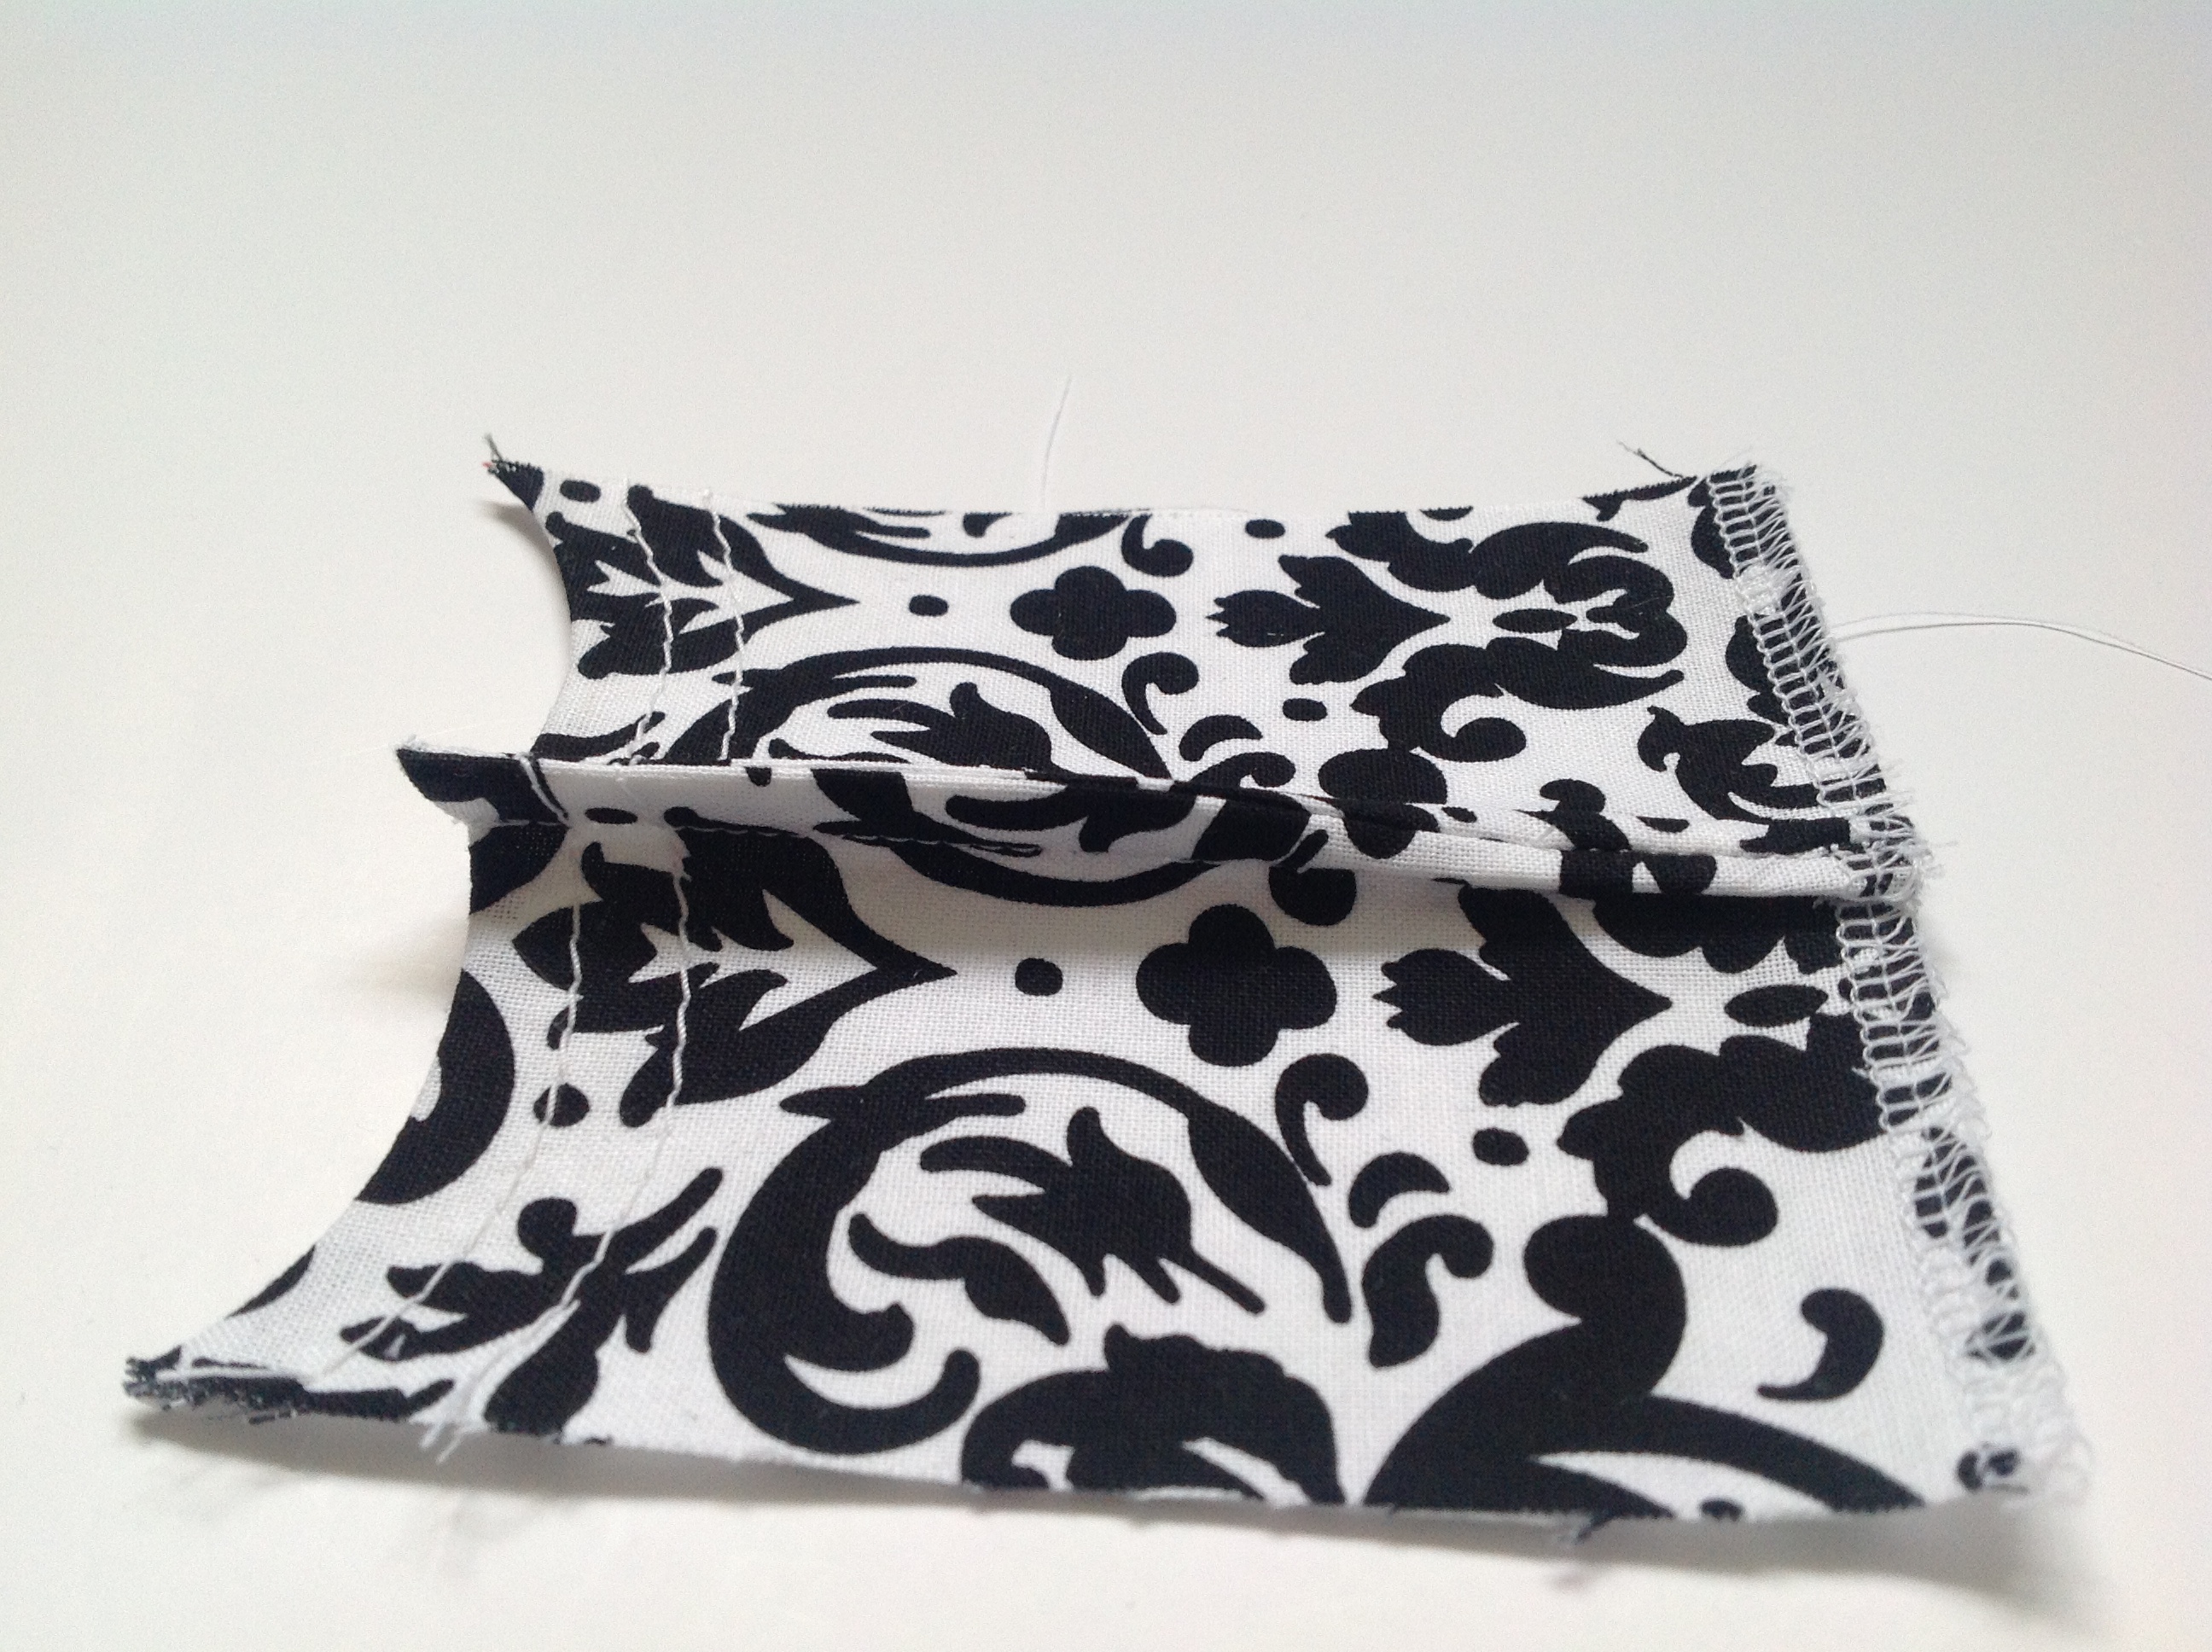 So, repeat that 7; adding all the C pieces to make a long panel ! And you get…well, I forgot to take a picture of it, but you get this…
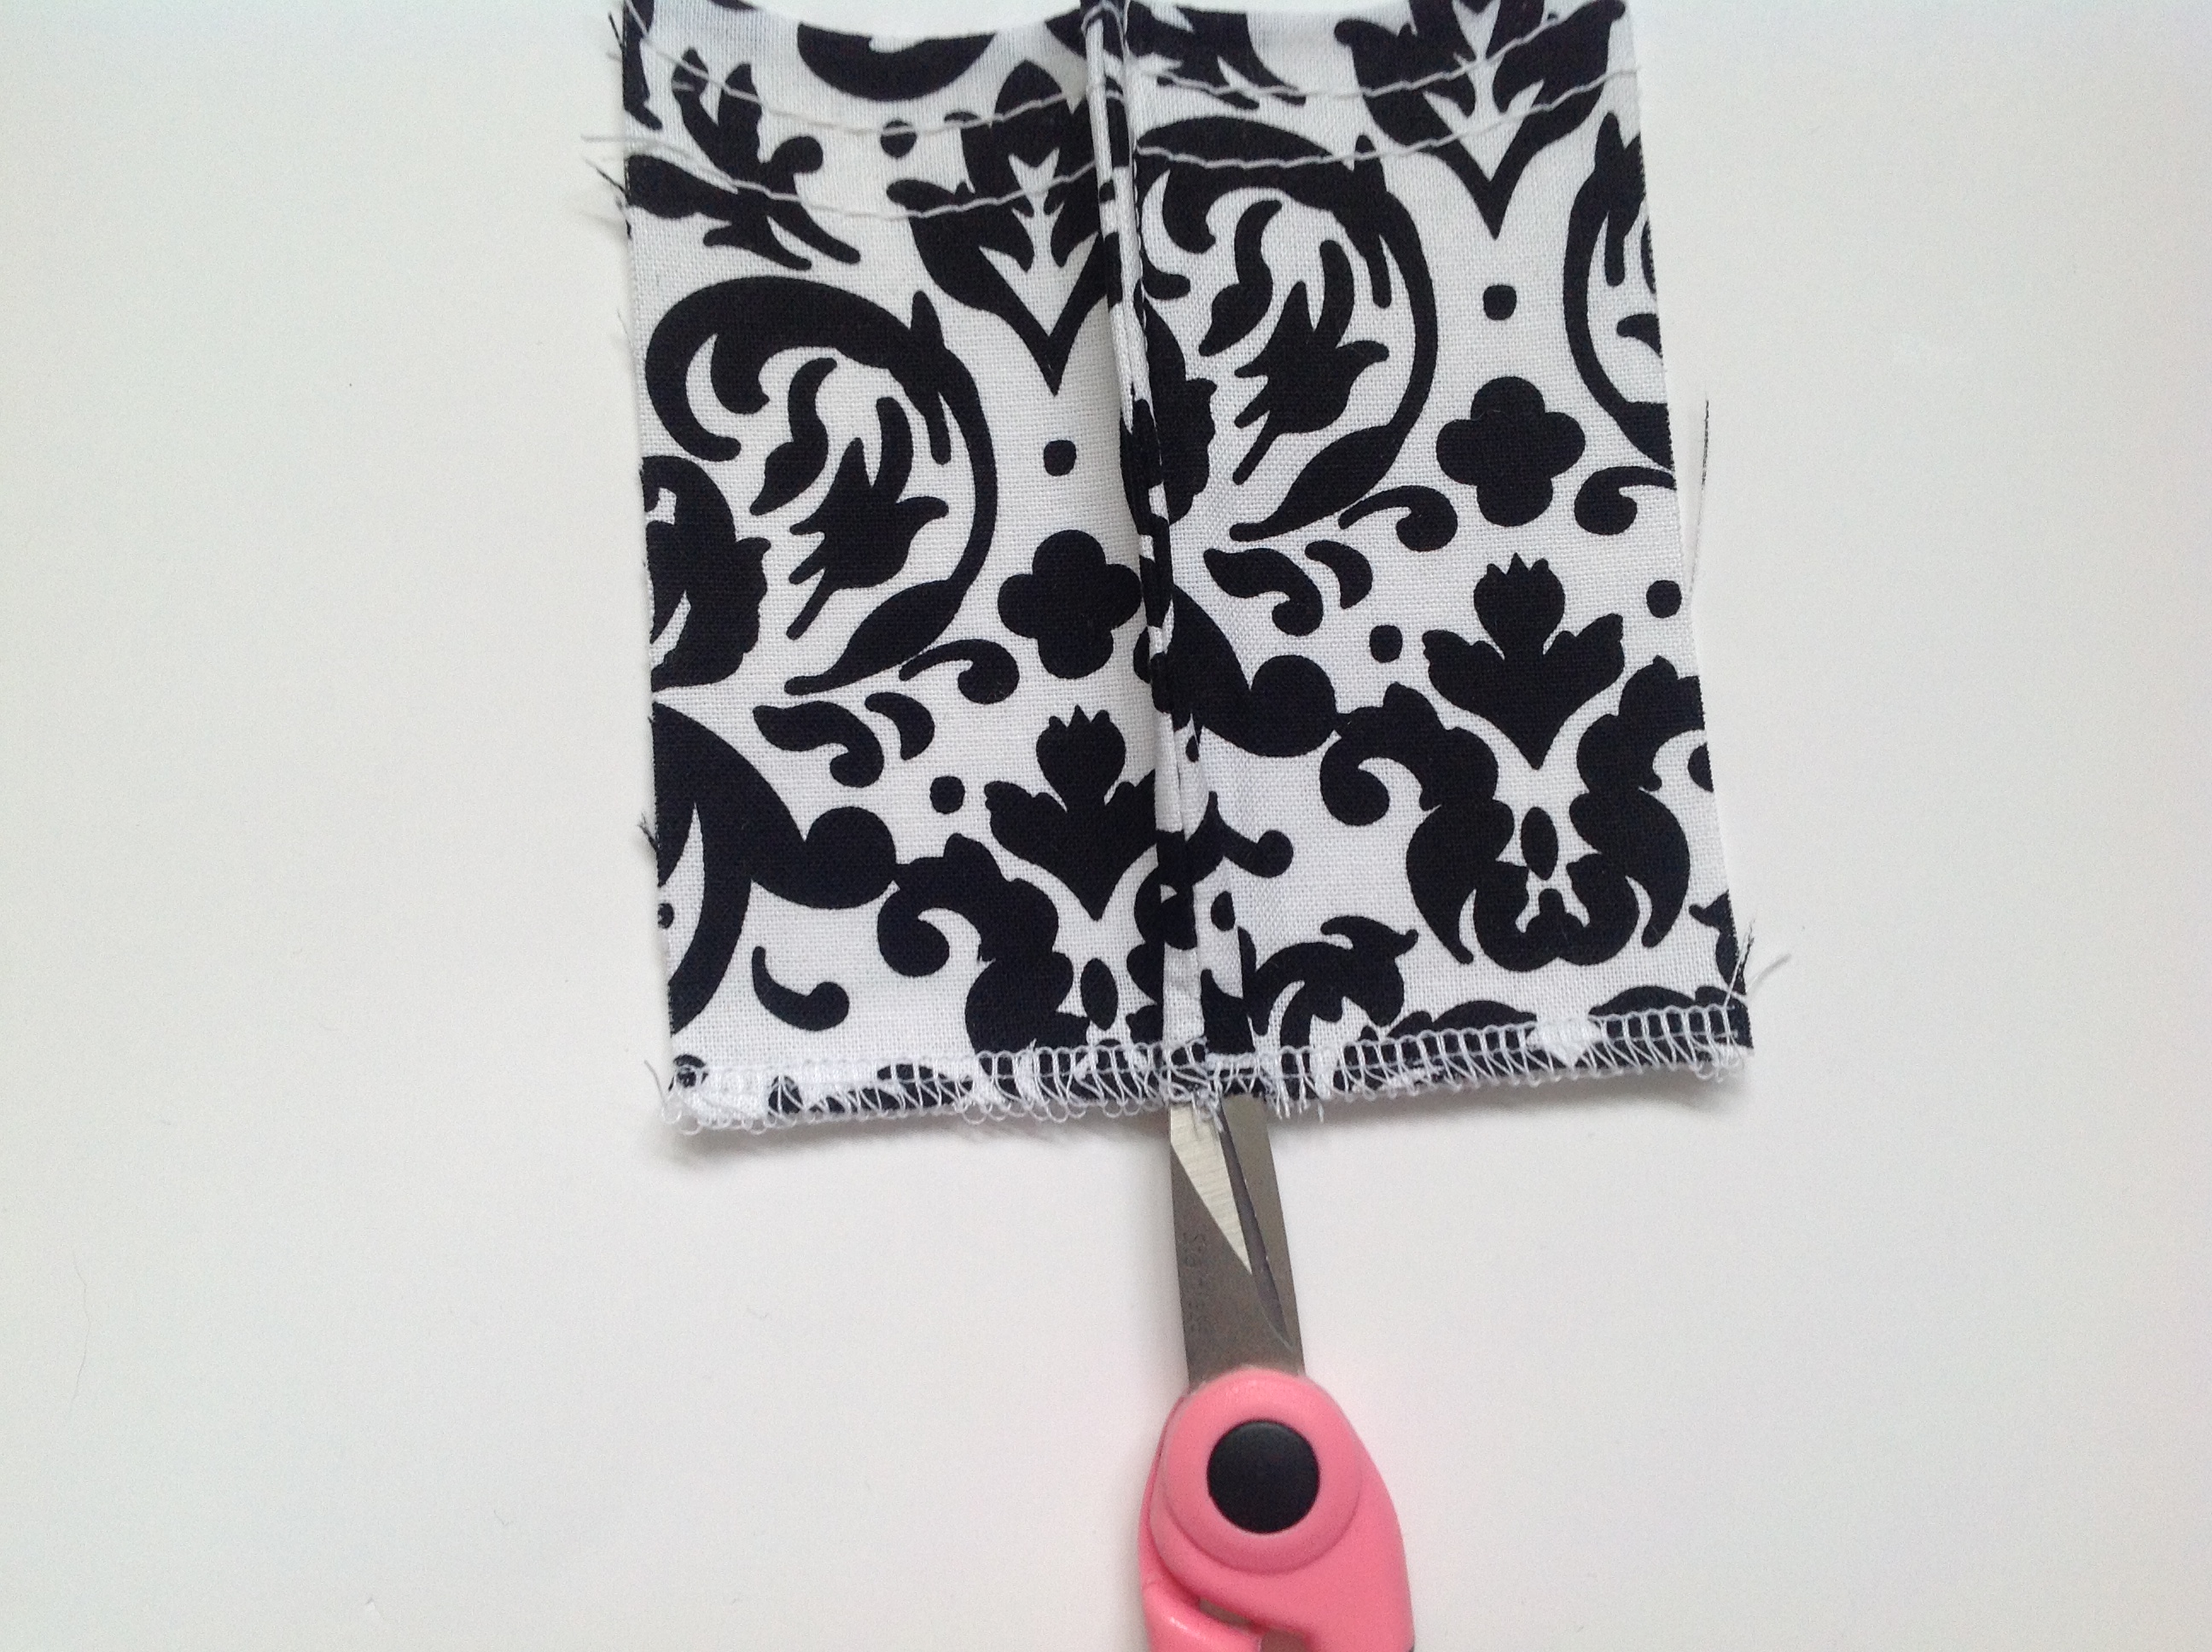
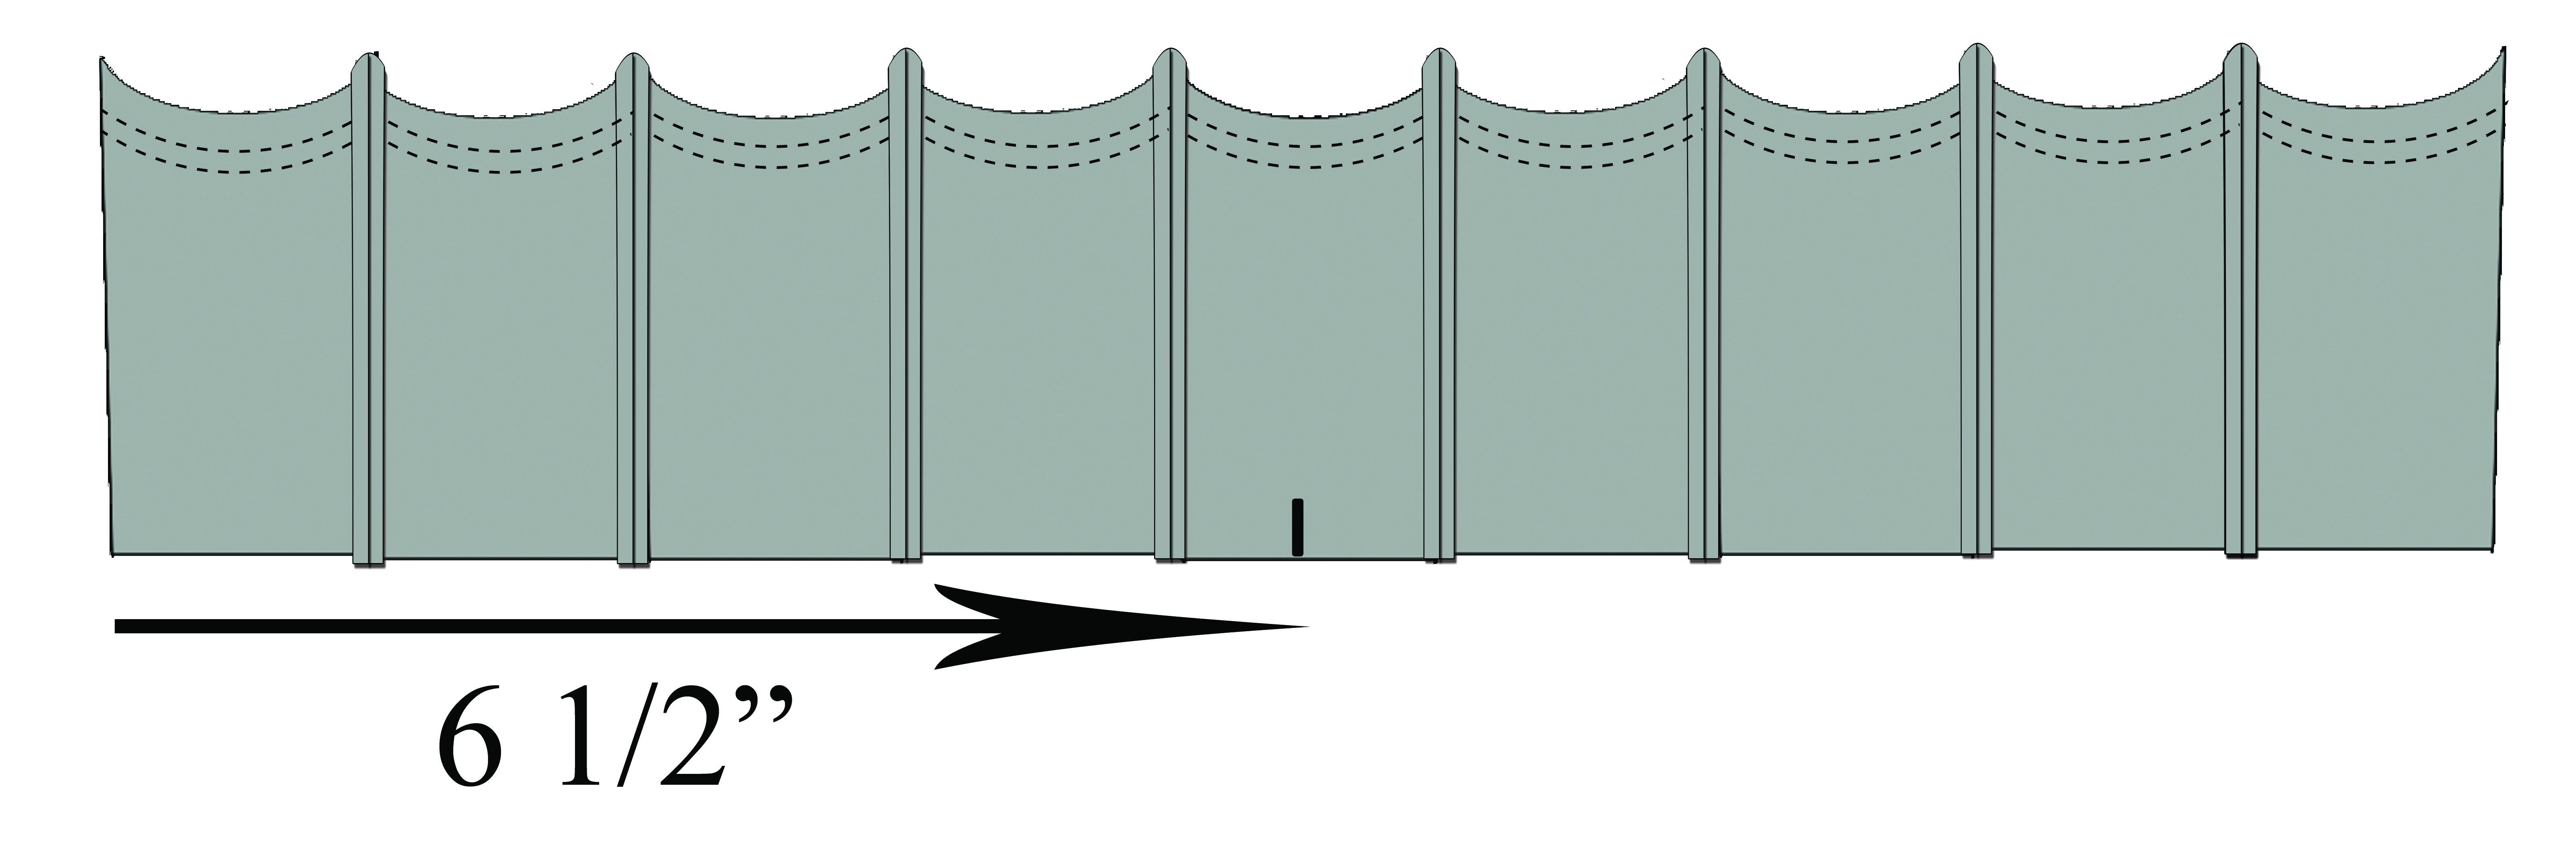
 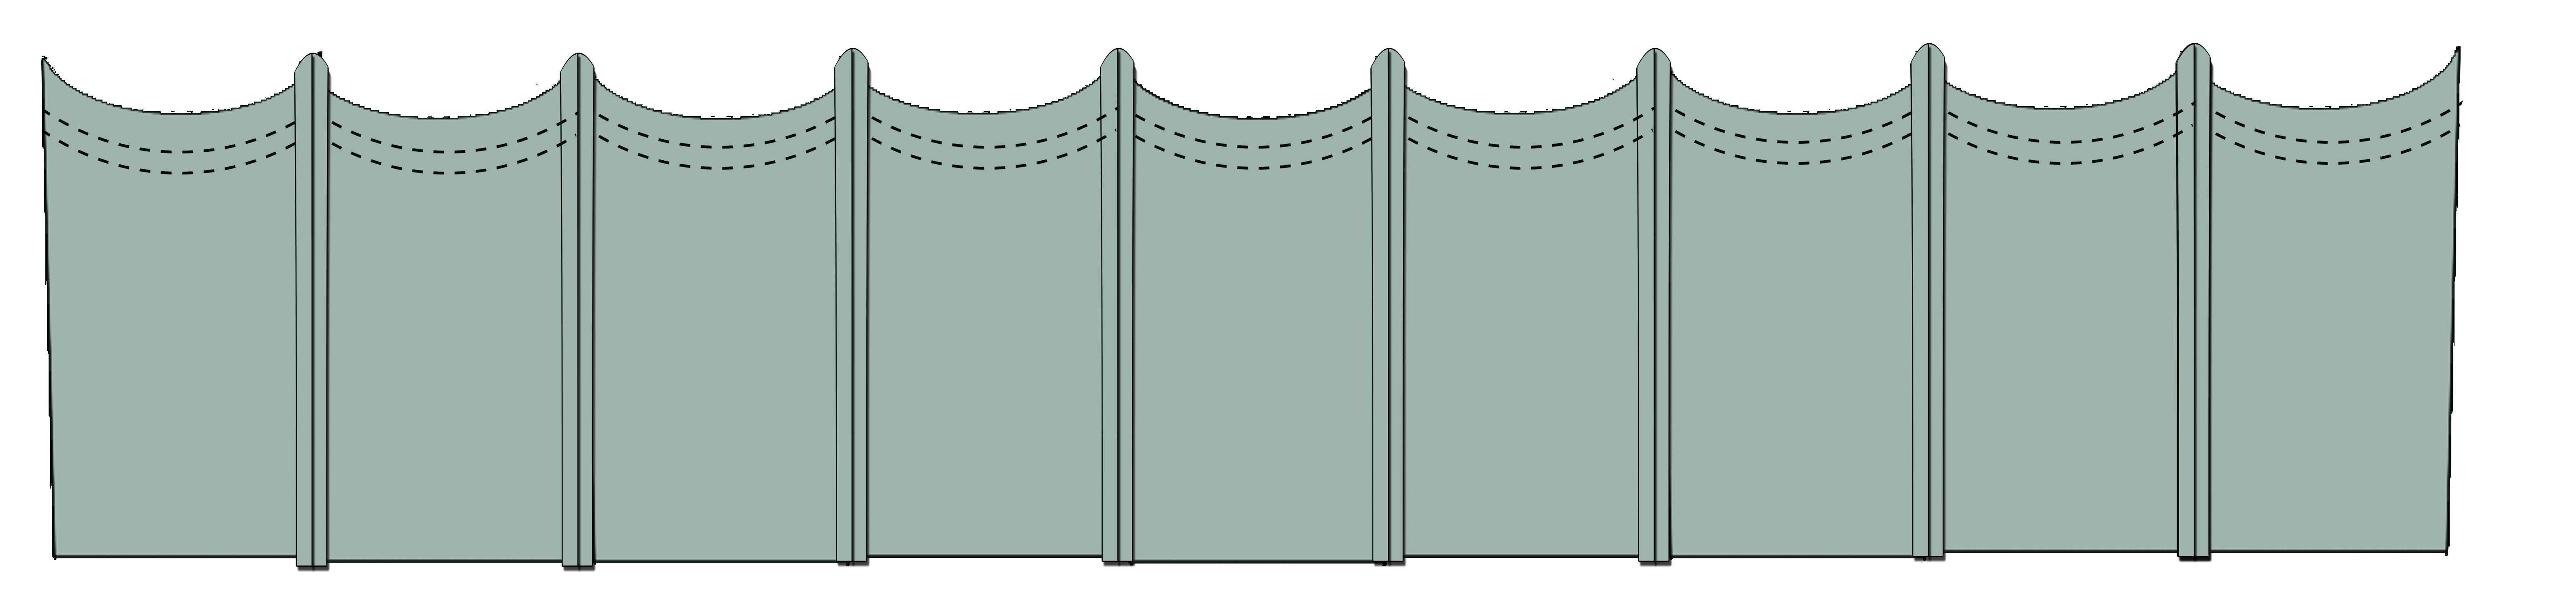 Measure the panel’s width and cut, if needed, to 13″. You should cut equal amounts off each end vs. cutting the whole amount off of one end. Now, find the center point by either folding it in half or measuring toward center 6 1/2″ from one side. Finish the side edges of the end pieces.
Grab your bottom piece (B). I suggest staystitching around B so that it doesn’t warp out of shape. Staystitching is a fancy term for sewing within the seam allowance. Doing this will help bias cut pieces keep their shape. It might be a little hard to see in the photo below, but it’s the line of stitching right inside the serged edge. It may seem redundant especially since we have serged or zig zagged the edges, but I find it is still a good idea. 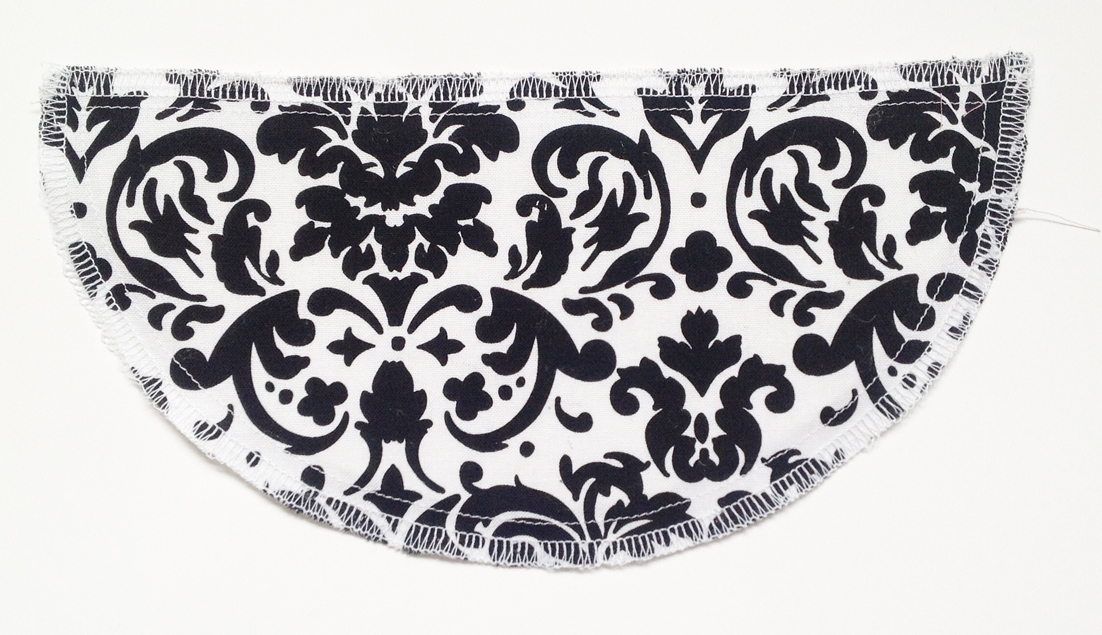 Pin the wrapper to the curved edge of the bottom with right sides together. Be sure to match up your center points on both. It’s better to start in the center and then work your way out. I like to pin and sew just half of the arc at a time. Here is the first half of mine pinned. Normally, I’m not much of a pinner, but on this occasion, more is better.
 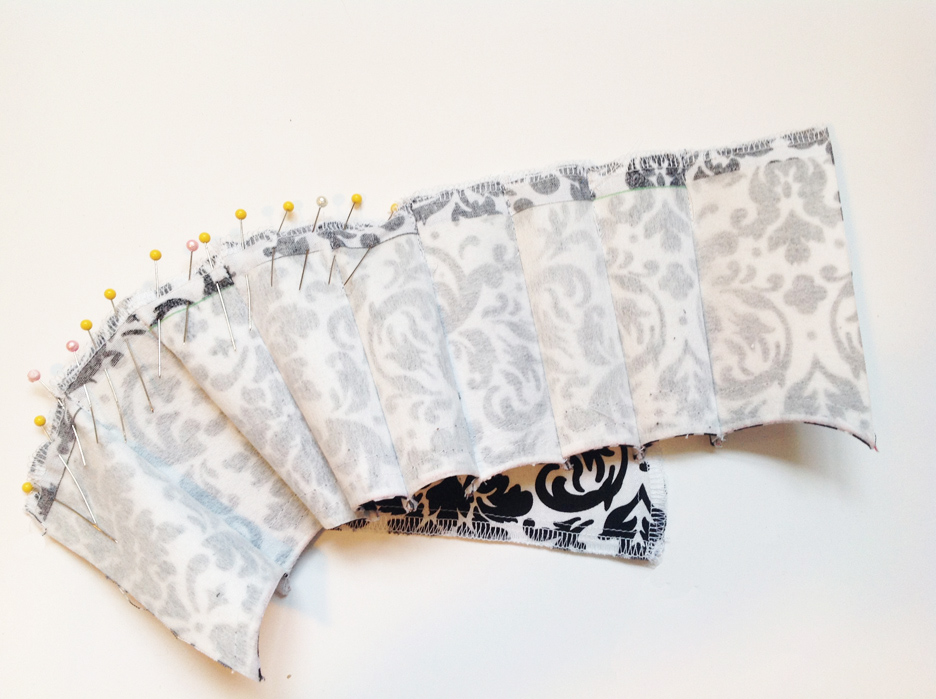 And here is what it will look like when you are done with the whole arc…
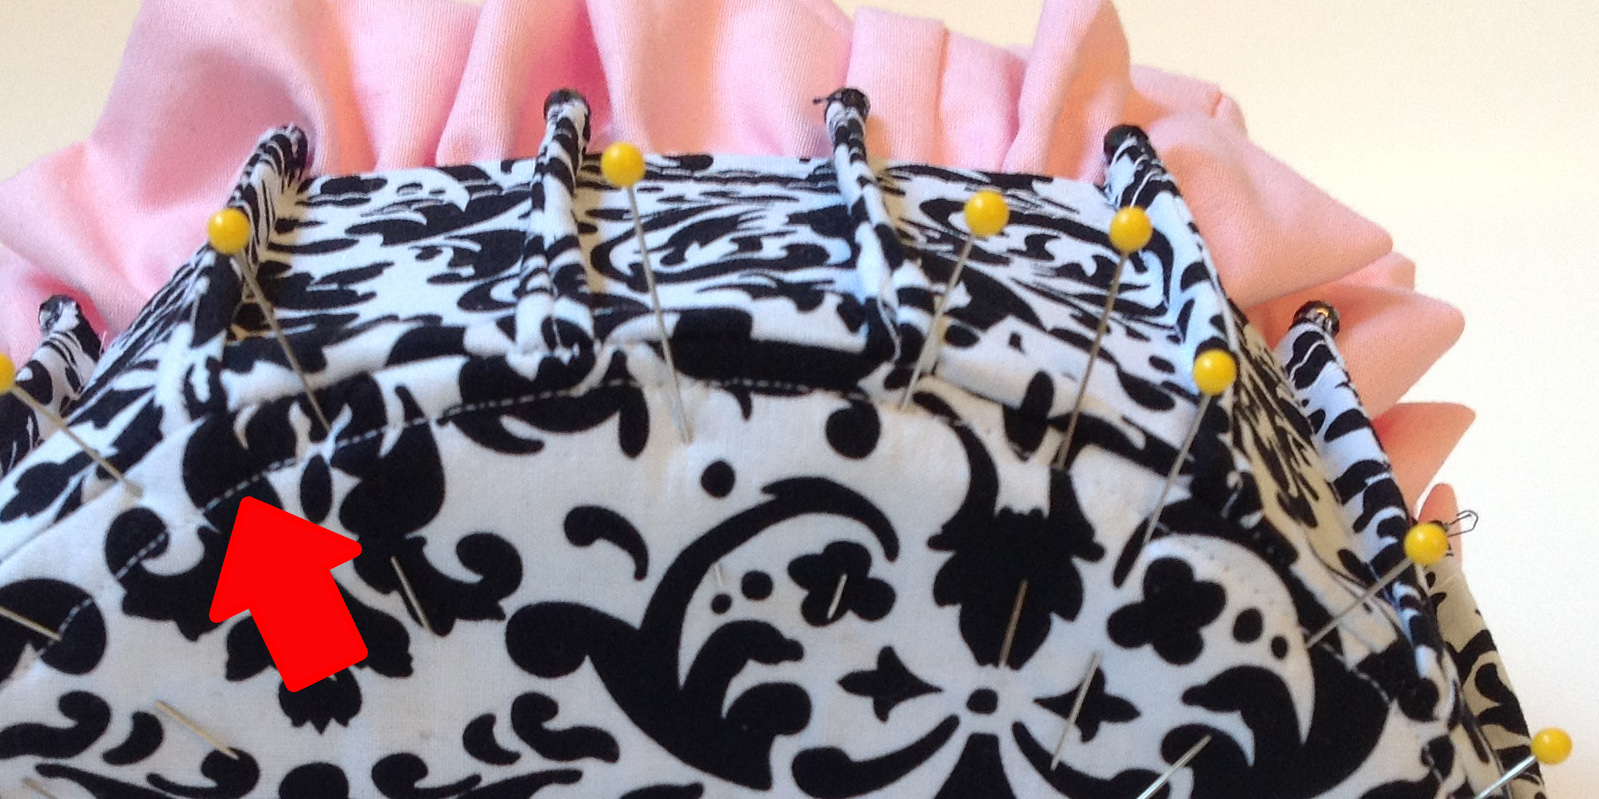
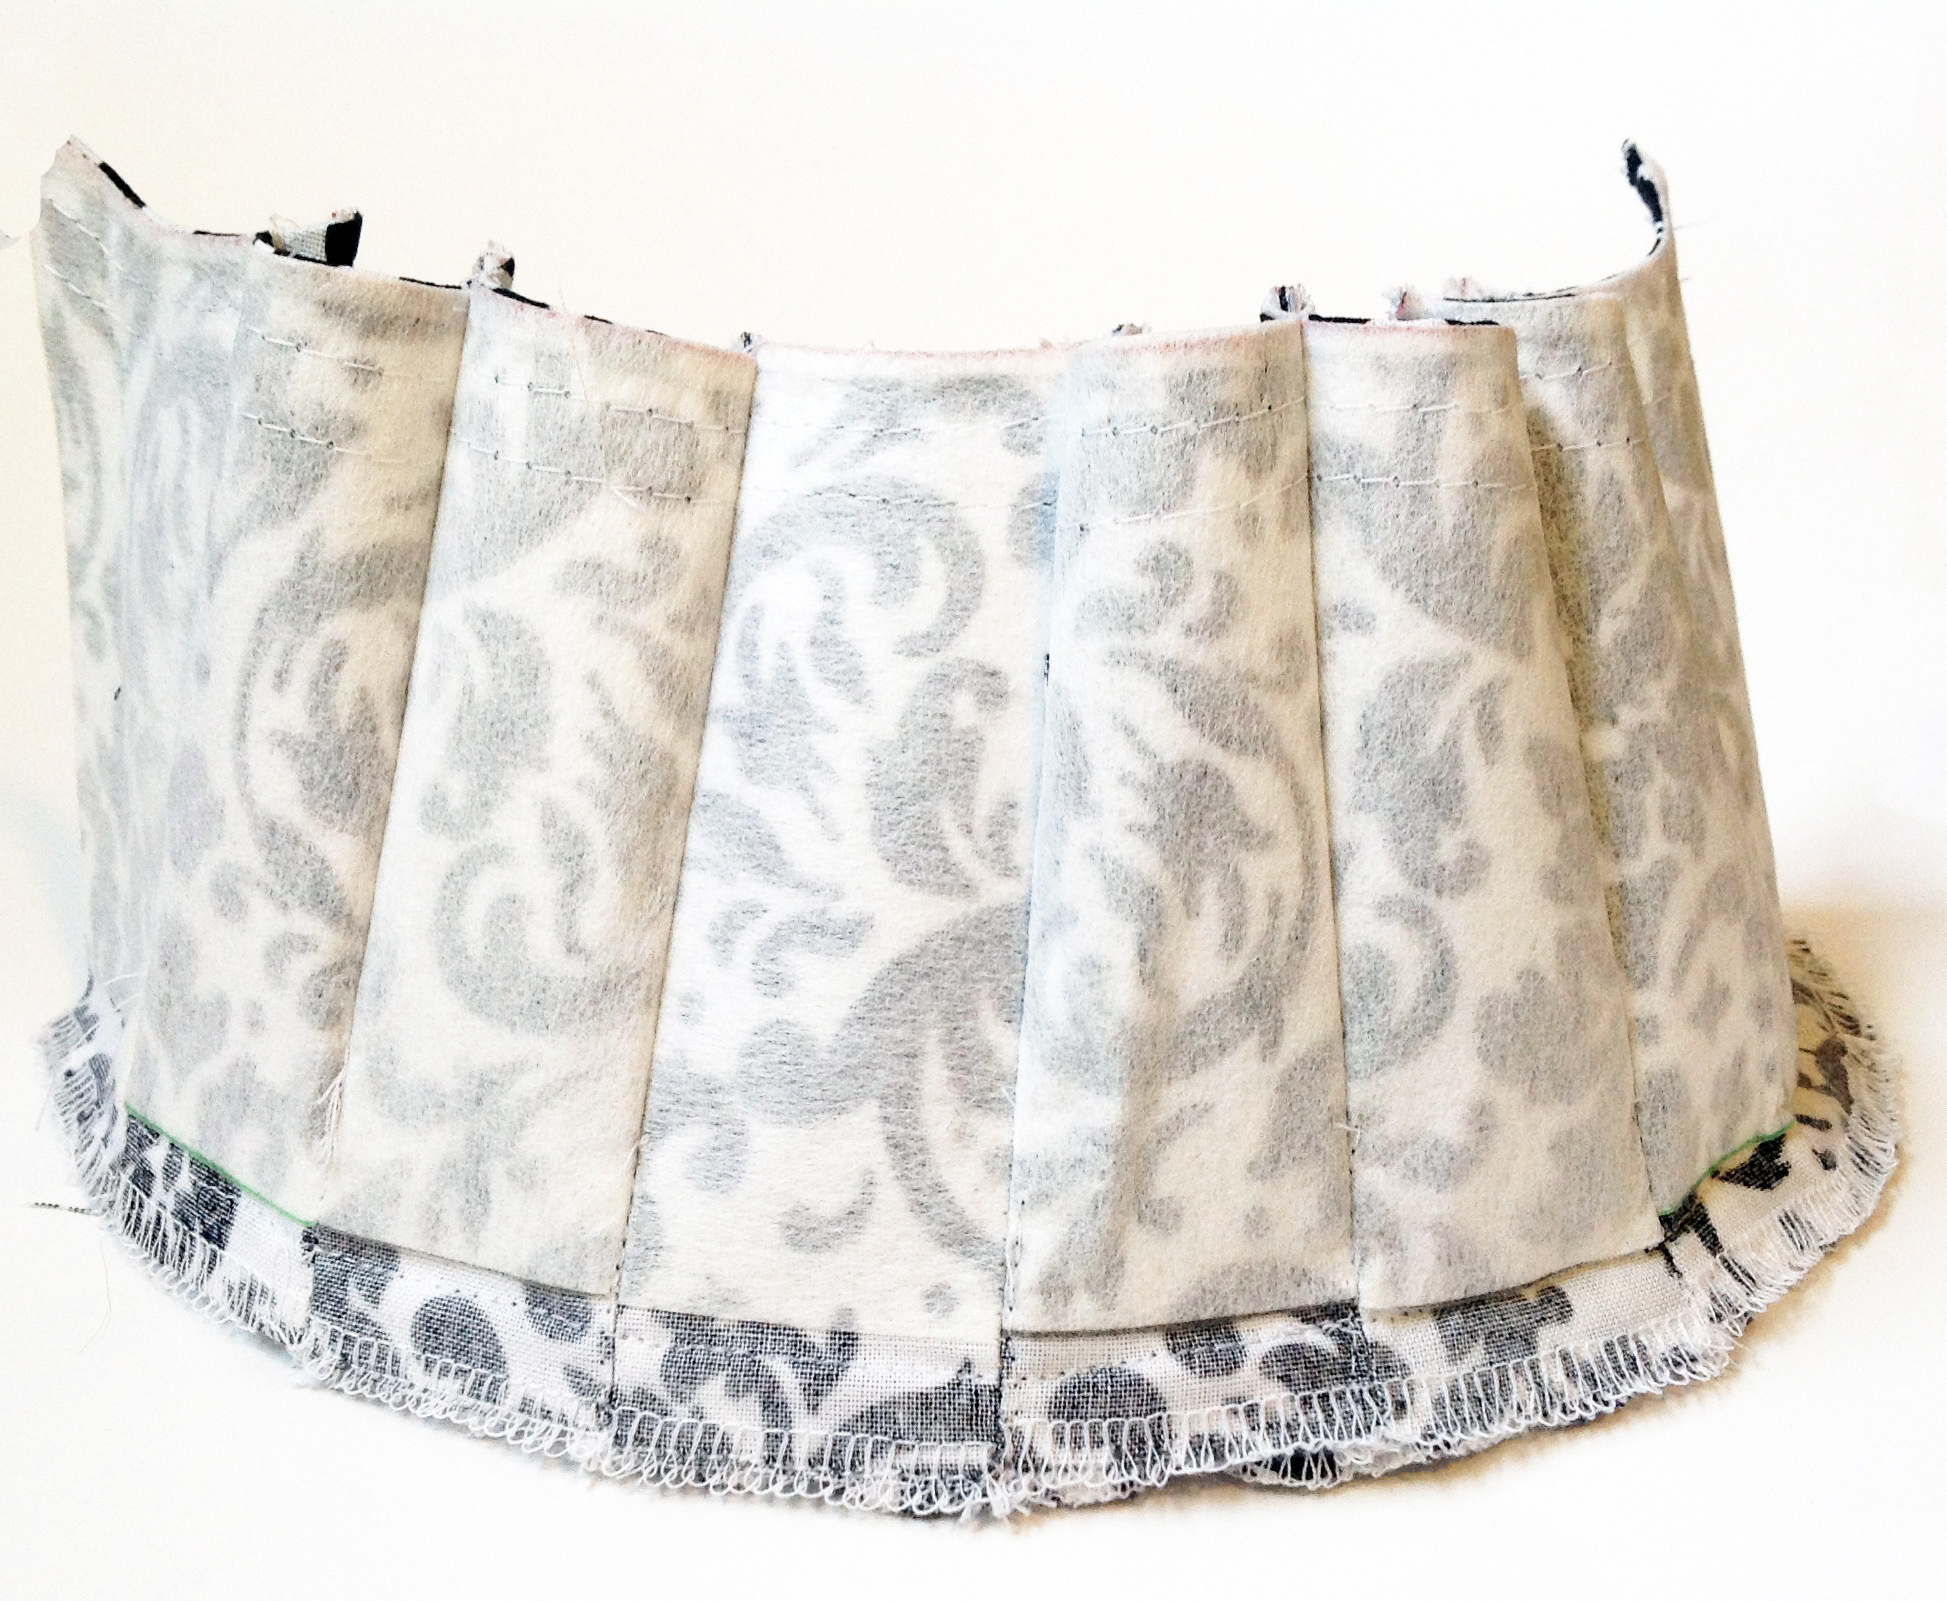 You can notch the seam allowance so it will lay flatter. You can also understitch the seam allowance. To do this, turn the wrapper right side out and push the allowance down toward the bottom panel, then stitch it down. In the photo below, there is an arrow pointing to the understitching. I took this picture after I had finished my ruffle frosting so that is why the frosting is there!
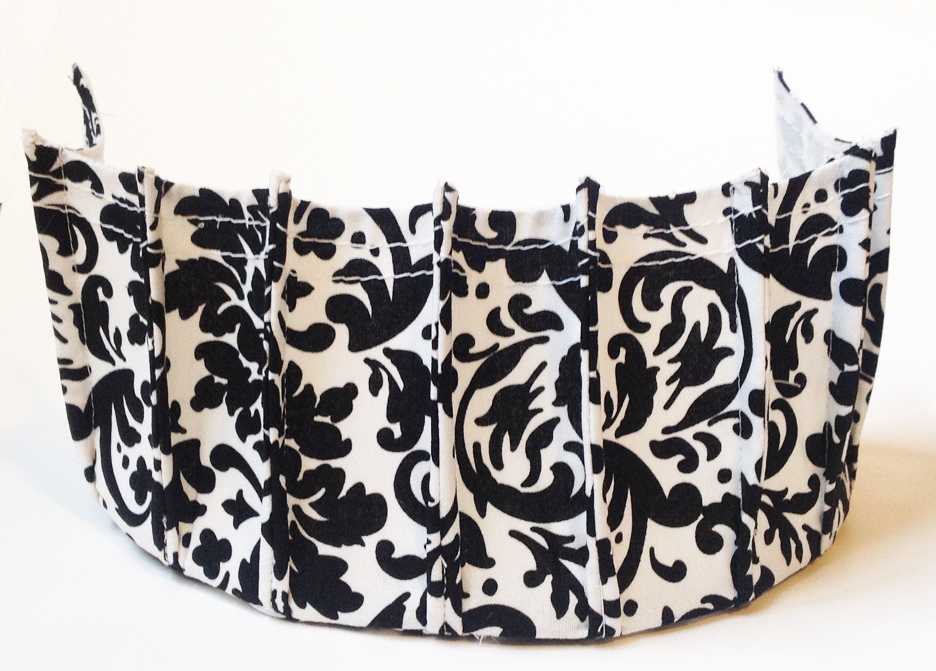
Ta Da!!
For this sample I sewed some black beads to the tips of each french seam. I’m not sure I will keep them or not, but they are sort of cute…it would also make a lovely crown! 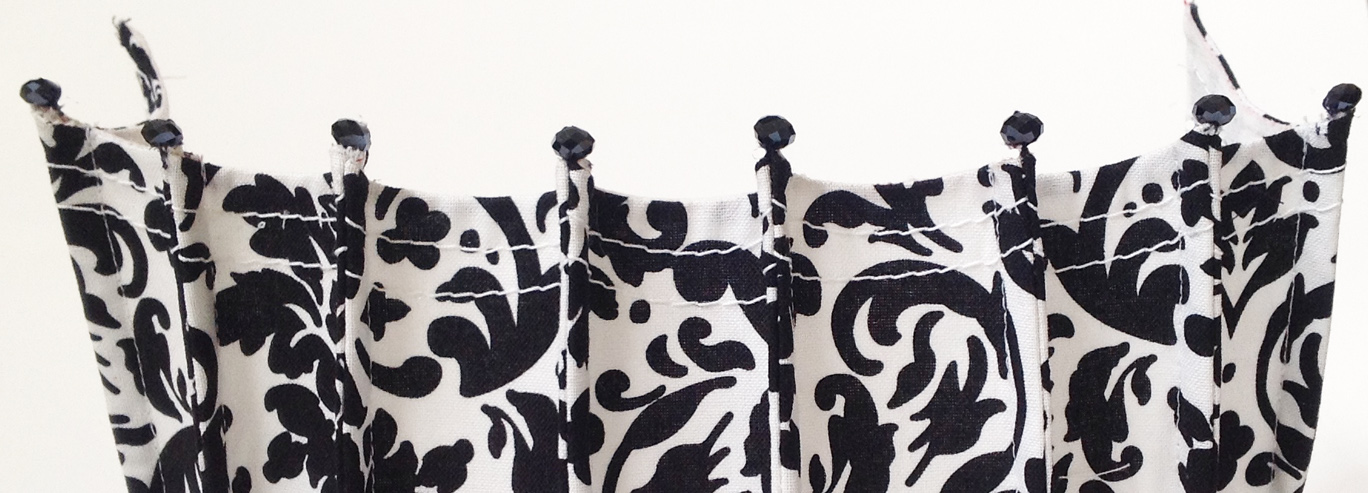 Well, that’s all for today. I hope you had fun and I would love to hear from you in the Facebook group! Let me know what questions you have! Tomorrow we will be creating our cupcake dome and “frosting”! See you then!
Leave a Reply
You must be logged in to post a comment.