***UPDATE: Patterns purchased between July 2015 -January 2016 – need an additional pattern piece called B-Interfacing. You can download it here. ***
Time to frost the cupcake!!
We will do steps 14-18 and by the end of today we will have this: 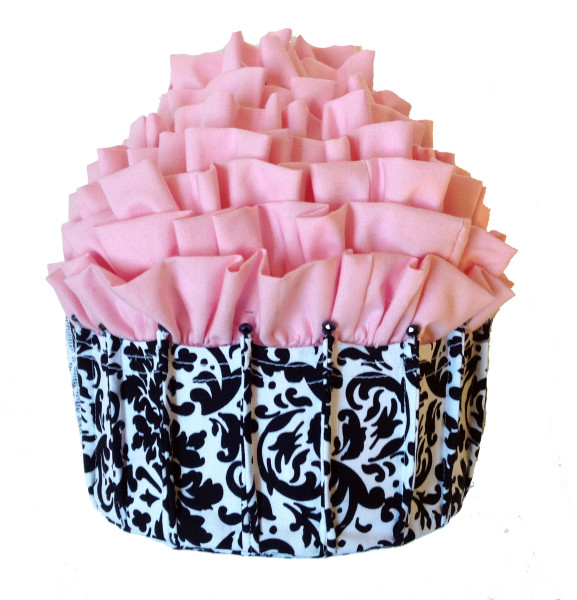
I received a number of messages and emails from people saying they were concerned about making the ruffle. If you would like to see the ruffling methods I prefer for this project,I have posted a tutorial here.
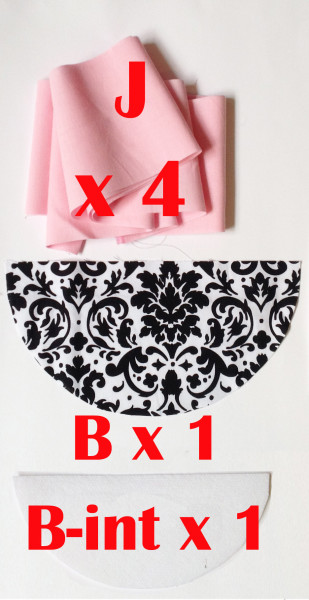
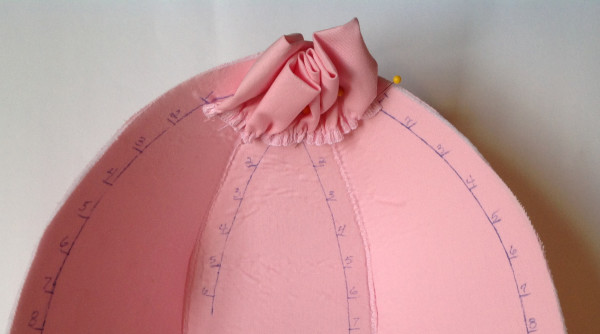
Grab your J strips. For each horizontal line (#1-8) on the cupcake dome, we need a section of ruffle. The chart in the pattern tells you how long to cut the J pieces and to what length to ruffle them.
In case you missed yesterday’s post, there were corrections made to this chart, please be sure to follow these measurements for rows 1 & 2 instead of what you might have on your pattern:
|
Row # |
Cut J to length of… |
Ruffle to length of…
|
|
1 |
9 |
4 1/2″ |
|
2 |
12″ |
6″ |
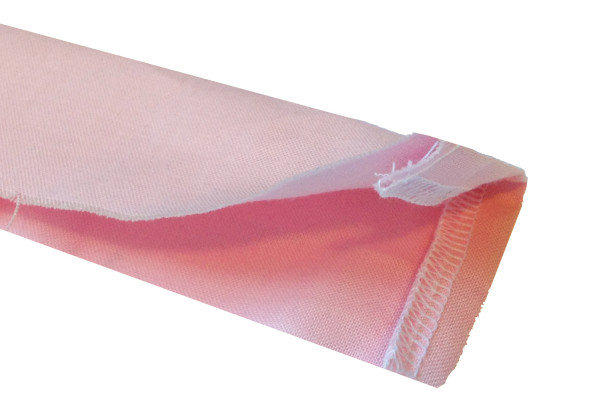
We’ll do row #1 together. Cut the length of fabric for row #1, which is 9″. Finish the short edges. Turn 1/2″ of each short end to the wrong side.
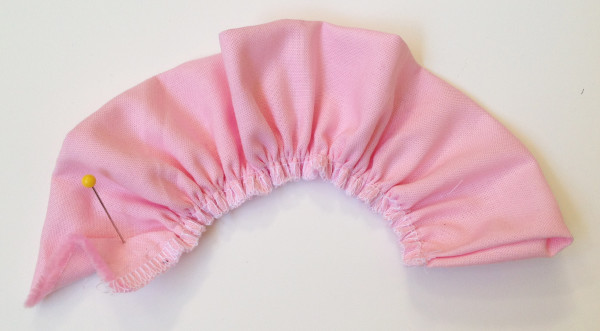
Then, fold it in half width-wise so it is 2″ wide. Finish the long raw edges.Use your favorite method to ruffle the strip to 4 1/2″.
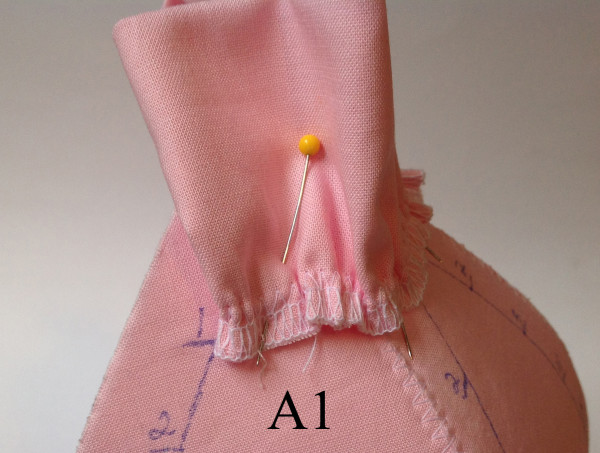
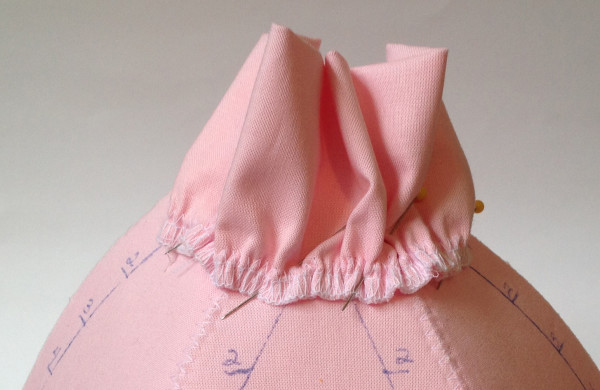
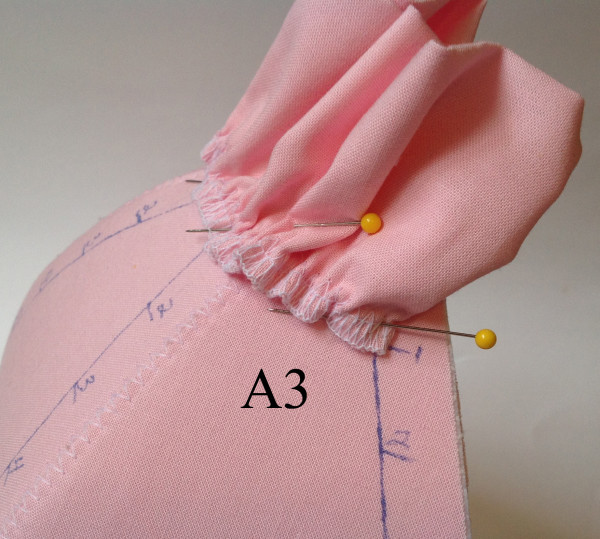
Pin the ruffle to the exterior of the dome (the side with the markings). This is easiest if the exterior is convex (curved outward). Start the ruffle at the vertical line on A1 and end it at the vertical line on A3.
By the way, if you find that a ruffle is a little too long, it’s not a concern. All you need to do is pin it to the dome at the start (A1) and the end (A3), then make tucks of the excess around the dome as you pin it in place. It will only make it more full and adorable!!!
Turn the ruffled (exterior) side of the dome to the concave position to stitch the ruffle on. Oops, forgot to take a pin out…..
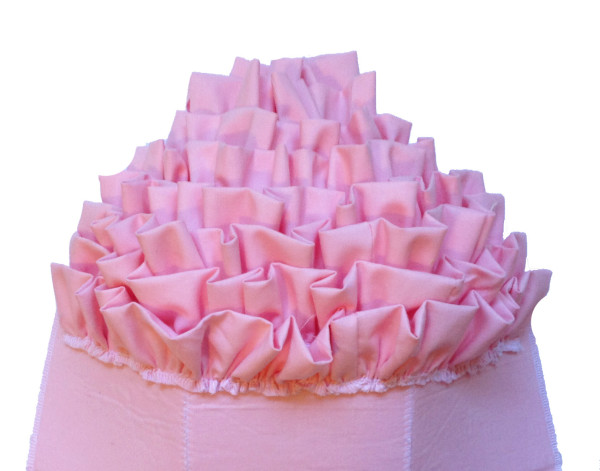
Now, do the “ruffling and attaching” routine seven more times, and you will have this:
Now we can attach the bottom. So, grab your bottom (not yours, the fabric panel B!) and fuse the interfacing (B-int) to the wrong side. Make sure it’s centered. I buy interfacing off the bolt, so it never has a backing paper. If yours is missing a backing paper on one side, you should get some wax paper or a Teflon sheet and fuse the bottom to the interfacing with the interfacing against the wax paper. This way, you won’t fuse the second side of the interfacing to your ironing board.
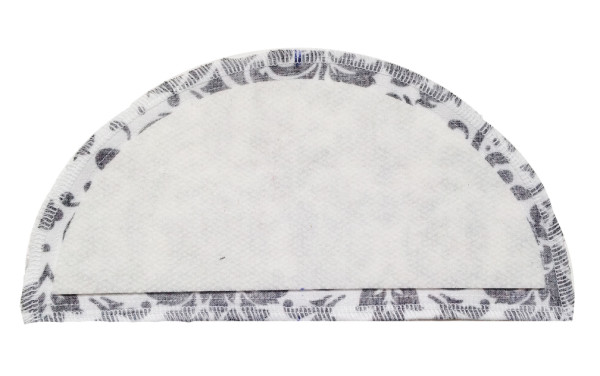
Turn the dome so that the ruffles are concave (curved inward). Attaching the bottom to the dome is much like attaching the bottom to the cupcake wrapper that we did yesterday. Today, though, we want the wrong side of B and the right side of the dome to be facing. Start pinning at the center point and work your way outward to the ends. Like yesterday, I like to pin and sew just half of the arc at a time.
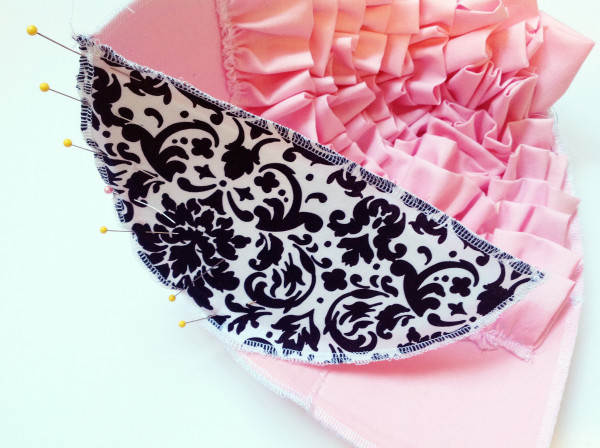
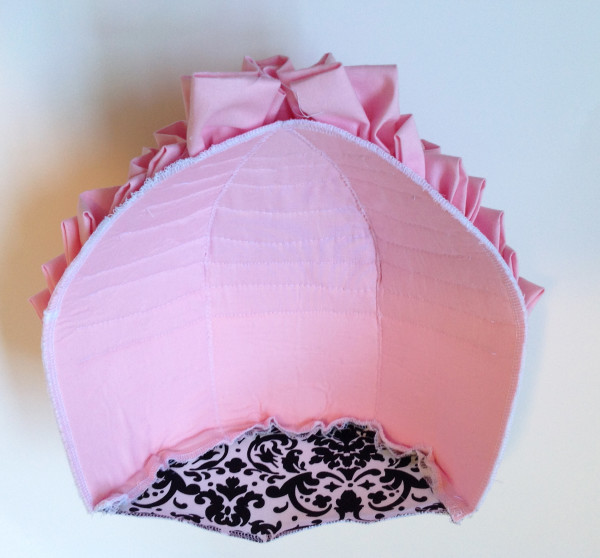
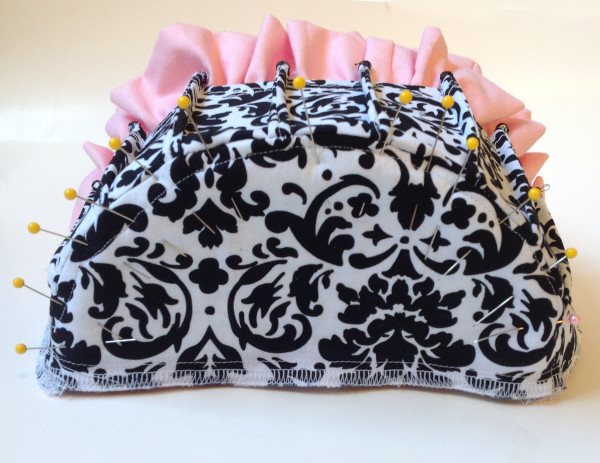
Turn the dome right side out and place the wrapper on it. Now, at first it will seem like the wrapper is to small (and if it truly is, I’ll tell you how to fix that later). What we need to do is to nest the bottom part of the dome into the wrapper and it is a snug fit. What I do is start in the center and push the dome to the furthest point in the wrapper and then pin both layers on the bottom to hold it in place. Continue doing this around the whole bottom.
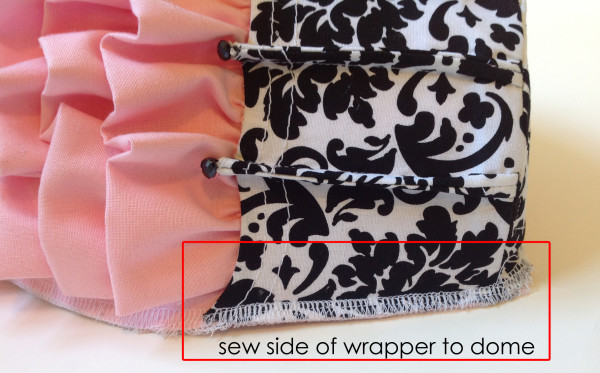
Once you have it in there, fuse the bottom panels together and baste the straight sides of the bottom pieces to one another. Baste (or serge, like I did) the sides of the wrapper to the dome.
If your wrapper is too small. First, don’t be too hard on yourself, we are sewing around a half circle and it is very difficult to get it perfect. Being a little bit off can end up being more than a little off when dealing with curves. In fact, the one I am making for this tutorial was a little too small and I have probably made 20 of these! So, if you find that your wrapper is too small, take the wrapper off and sew inside the seam where the dome attaches to it’s bottom – like 1/16″ of an inch. I know that doesn’t sound like much, but again, a little bit will make a big difference. Now test fit it again. If it’s still off, try another 1/16″ inside the seam you just did Better? I not, leave me a comment in the facebook group and we’ll figure it out together.
So here we are, starting to look yummy!
Tomorrow we will do the zipper gusset. See you then!
Sarah
Leave a Reply
You must be logged in to post a comment.