Hello!
This tutorial will cover steps 13-19 in the Layla Bag pattern.
The handles we will make in this tutorial are the Option 1 handles described in the pattern that do not use metal hardware to finish the cut out of the handle.
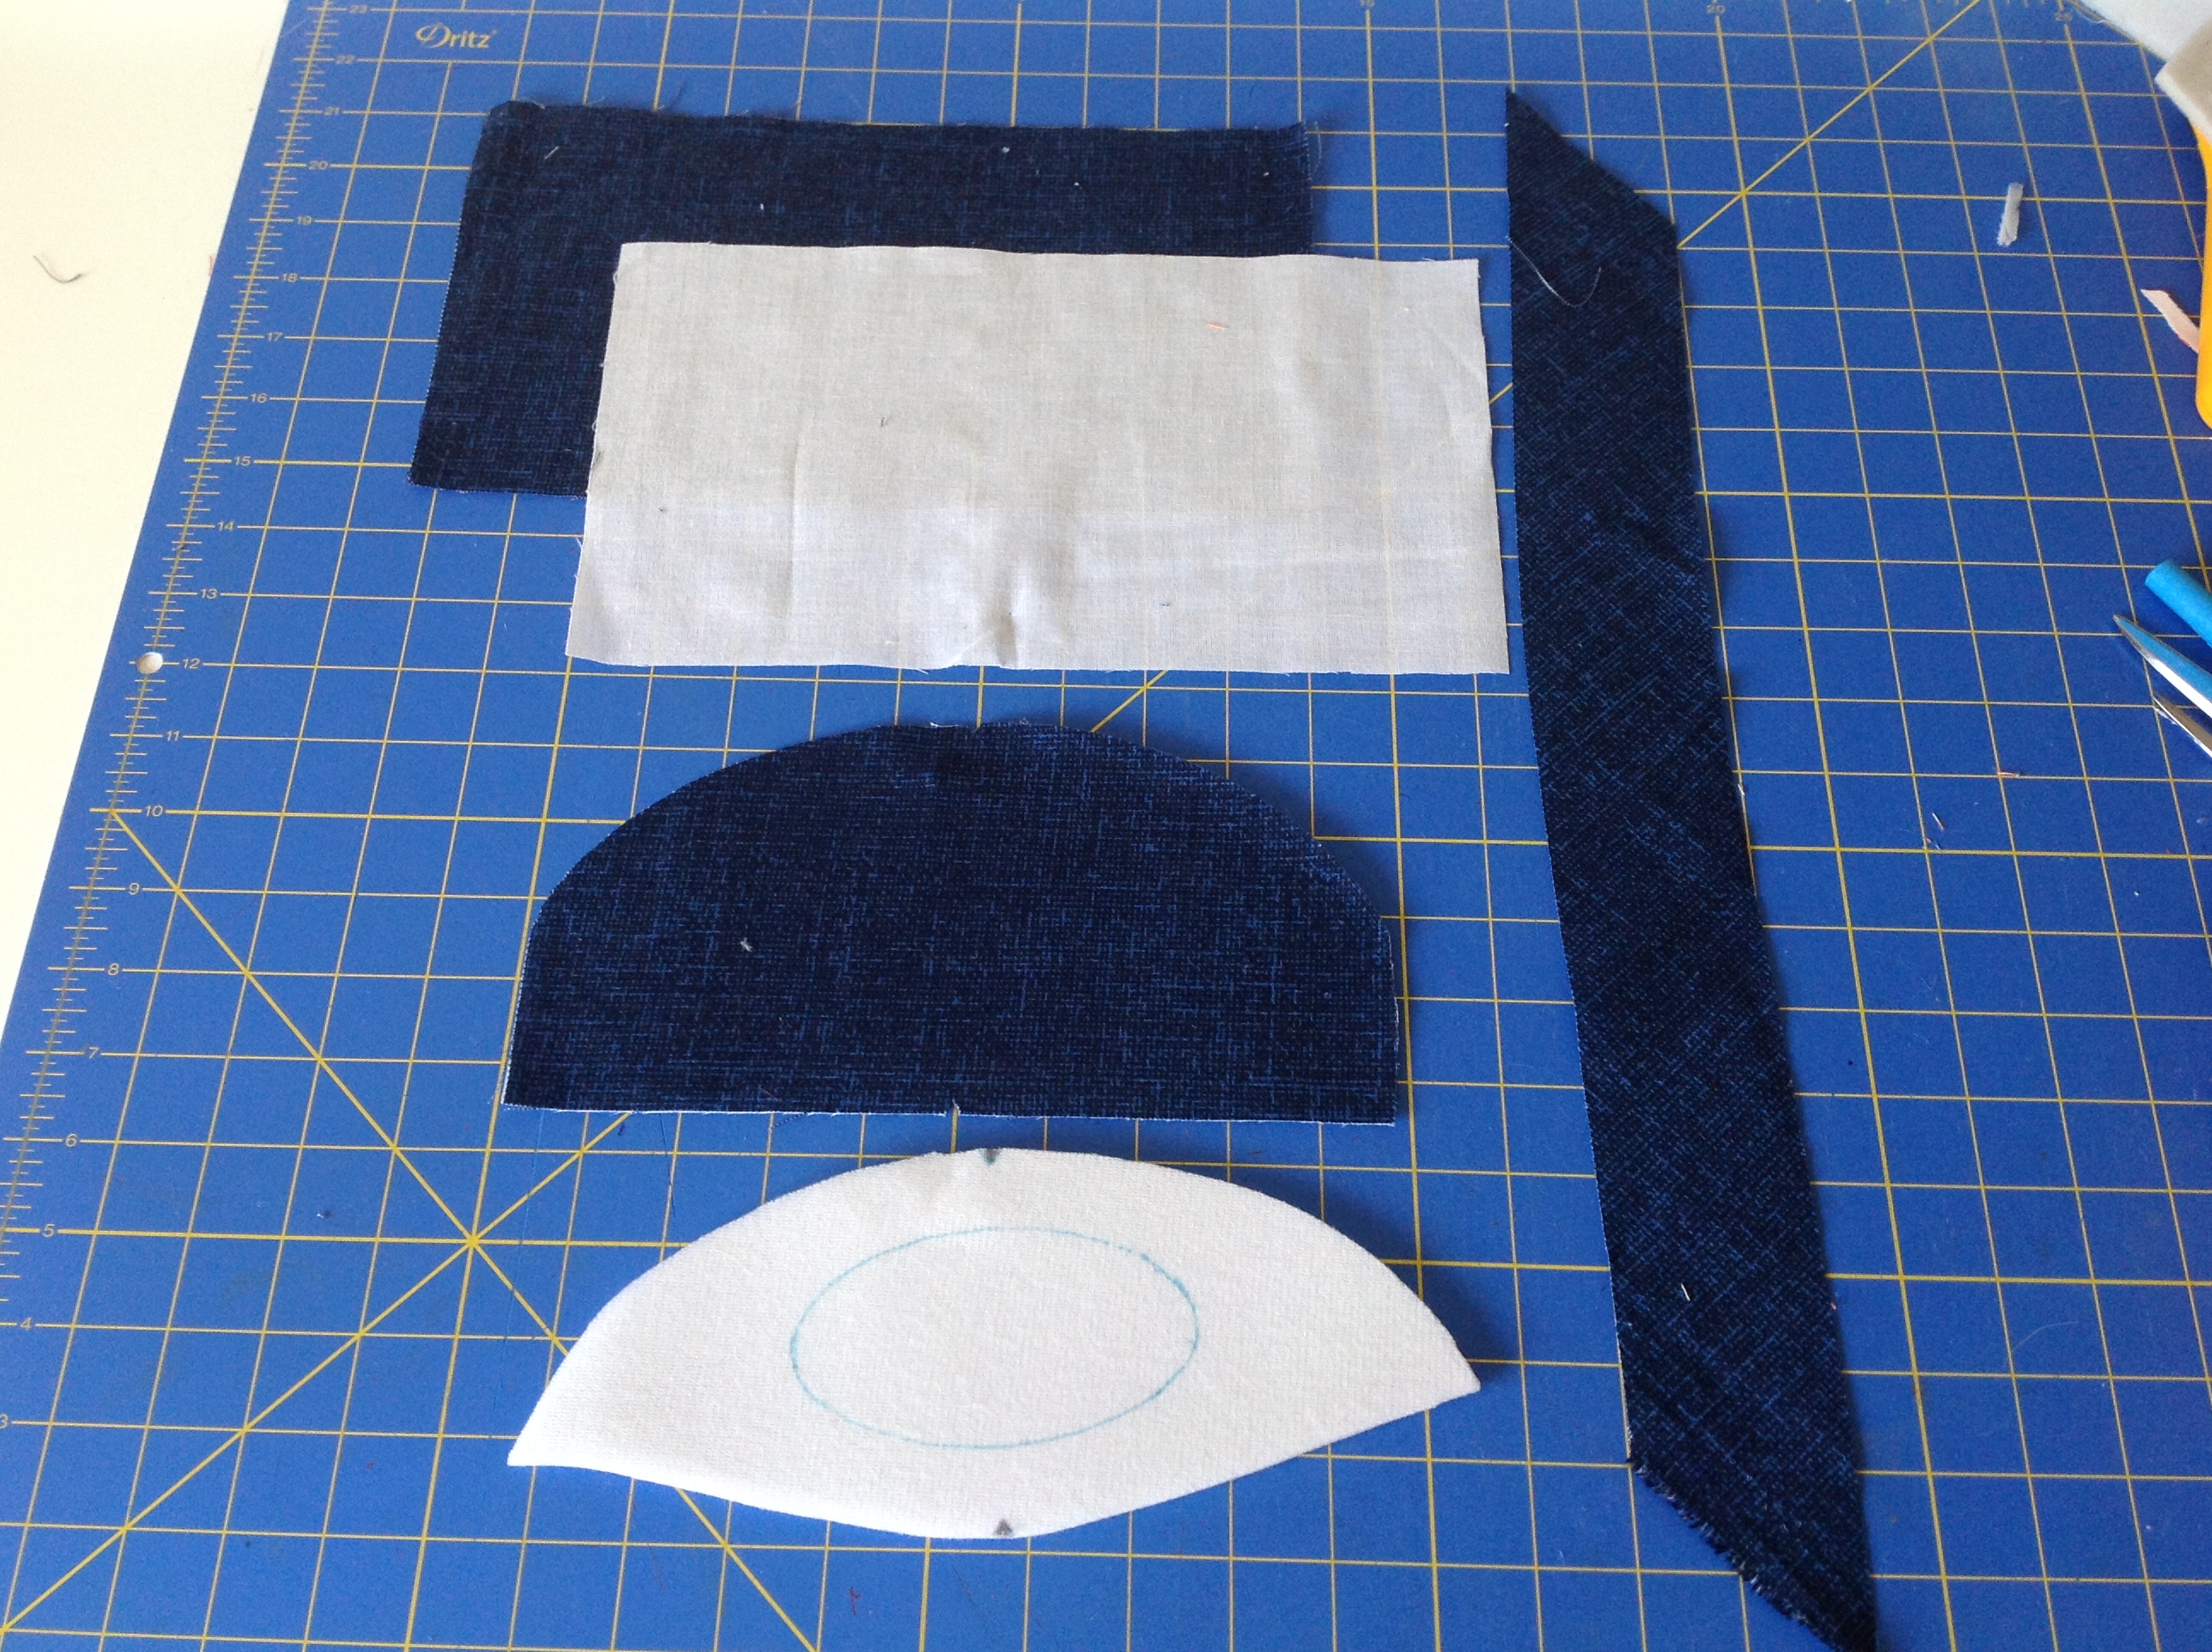
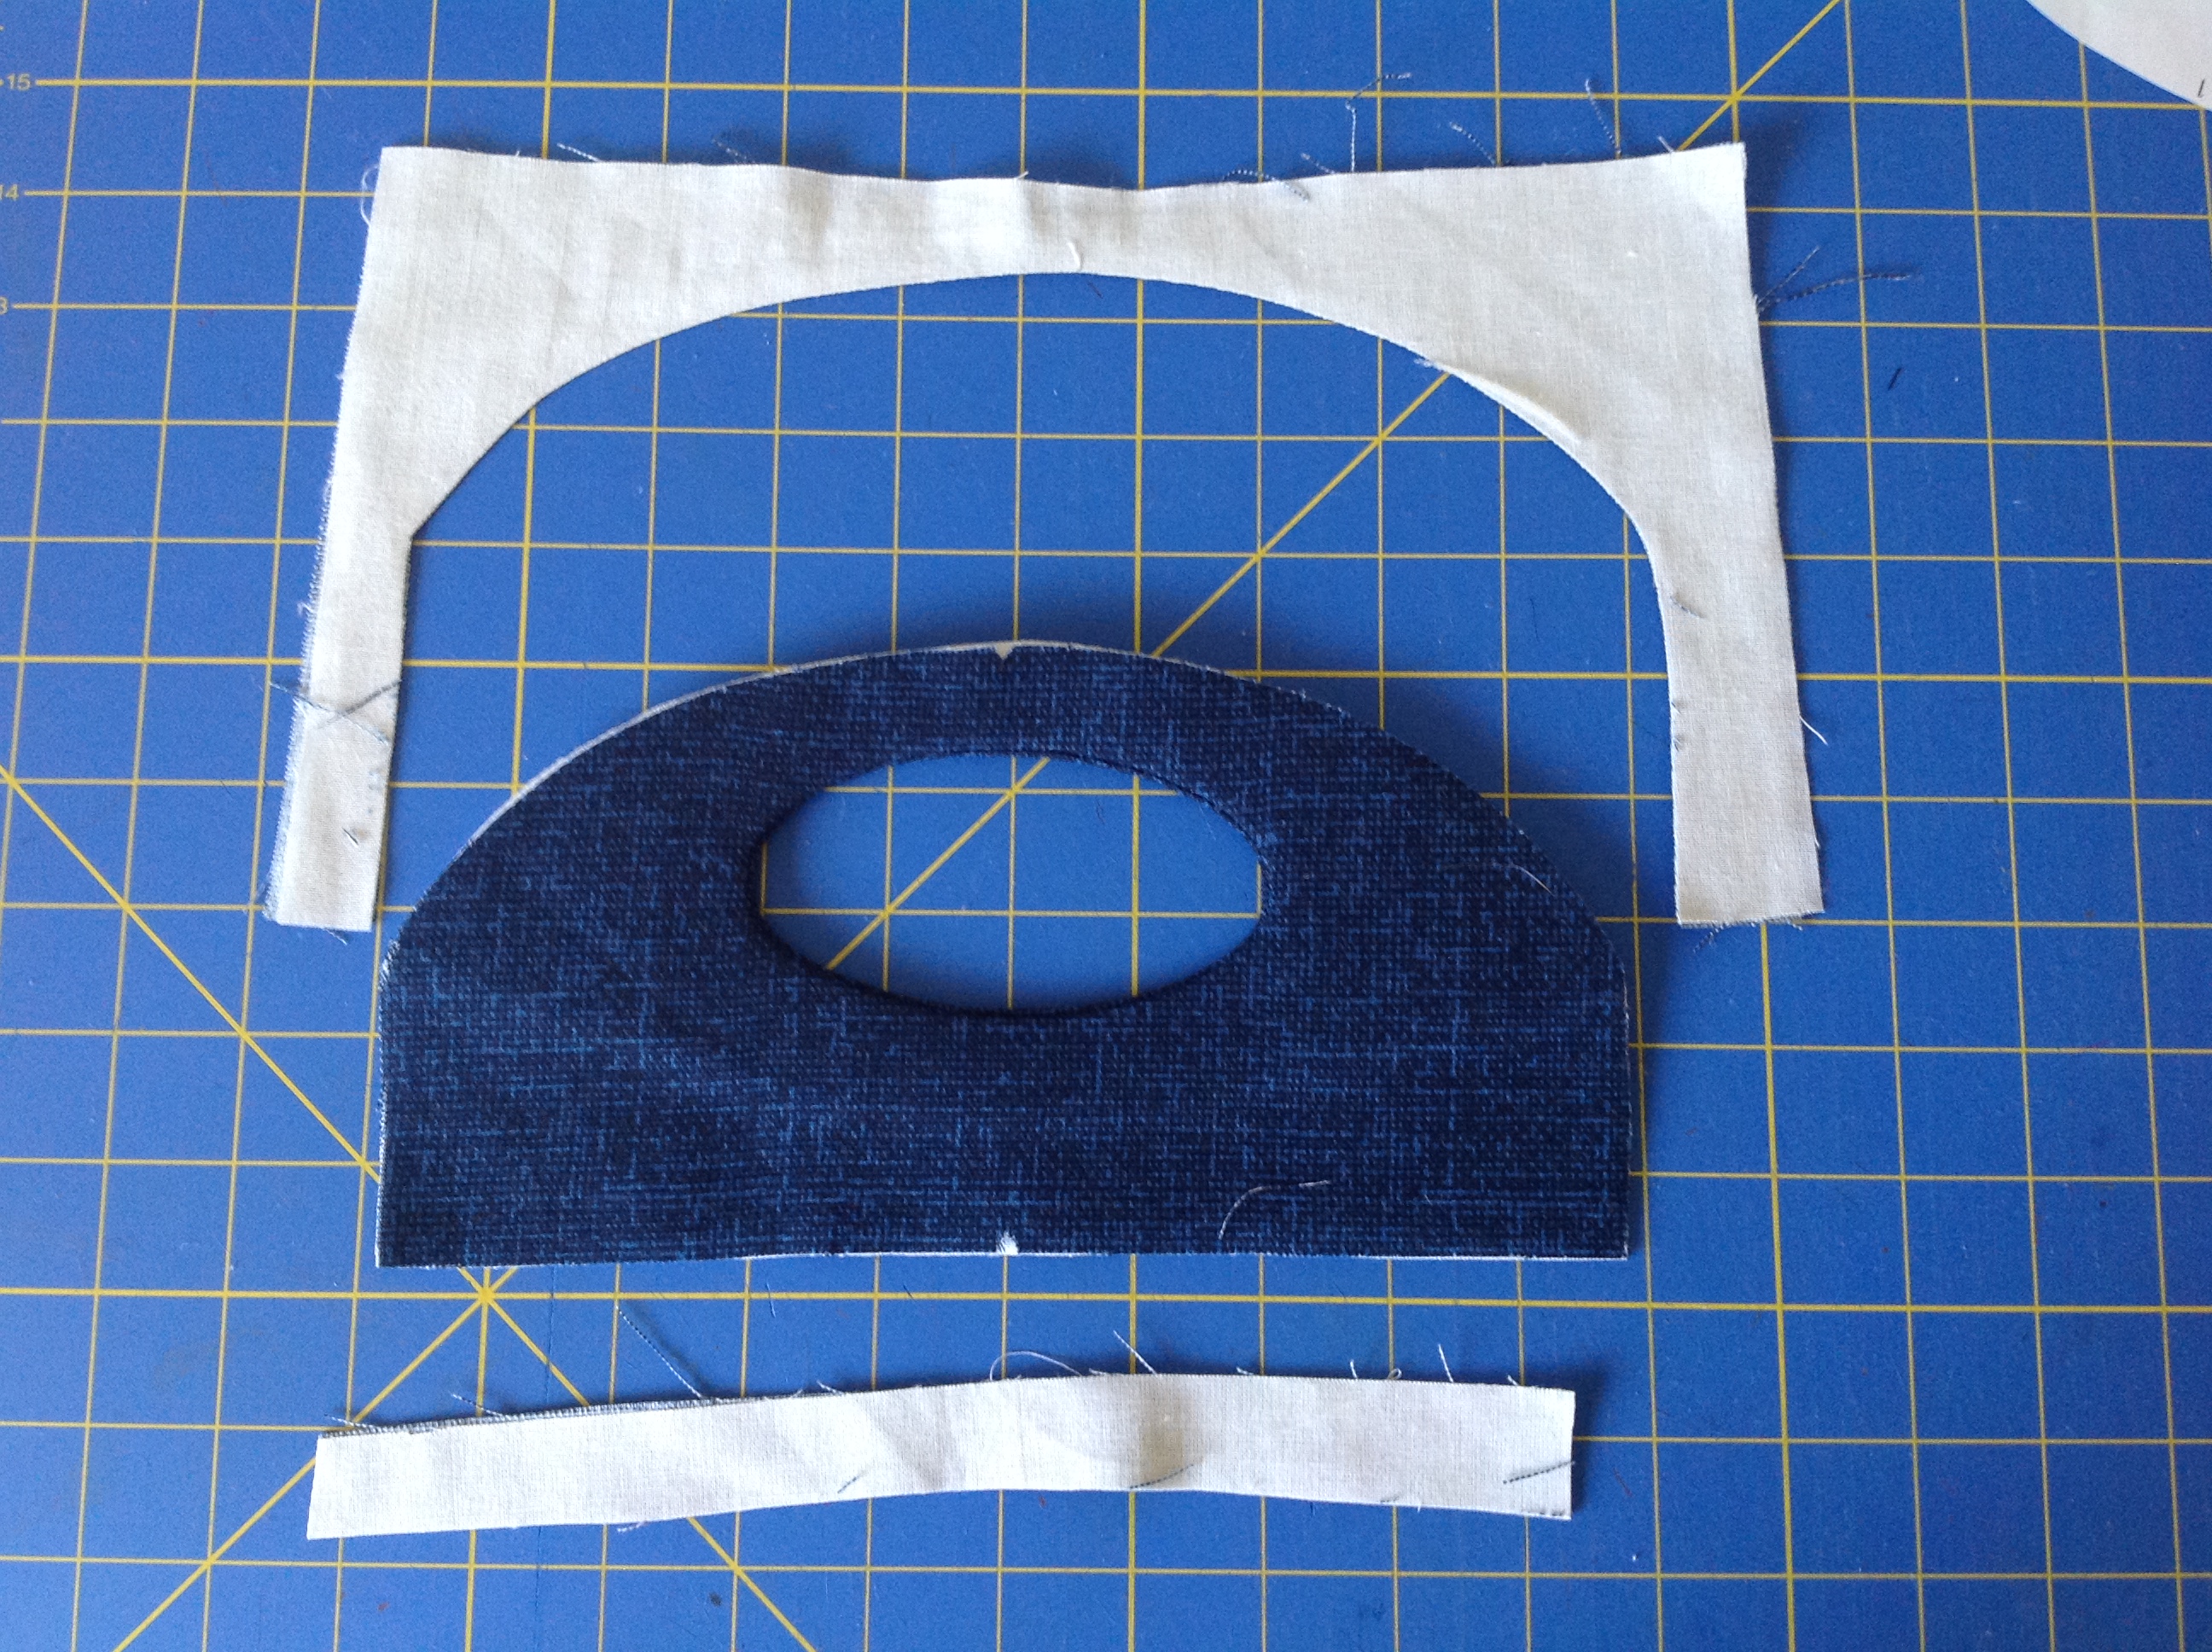
So, let’s get started. You will need to find the following pieces:
Handle Front,
Handle Back,
Handle Foam Stabilizer
Handle Back Interfacing
and the Handle Binding
Note: if you have the digital (pdf) version of this pattern, you have the option of using the paper guide method to stitch the handle cut out because you can print multiple copies of the pattern pieces. If you are going to use this method, you don’t need to trace the oval on the foam stabilizer as in the photo below.
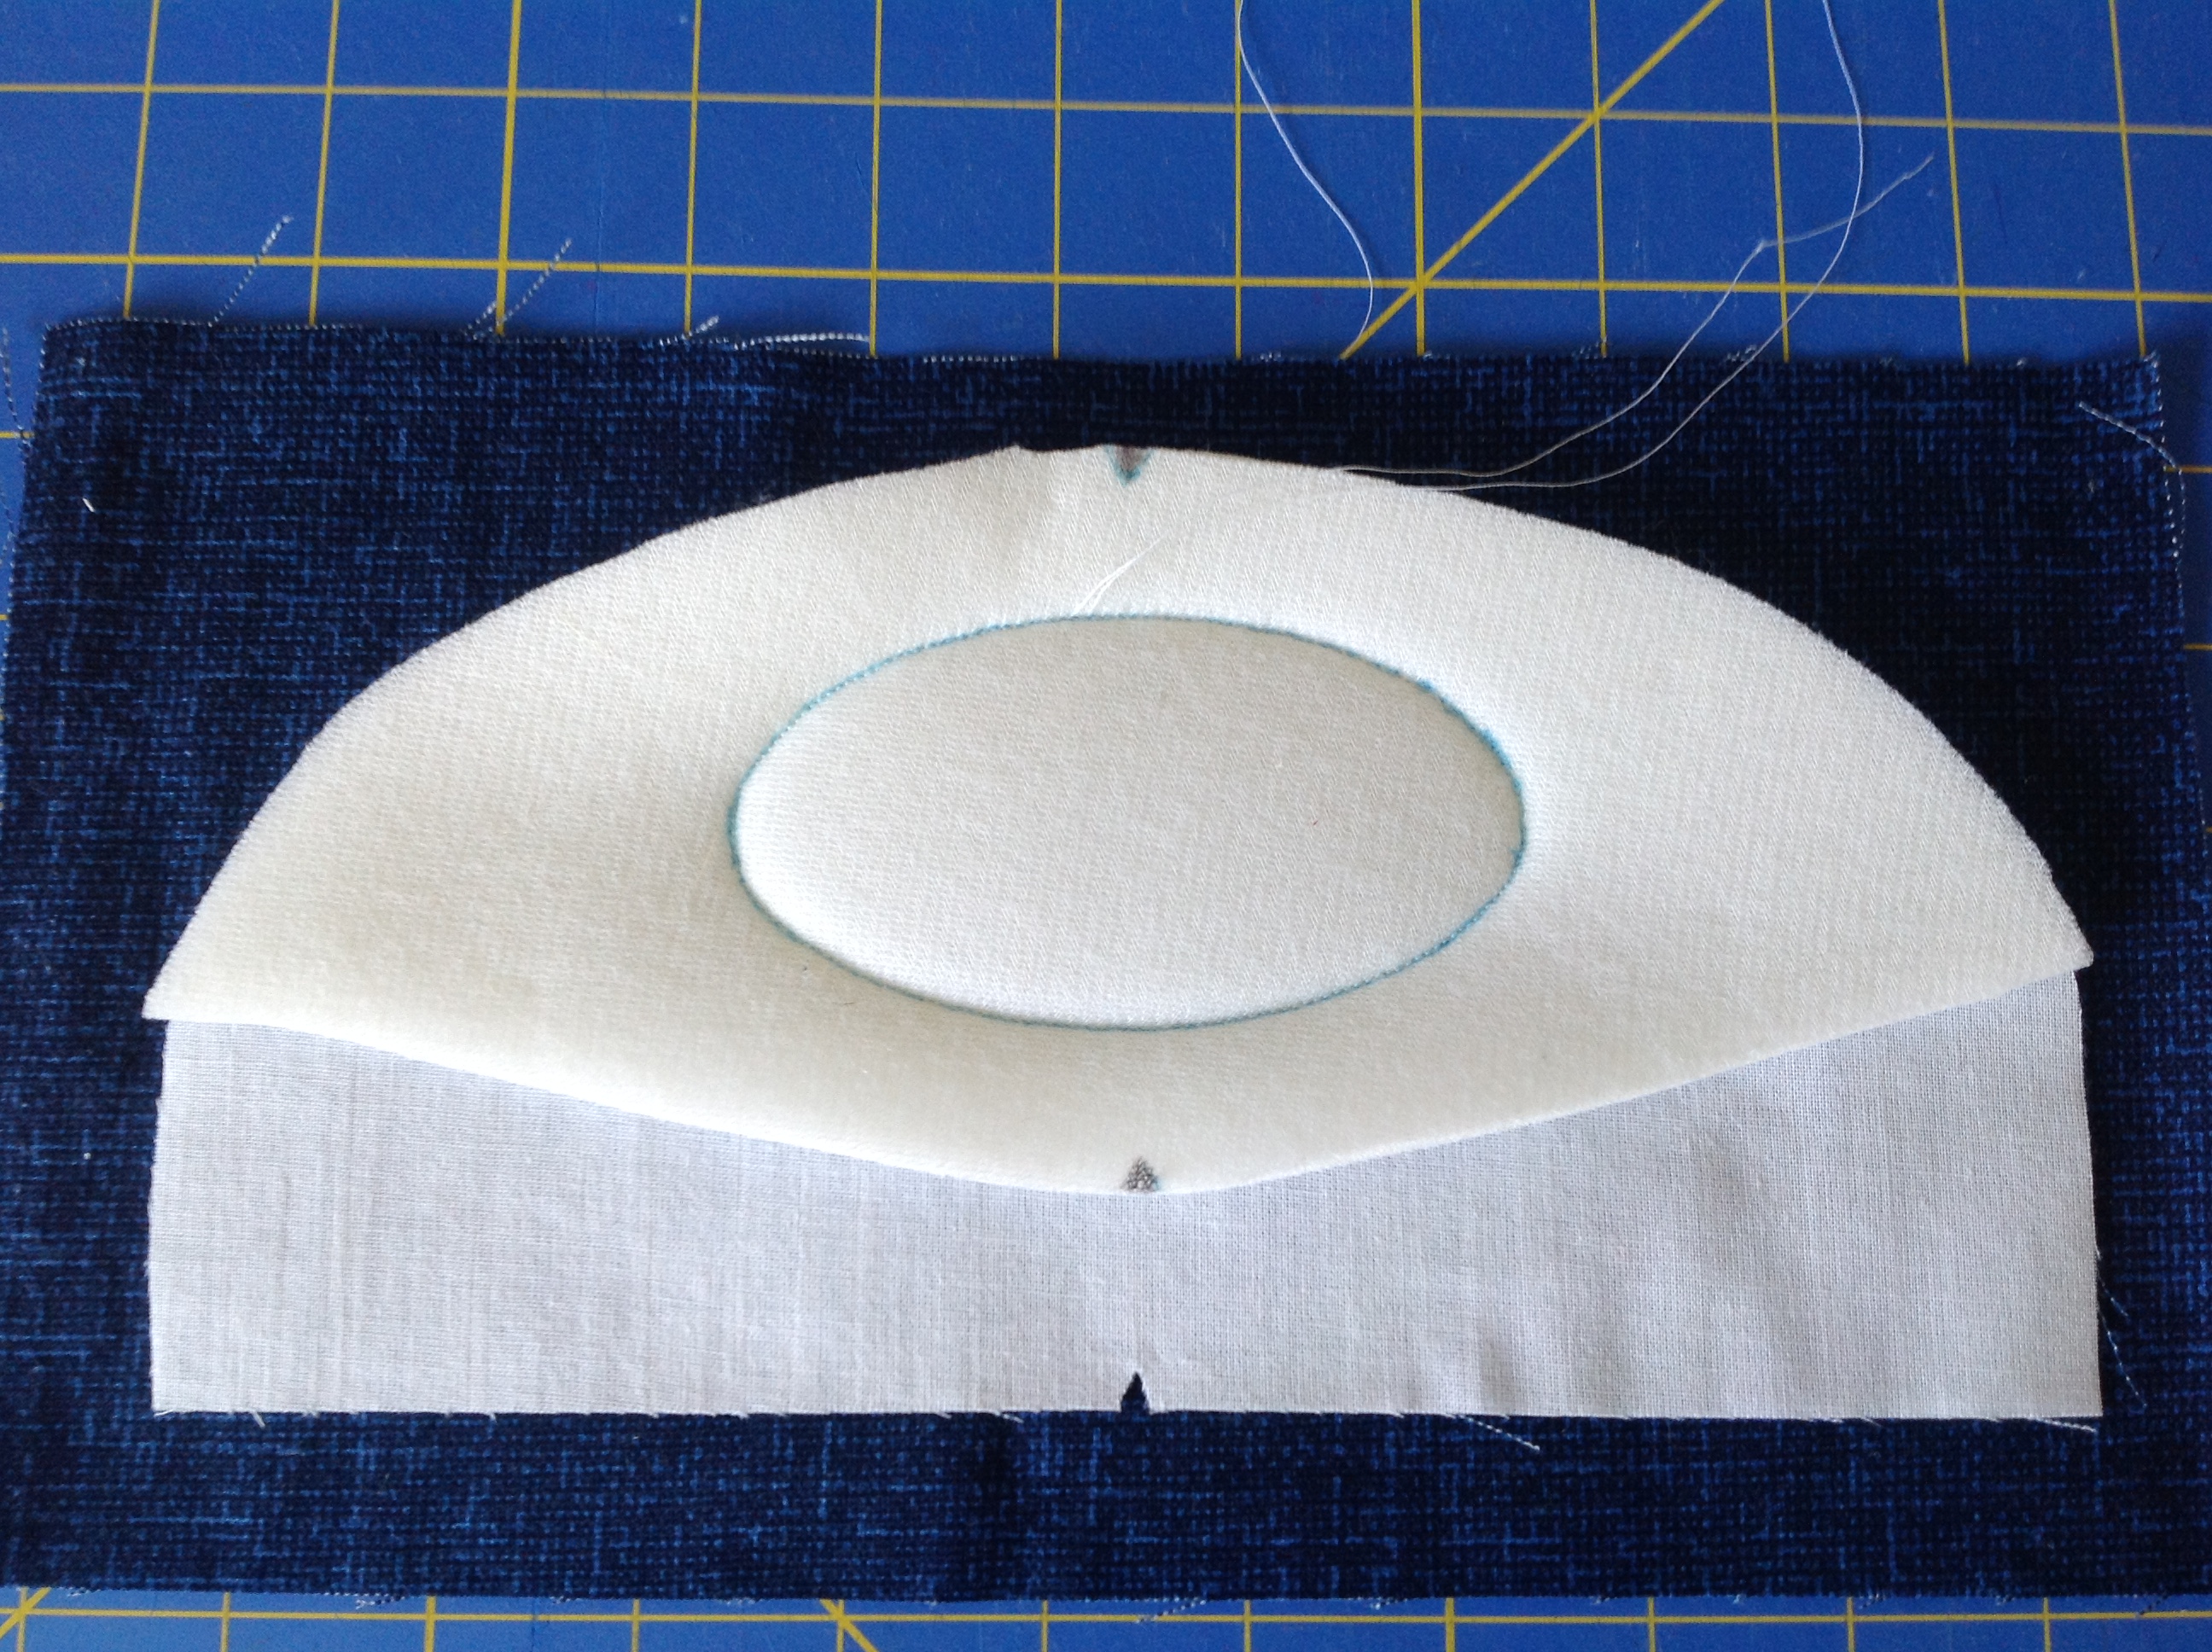
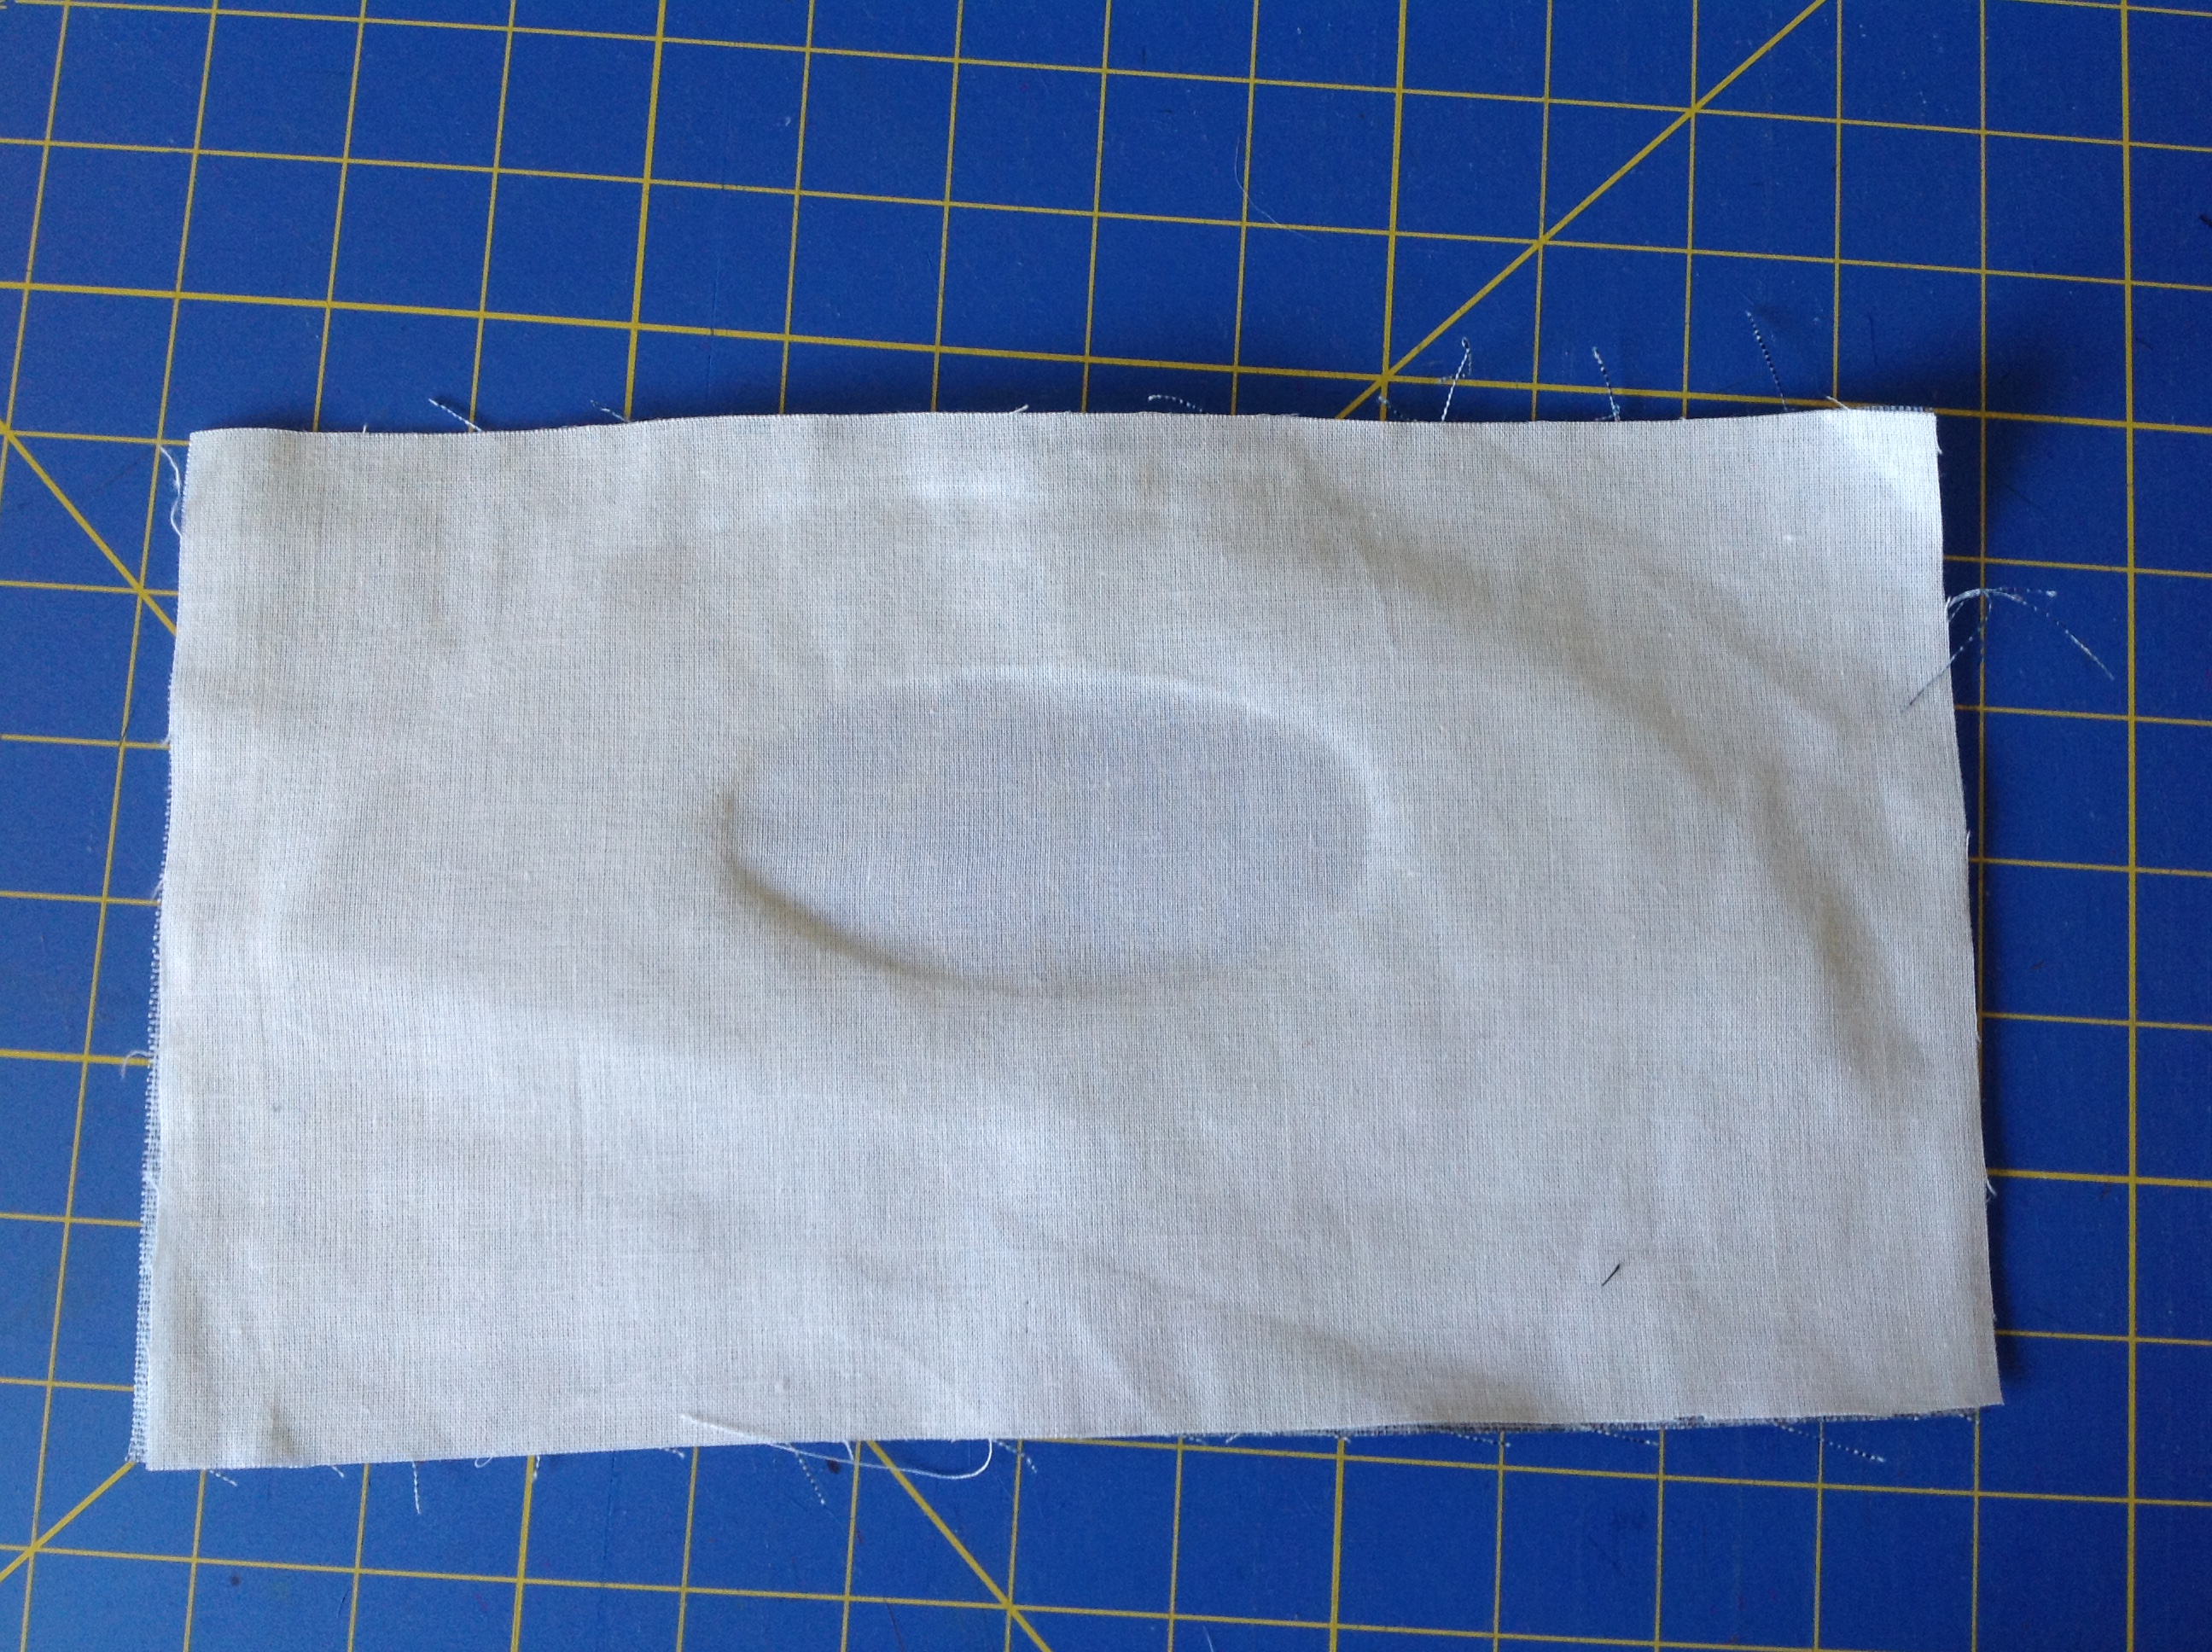
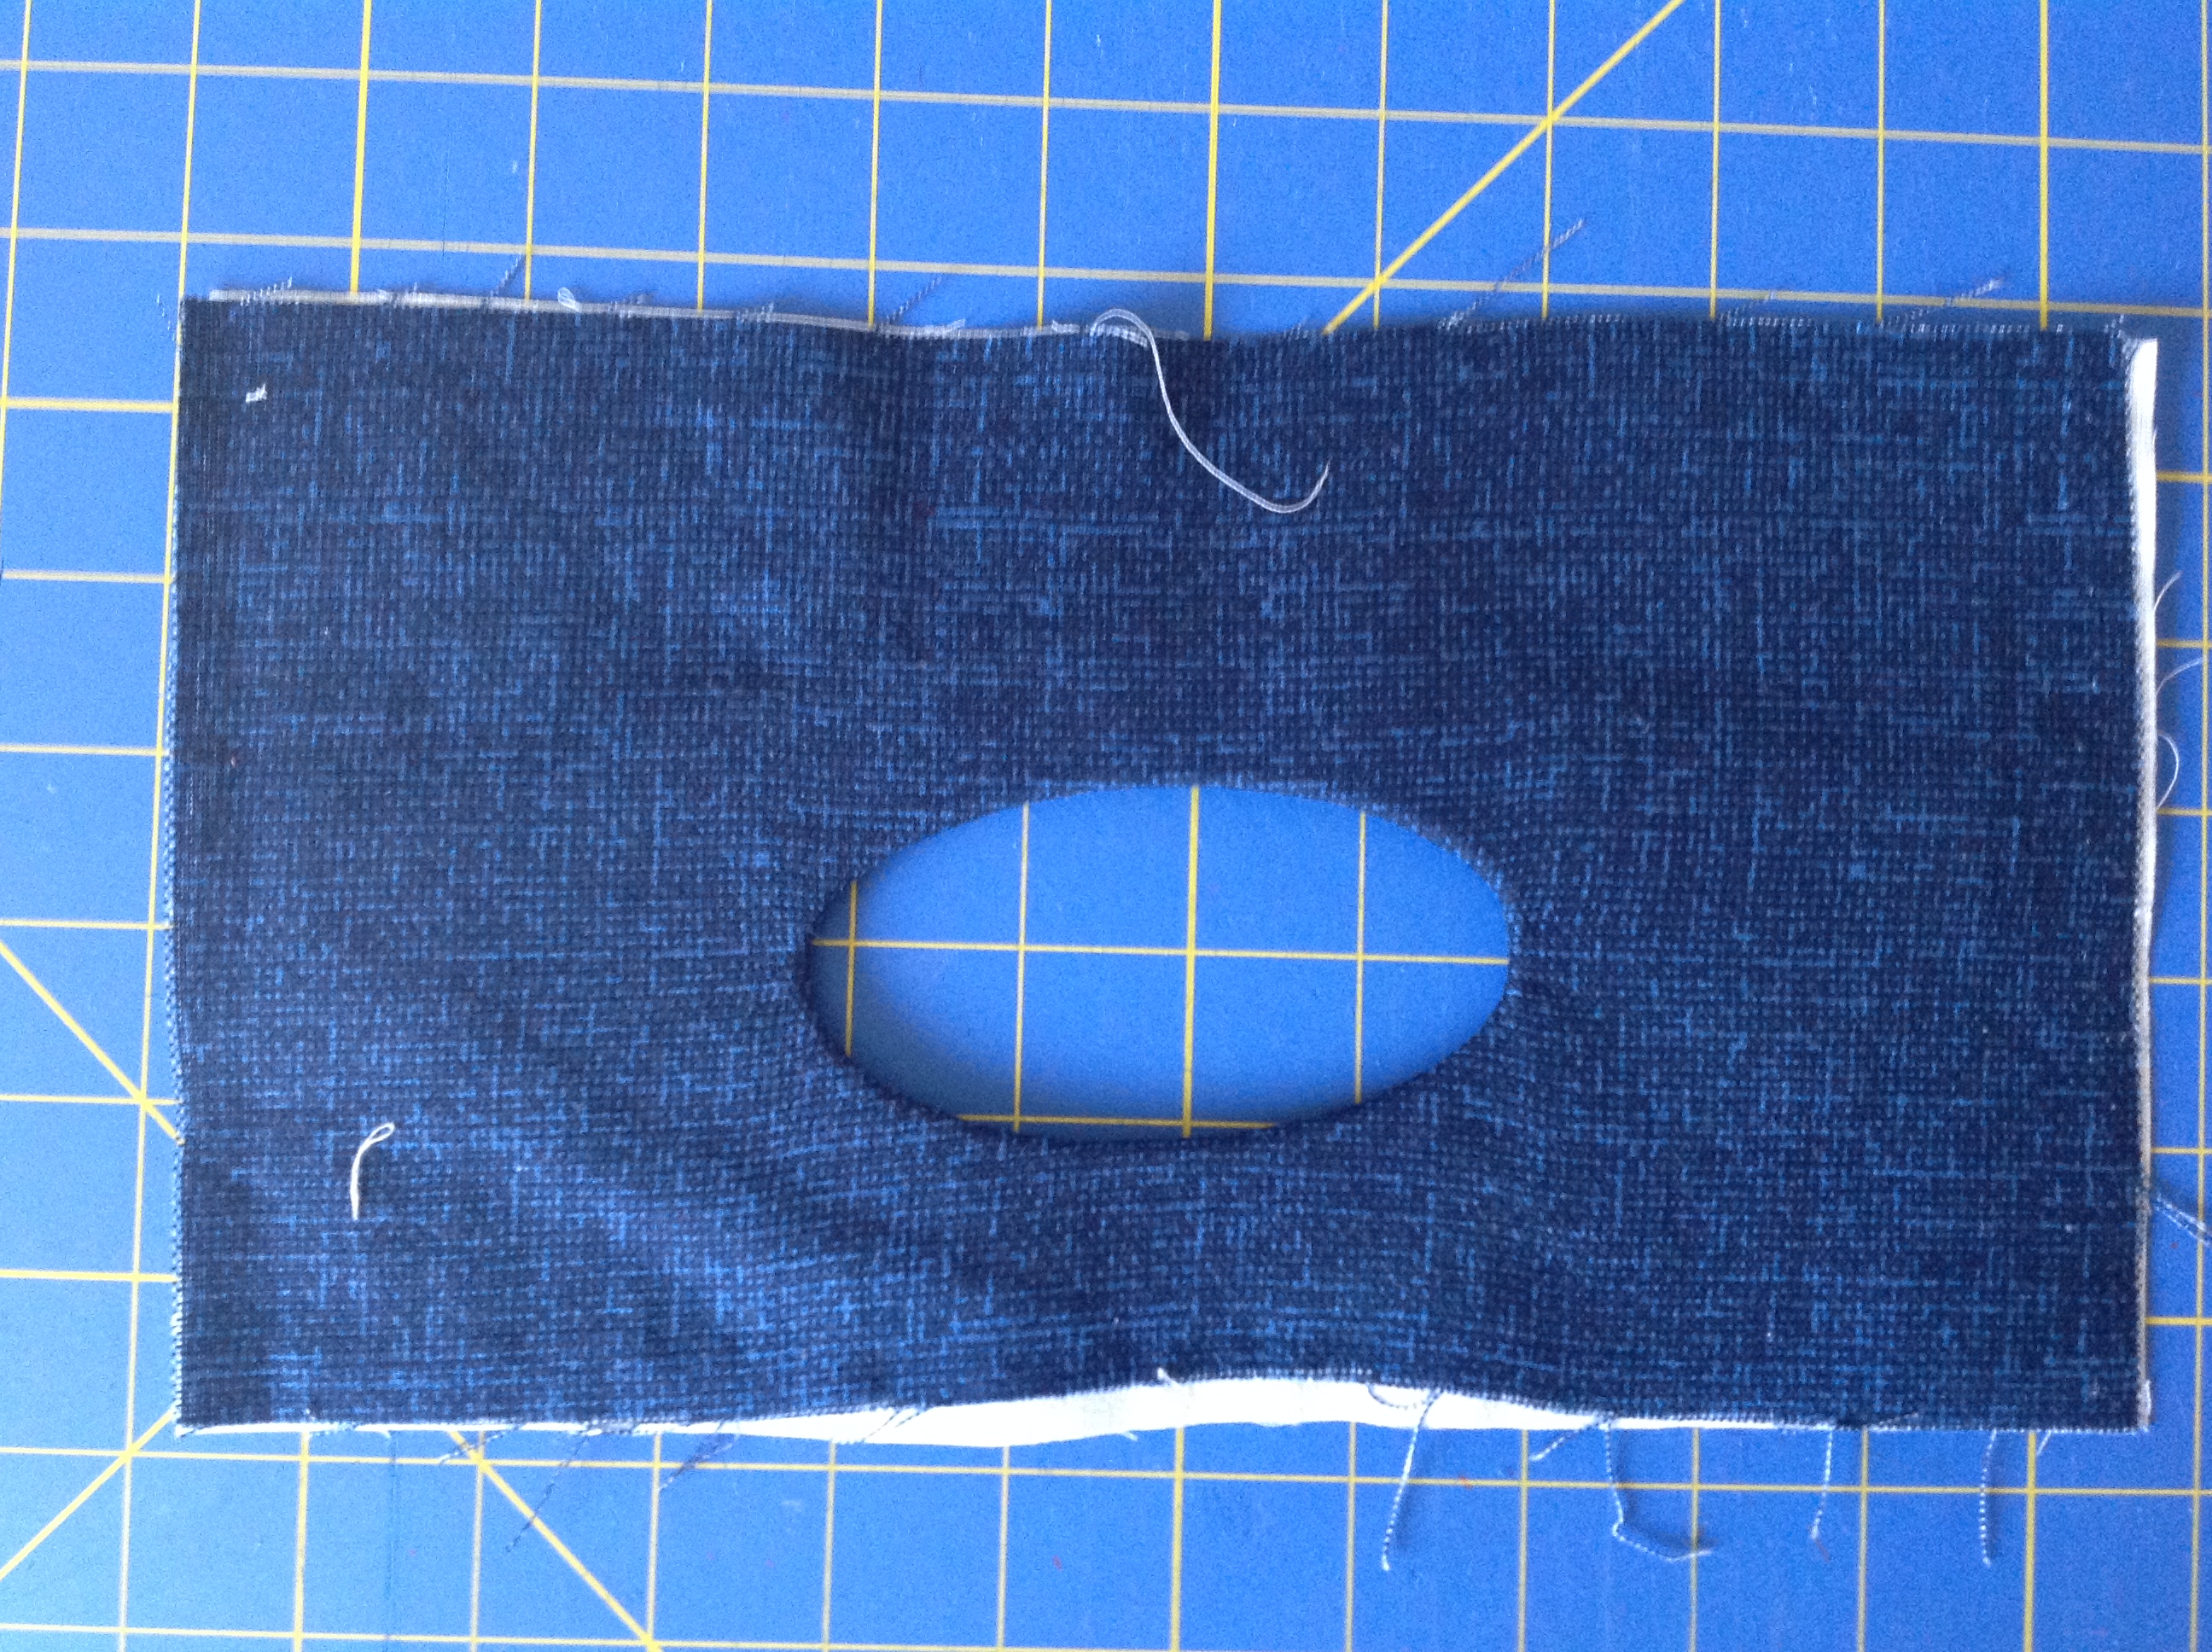
The first thing we want to do is center the Handle Front piece on top of the Handle Back. The right side of both pieces should be facing. I also want to note here that the Handle Front should already have the interfacing fused on it, but the Handle Back should not.
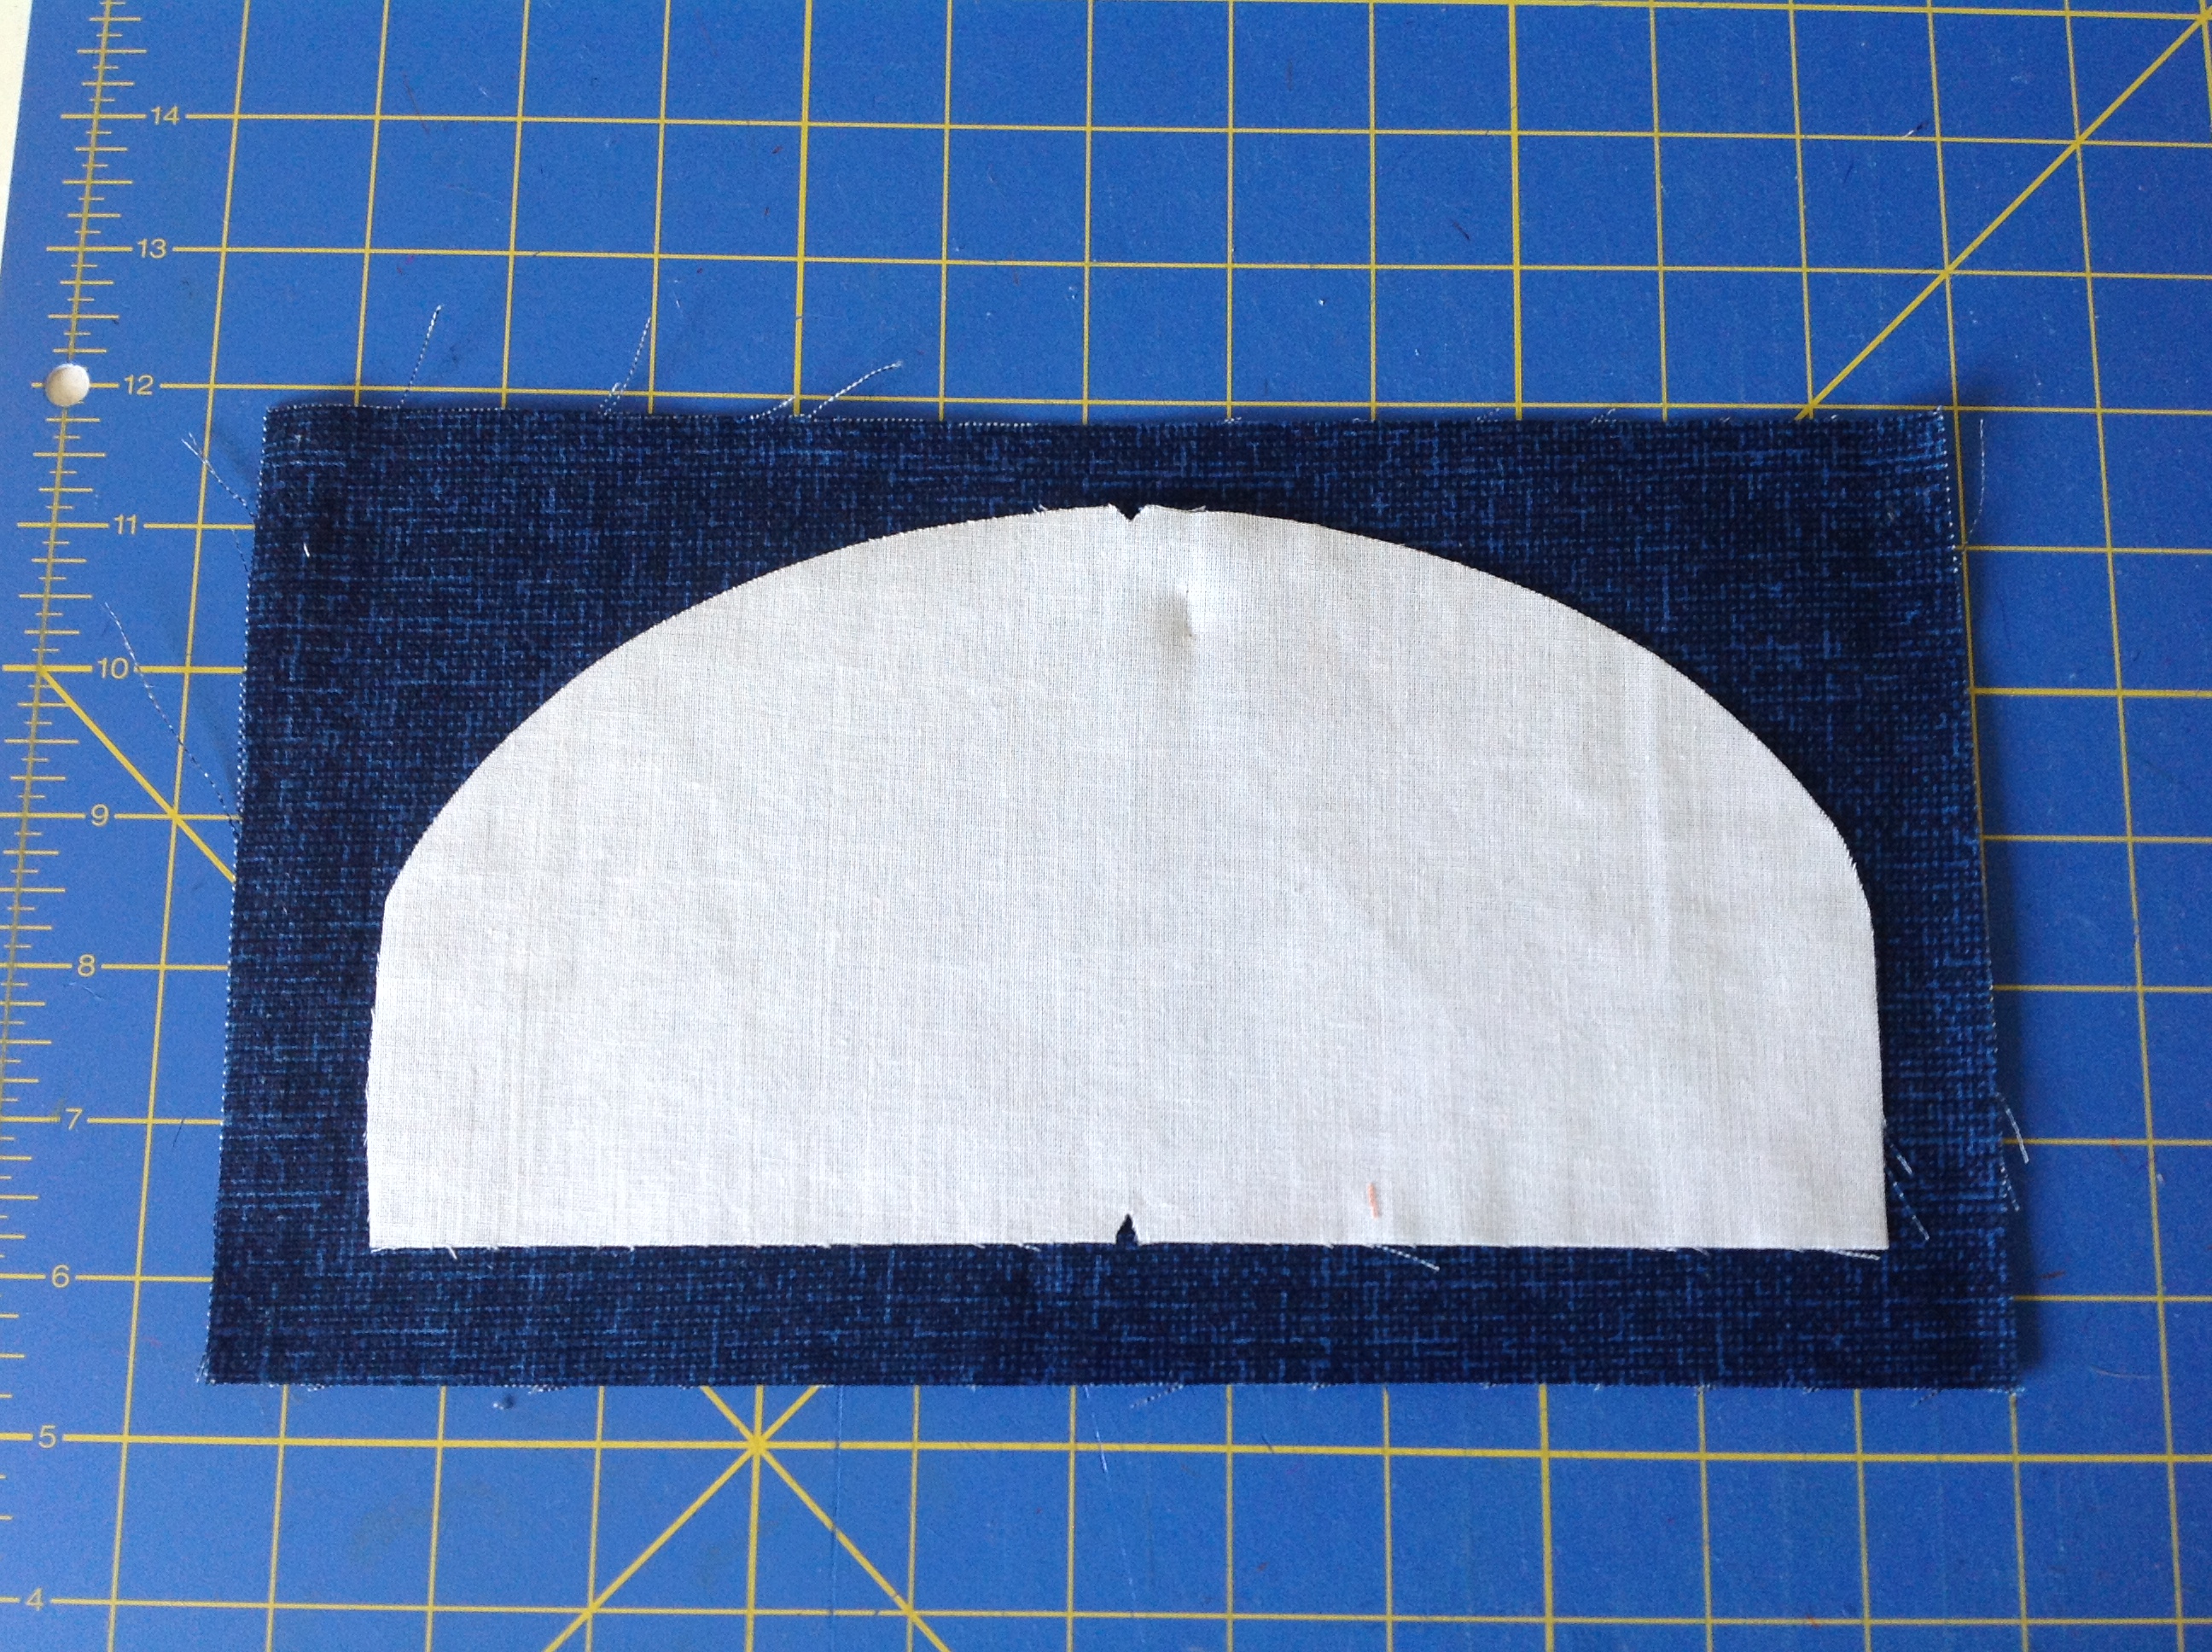
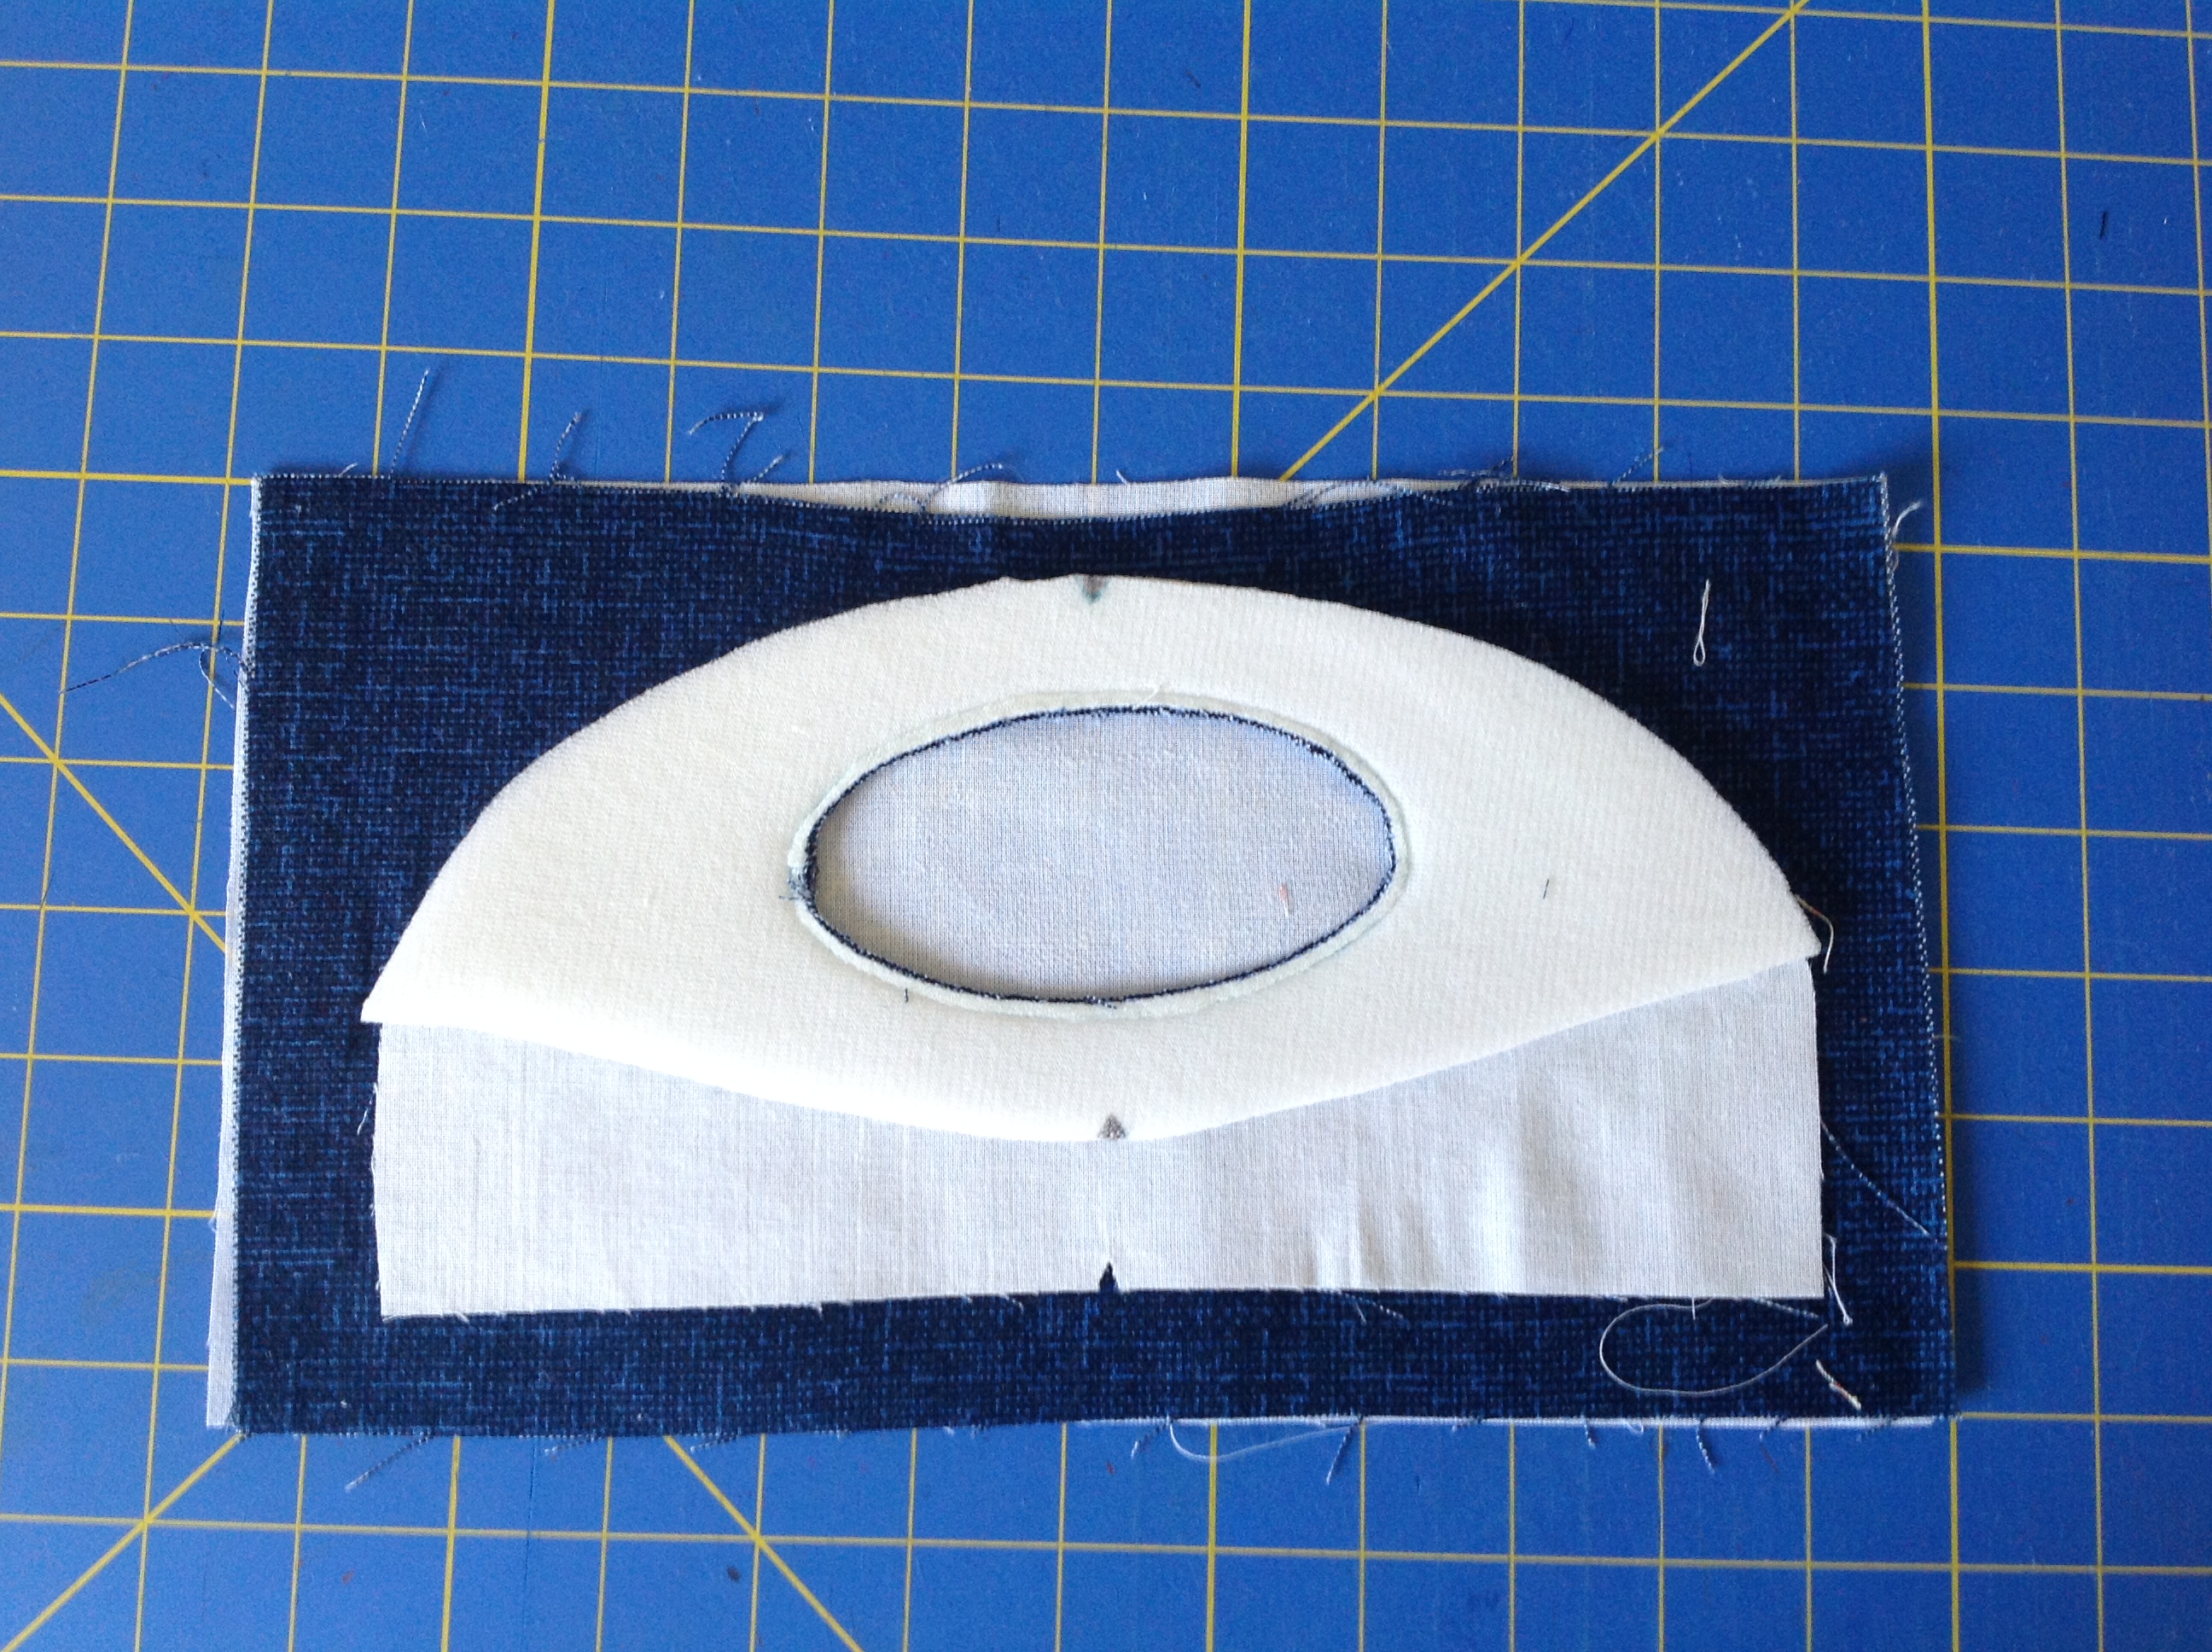
Lay the foam stabilizer on top. Be sure that the oval that you traced on it is facing up and that the upper, curved edge of it and the Handle Front align. If you are using the paper guide method (a pdf pattern option), you will want to lay a copy of pattern piece #4 on the very top (picture below).

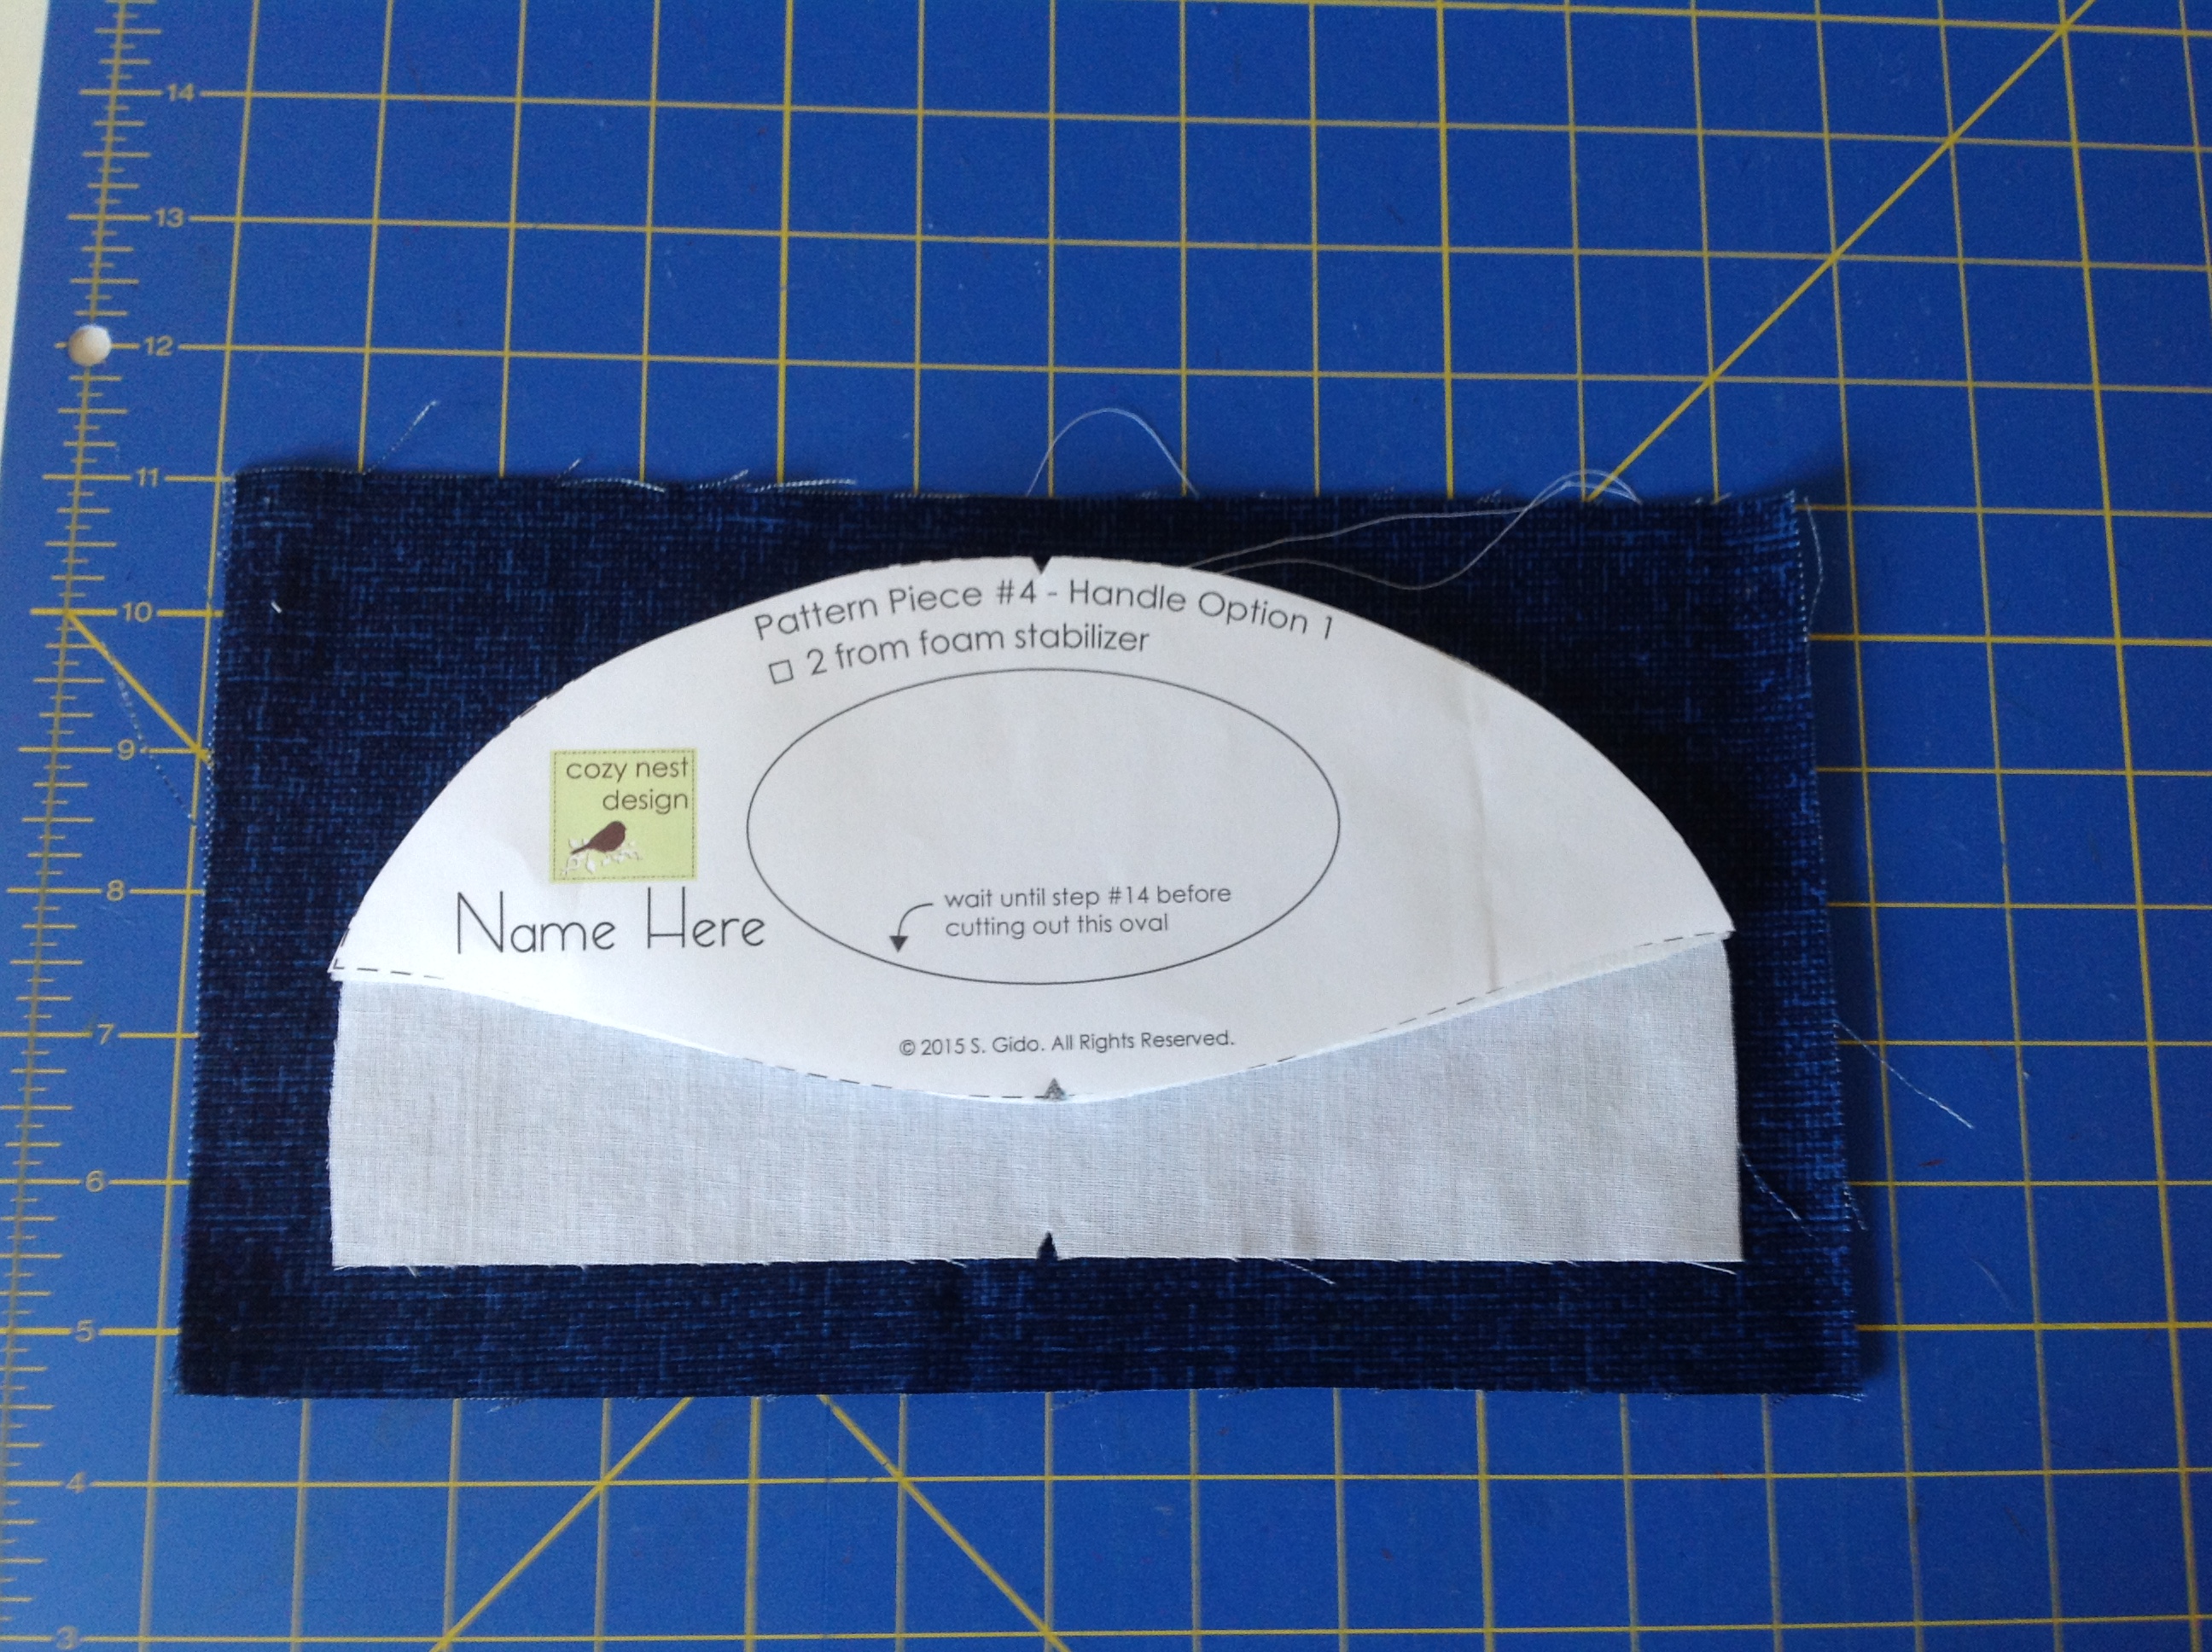
if you have a pdf or digital version of the pattern, you can just stitch right on top of the pattern piece using the paper guide method
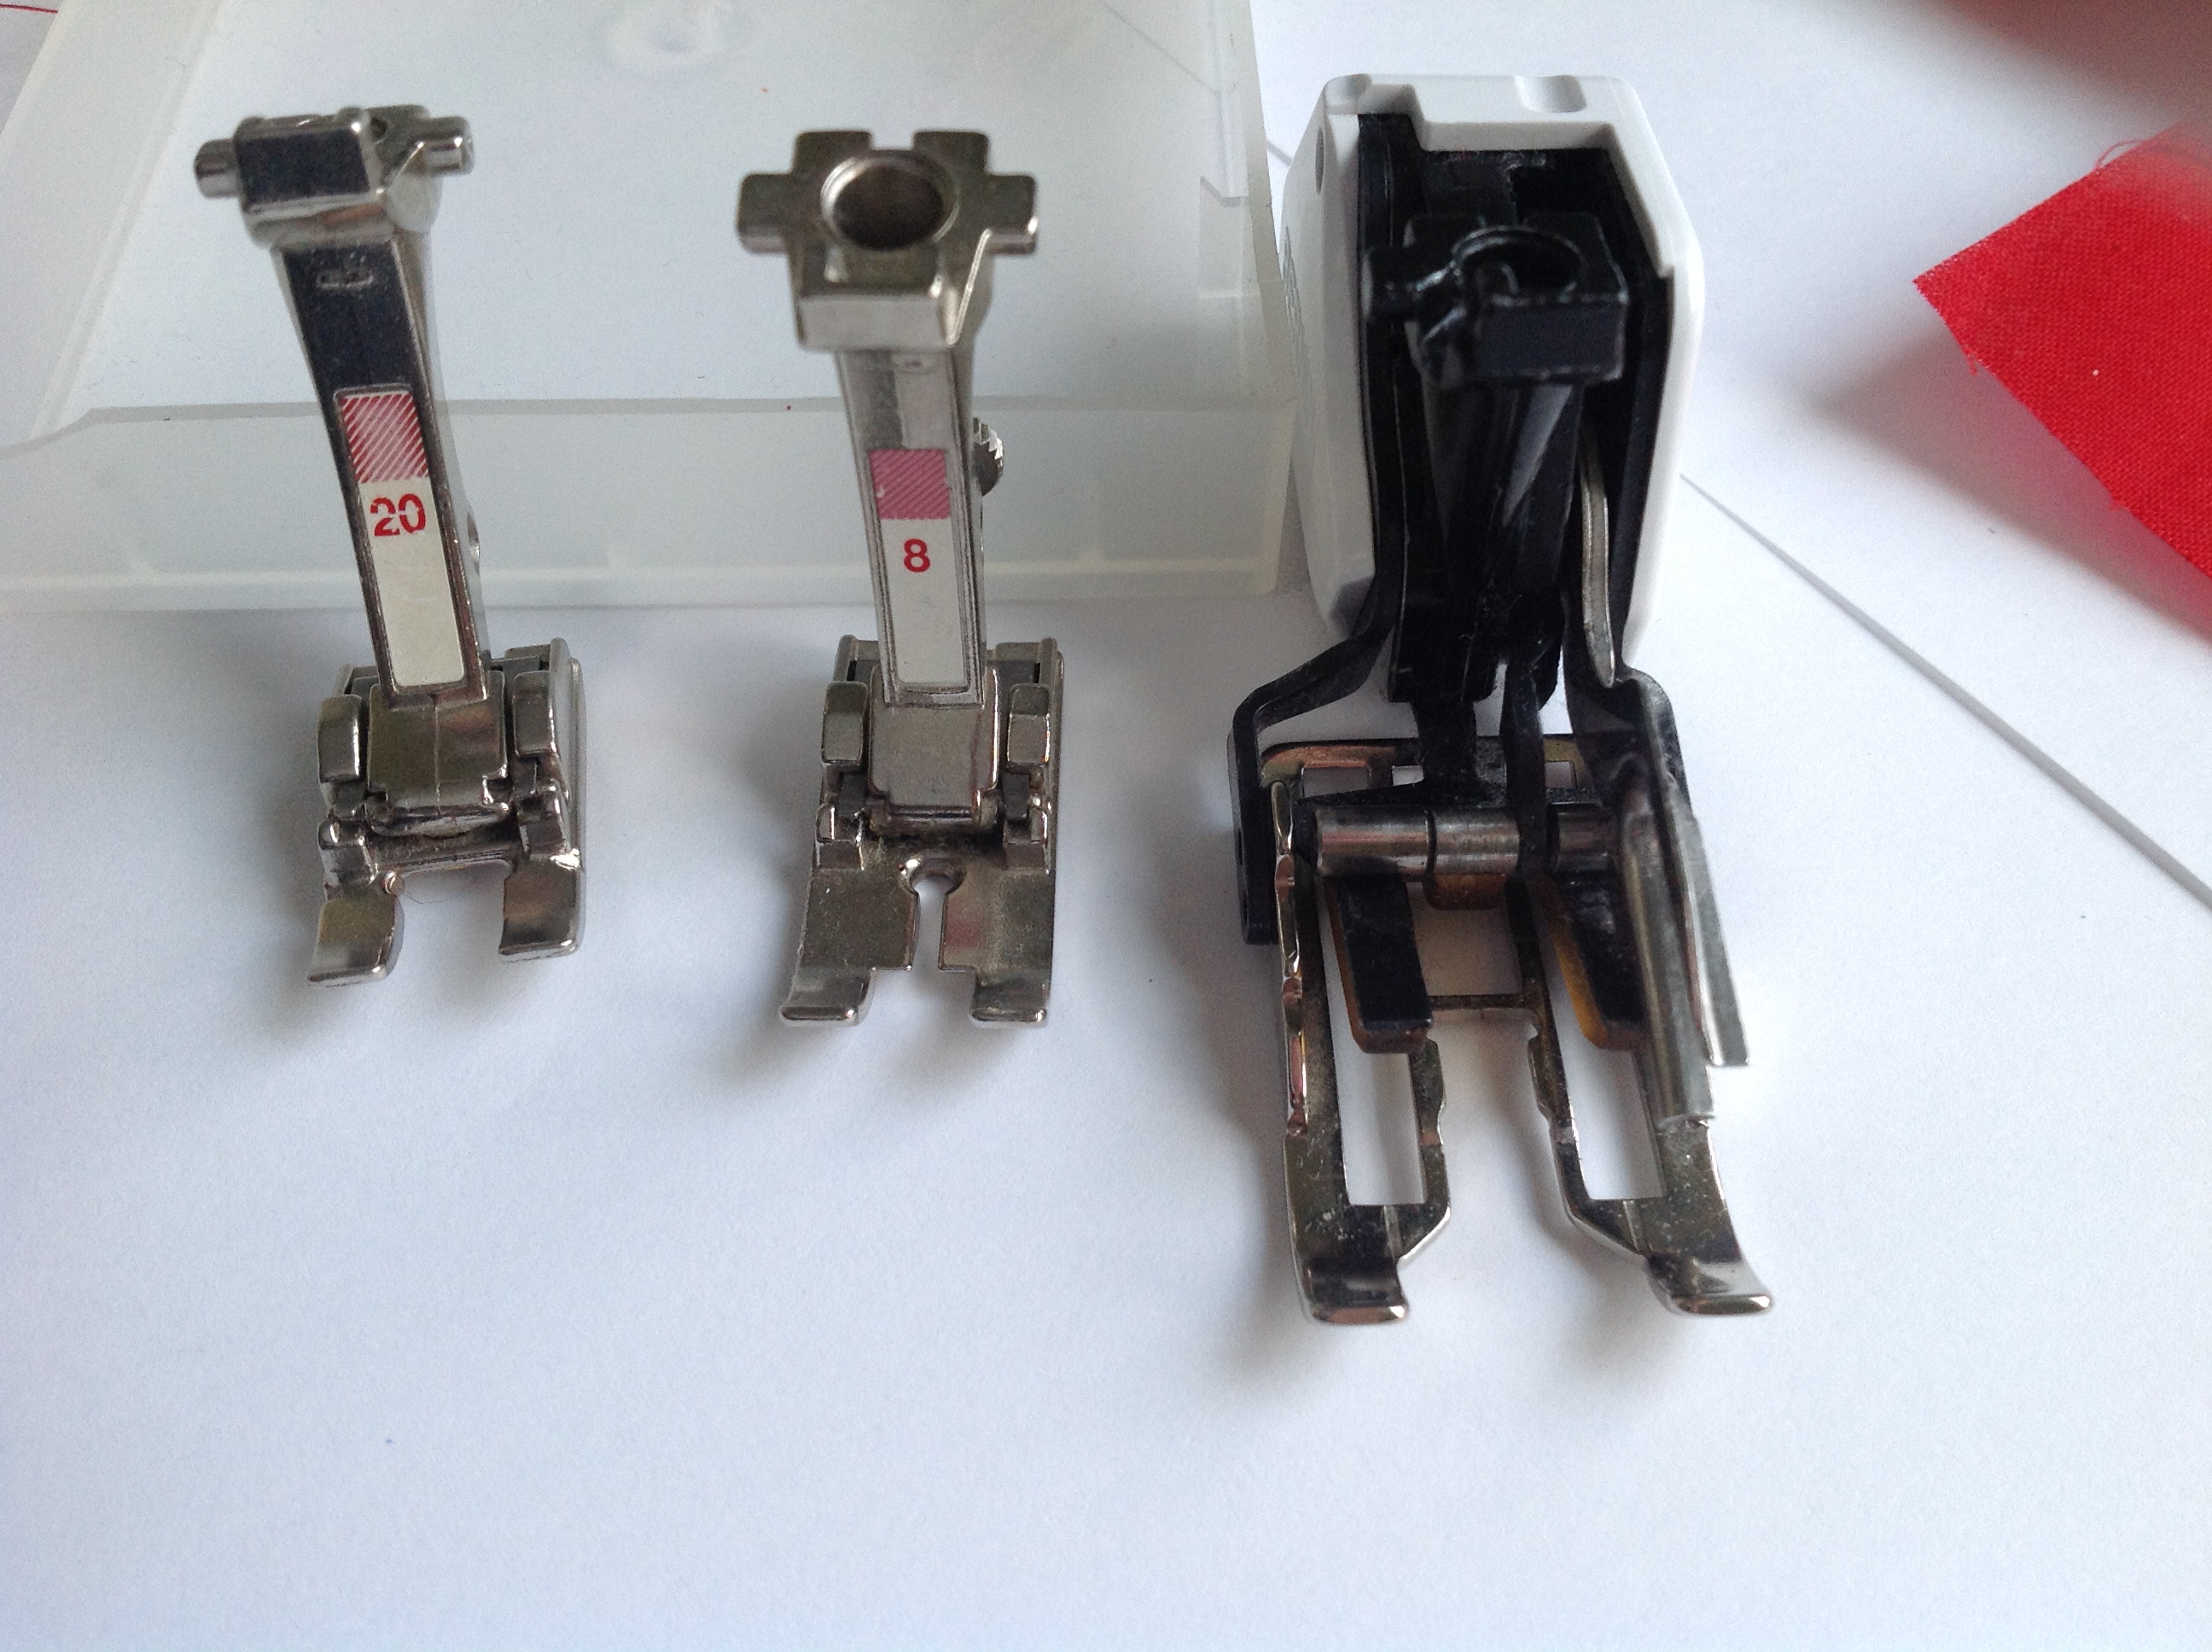
Now you are going to take that to your sewing machine and stitch along the oval that is traced on the foam stabilizer. I have a couple tips for you in doing this. First, I find that using a presser foot with an open toe lets me see where my needle is going to fall. It’s ideal if you have a walking foot that has an open toe, but if you don’t, you may have another foot that would work in your presser foot arsenal. Here are some that I have that I think work well for this:
The other suggestion I have is to use a short stitch length, you will just have more control around the corners and little meanderings from the line aren’t as noticeable. Lastly, stitch slowly and breathe!
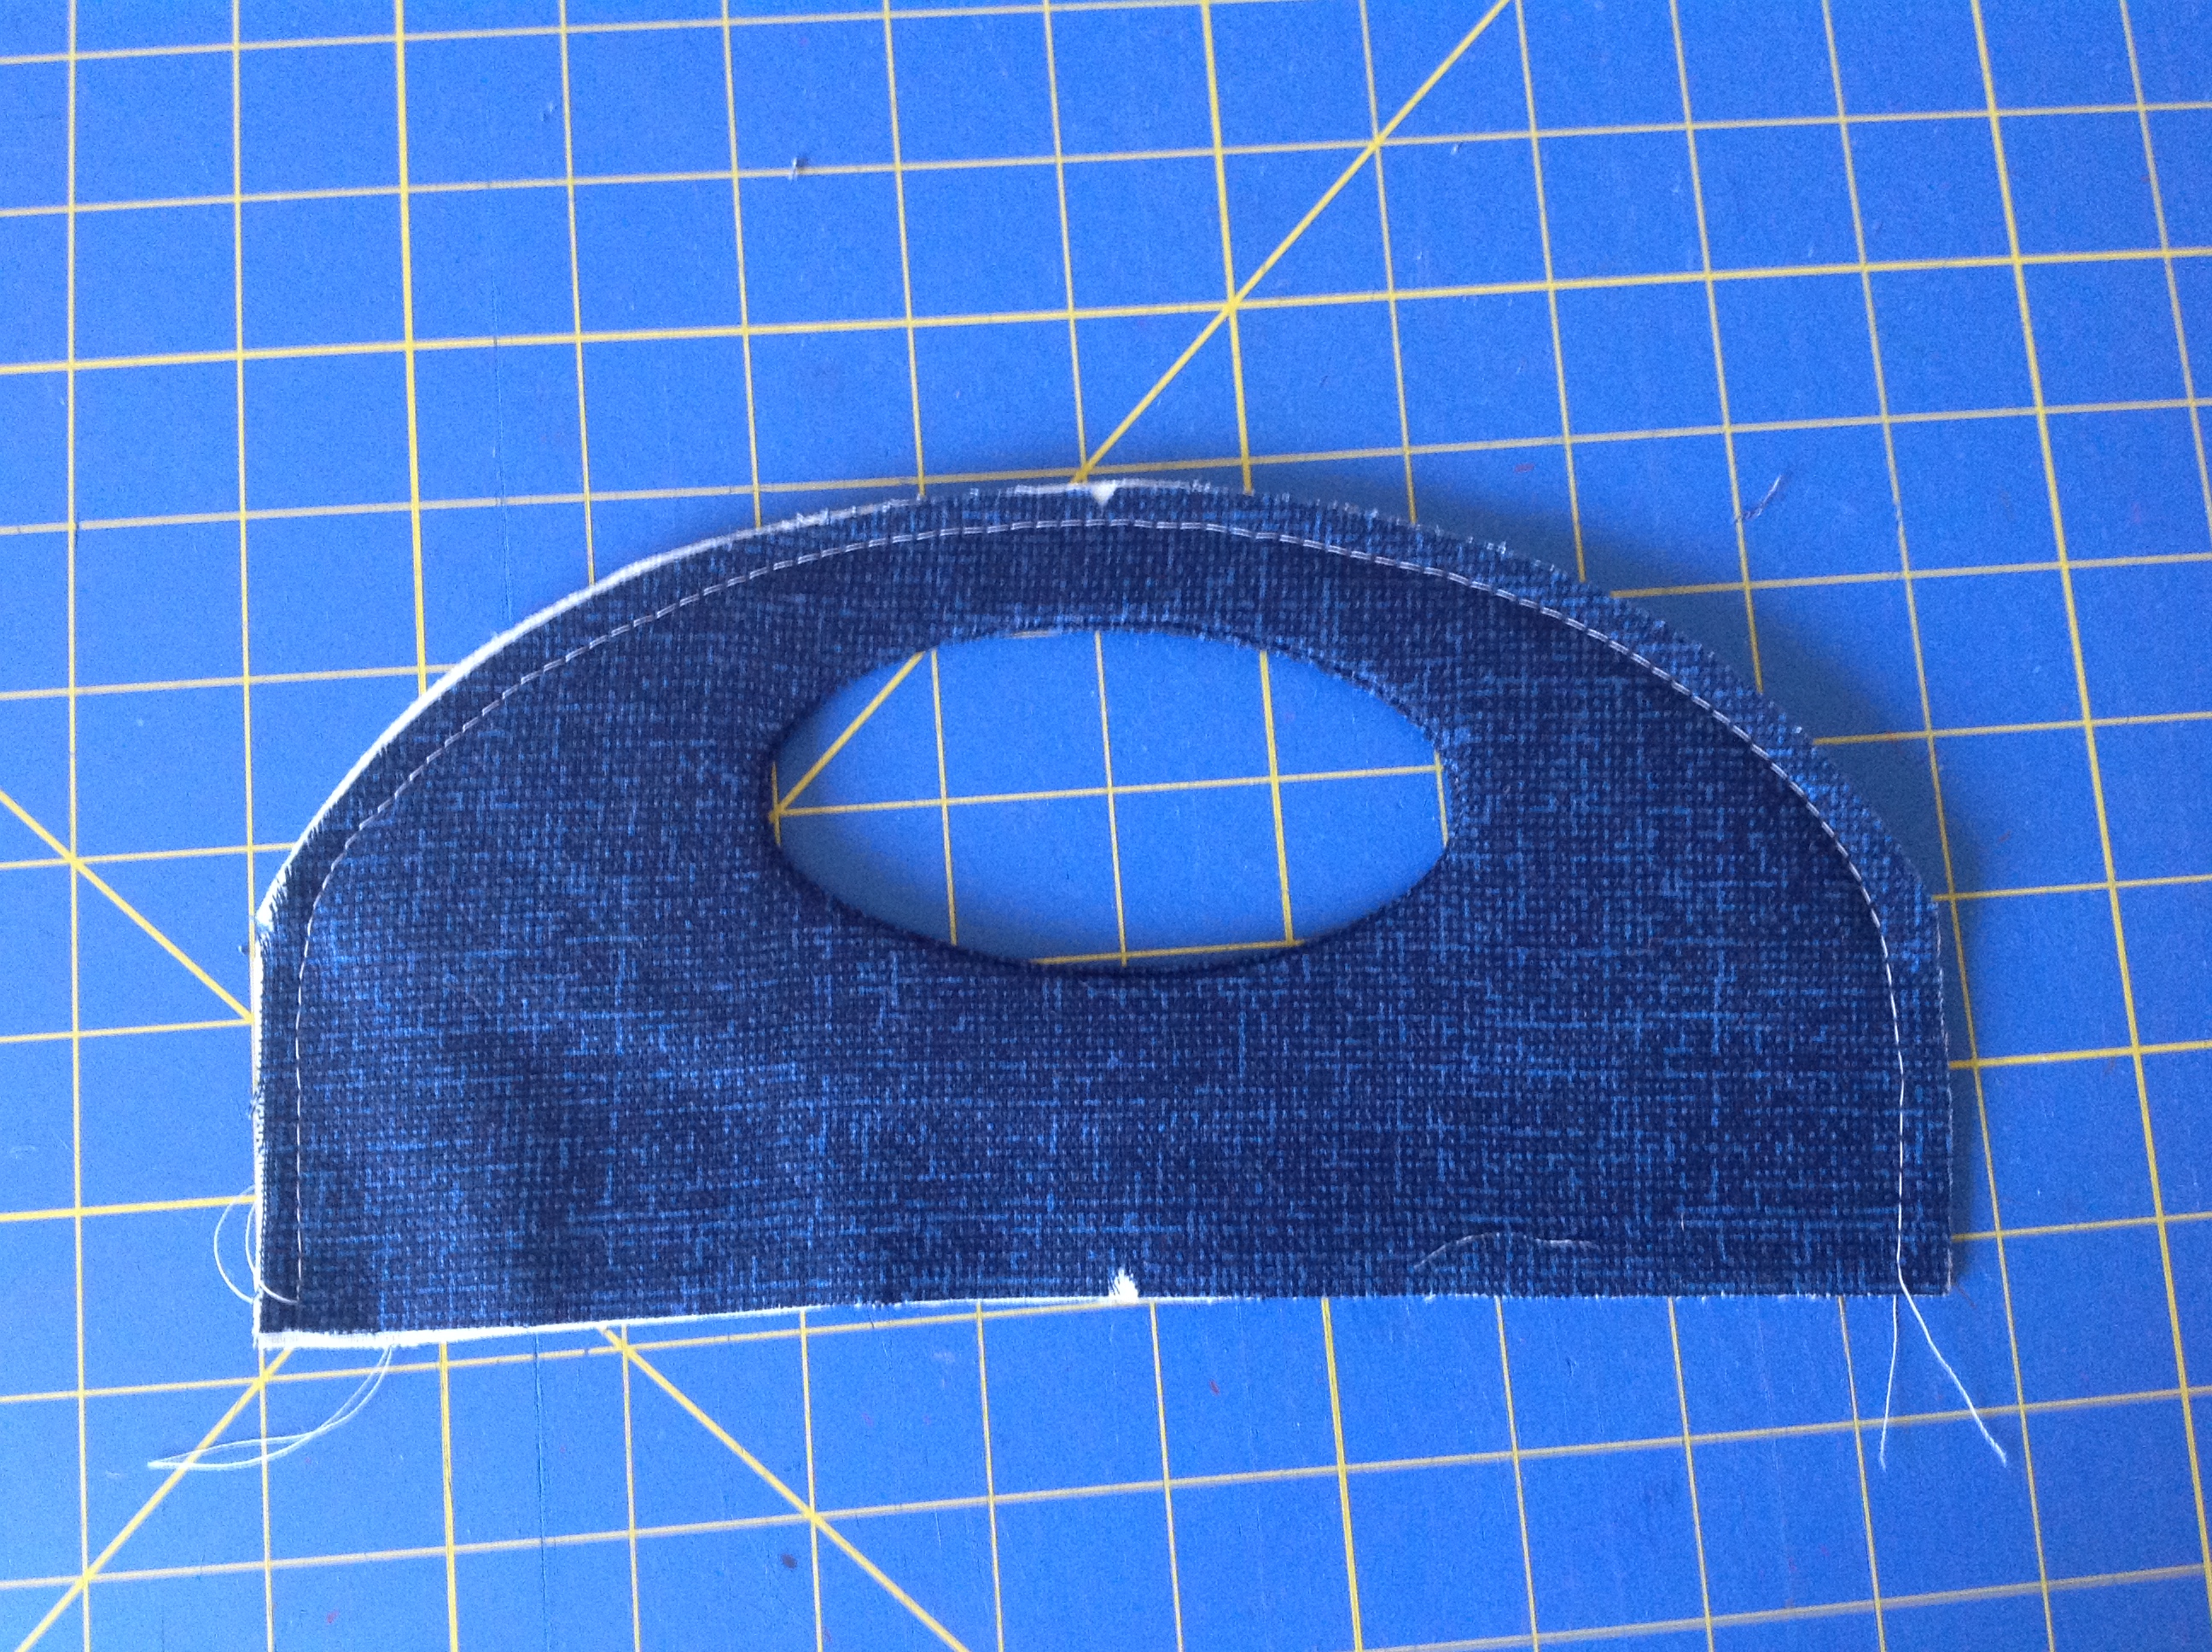
stitch around the oval along the line of the oval
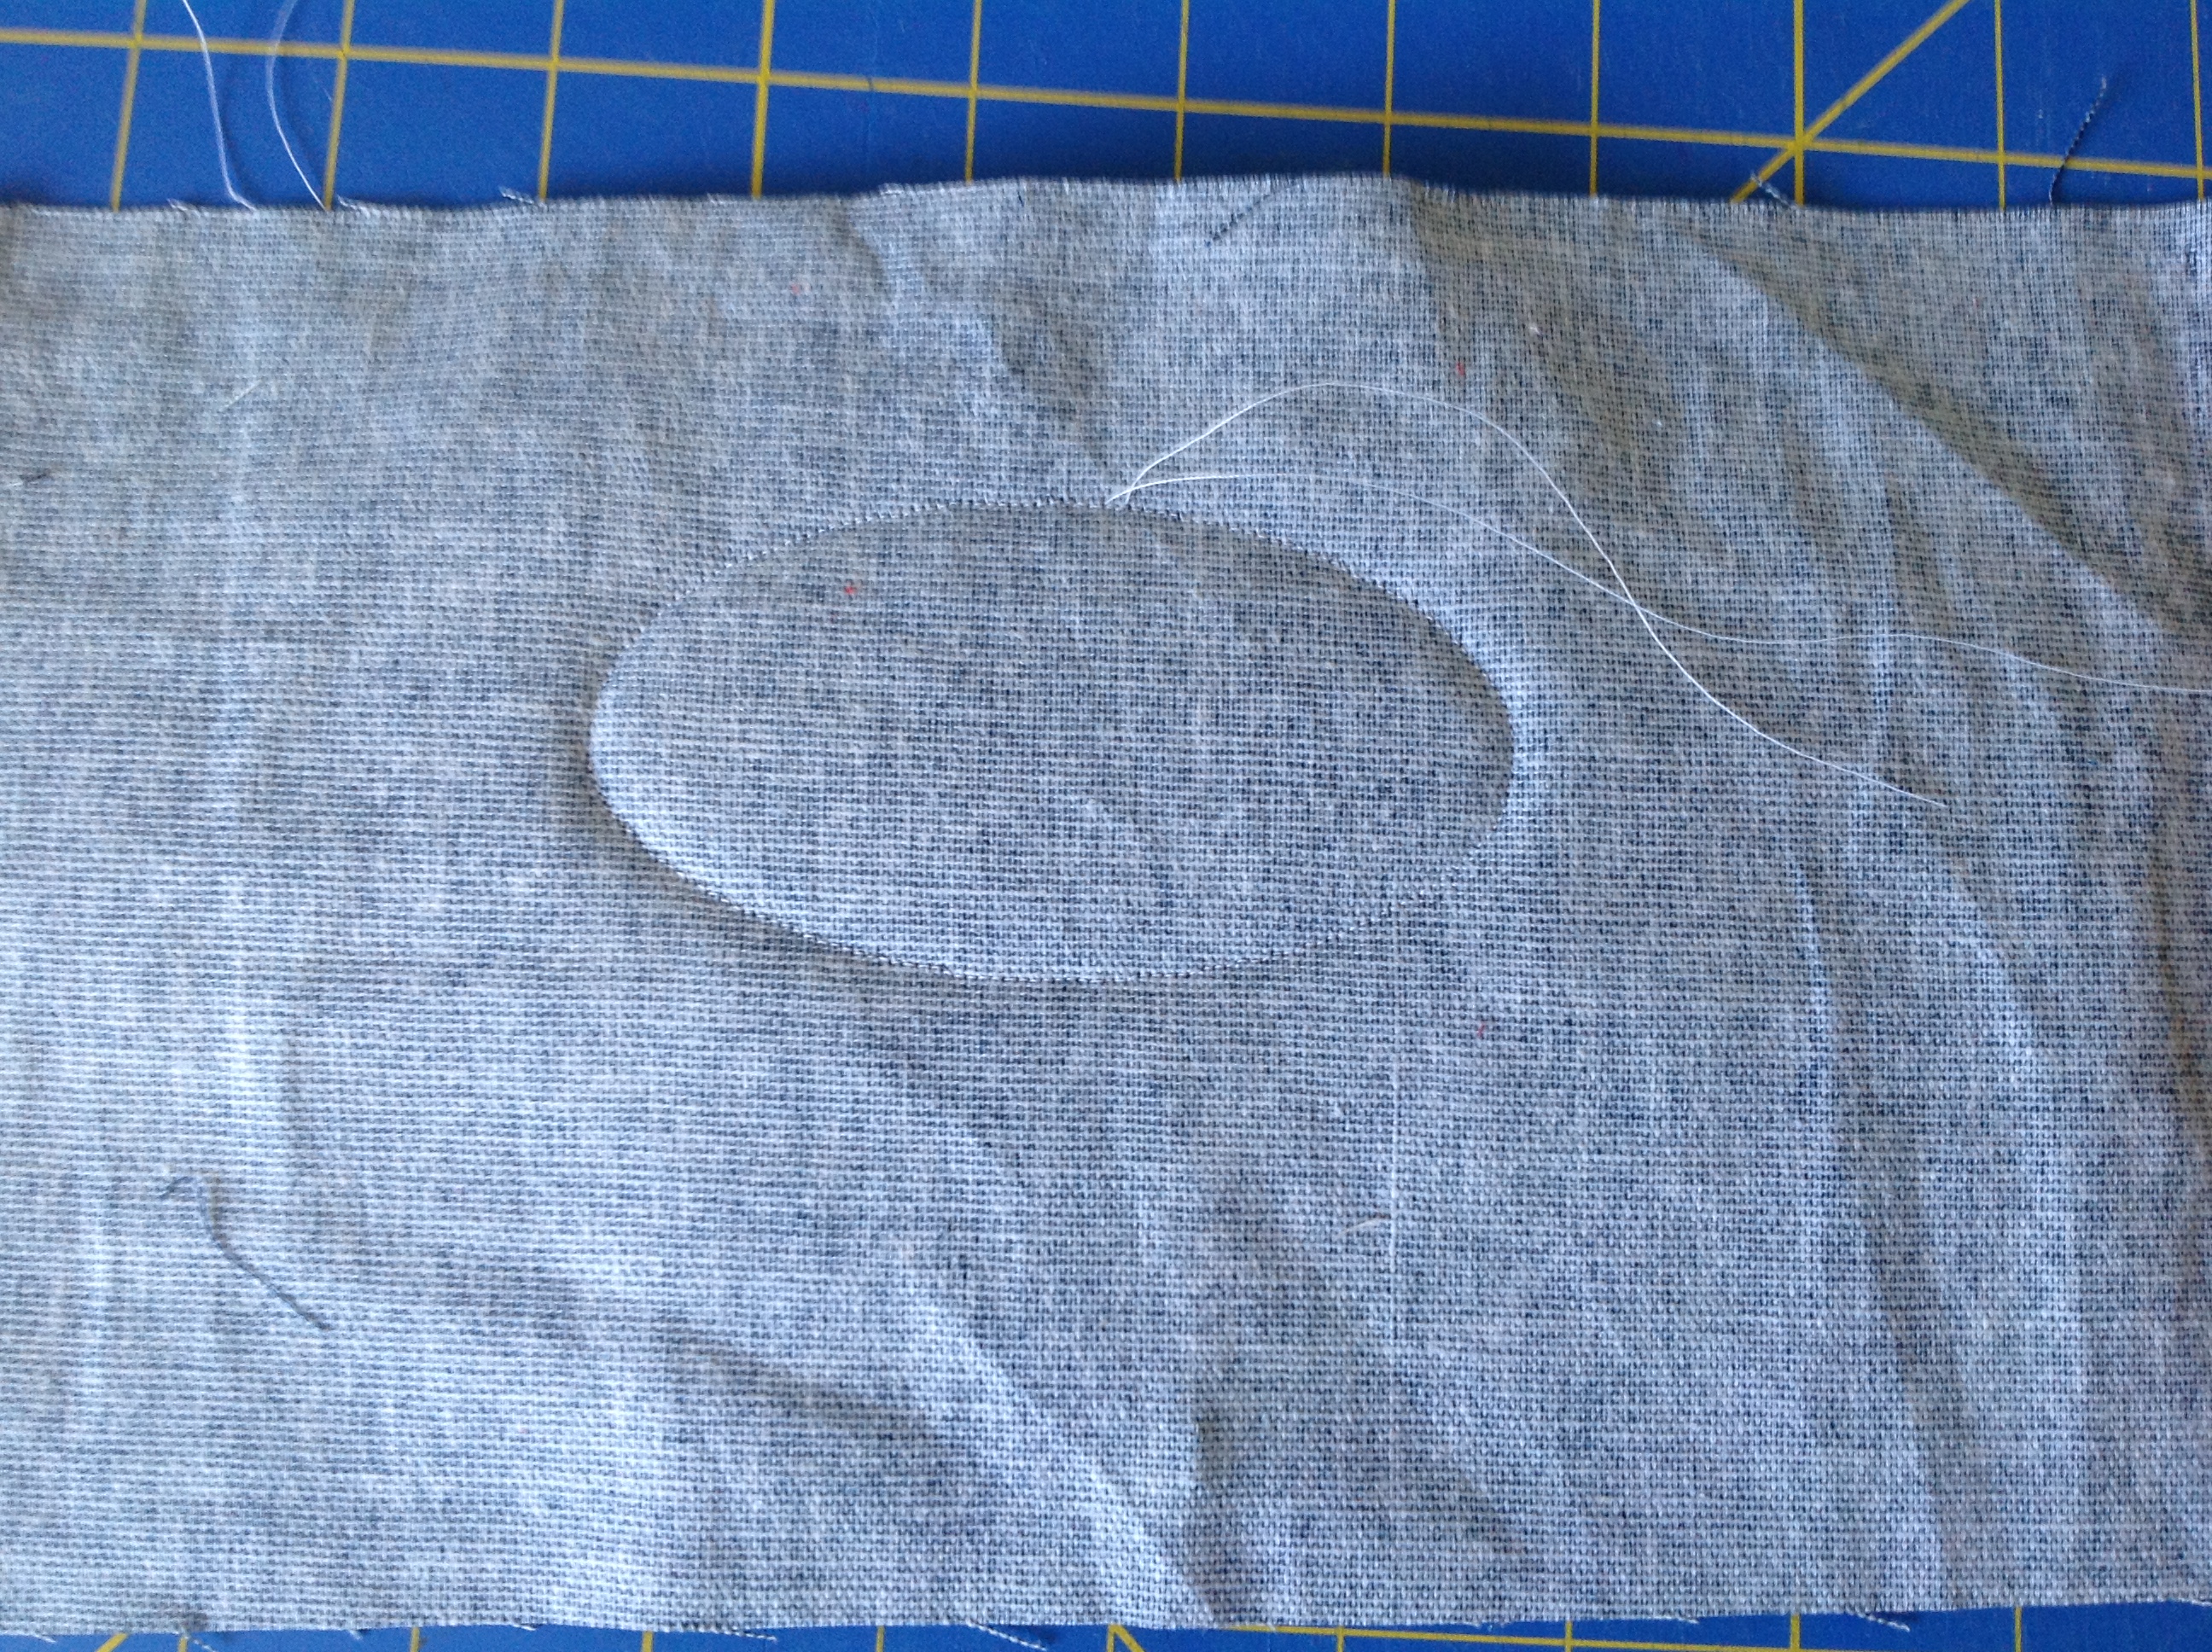
this is how it looks on the opposite side
If you used the paper guide method, go ahead and remove the paper. The stitches should have perforated the paper so that it is easily removed.
Now we are going to cut away the inside of the oval. I have made a ton of these handles and have found I get the best results when I cut parallel with and very close to the seam line. How close? Well, let’s just say: close enough so it’s a little scary and your heart rate goes up! The closer you get and the more consistent you can be in the distance from the seam, the better it will look. So, using small scissors, cut into the center of the circle and then cut toward the seam, and around the oval.

Here’s a close up: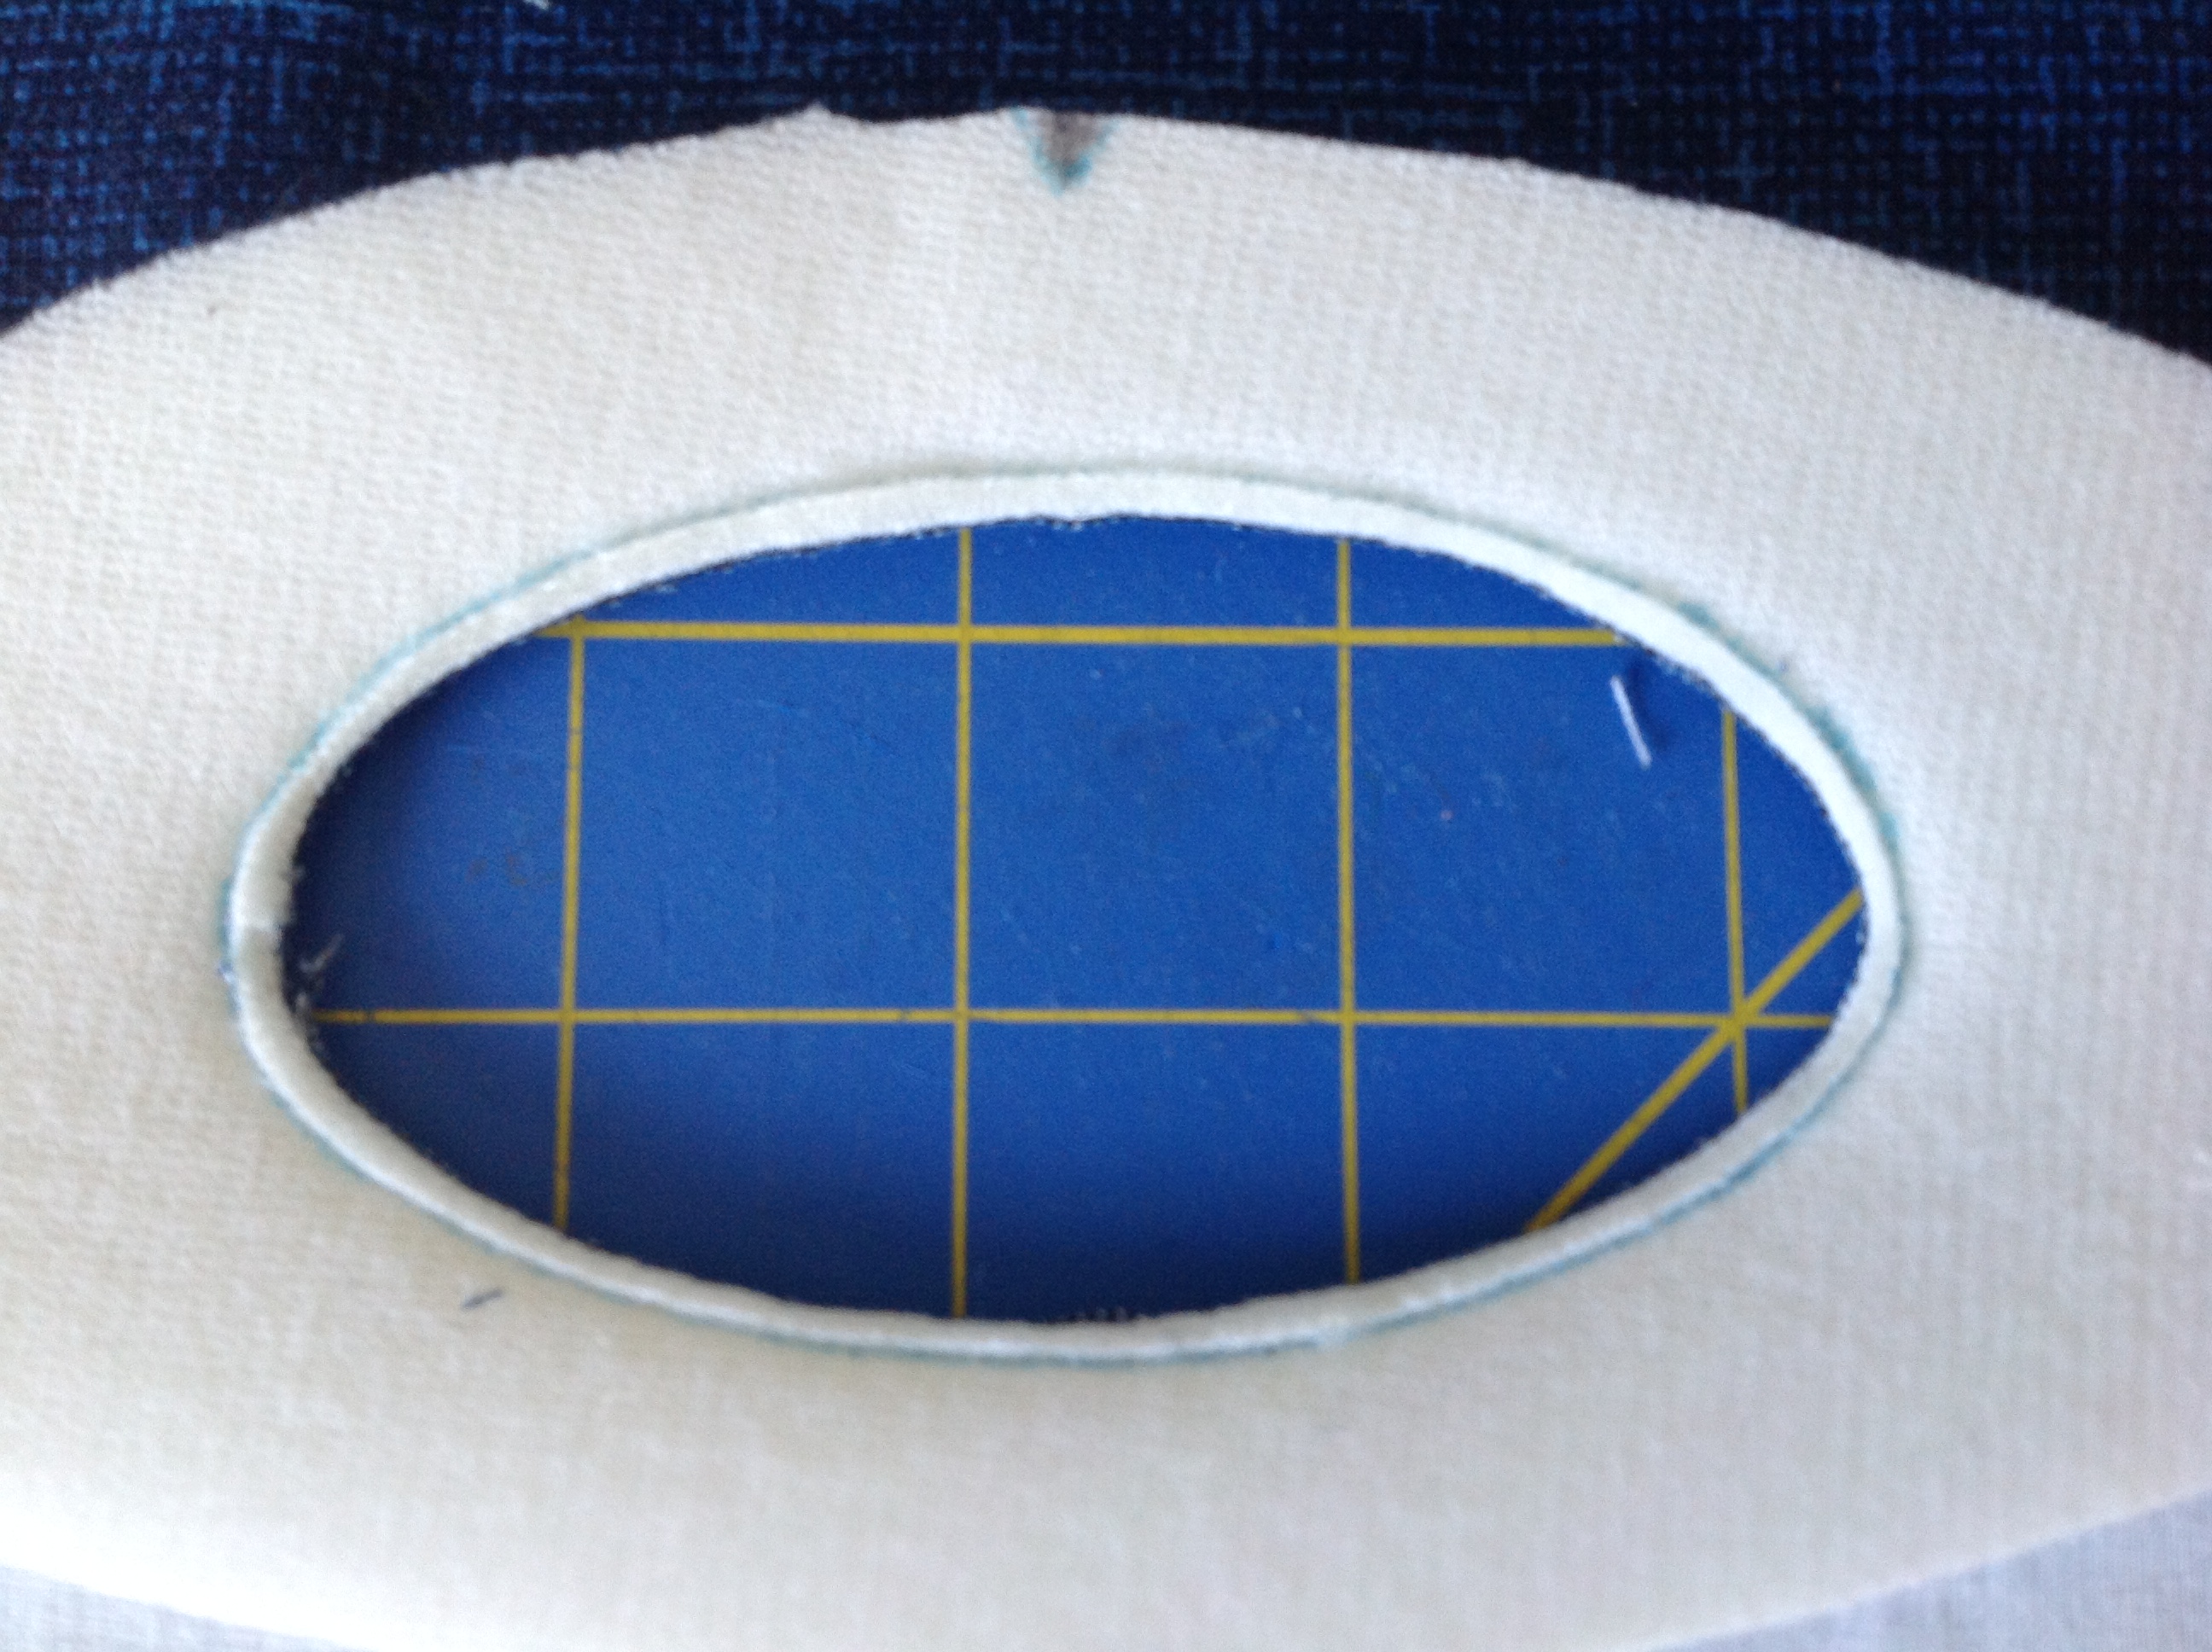
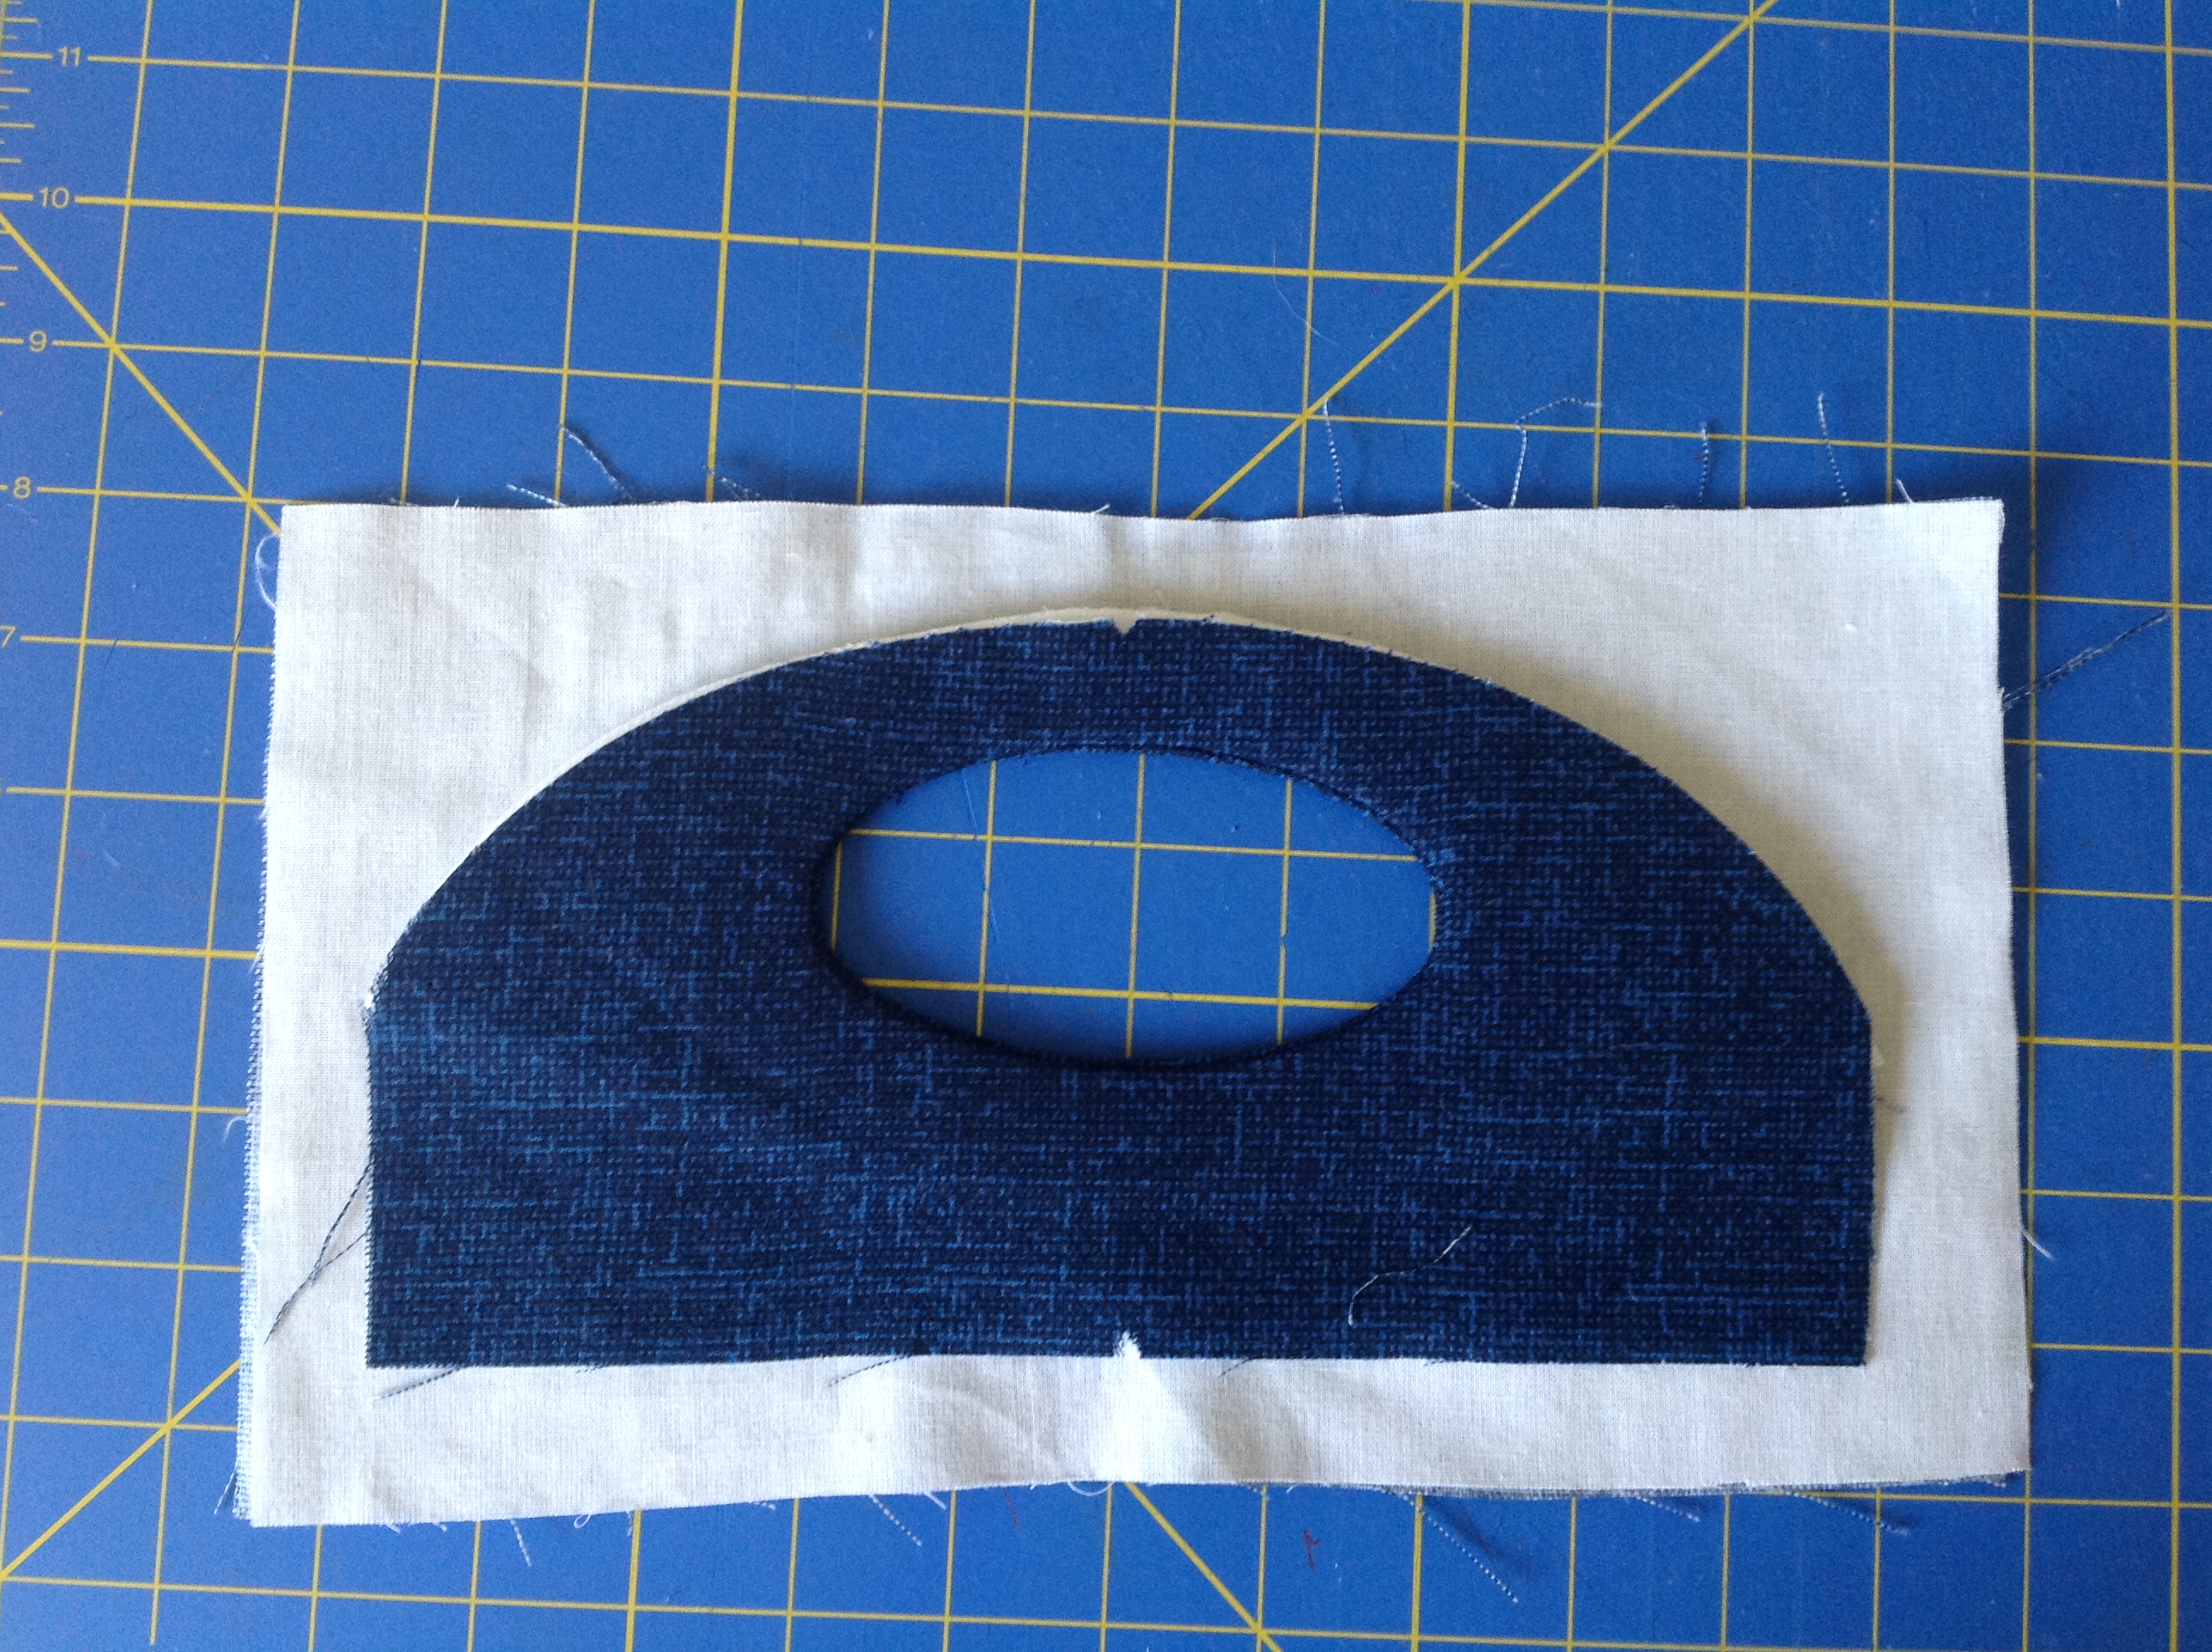
Whew! This is good time to fire up your iron because we are going to do some pressing and will fuse the interfacing on in a bit. First, we need to see what kind of job we did, so bring the Handle Back through the cut out. See how it lays. If there are a lot of wrinkles and puckers, you may need to push it back through and trim a little bit from the inside of the oval. You can also press it and see if some of those won’t iron out. Here’s who mind looks pressed from one side….
and the opposite side…there is a little wrinkle on one end but I think it will be ok once pressed a little better.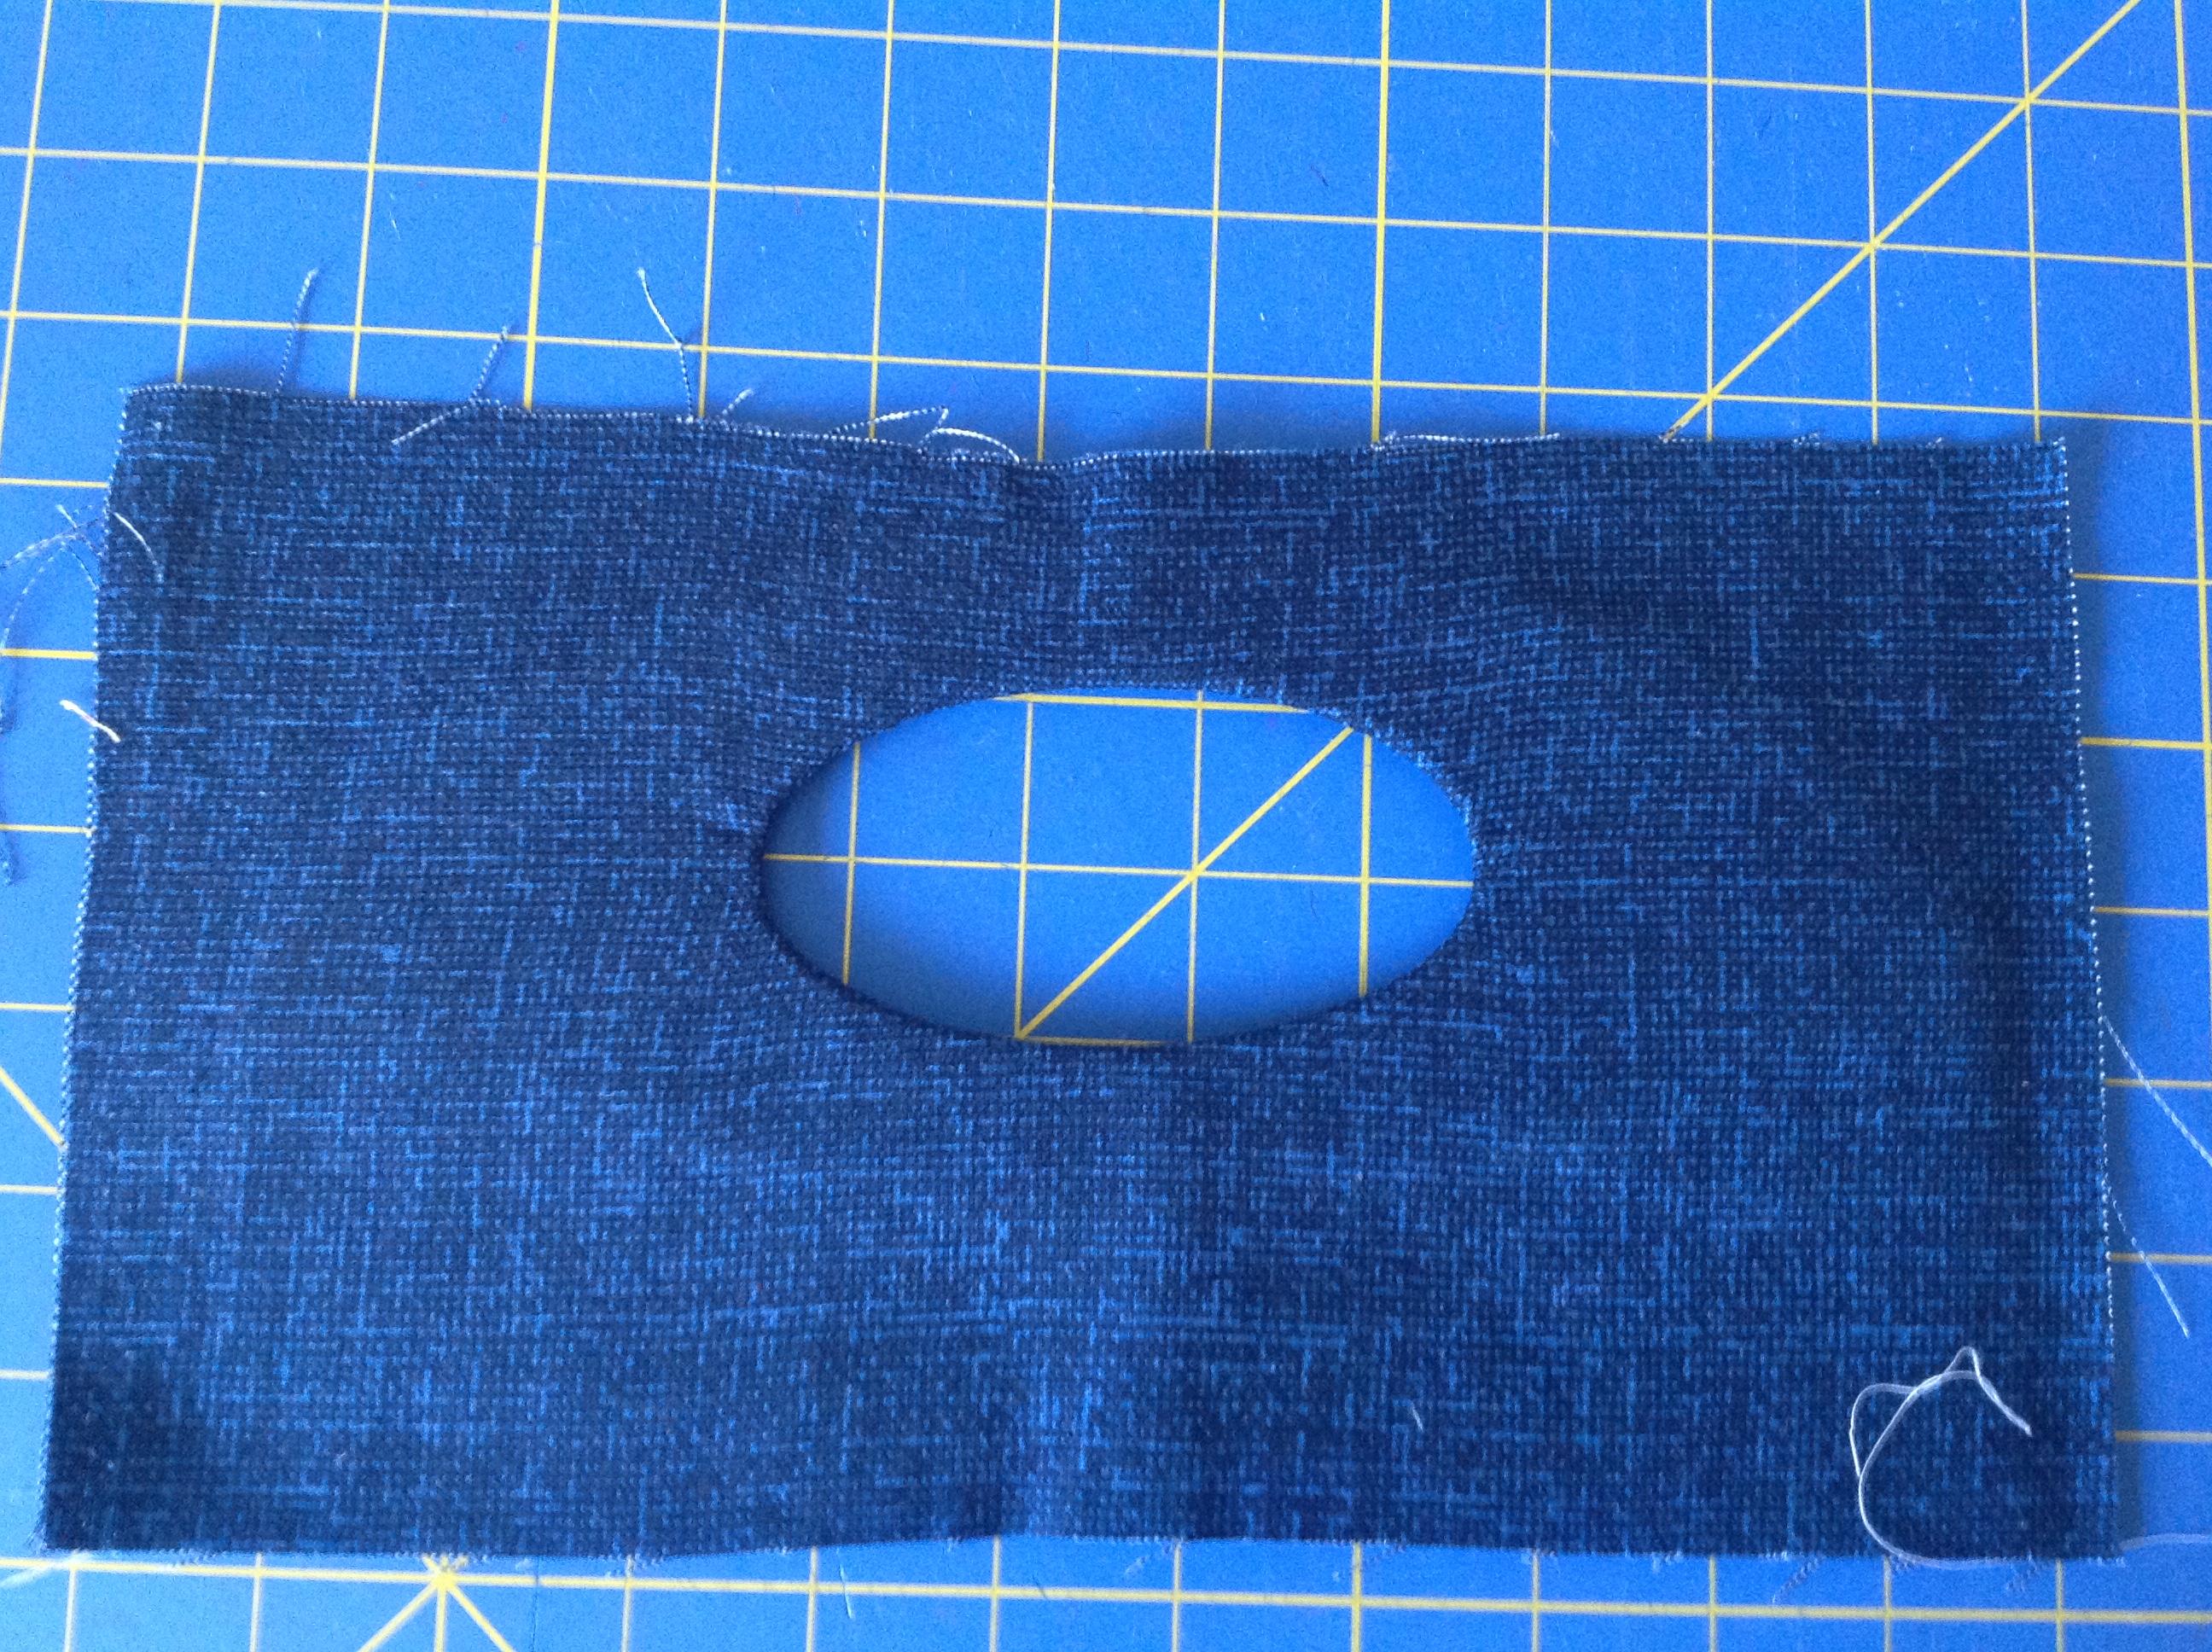
fuse the interfacing to the Handle Back to secure and reinforce the seam around the cut out
And here’s how it looks from the Handle Front side.
Now we need to trim the interfacing from the inside of the oval. 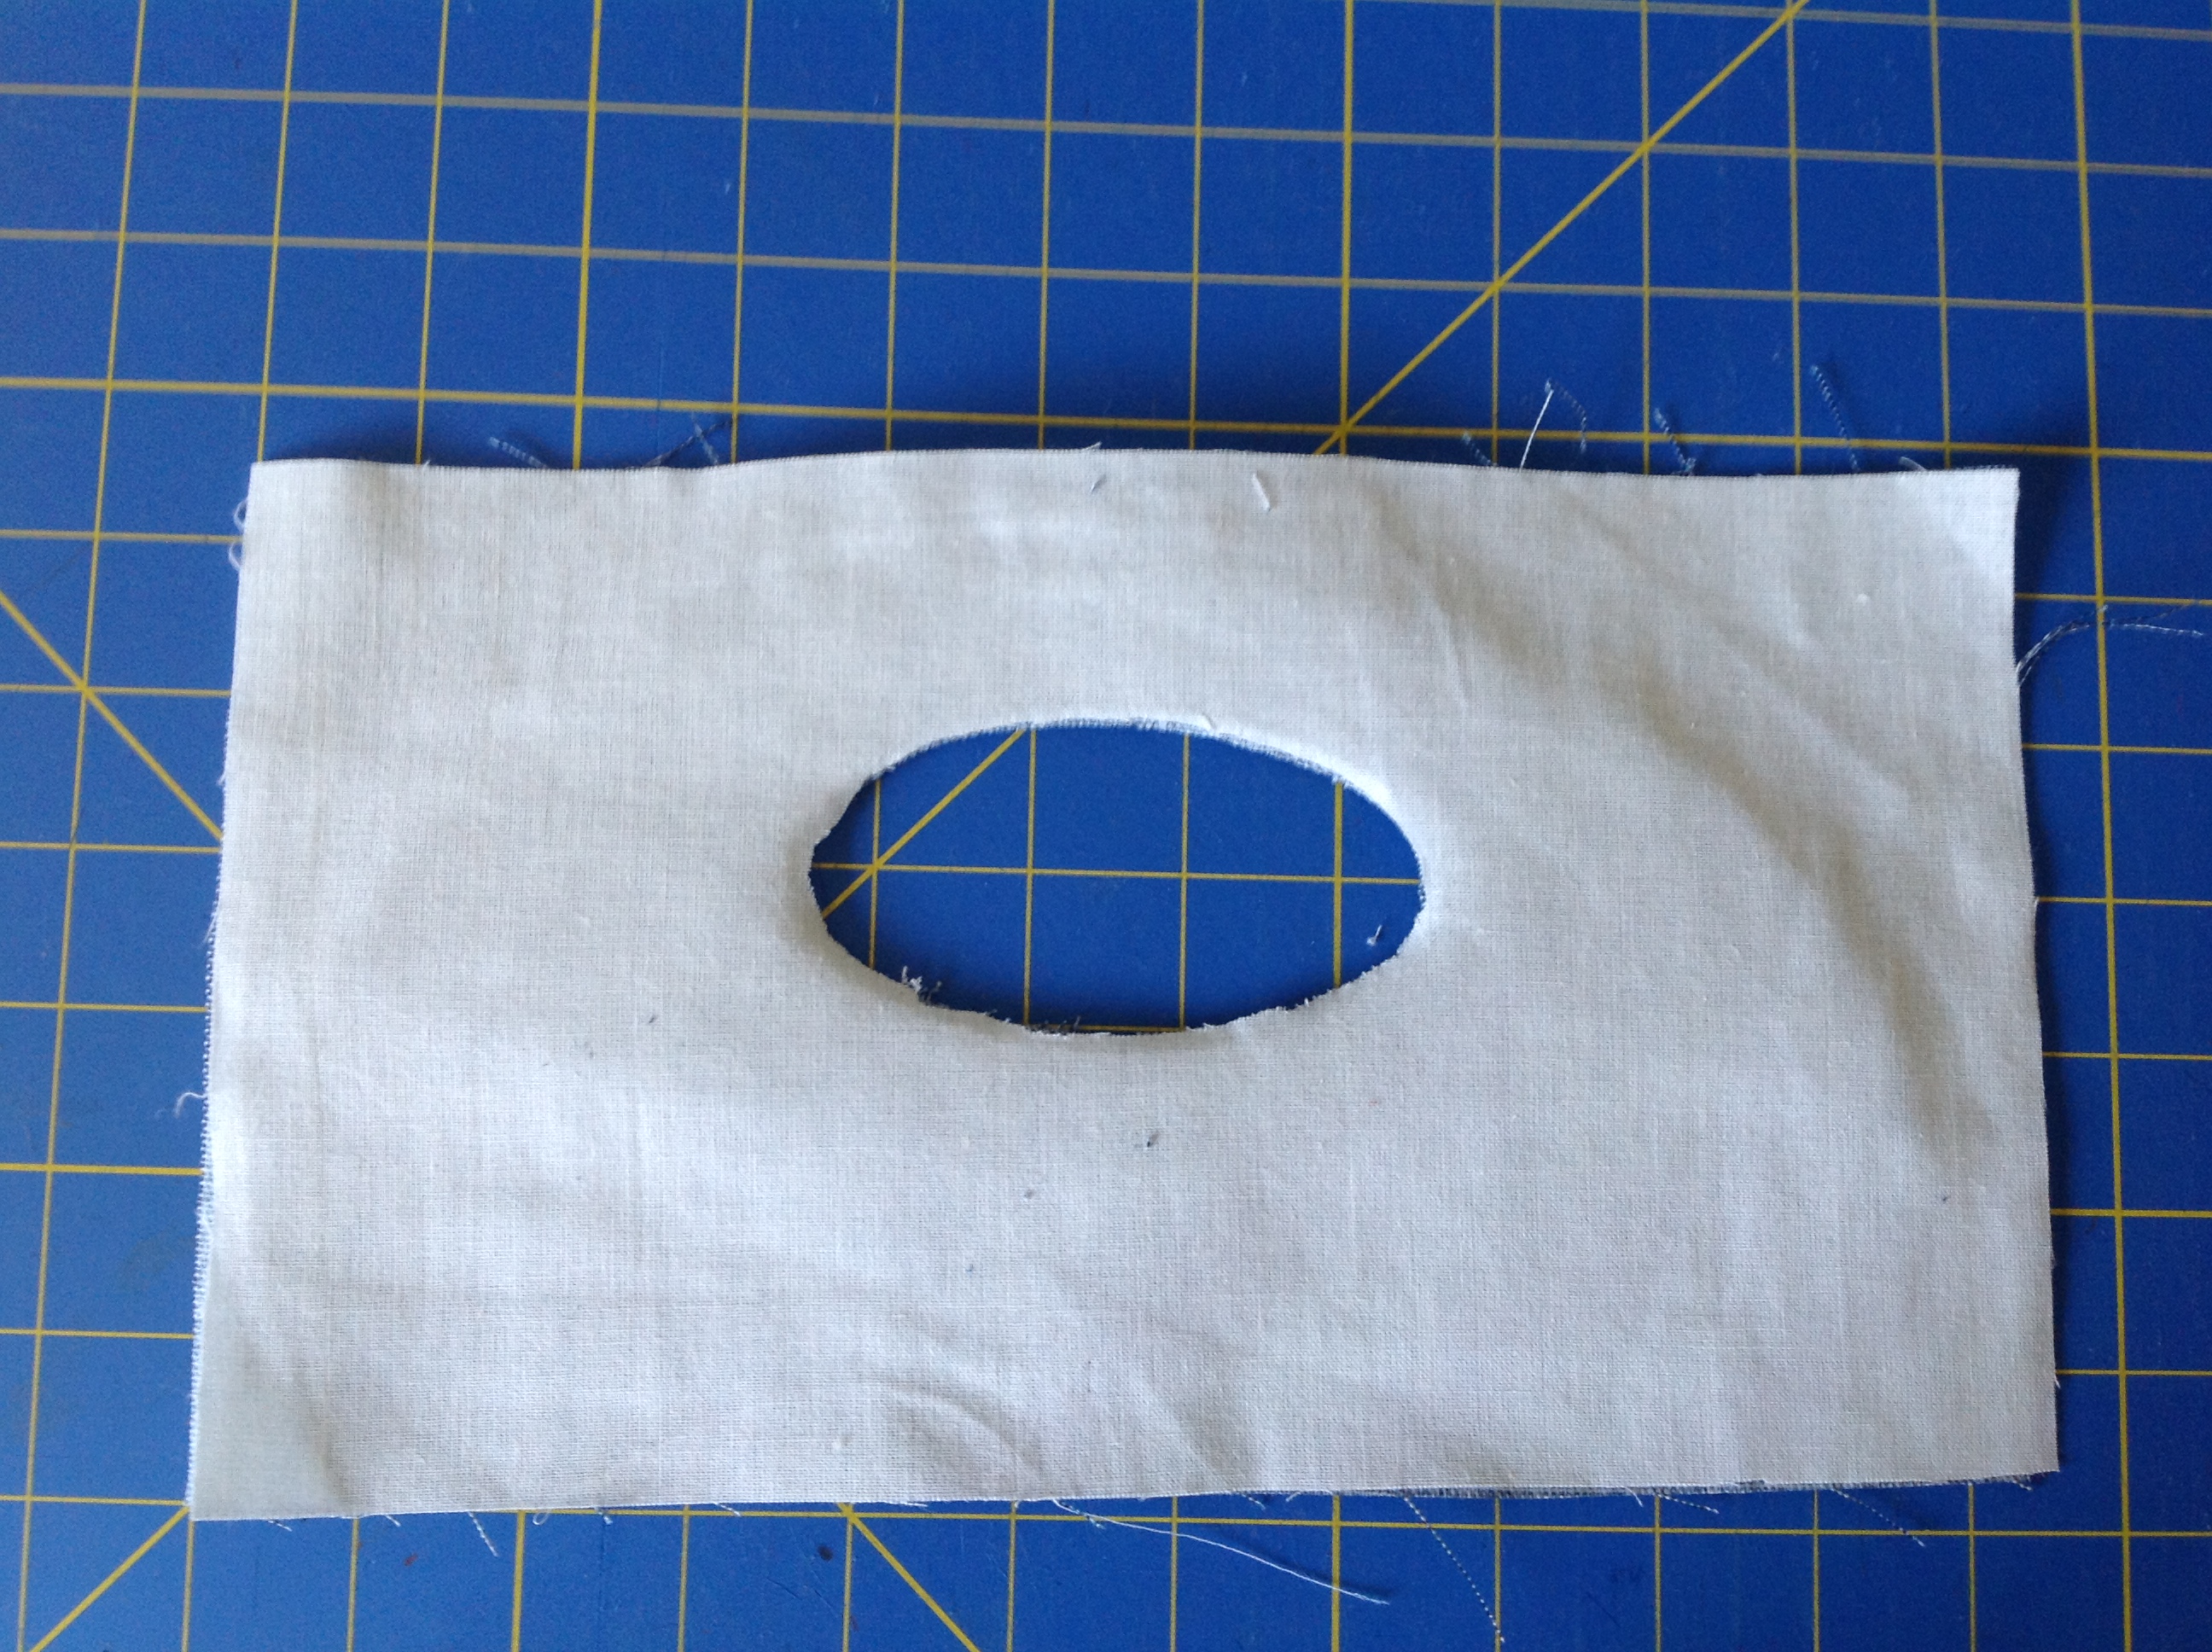
Now trim the Handle Back to the same size as the Handle Front.
If you want you can topstitch around the cut out for a little design detail. I’m not that brave! Now, you want to baste around the top, curved edge.
baste around the top edge
Are you still with me? We are almost there! Now we just need to bind the top edge. So, find the Handle Binding piece. Press it half and then bring the long edges in to meet at the center fold line. Then fold the along the center fold. Hopefully this photo shows the progression…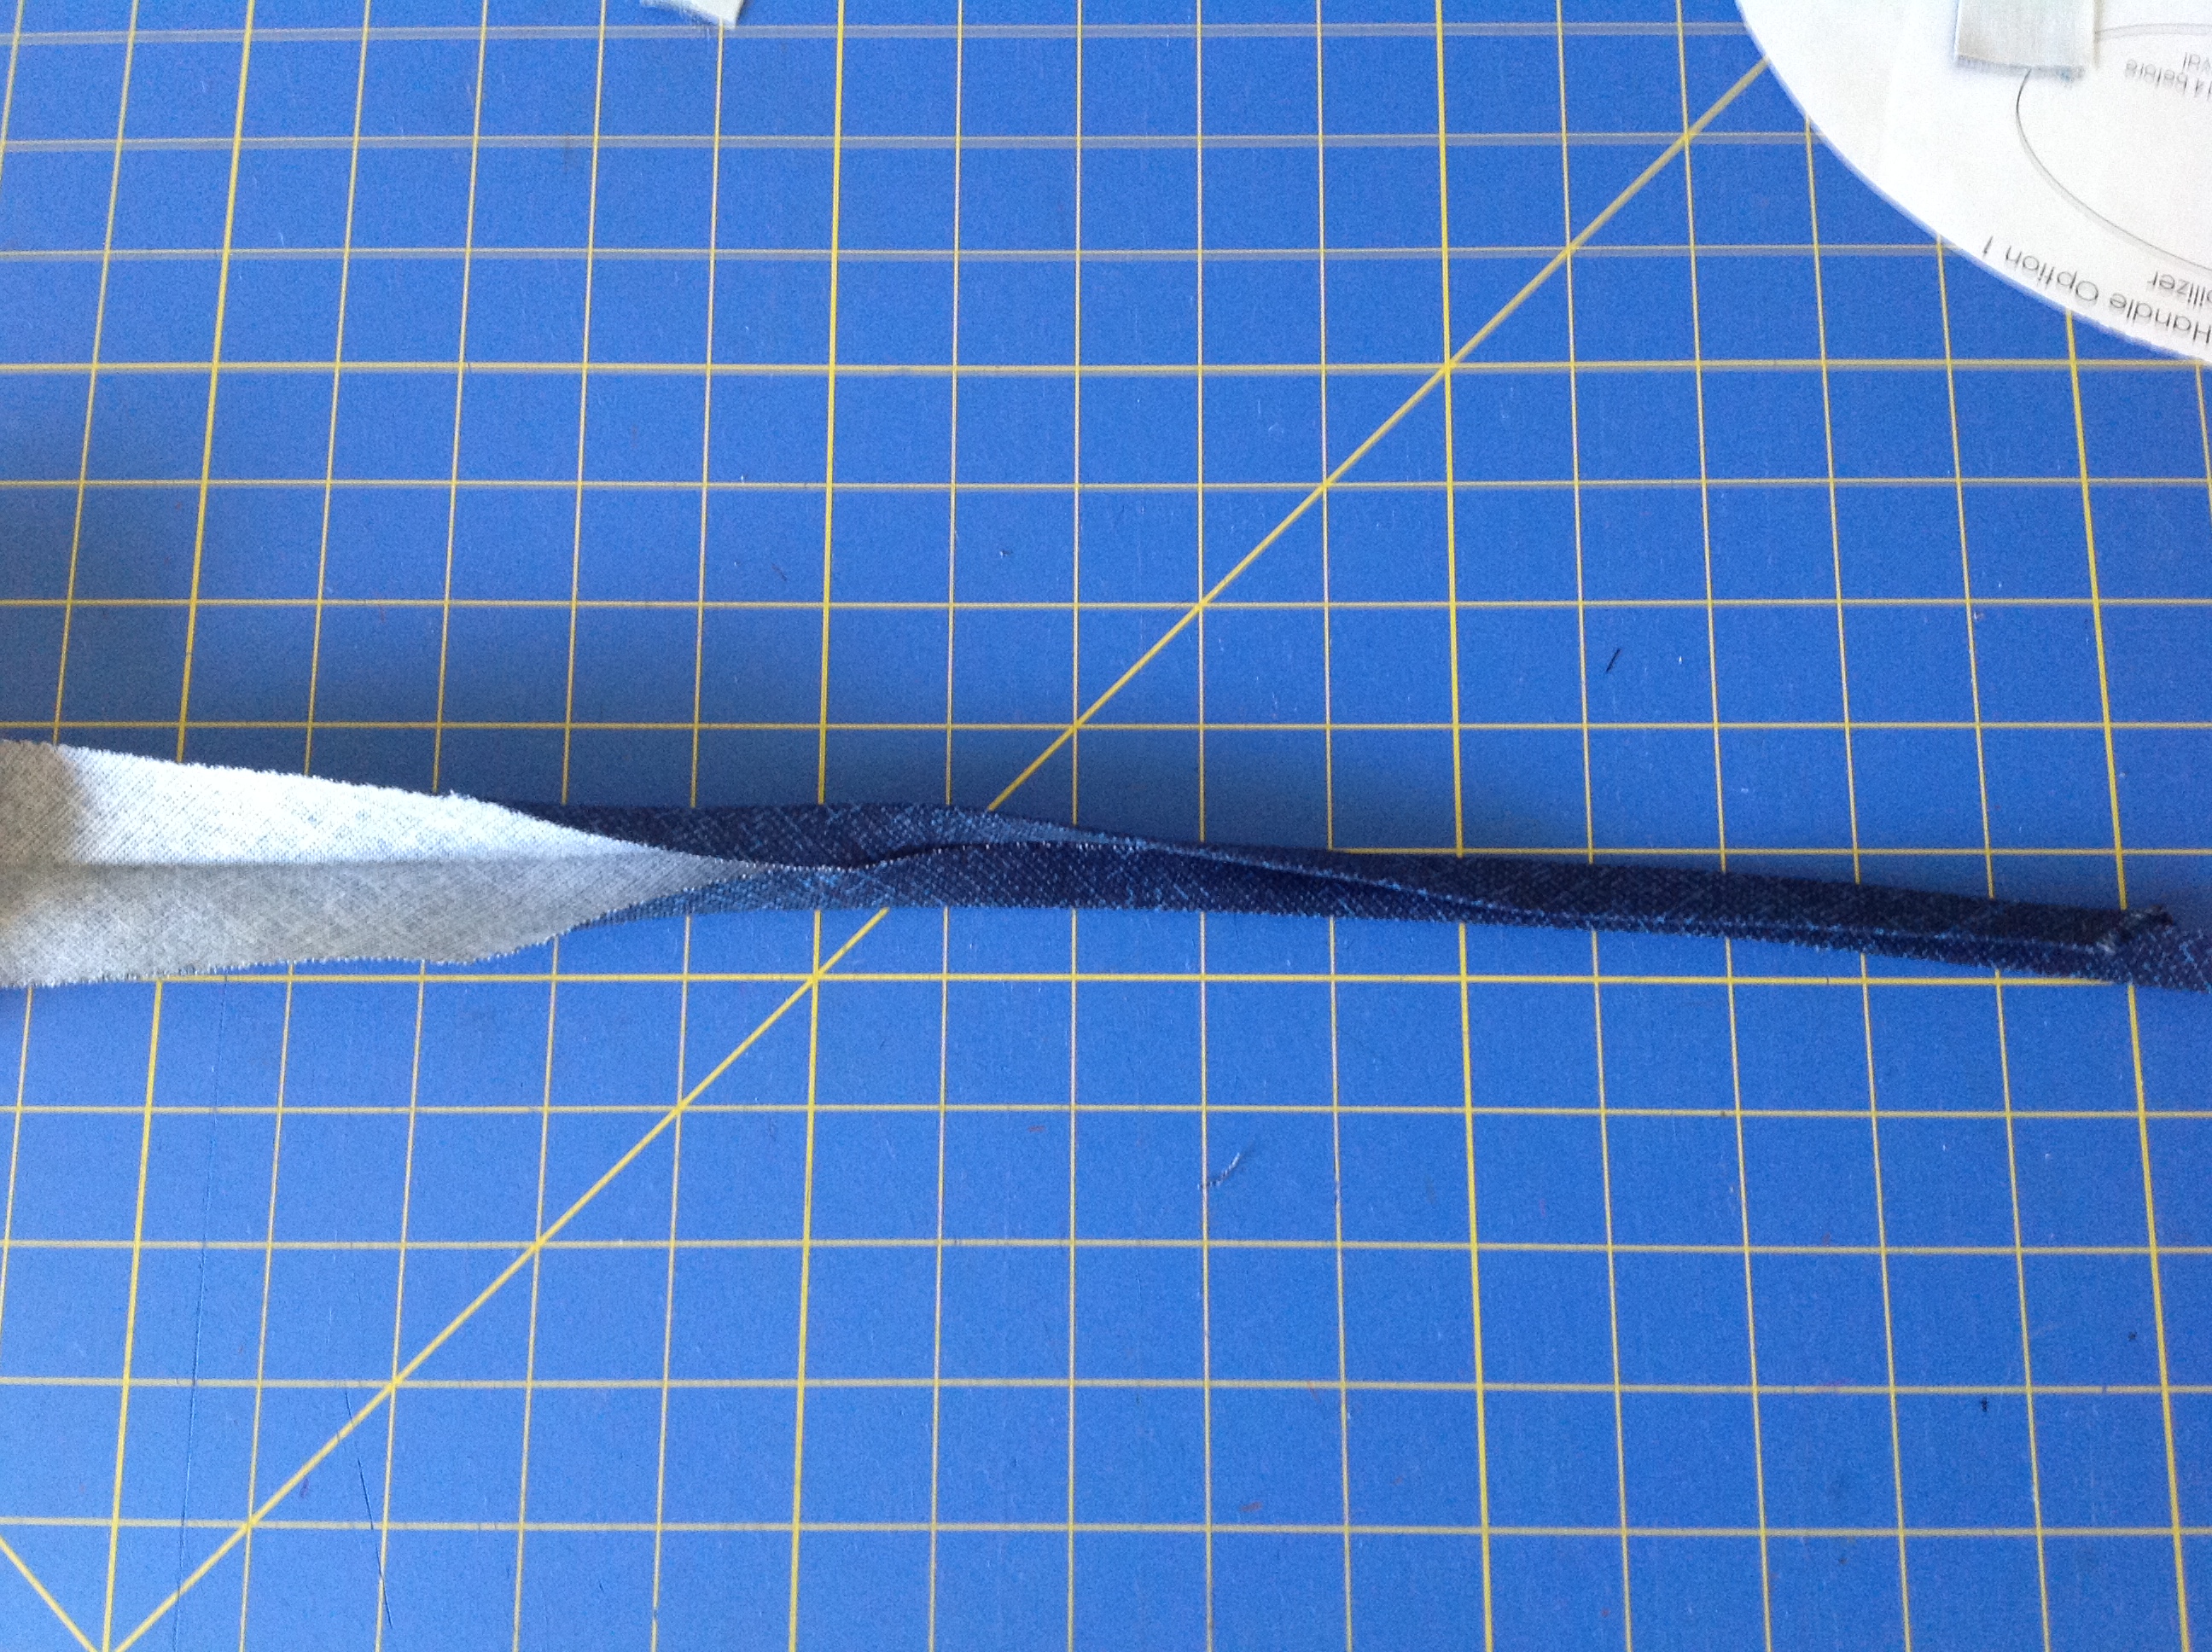
Now you will want to insert the upper edge of the Handle into the fold of the Binding. 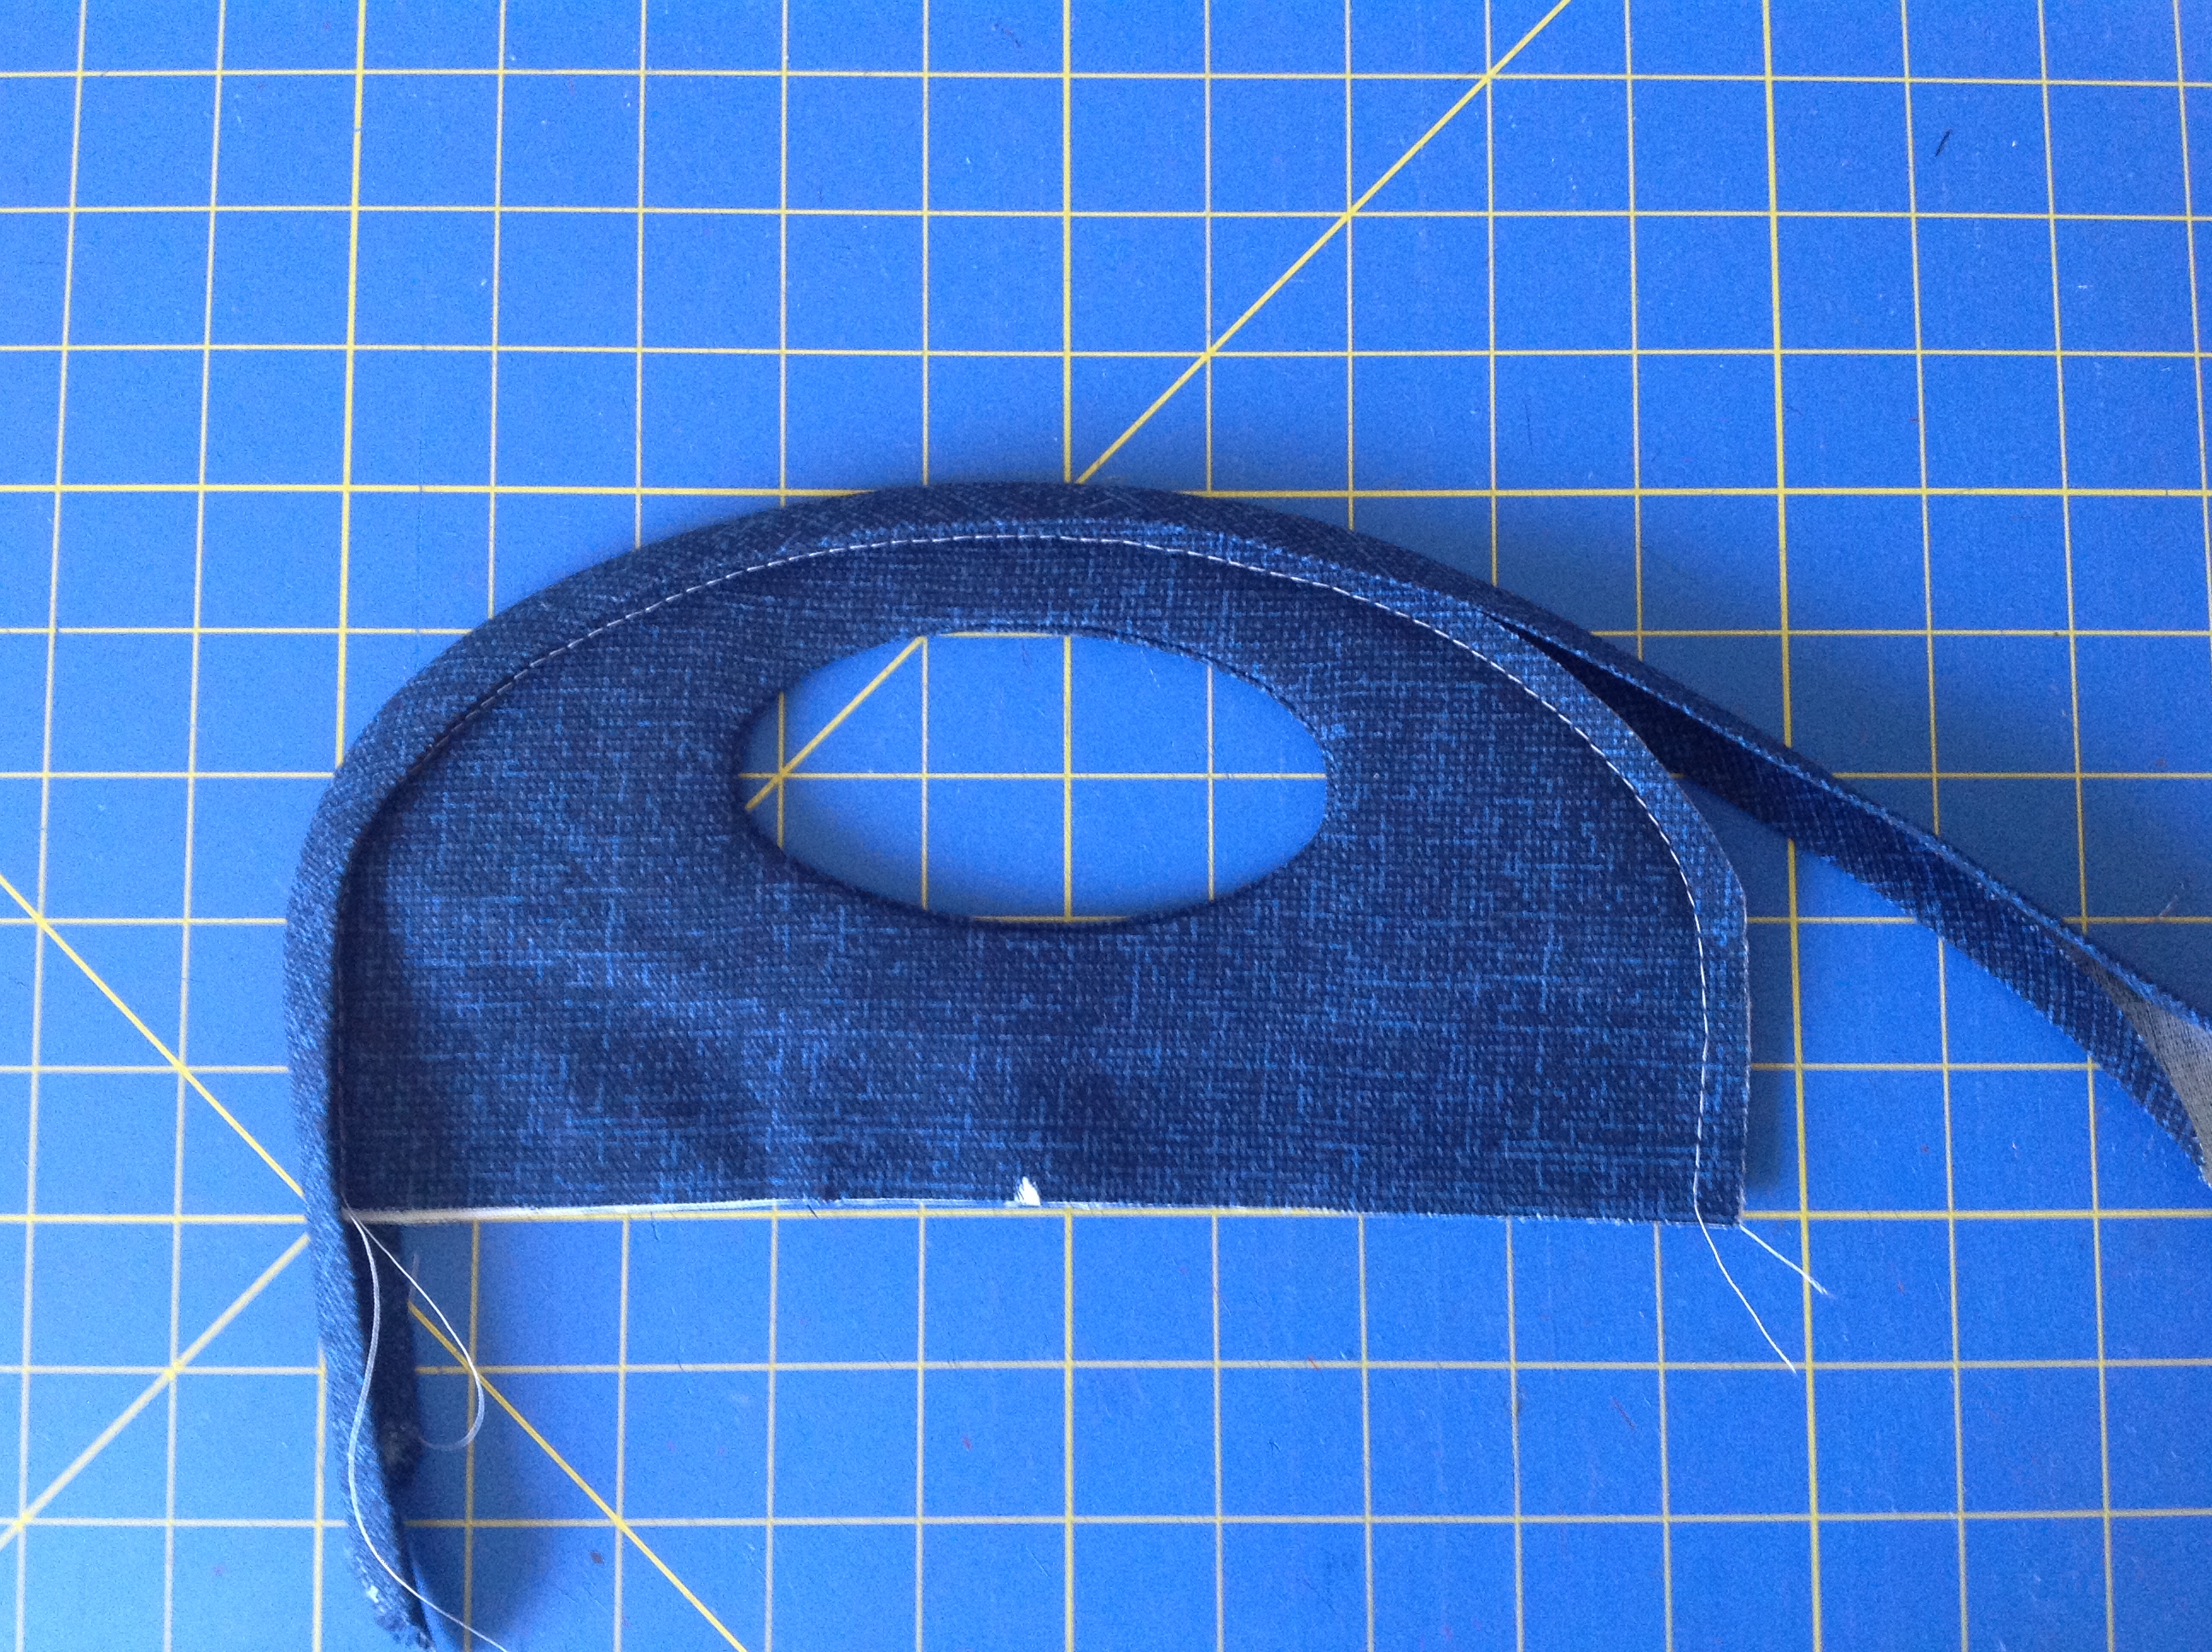

Now, all there is to do is topstitch the open edge of the binding. I topstitch this one with a 1/8″ seam allowance. You can go a little wider or more shallow, just be sure that the seam will catch the binding on the opposite side of the handle. 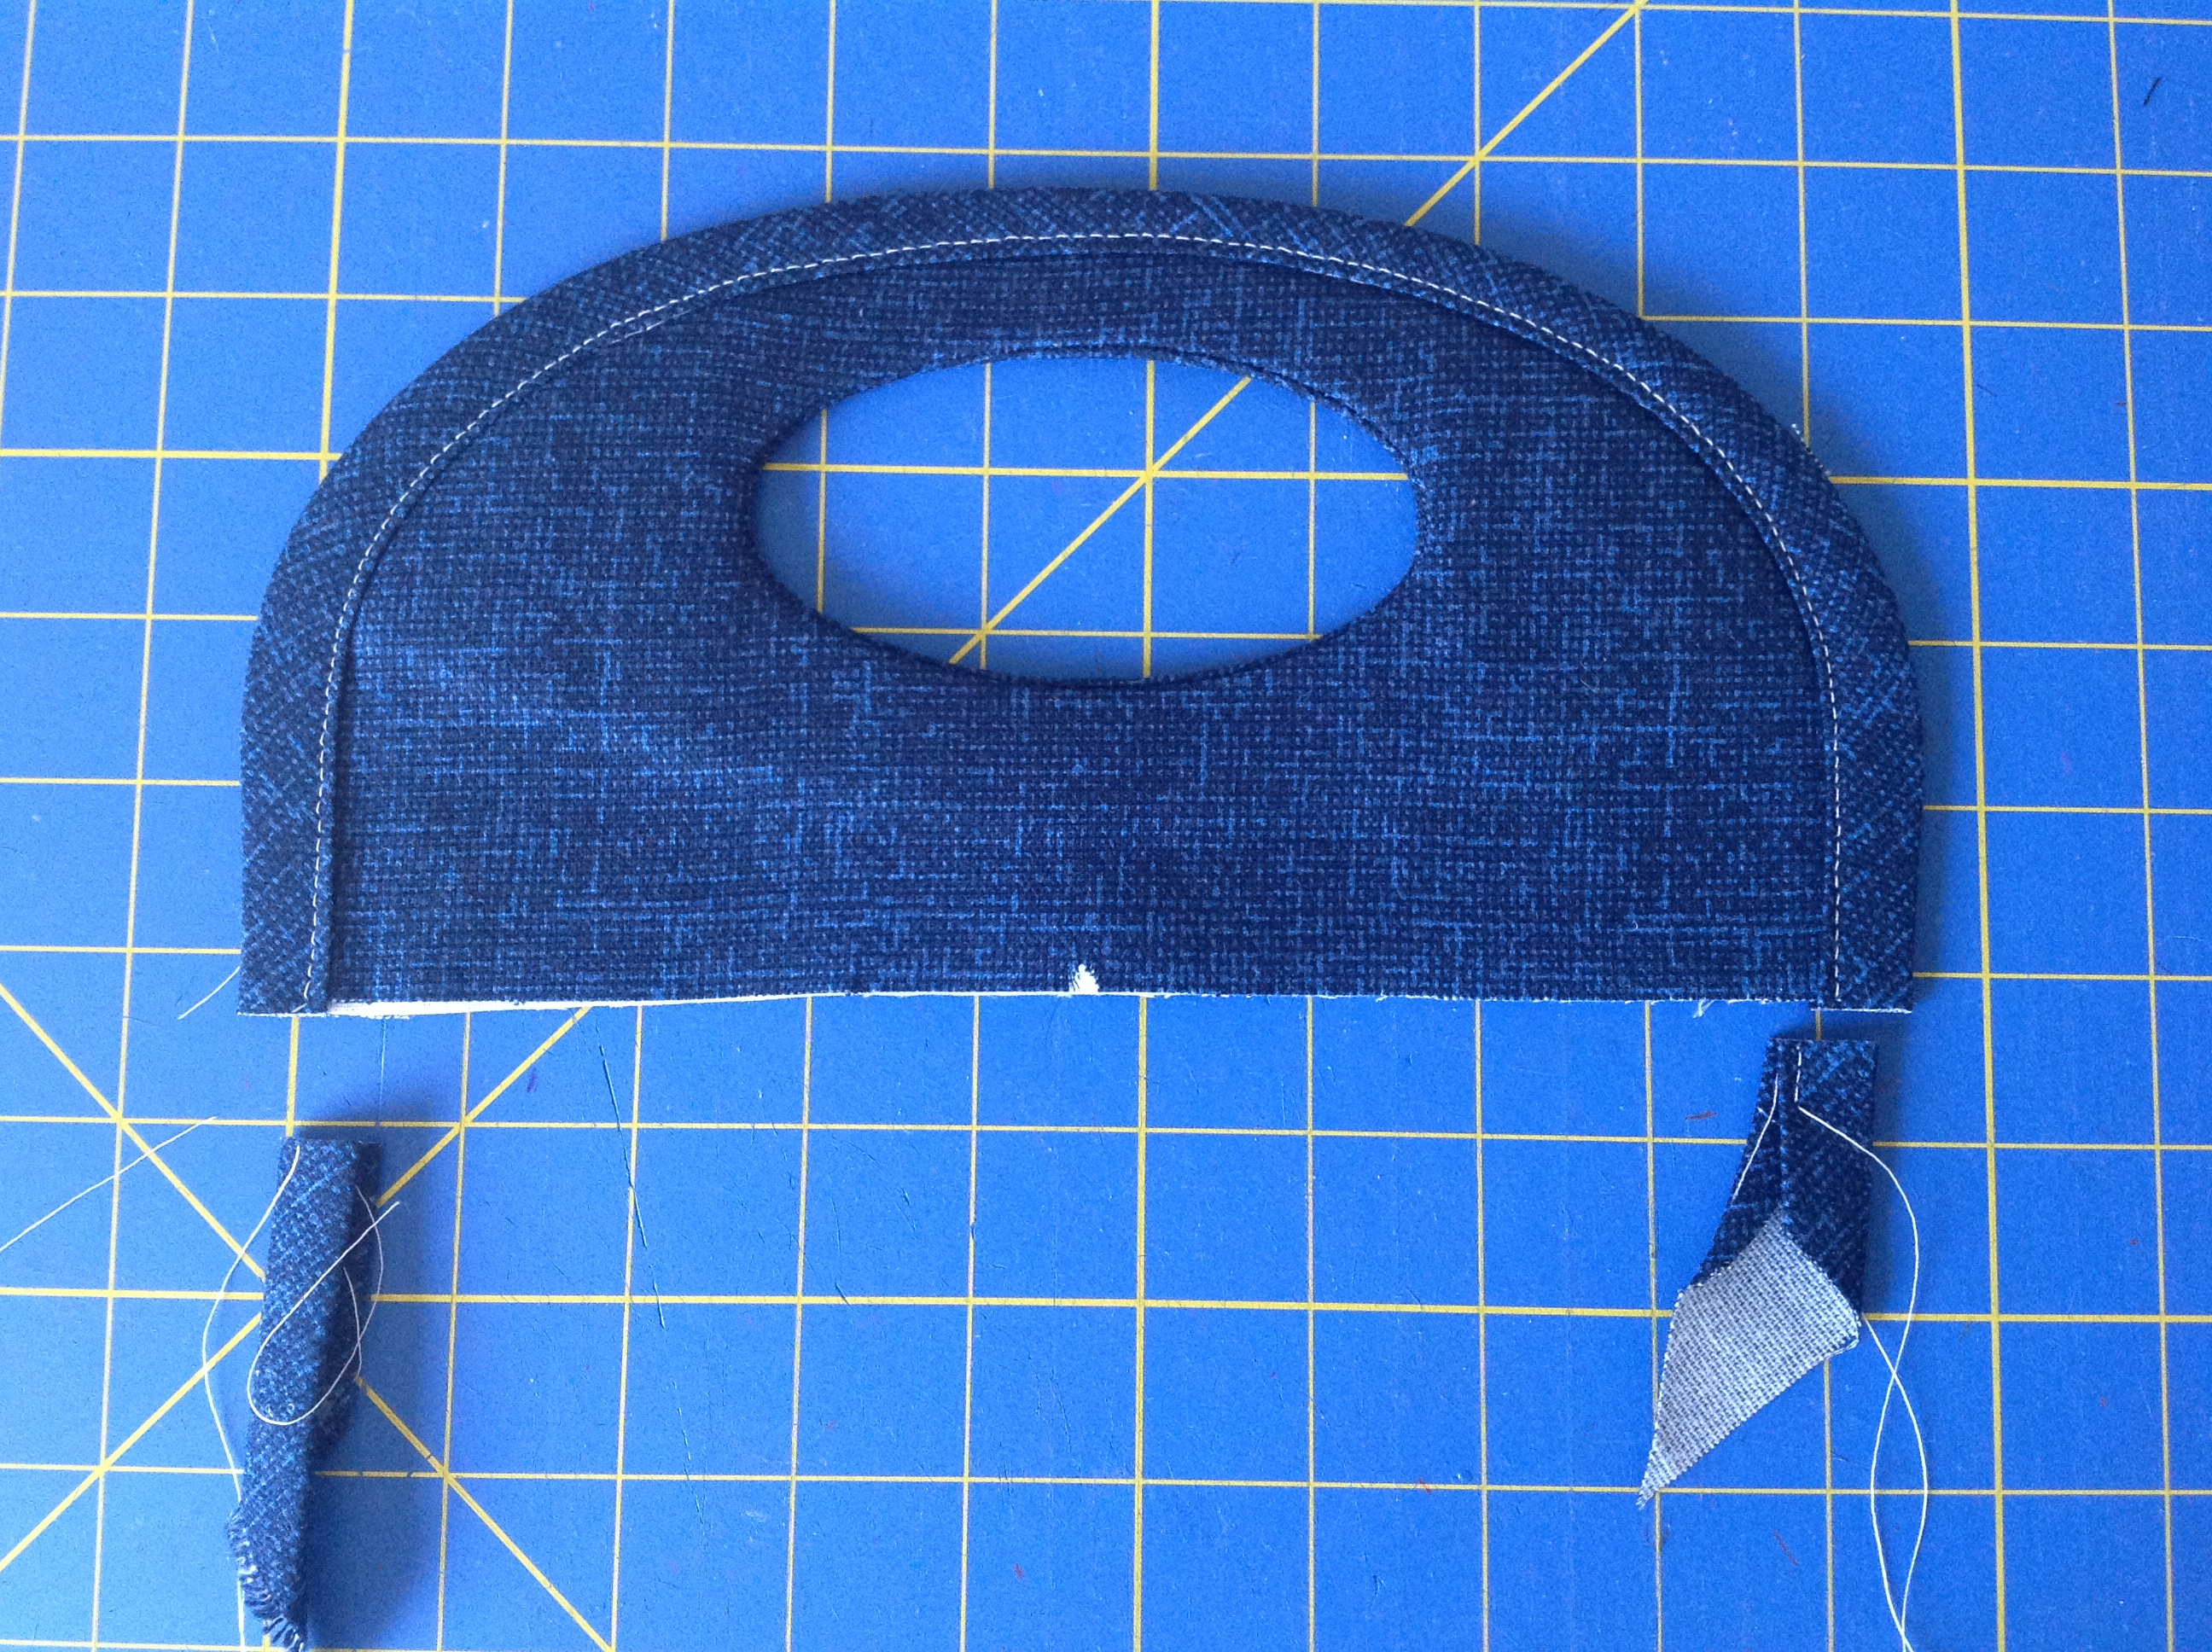
Depending on the look you want, you could do another row of stitches along the upper edge also. Oh, and don’t forget to trim off the excess binding! 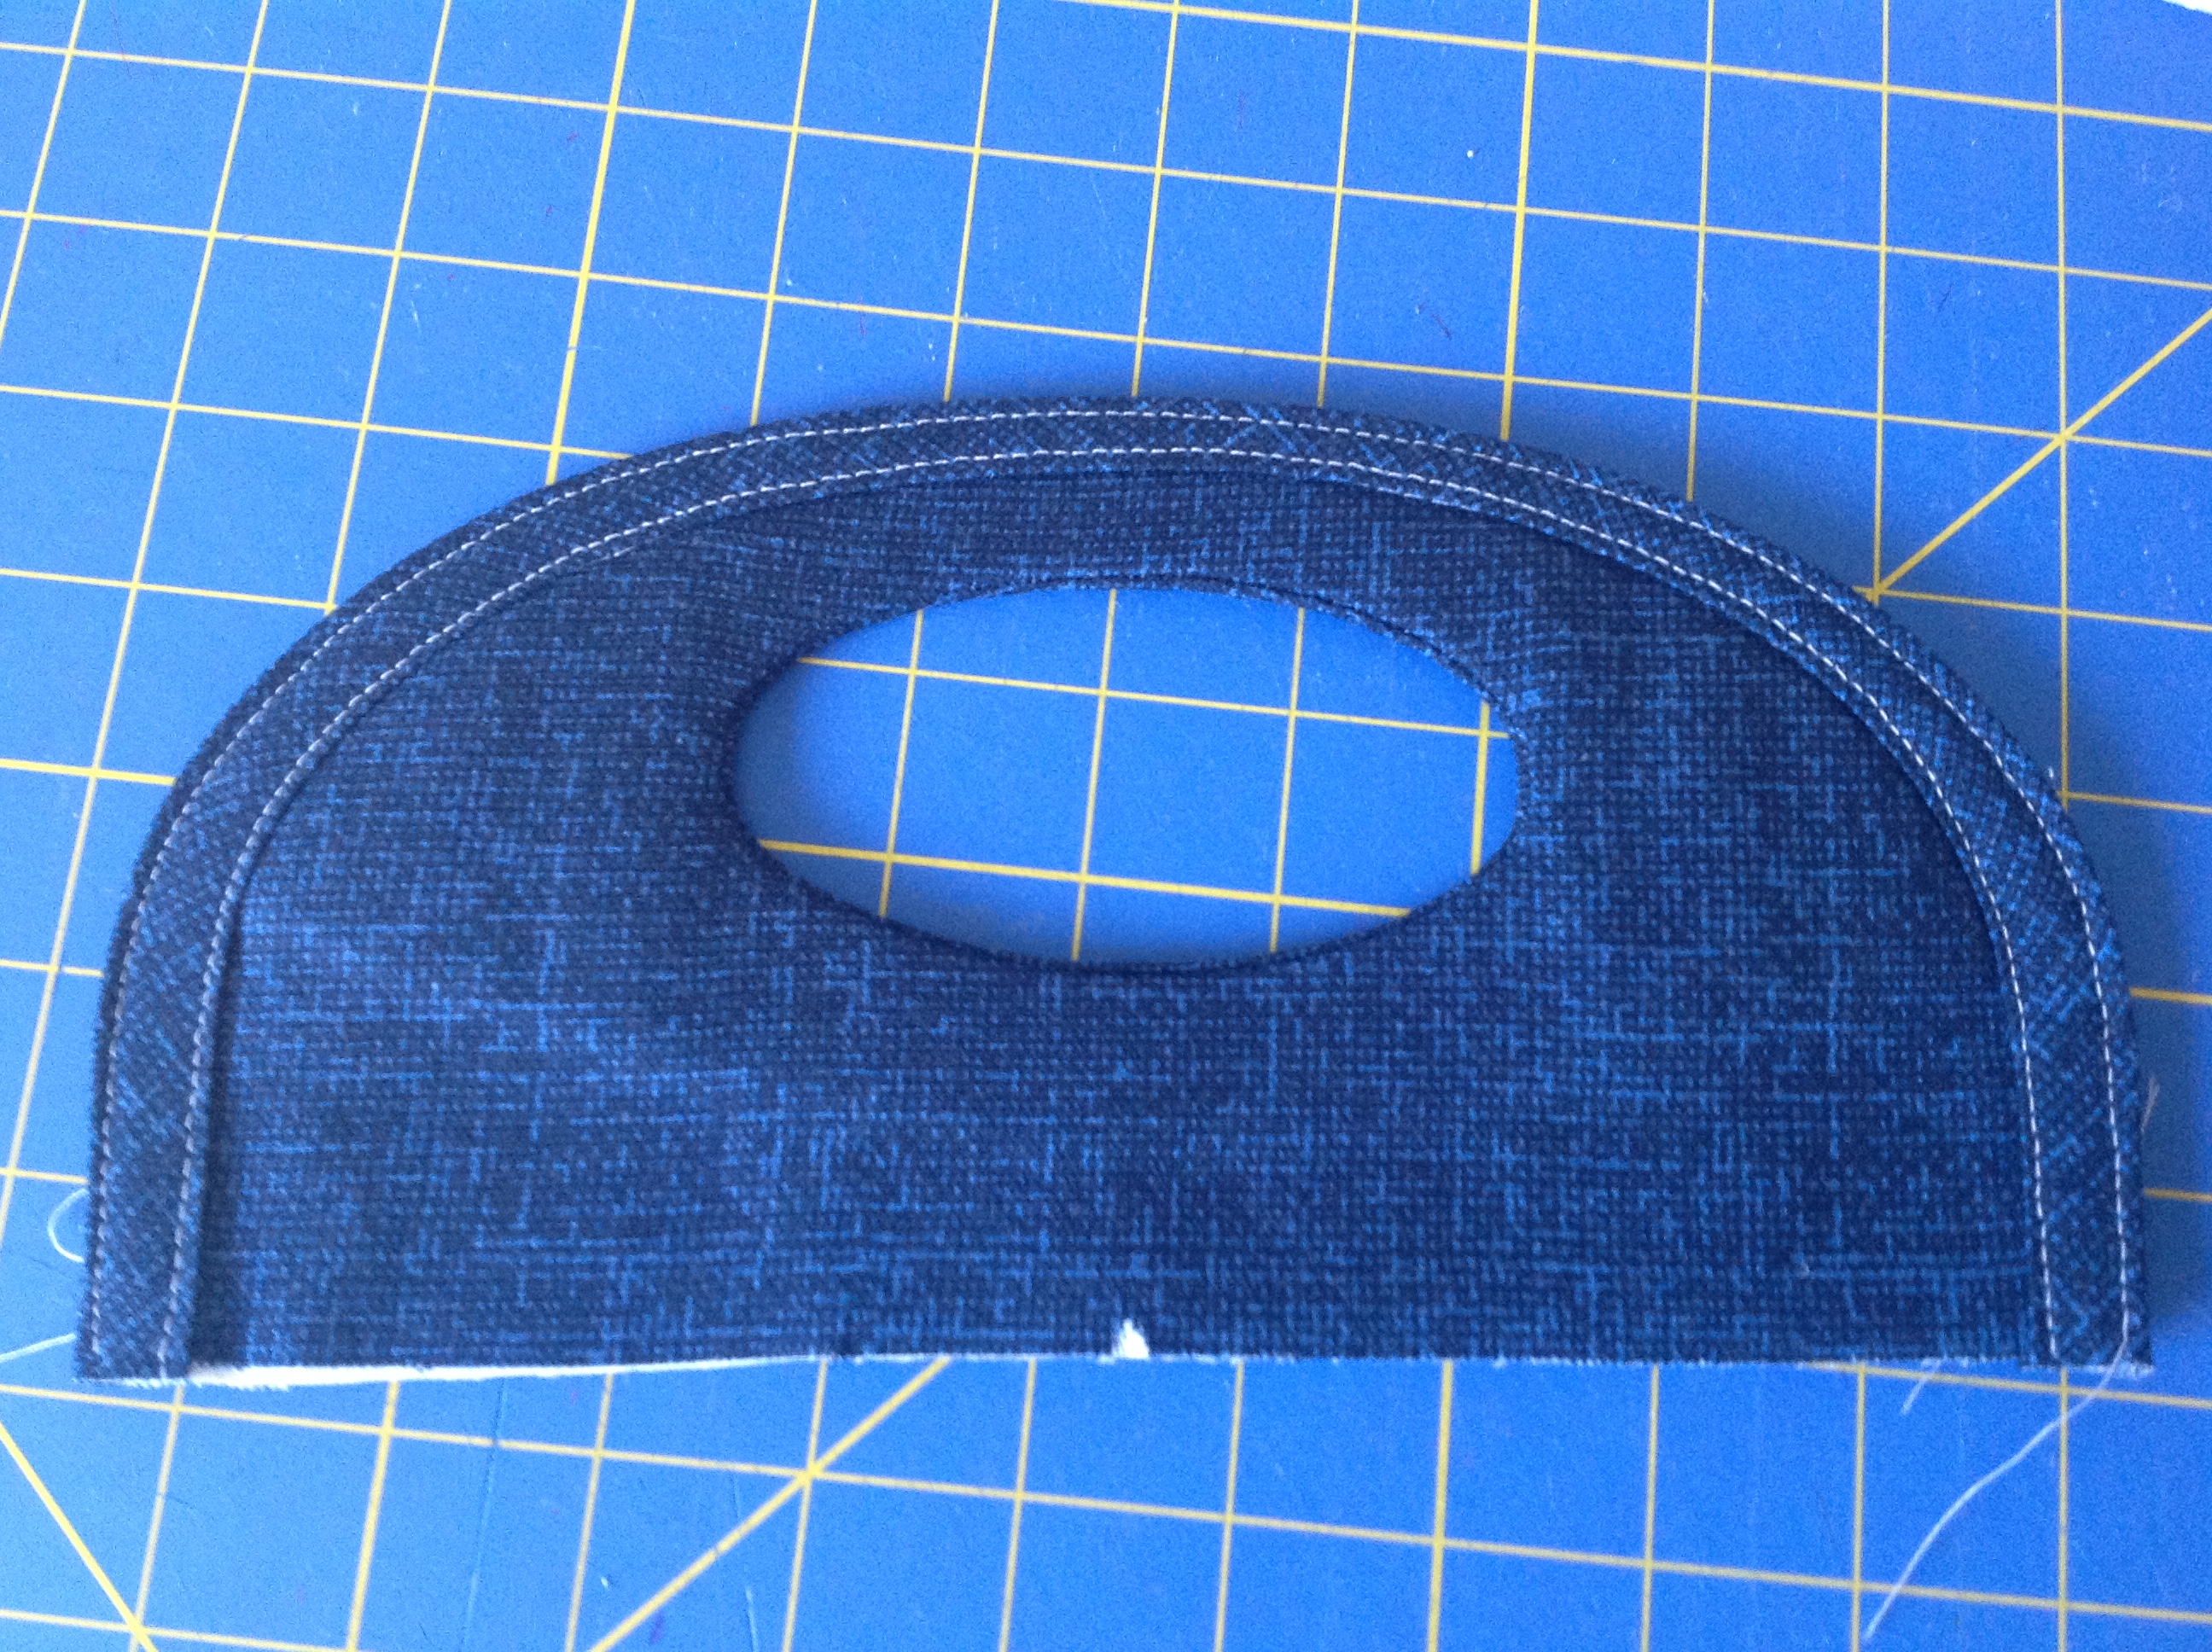
And that’s it! Well, almost, you still need to do all that to the other handle!
Please let me know if you have any questions! I hope you are enjoying the process of making your bag.
For the next tutorial, go here.
Have fun! Sarah