Hi there!
This is a tutorial on how to make a Sleek Drop Tassel for the Market Tote. The tassels kits can be ordered right along with your Market Tote Kit (you will see the option pop up as you order), or they can be ordered individually here.
Tutorials for the other styles of tassel kits can be found at these links:
Fold Over Tassel
Bell Cap Tassel
Making a Sleek Drop Tassel:
Here is what you will have in your tassel kit: a piece of webbing, and the sleek drop hardware with 2 tiny little screws which, by the way, are easily lost. I know this because, on more than one occasion, I have been on all fours trying to hunt them down! If you have a magnetic pin holder, you might put them in there for safe keeping until it’s time to put them on. 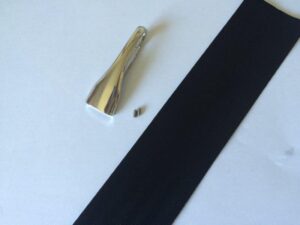
The first thing you want to do is decide how long you want your tassel to be. I recommend you wait until your Market Tote is all stitched up so you can get a feel for what it will look like and so you can get a measurement right on the bag.
So, snap the tassel hardware onto the ring of your tote. Insert the end of a measuring tape into the end of the hardware as far as it will go. Determine where you want the end of the tassel to fall. In this case, I am making a tassel for this large size tote and I want it pretty long, so I am going with about 4″. 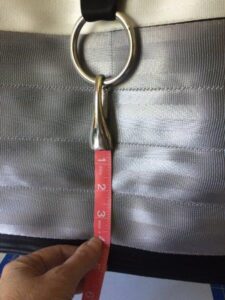
Cut your webbing to that measurement (in my case 4″). Run some glue over one short end. The type of glue isn’t all that important, you just want something that will keep the end from fraying while we are making the tassel. You might be wondering why you aren’t melting the end – like the webbing in the tote pattern. I have found that melting the end creates a tiny ridge that makes it difficult to insert the webbing into the hardware so we want to avoid that. 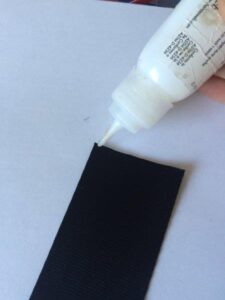
Once the glue is dry, measure 1/4″ down from the end with the glue and mark with some pins. 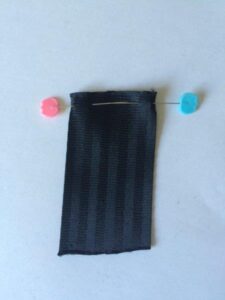
Now, cut a very small amount off each long edge, starting at the un-glued end and stopping at the pins . If you were to cut the entire edge, it would completely unravel, so it important that the 1/4″ above the pins remains intact.
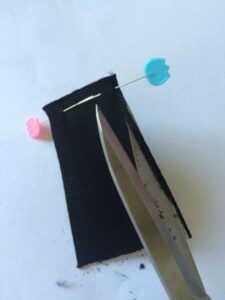
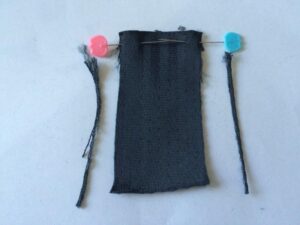
At the un-glued end, start pulling the fibers away from the center. You will begin to see very fine fibers running in the opposite direction (width-wise).
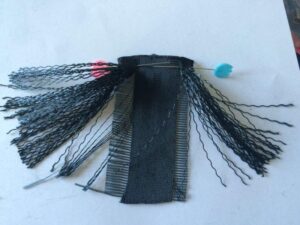
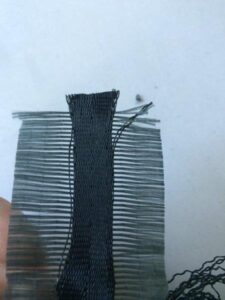
Pull the width-wise fibers out and throw them away – yes, it’s messy! Once you get to the uncut portion of the webbing – that 1/4″ at the top – you won’t be able to pull any more of the width-wise fibers out, which is a good thing!
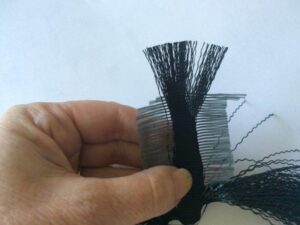
Once all the width-wise fibers are removed, you have a lovely frayed piece of webbing!
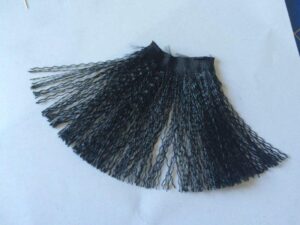
This, by the way, is the perfect opportunity to grab some double sided tape and give the kids – or the husband, or yourself – a good laugh – why not?!


Anyway, back to business! As you can see the webbing is too wide for the hardware…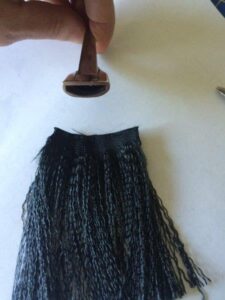
so fold both edges into the center until the width is a wee bit more narrow than the opening.
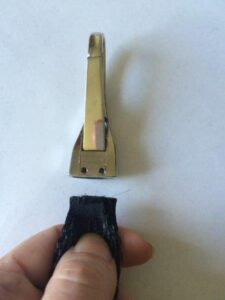
Then push the end into the hardware as far as it will go. 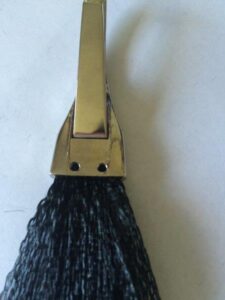
Now you can hunt down the screws! If you are worried that they will come loose from the hardware over time, you can use some strong glue like E6000 in the openings before screwing them in. 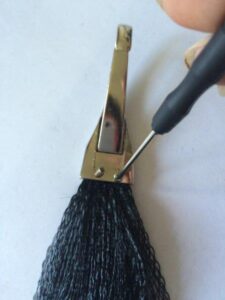
And there it is! Lovely! 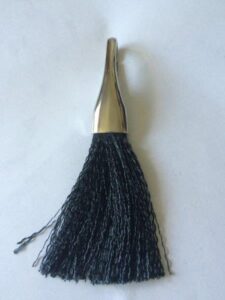
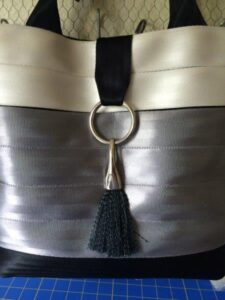
If you have any questions, let me know. I hope you will share your creations with us on Instragram using #seatbeltbags and #cozynestdesign.
sarah
Hi, what are colors in the August 30 blog entry? I’m trying to figure them out to order, but it’s hard to tell. Thank you!
Hi Sheryl,
Thanks for getting in touch. The bag in the blog post is made from two colors I no longer have as colors come and go. Similar replacements that I currently have would be Putty, Grey Matter and Midnight. I should have another silver color coming soon that would be a good replacement for Putty as well. I would be happy to send you samples if you can’t decide.Thank you! Sarah