Finally, right! Sorry this post was so long in the making – I may have over-committed myself these past couple of weeks! Luckily, the information today pretty much follows along with our One Trip Up Stair Basket Pattern.
So at this point you should have your exterior, lining, and your finished frame.
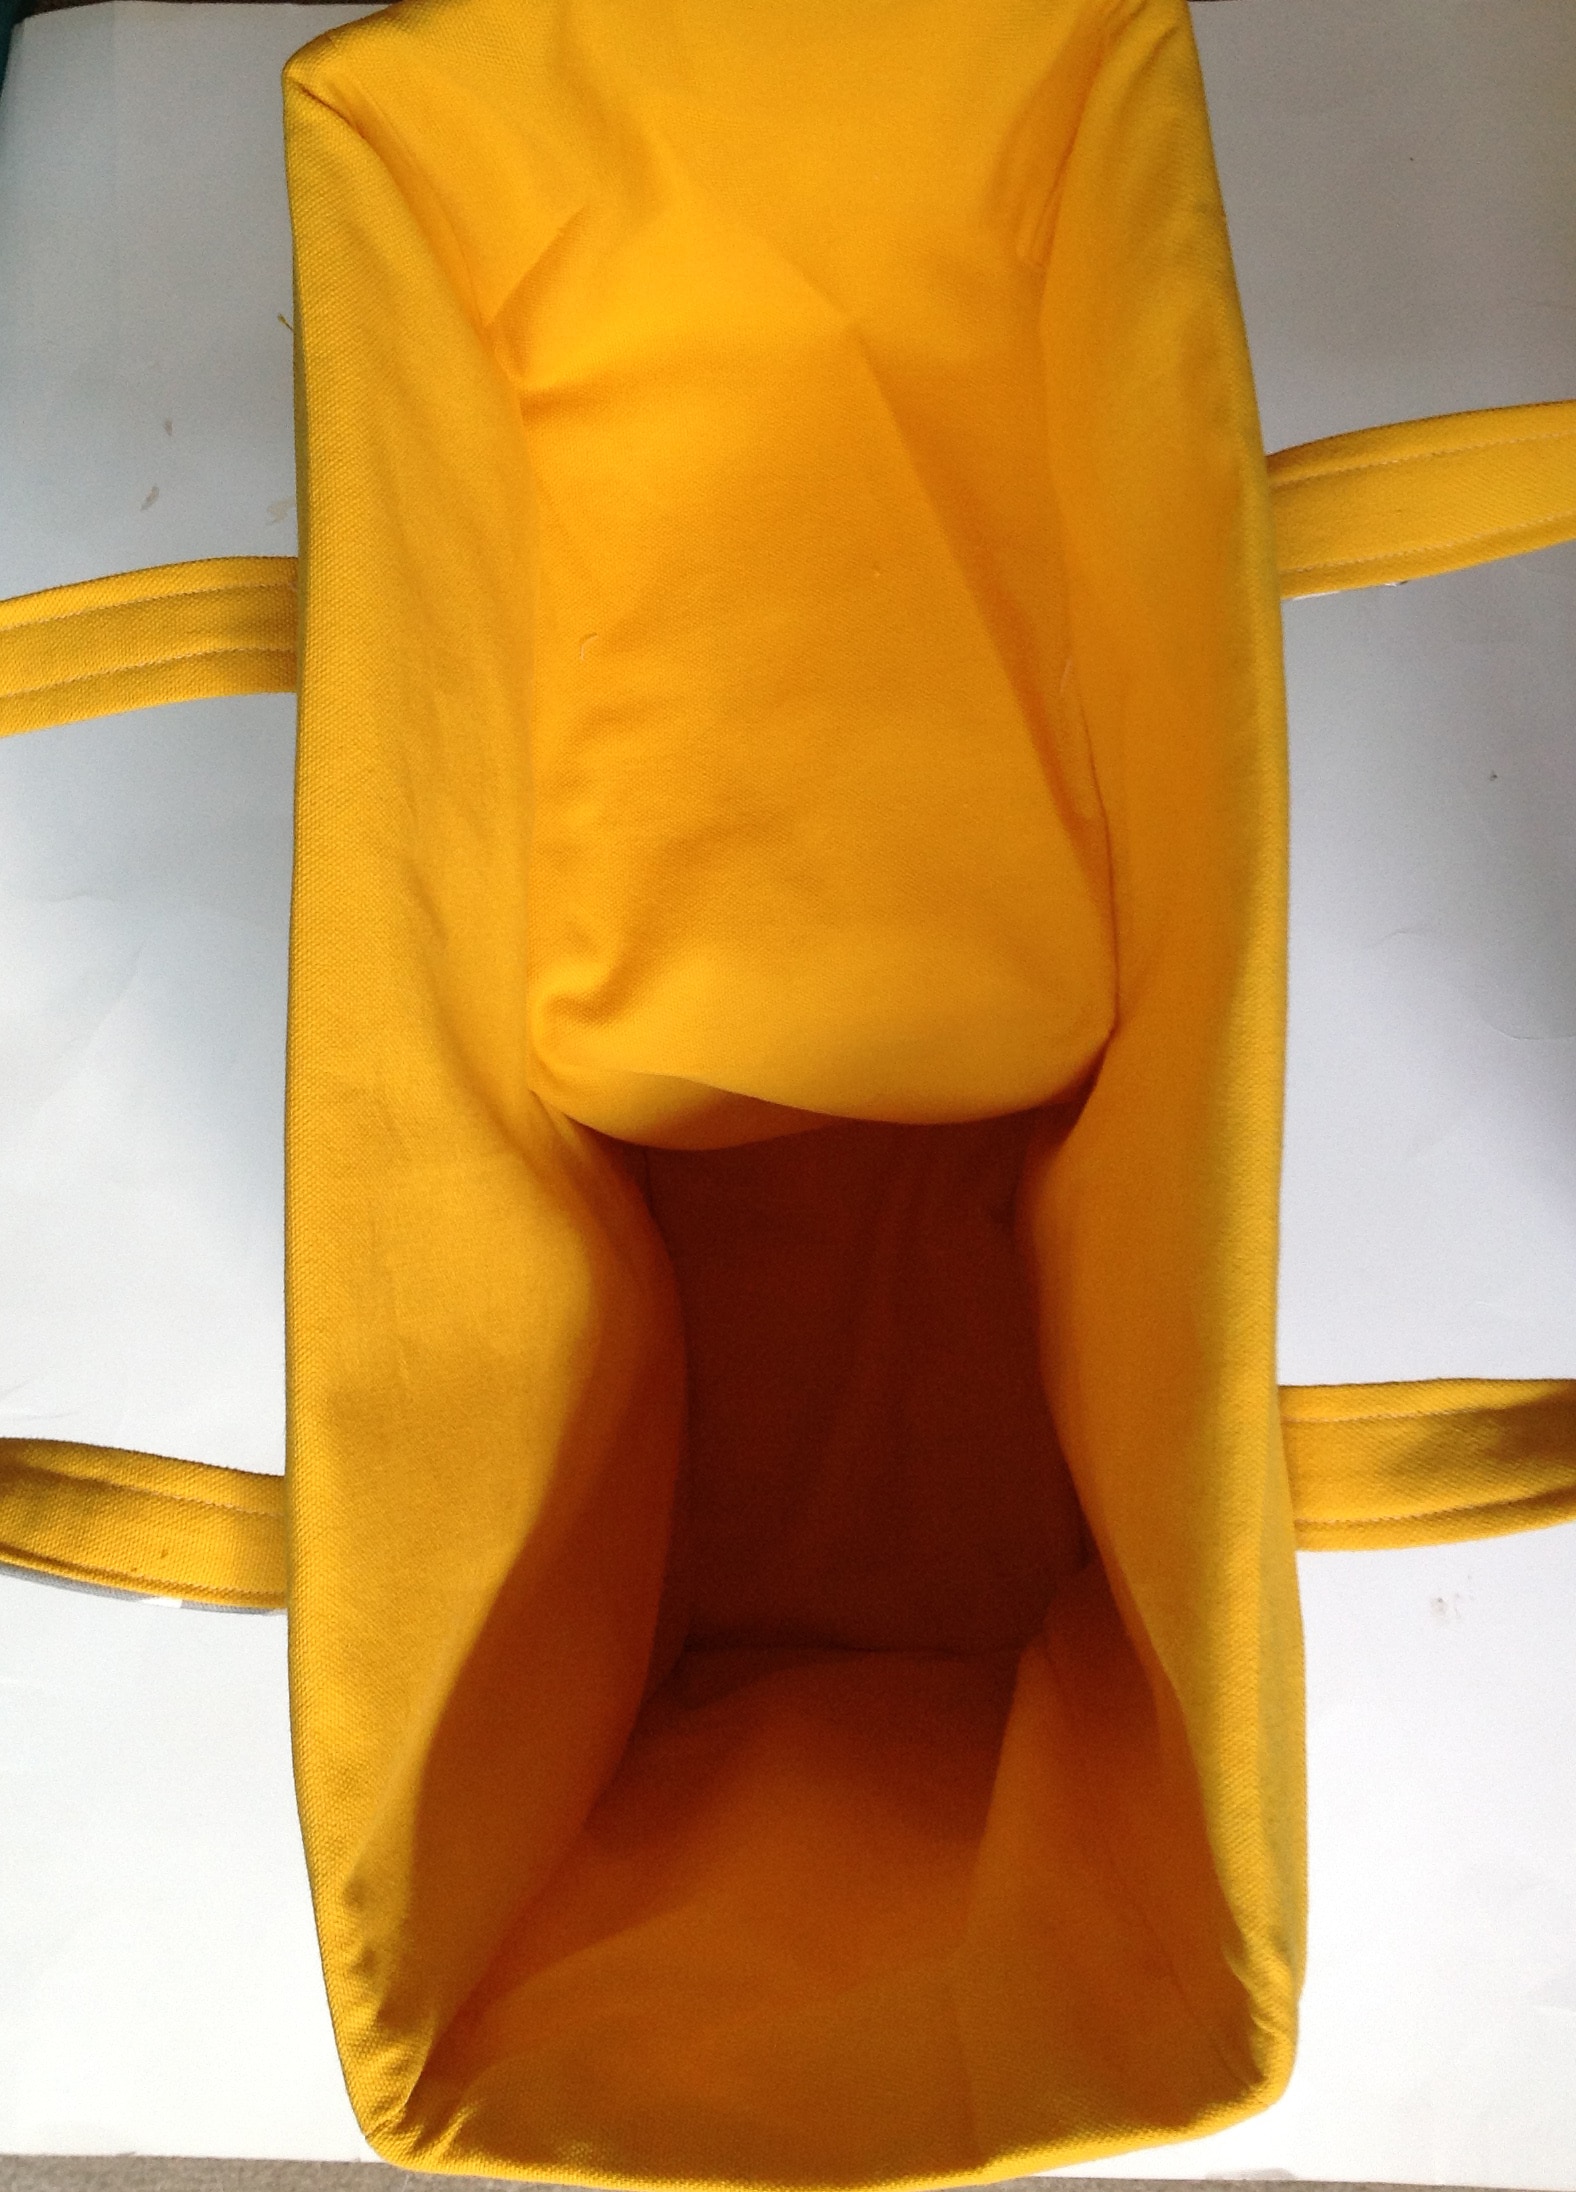
The first thing you are going to want to do is check the fit of the exterior and the lining by putting them on the basket. You can put them on one at a time. If there are any places where you to need to take them in or let them out, now is the time to do that. Here’s a photo of the lining inside my basket. It doesn’t have to be skin-tight but a close fit is what you are looking for.
If all looks good, trim all the seam allowances of the exterior and the lining, especially on that inside curve where the stair will go. On the lining, I tend to leave the top 3 inches of the seam allowance untrimmed. I like to open that part of the seam allowance instead, I think it lays better. (you can see that in the photo in the next step).
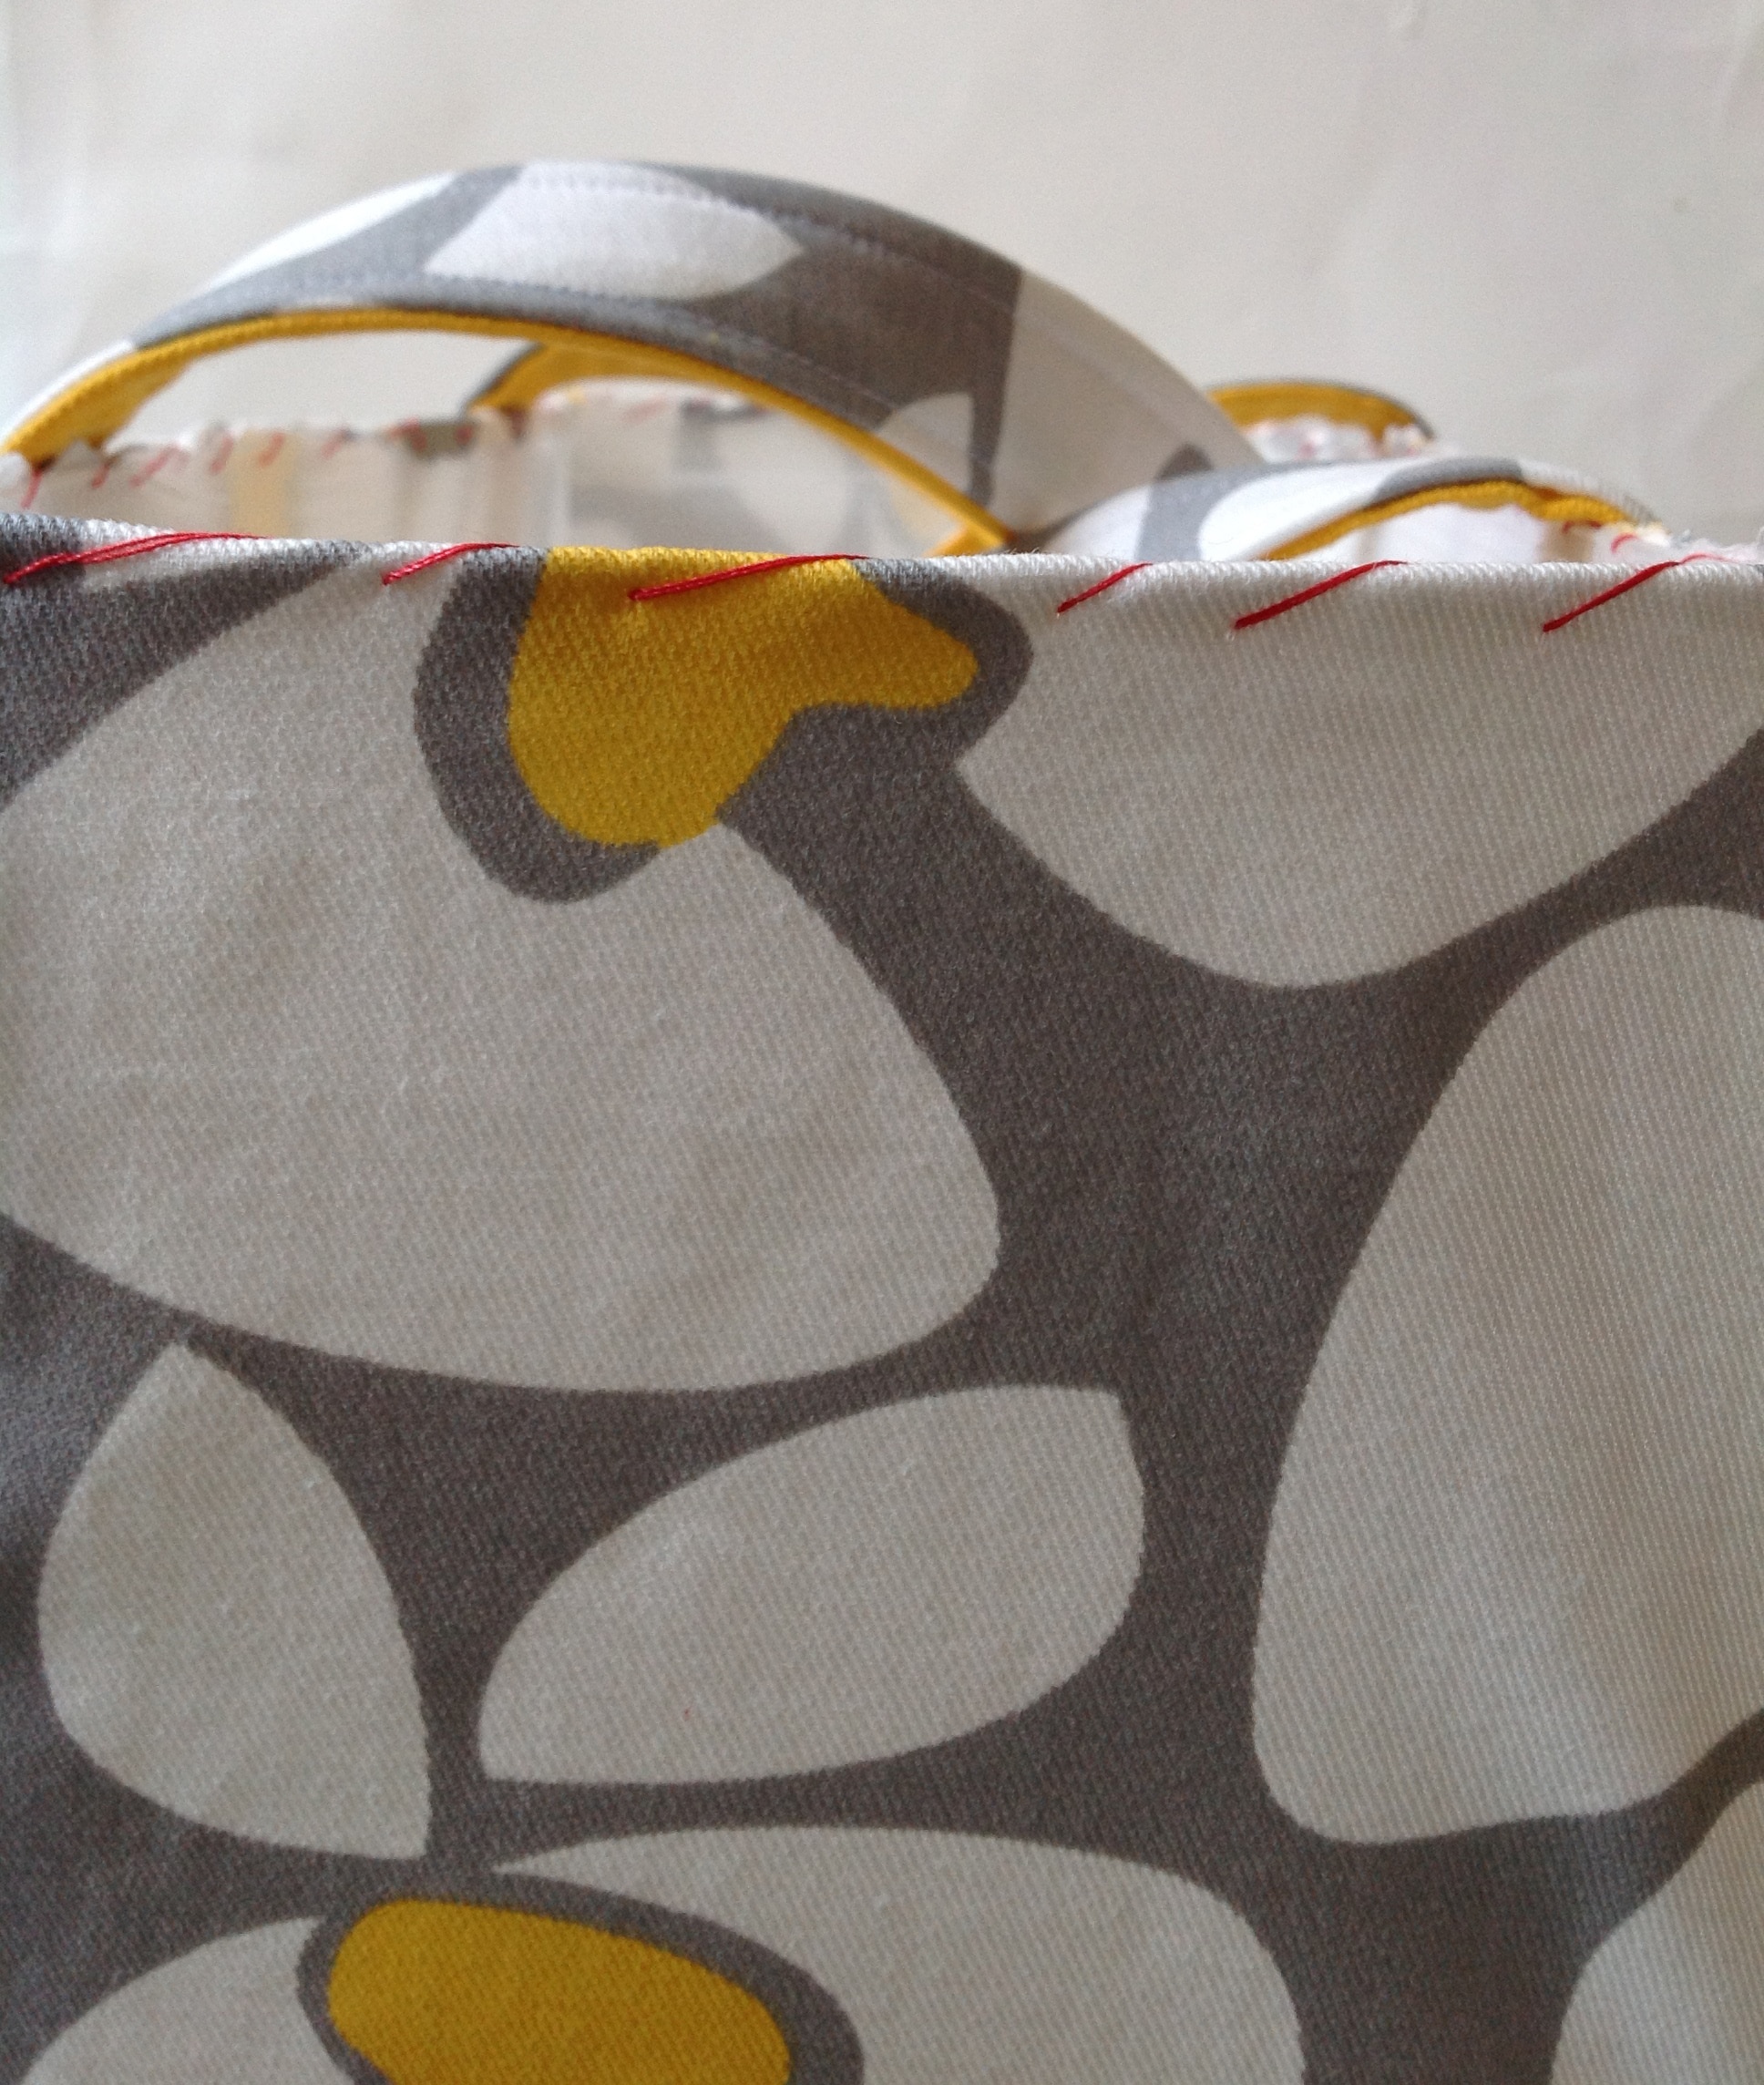
Turn 1″ around the entire top edge of the lining to the wrong side Then turn another 1″. Press well so you have a nice crease. 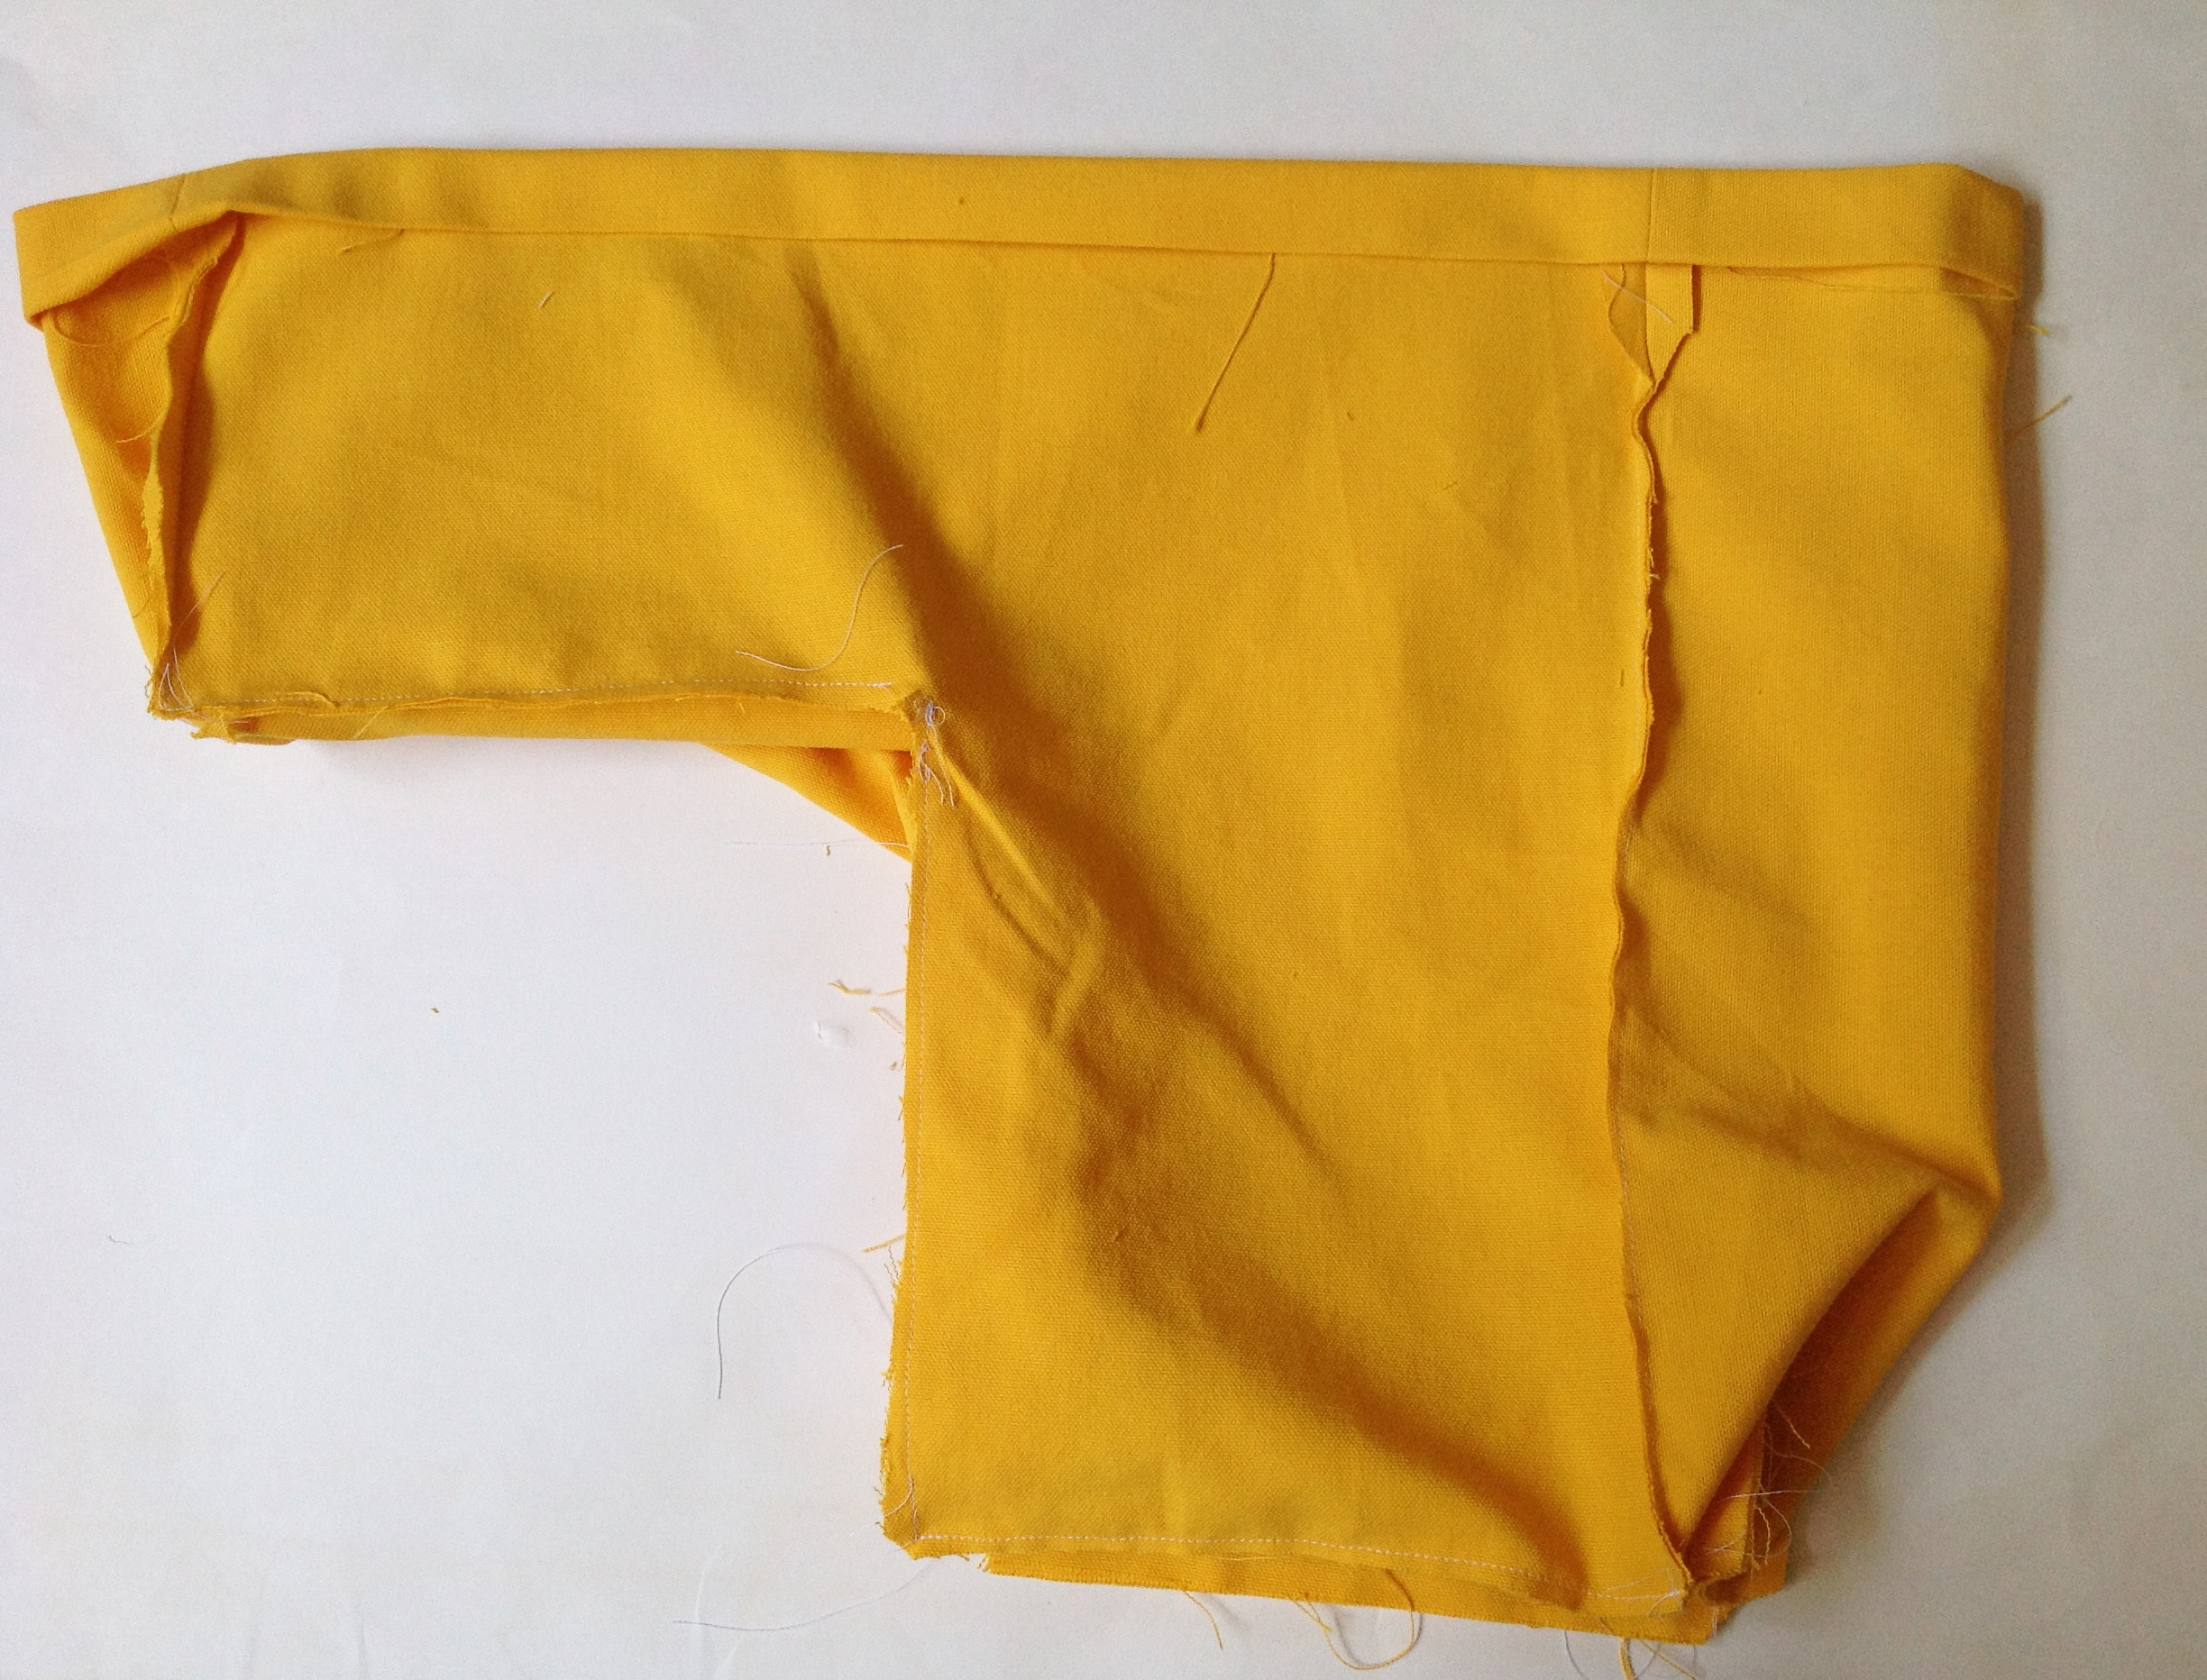
Now you have a decision to make. If you want your basket lining to be removable, this is the time to add some Velcro to the top edge of the exterior and to the interior lip of the lining. I never do this because I don’t anticipate the lining getting all that dirty, but it’s an option.
Put the exterior back on the basket. Sew the upper edge of the lining to the frame. You will want to pull the fabric up so it’s nice snug as you sew along. What I am about to say will probably horrify you, but I used to sew the lining to the frame with my sewing machine. I found that using a 3.5 stitch length was about perfect and if I went slow, no bid deal. Lately, though, I don’t loathe hand sewing as much as I used to, so now I just hand sew it.
Insert the lining into the basket and fold the upper 1″ to the outside of the basket. You can hand sew the entire lining to the basket just above the bottom fold but I have found that it is sufficient to do this on just the front and back.
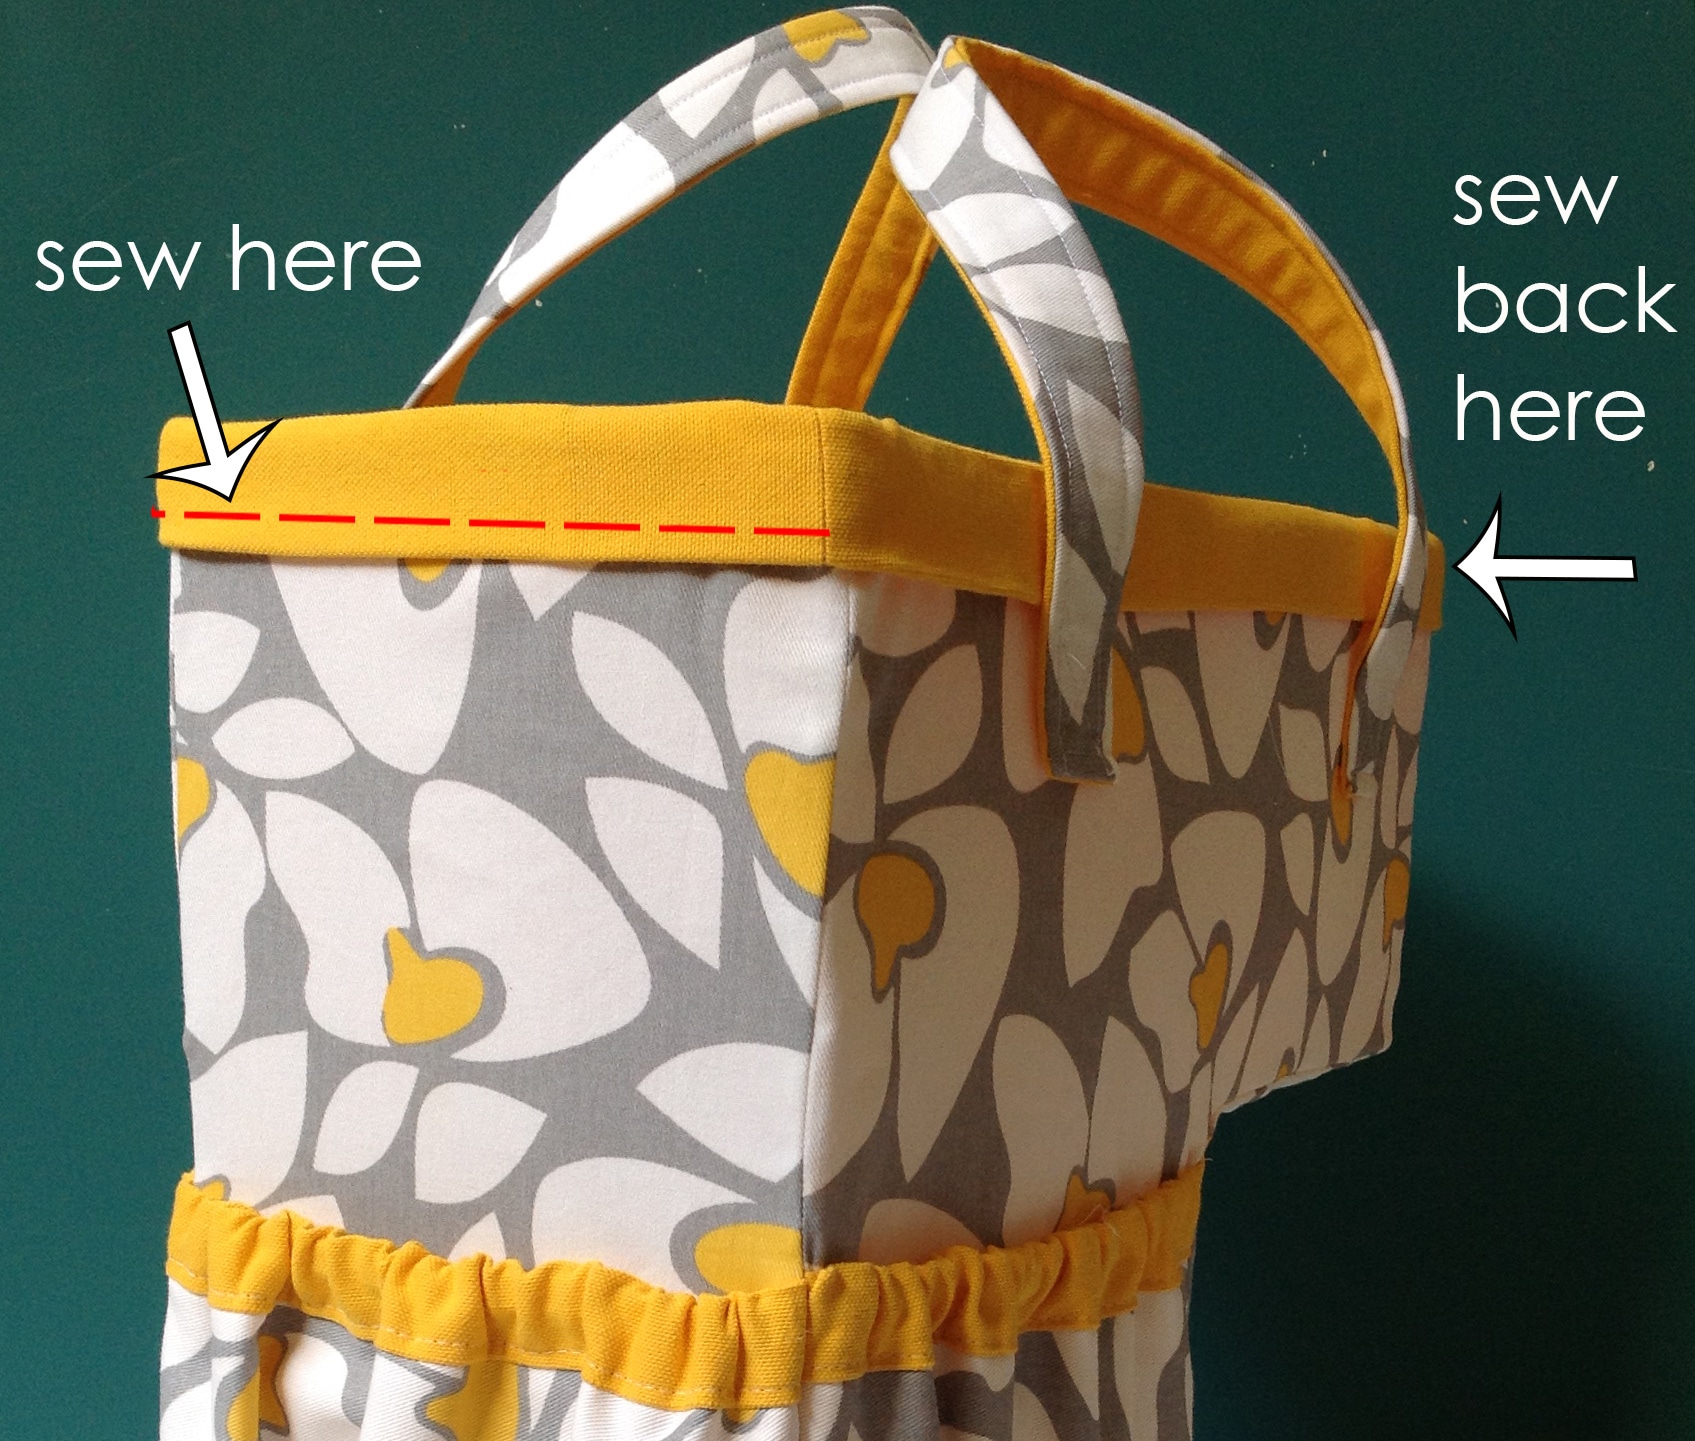
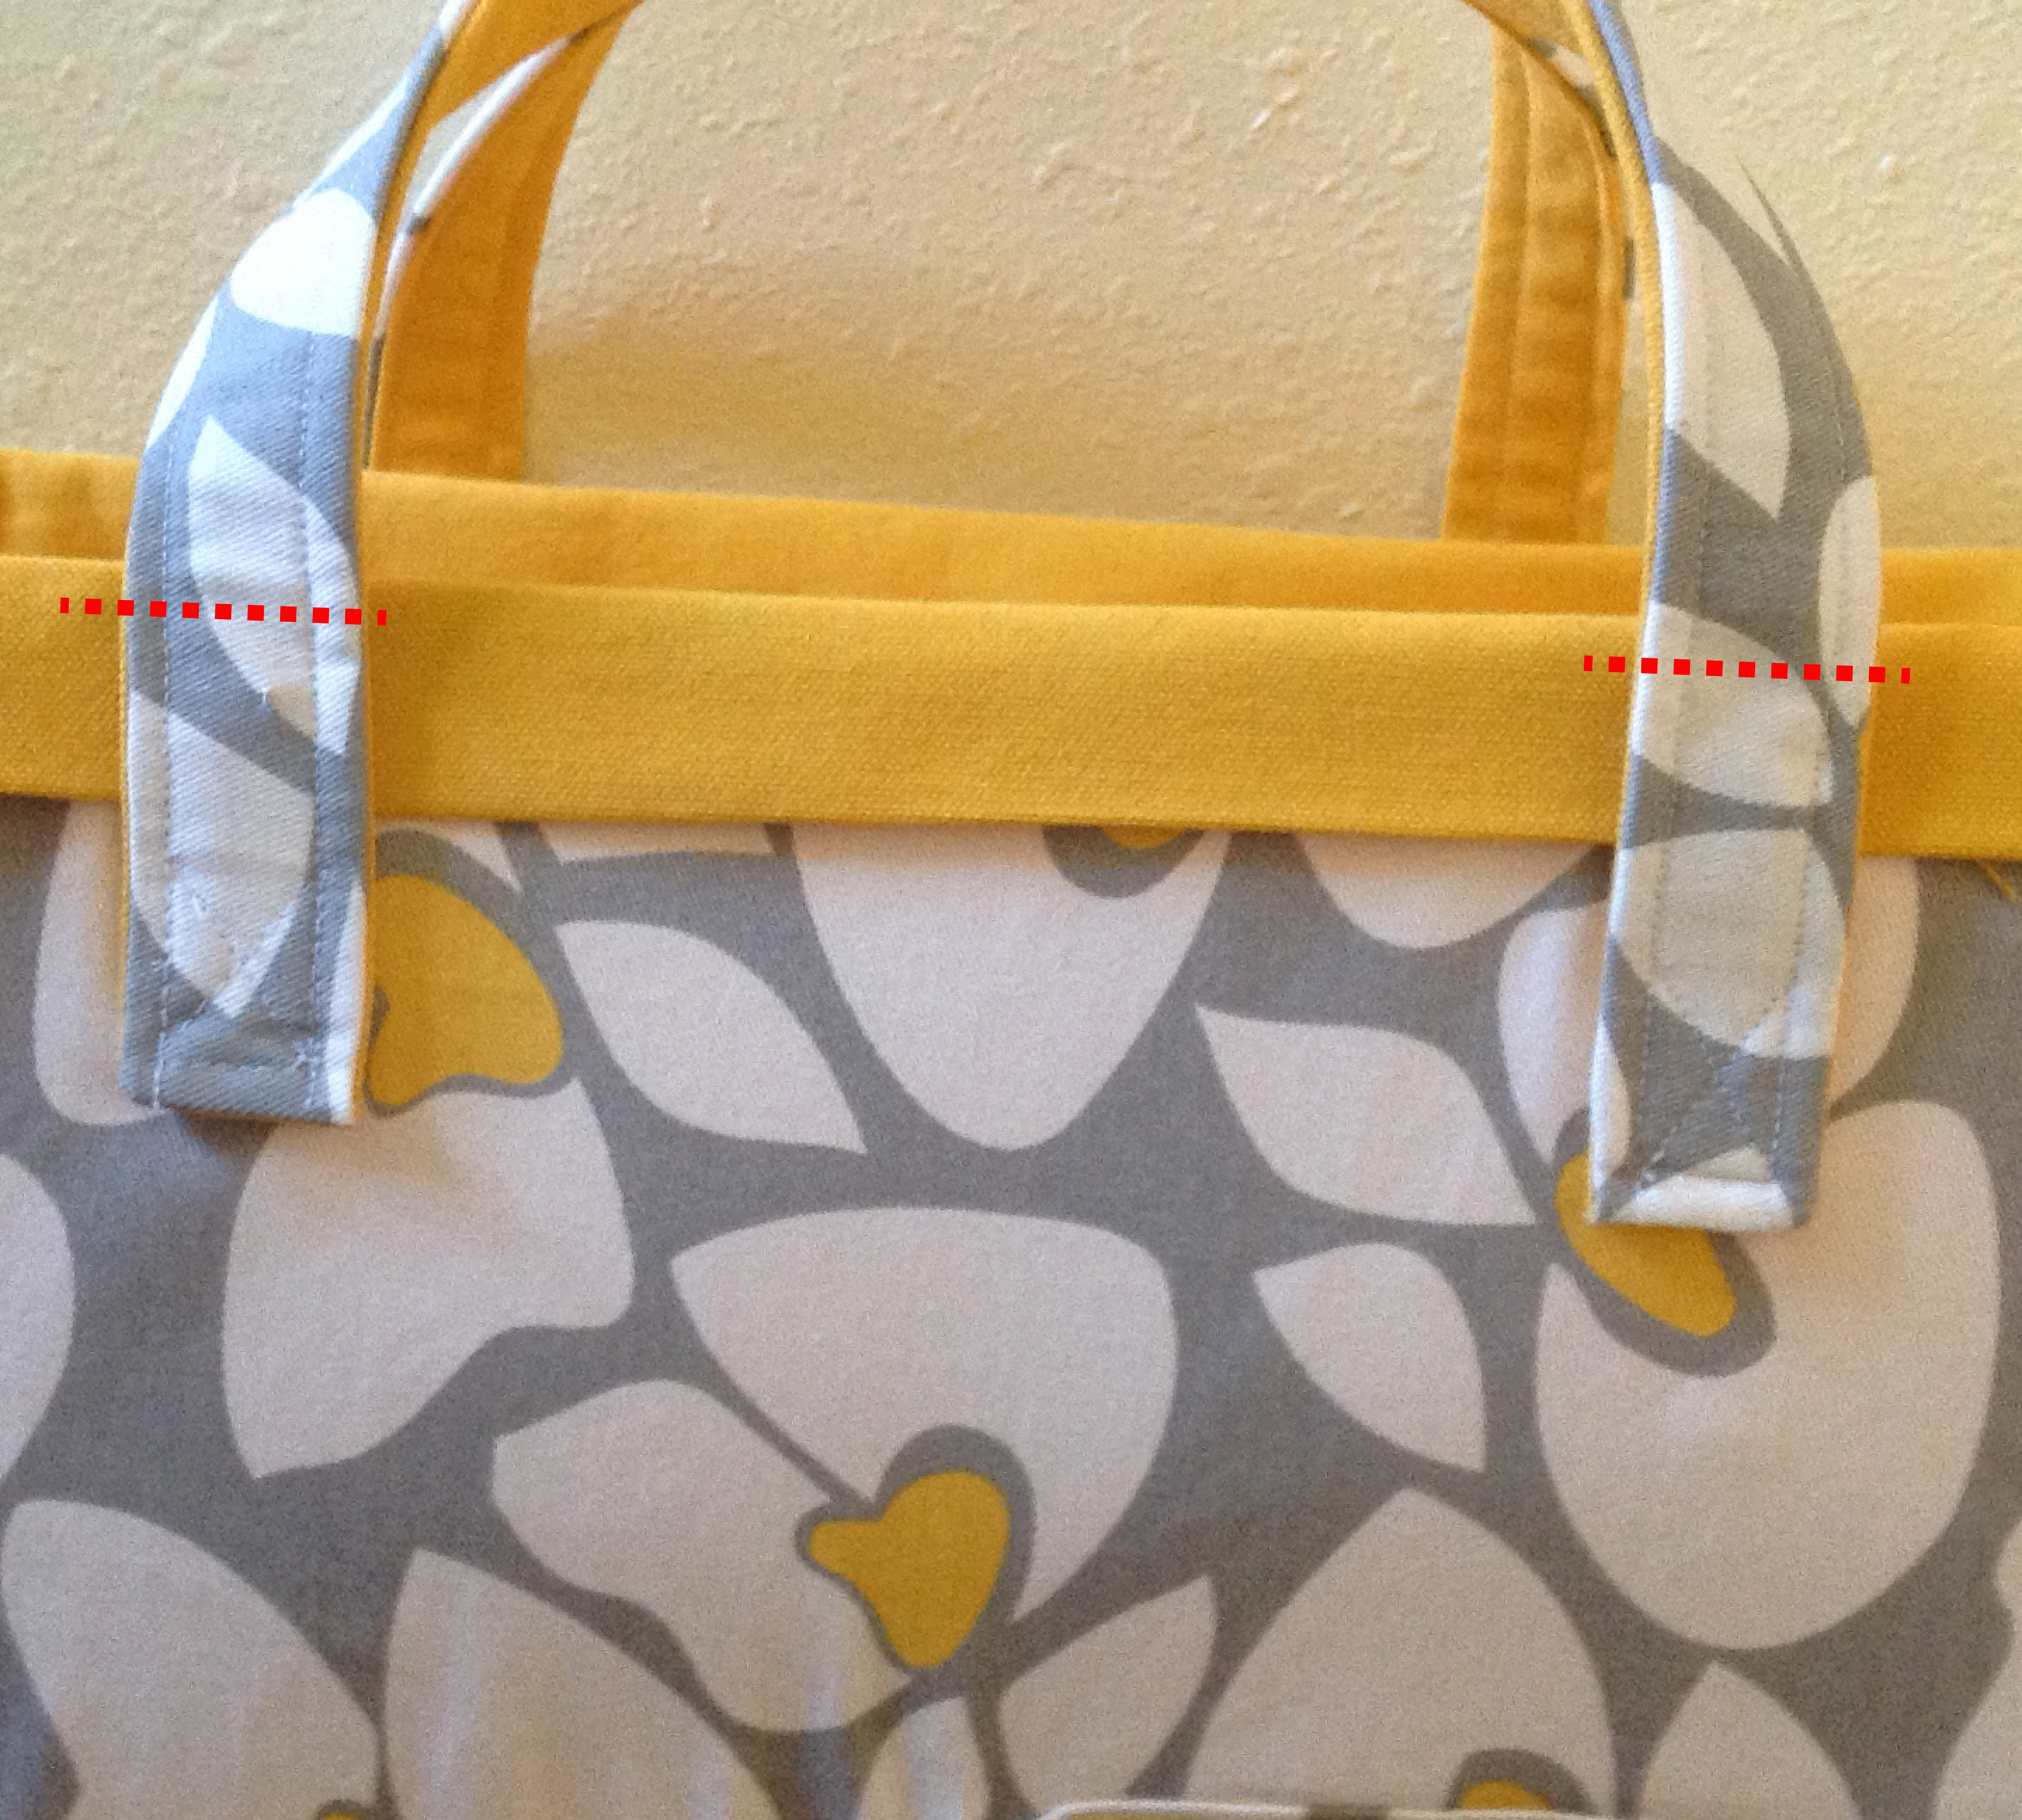
Next, sew the handles down near the top edge of the basket. Sew through all layers. This will take the load off the handles because they will be secured to the frame and it keeps the handles from dropping downward.
Throw it on your stairs and fill with stuff – now if only someone would just carry it up and unload it for you…sigh…
Hope you had a great time making it. If you have any questions or comments, please leave them here, I love hearing from you! Also, you can post your photos in the Cozy Nest Pattern Group.
Bye for now and thanks!
Sarah
Leave a Reply
You must be logged in to post a comment.