Hi!
In this tutorial, we are going to be attaching the main and small compartments to the interior pocket. It covers 25-28 in the Motherload Tote pattern. Click the photos if you need a closer look.
At this point, you should have just finished up your interior pocket which has a pleated side and a side that has the water bottle sling sewn to it (pictured below). You should have also marked the center of the bottom edge with a notch.
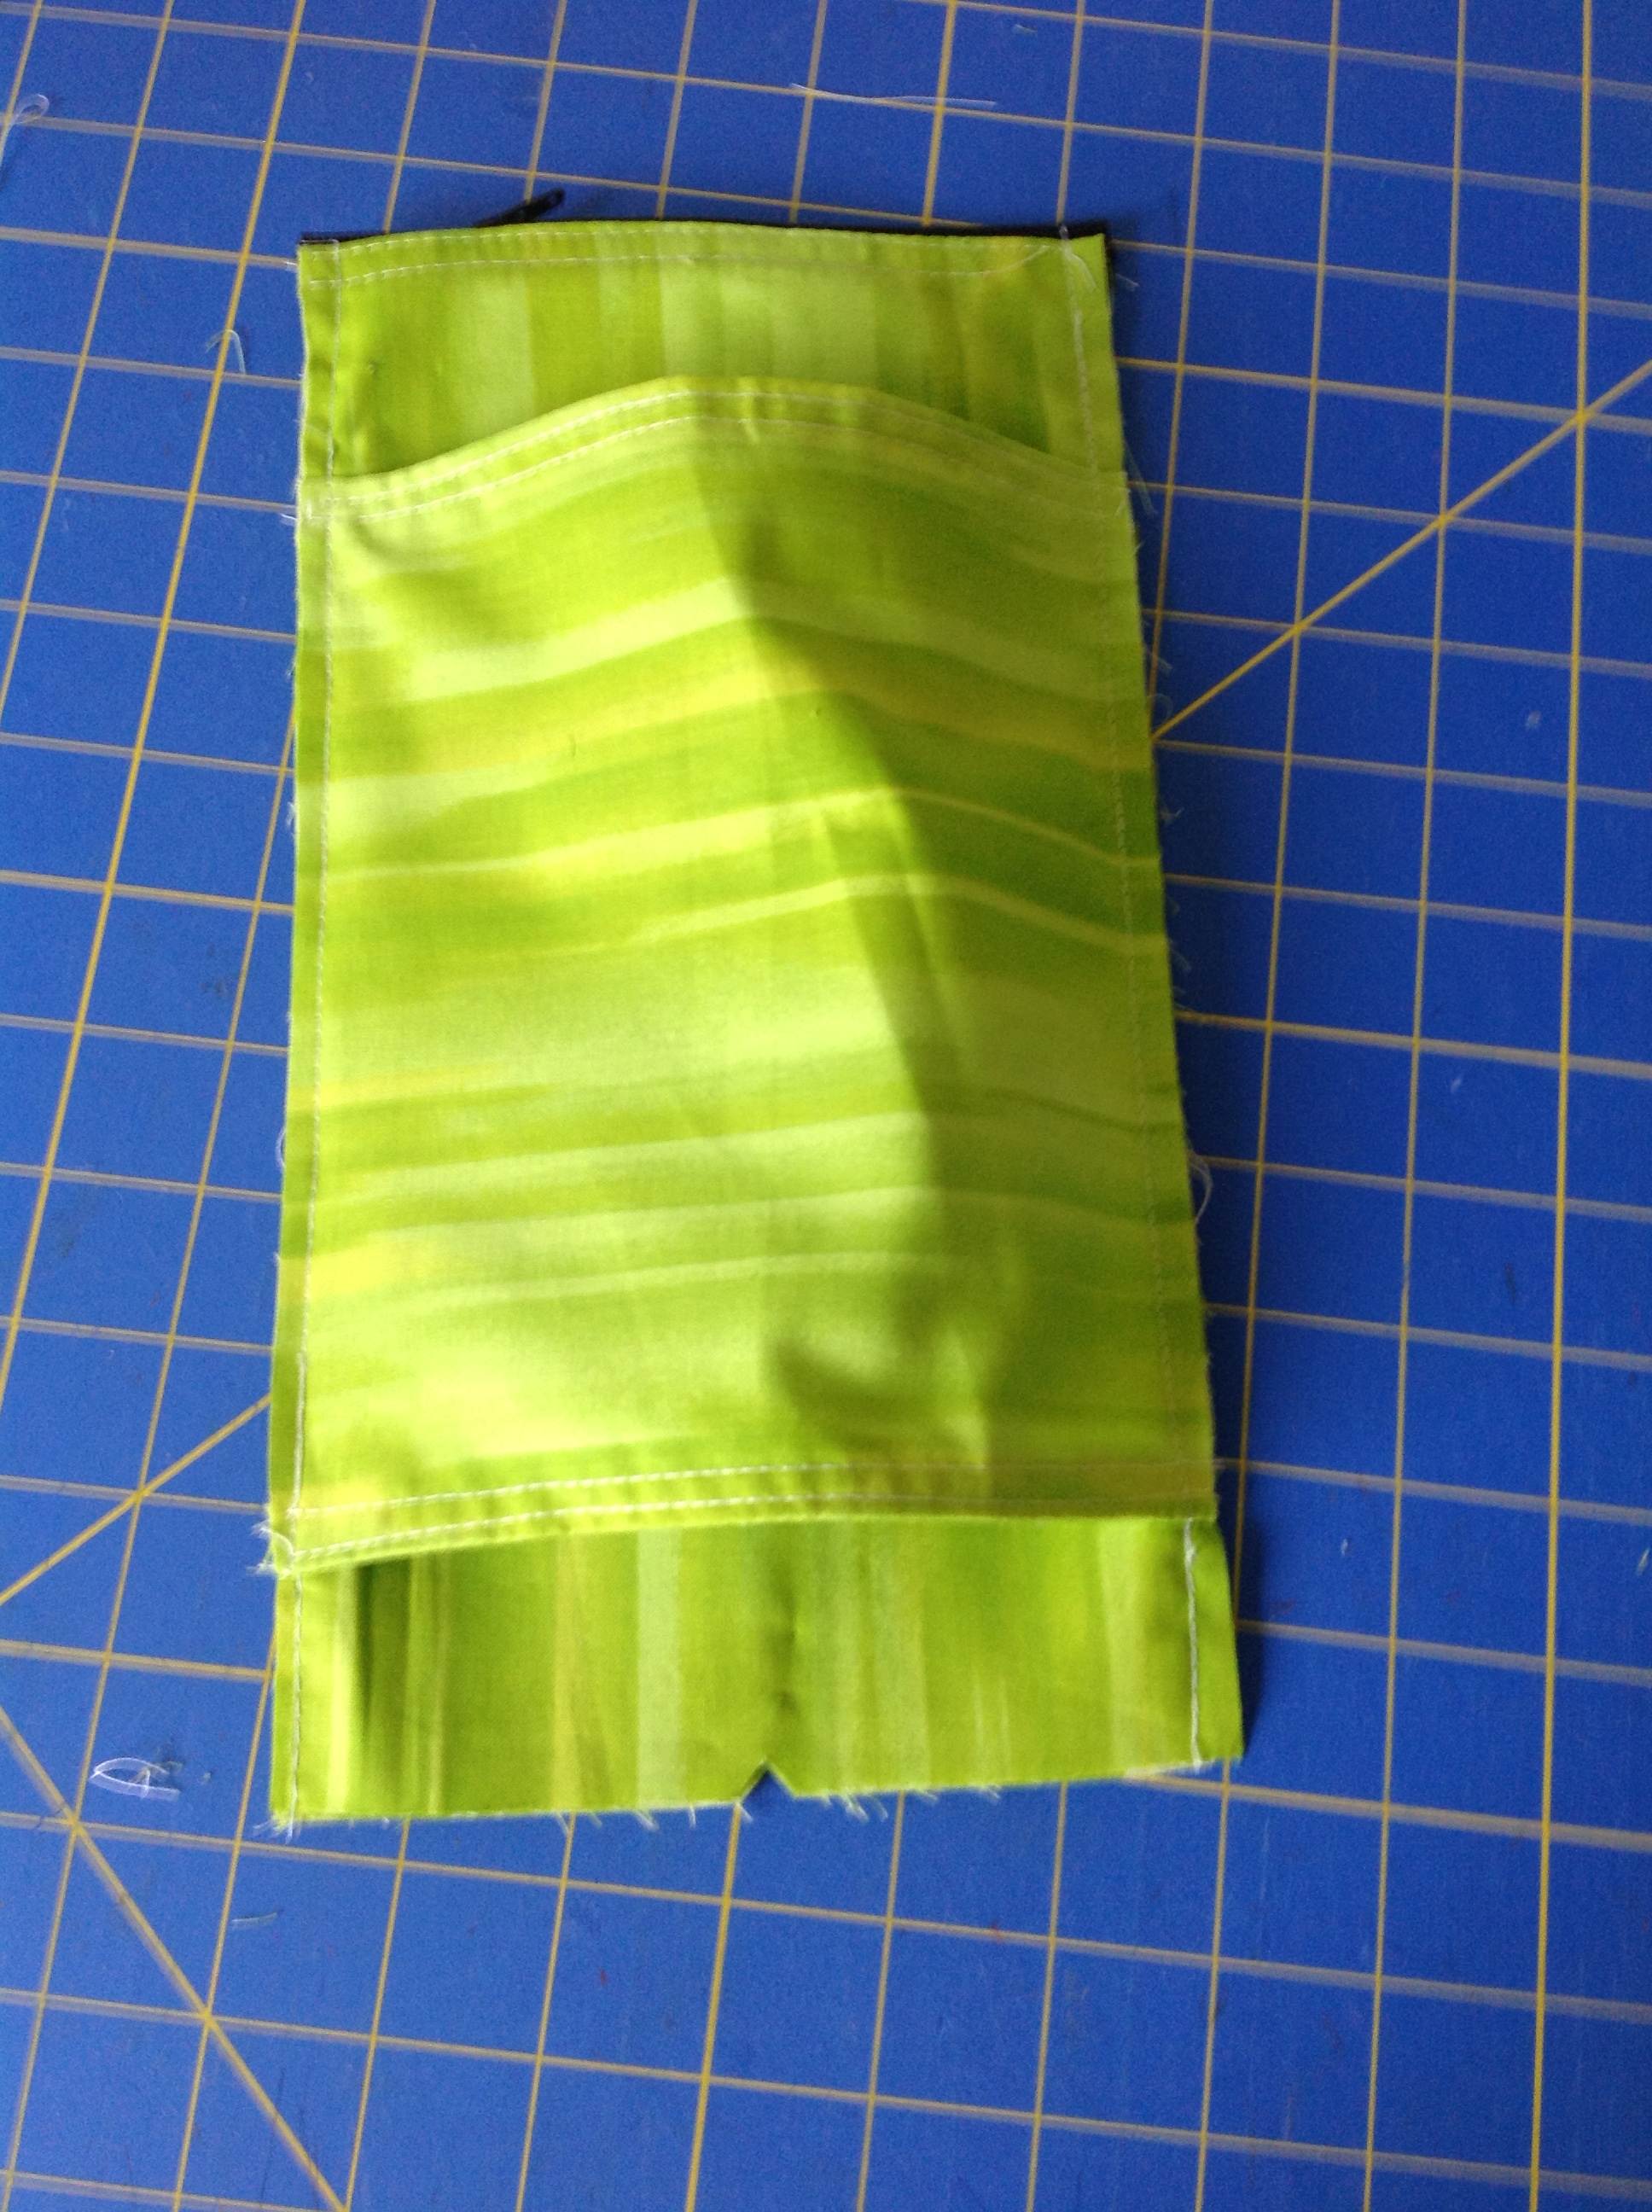
If you have added any width to your water bottle pocket you may need to pin the extra fullness into the center so that it doesn’t get stitched into the seams we are going to sew next.
Now, locate the small compartment pieces. If you purchased a pdf dowload of the Motherload Tote, your pieces will look like the picture below and you can scroll down to the section called “Stitch the Bottom Edge of the Small Compartment Panels”. If you purchased a printed pattern from a store you will need to do a little prep work to these pieces (see the instructions below the photo).
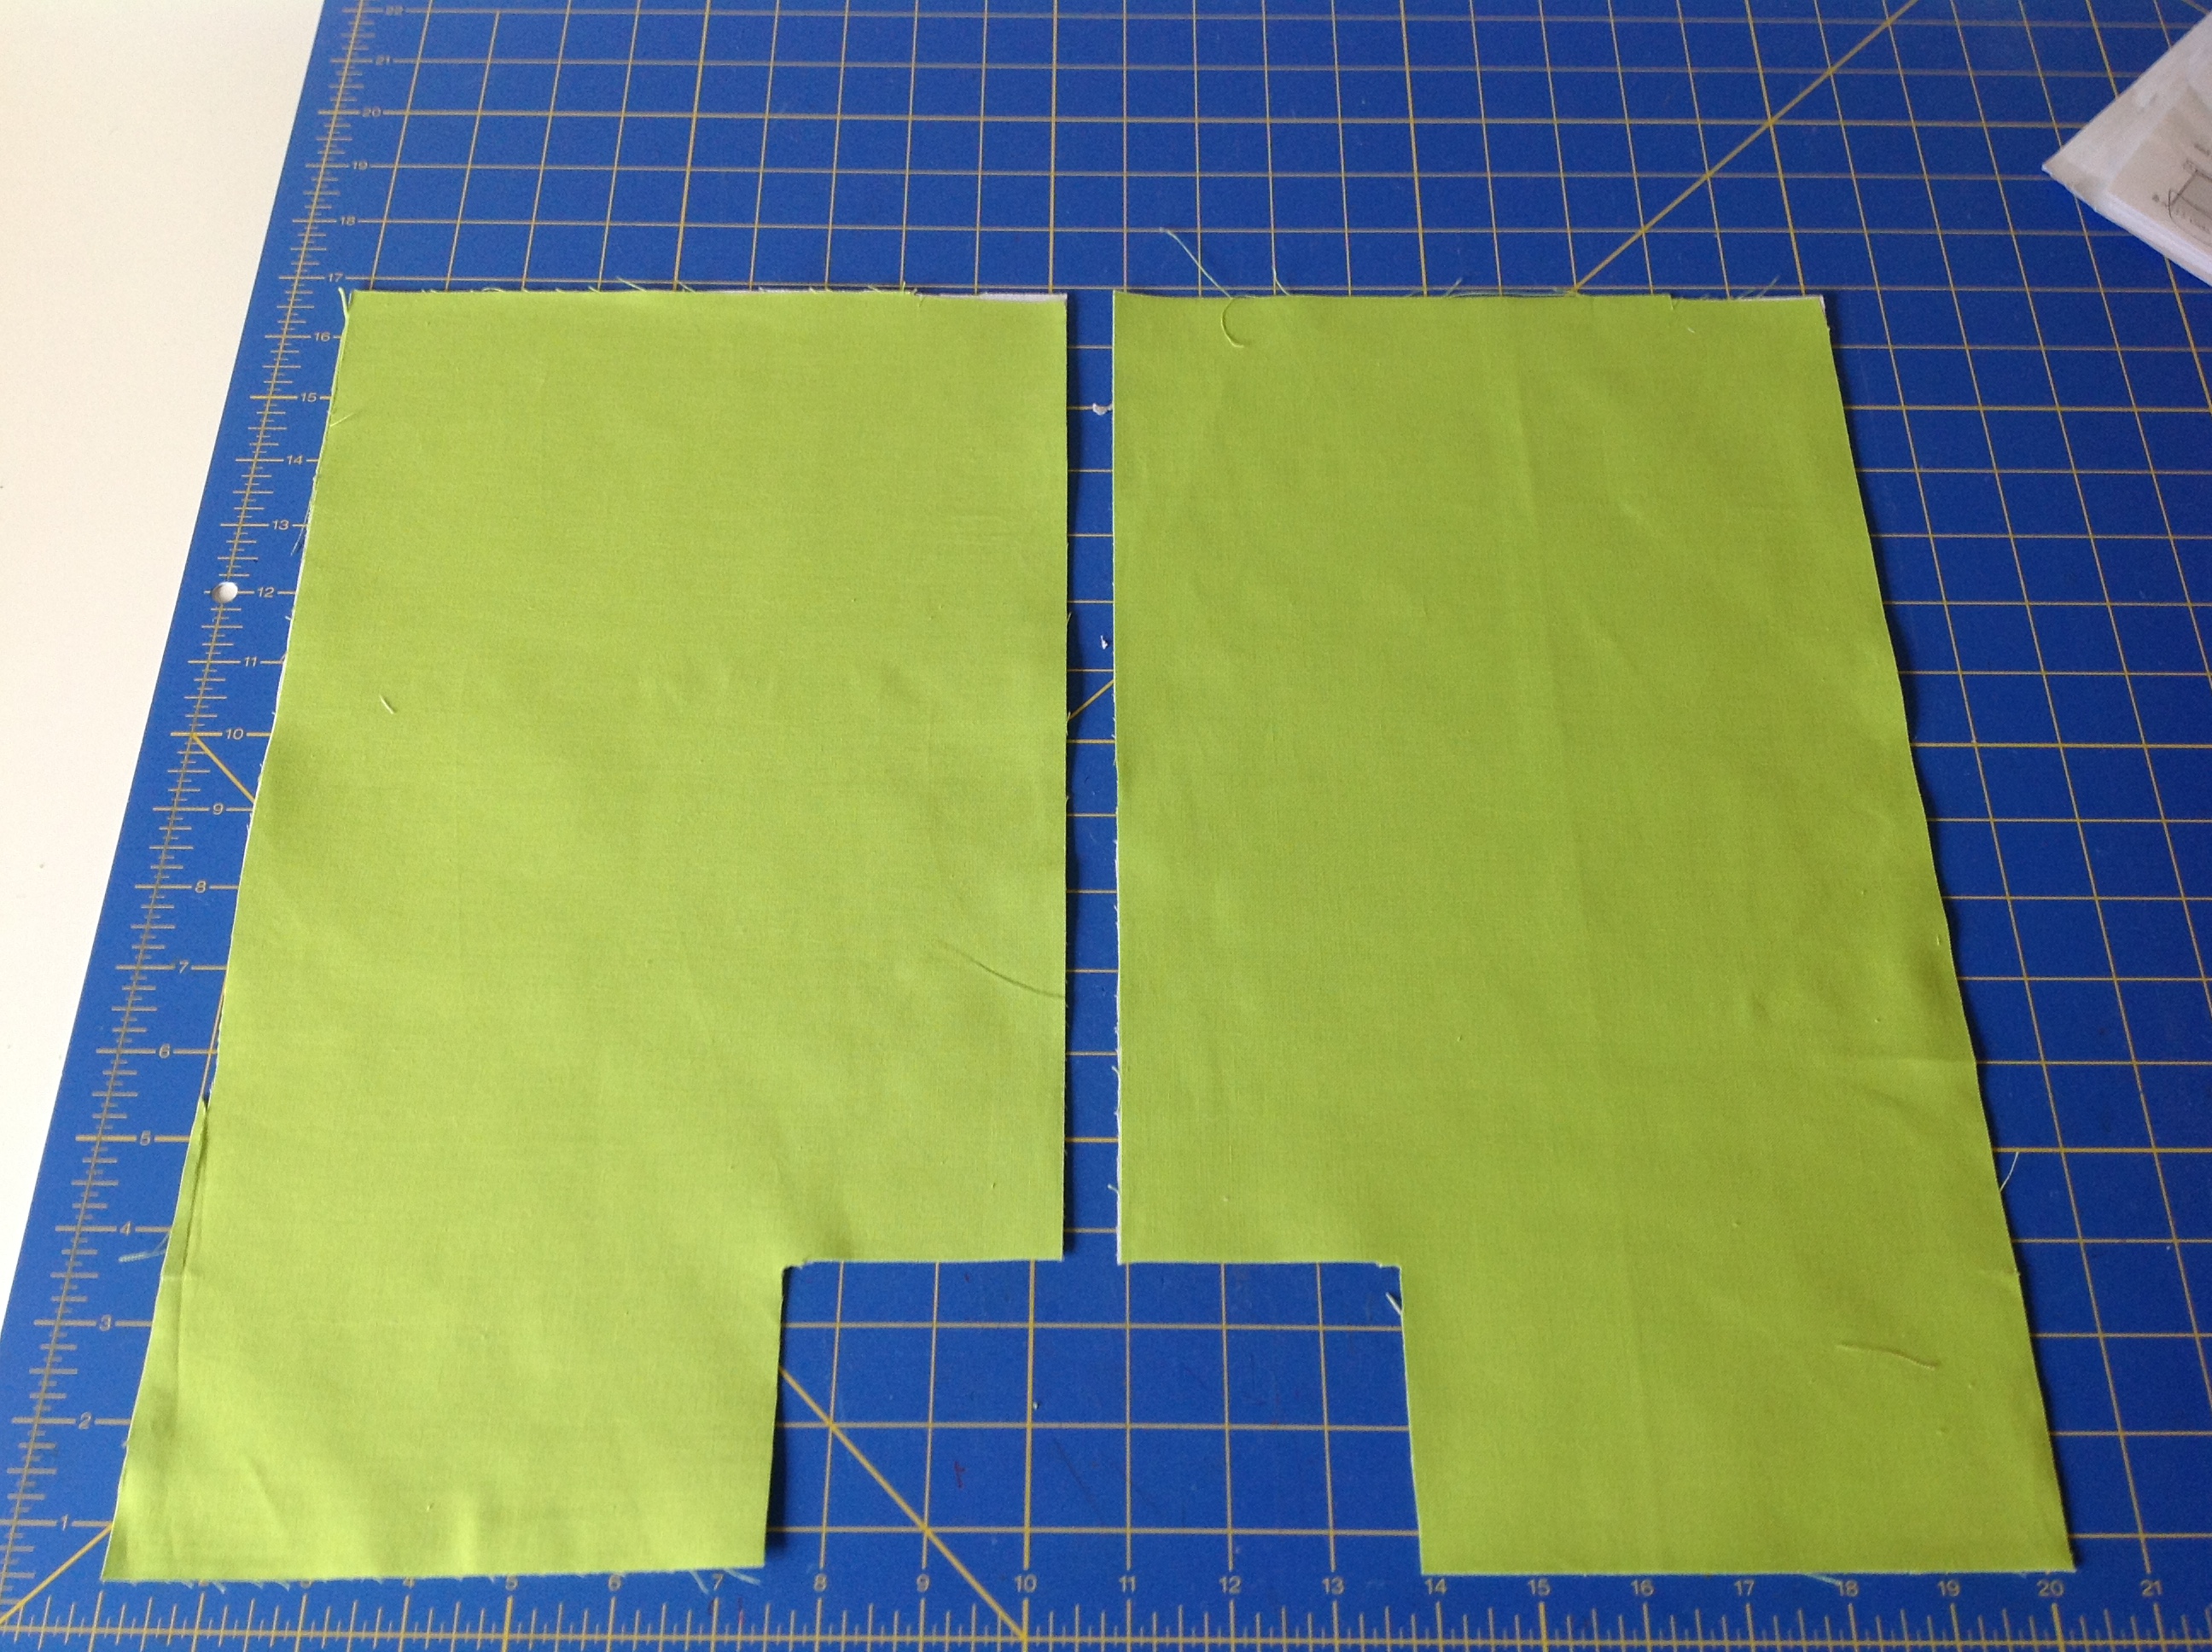
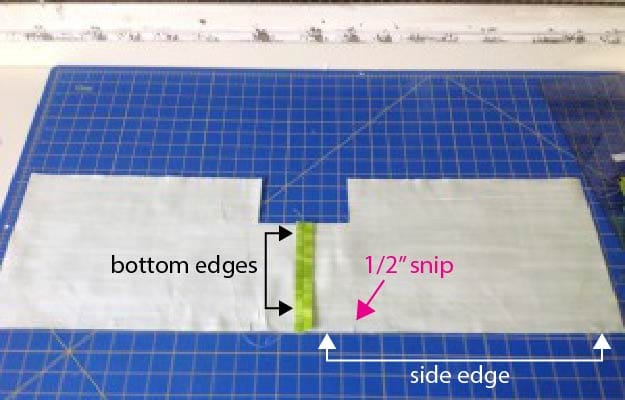
If you purchased a paper version of the pattern: put the Small Compartment pieces together with right side facing and cut a 3″ square from one bottom corner. On the opposite side of this, cut a snip that is 1/2″ deep and 3″ up from the bottom. You will need to cut the Main Compartment panels in this exact same way, so you can do them now if you choose to.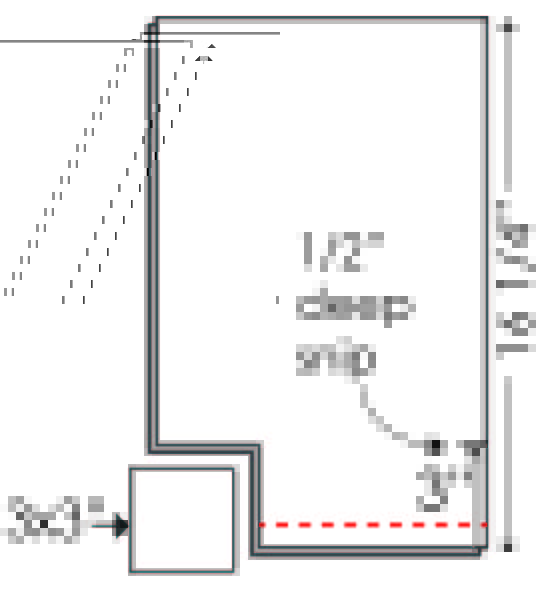
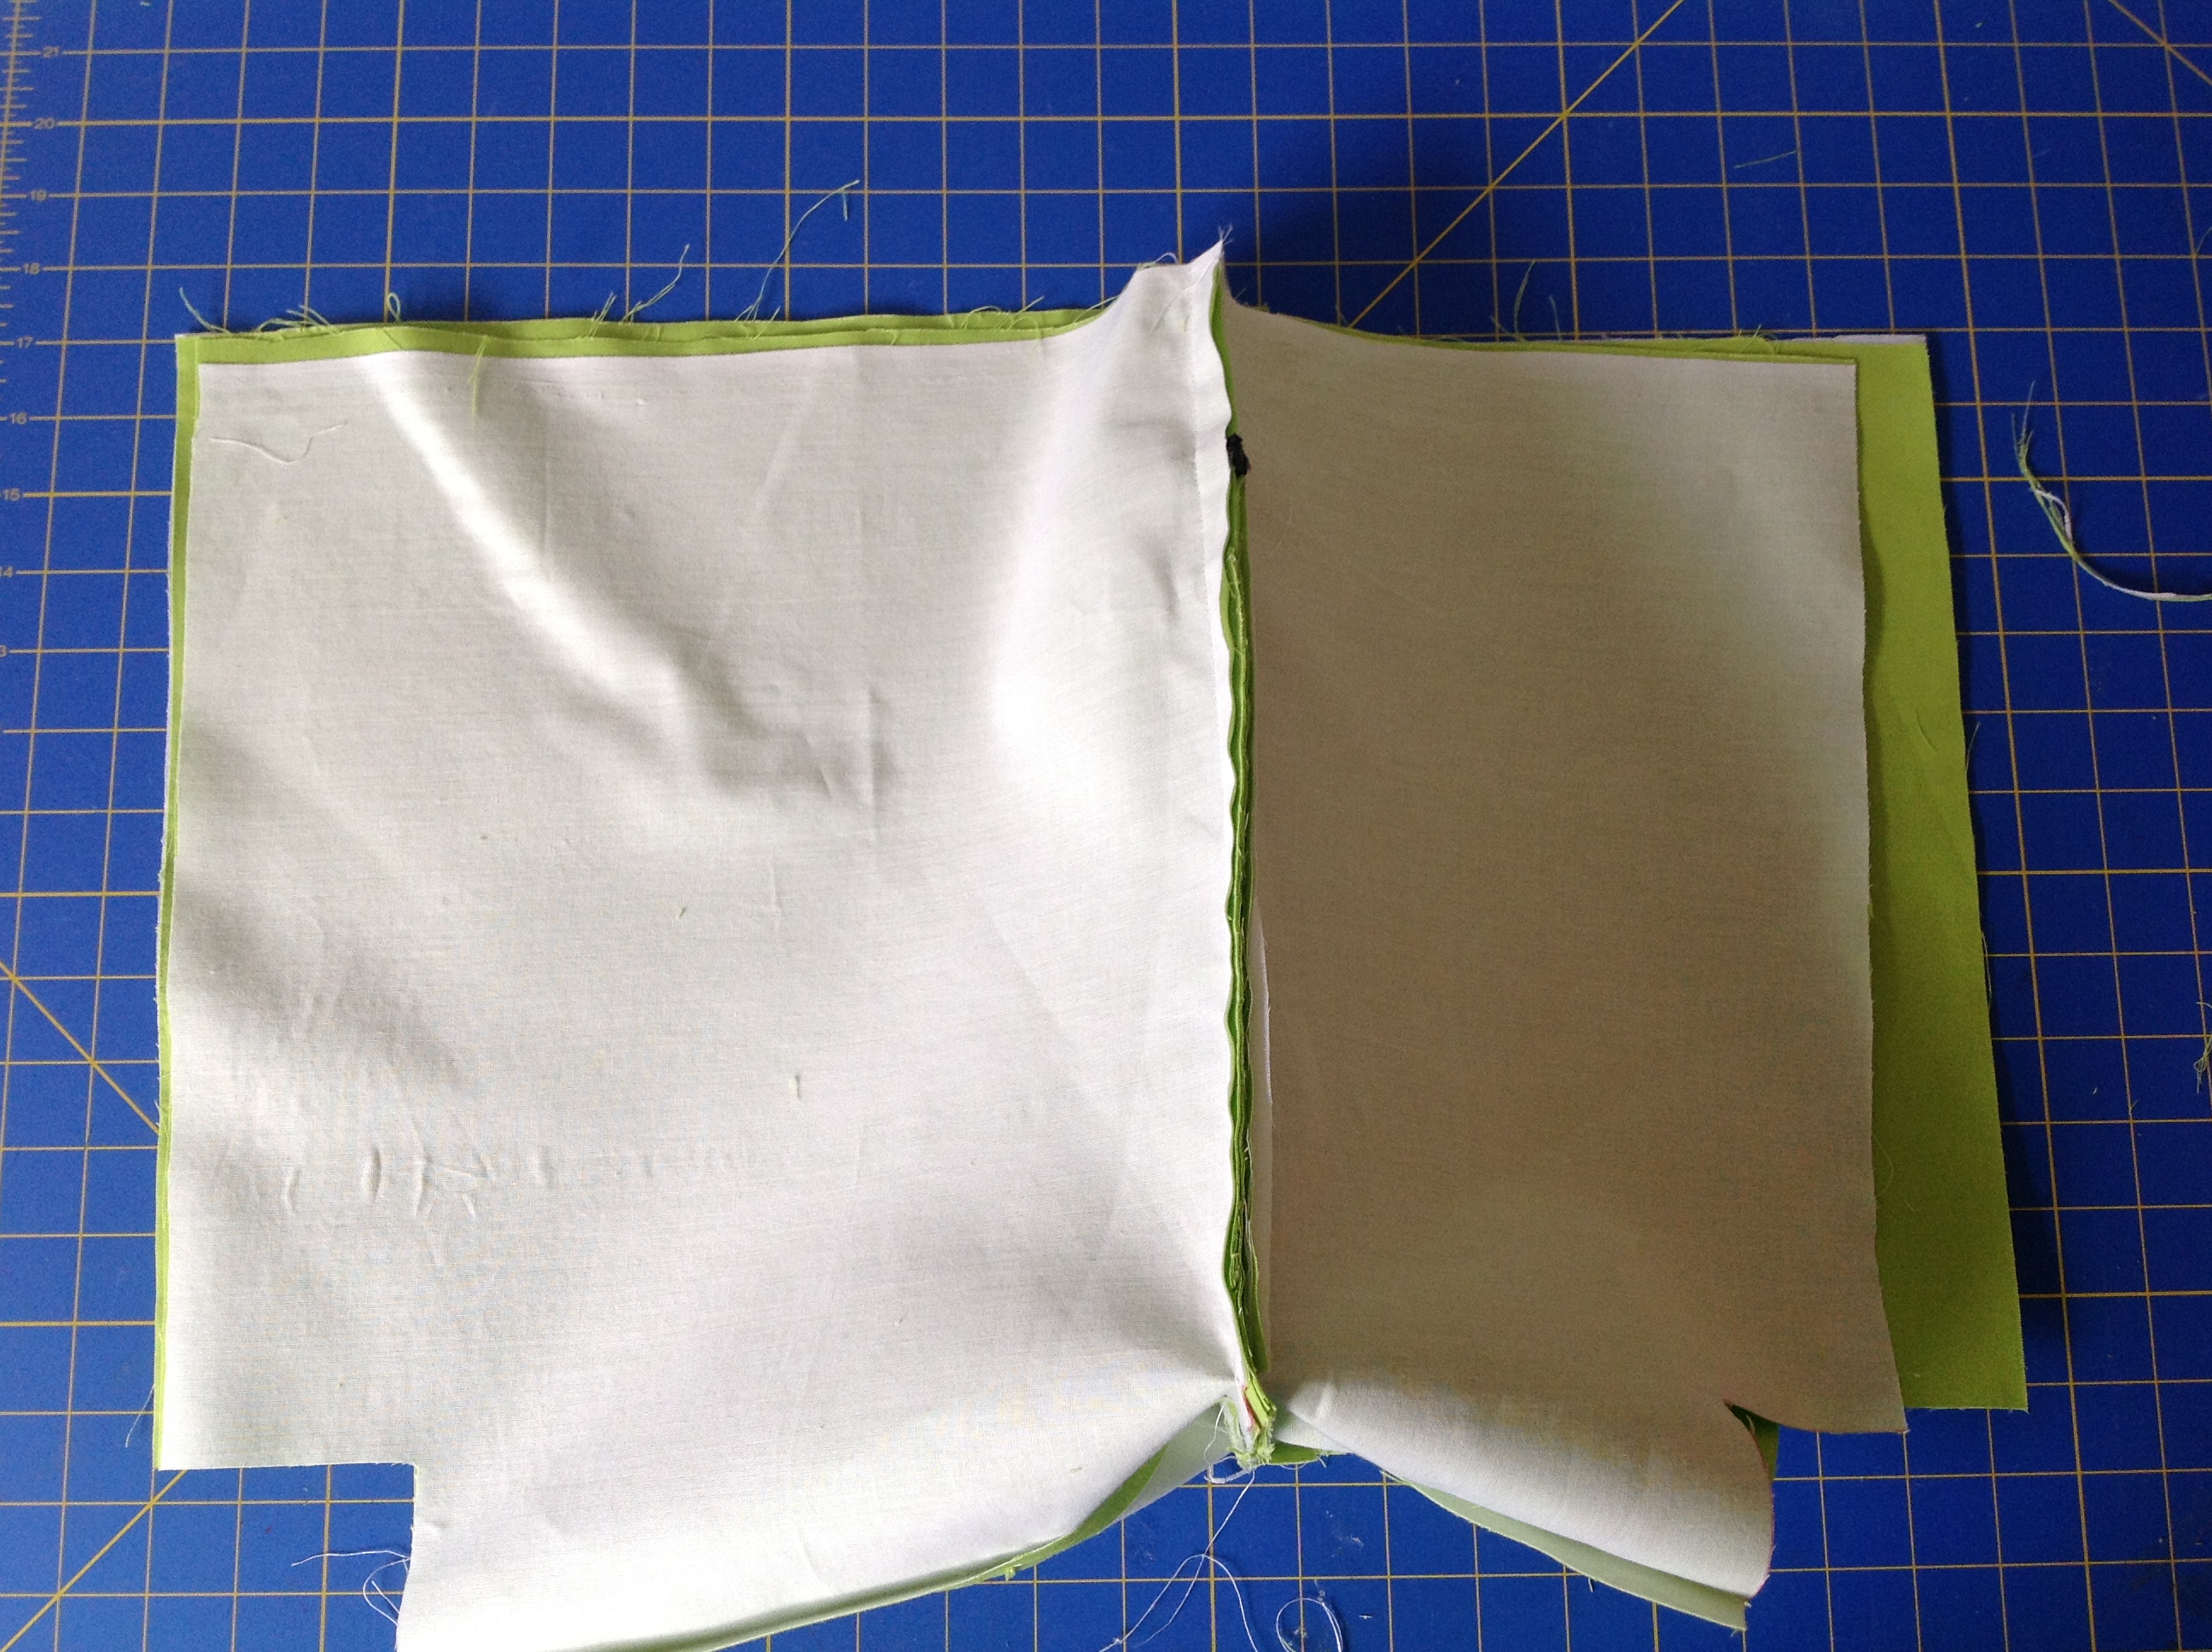
Stitch the Bottom Edge of the Small Compartment Panels
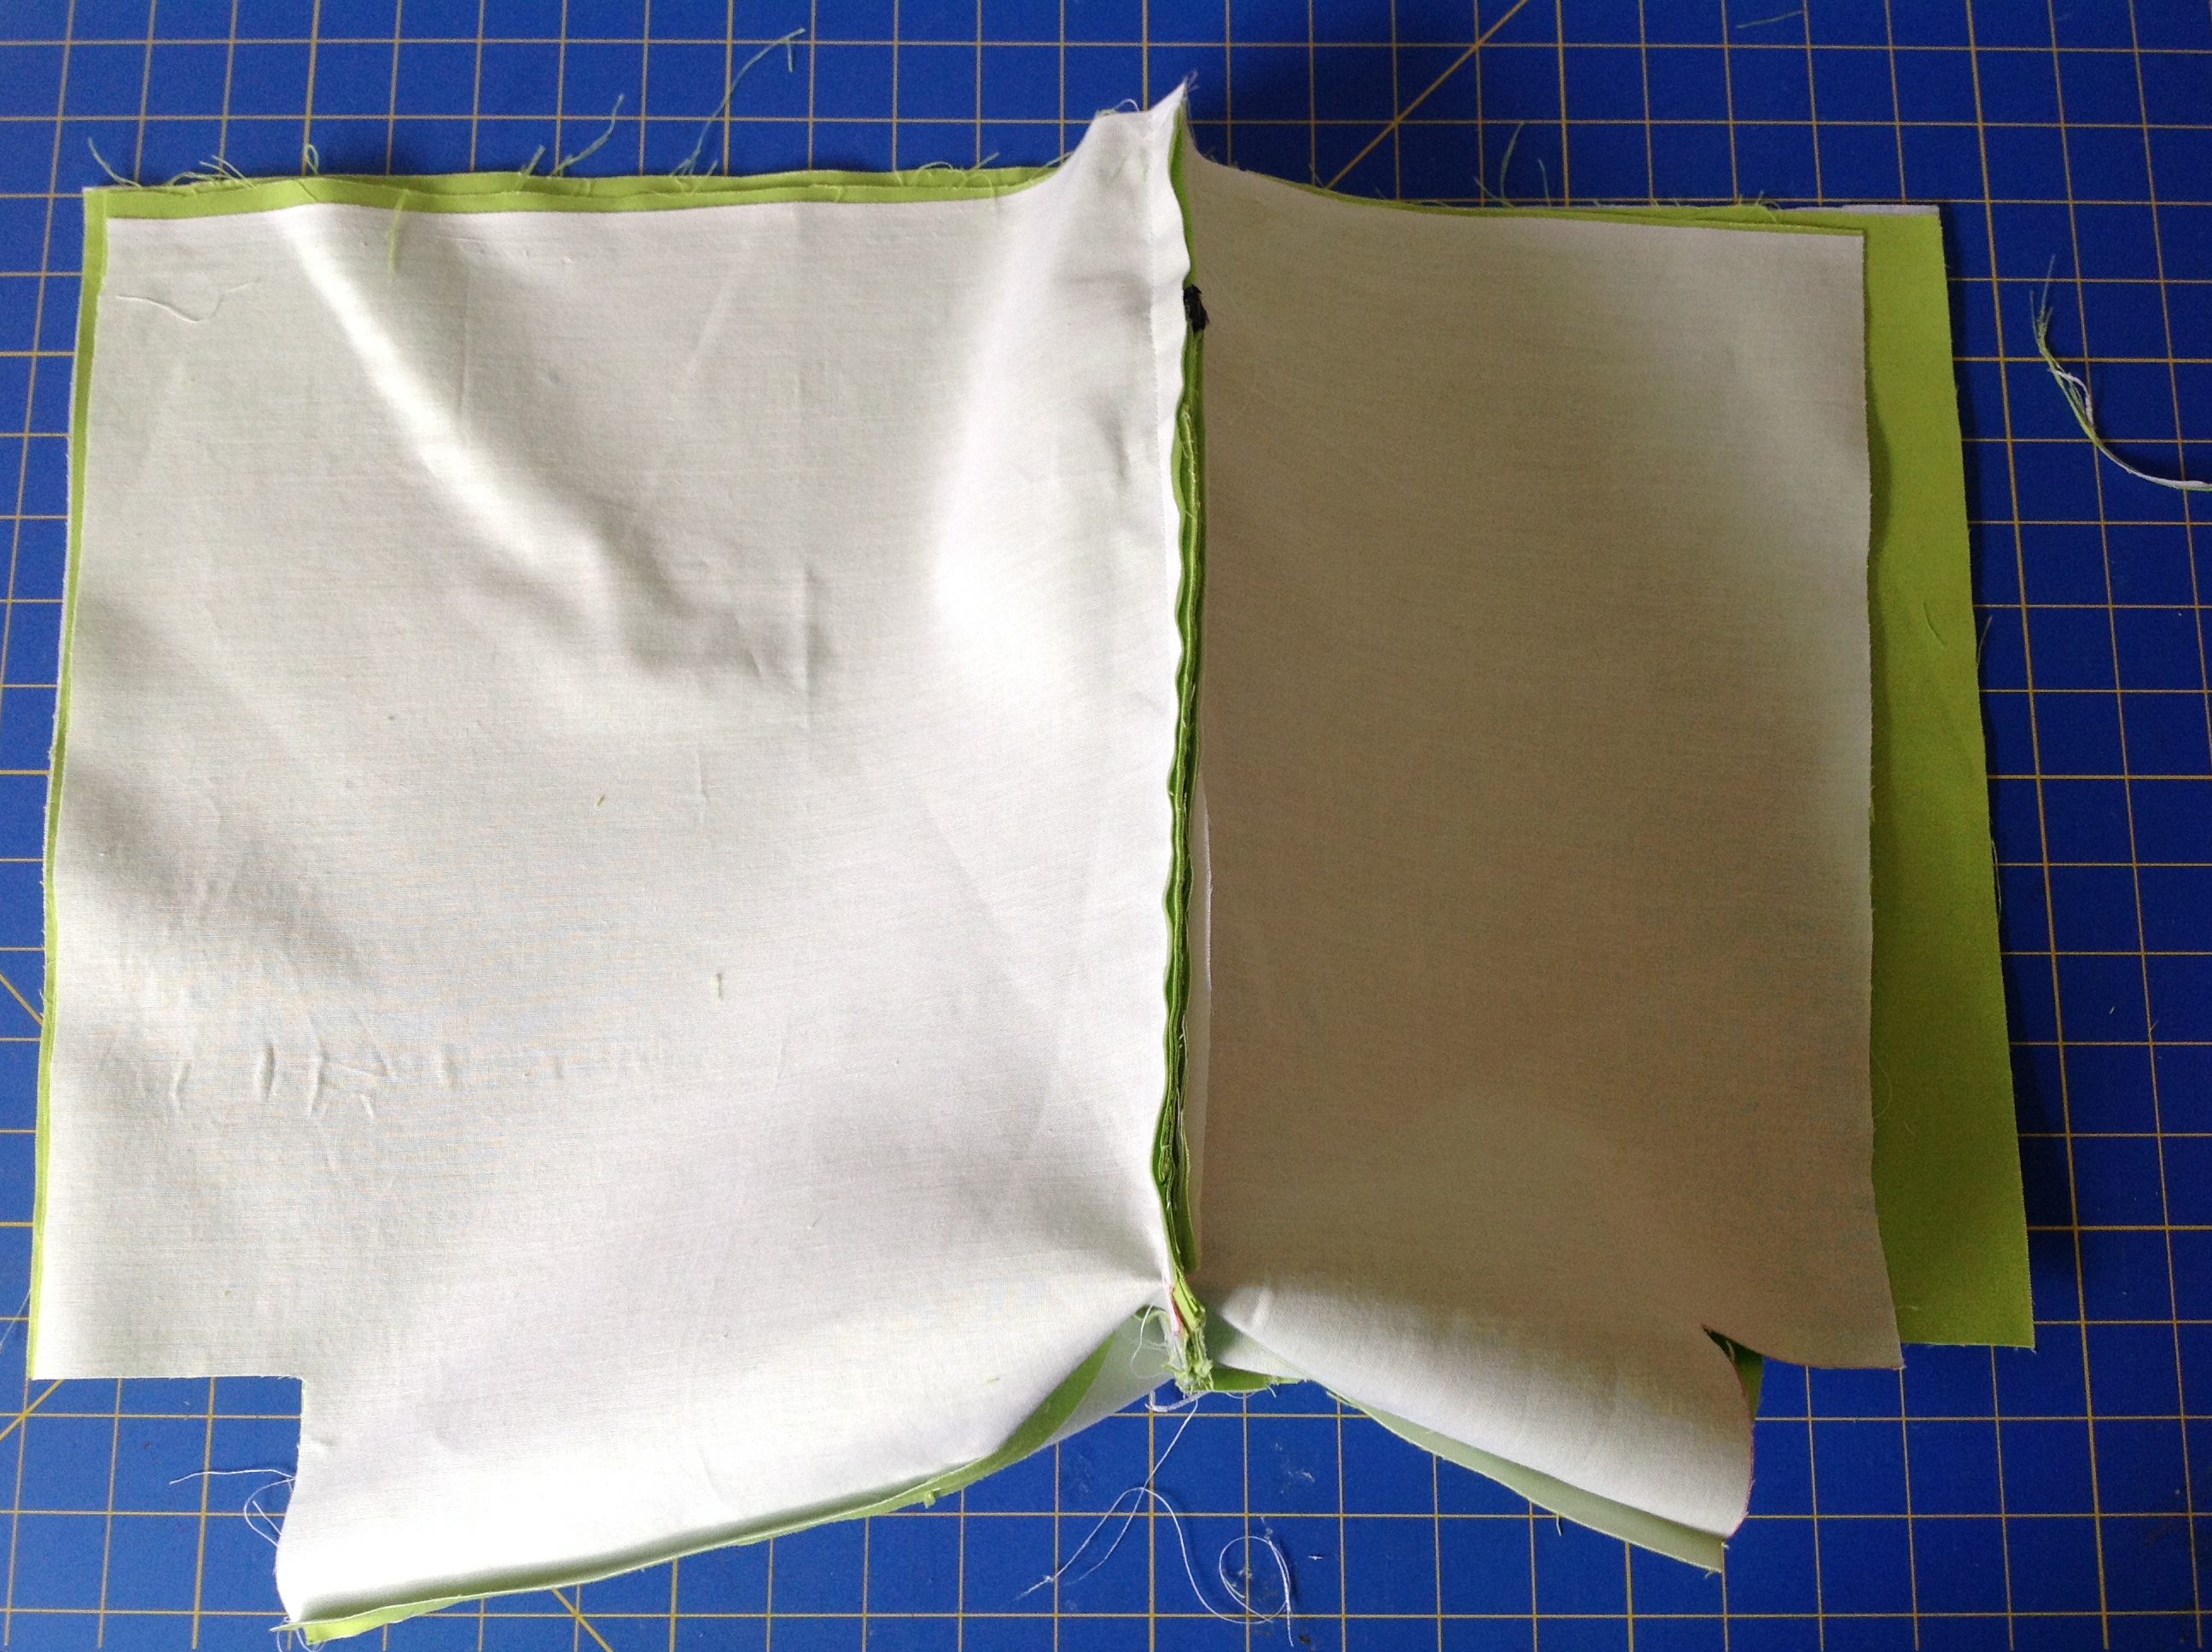
Put the Small Compartment panels together with their right sides facing and stitch across the bottom edge using a 1/2″ seam allowance. Once you do that and press the seam open, they will look like the photo below. In the photo, I have marked the sides and bottom edges. It’s important to remember which are the side edges of the Small Compartment panels in a later step.
Grab your pocket and position it so that you can see the pleated side and the zipper is at the top of your work surface. In other words, the water bottle sling is facing the table. Put your small compartment pieces on the top. Match the notch that’s on the pocket with the seam that joins the small compartment pieces.
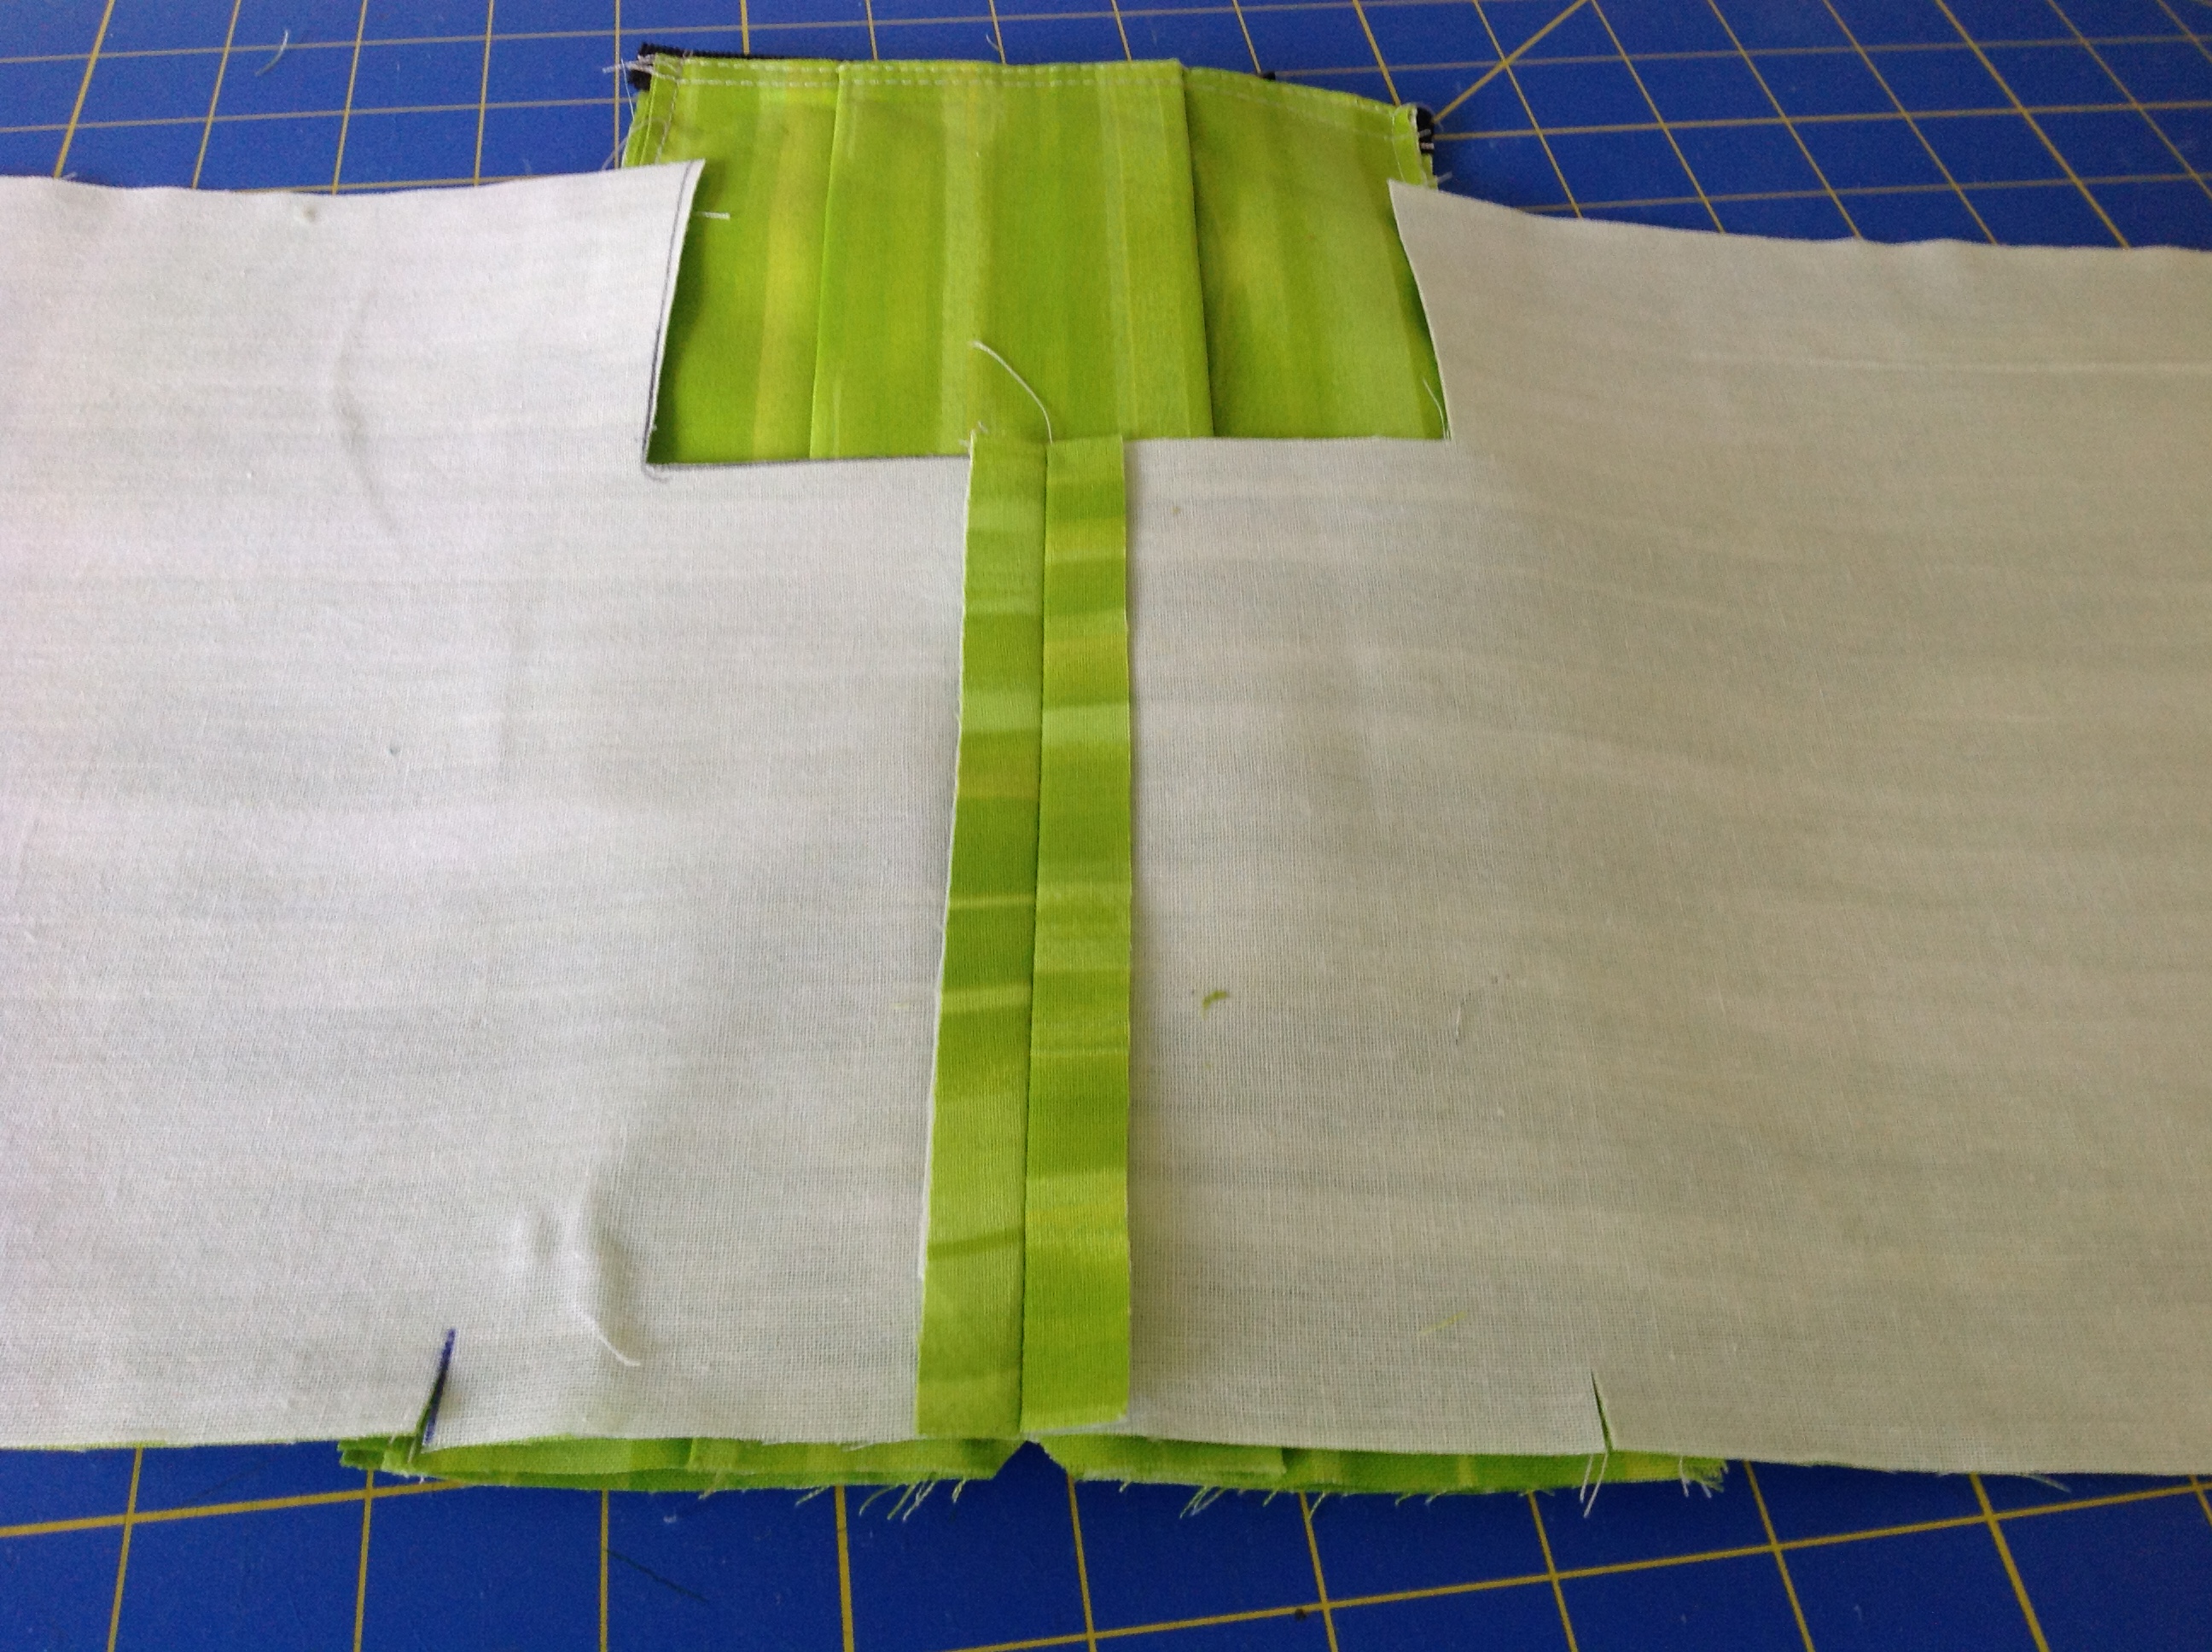
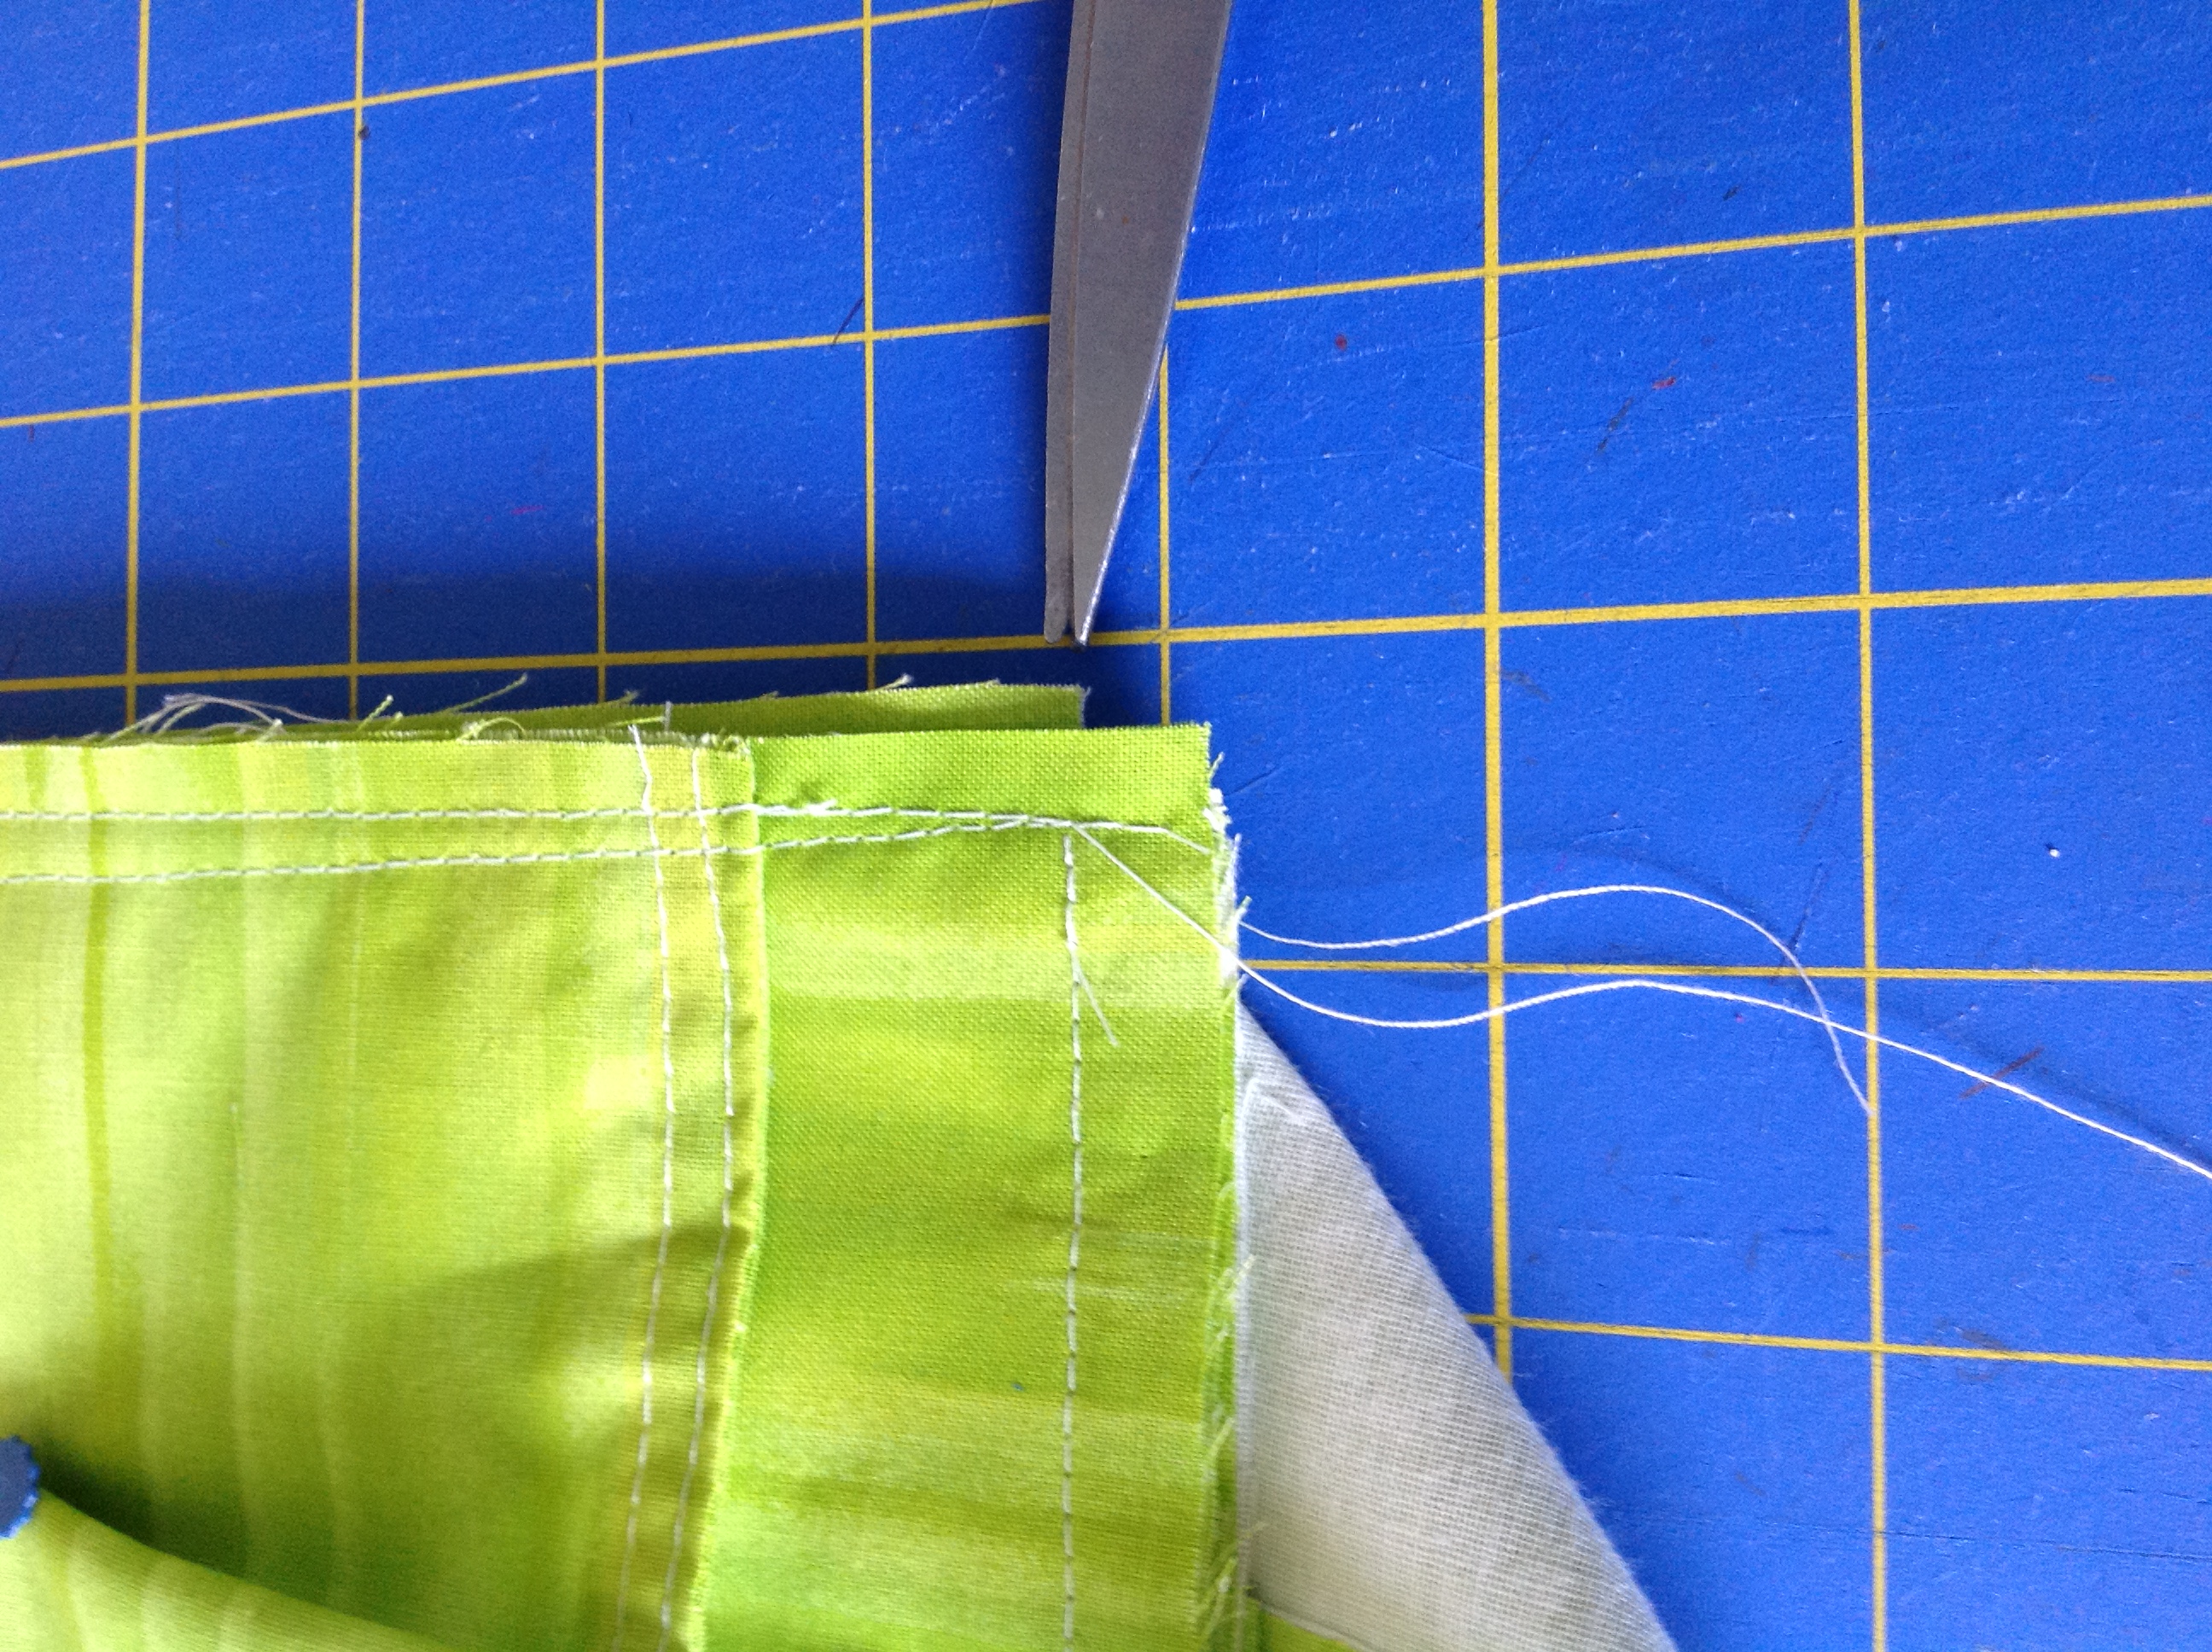
Take note of the snips that are on the small compartment. You are going to sew between these snips using a 1/2″ seam allowance.
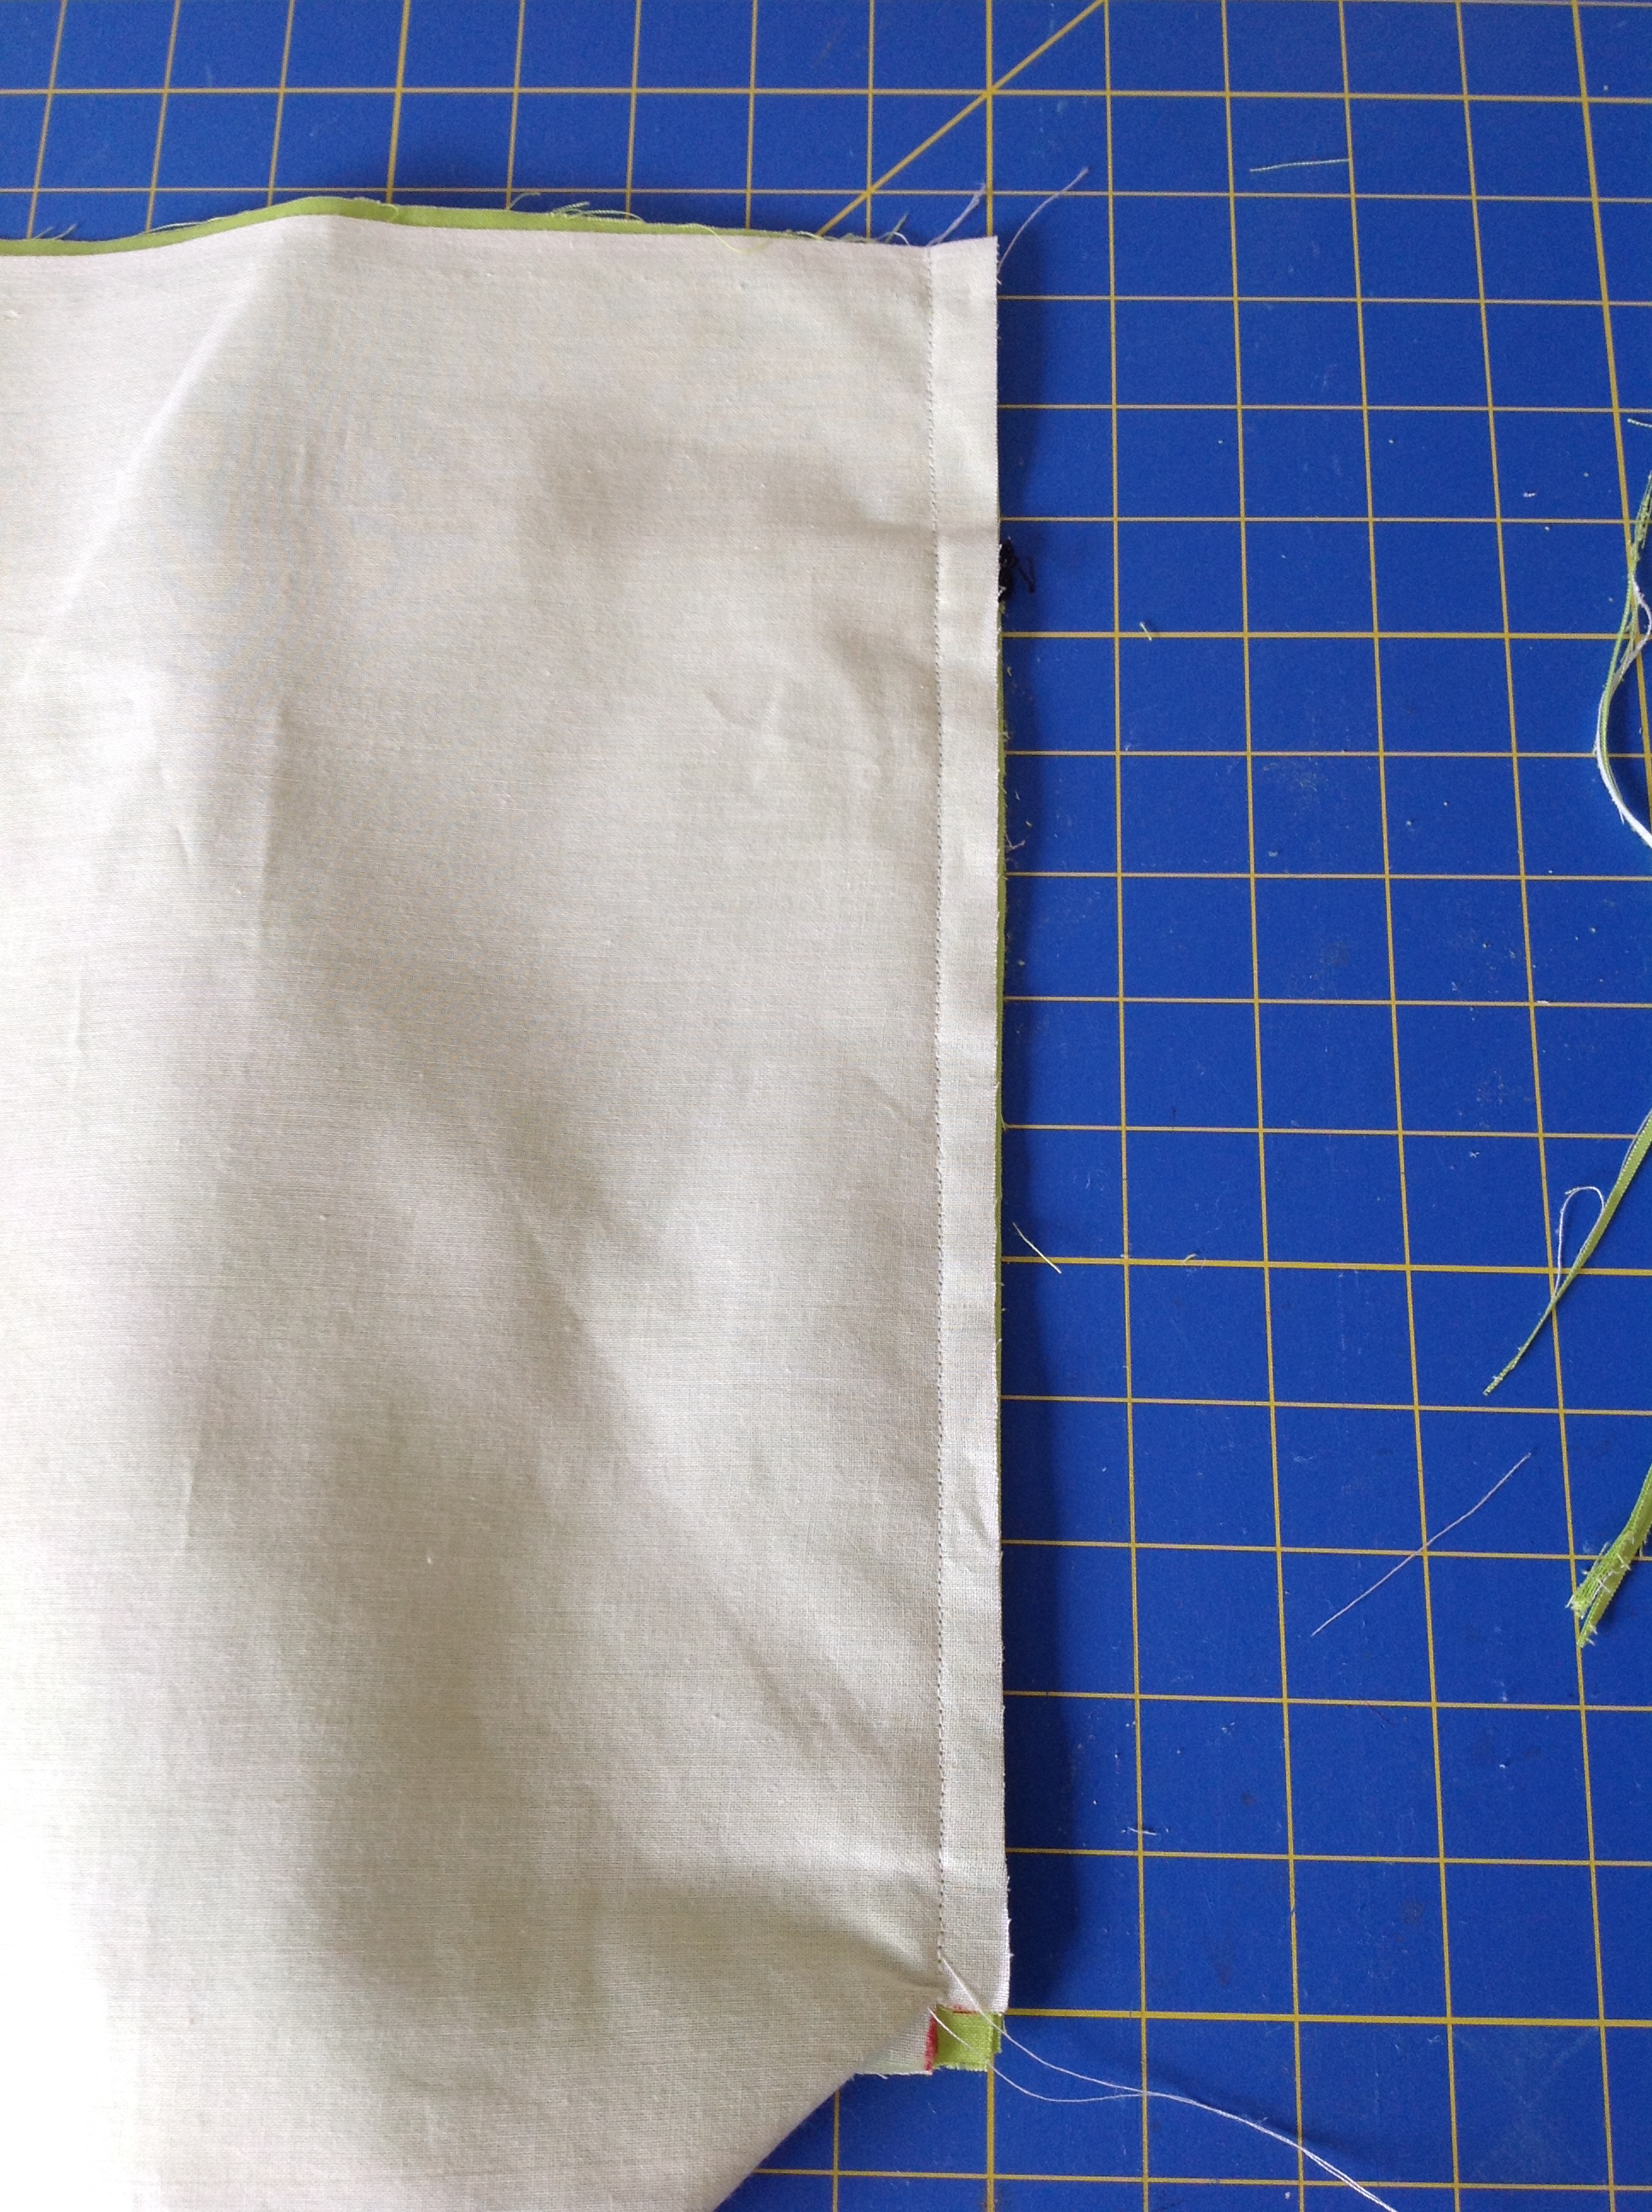
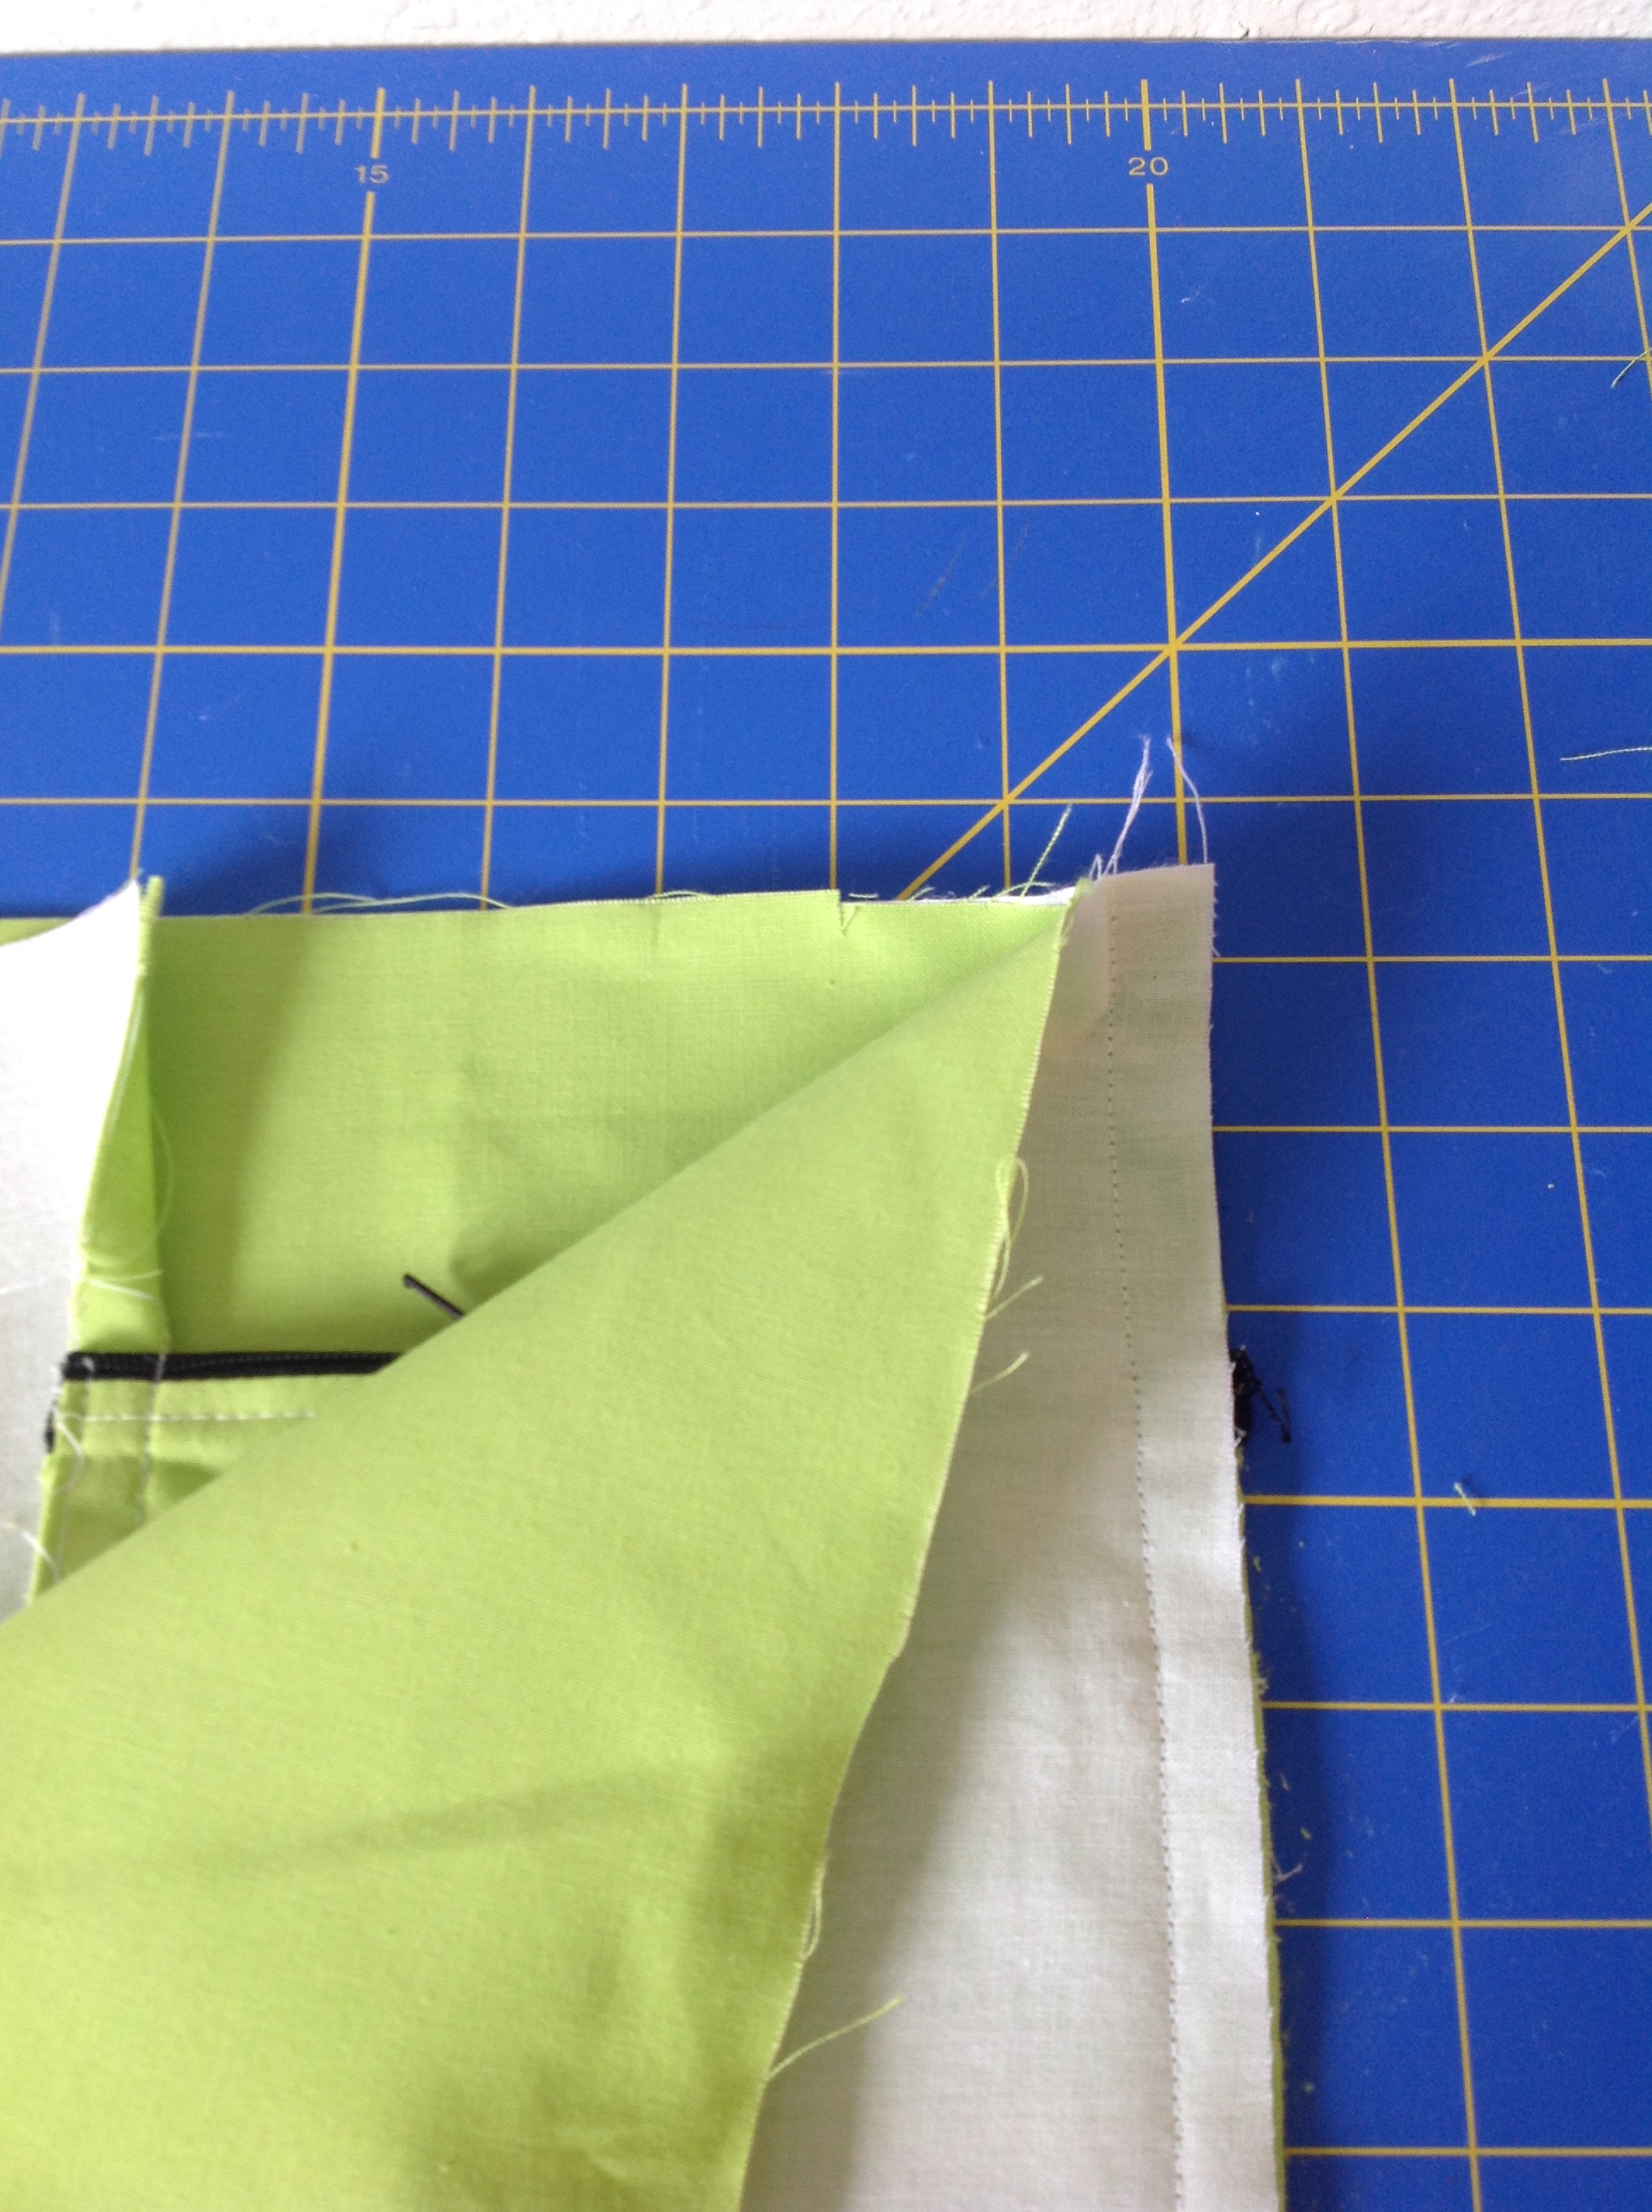
Now grab the Small Compartment piece on the right and bring the side edge around to align it with the side edge of the pocket. In the photo below you can see that the small compartment (the white piece) is covering the pocket and their side edges are aligned. 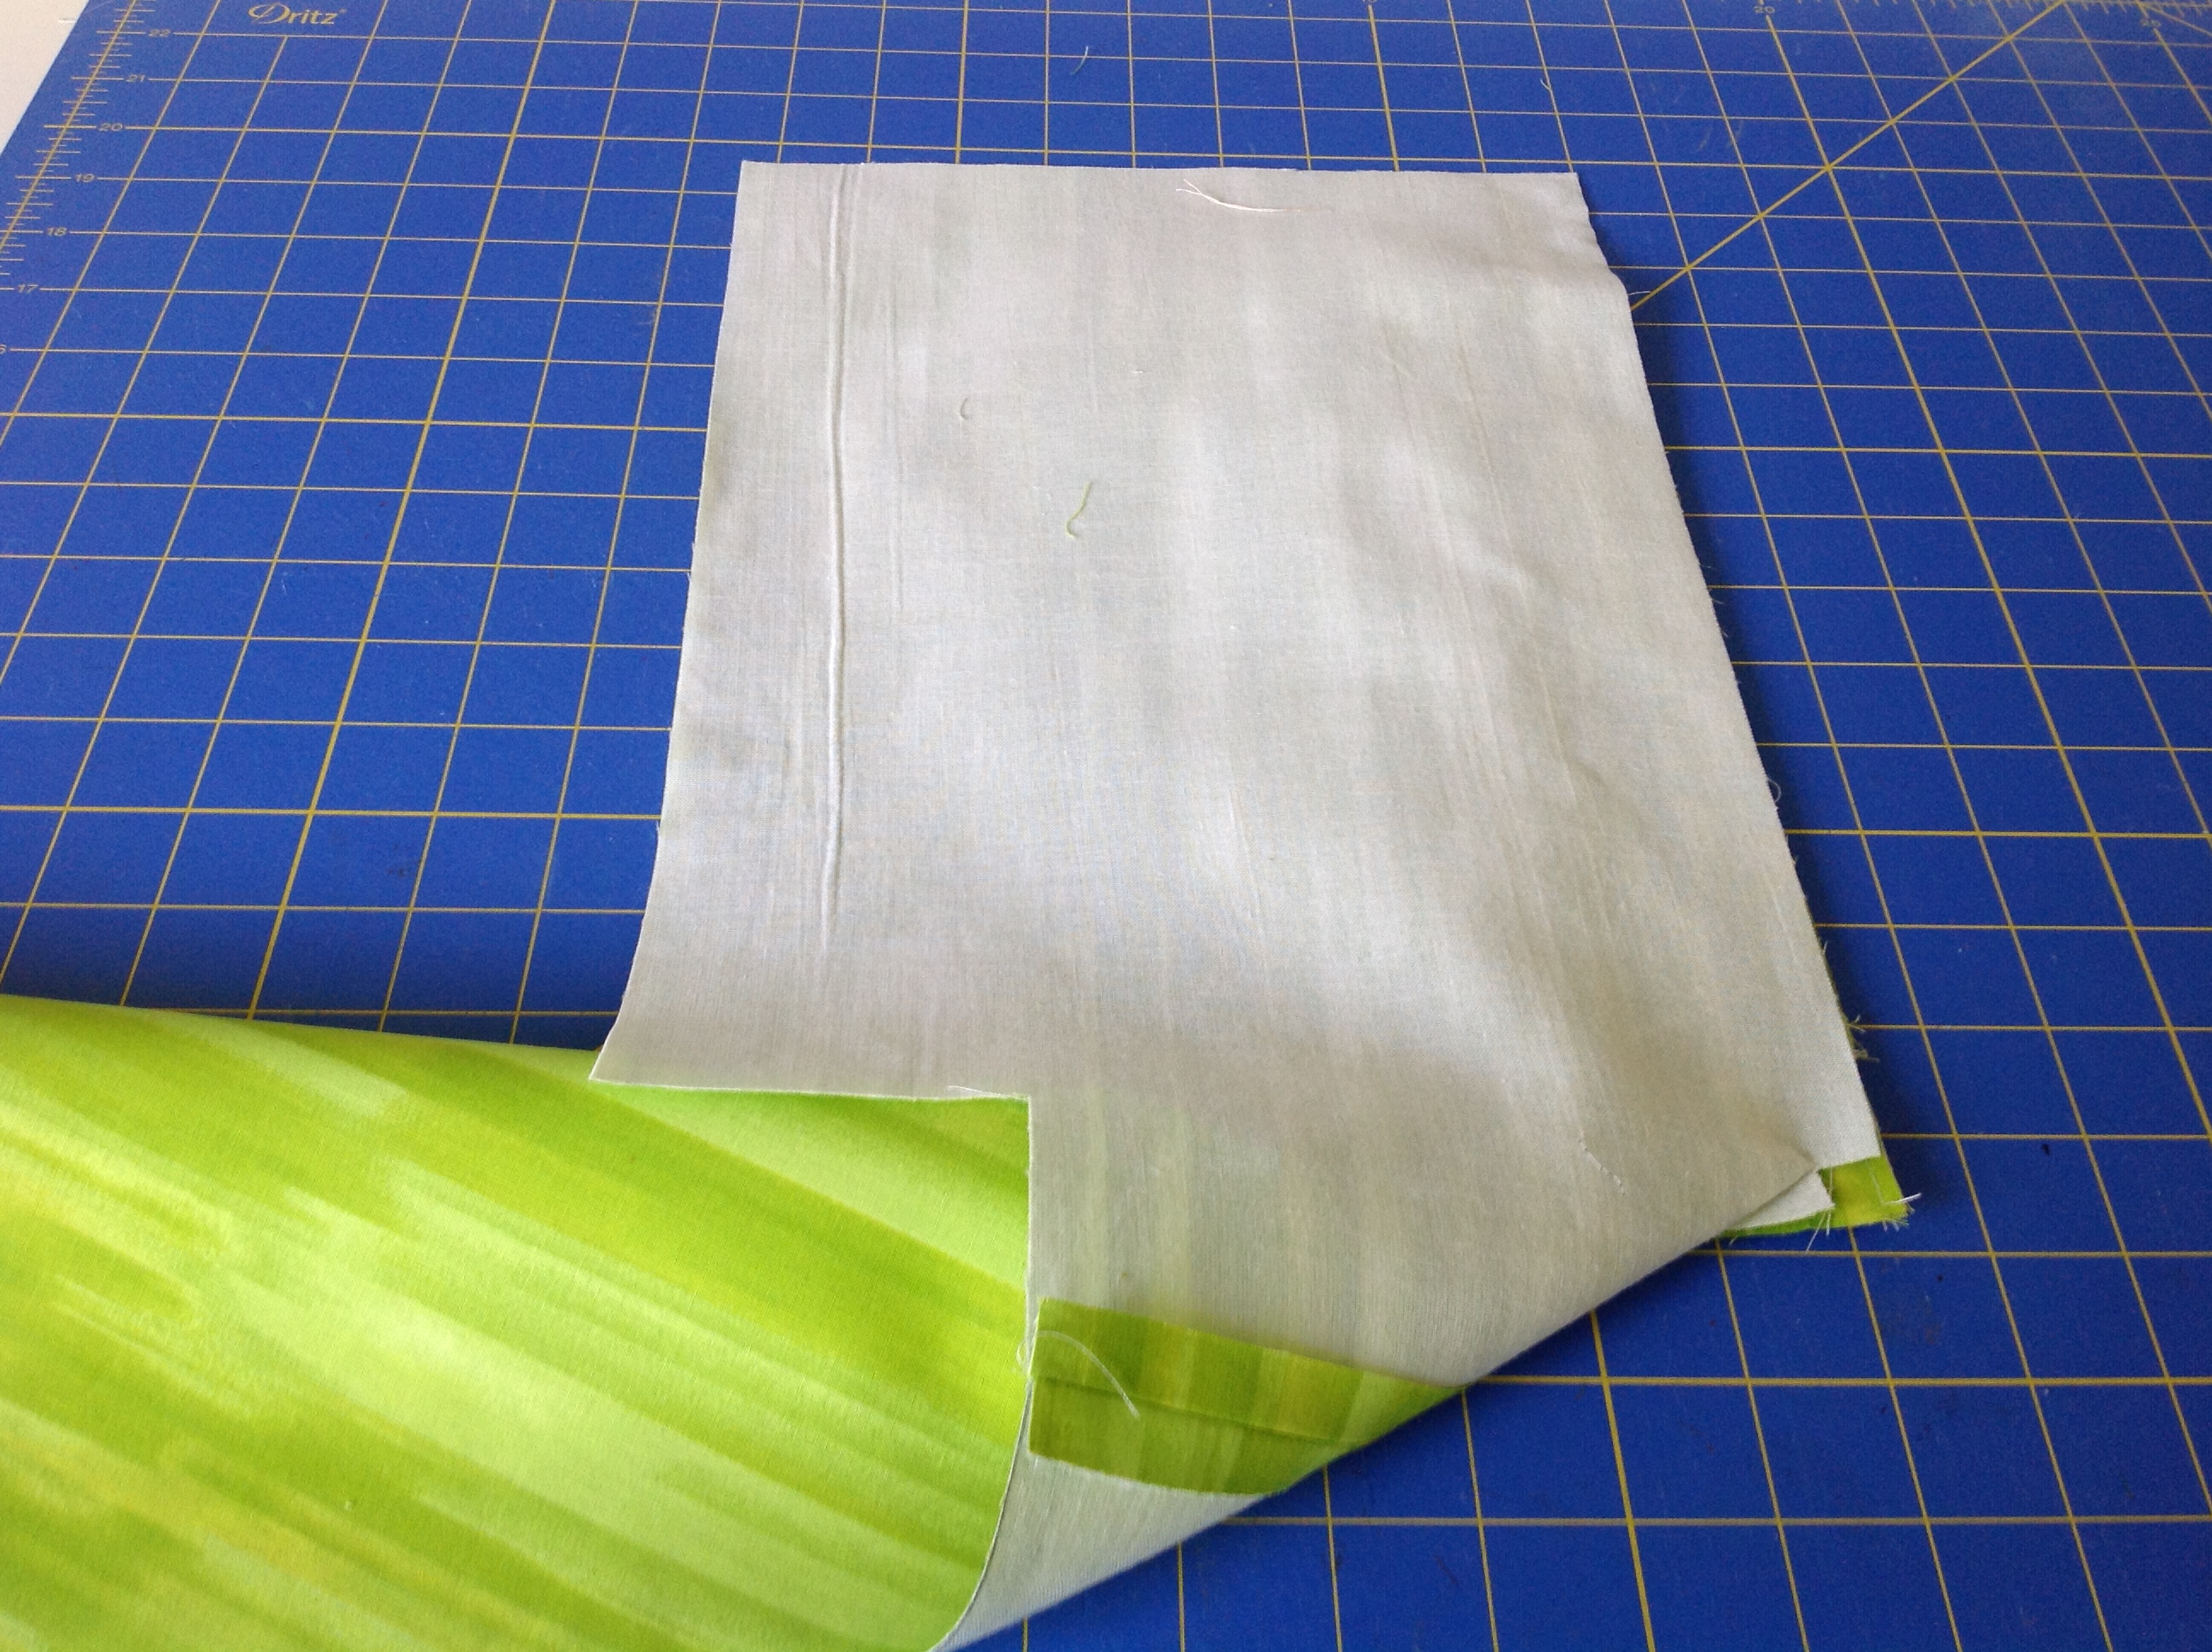
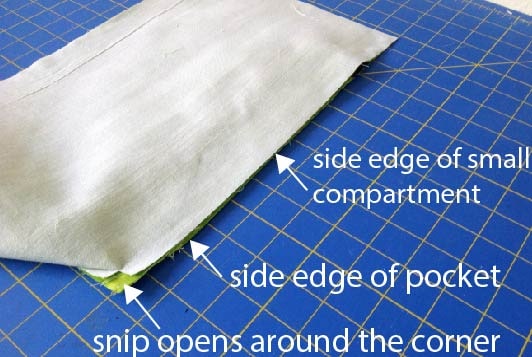
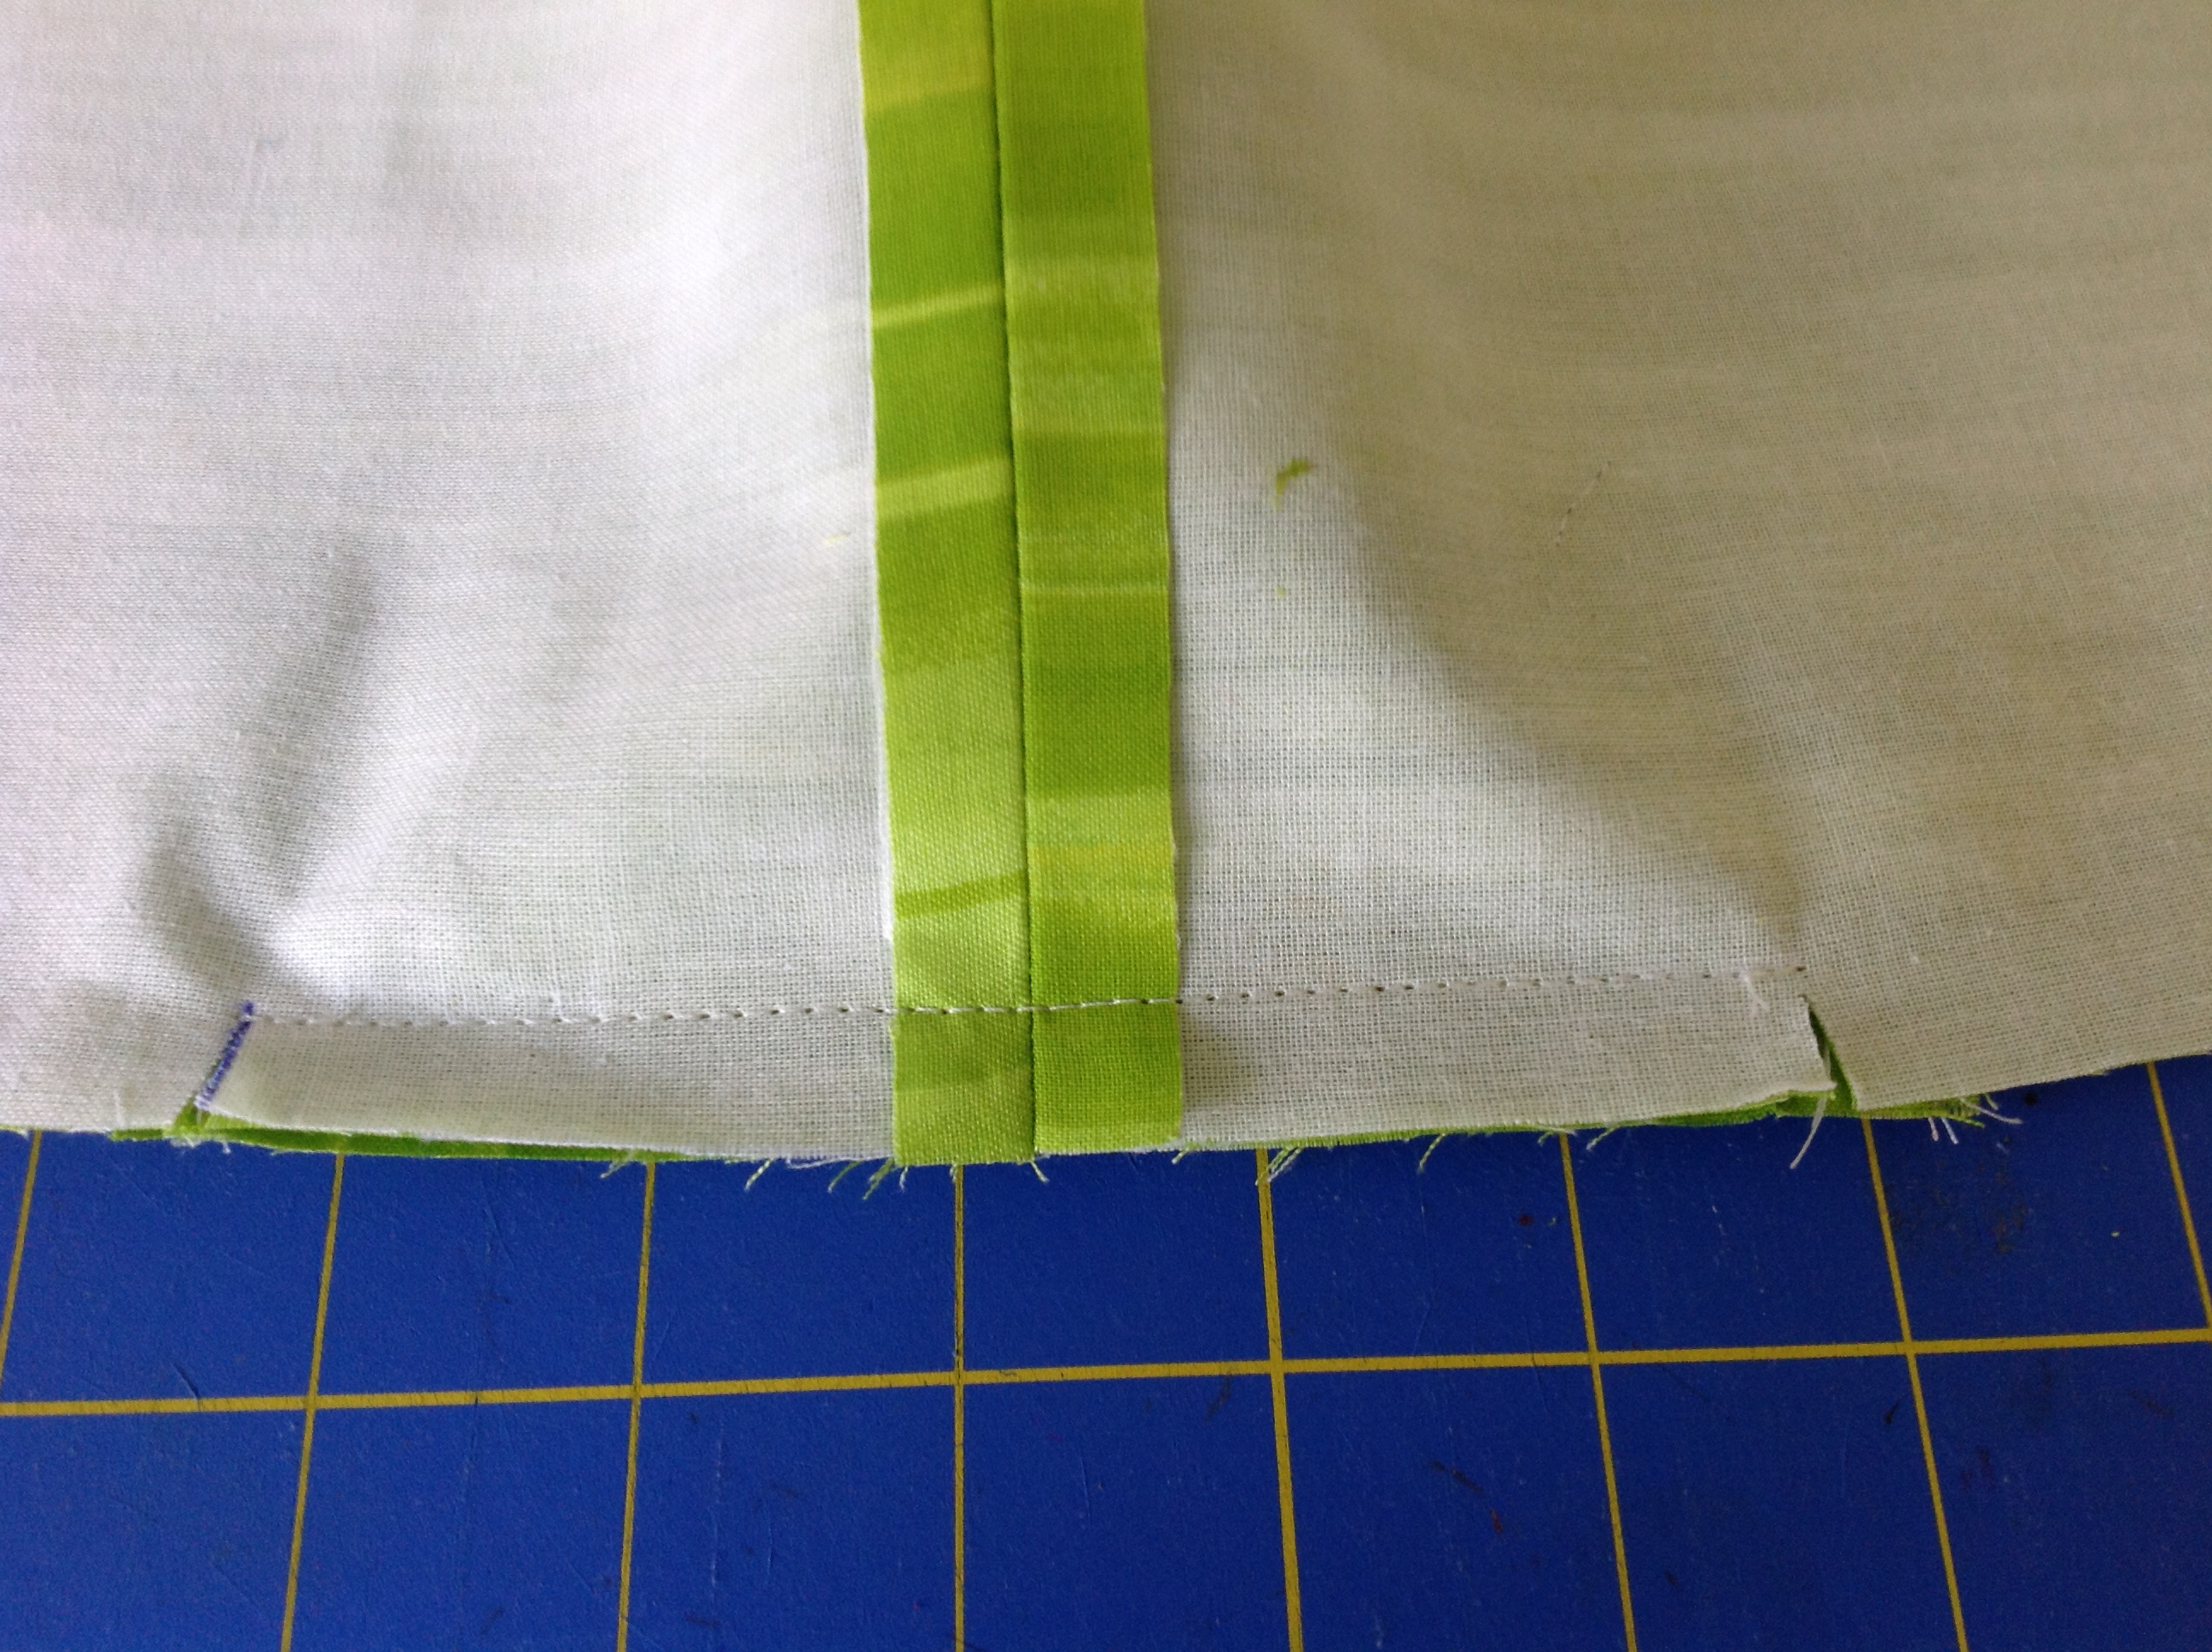
Stitch the side edge using a 1/2″ seam allowance. You’ll notice that the Small Compartment panel extends past the pocket at the top edge- that’s good! 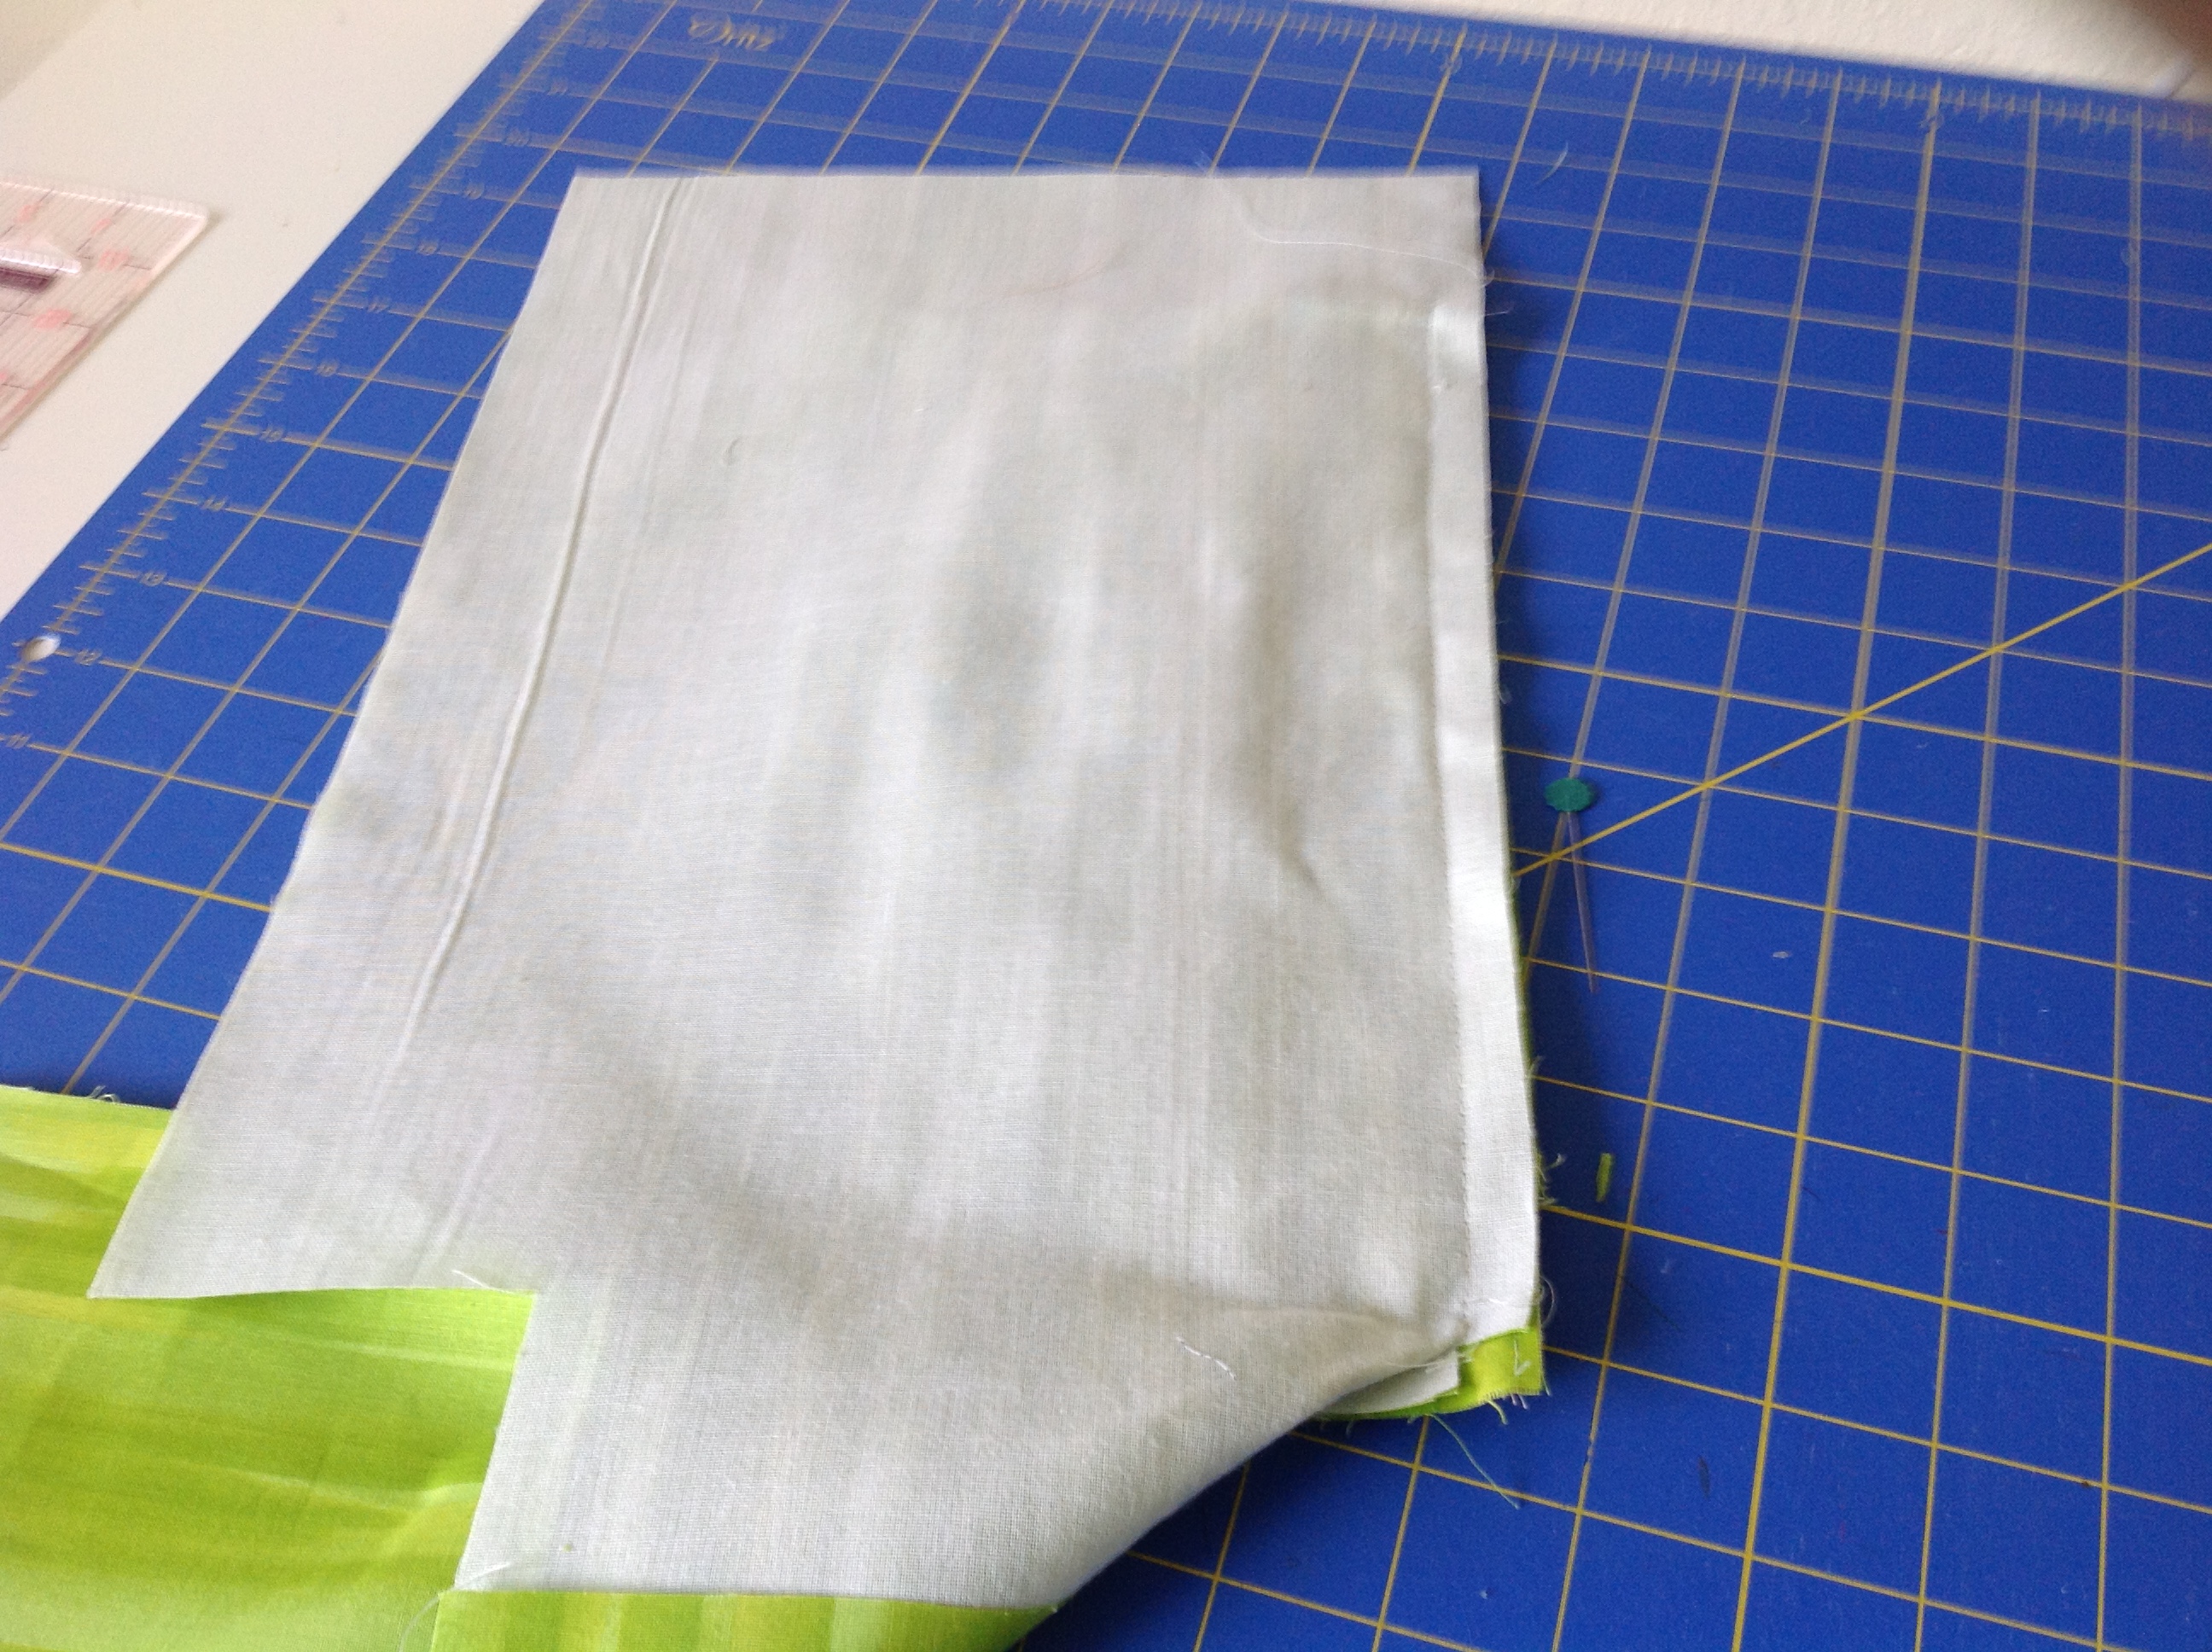
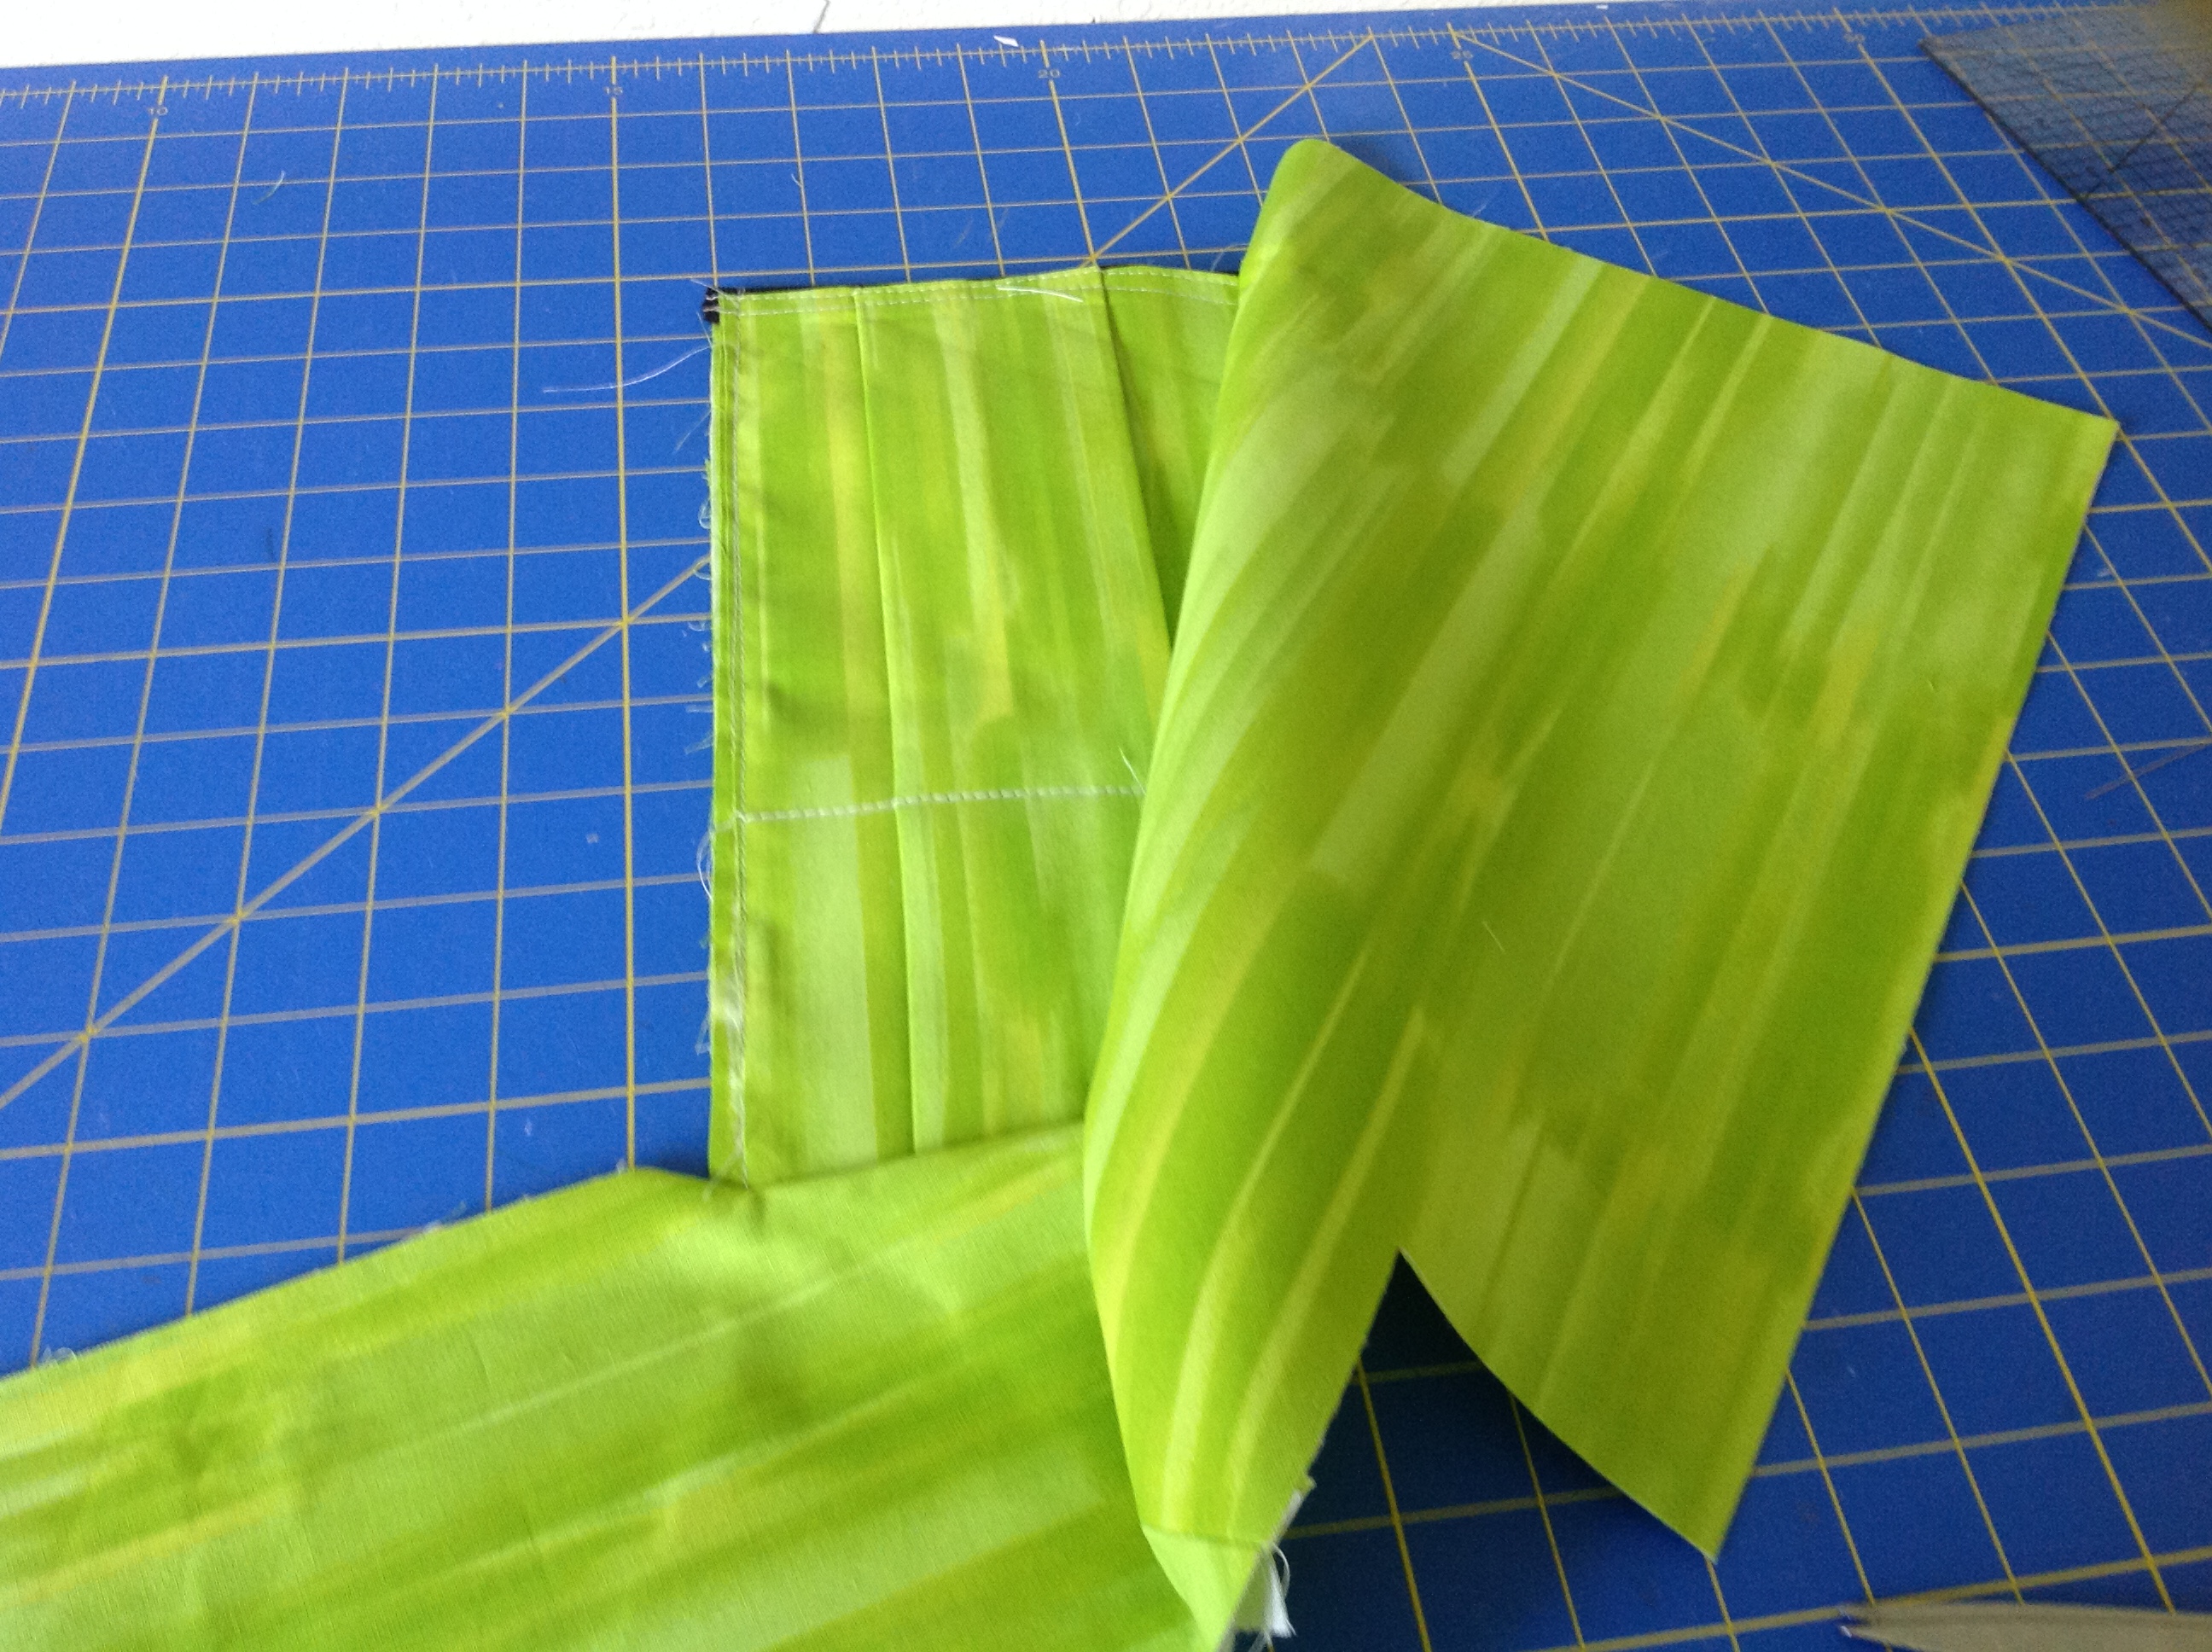
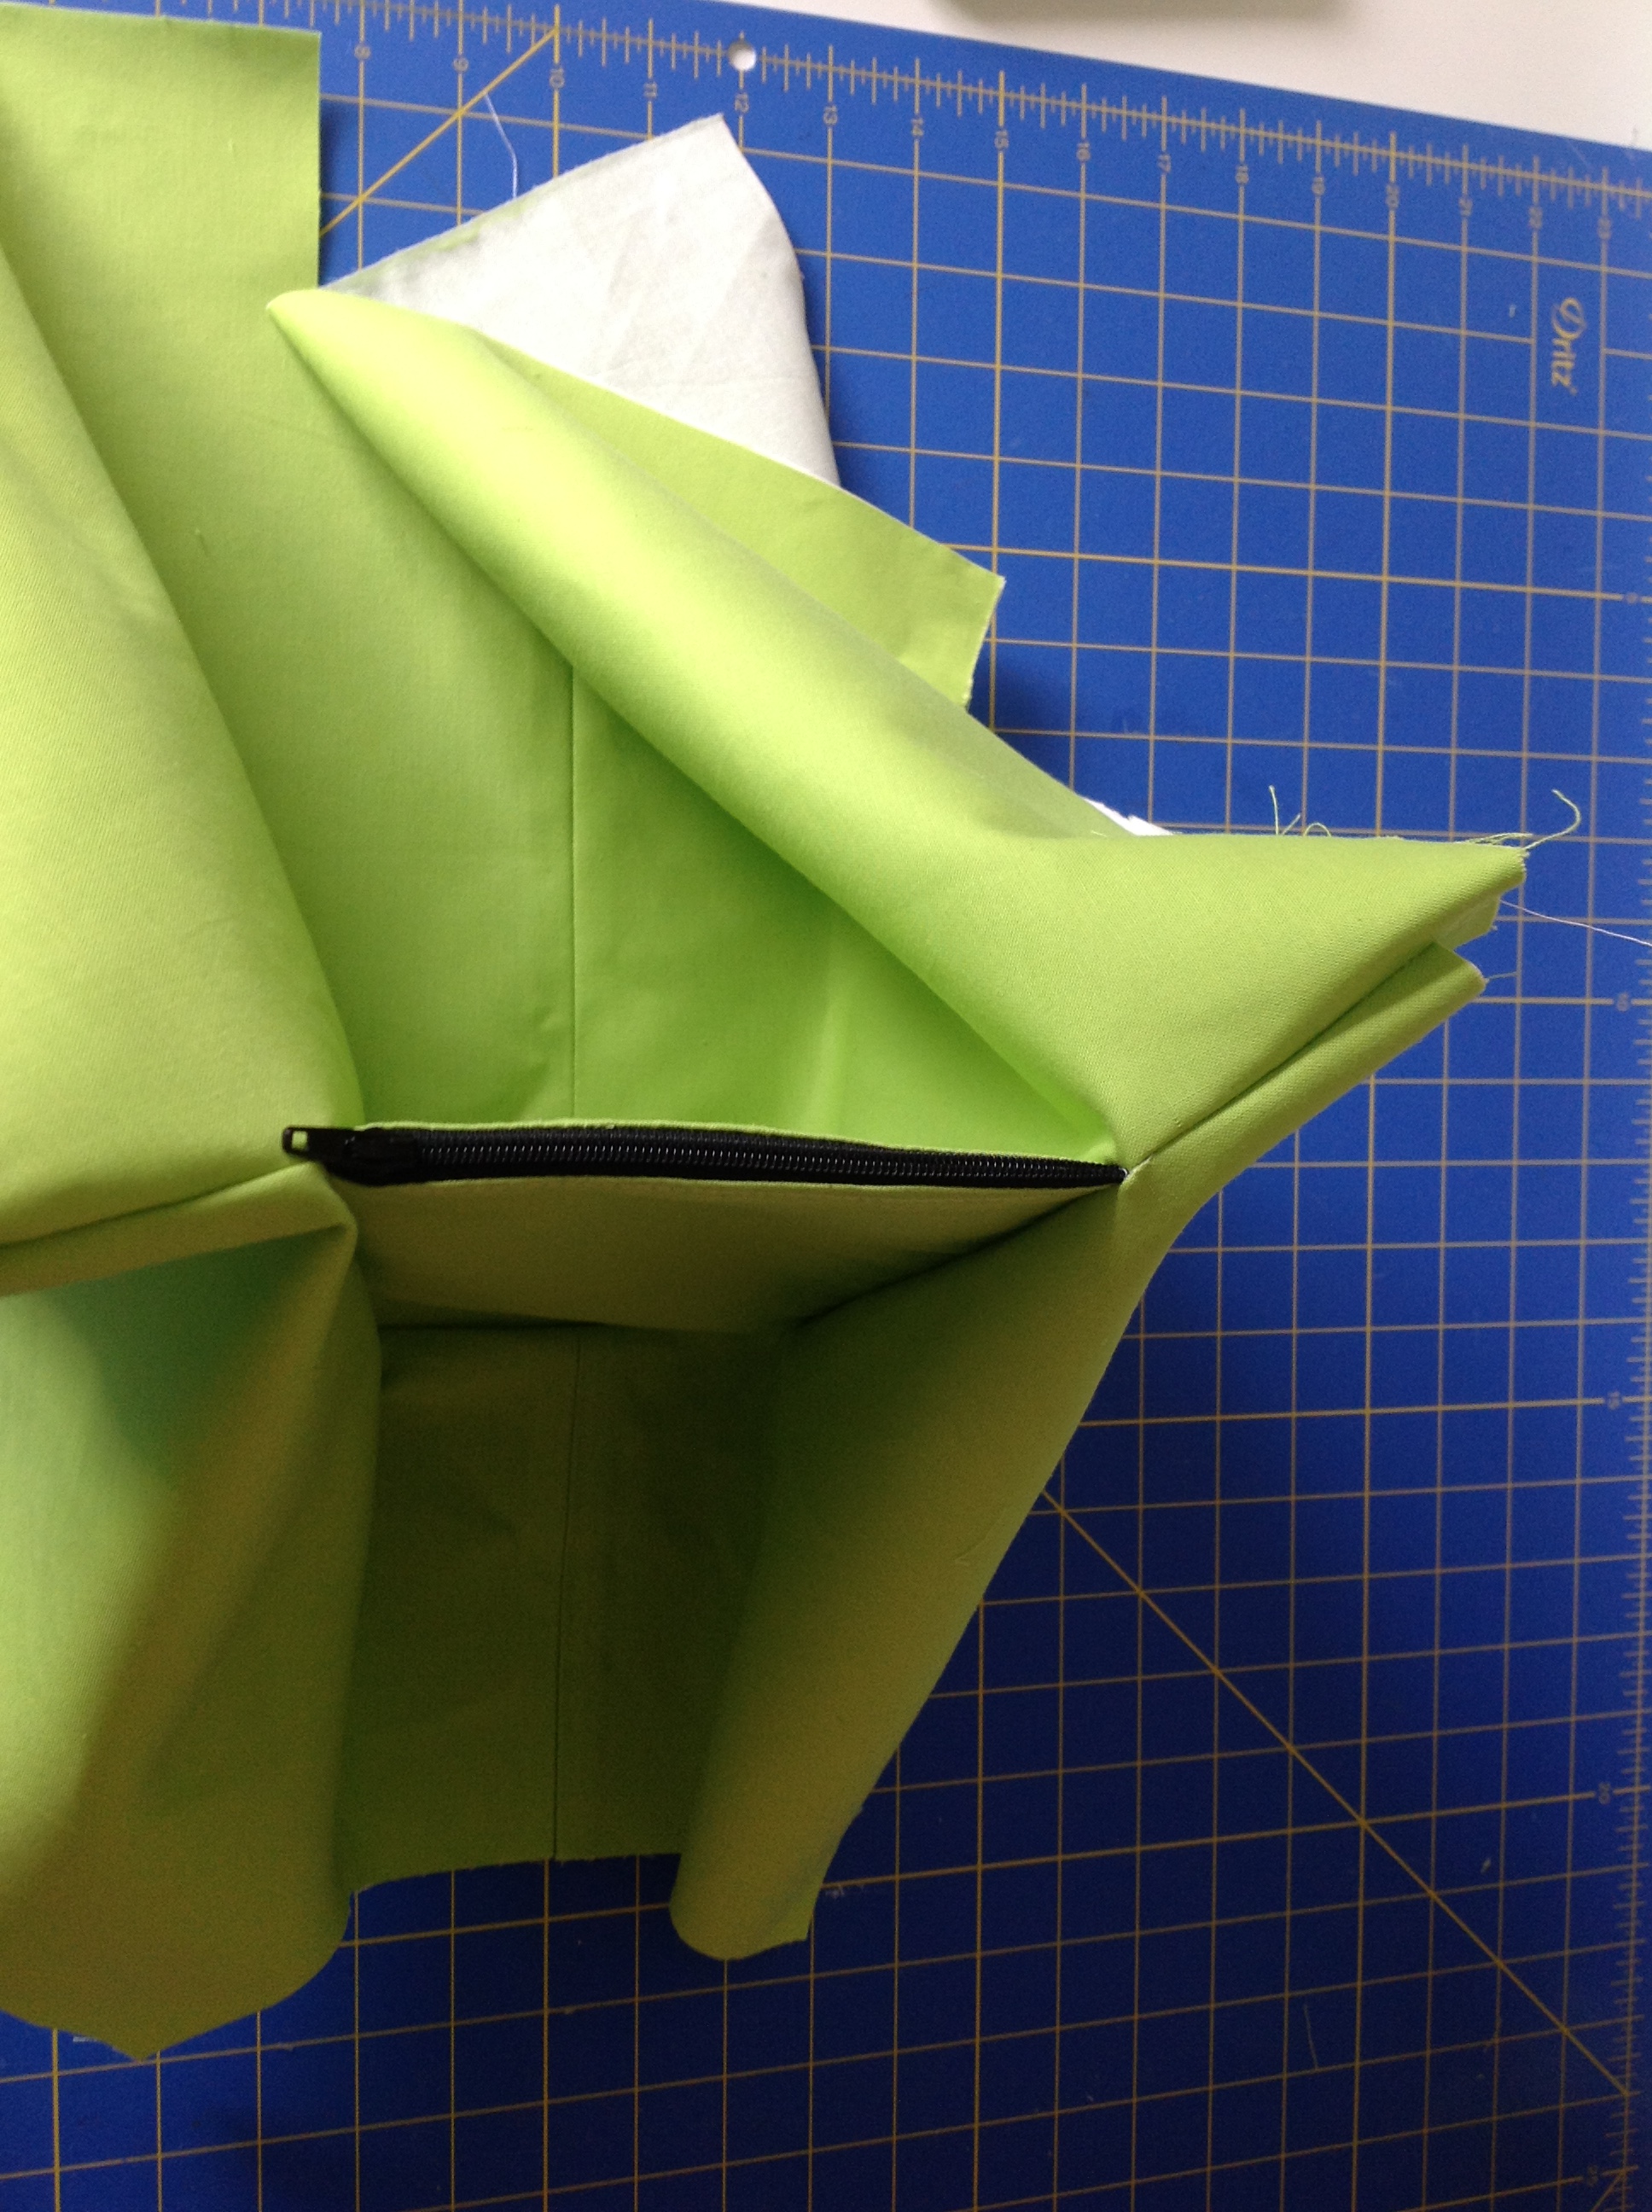
This is how it looks from the water bottle side of the pocket – sorry it’s very hard to photograph at this stage!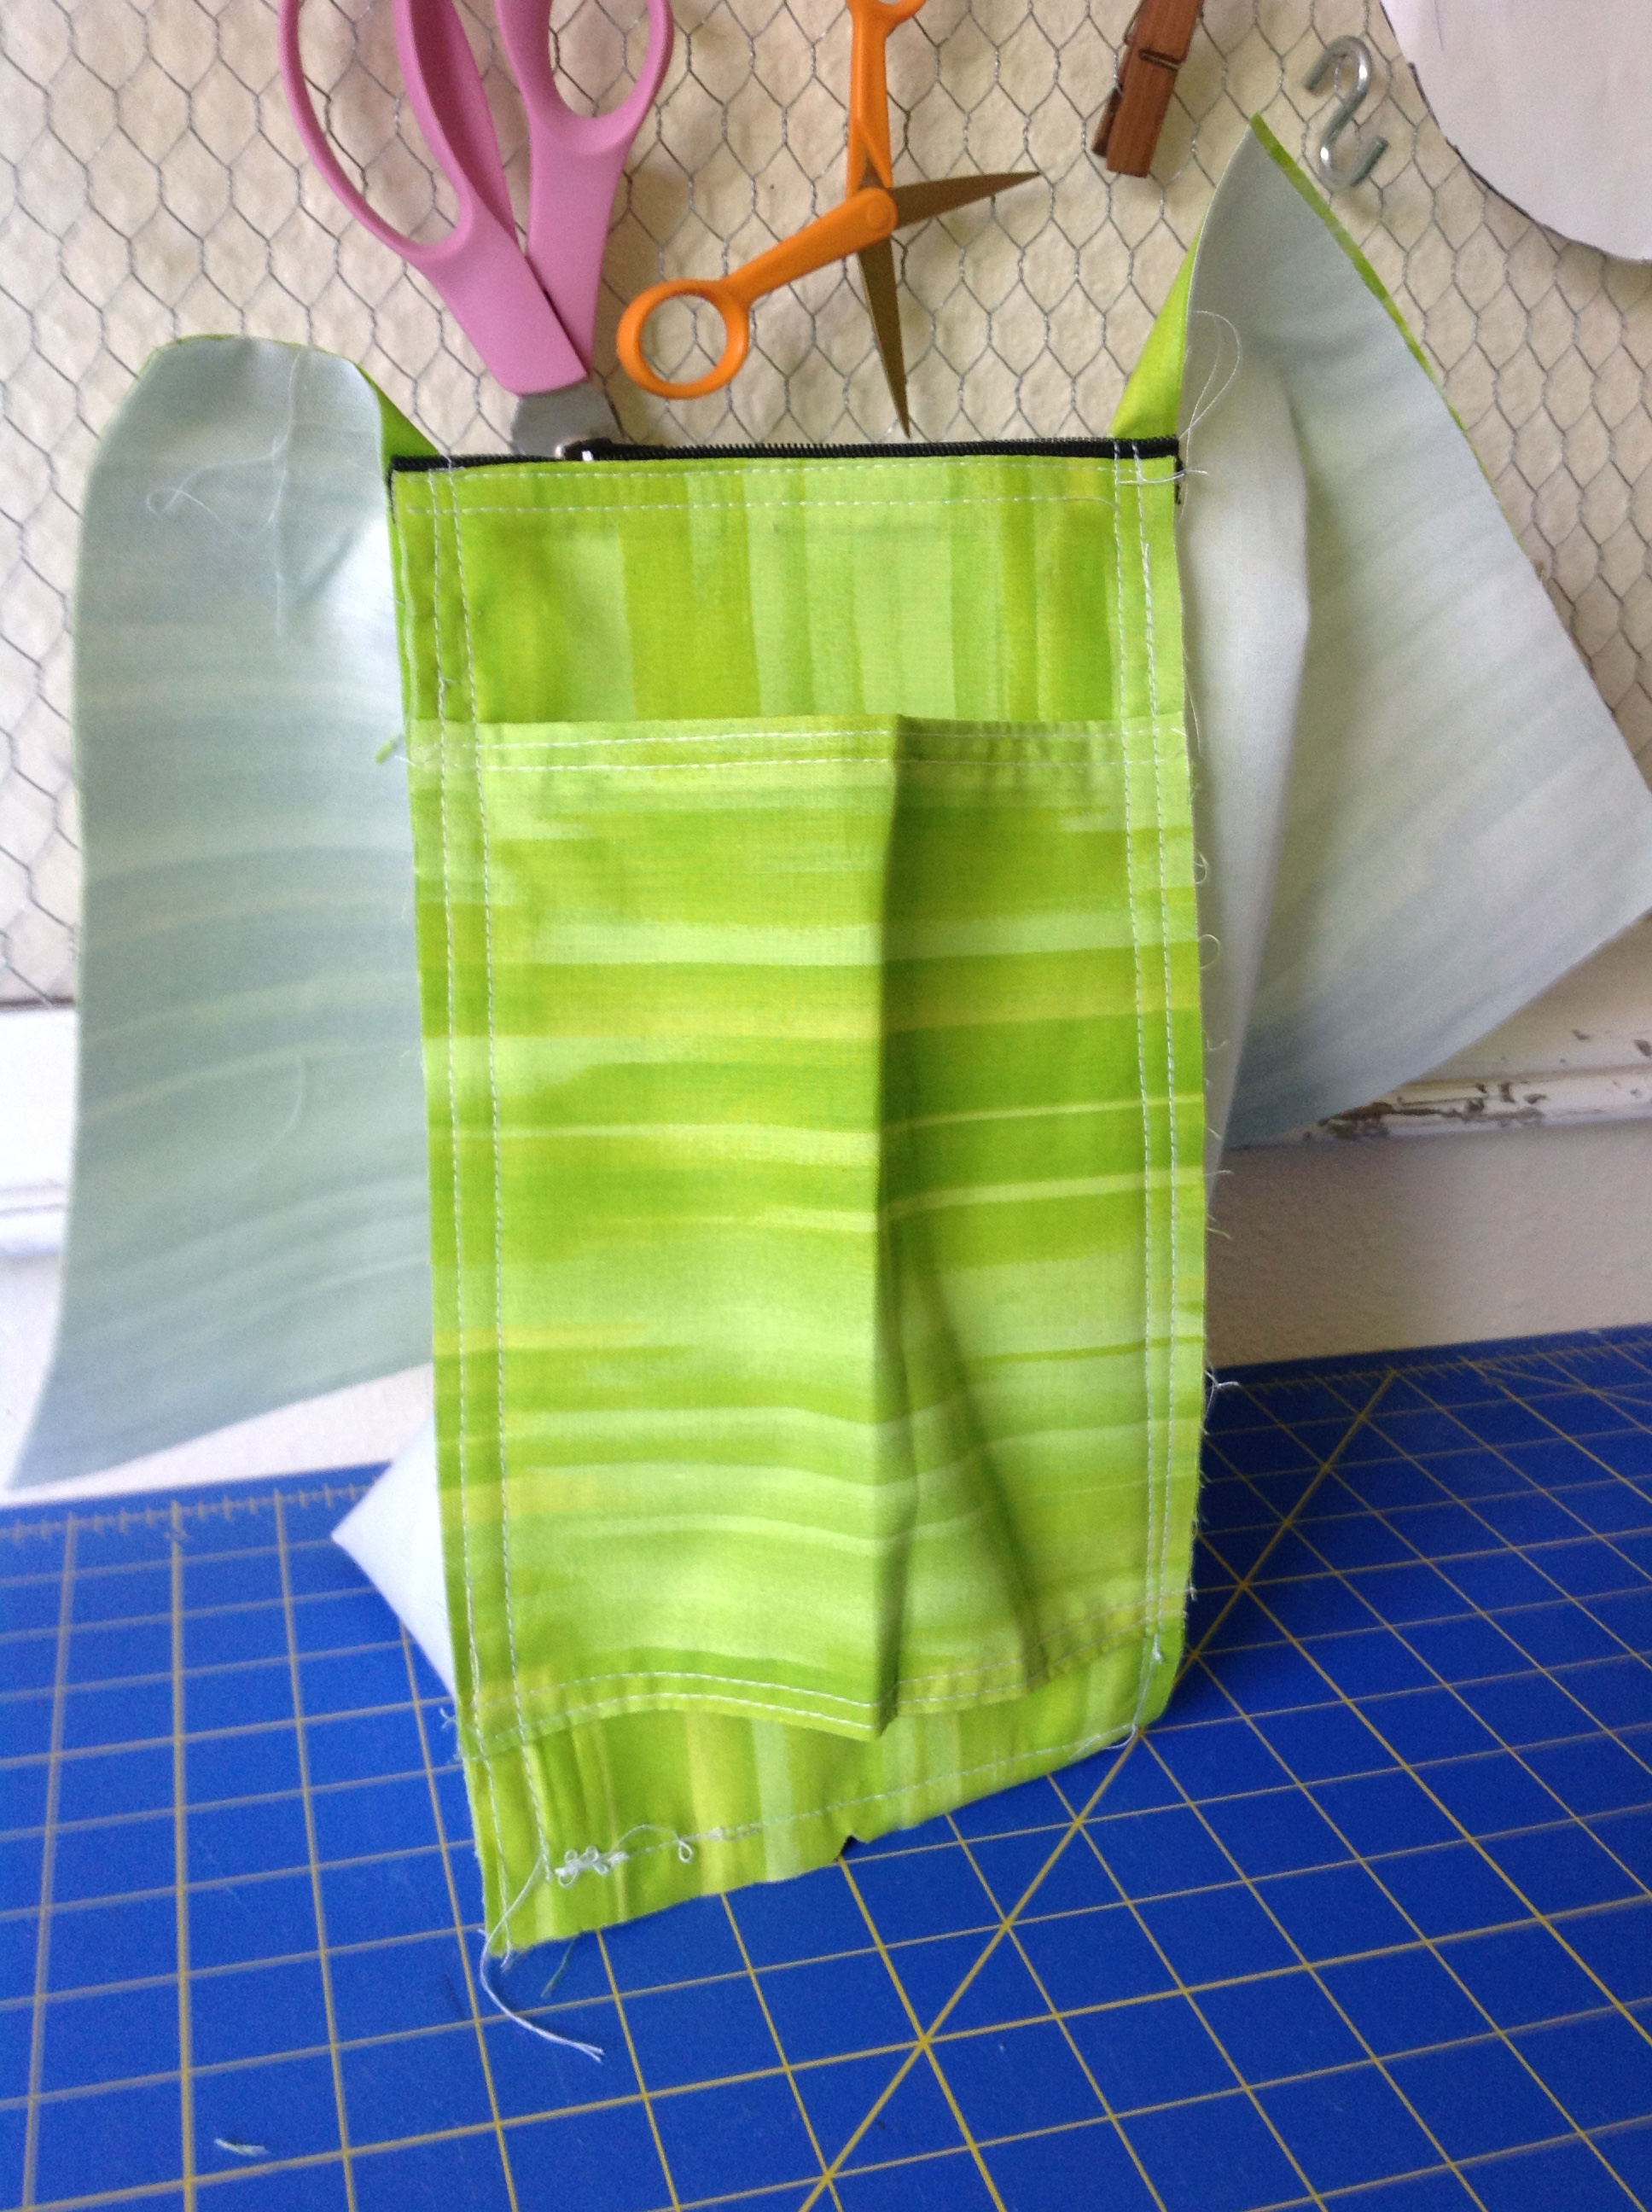
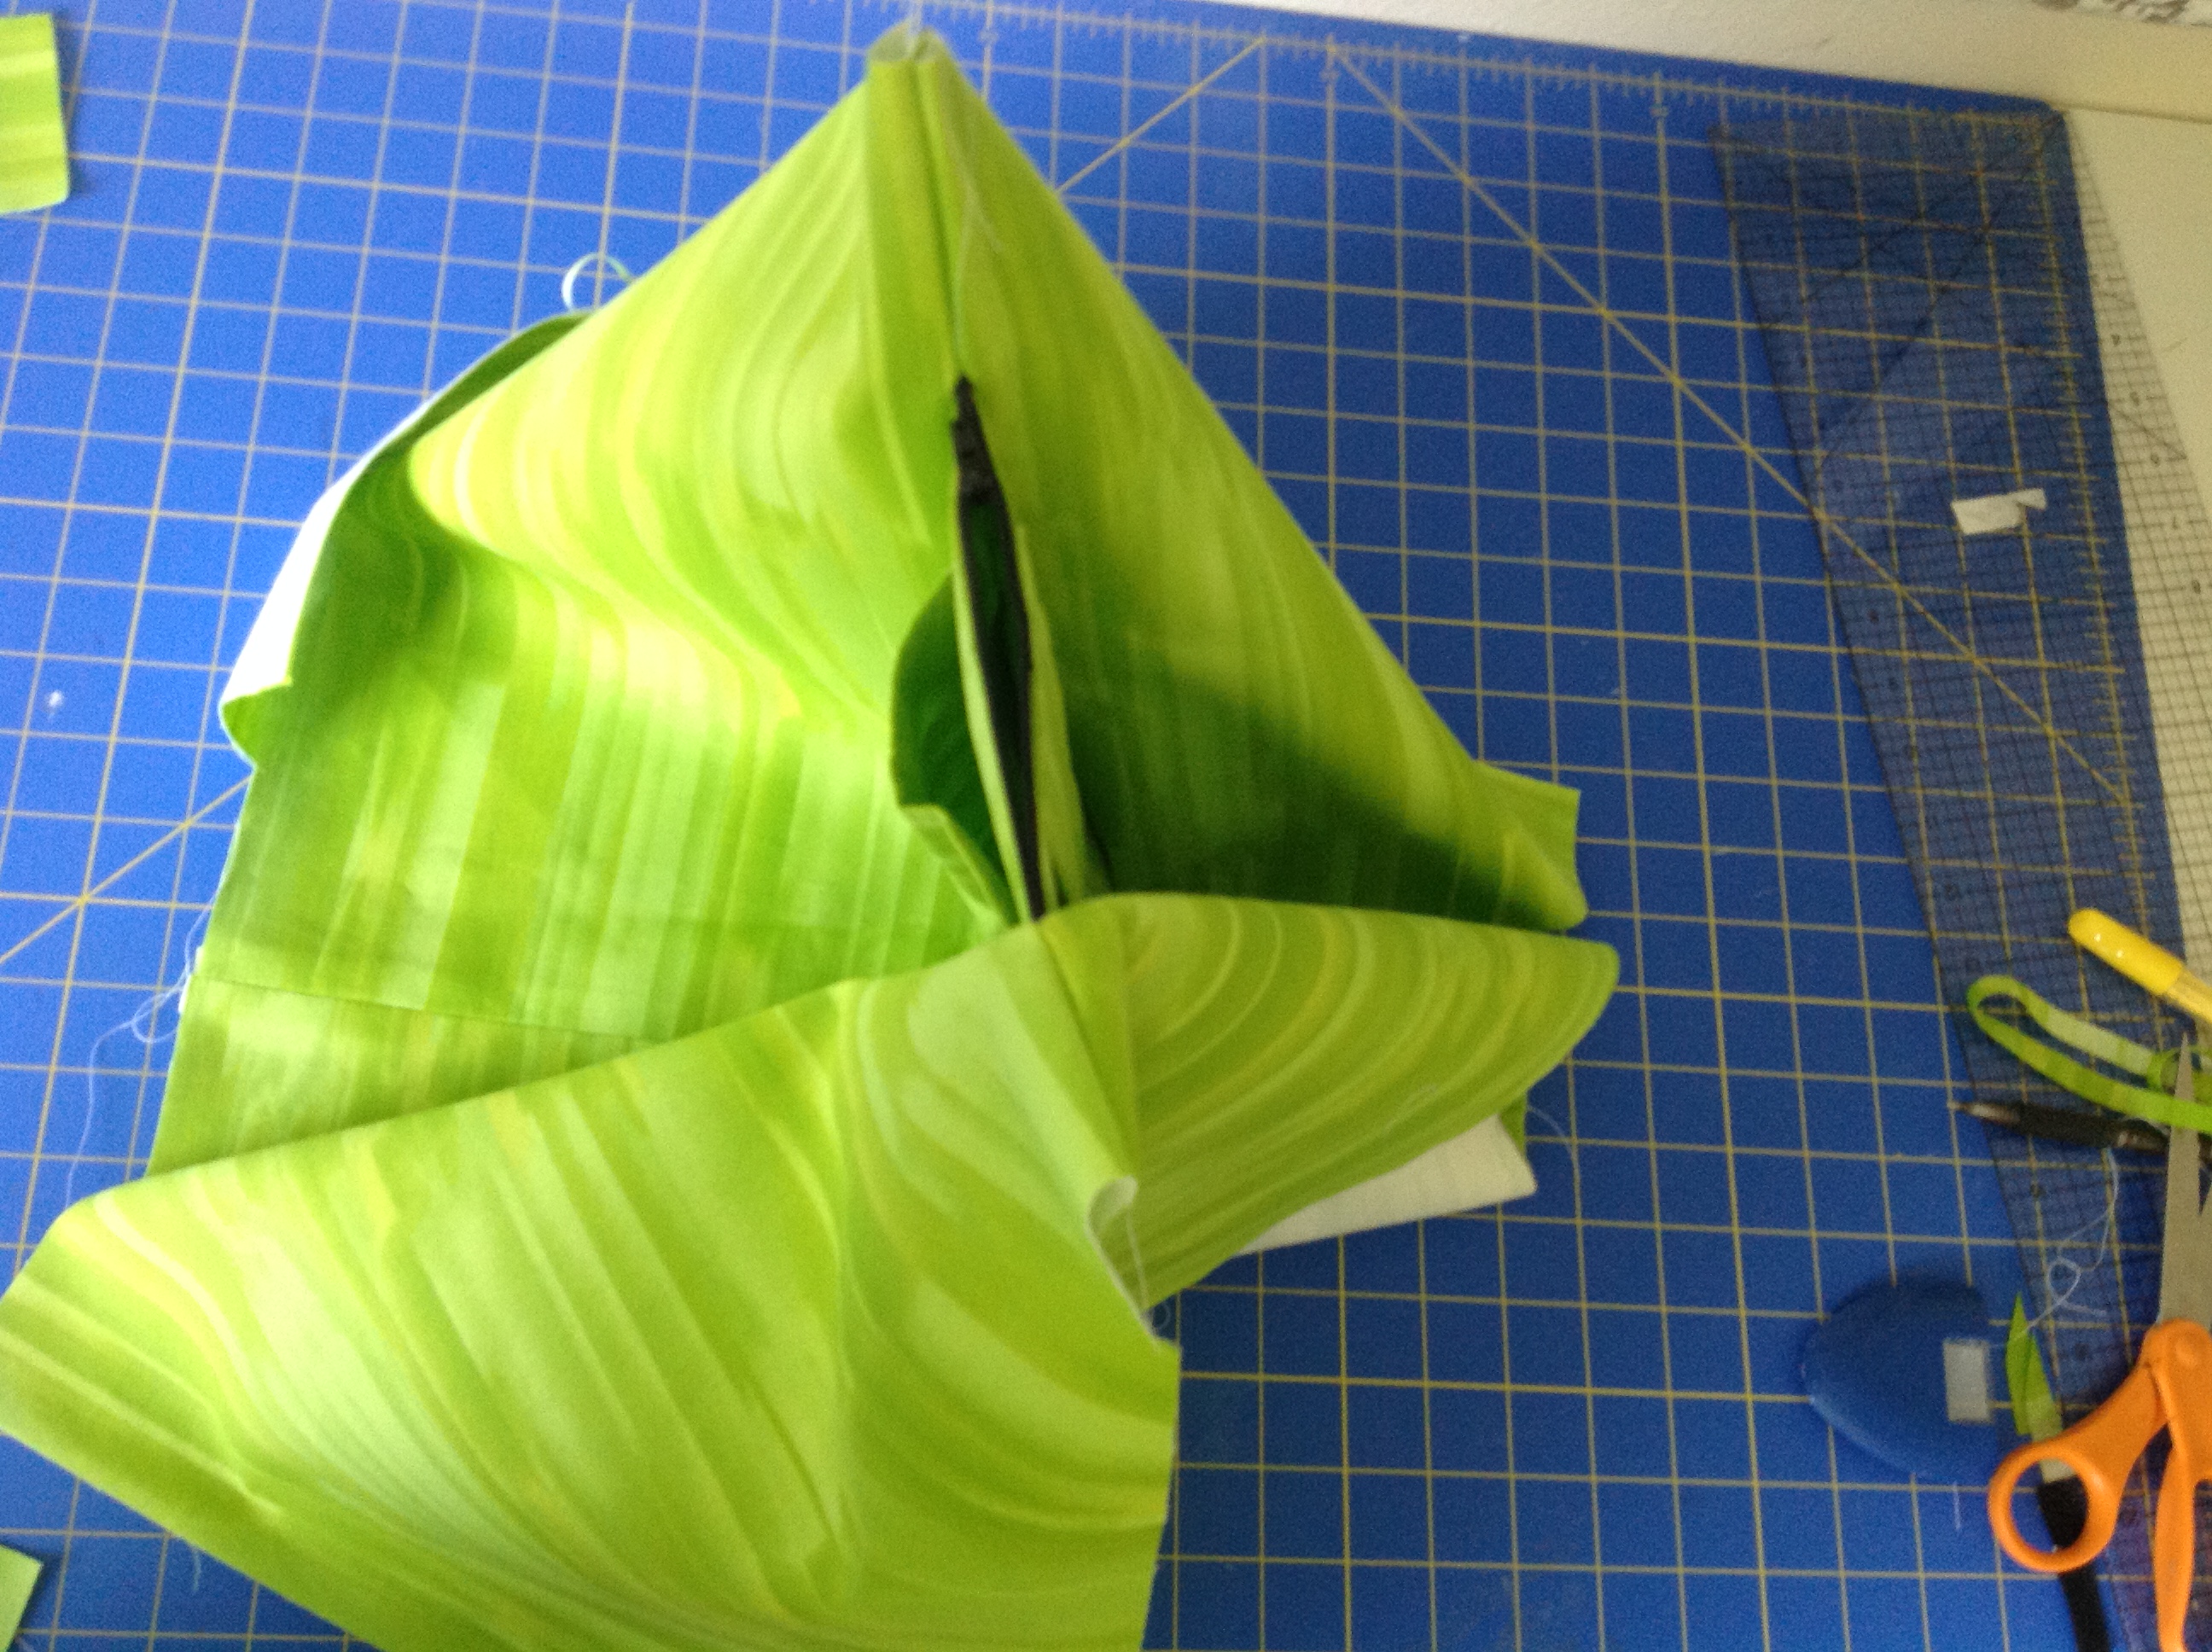
Place the Main Compartment pieces with right sides facing and stitch the bottom edge just like you did with the Small Compartment pieces. Position them on top of the pocket so are facing the side of the interior pocket that has the water bottle sling on it. I know it’s hard to tell in the photo below but the interior pocket is under those main compartment panels – which is why it’s so bumpy! Stitch between the snips.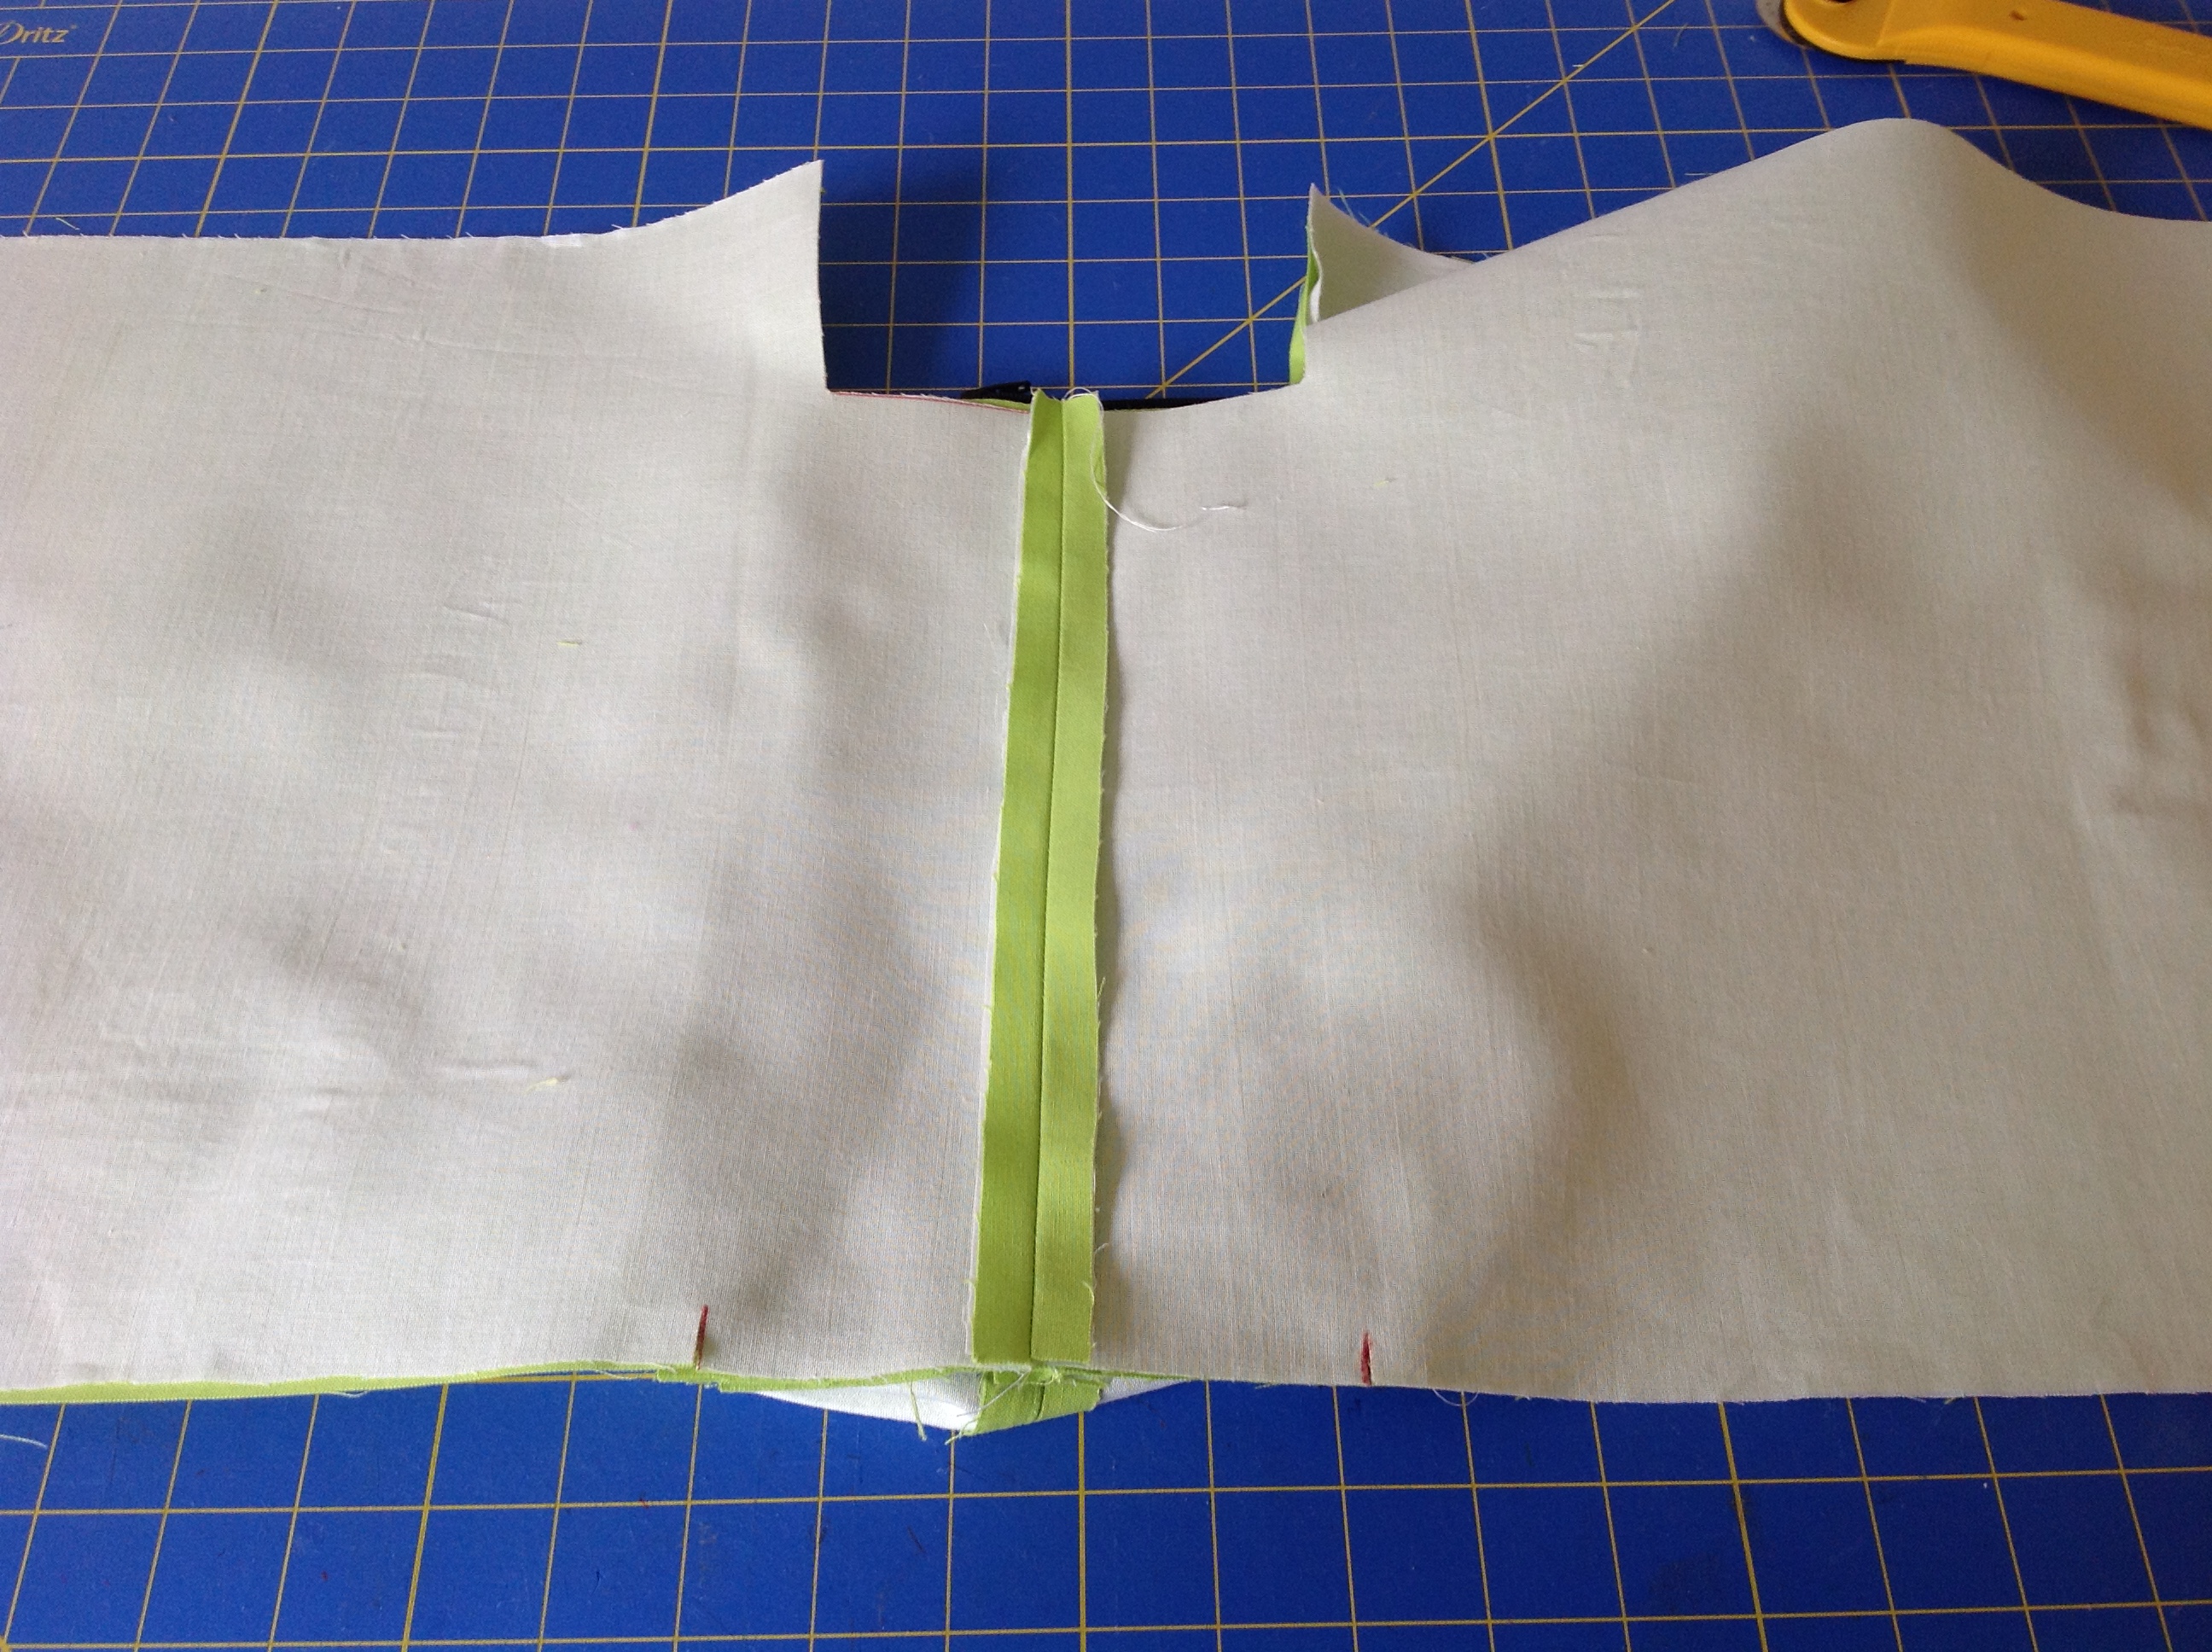
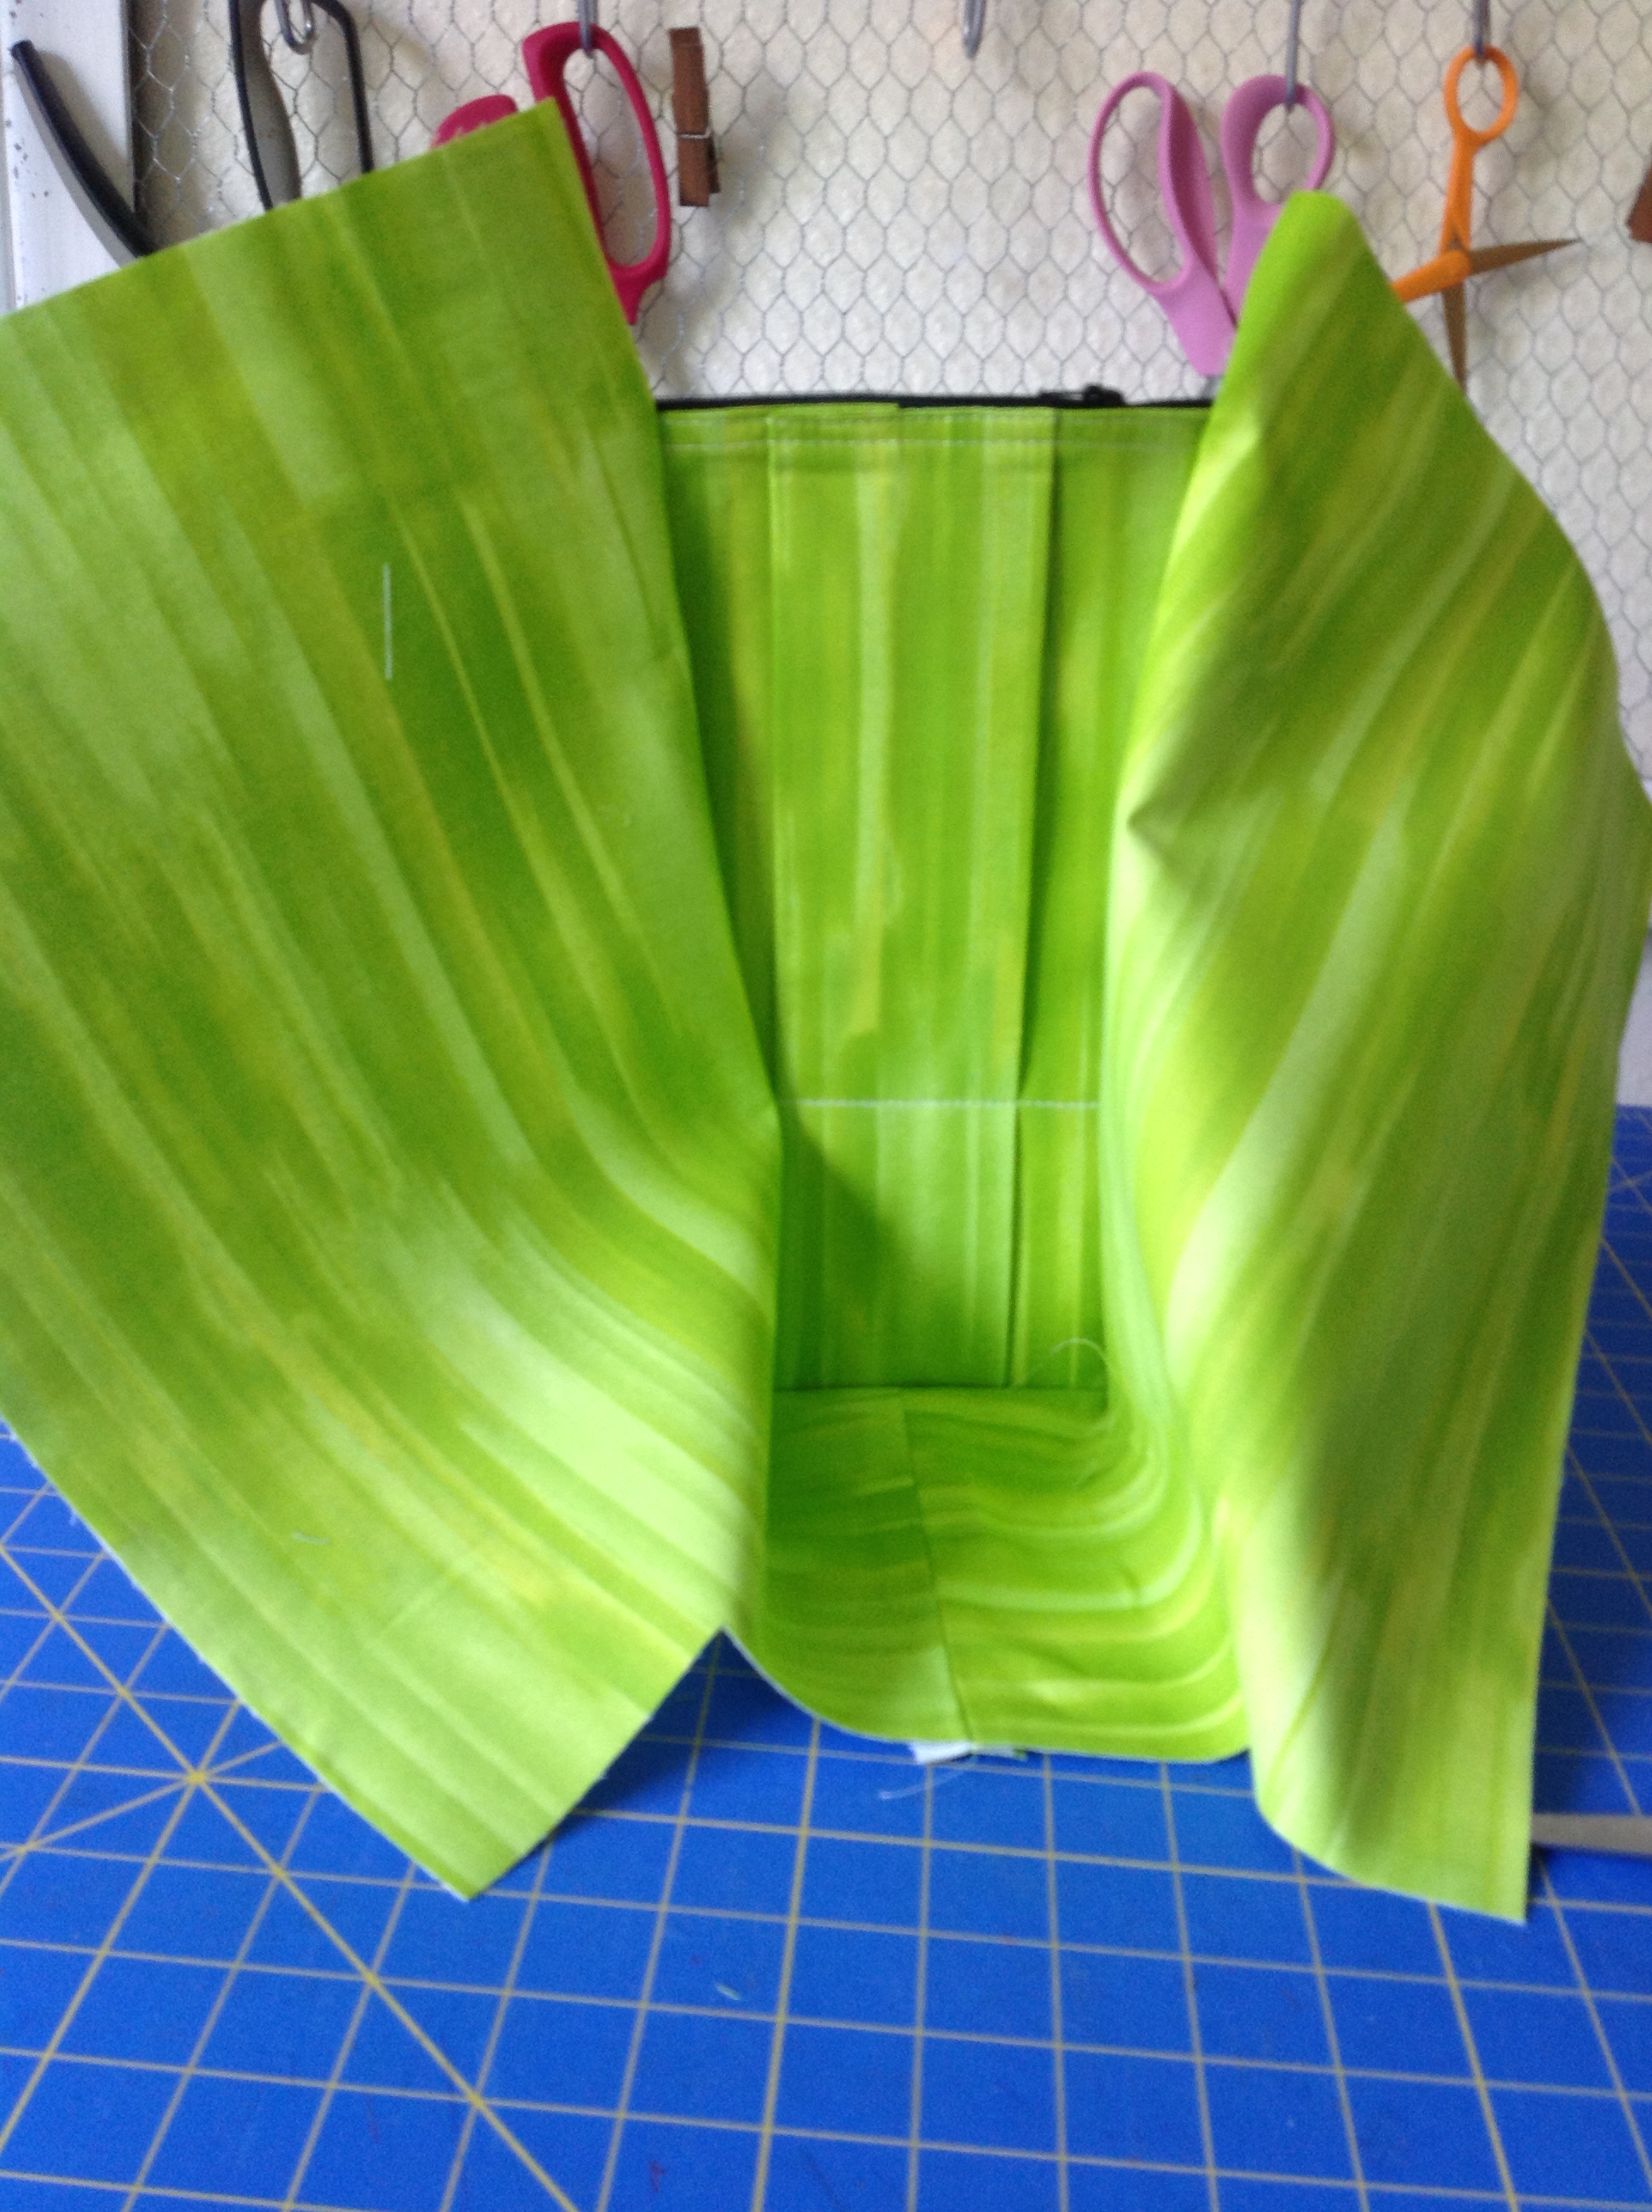
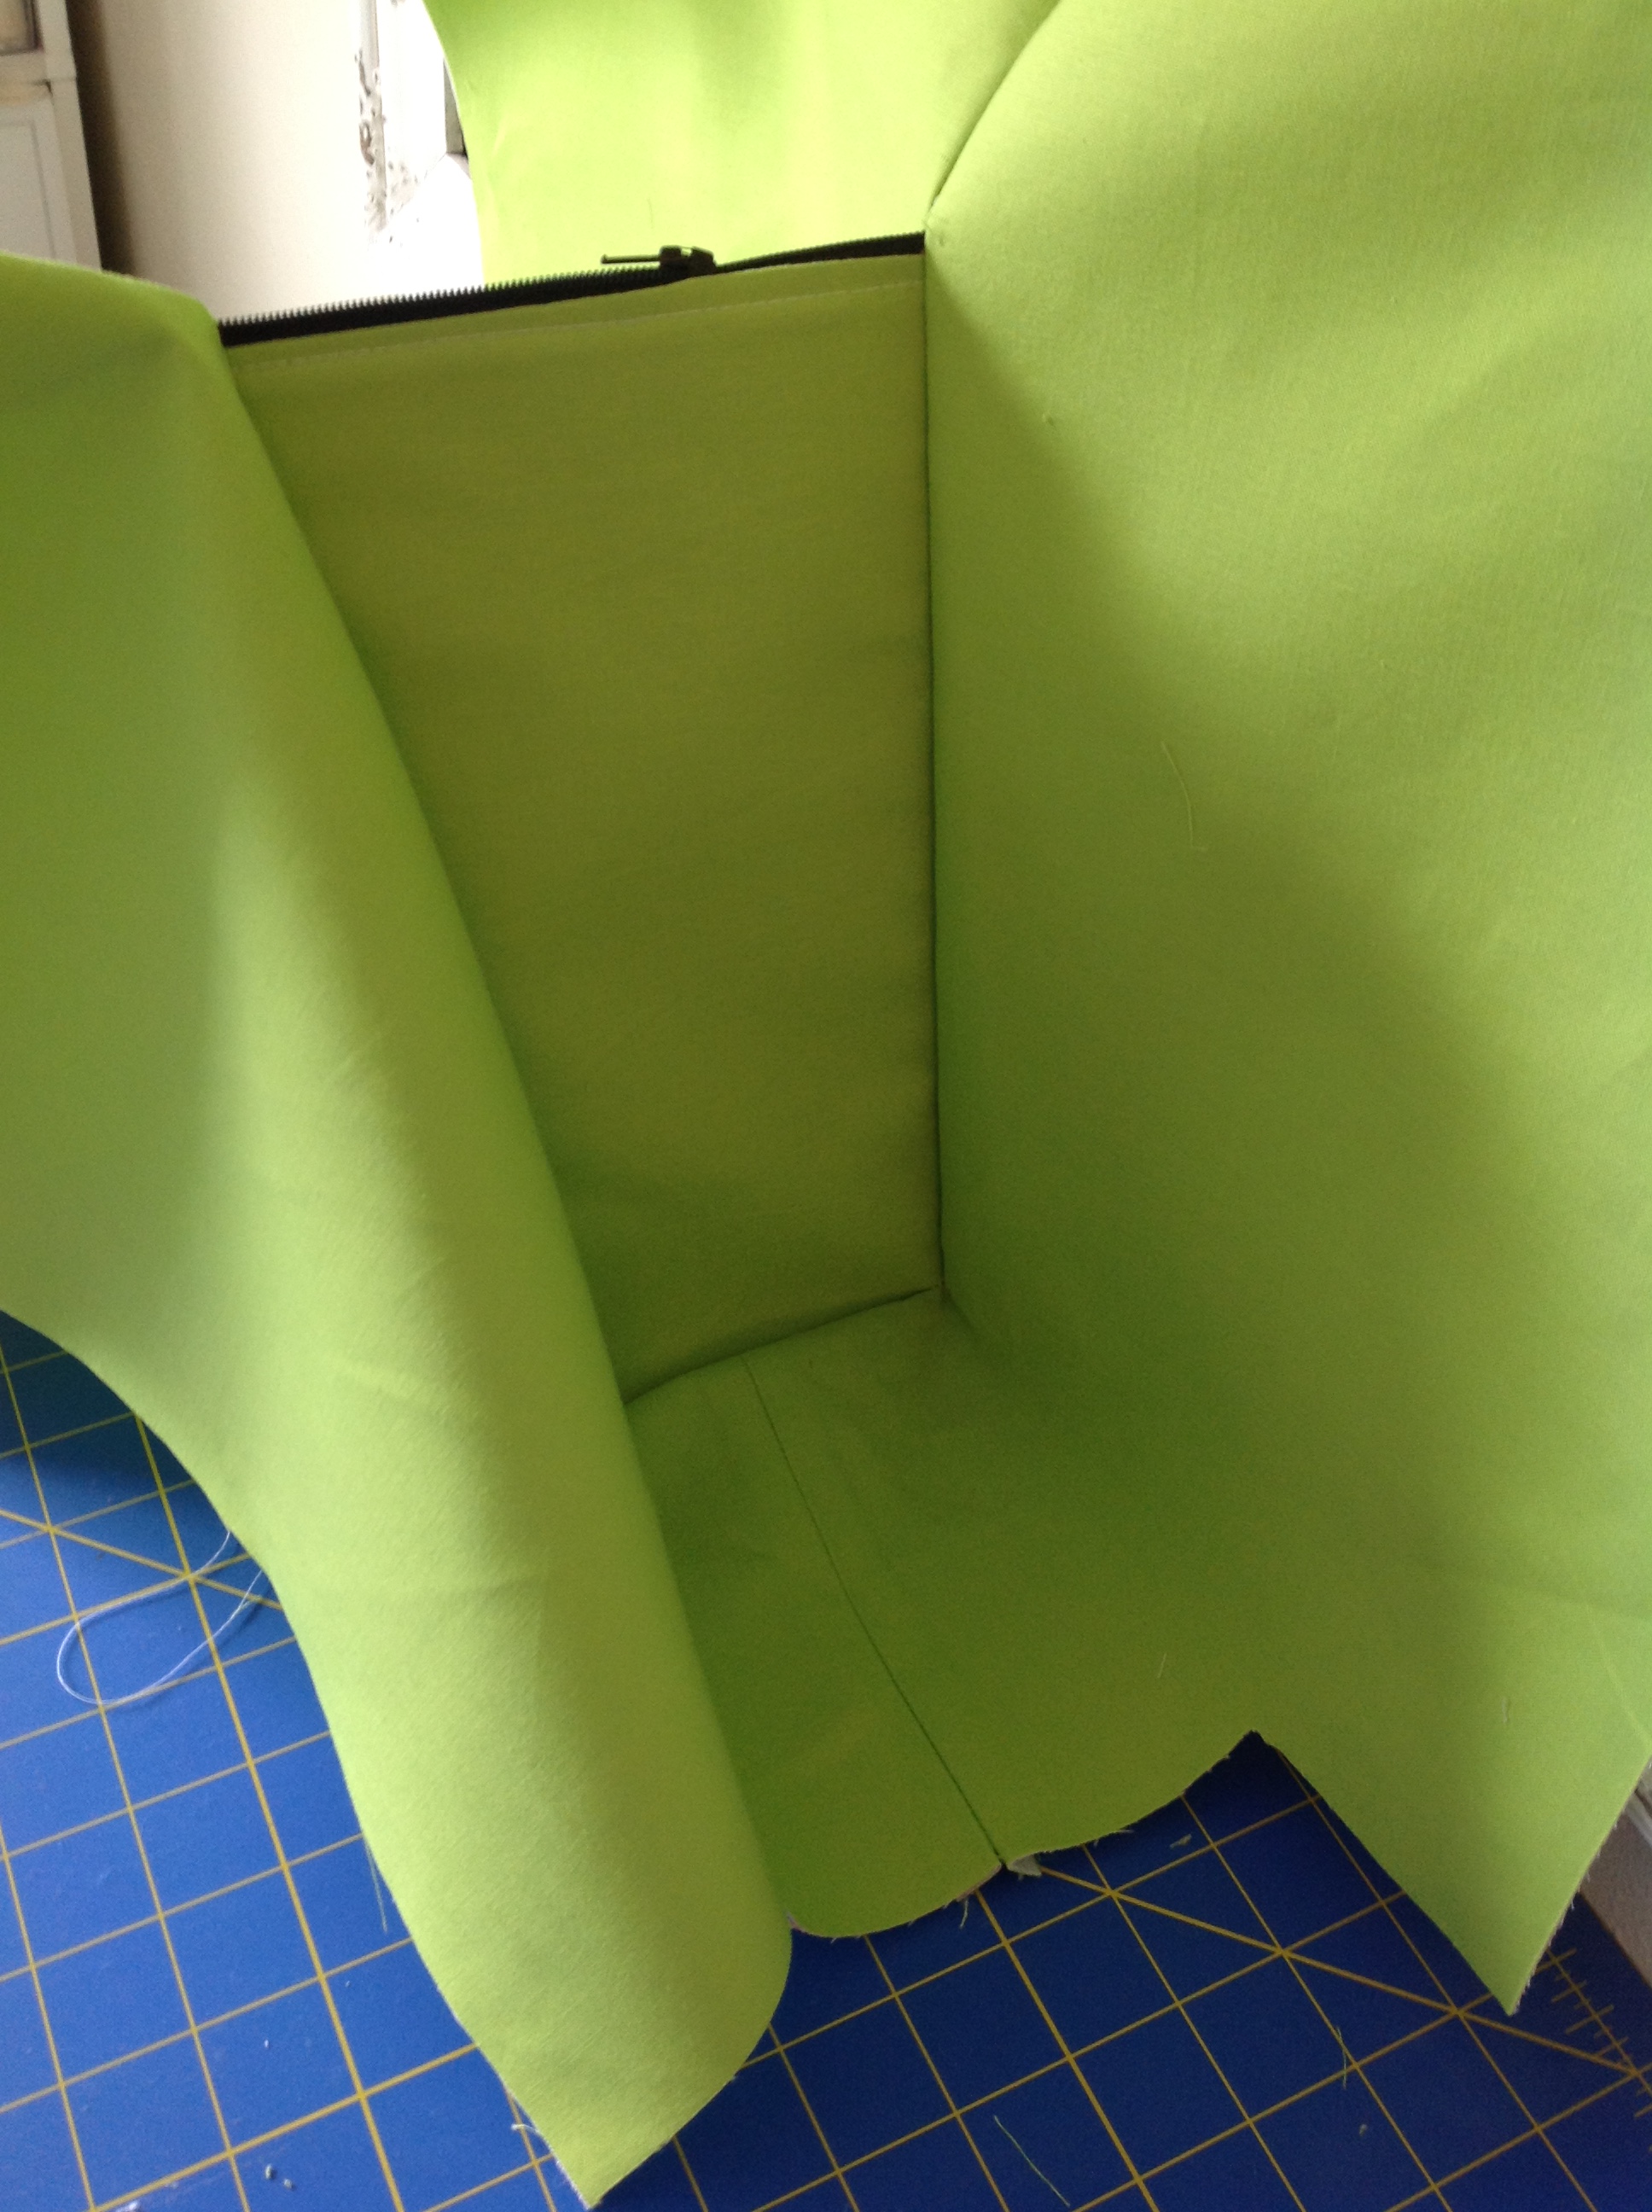
Repeat to stitch the other side edges together and you’ll have this:
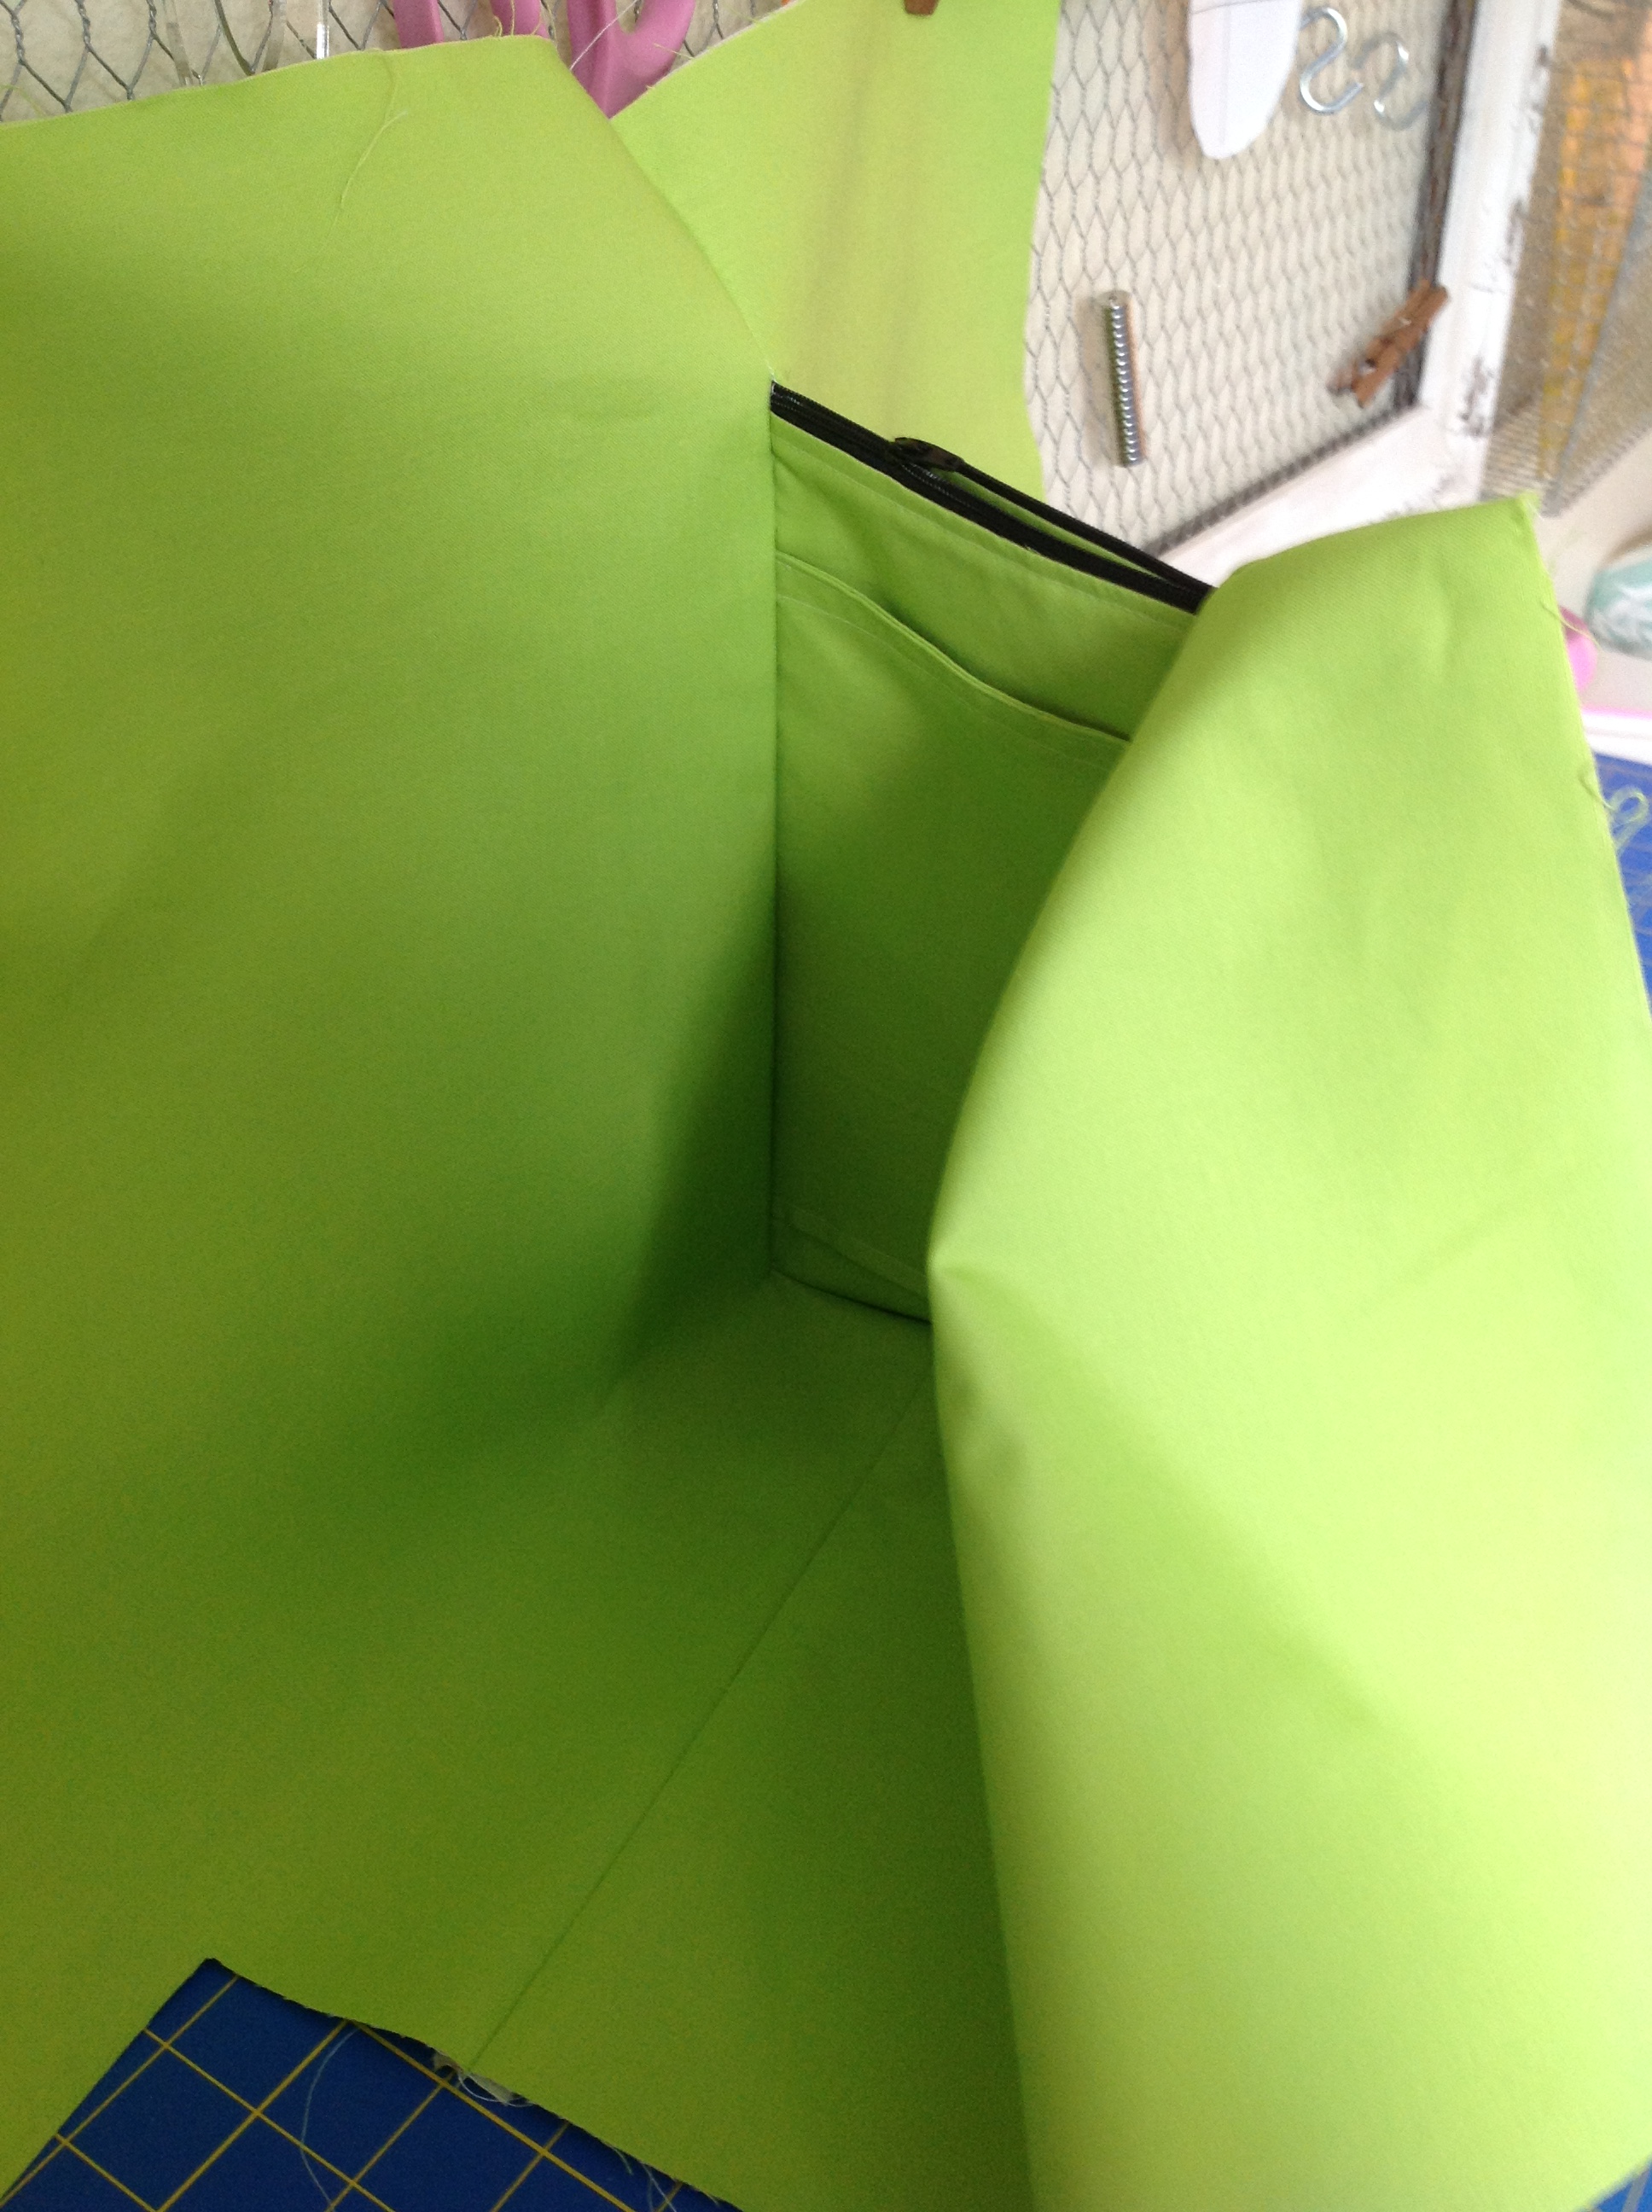
Here’s what it looks like on the inside. Kind of crazy looking, isn’t it?
And that’s it for now! I hope that helps. If you have any problem with this step or any other, don’t hesitate to contact me.
For the next tutorial in the Motherload Tote pattern, click here.
This previous tutorial is here.
Leave a Reply
You must be logged in to post a comment.