Hi there!
This is a tutorial on how to make a Bell Cap Tassel for the Market Tote. The tassels kits can be ordered right along with your Market Tote Kit (you will see the option pop up as you order), or they can be ordered individually here.
Tutorials for the other styles of tassel kits can be found at these links:
Fold Over Tassel
Sleek Drop Tassel
How to Make a Bell Cap Tassel:
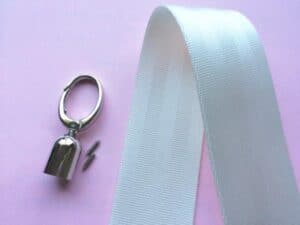
Here is what you will have in your tassel kit: a piece of seat belt webbing, and the bell cap hardware with 2 screws which, by the way, are easily lost. I know this because, on more than one occasion, I have been on all fours trying to hunt them down! If you have a magnetic pin holder, you might put themthere for safe keeping.
The first thing you want to do is decide how long you want your tassel to be. I recommend you wait until your Market Tote is all stitched up so you can get a feel for what length appeals to you and so you can get a measurement right on the bag.
So, snap you bell cap hardware onto the ring of your tote. Insert the end of a measuring tape into the end of the hardware as far as it will go. Determine where you want the end of the tassel to fall. In this case, I am making one for a large size tote and I want it pretty long, so I am going with about 4 1/2″. 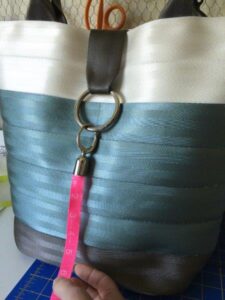
If you are using the bell cap hardware I sell, it has a very, very large opening which means we can actually fit two pieces of webbing in there and make a nice fluffy tassel.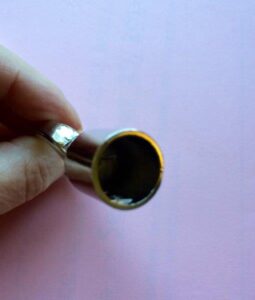
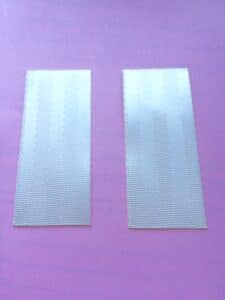
The next few steps you will do on both pieces of webbing but I will only show you on one. So, melt one end of the webbing. By the way, I know it’s hard to tell by my superior drawing skills but, in reality, that is not a real flame – LOL!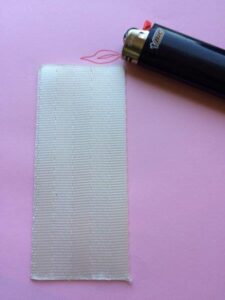
Measure 1/8″ down from the end that you melted and mark with some pins. 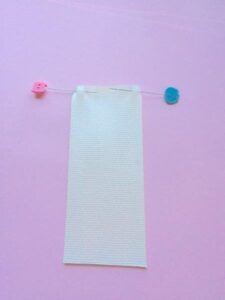
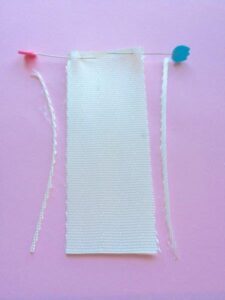
Cut a very small amount off each long edge, starting at the un-melted end and stopping at the pins. If you were to cut the entire edge, it would completely unravel, so it important that the 1/8″ above the pins remains intact. Btw, I realize that the 1/8″ is a very small area that holds this whole thing together but we have to fray the webbing this far up to be able to insert the screws for the hardware later on. If you are worried, you can run a bead of glue along the top edge for extra security.
At the un-melted end, start pulling the fibers away from the center. You will begin to see very fine fibers running in the opposite direction (width-wise).
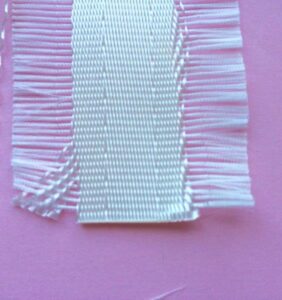
Pull the width-wise fibers out and throw them away – yes, it’s messy! Once you get to the uncut portion of the webbing – that 1/8″ at the top – you won’t be able to pull any more of the width-wise fibers out, which is a good thing!
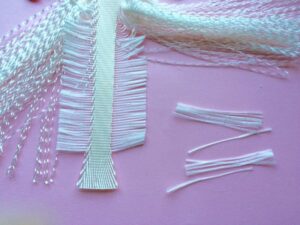
Once all the width-wise fibers are removed, you have a lovely frayed piece of webbing!

If you want it super fluffy, make two of them…
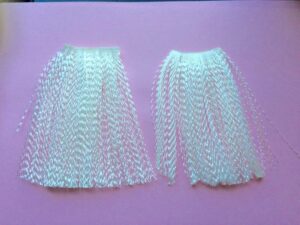
Stack them one on top of other and then roll them up until it’s a wee bit smaller than the opening of the hardware.
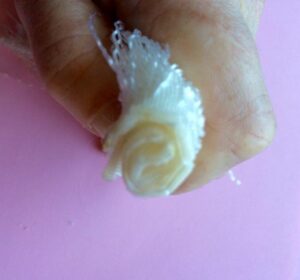
Then push the end into the hardware as far as it will go. Now you can hunt down the screws! Try screwing the top screw in first. If you didn’t fray the webbing high enough, you won’t be able to get the screw all the way in and it will need to be fray a little higher. If all is well you can insert both screws. Also, if you think they may come loose from the hardware over time, you can use some strong glue like E6000 in the openings before screwing them in. 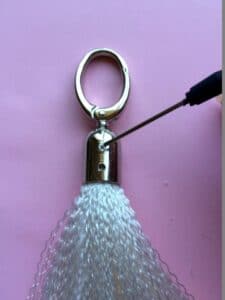
And there it is! Lovely! 

If you have any questions, let me know. I hope you will share your creations with us on Instragram using #seatbeltbags and #cozynestdesign.
I just made my first tassel out of seatbelt. I totally love it. Thank you so much for this tutorial
Hi Gena! You’re welcome! I am glad to know it came in handy and that you like the tassel.They are pretty awesome and I think you’ll be amazed at how they wear over time. Great hearing from you!