May 15th, 2014 **This tutorial is not quite finished. I will get it done asap!**
This tutorial will show you how to make your Savannah Bag with a vinyl accent panel, like this:
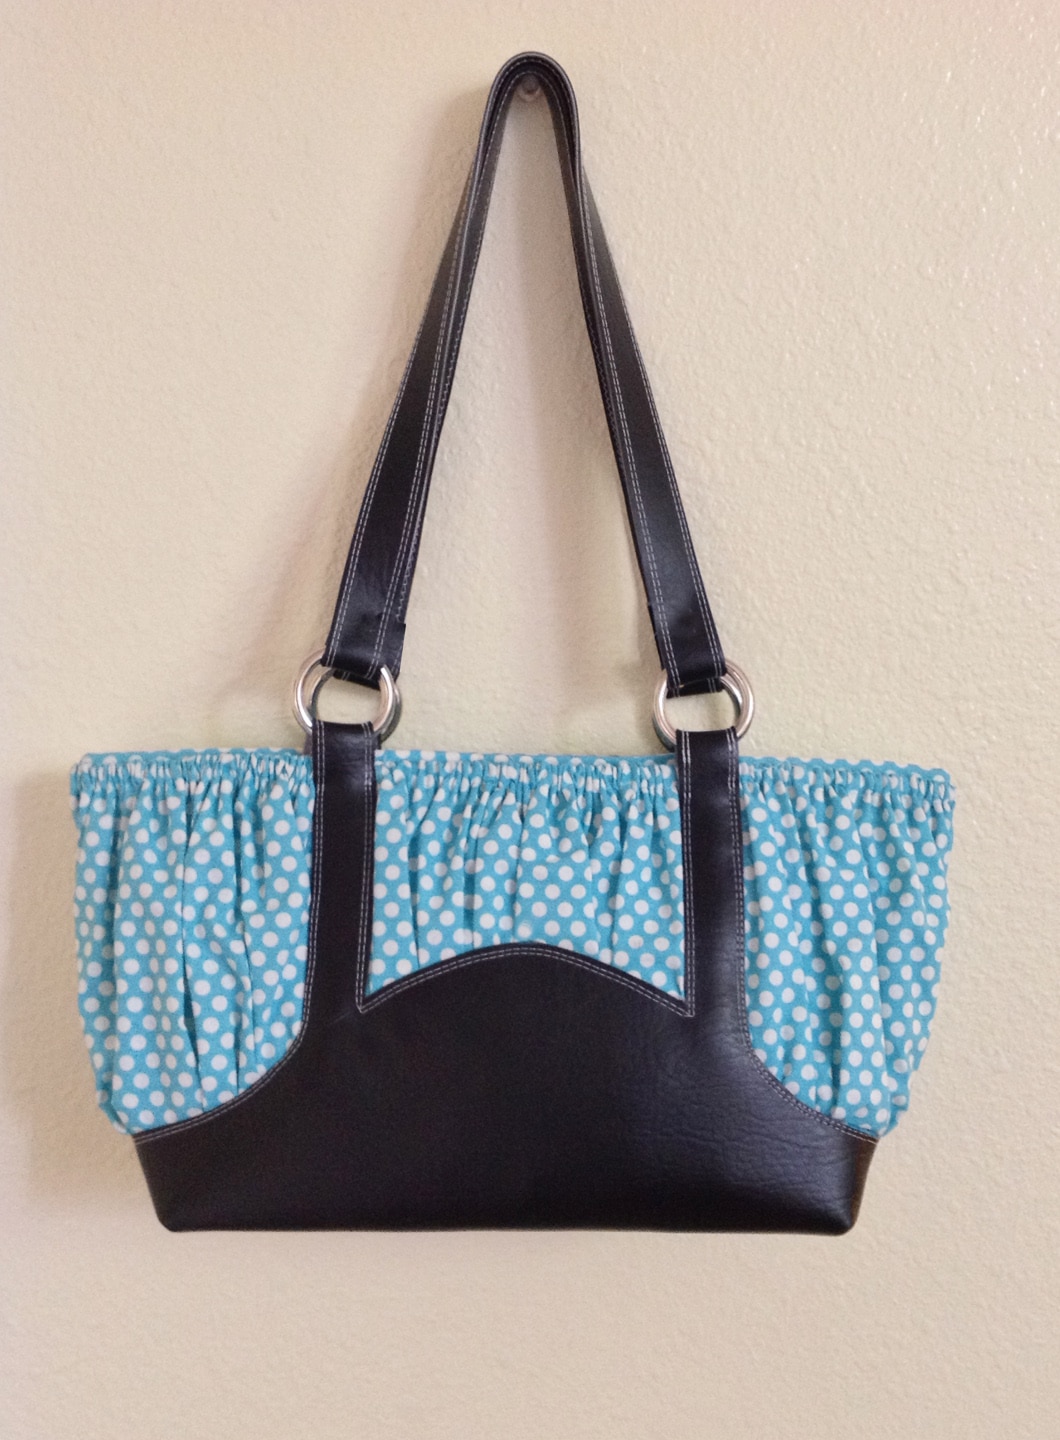
As you can see the bag is the same except that I didn’t use piping around the accent panel. You can choose to add it if you would like and I will show you how.
There are a few modifications to the pattern and construction of the bag if we use vinyl. The first thing you will need is a replacement pattern piece for the Accent Panel (pattern piece #1). You can download the replacement pattern here: Vinyl Savannah pattern sheet.
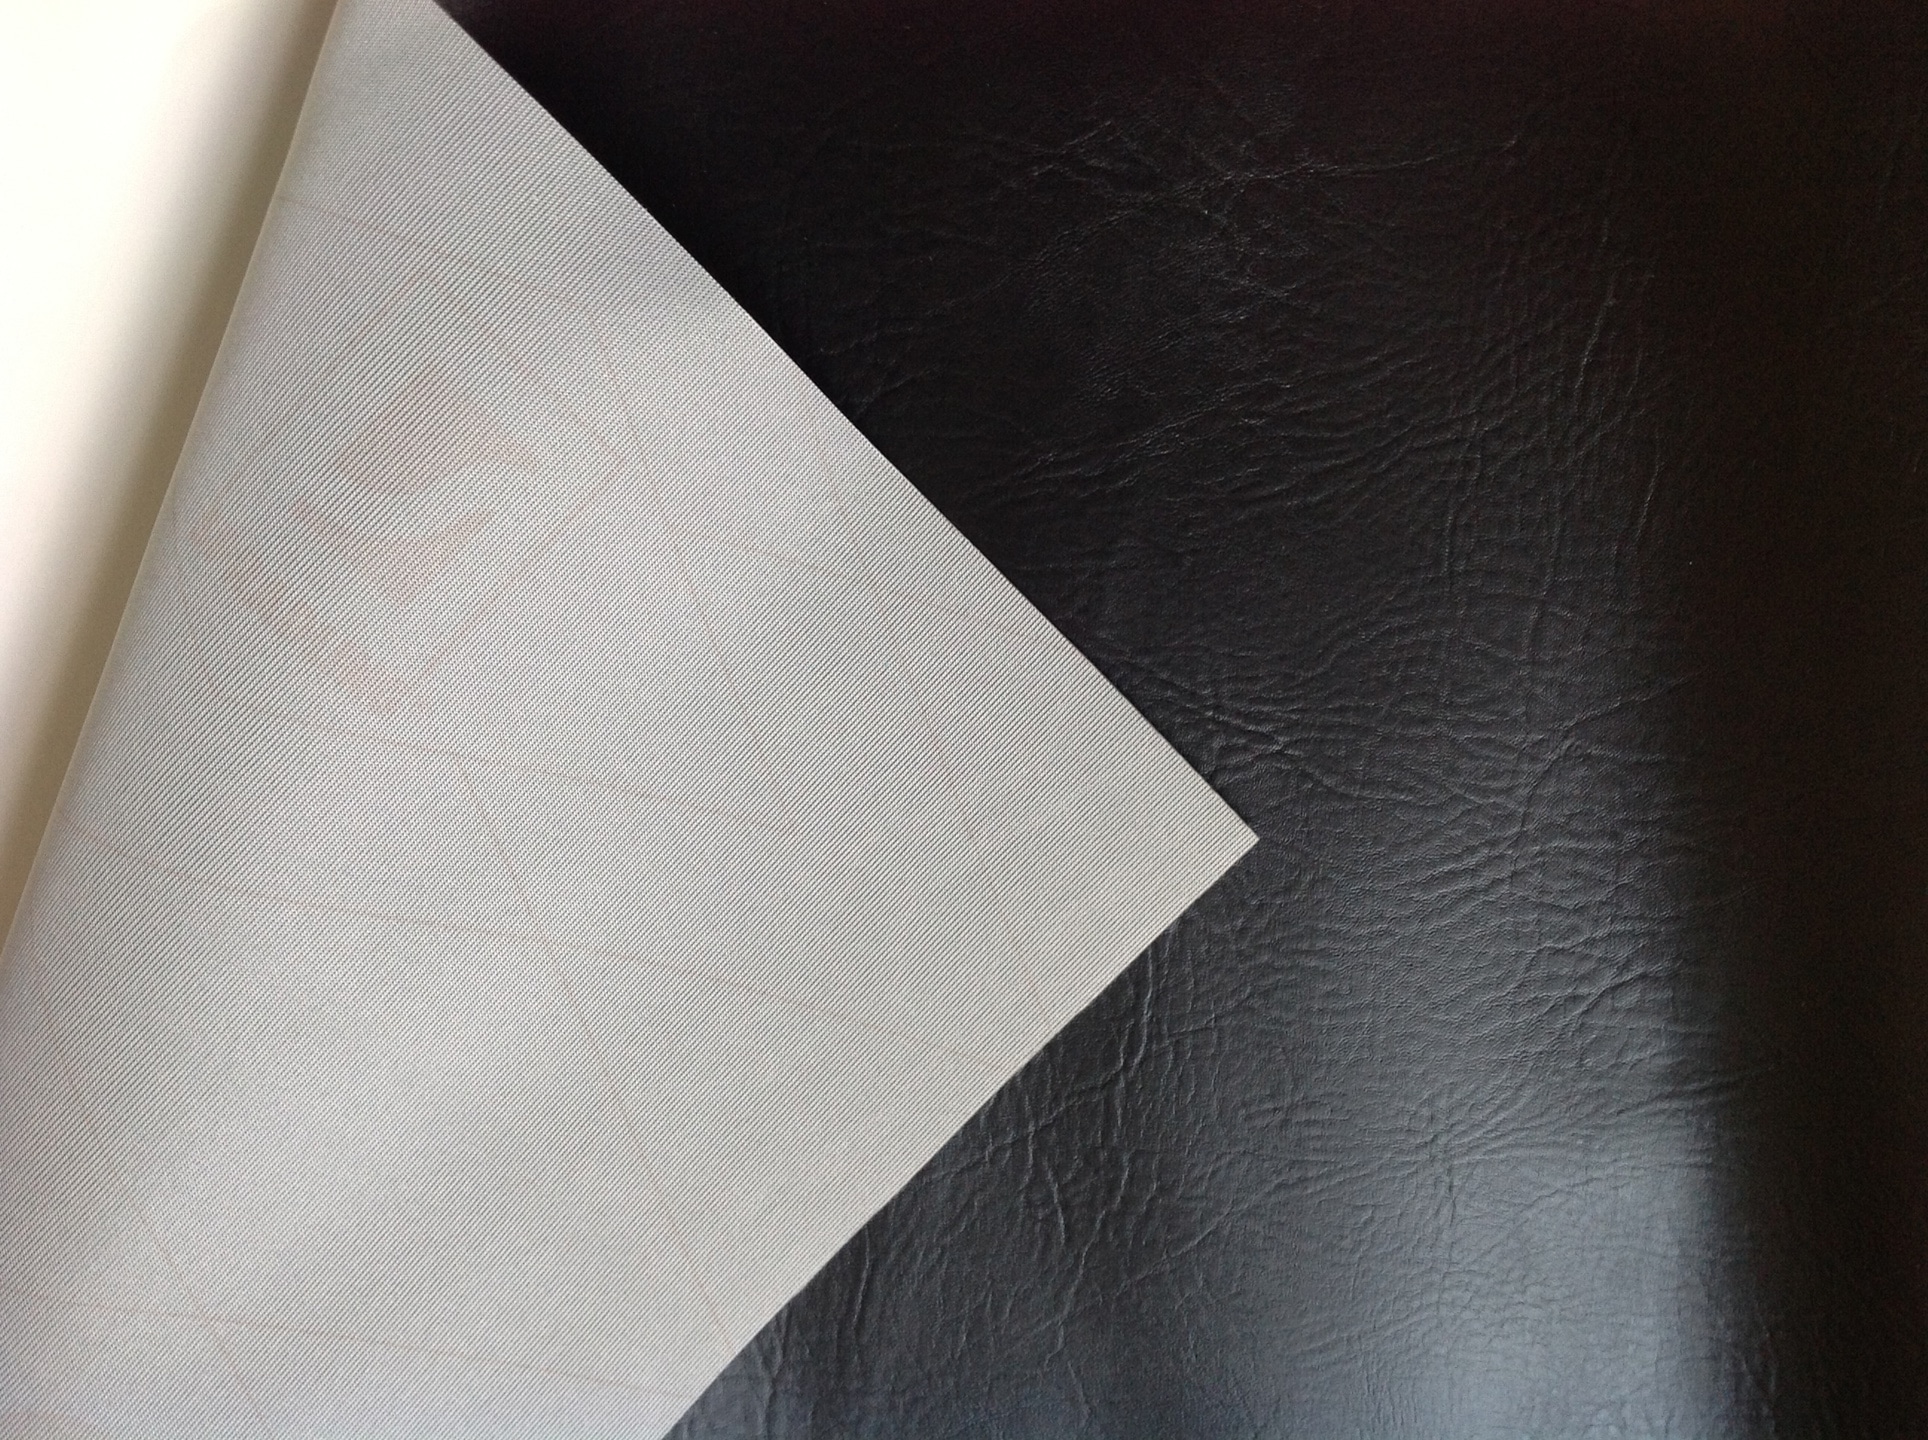
For the vinyl, I suggest marine grade vinyl that you can find in a number of colors at most hobby and fabric stores. It comes in 54″ widths and you will need about 3/4 of a yard. It looks like this:
Here are the changes to the cutting list:
Omit cutting the following pieces that are called for in the pattern:
- handles
- handle lining
- handle interfacing (I don’t find it necessary to interface the handles when using vinyl but if you want them very stiff, you can keep the interfacing)
- Accent panel interfacing
- piping fabric – if you choose to omit the piping
Instead, cut
- 2 using Pattern Piece #1 (the one you just downloaded) from your vinyl
- 2 @ 2 x 27″ pieces from the vinyl for handles (if you are not adding piping)
OR
4 @ 1×27″ ( if you are using piping) - You will also need to cut your lining pocket from a fabric other than the vinyl
Here are a few tips for sewing on vinyl:
- Pins can leave visible holes in fabric. Test on small scrap to see how the fabric reacts to pin holes; some fabrics may heal. Pin minimally or pin in the seam allowance only. Clips or painters tape are good alternatives to pins.
- Select a longer stitch length than usual
- If your presser foot sticks to the vinyl while sewing try one of these solutions:
Use a non-stick or roller presser foot
Apply tape to the underside of the presser foot
Rub a small amount of sewing machine oil to underside of the foot
Refer to the Savannah pattern and construct the bag as instructed until you get page 5 – where you apply the piping to the Accent Panel. If you choose to omit the piping, just continue on to step #18 in the pattern and come back when you need to work on the handles.
If you decide to add the piping, we need to apply it a little differently. The reason is, if we sewed the piping to the front of the panel and then tried to turn the piping flange to the back (like we do on lighter weight fabric), it would be far too bulky to look good. So, to add the piping to the vinyl, place the flange of the piping on the WRONG side of the Accent Panel so that only the cord portion of the piping is visible above the vinyl’s edge.
There are a few things to consider when it comes to stitching the piping to the Accent Panel. Later on, you will be stitching in this area of the Accent Panel again to apply it to the Foundation panel, so you need to decide how to manage these two seams. I suggest stitching your piping on to the Accent Panel about 1/8″ – 1/4″ from the edge; treating it like a decorative topstitch. This is a great opportunity to use a double needle (like in the sample bag above) or other decorative stitch. If top stitching freaks you out, or you don’t want these stitches to show, you could use some fusible web tape to secure the piping on the vinyl – just be careful when fusing the web onto the vinyl because it can melt!
Once you have your Accent Panel piped, you can move on to stitching it to the Foundation panel (steps 18-20 in the pattern). Stitch in the ditch between the piping and the edge of the Accent panel as instructed in the pattern. Come back when you are on step 40; where you make and attach the handles.
Handles:
We do the handles a little different when using vinyl. You can choose to interface your handle, but I don’t generally don’t use it.
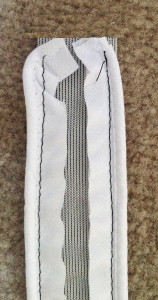
If you have omitted the piping: All you need to do is fold the handles in half so they are 1″ wide and then topstitch on both long edges. If the raw edge of the vinyl is white, one solution is to just take a permanent marker ( I love my Sharpies!) in a matching color to the edges. Another option is to buy a colored edge sealants that craft stores carry in the department where they sell tools to work with leather.

If you are using piping: Sew (or fuse) the piping to the long edges of one of your handles just like you did with the accent panel. About 1/4″ from the short ends, angle the piping in toward the center to give the ends a better finish.
 Take your piped handle and a second handle piece and bring them wrong sides together. Sew the second piece to the first following the first seam lines on the long edges. Sew across the short edges as well to seal them off.
You are a star Sarah! I have in my head exactly which fabric and vinyl I want to use for the Savannah, and I was panicking a bit about how to use the vinyl. So I googled. And you’ve already done it for me 🙂