Hi!
Today we will attach the handles and make the pockets for our basket. Let’s do the handles first – so grab those, and the exterior Side Panels (B & C). At the top edge of each Side Panel, measure and mark 4″ in from the side edges and 3″ down from the top edge. Pin each end of a handle to the inside these marks. 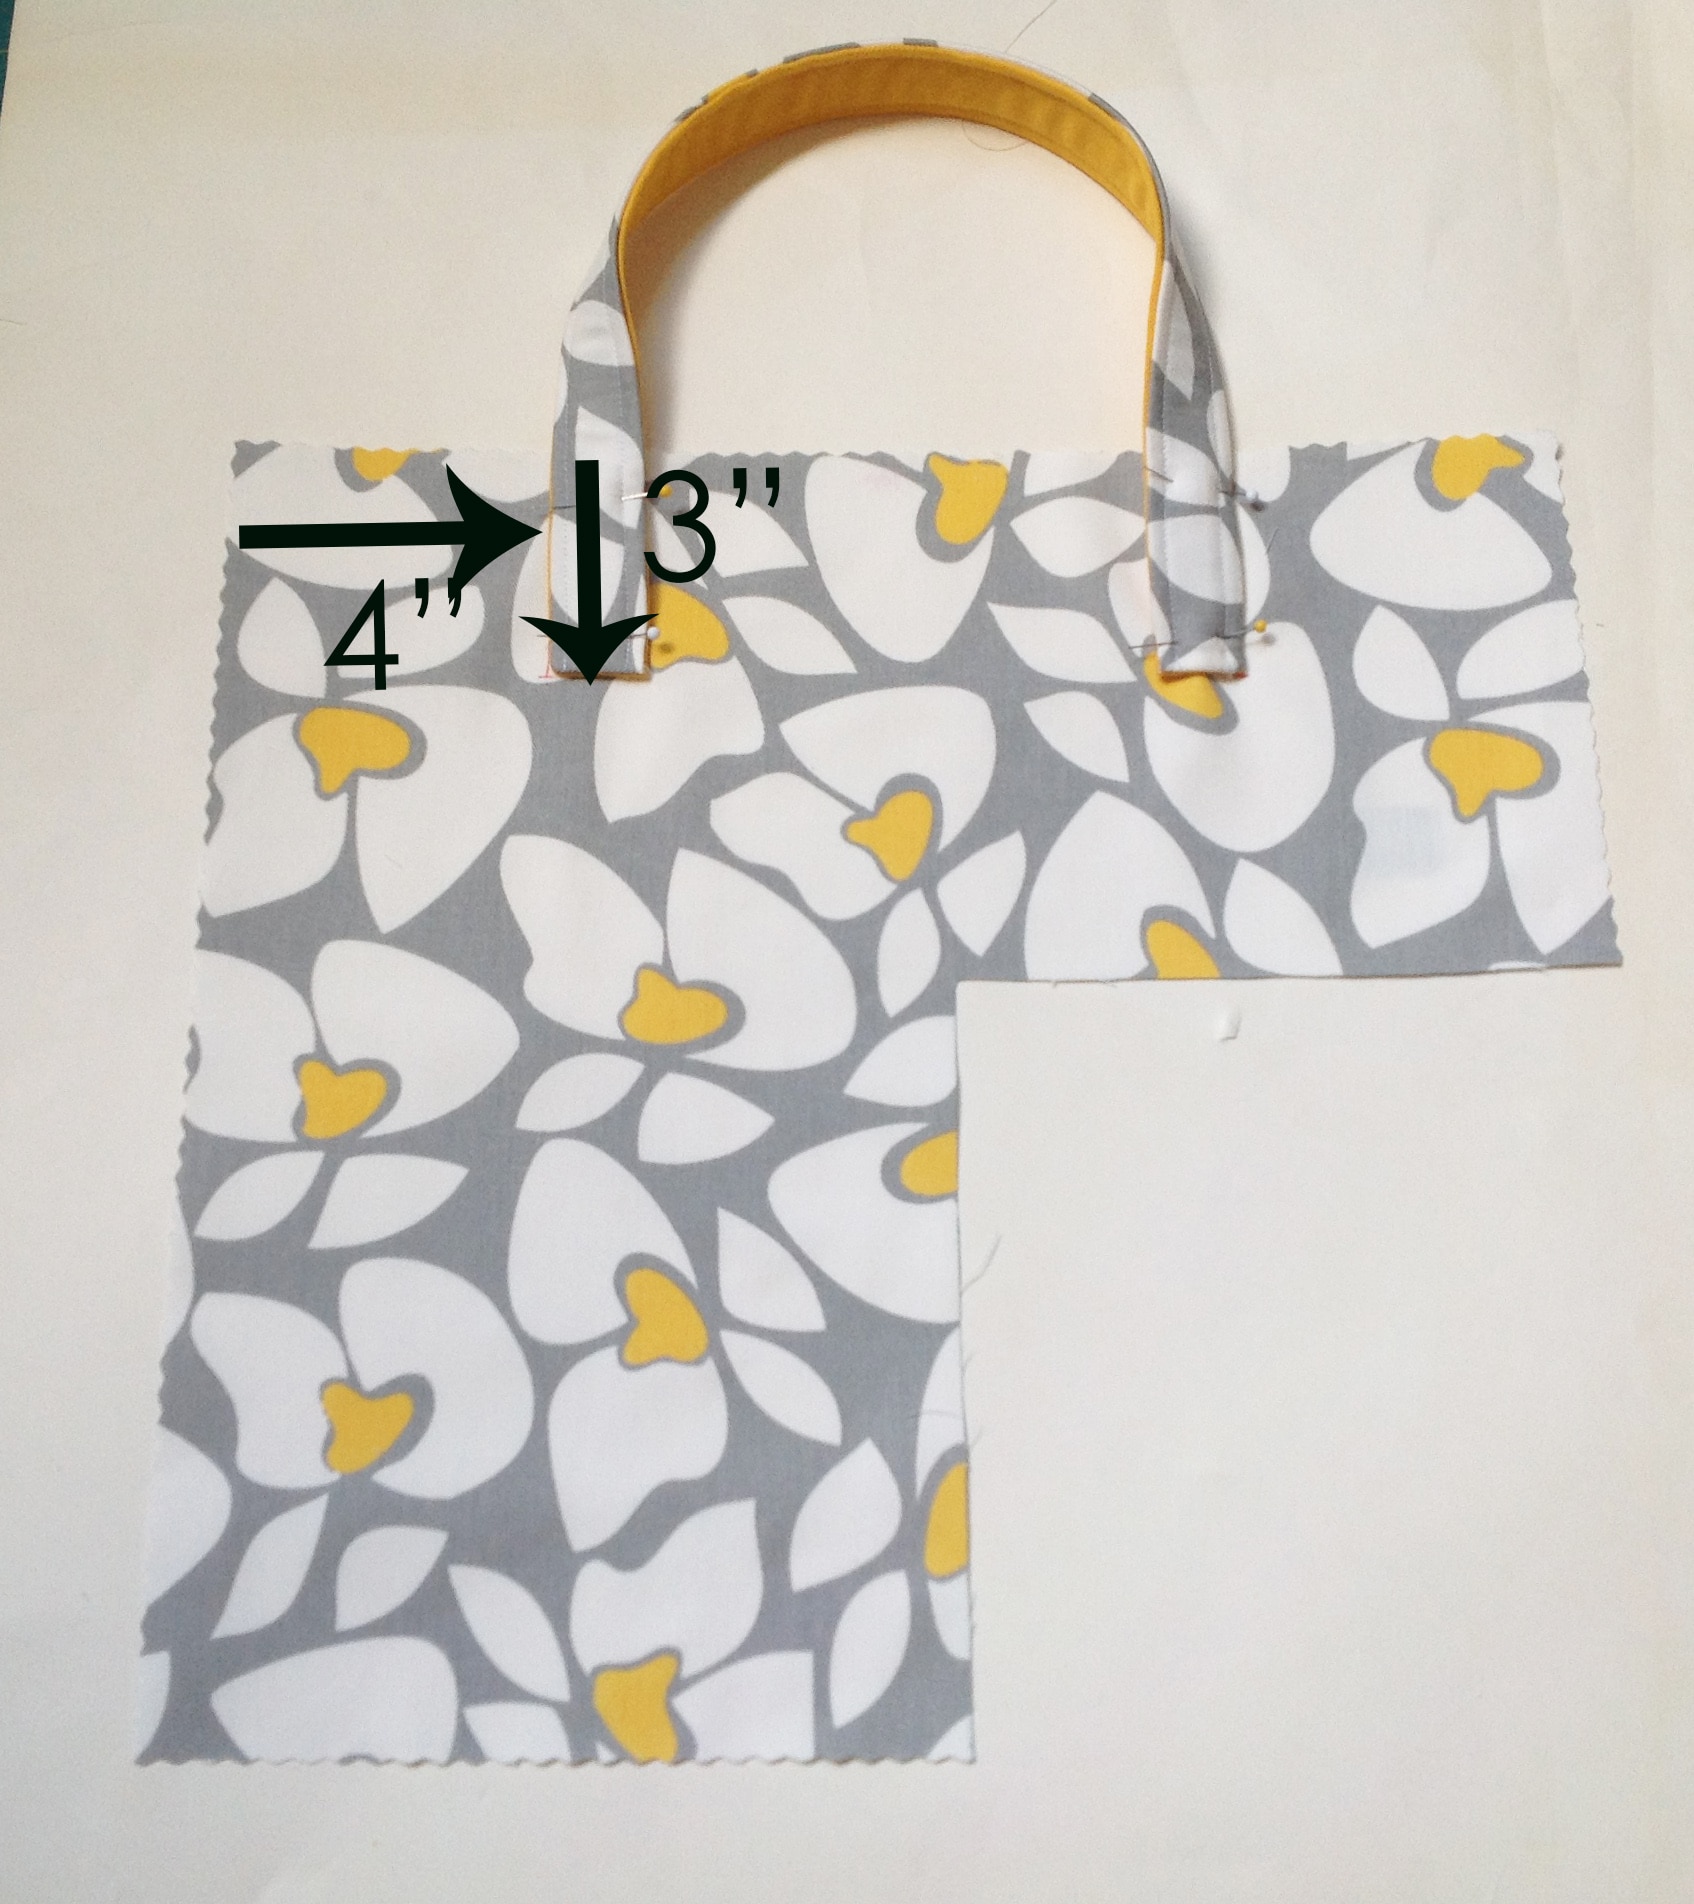 Now we are going to mark the handle for where we are going to stitch them on. Measure and draw a line 1/4″ up from the end of the handle and then draw another line 1″ up from the first. It occurs to me as I am writing this that marking this handle would be easier before you pin it to the Side Panel – how many of these have I made? I guess there is always room for improvement! In any case, repeat that the handle ends.
 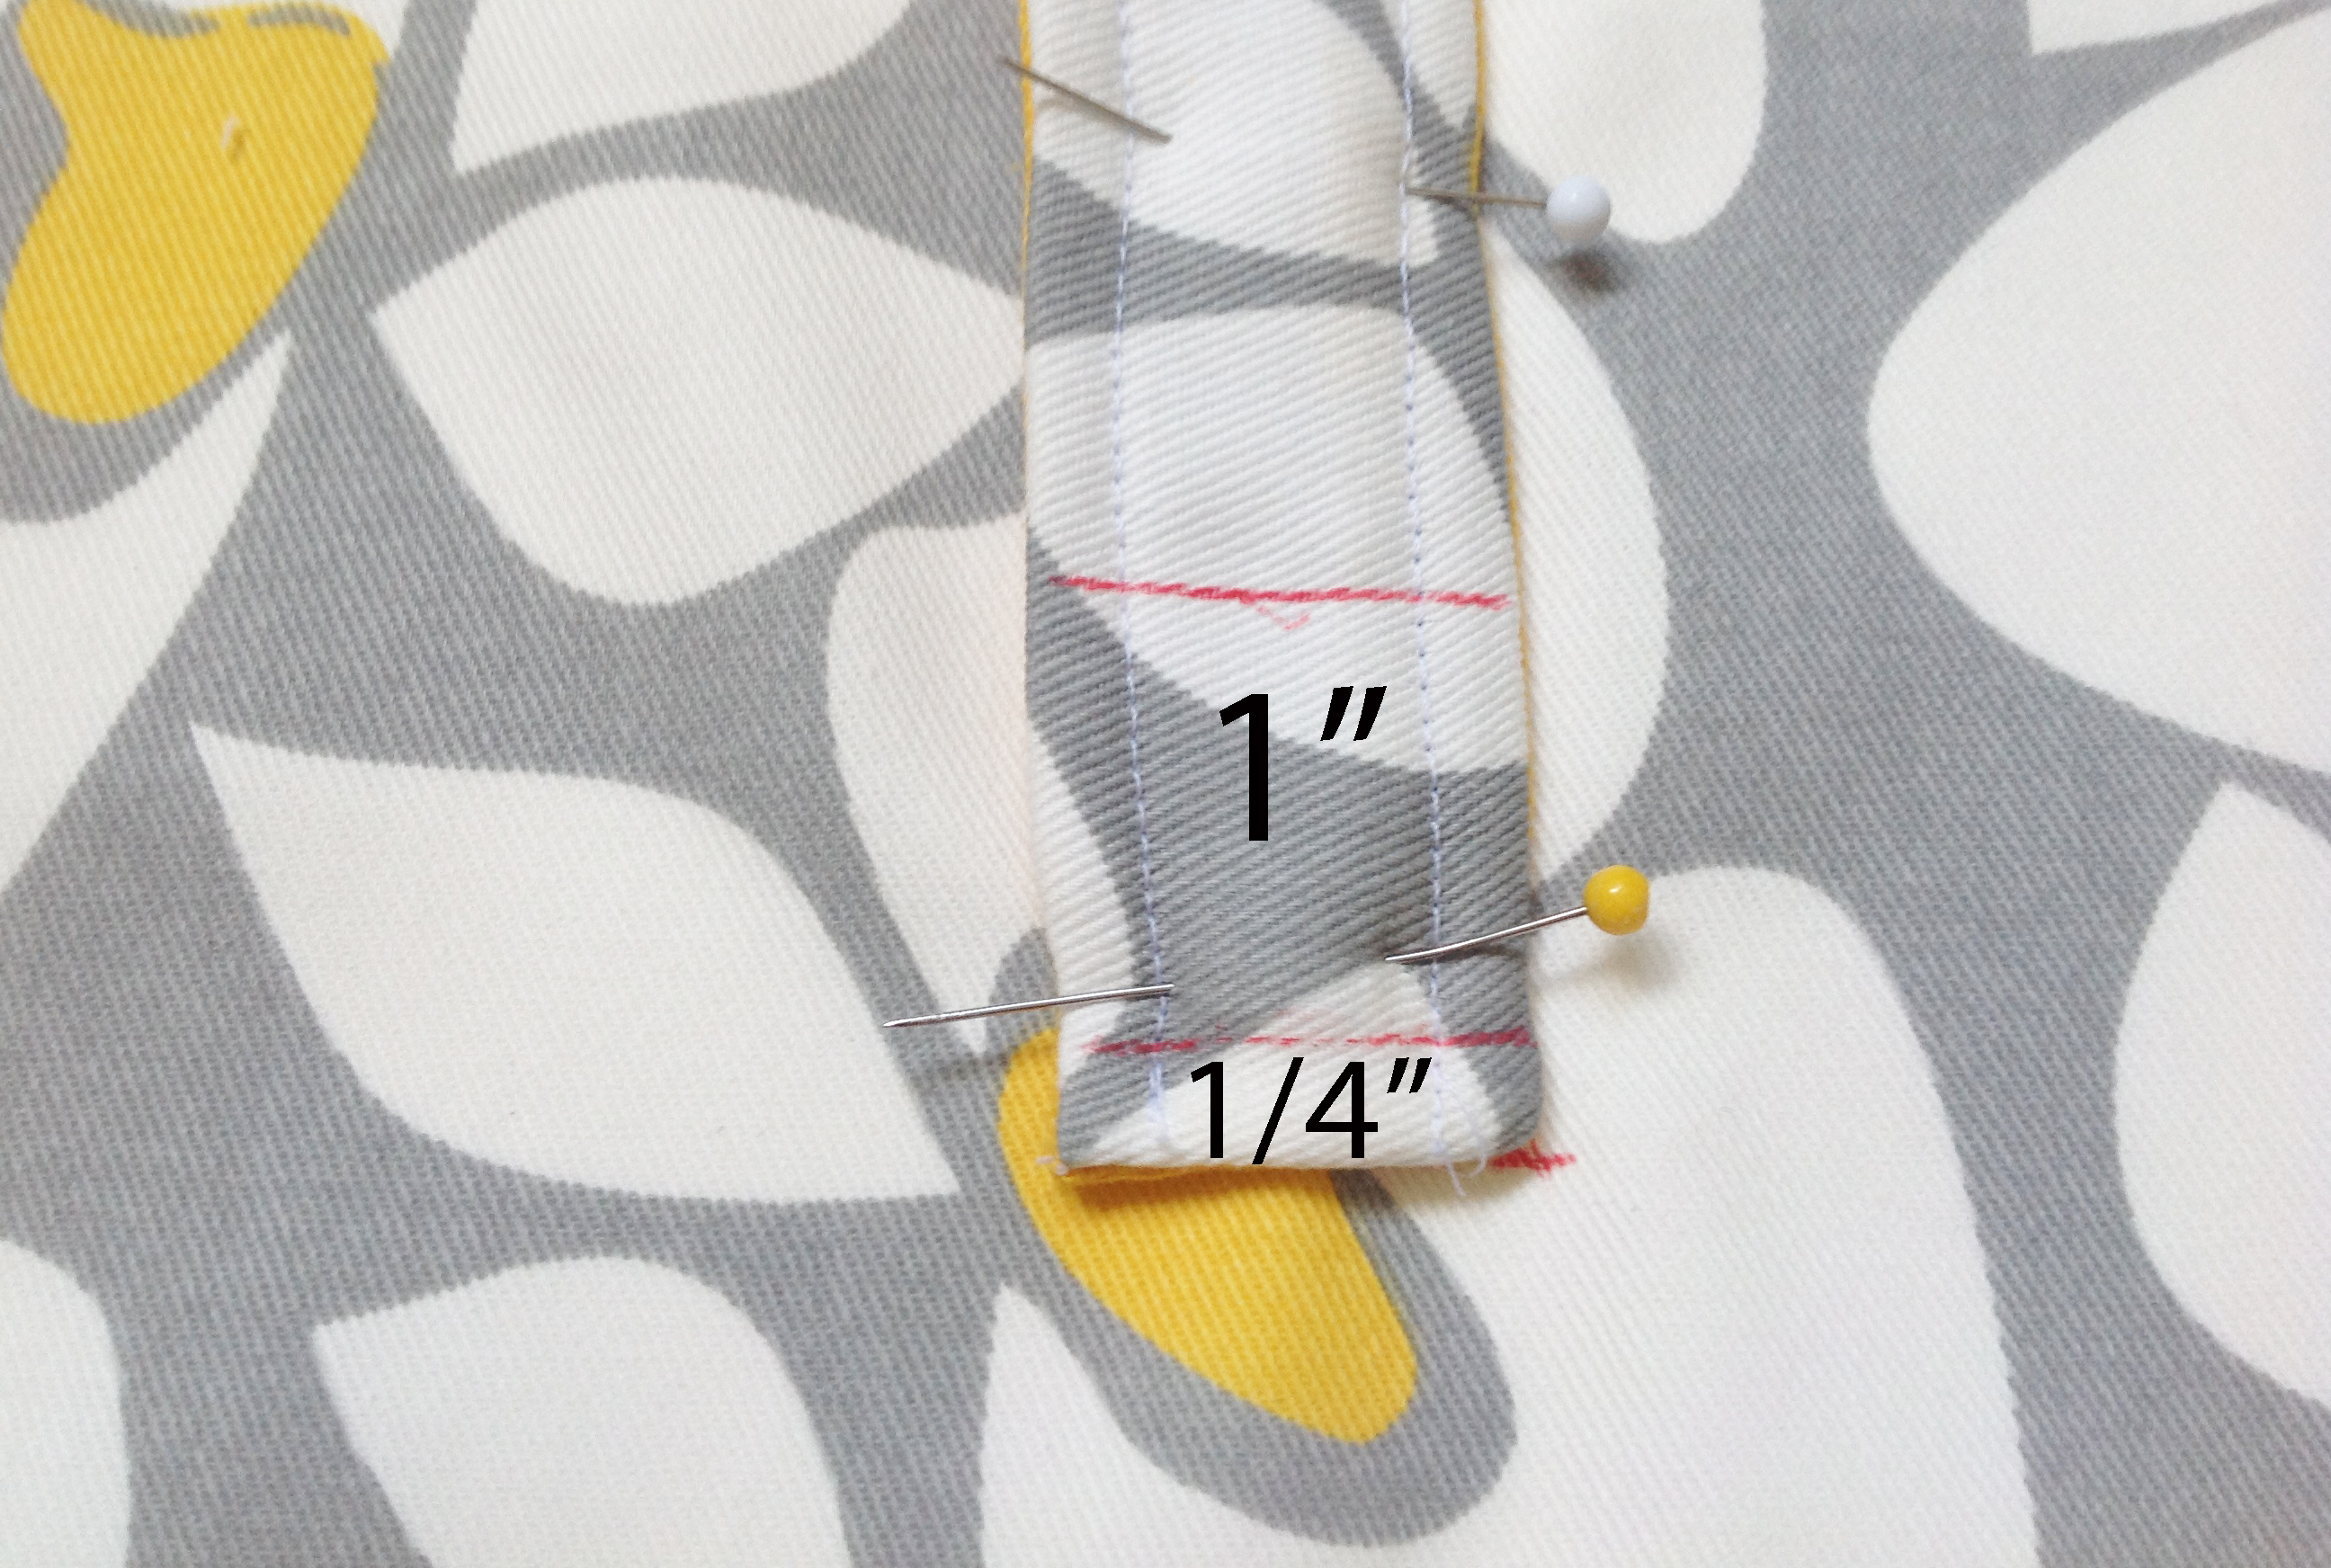 Now, stitch a rectangle between the 1/4″ and 1″ lines. It’s a good idea to sew over the seams that are already there along the vertical sides. Then, sew an X in the center.
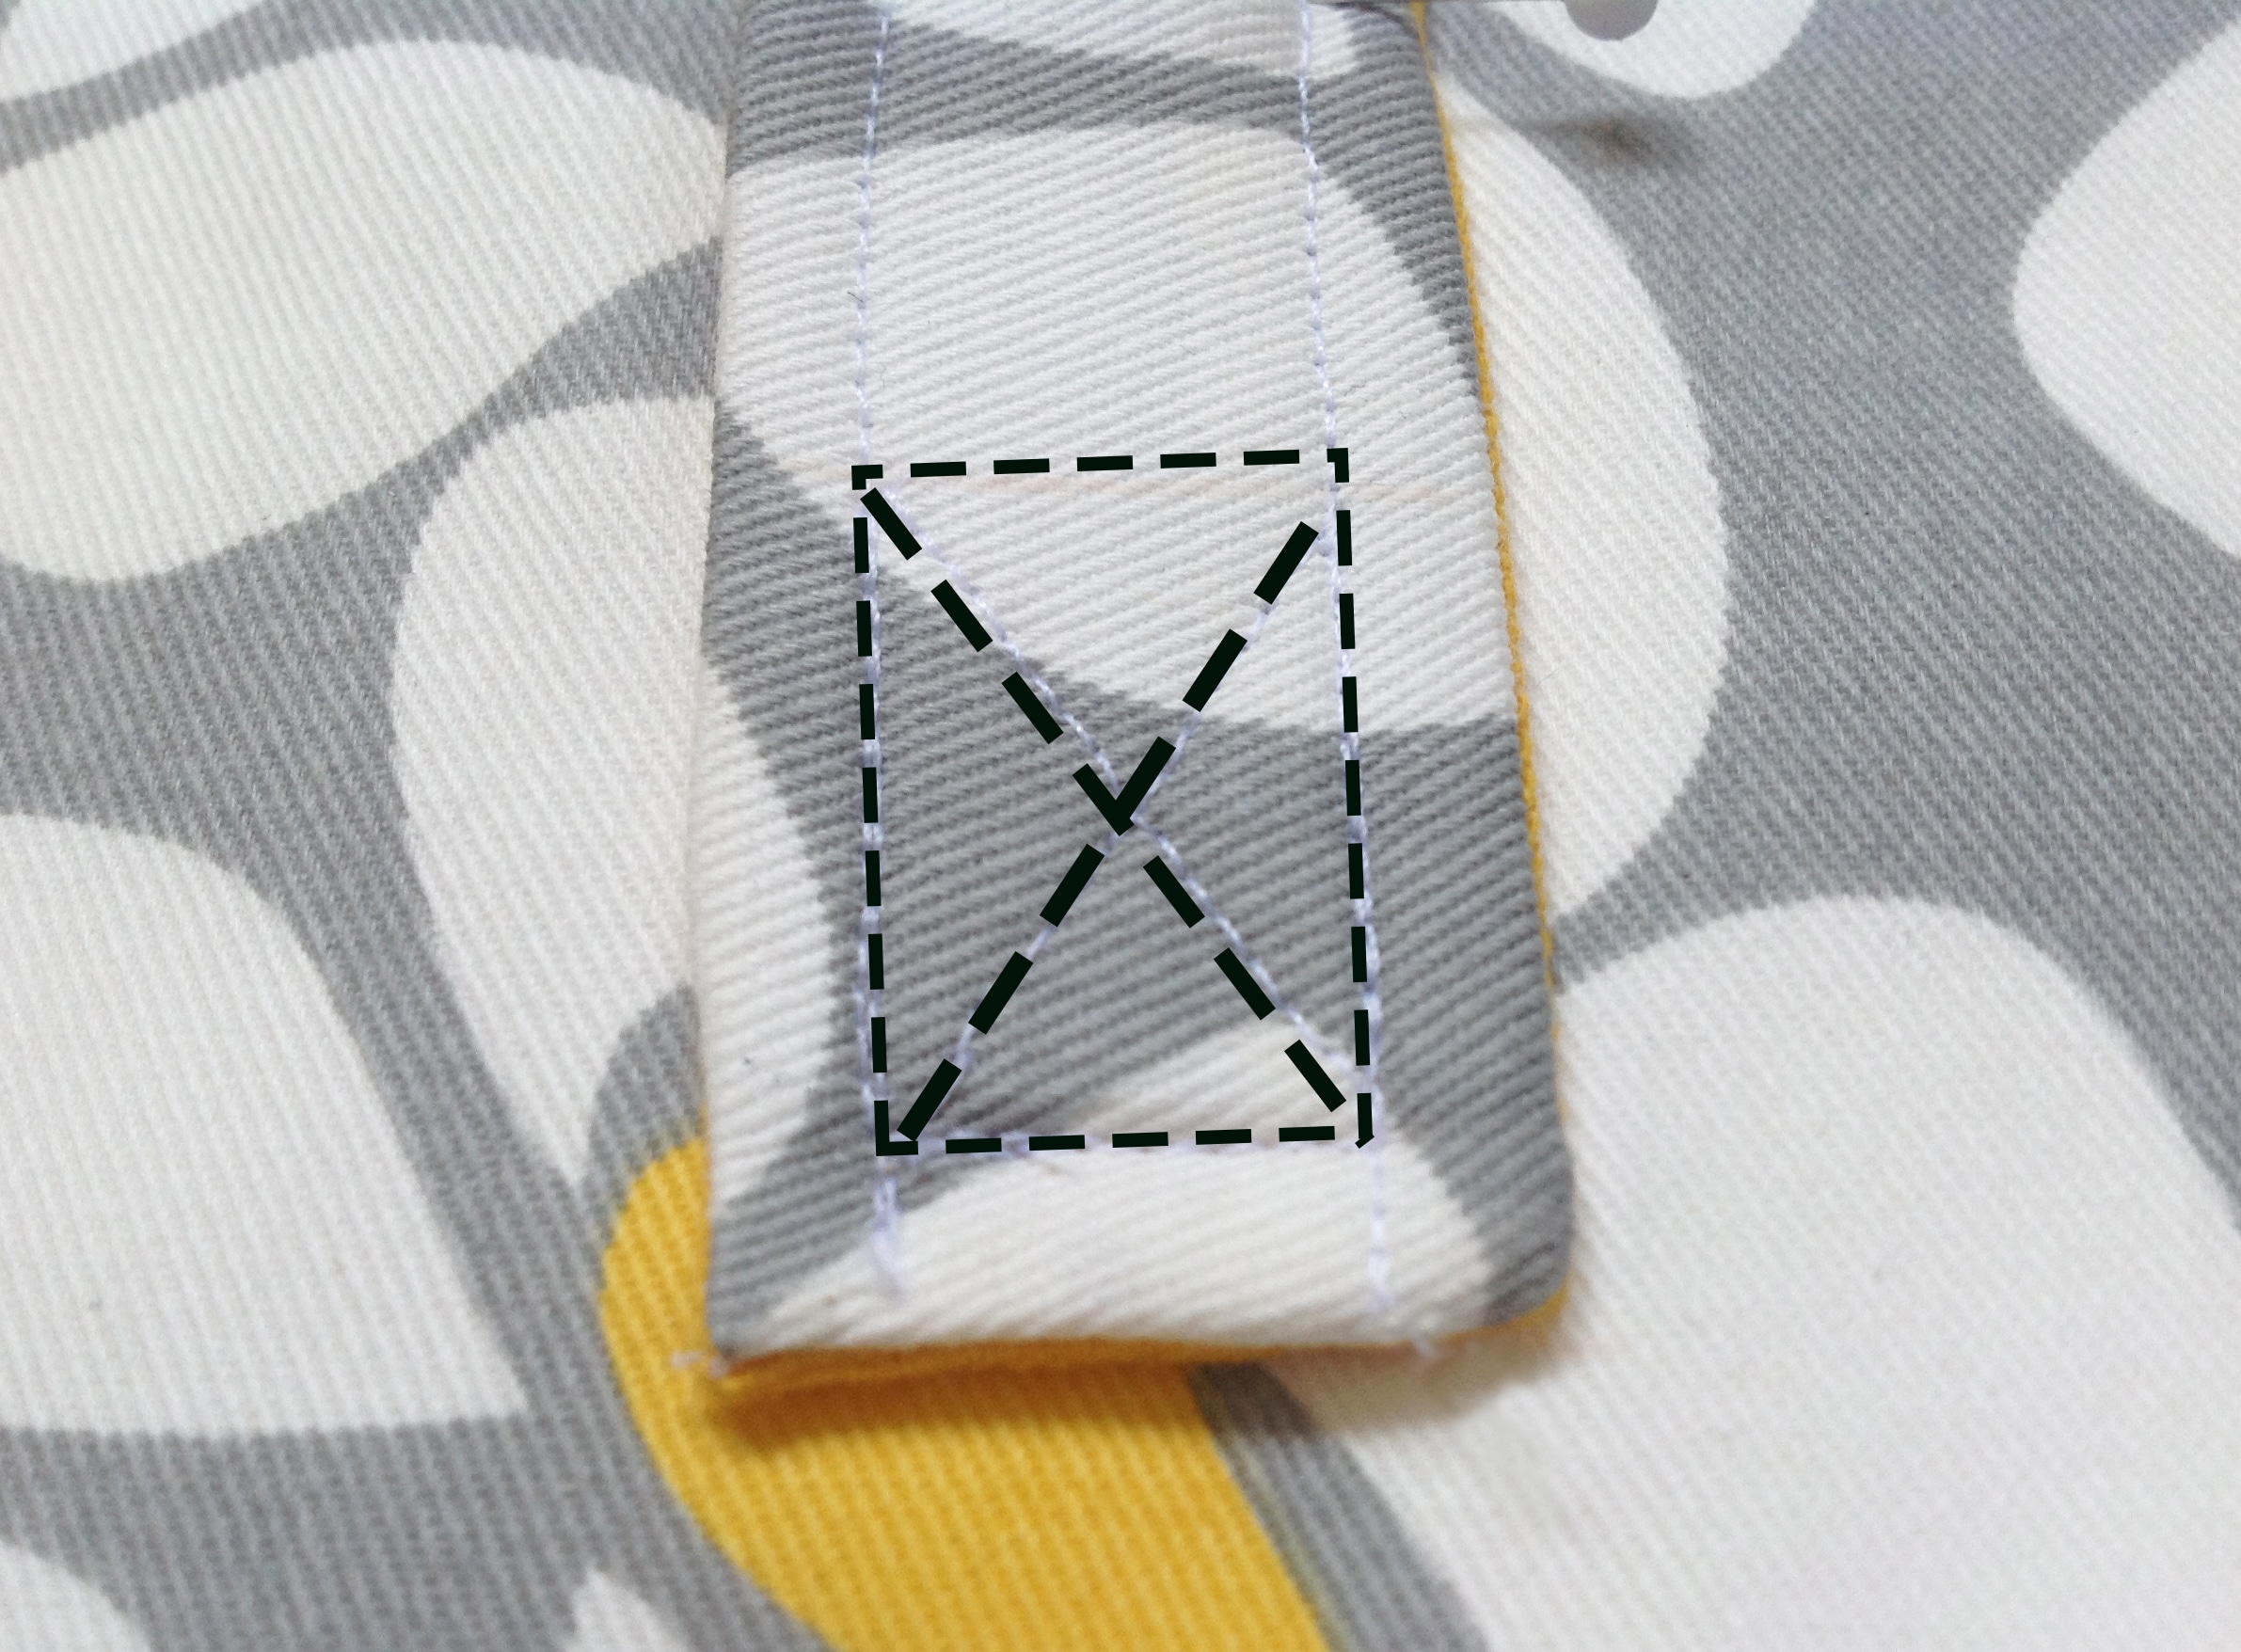
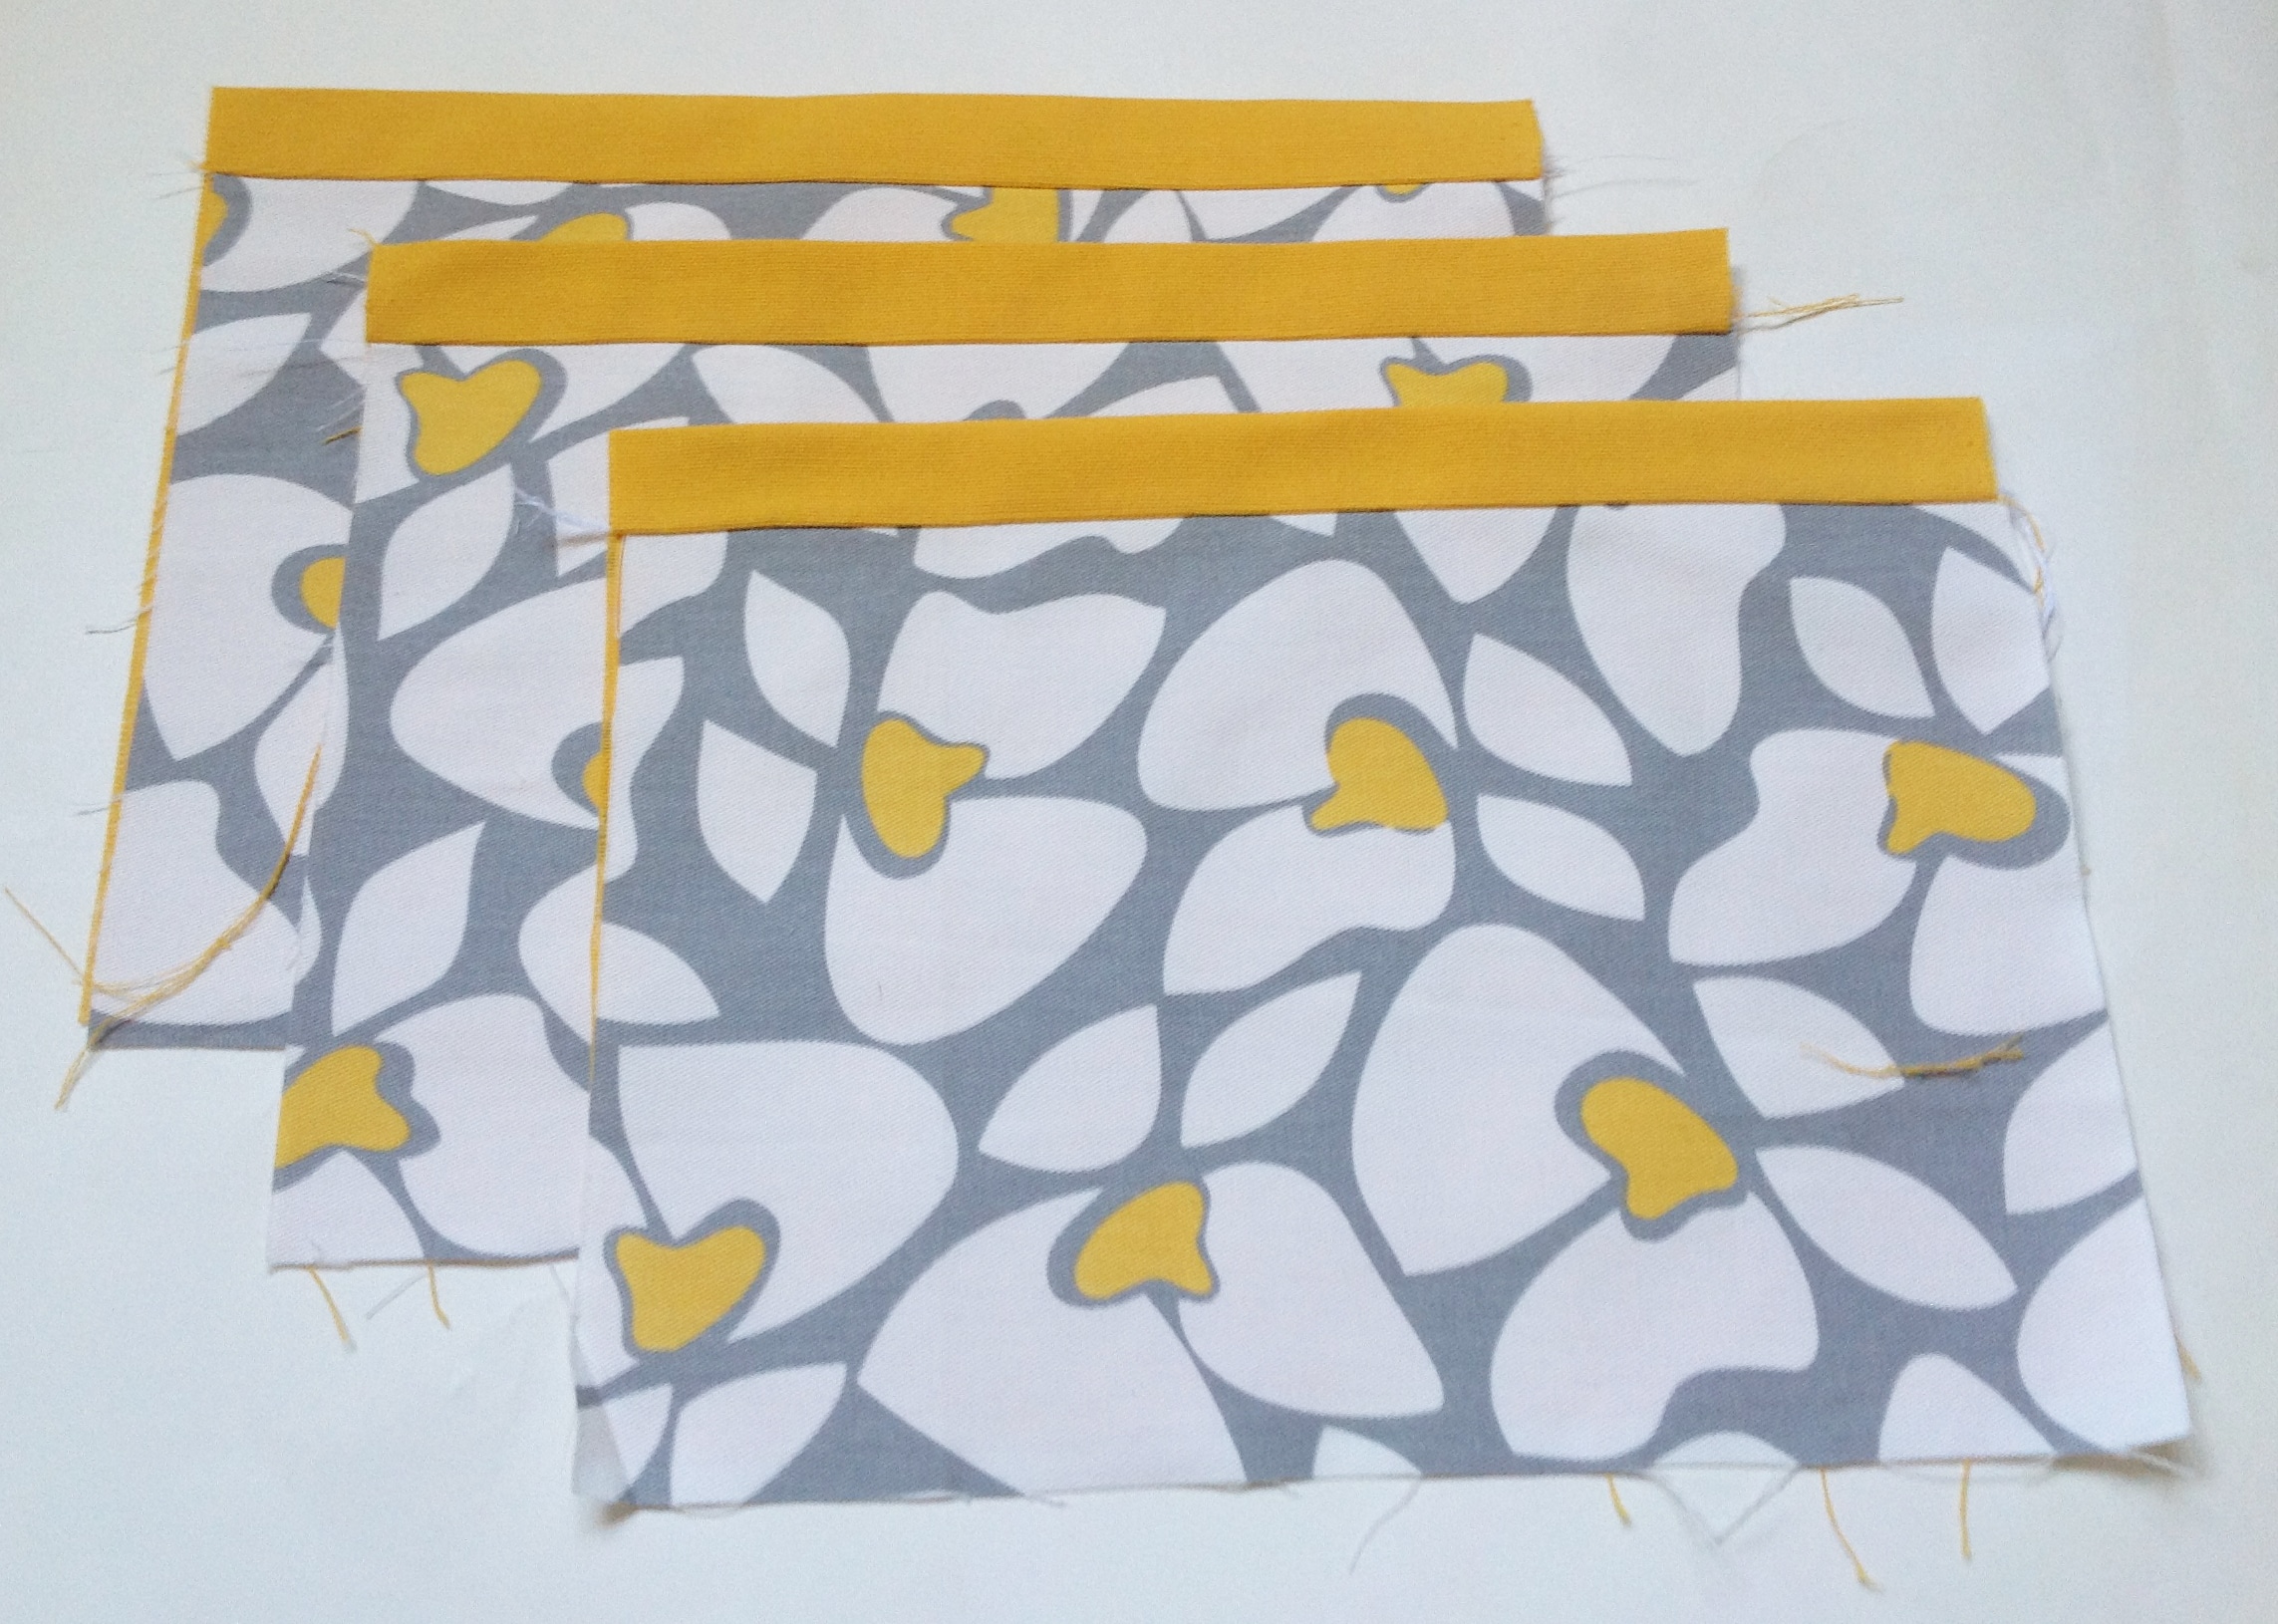
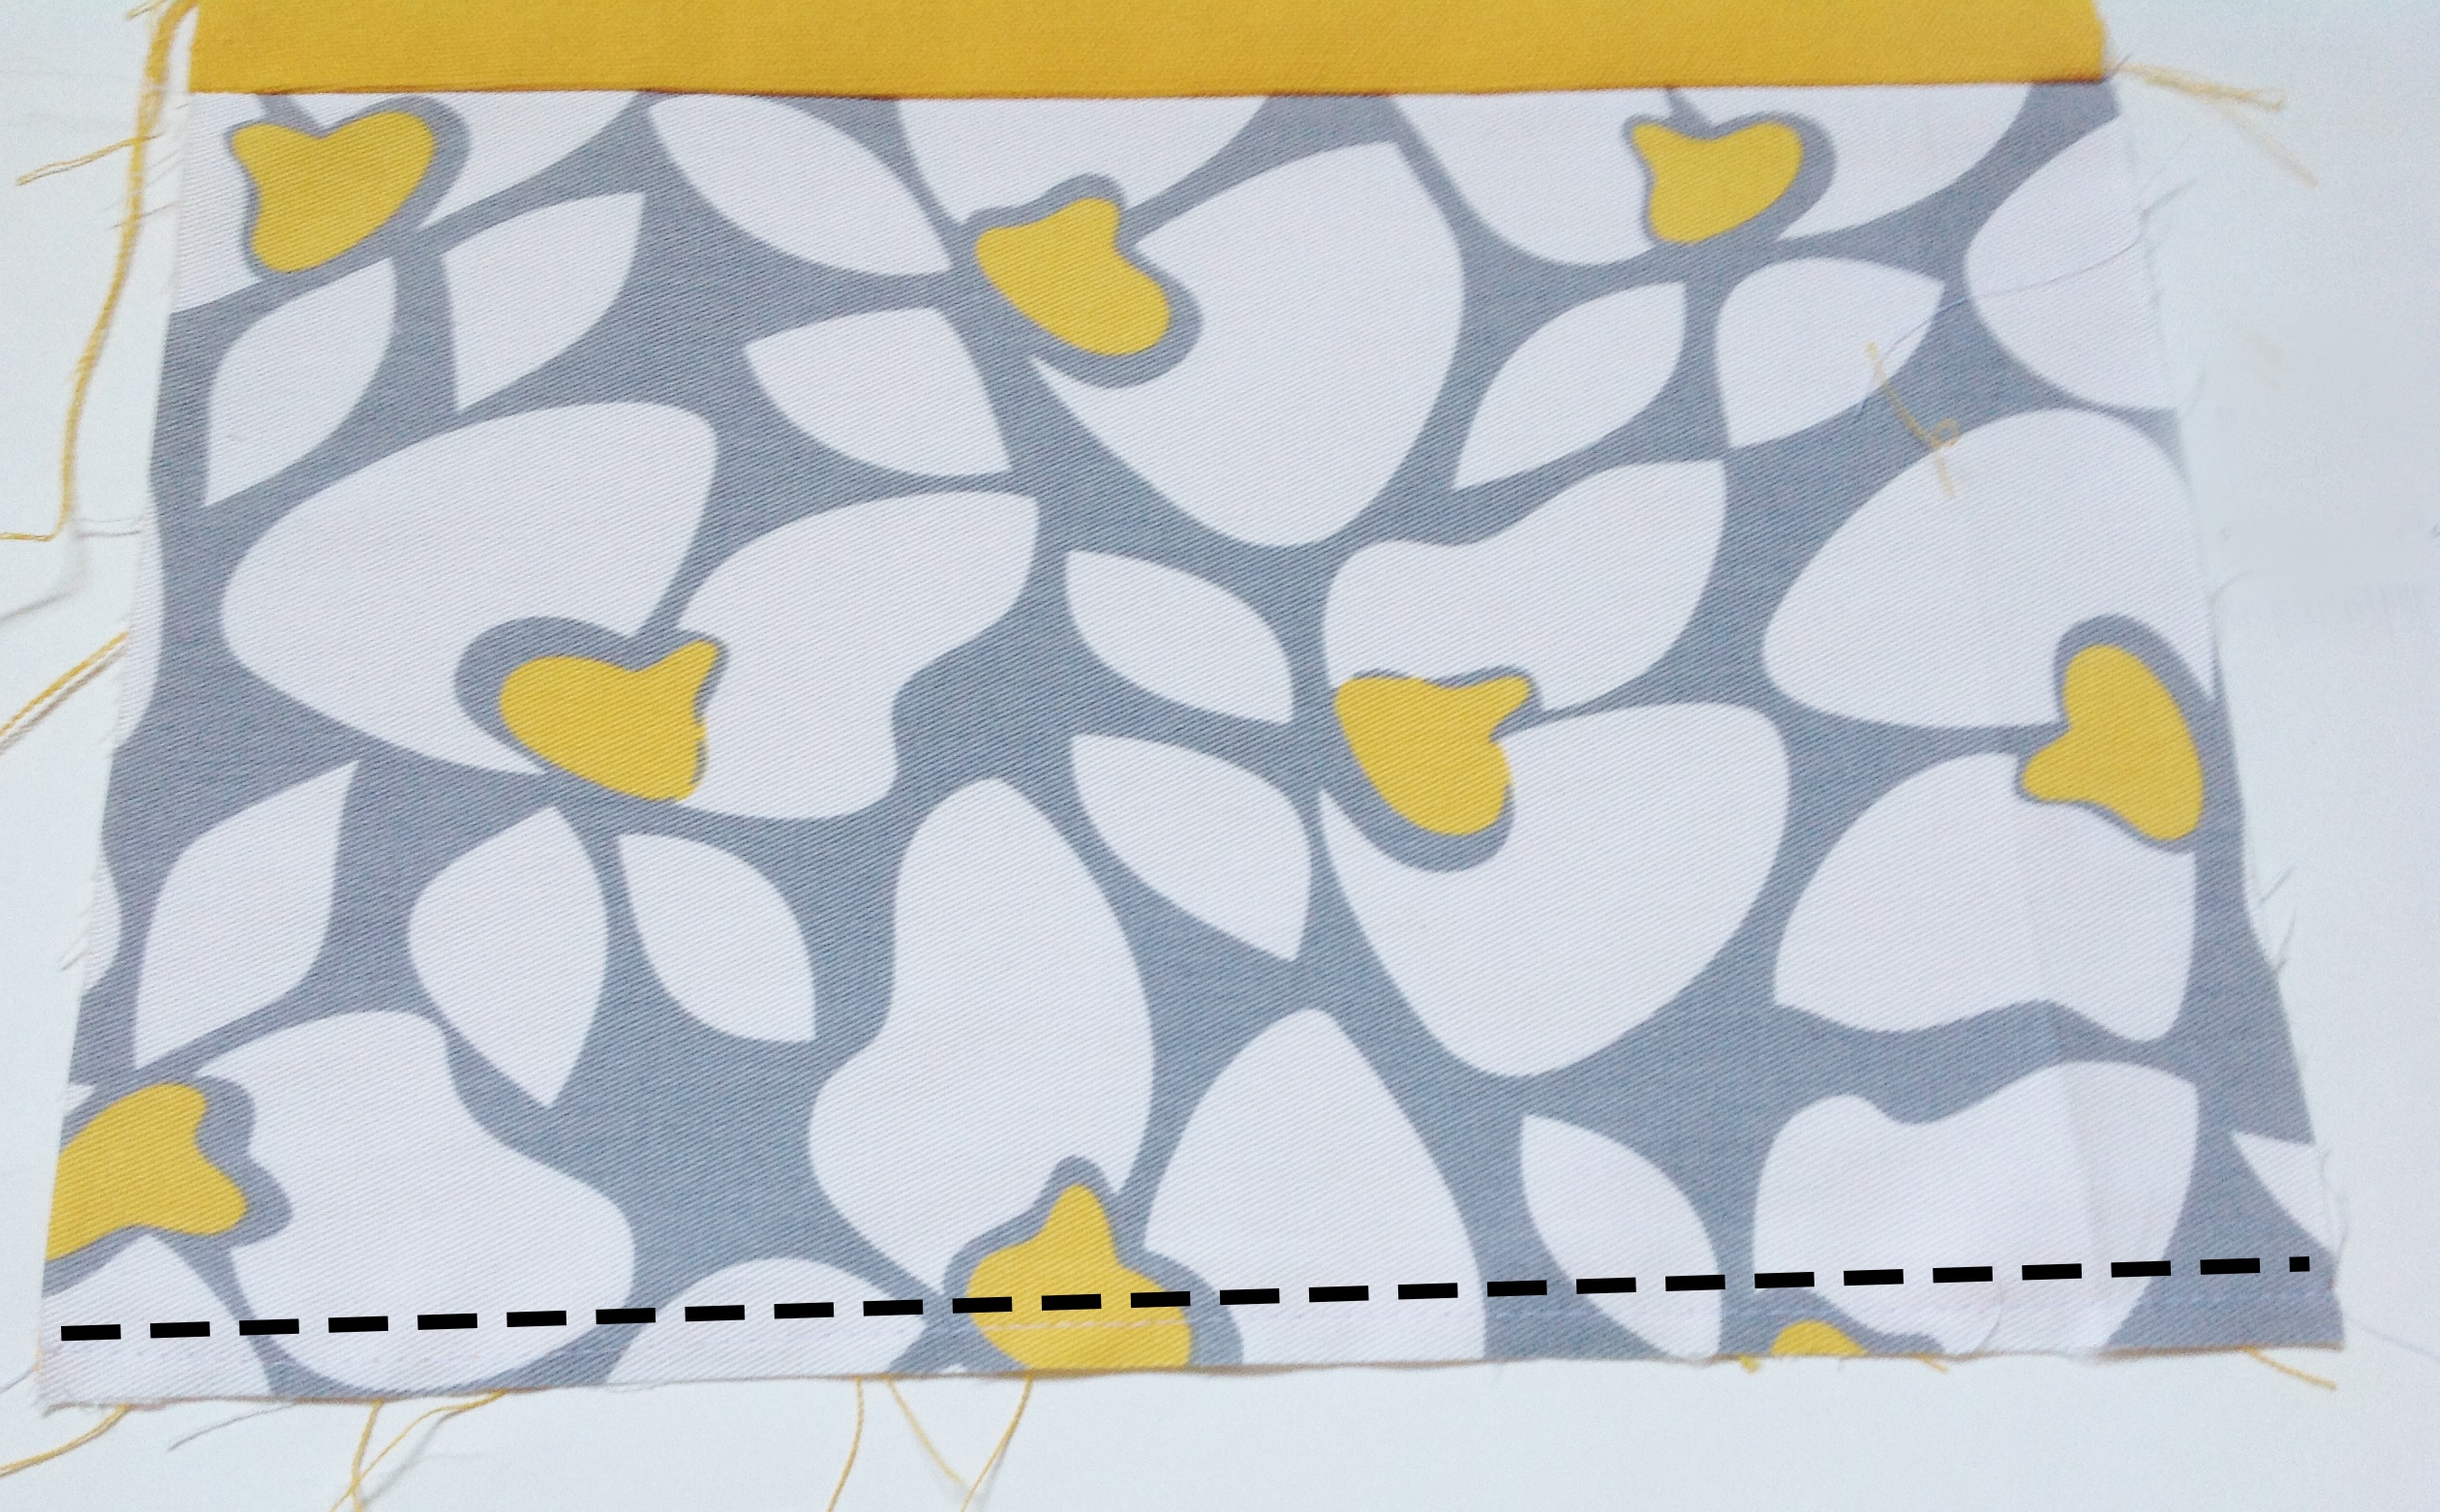
For all those pocket-lovers, here’s what you do: Grab all 6 of your pocket pieces: 3- J pieces and 3-E pieces, and your elastic. Cut 3 – 13″ strips from the elastic. Take one pocket piece each fabric and, with right sides facing, align the top and side edges. The pocket in your main fabric should be shorter than those in the lining fabric. Sew along the top edge. 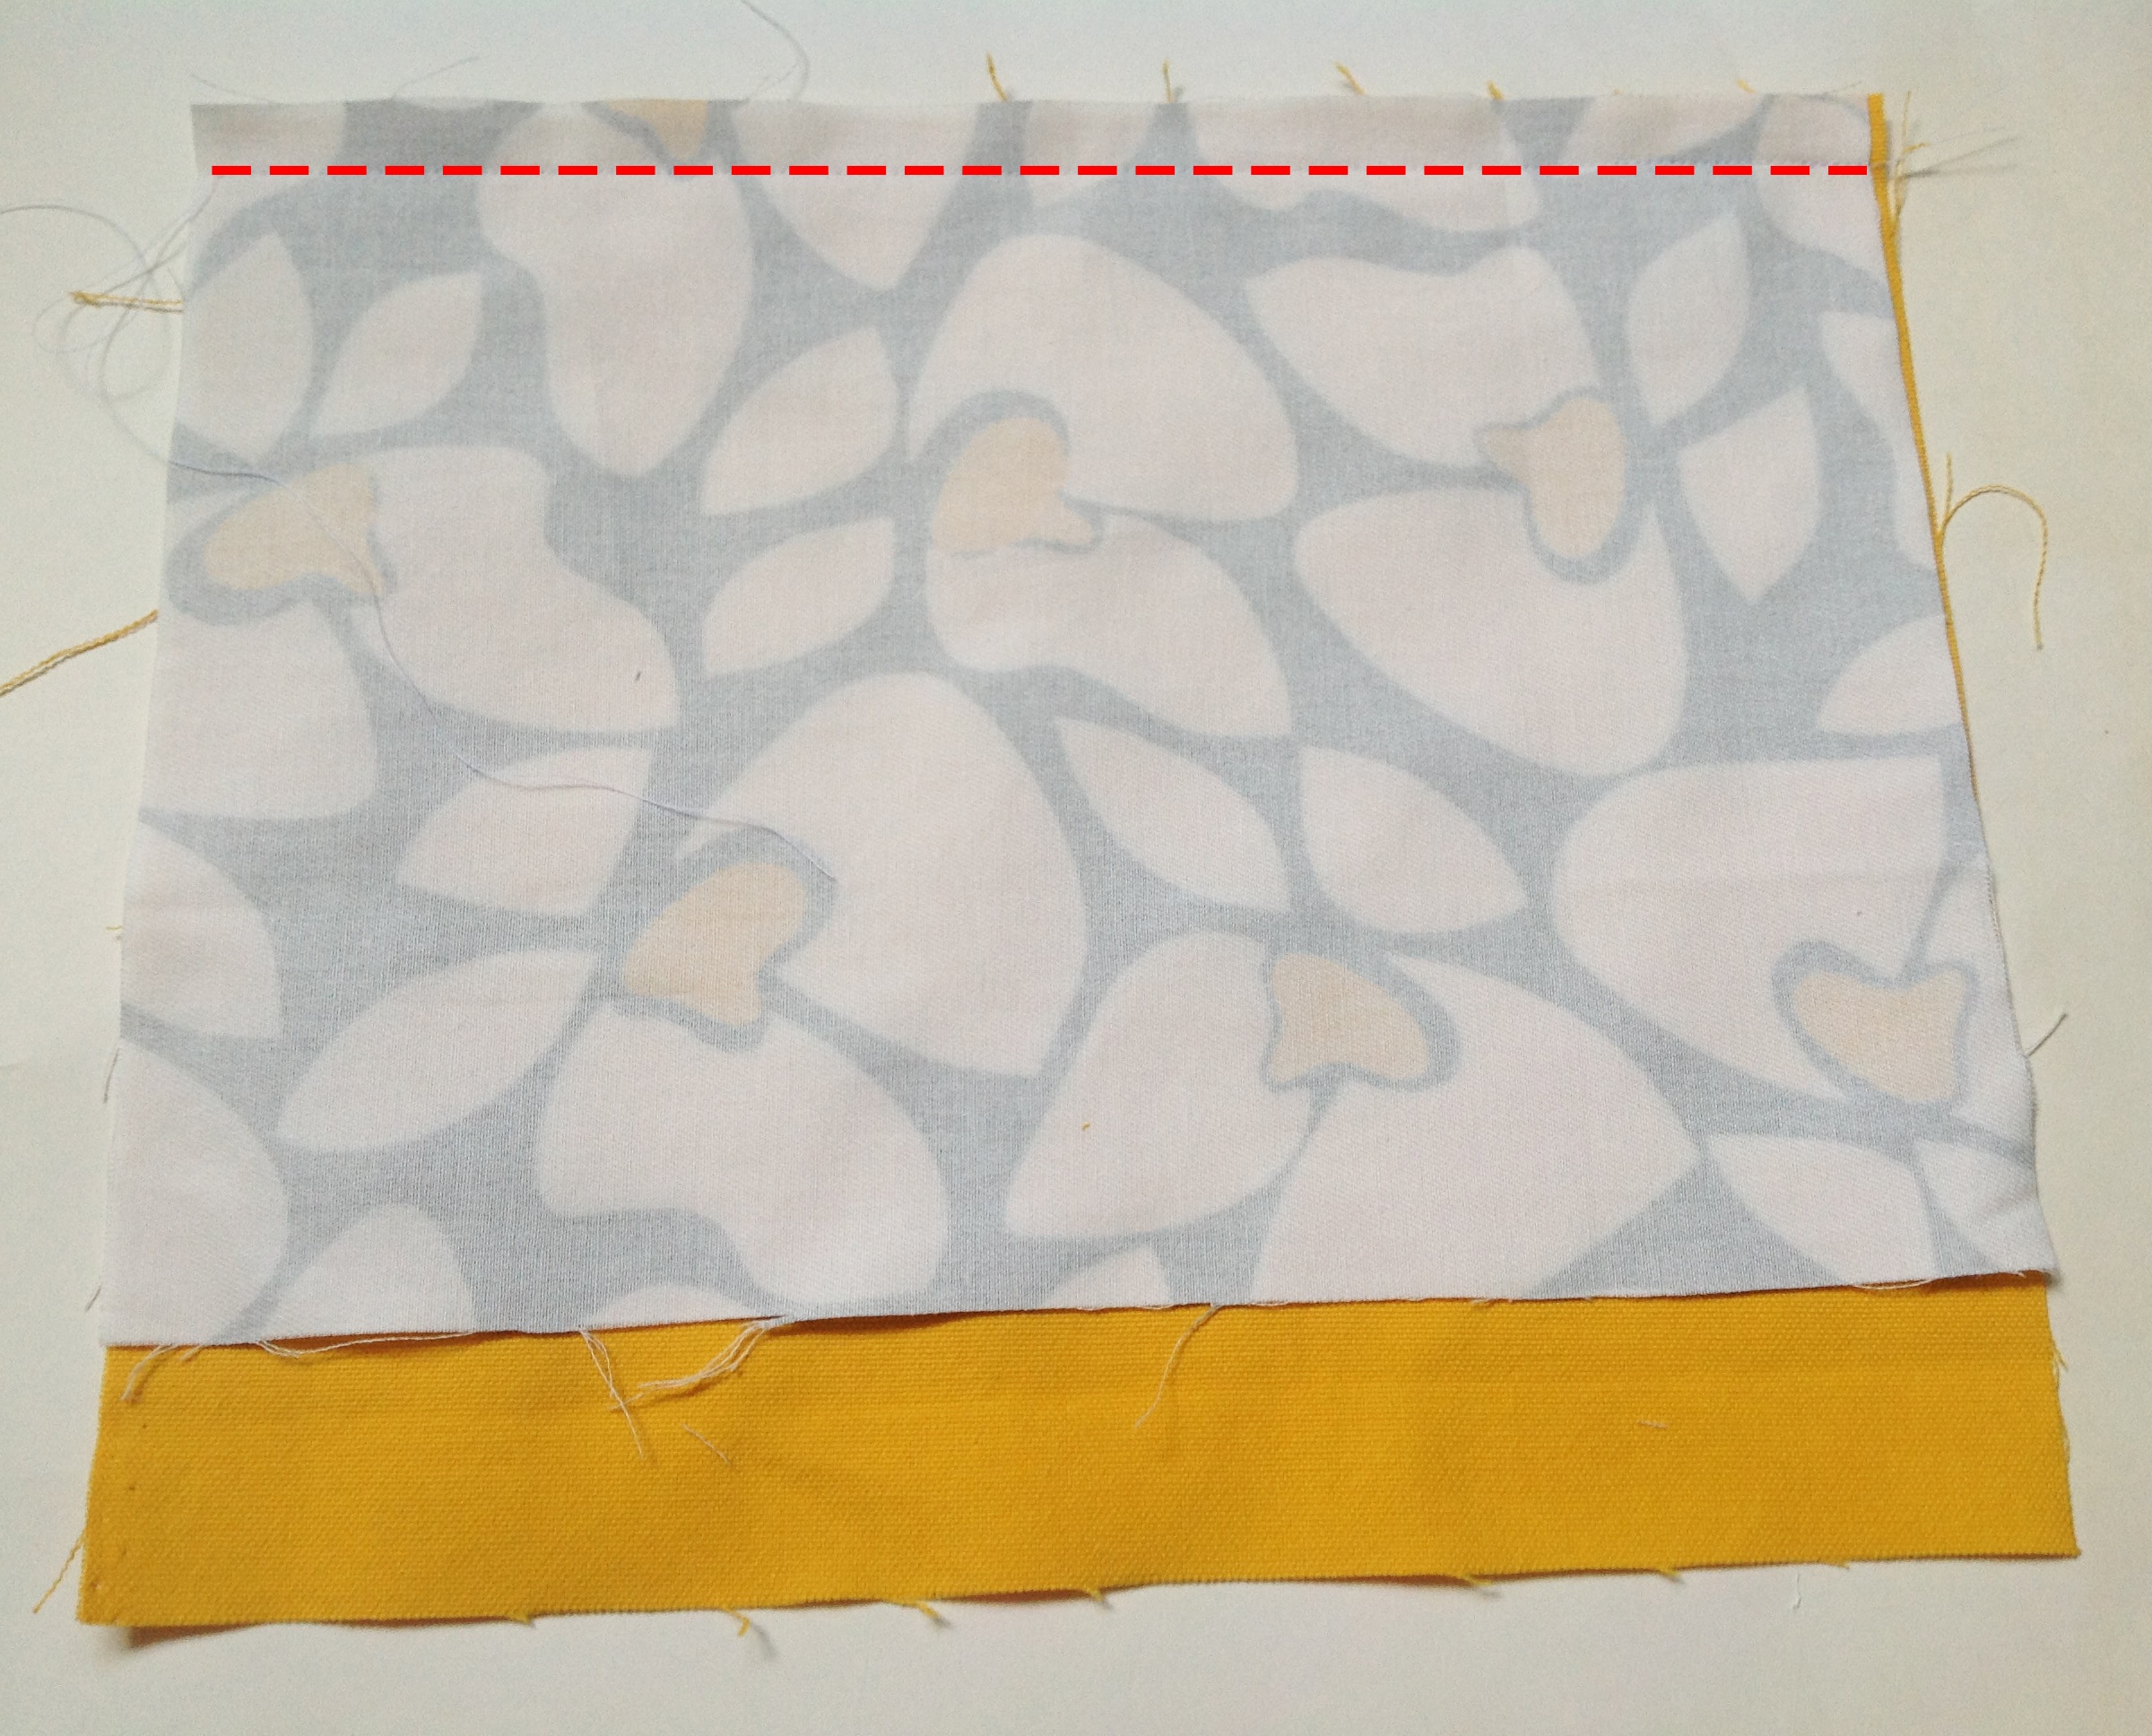
 Now we are going to put our elastic in. You can create a casing and then put your elastic in using a safety pin, but that seems like an unnecessary step to me since we are using a pretty wide casing here, so this is how I do it: Open the fold of one of your pockets and center your elastic so it’s snuggled up to the fold
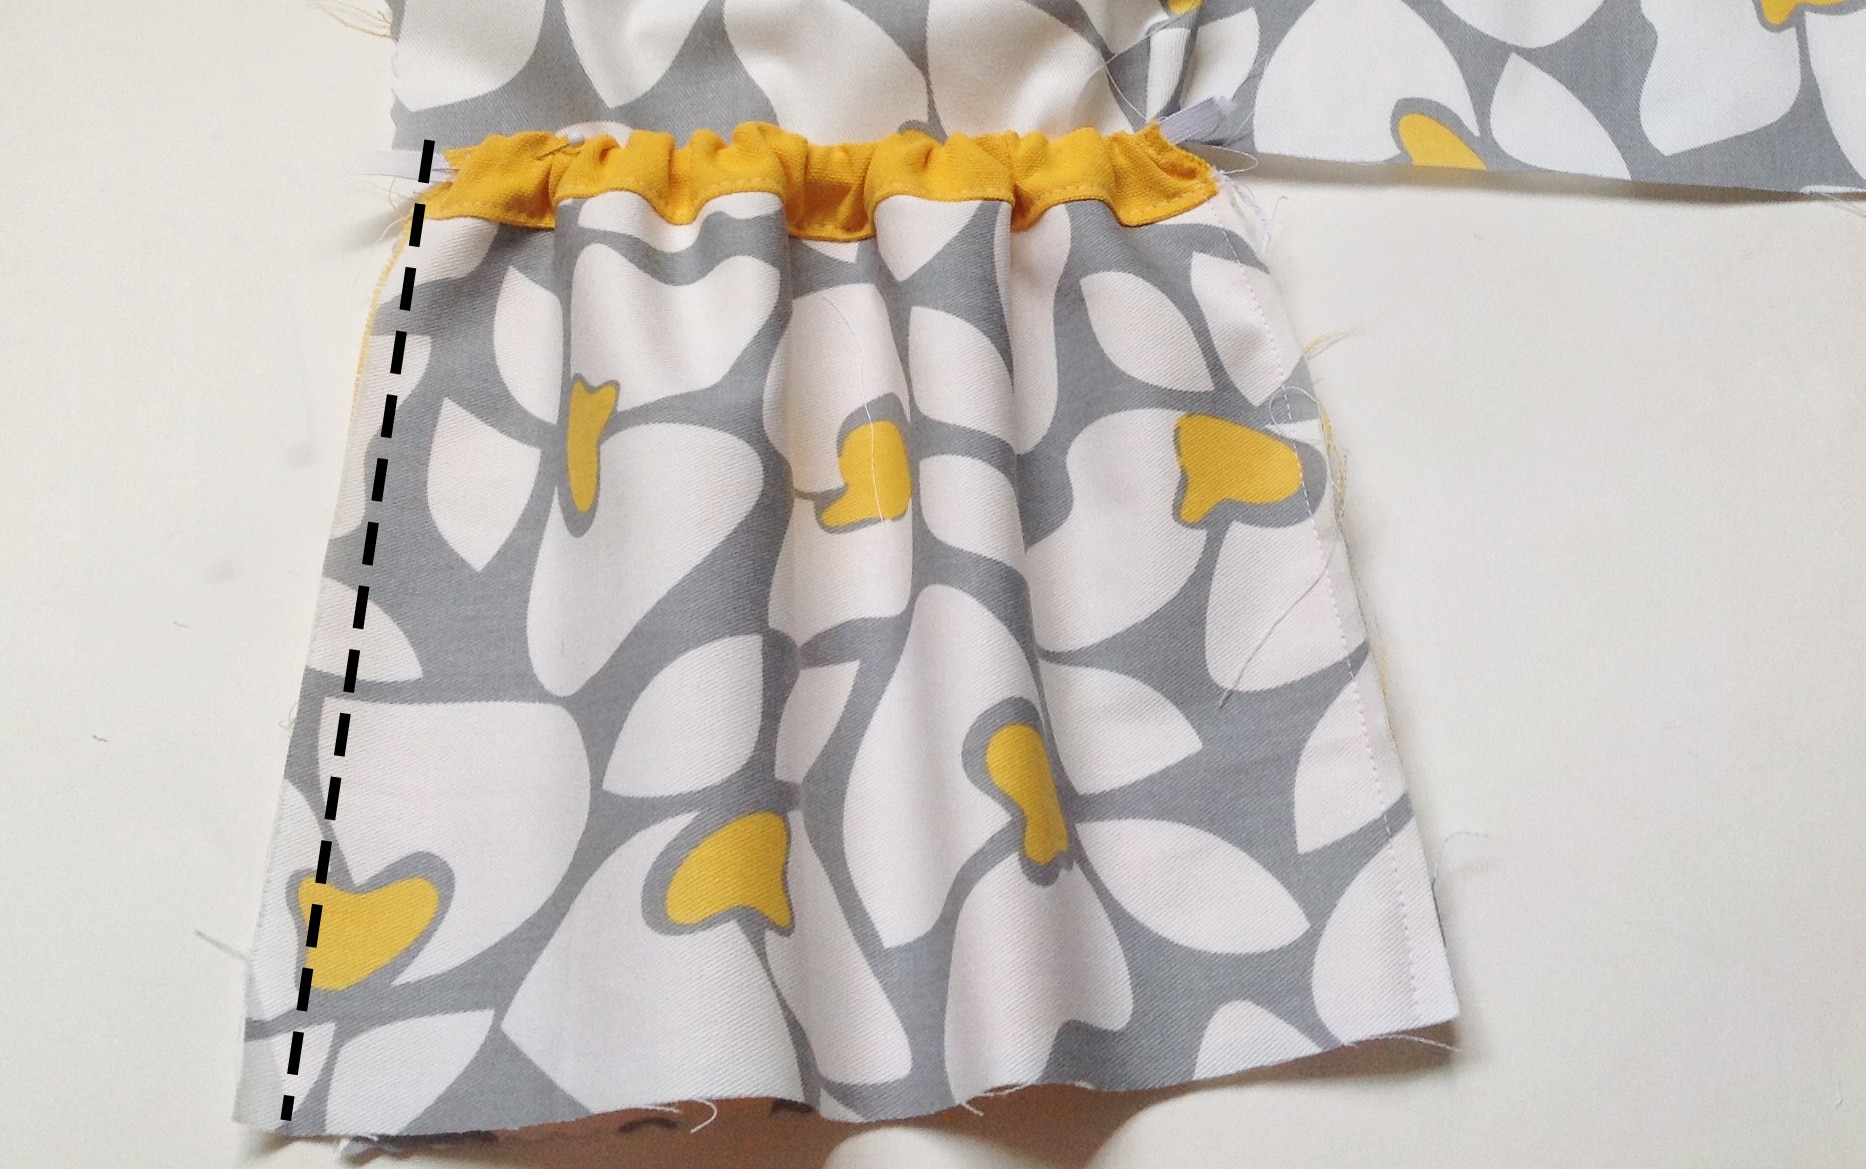
 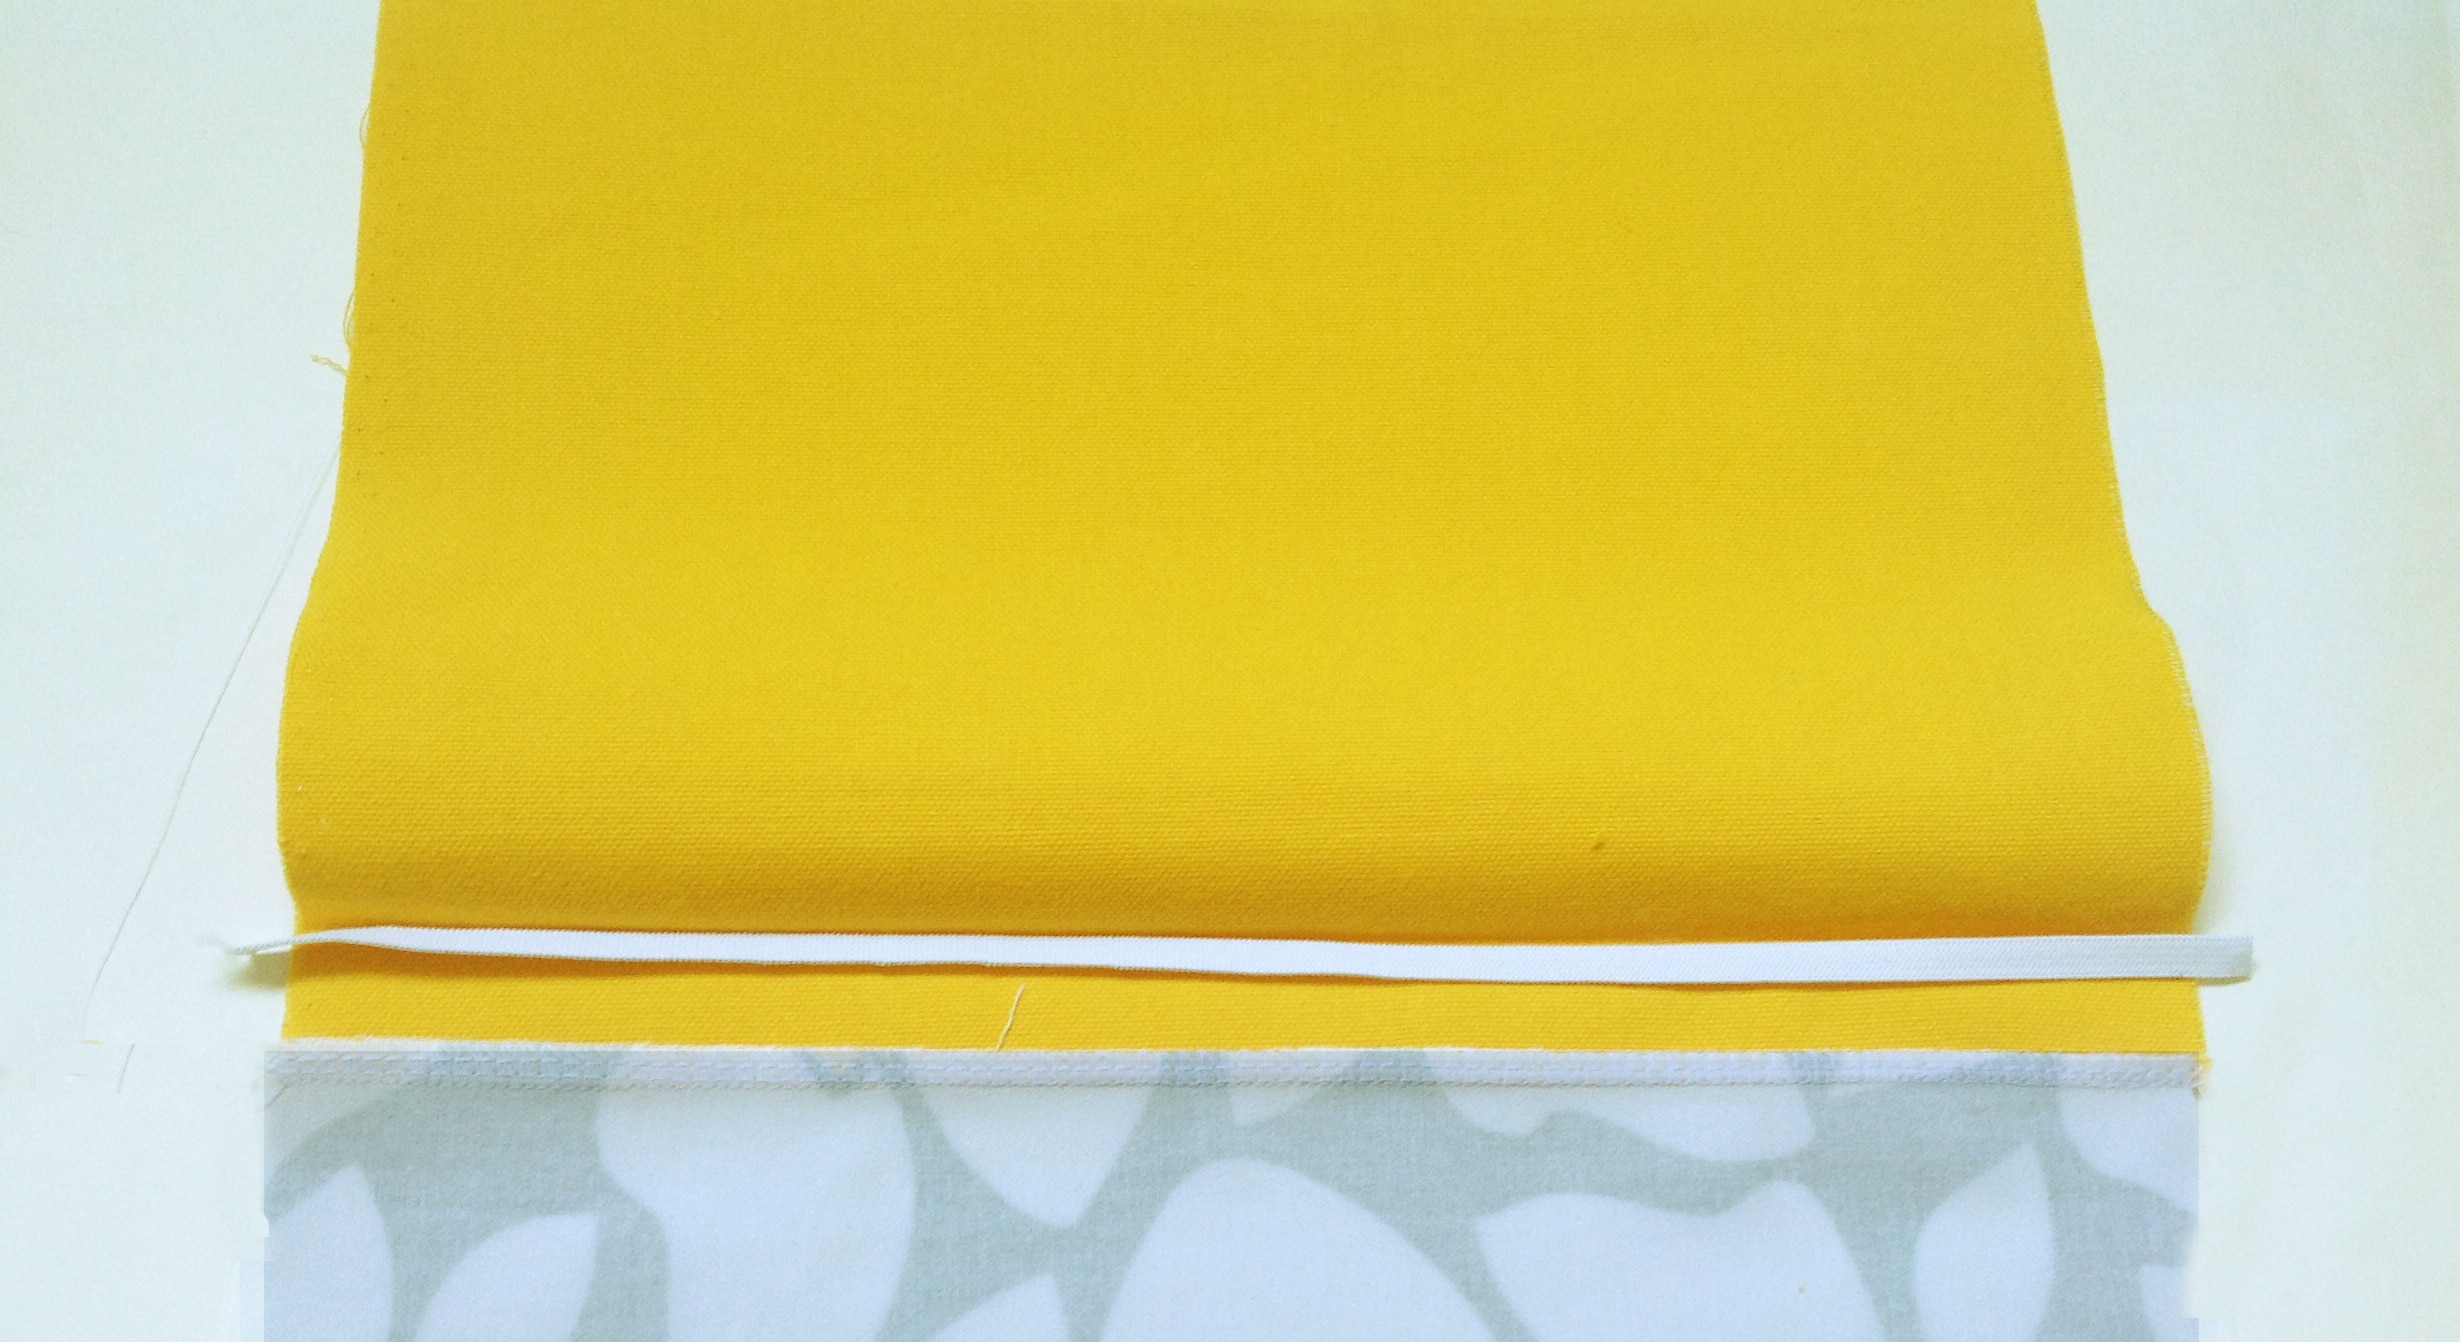 and then refold the pocket. You might want to pin the elastic so it doesn’t inch down from the fold:
 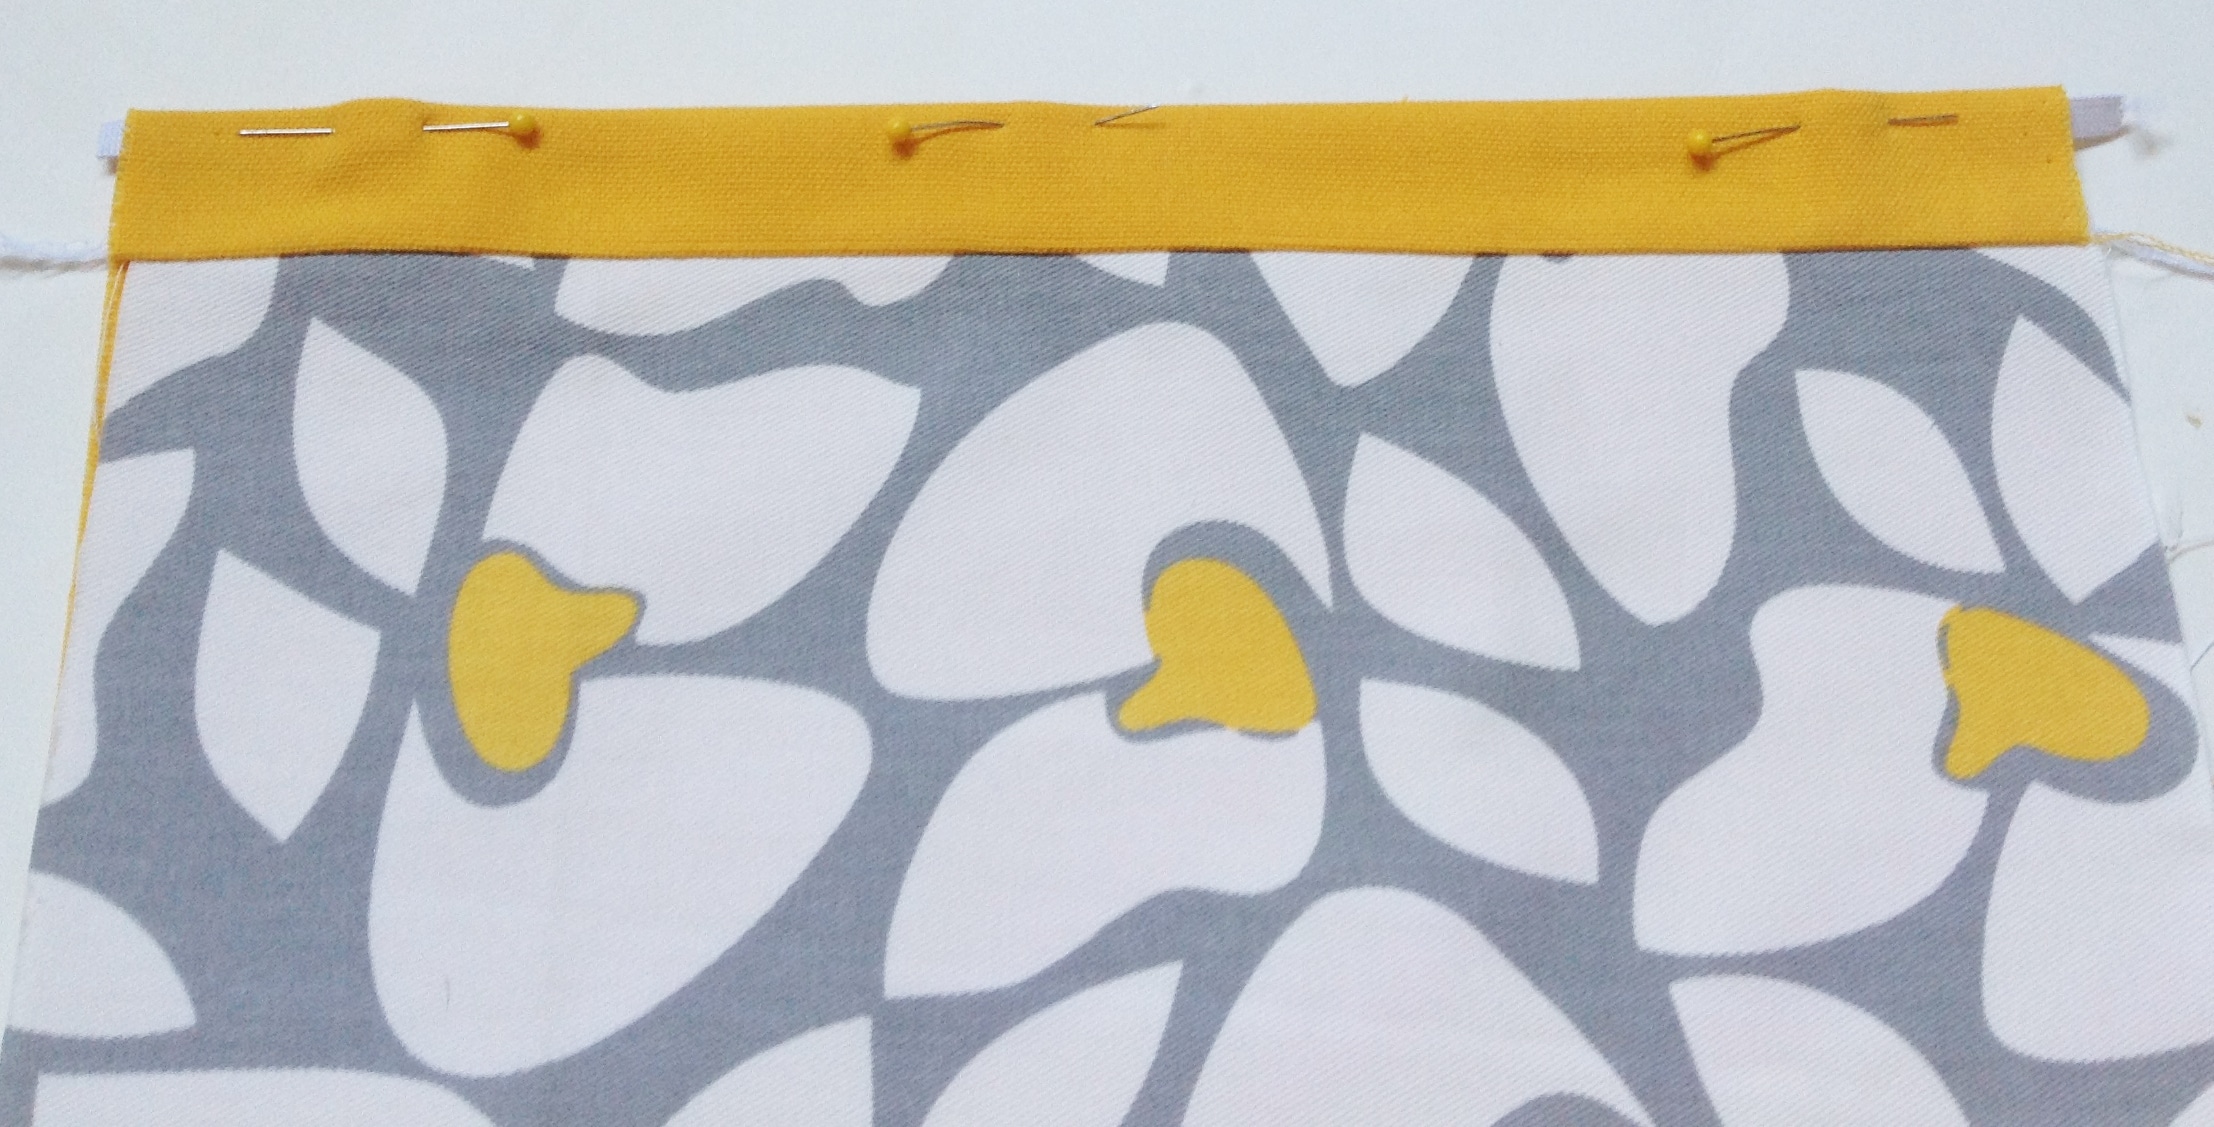 Then you can stitch in the ditch or, sew a little ways up from the seam that joins the primary and lining pocket pieces (the later is what I decided to do on mine).
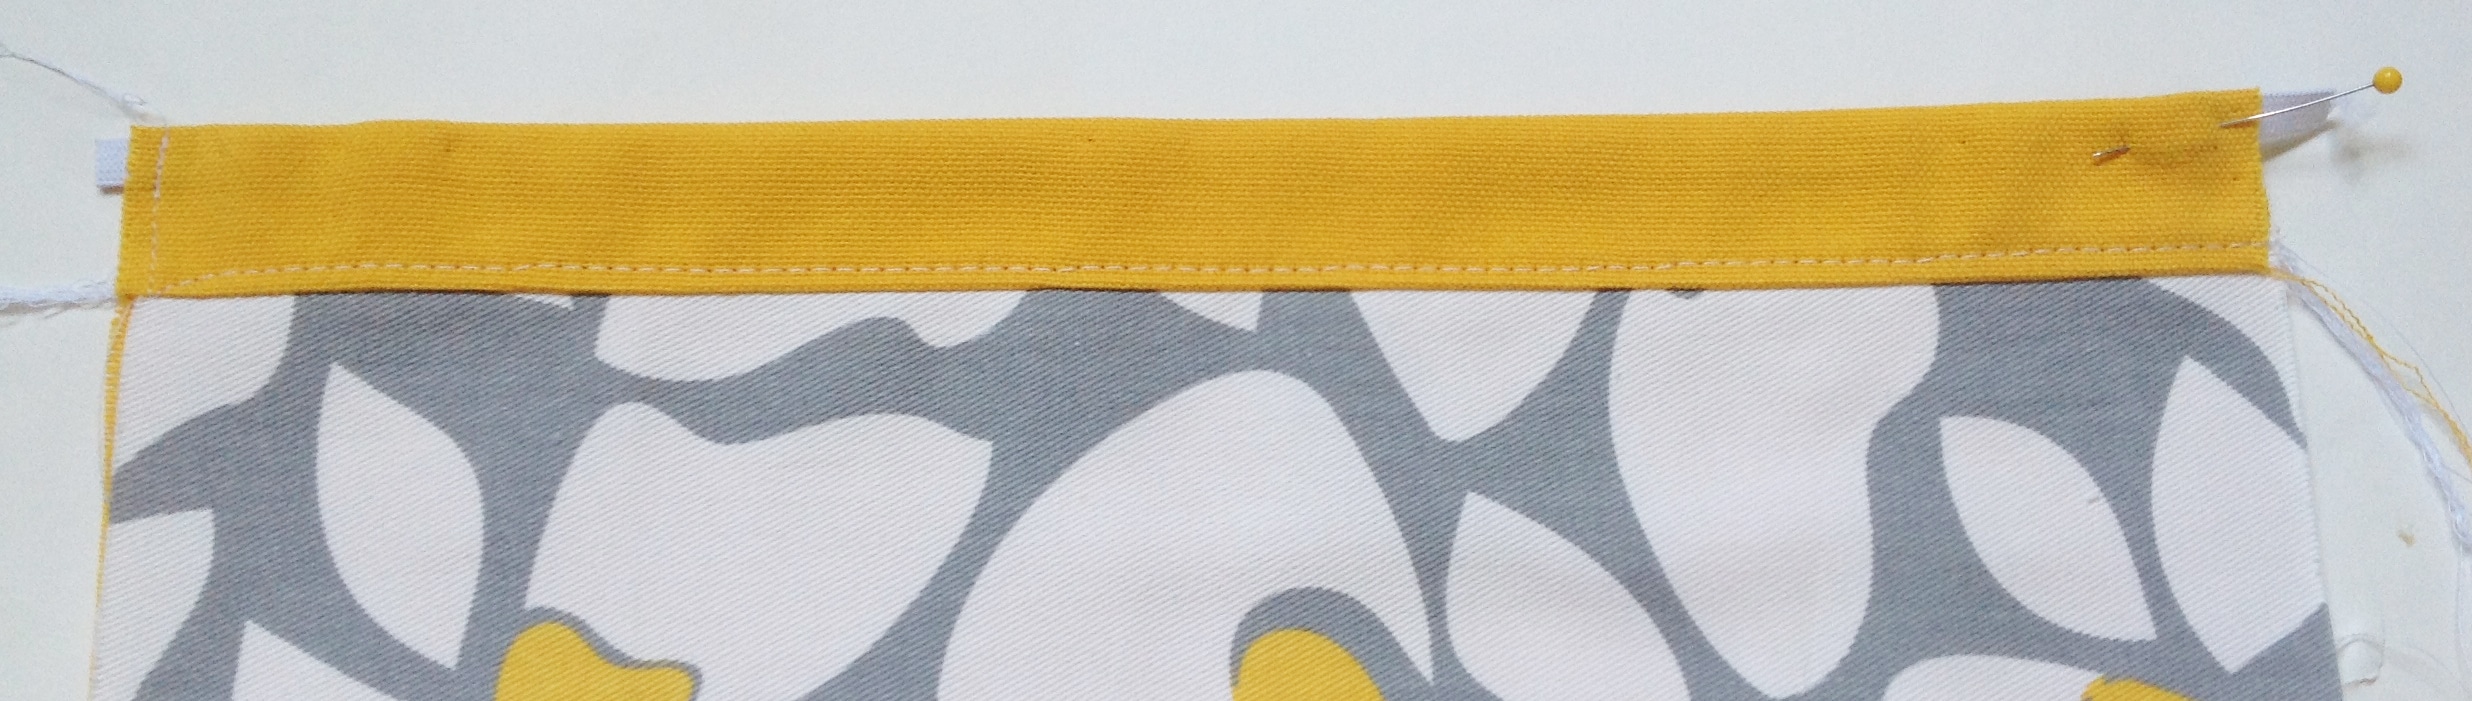
 Now lay your pocket right side up on the right side one of the Side Panels (I am using Side Panel C in this step). You want to align the bottom edges and the side edge of the pocket with the inner side edge of the cut-out. Sew the casing/elastic portion of the pocket with a regular stitch and then you can baste the rest of the pocket to the Side Panel.
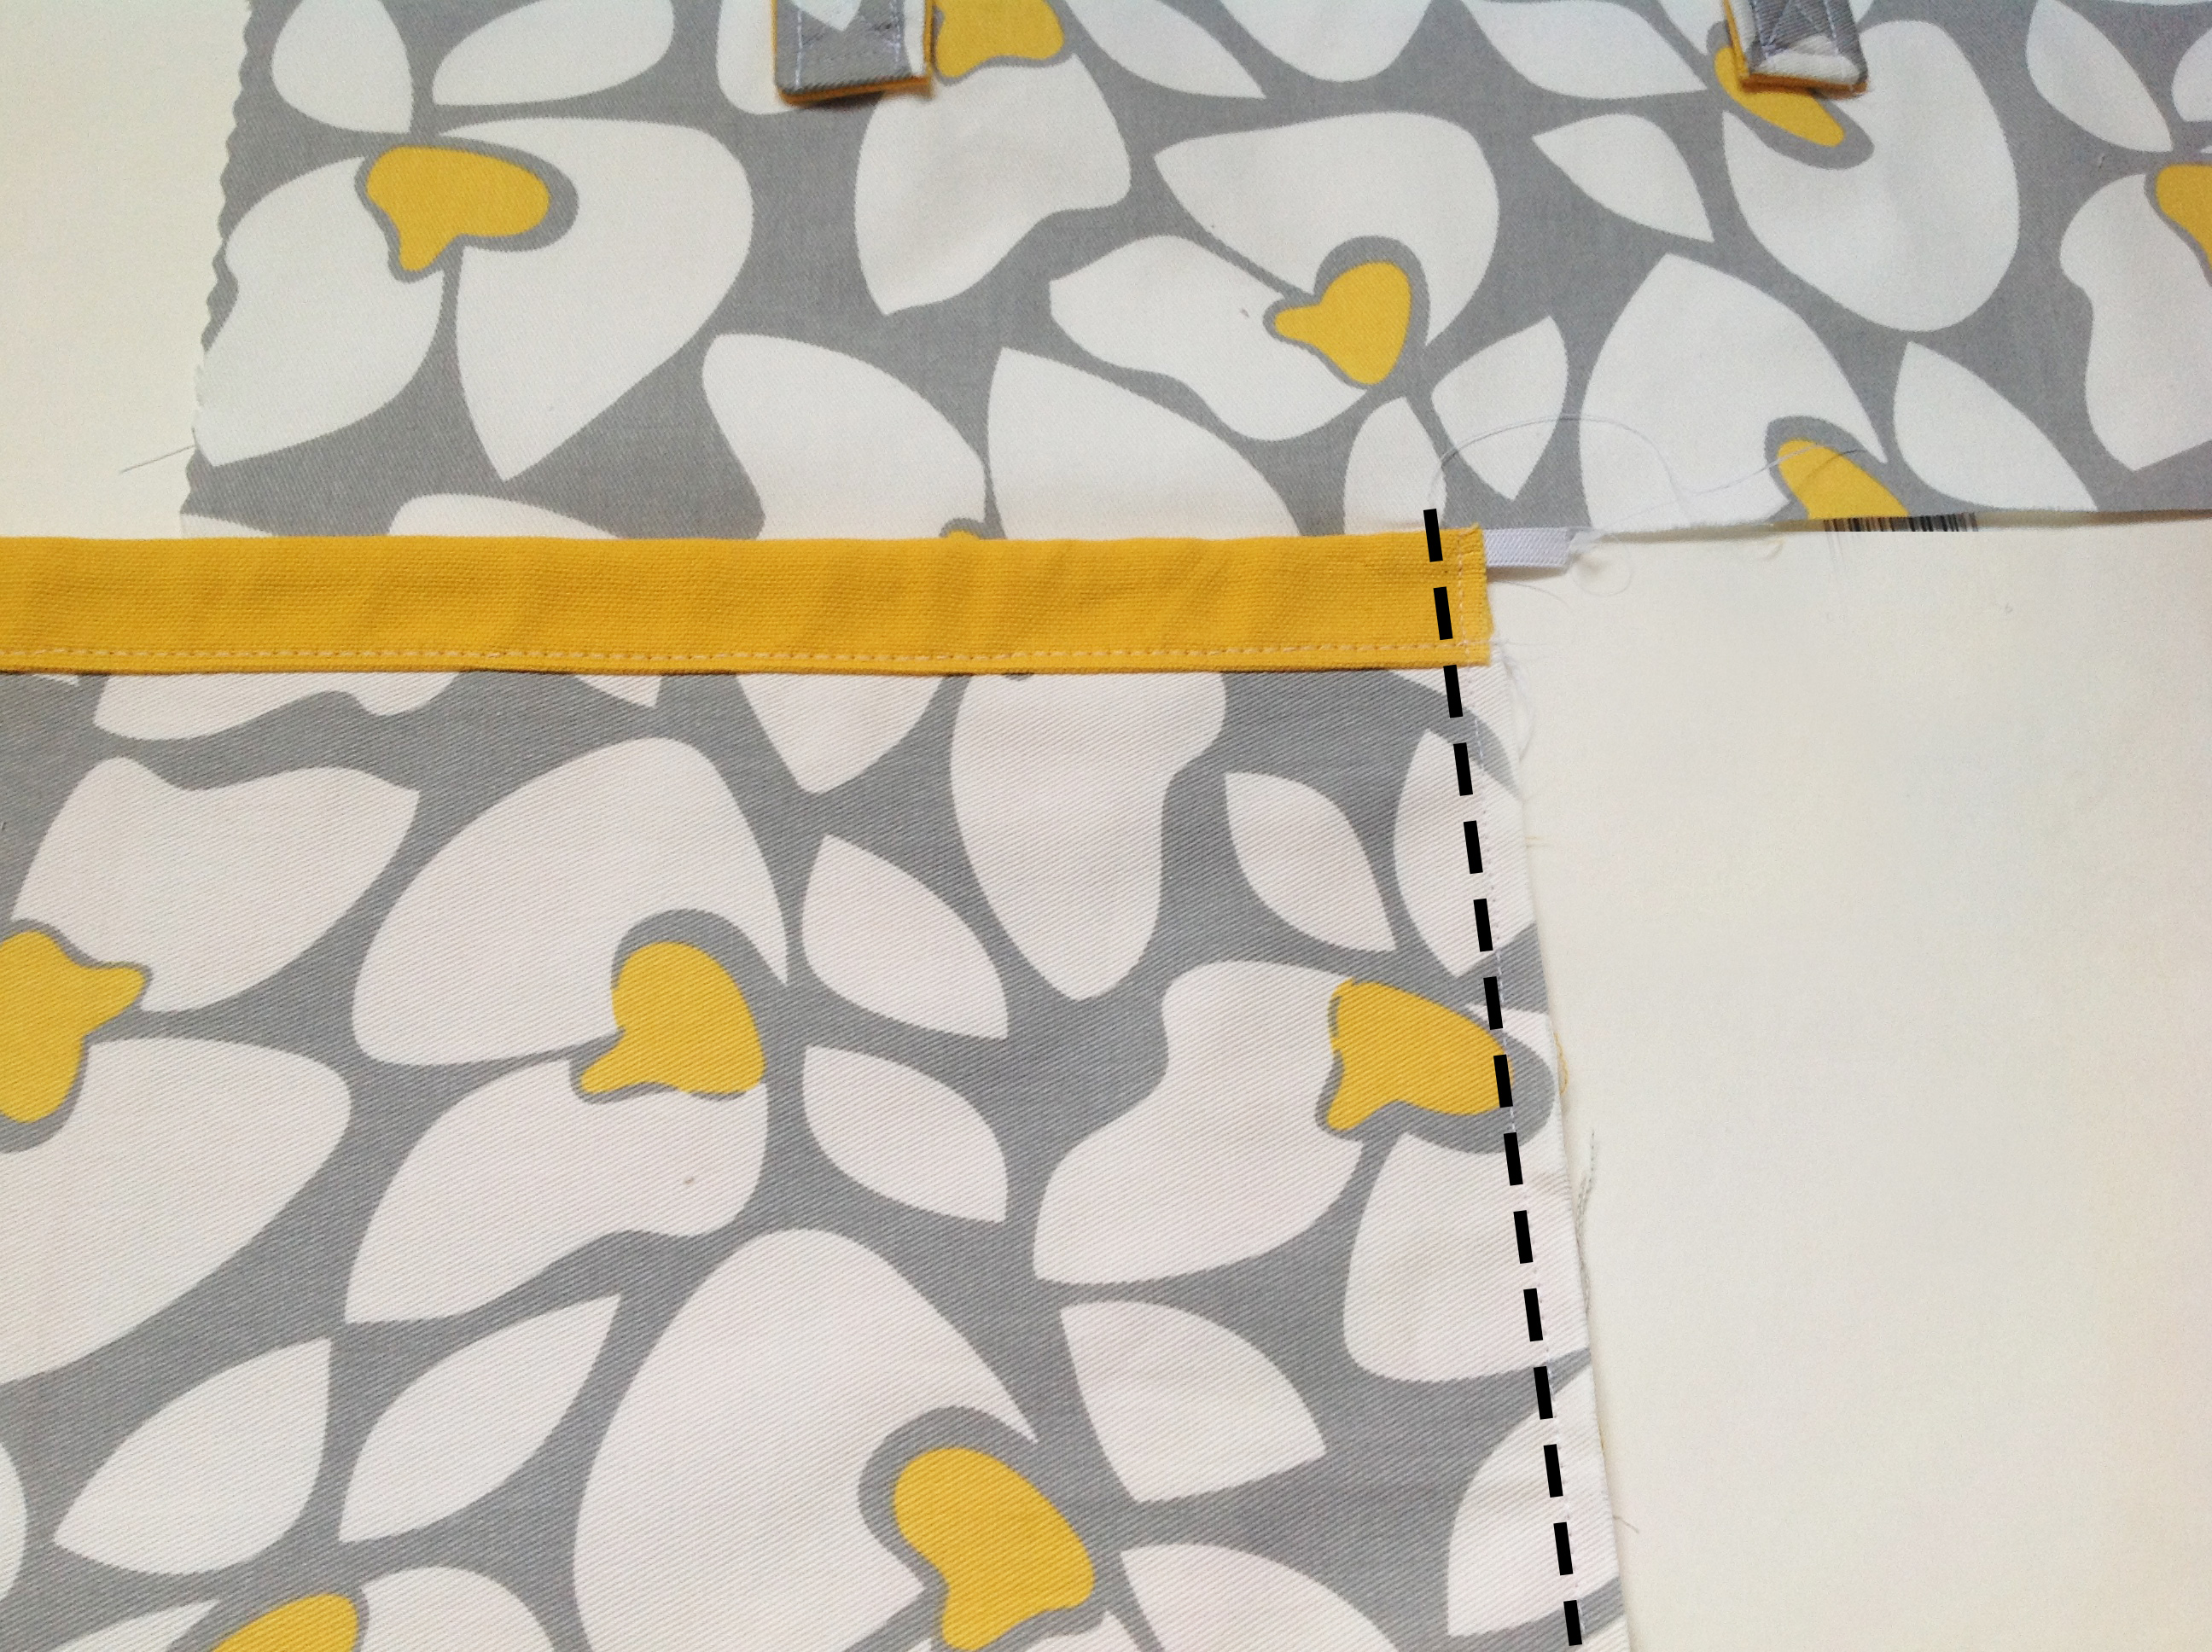
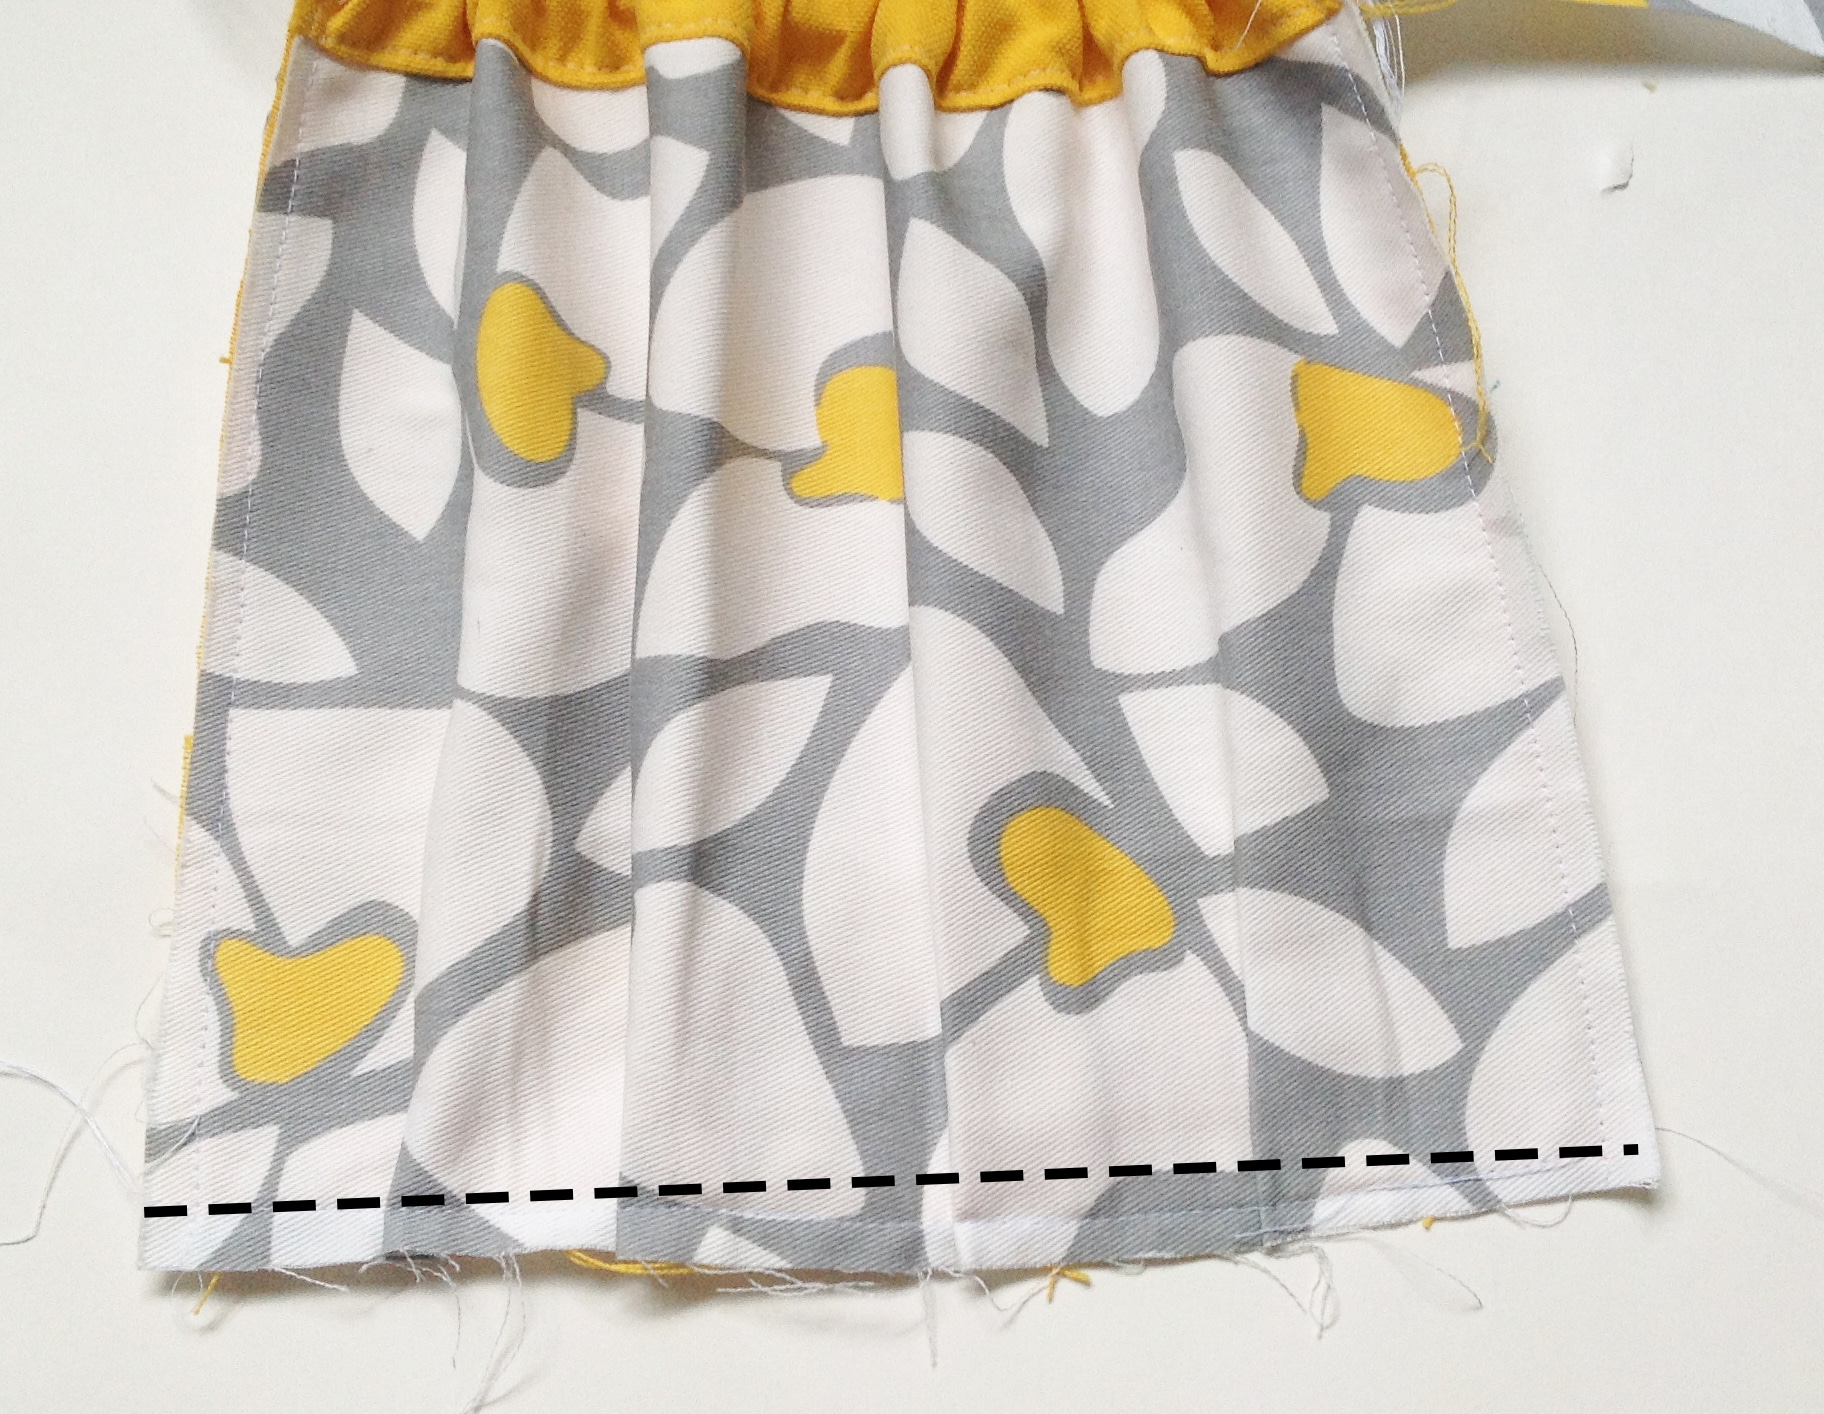
 As you can see at the bottom of the pocket, there are a bunch of little hills and valleys. If you are a perfectionist, you can make these into perfect pleats…
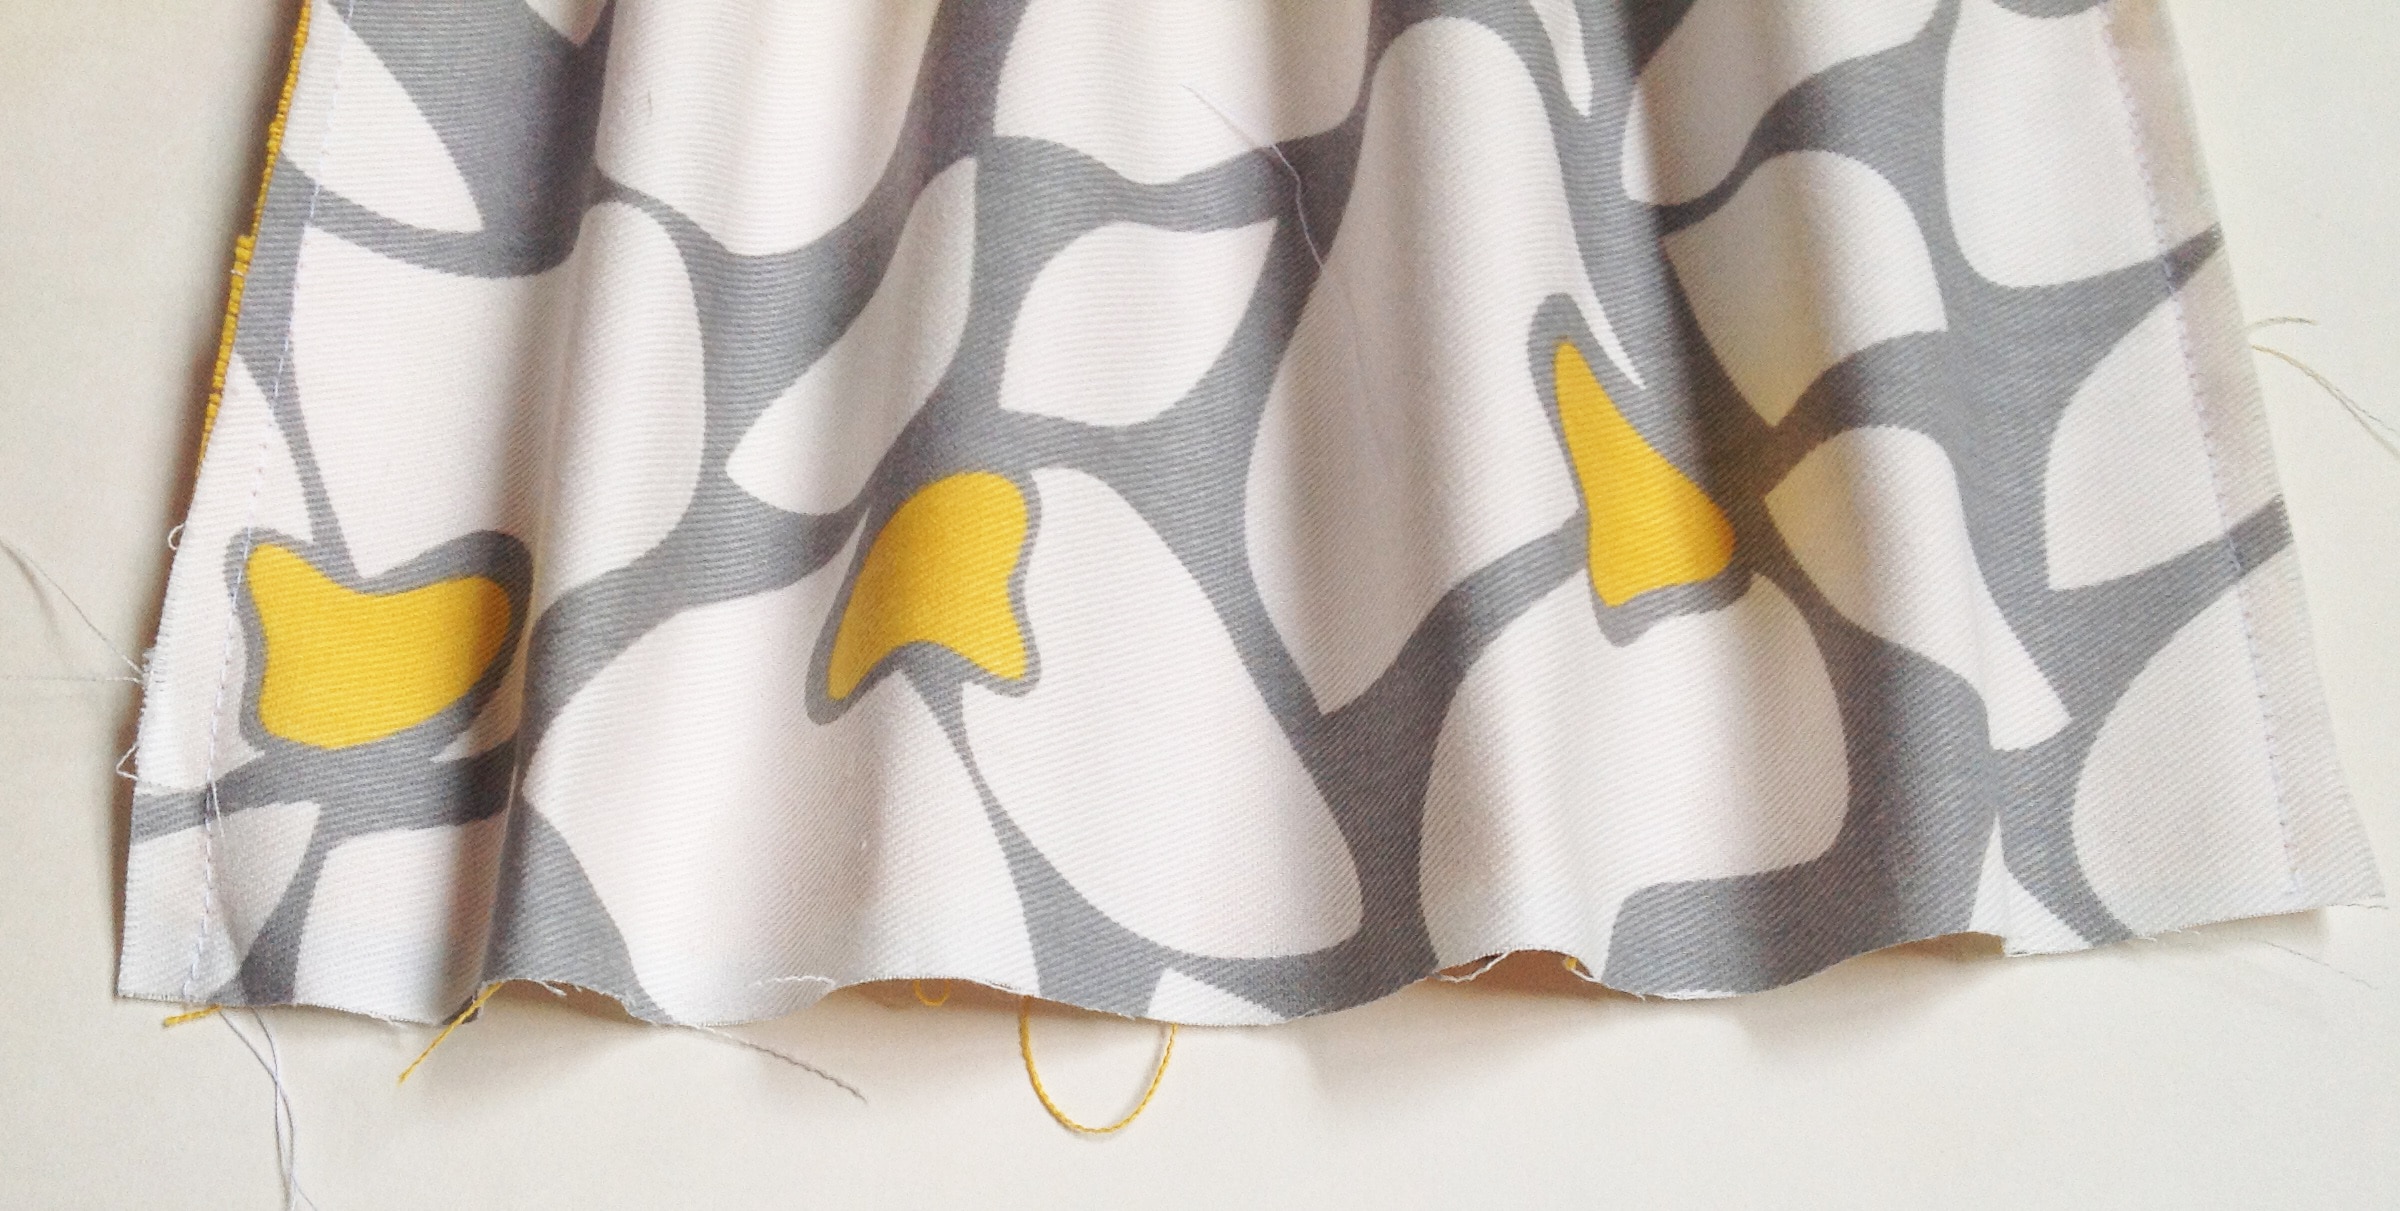
 Repeat all these steps to apply the pockets on the second Side Panel and the Front Panel. When you put the pocket on the Front Panel be sure you are putting it on the bottom half of the panel. When you are done, you will have this:
 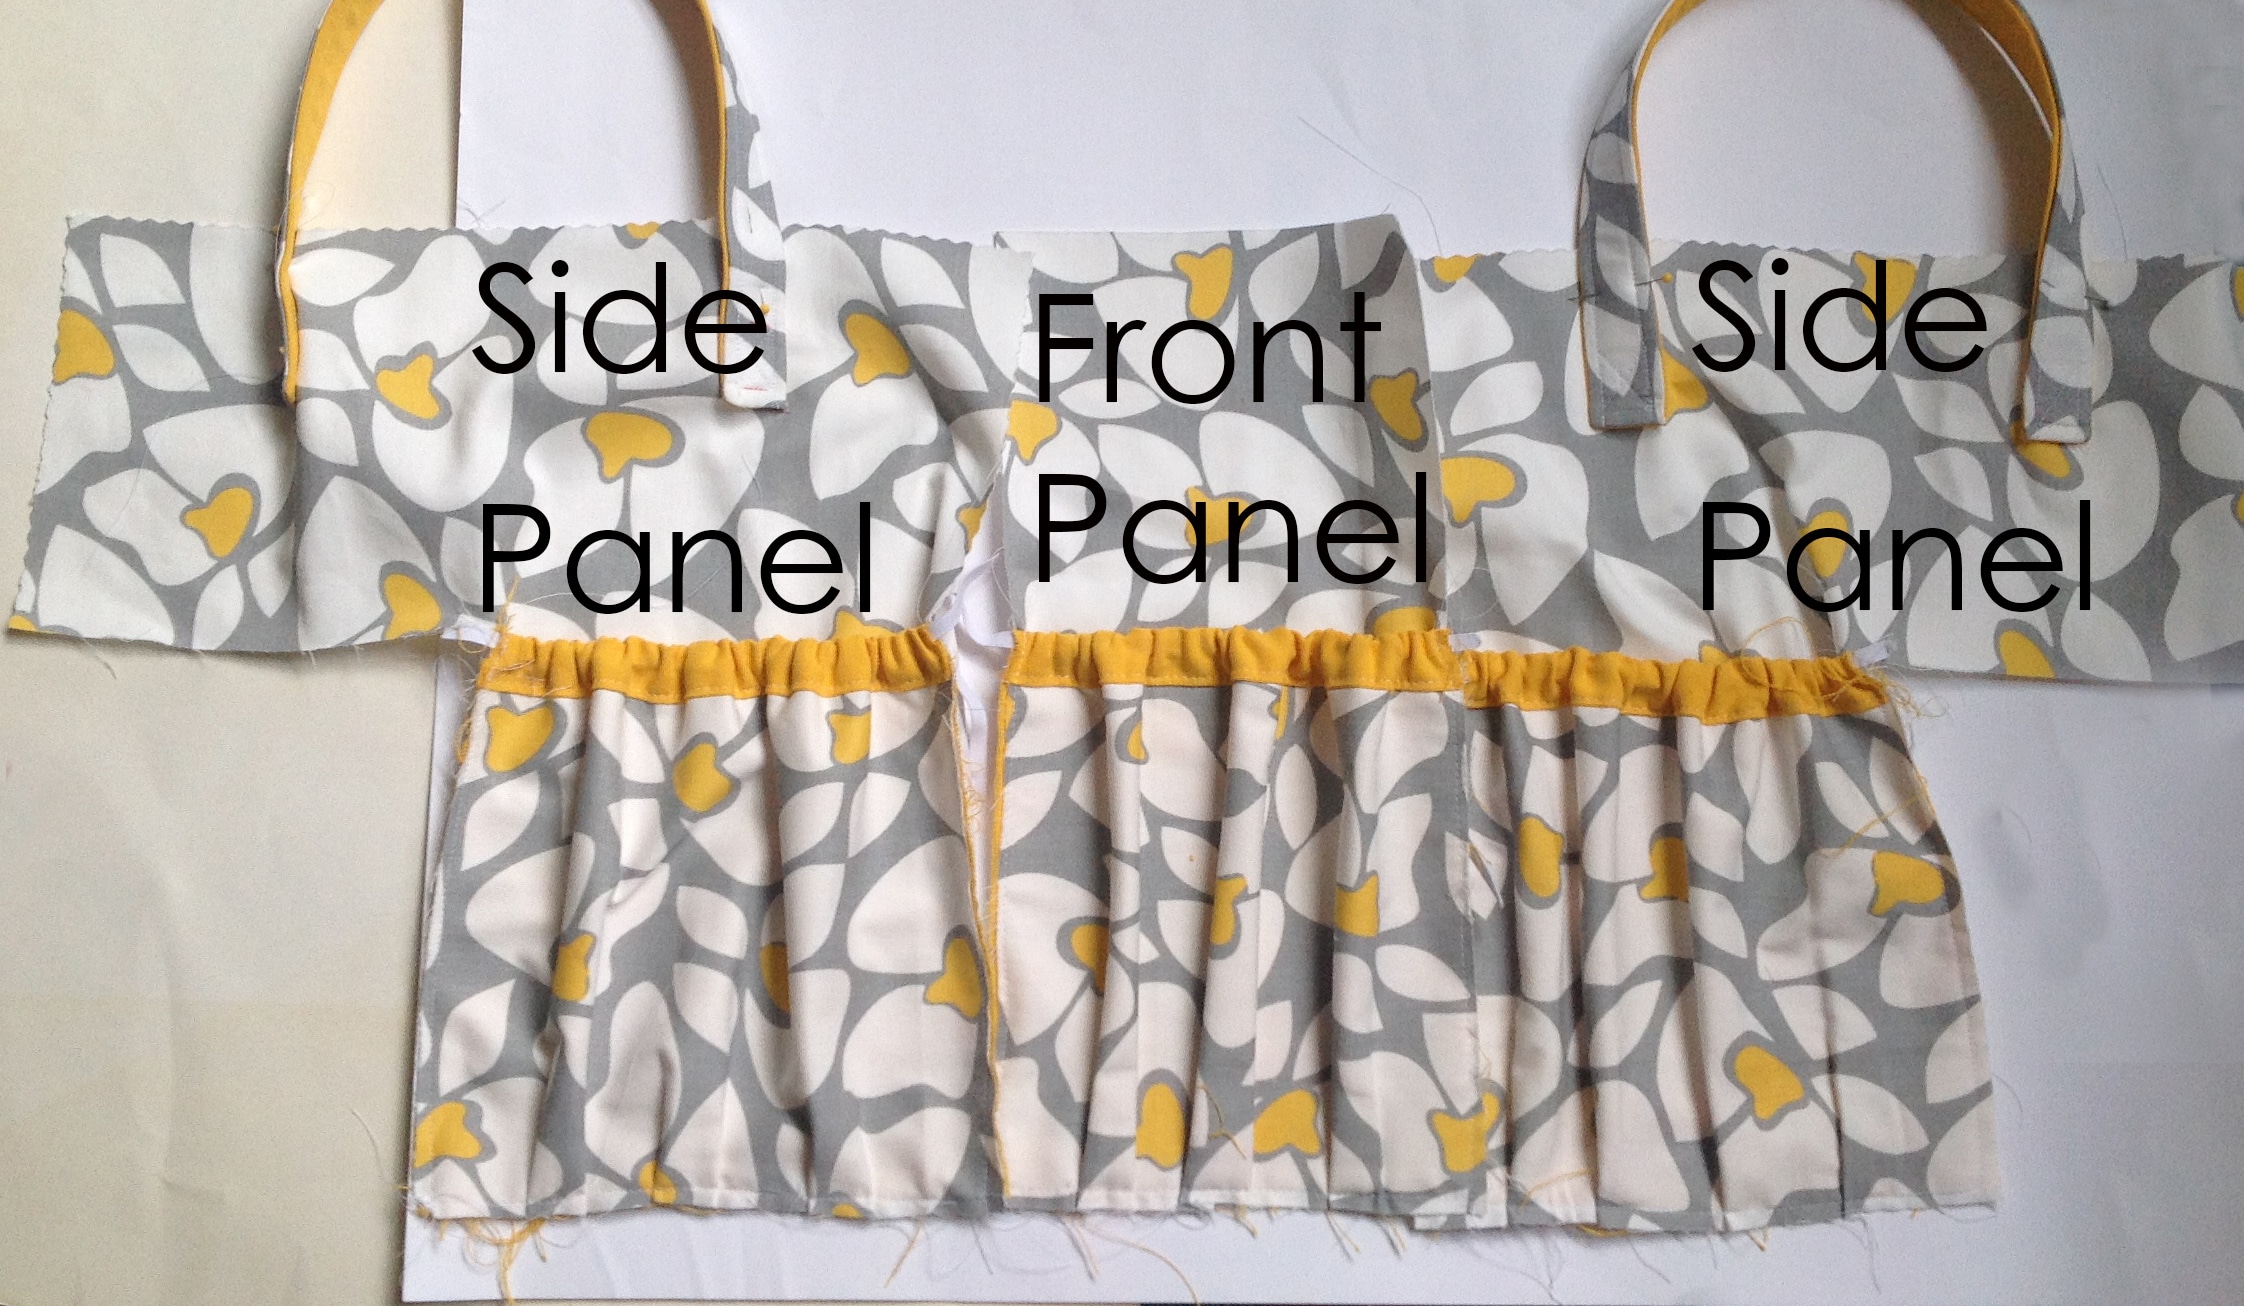 Well, that’s it for today. Can you see it starting to take shape?
You can find the next post here. See you next there!
Sarah
Leave a Reply
You must be logged in to post a comment.