Today is a big day because we will get both the Exterior and Interior portions of the basket sewn up! The steps for today start on page 5 of the pattern.
Let’s start with our exterior pieces first – so grab your Side Panels (B&C), your Front Panel (D) and the long Bottom Panel (A).
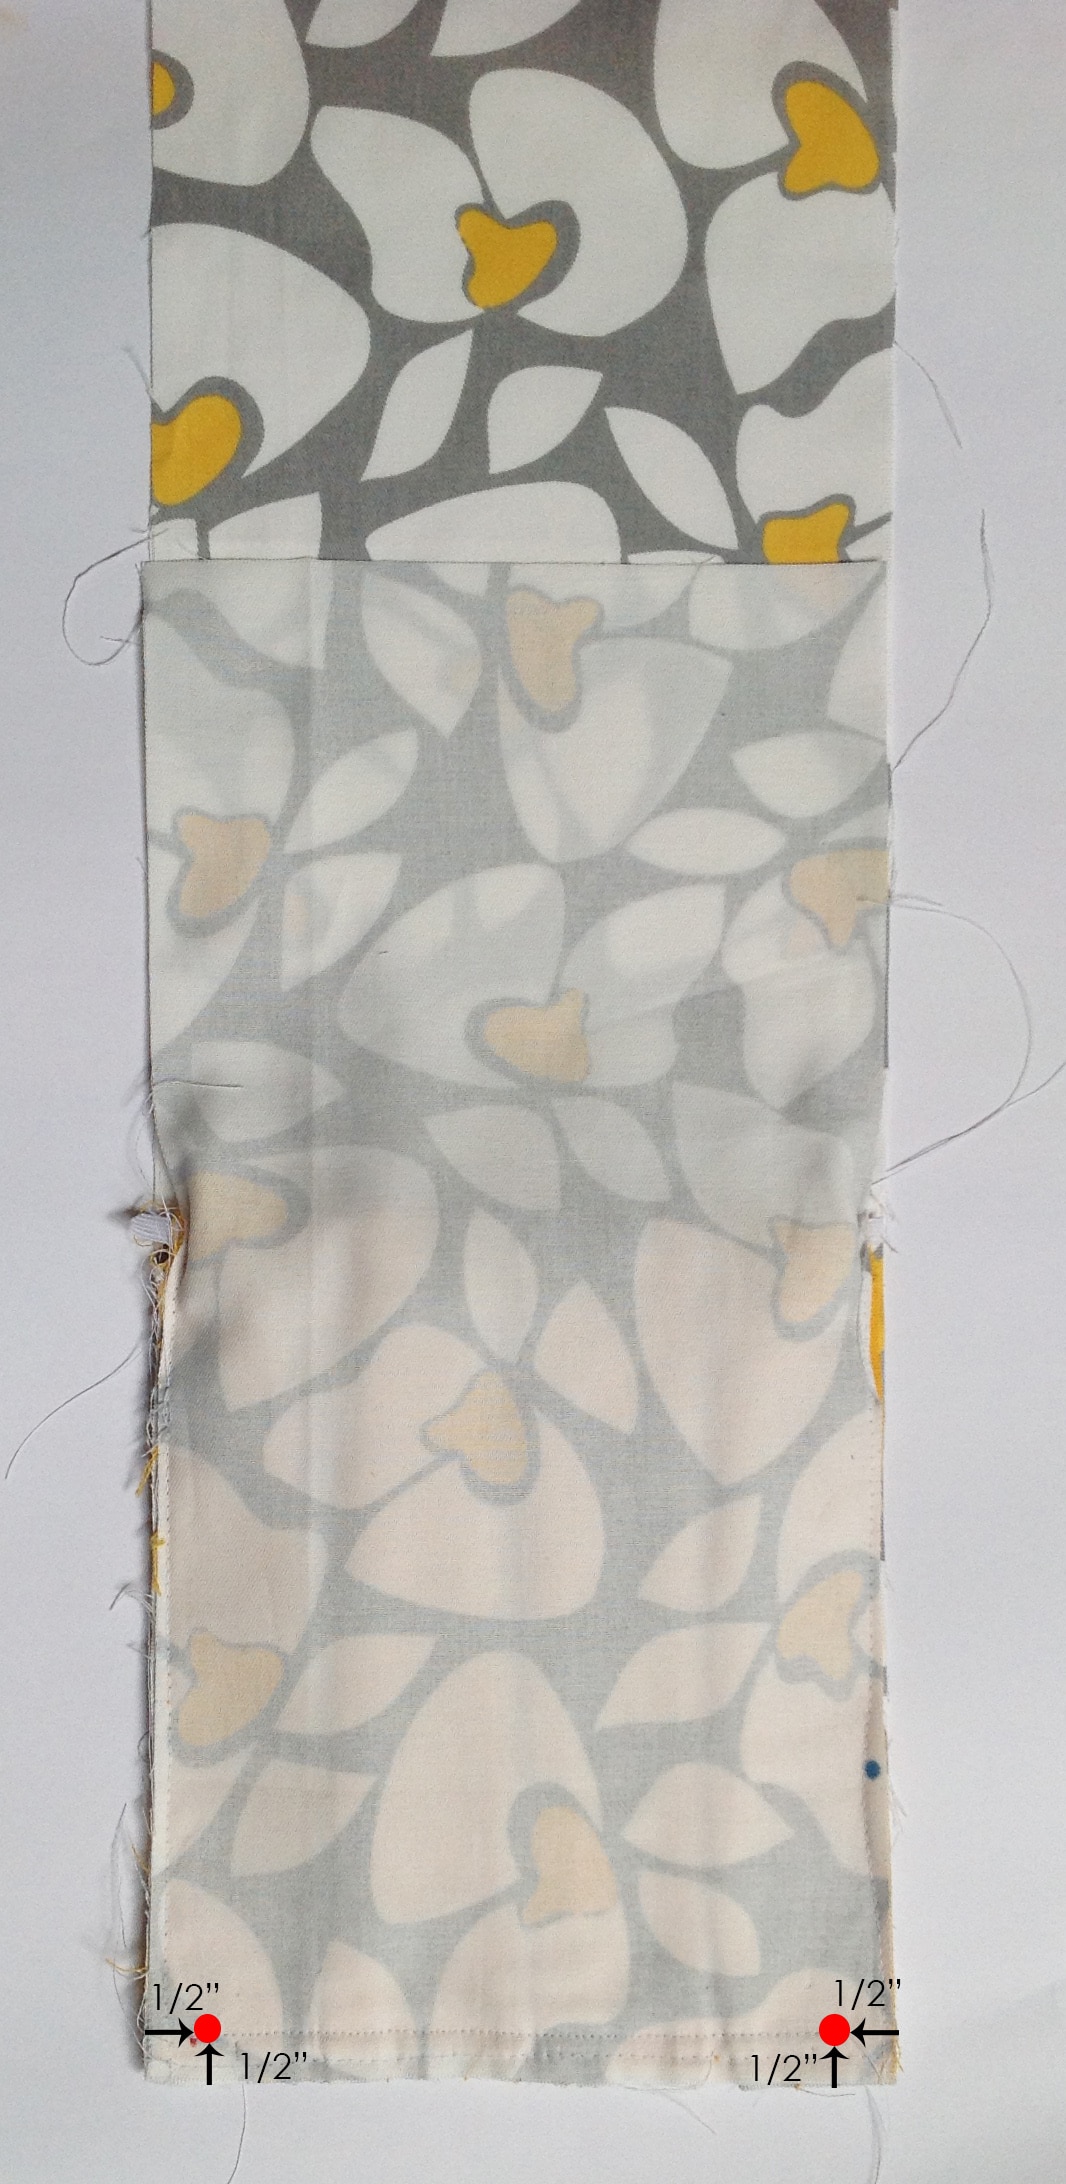
Our first order of business is to attach the Front Panel (D) to the Bottom Panel(A). We want to sew them together along their short bottom edges but we don’t want to sew them all the way across. We want to start and stop 1/2″ from each end. Align the bottom and side edges with right sides together and make marks that are 1/2″ from the side edge and 1/2″ from the bottom edge in each bottom corner.
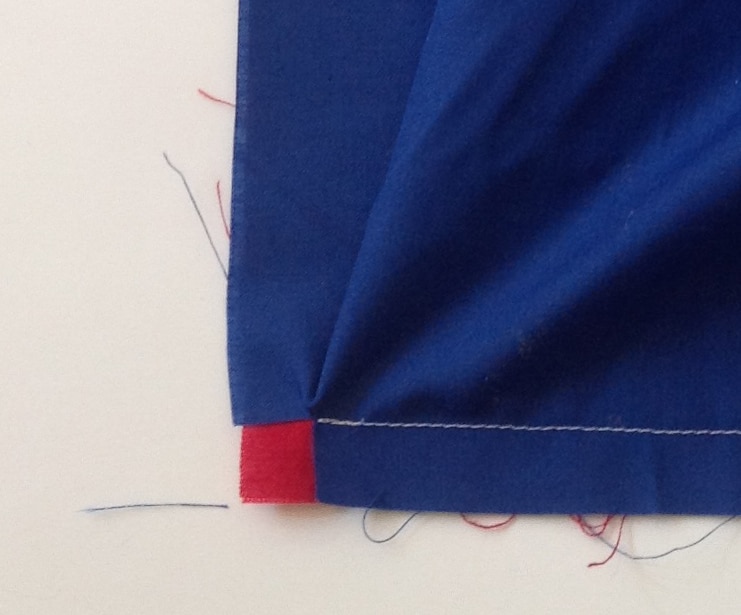
Here’s a close up of those marks: 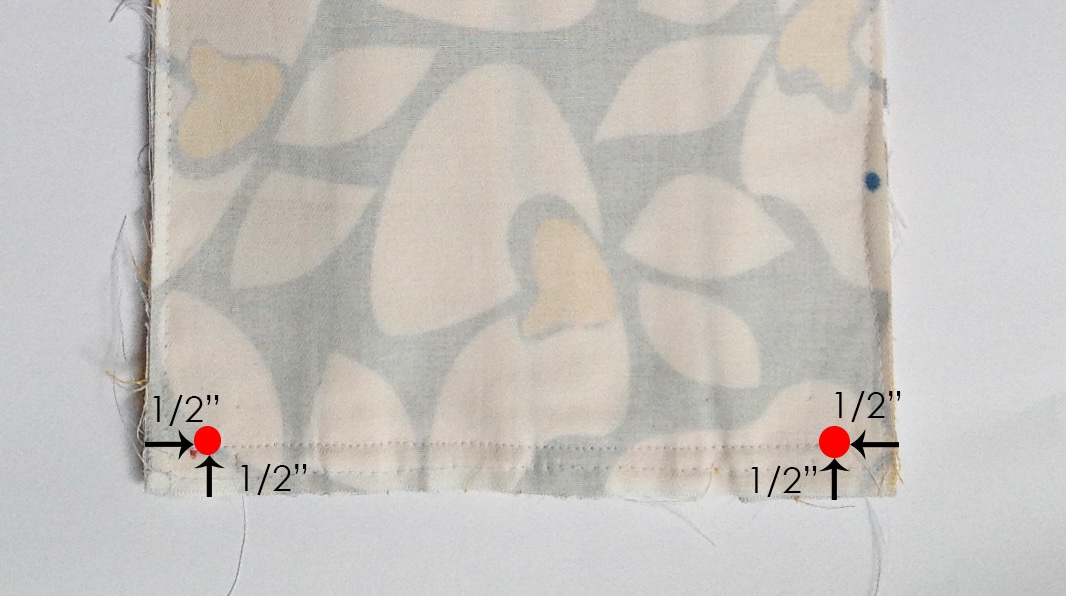
Now sew between them.
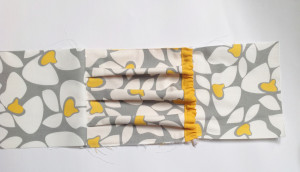
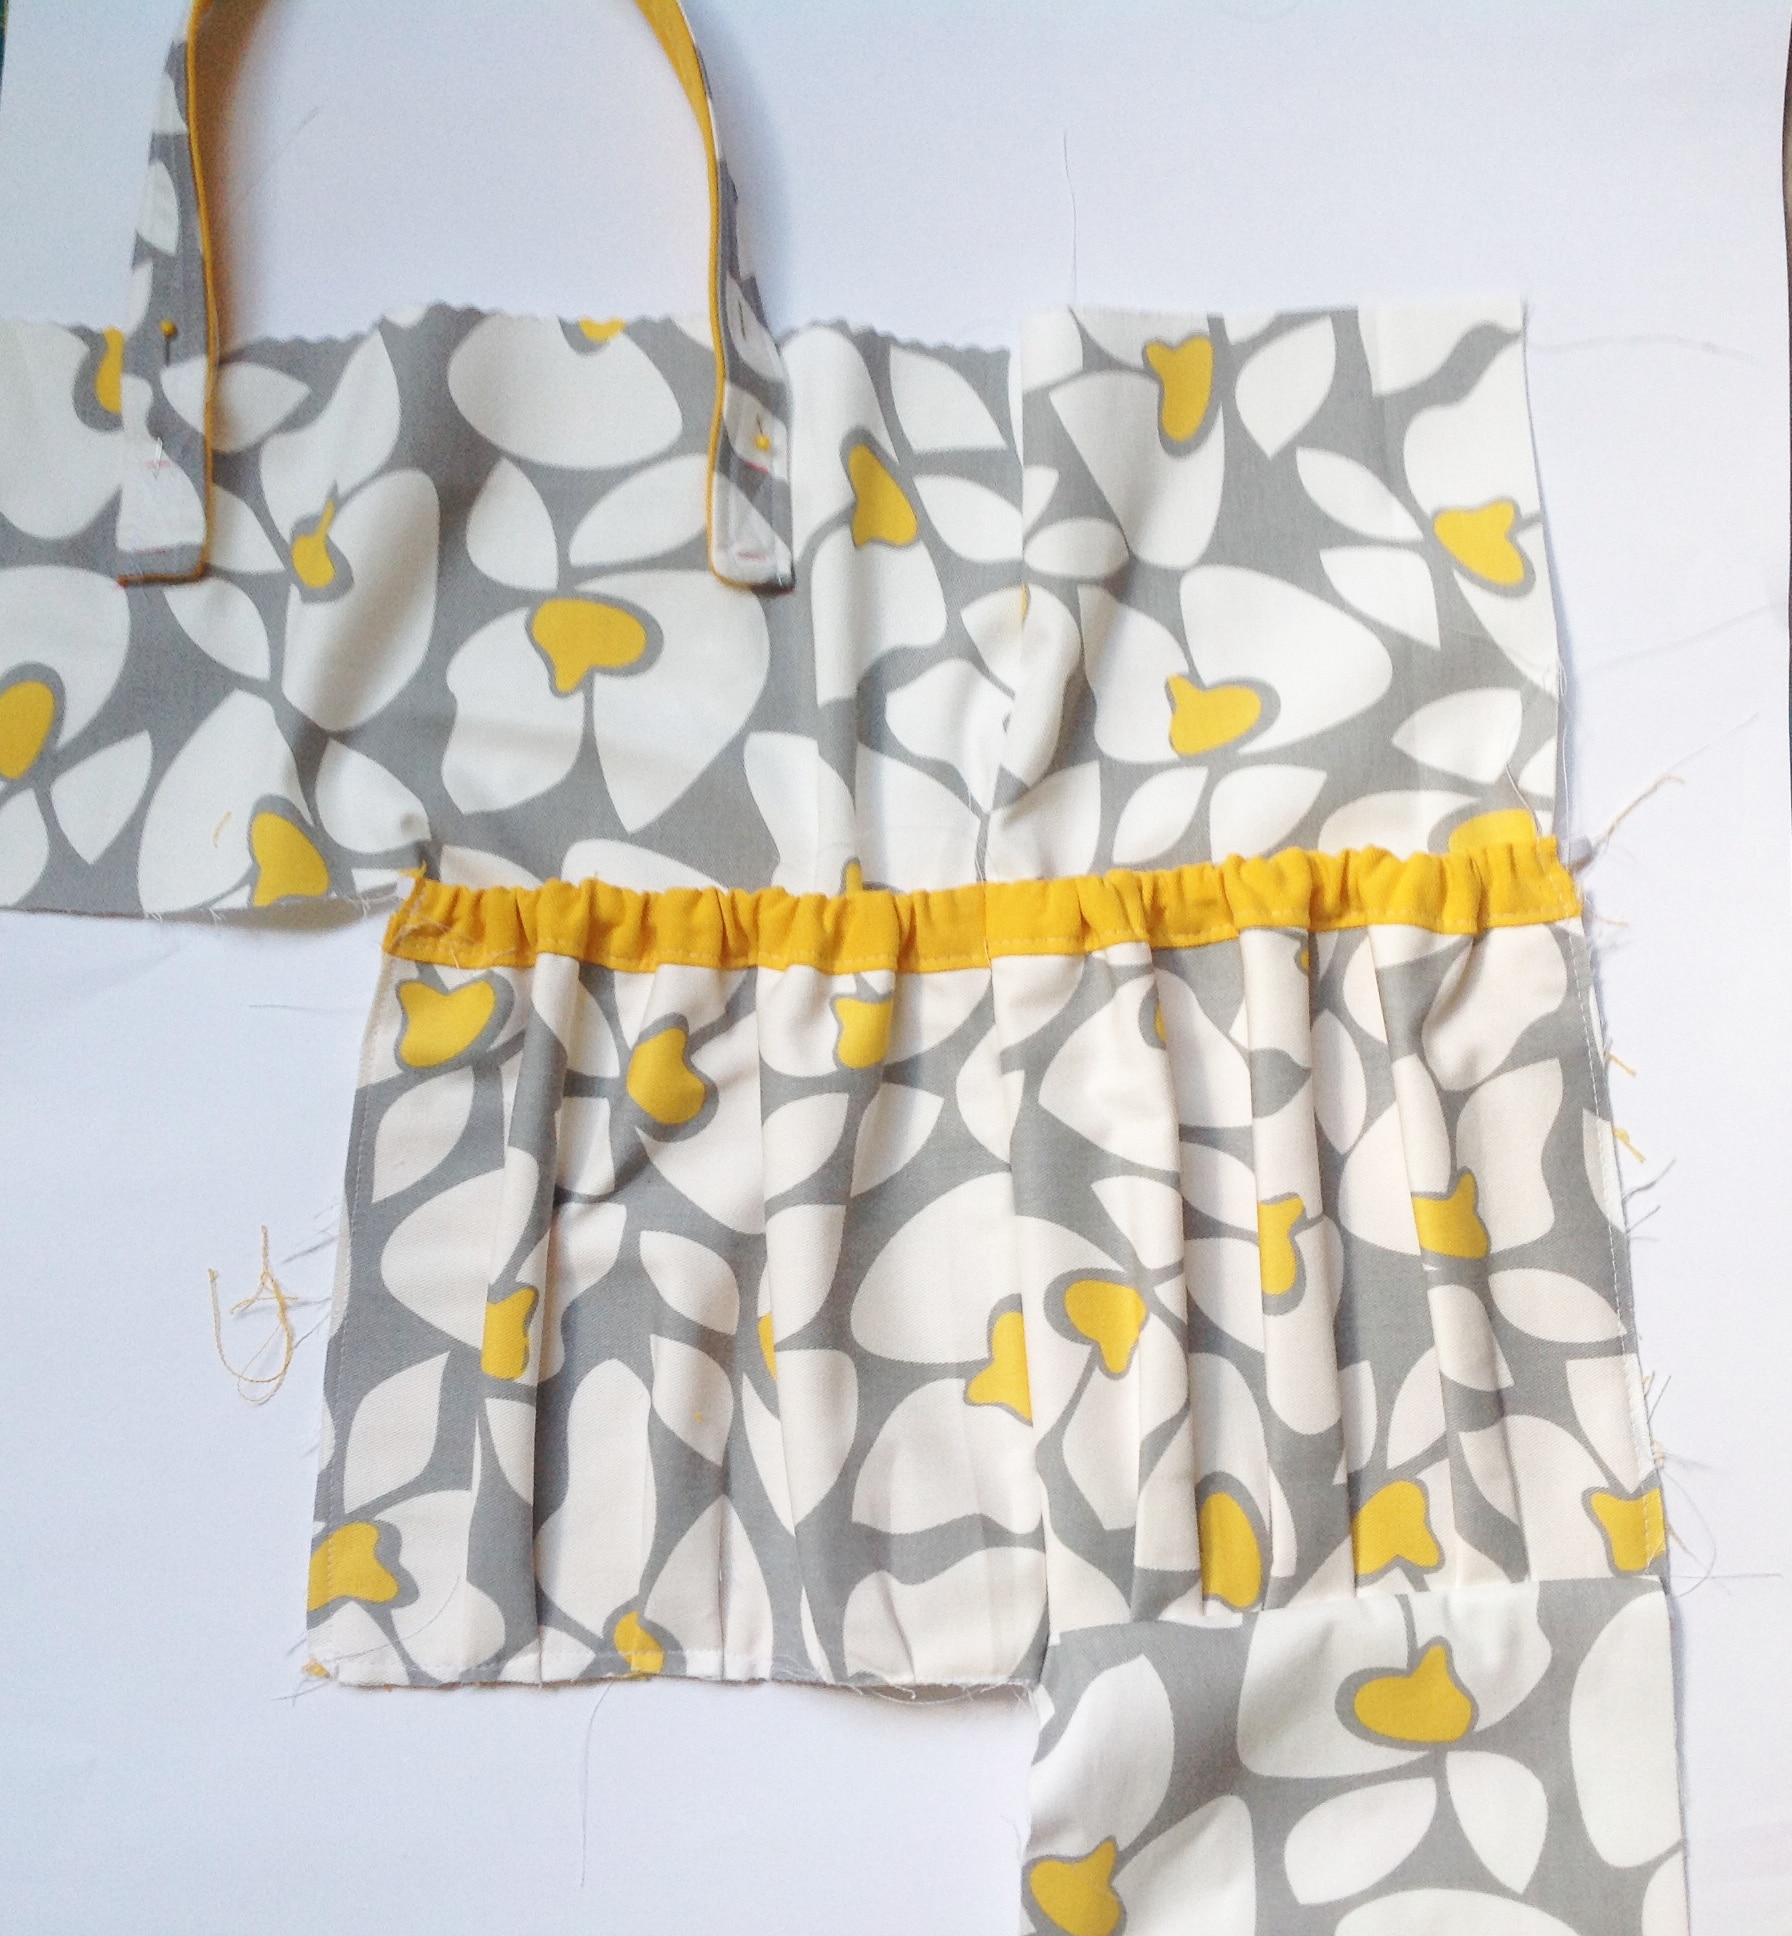
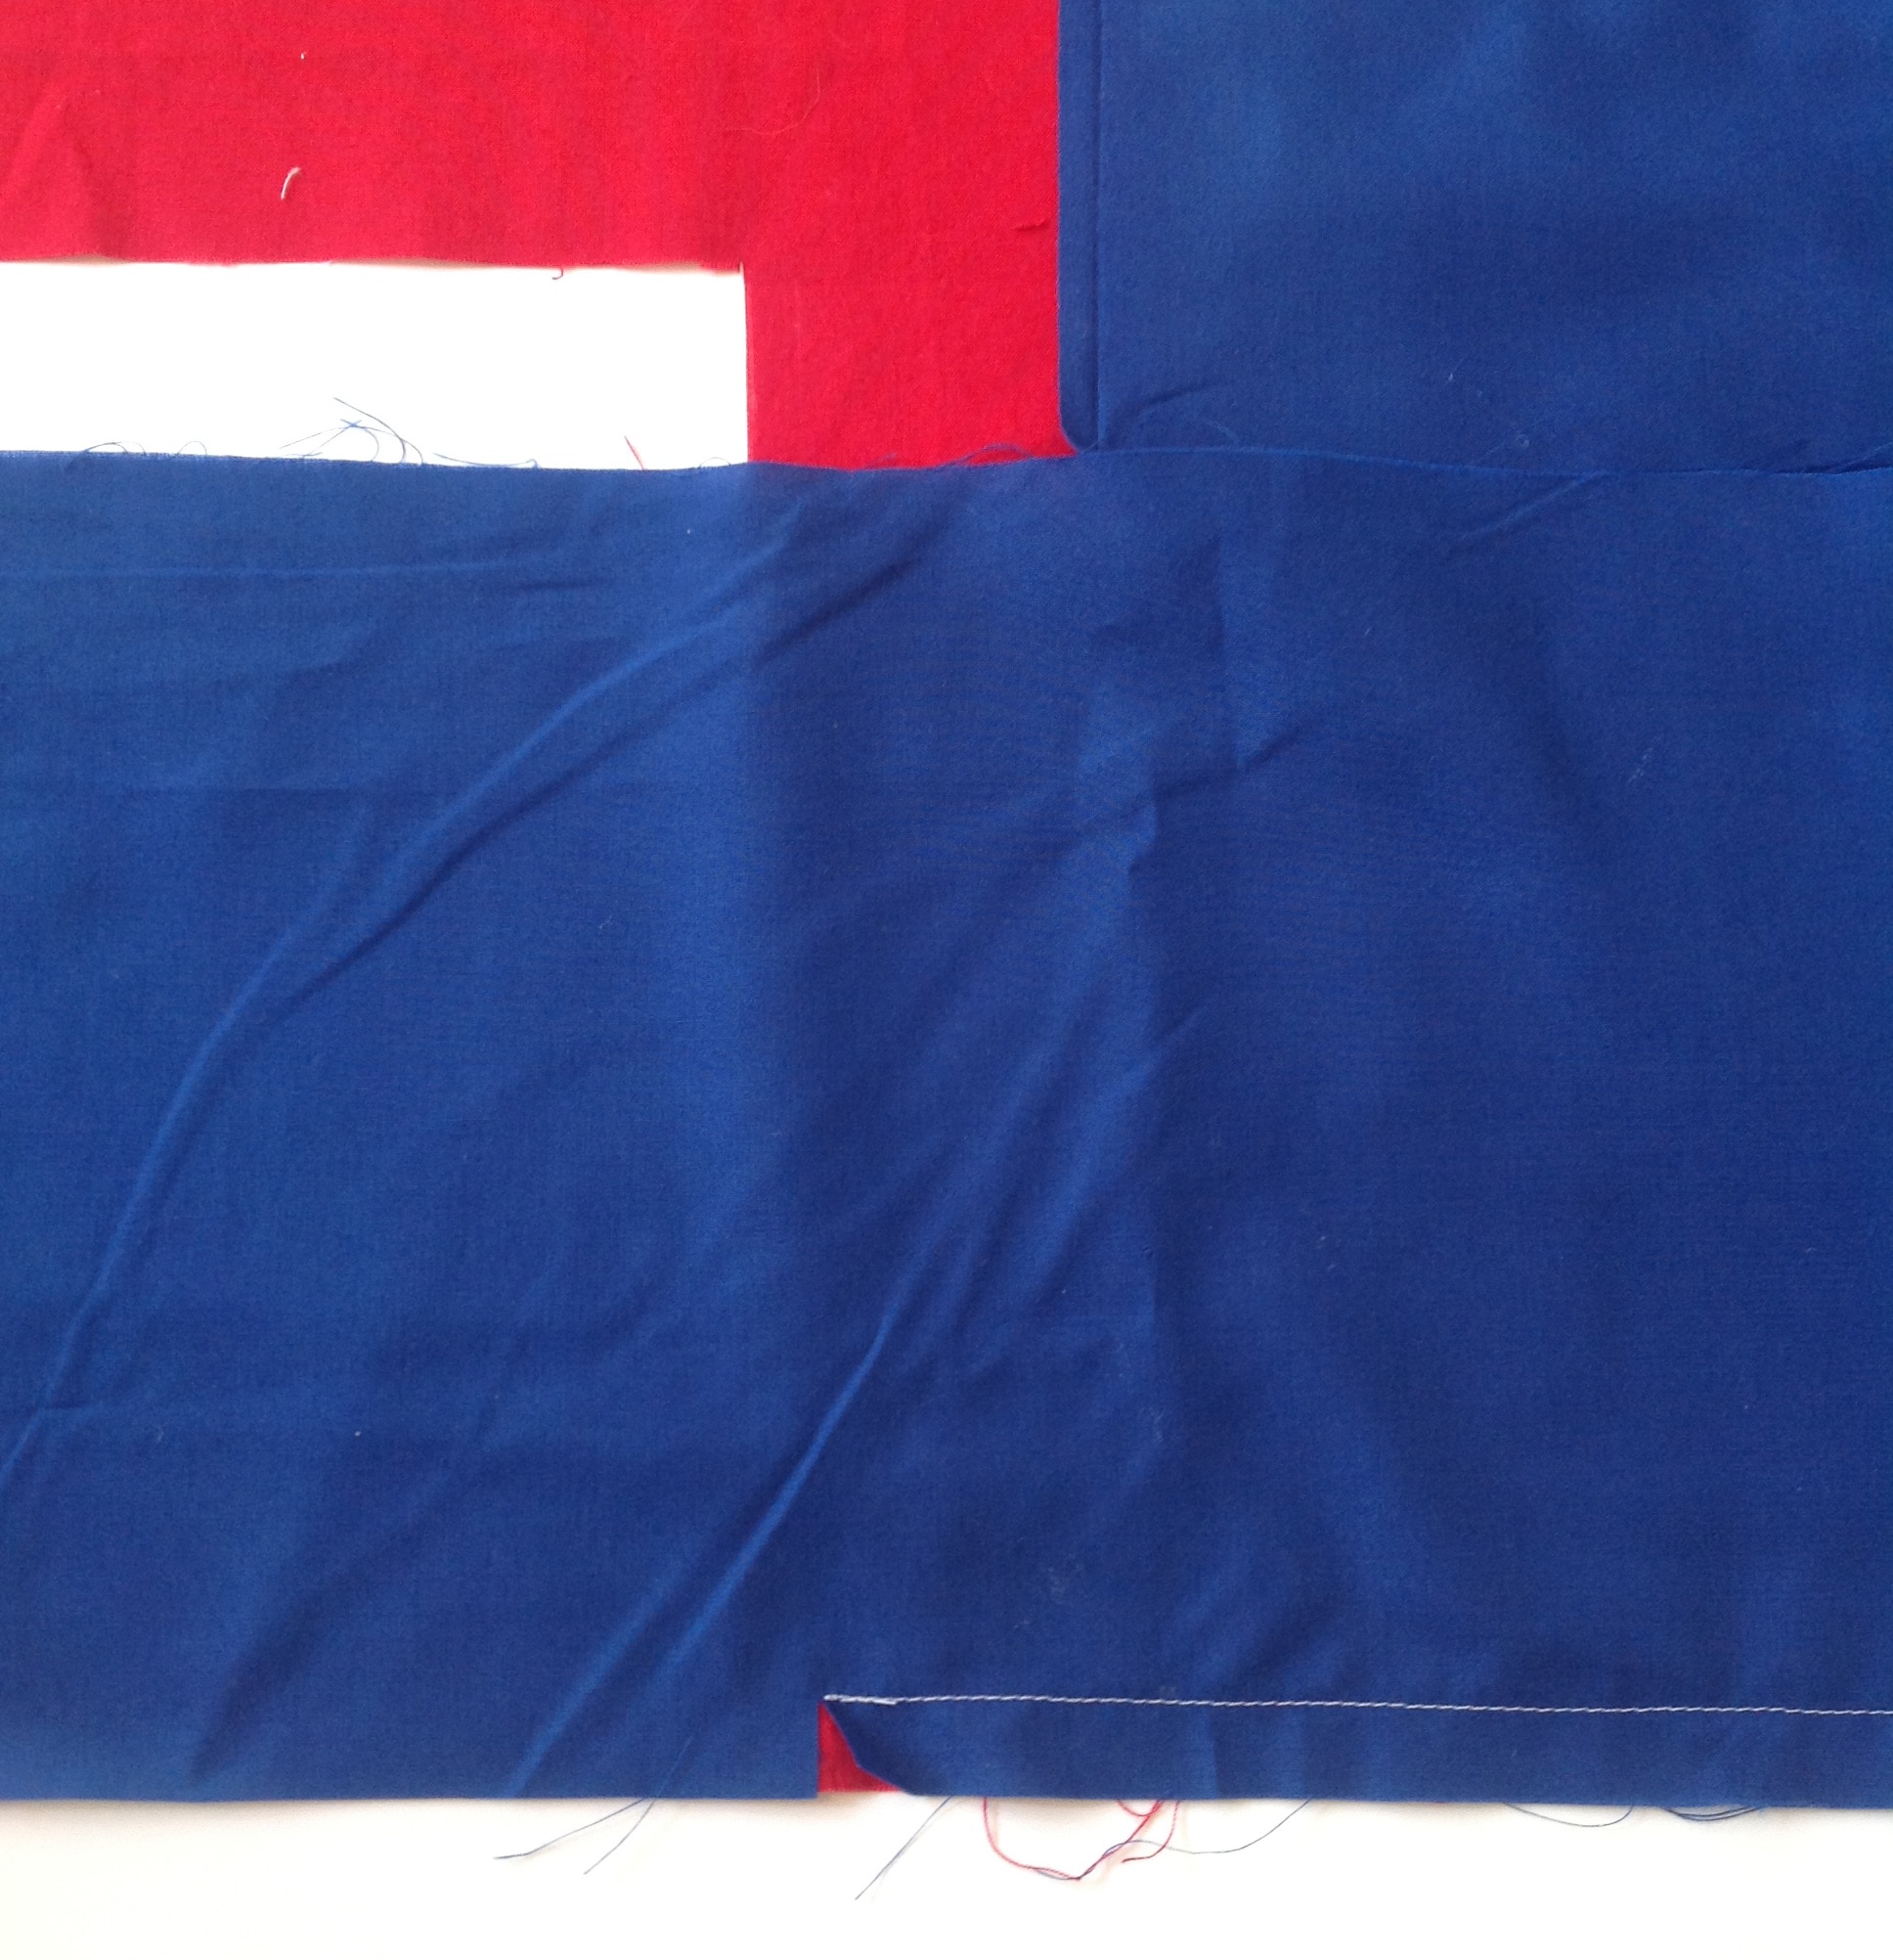
And you’ll have this (you may not have the pocket on yours).
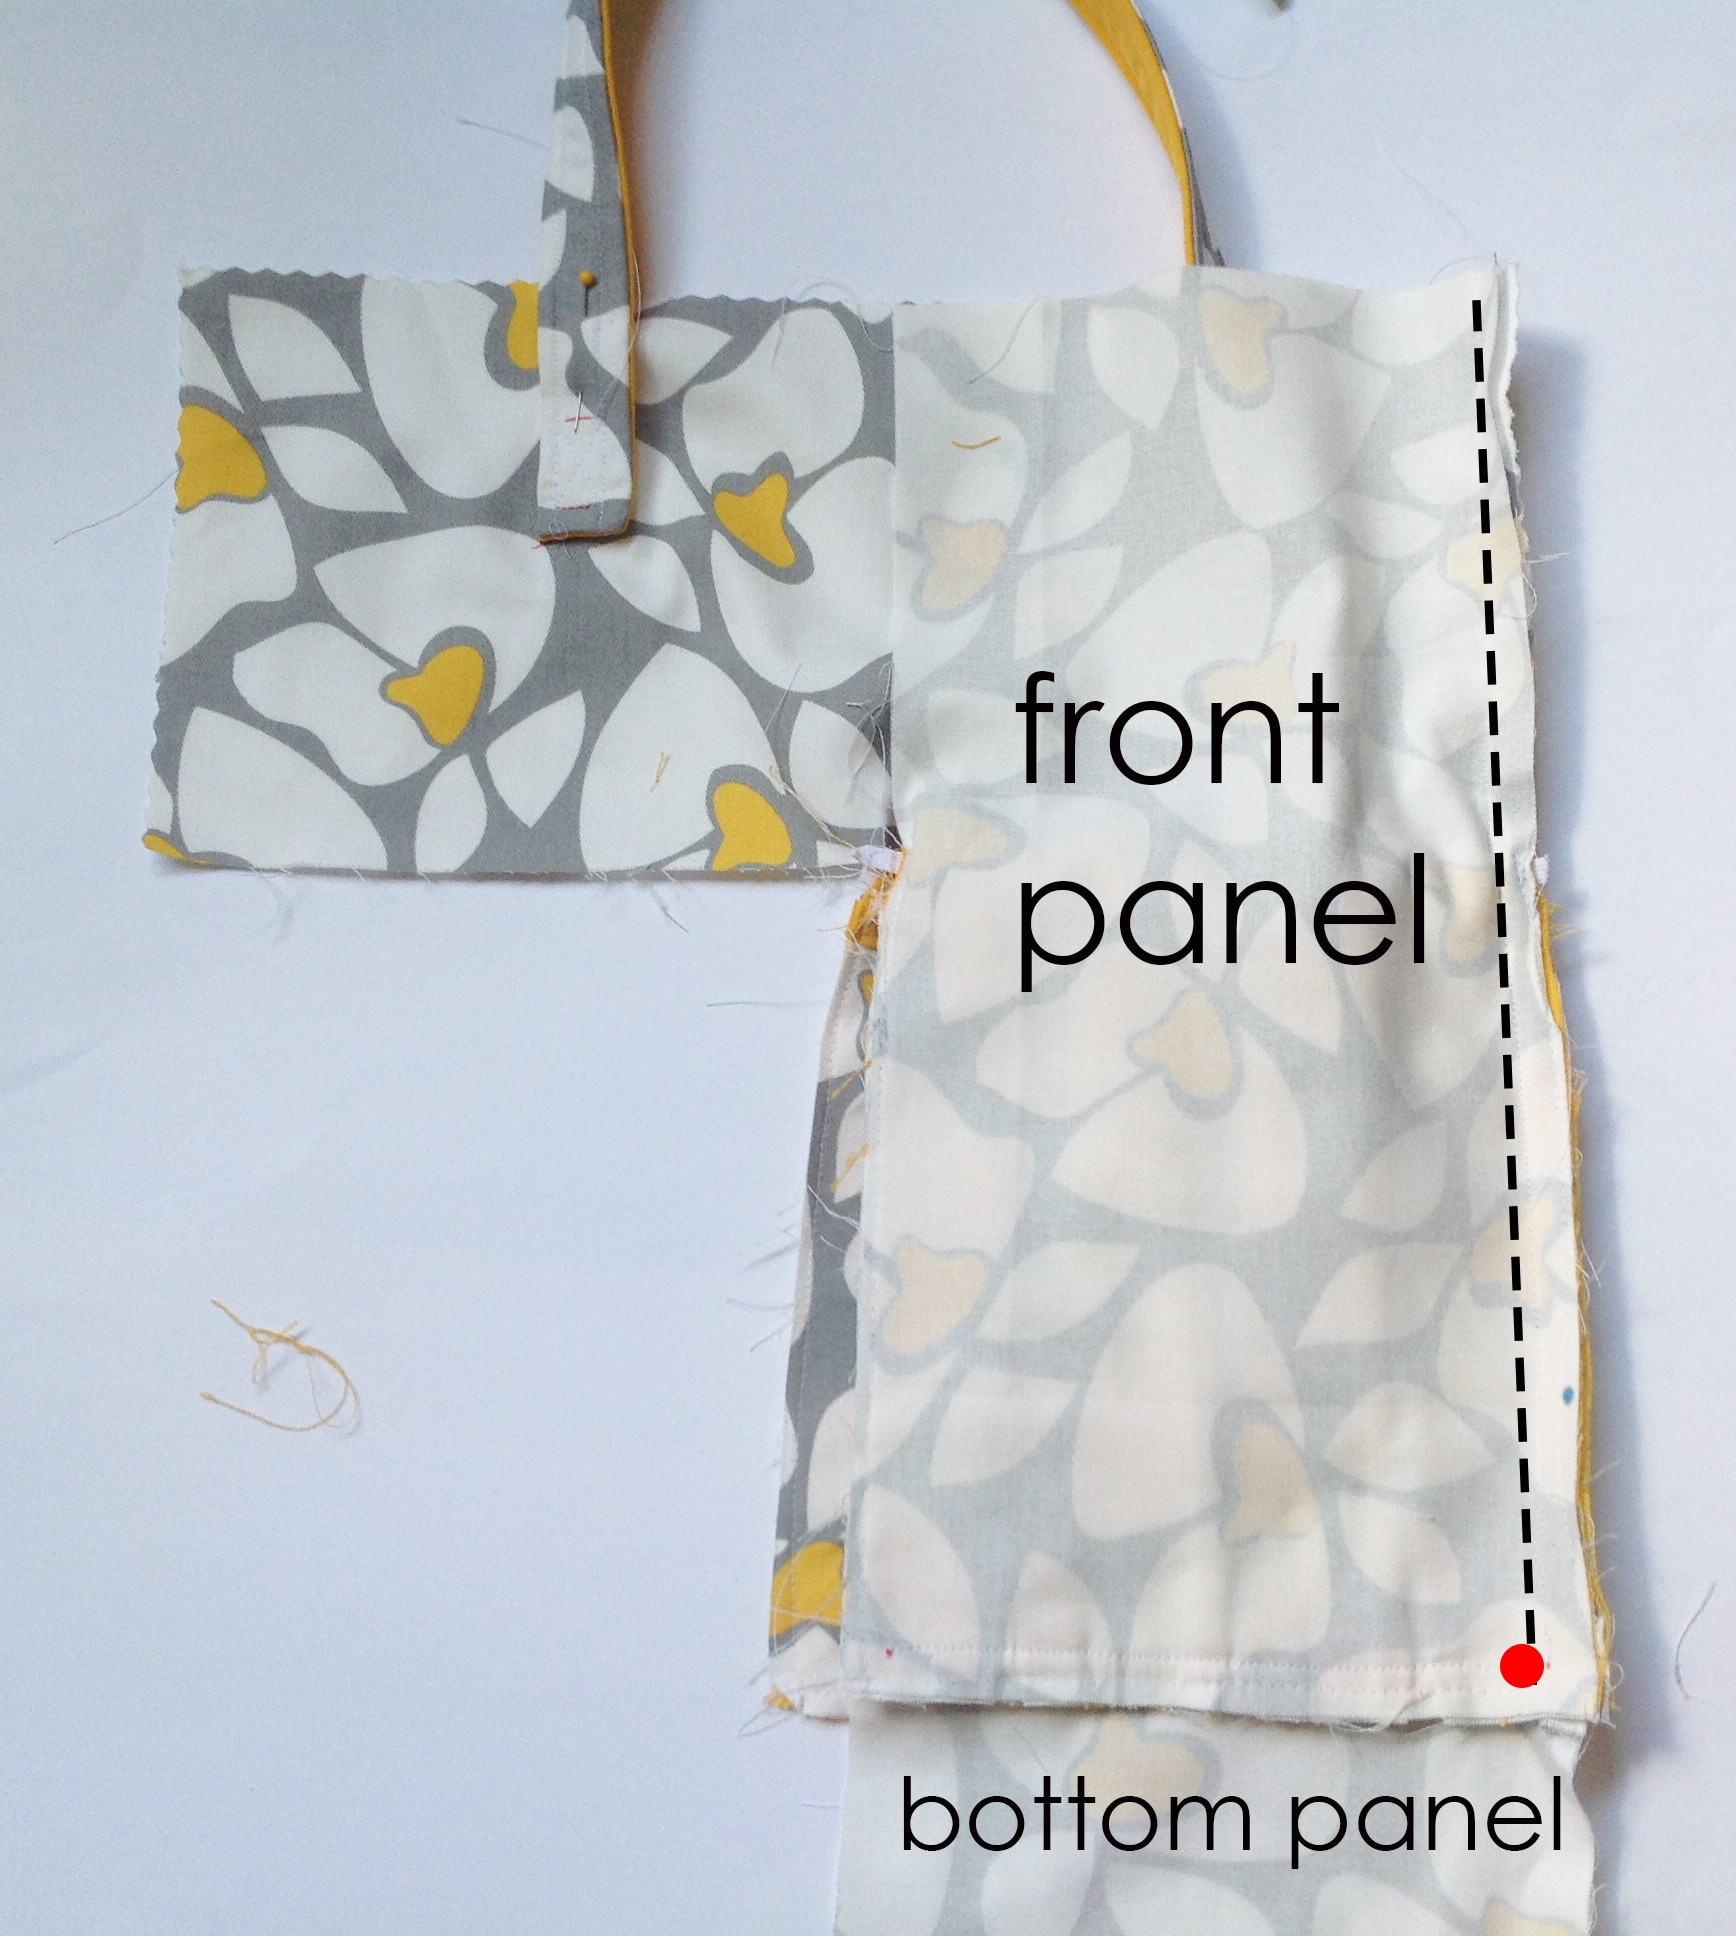
This really long panel is going to wrap all the way around our Side Panels. Let’s start with Side Panel (B) that has the cutout on the left bottom edge.
With right side facing, align the long edges of the Front Panel on Side Panels. Sew from the top edge just to the seam from the previous step (in other words, stop 1/2″ from the bottom). Be careful as you stitch near the bottom edge that you don’t catch any of the Bottom Panel’s seam allowance in the seam.
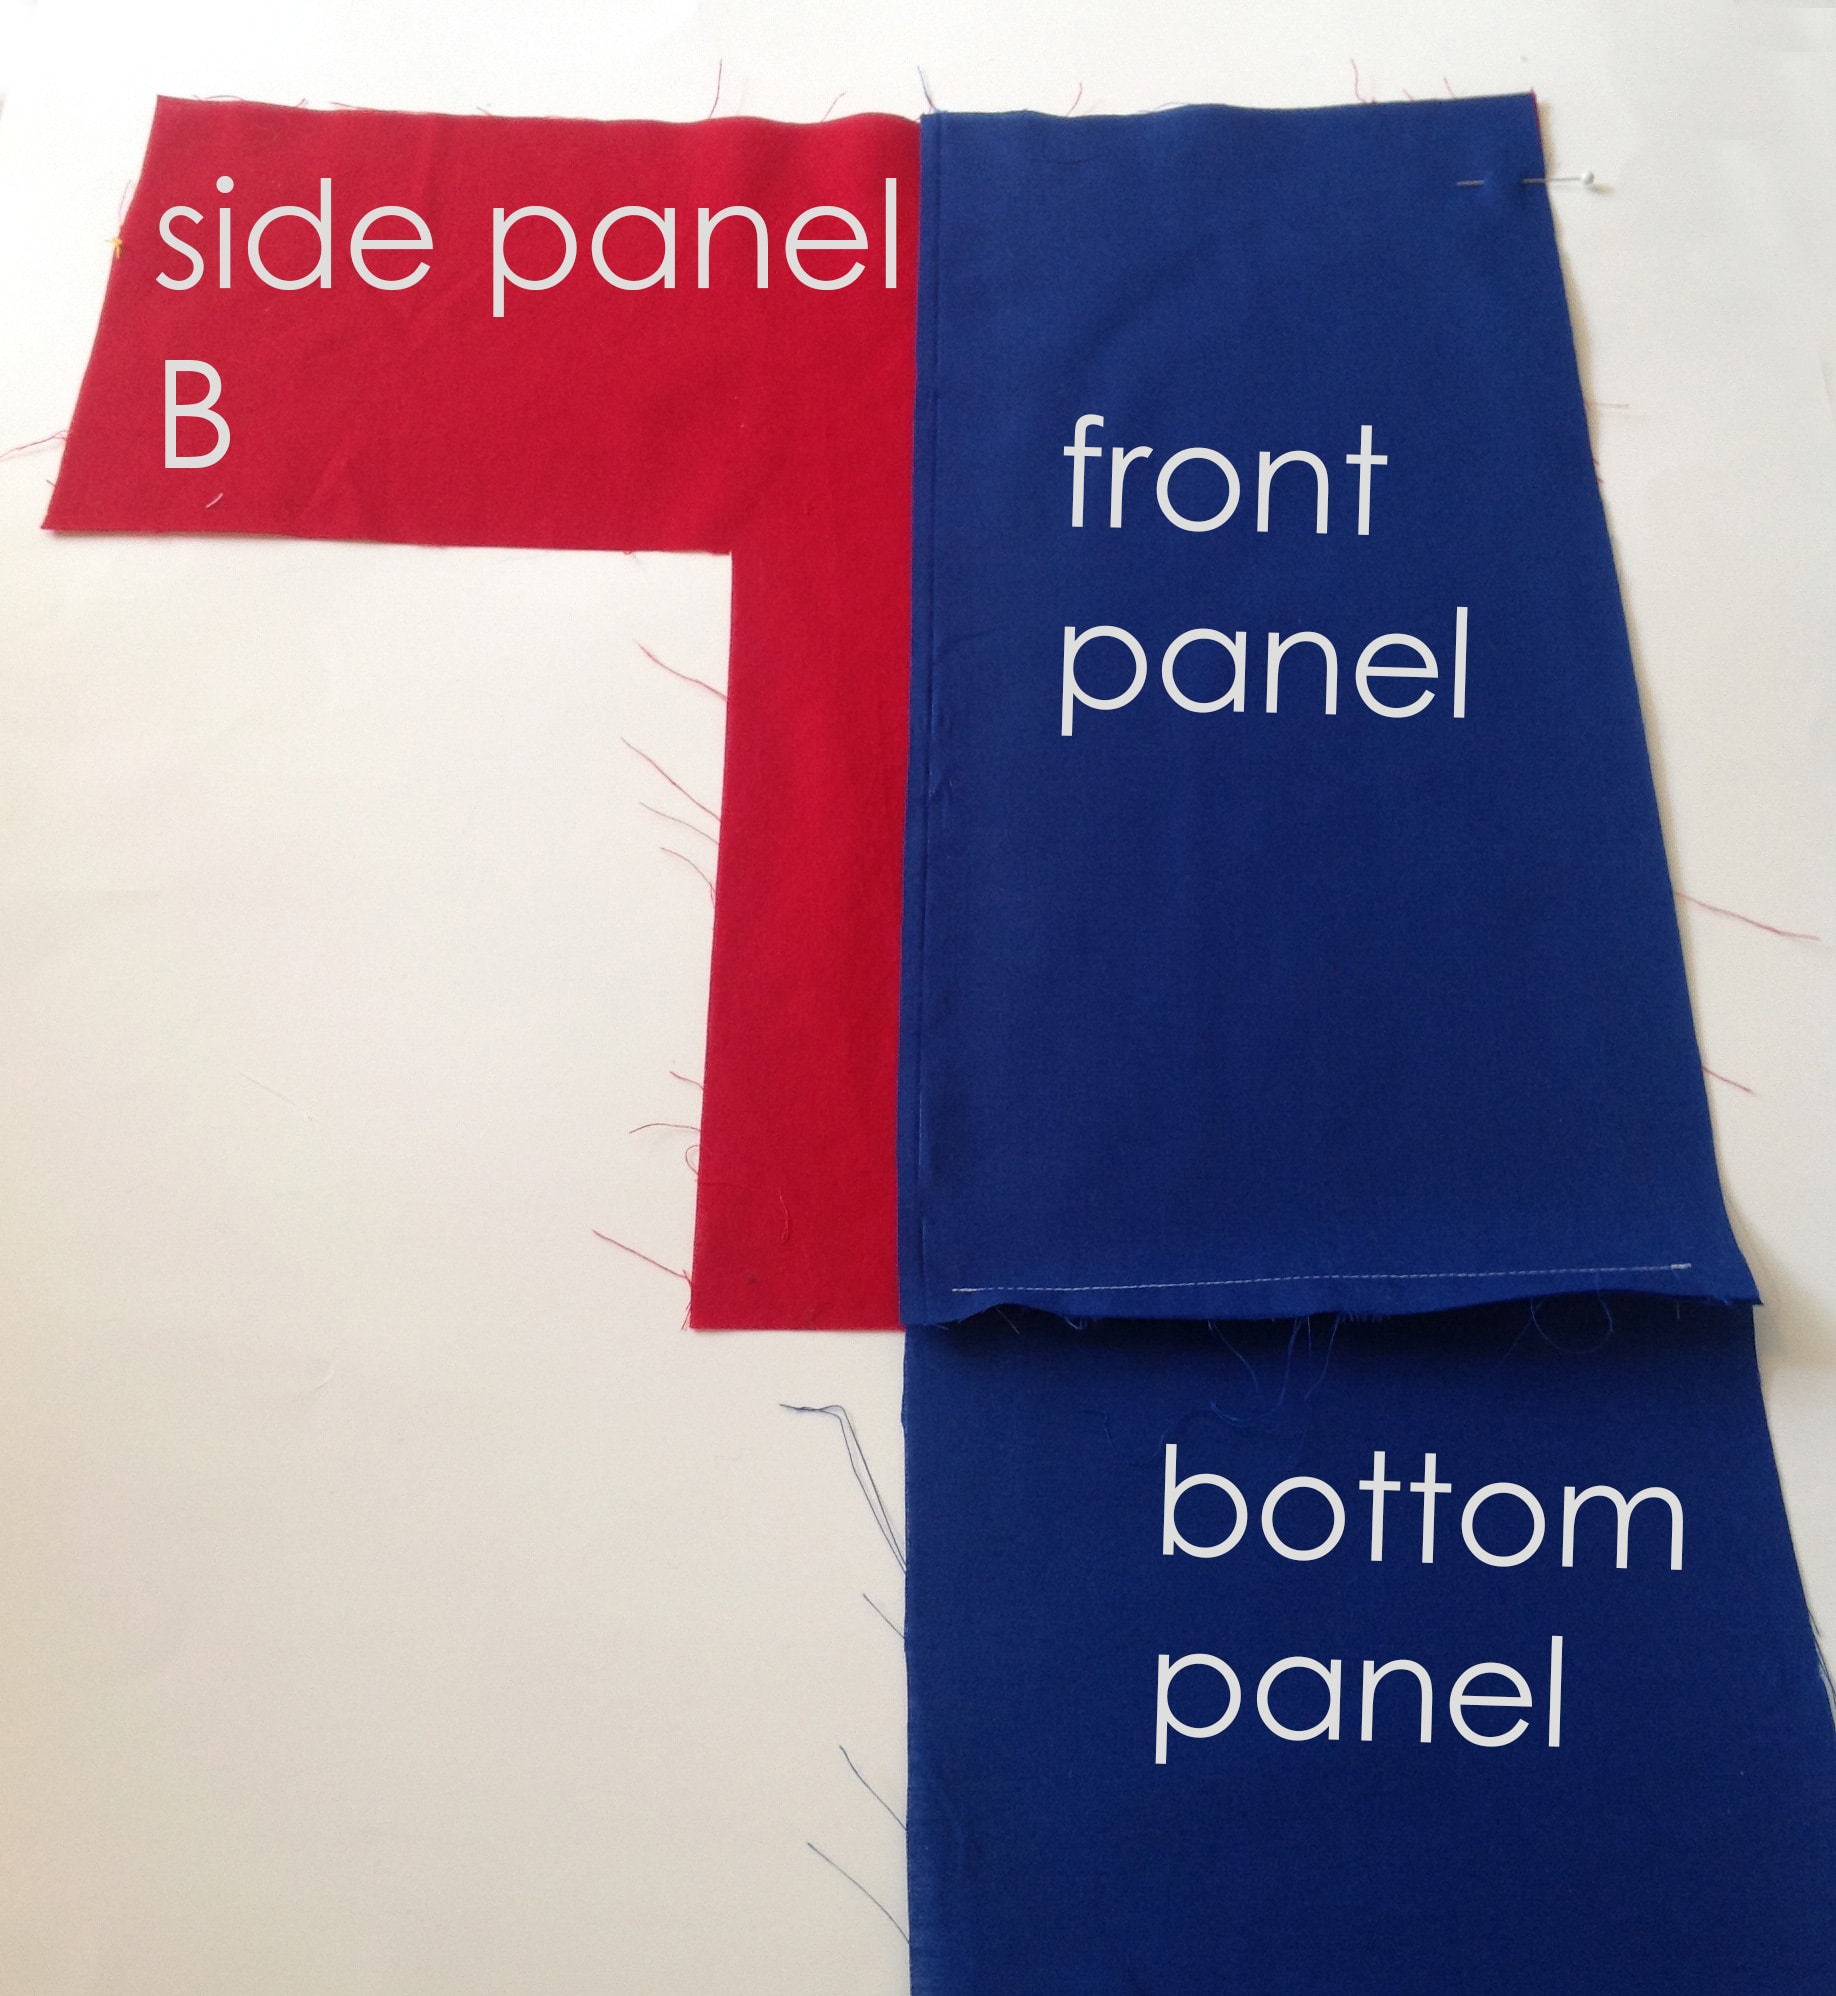
For the rest of this tutorial I am going to switch over to some solid color pieces. I think that it will be easier for you to see what is happening without a print and the pockets obstructing the view. Here’s what I will use for the Side Panels and Front/Bottom Panel.
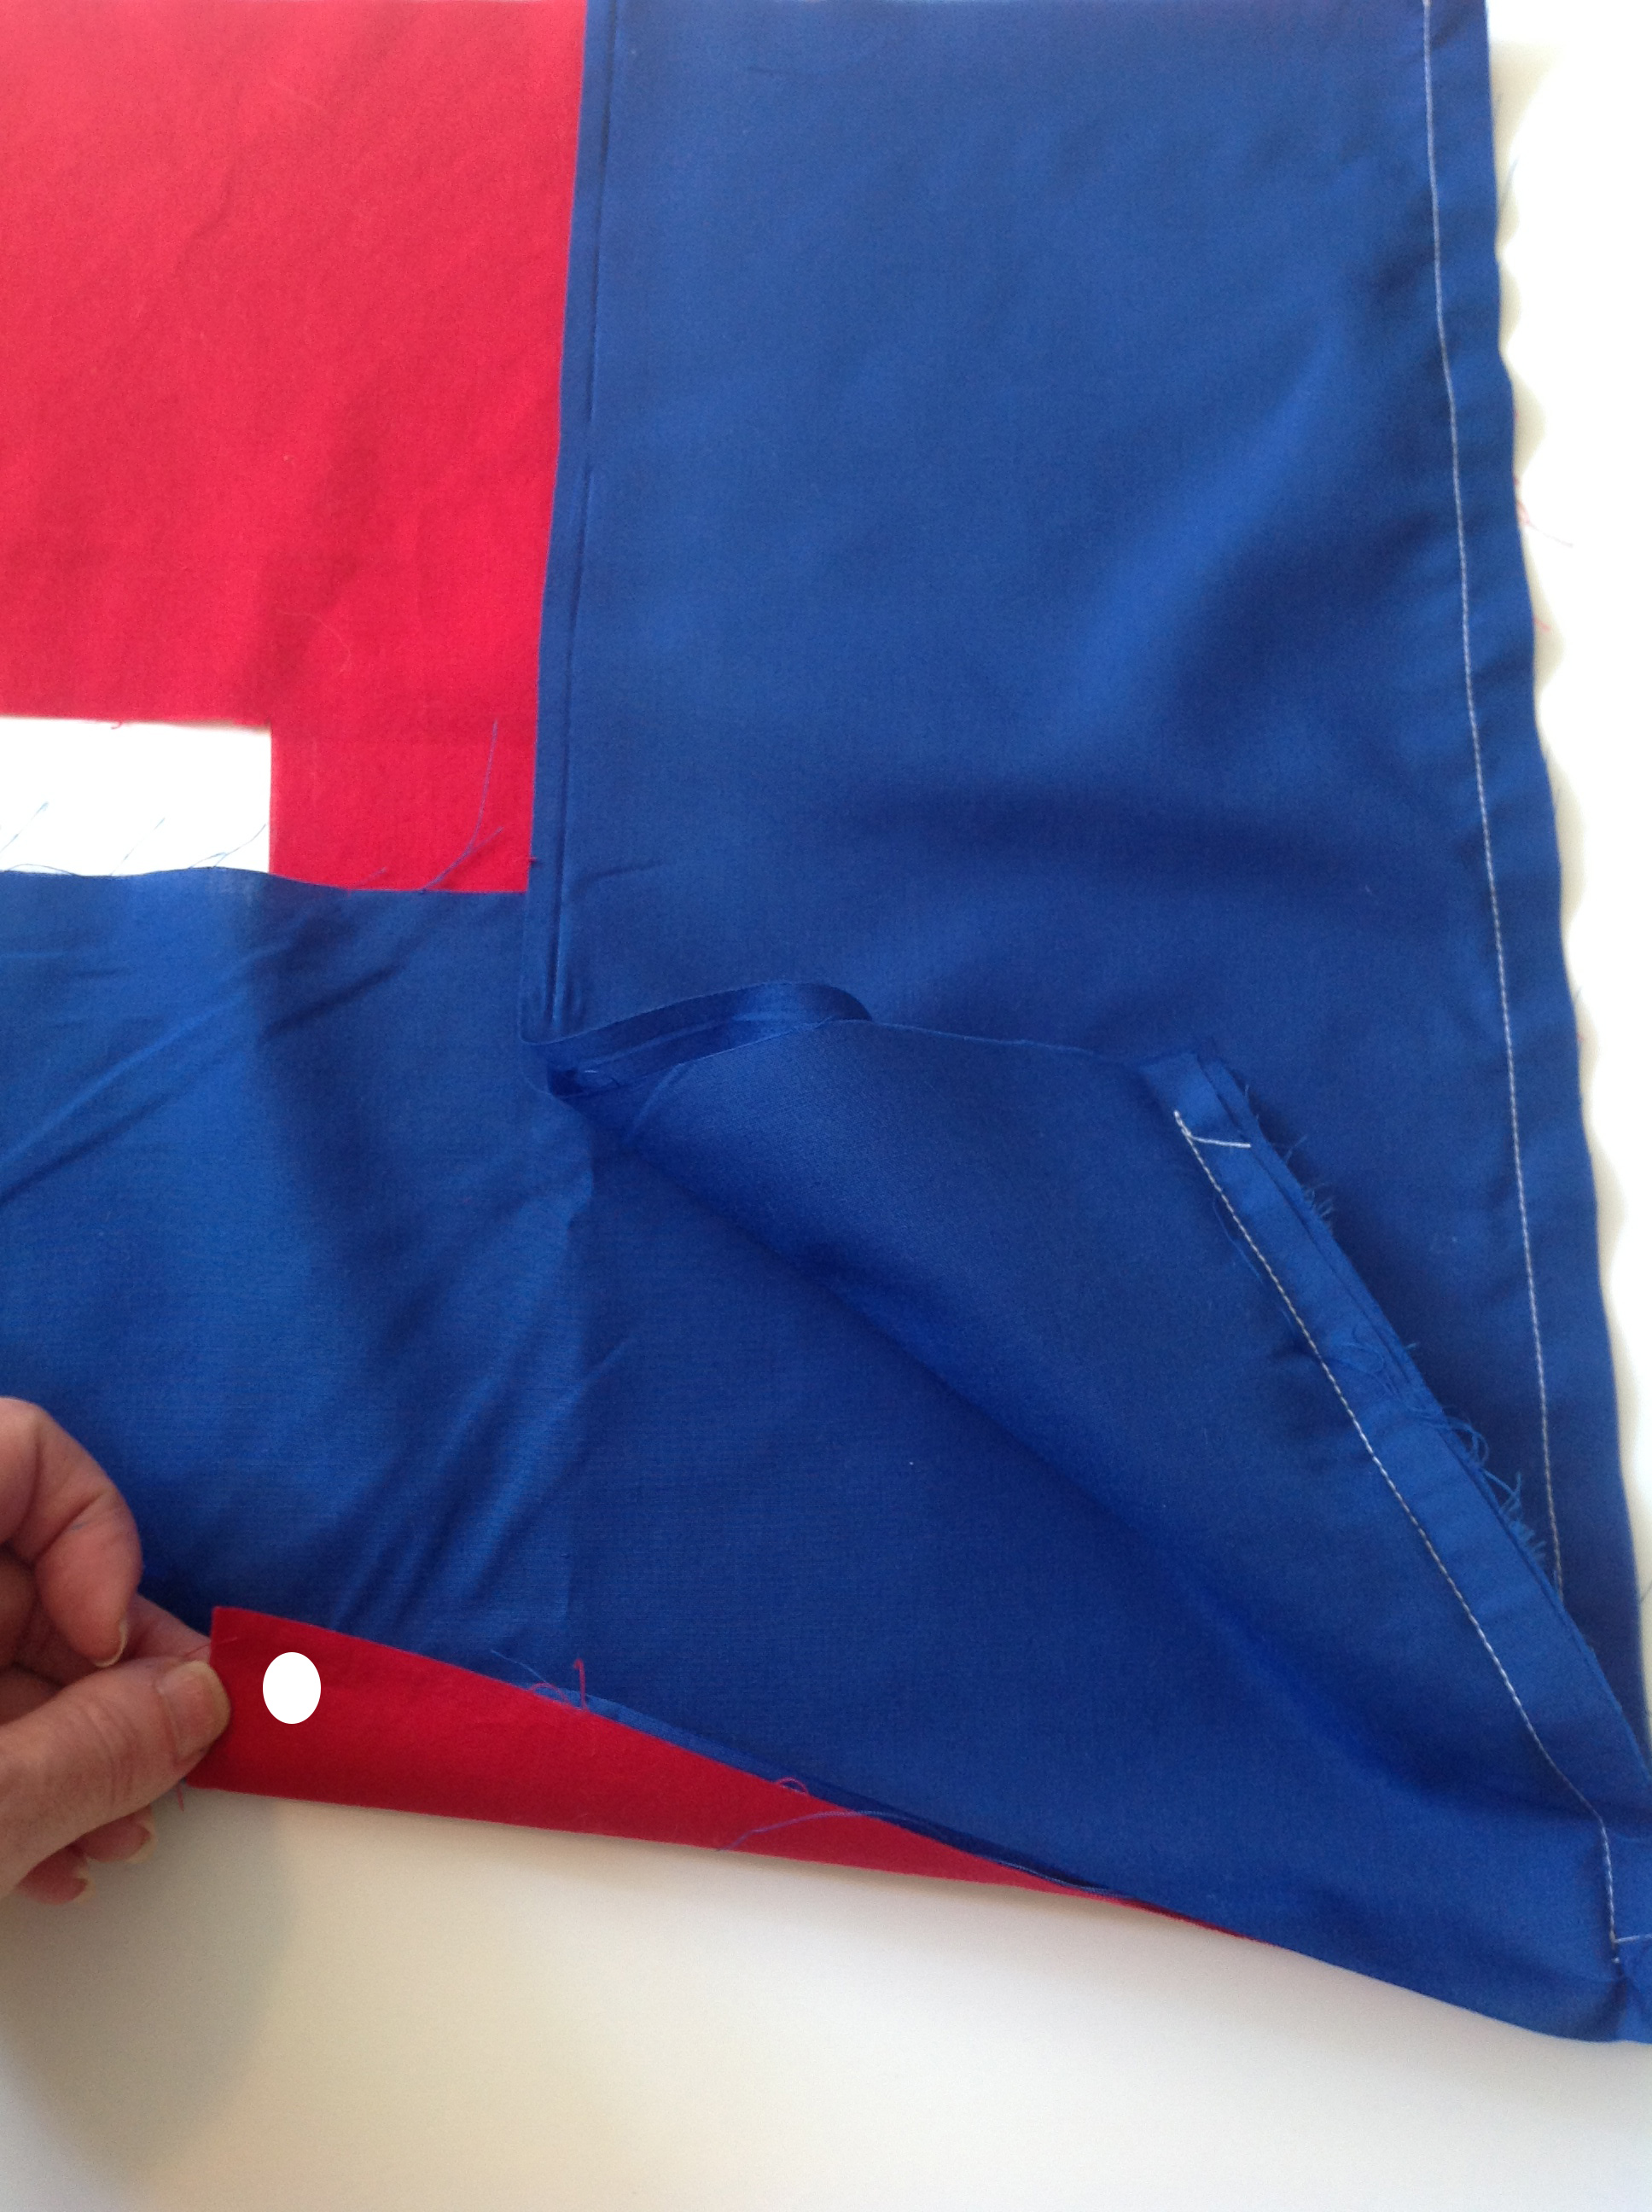
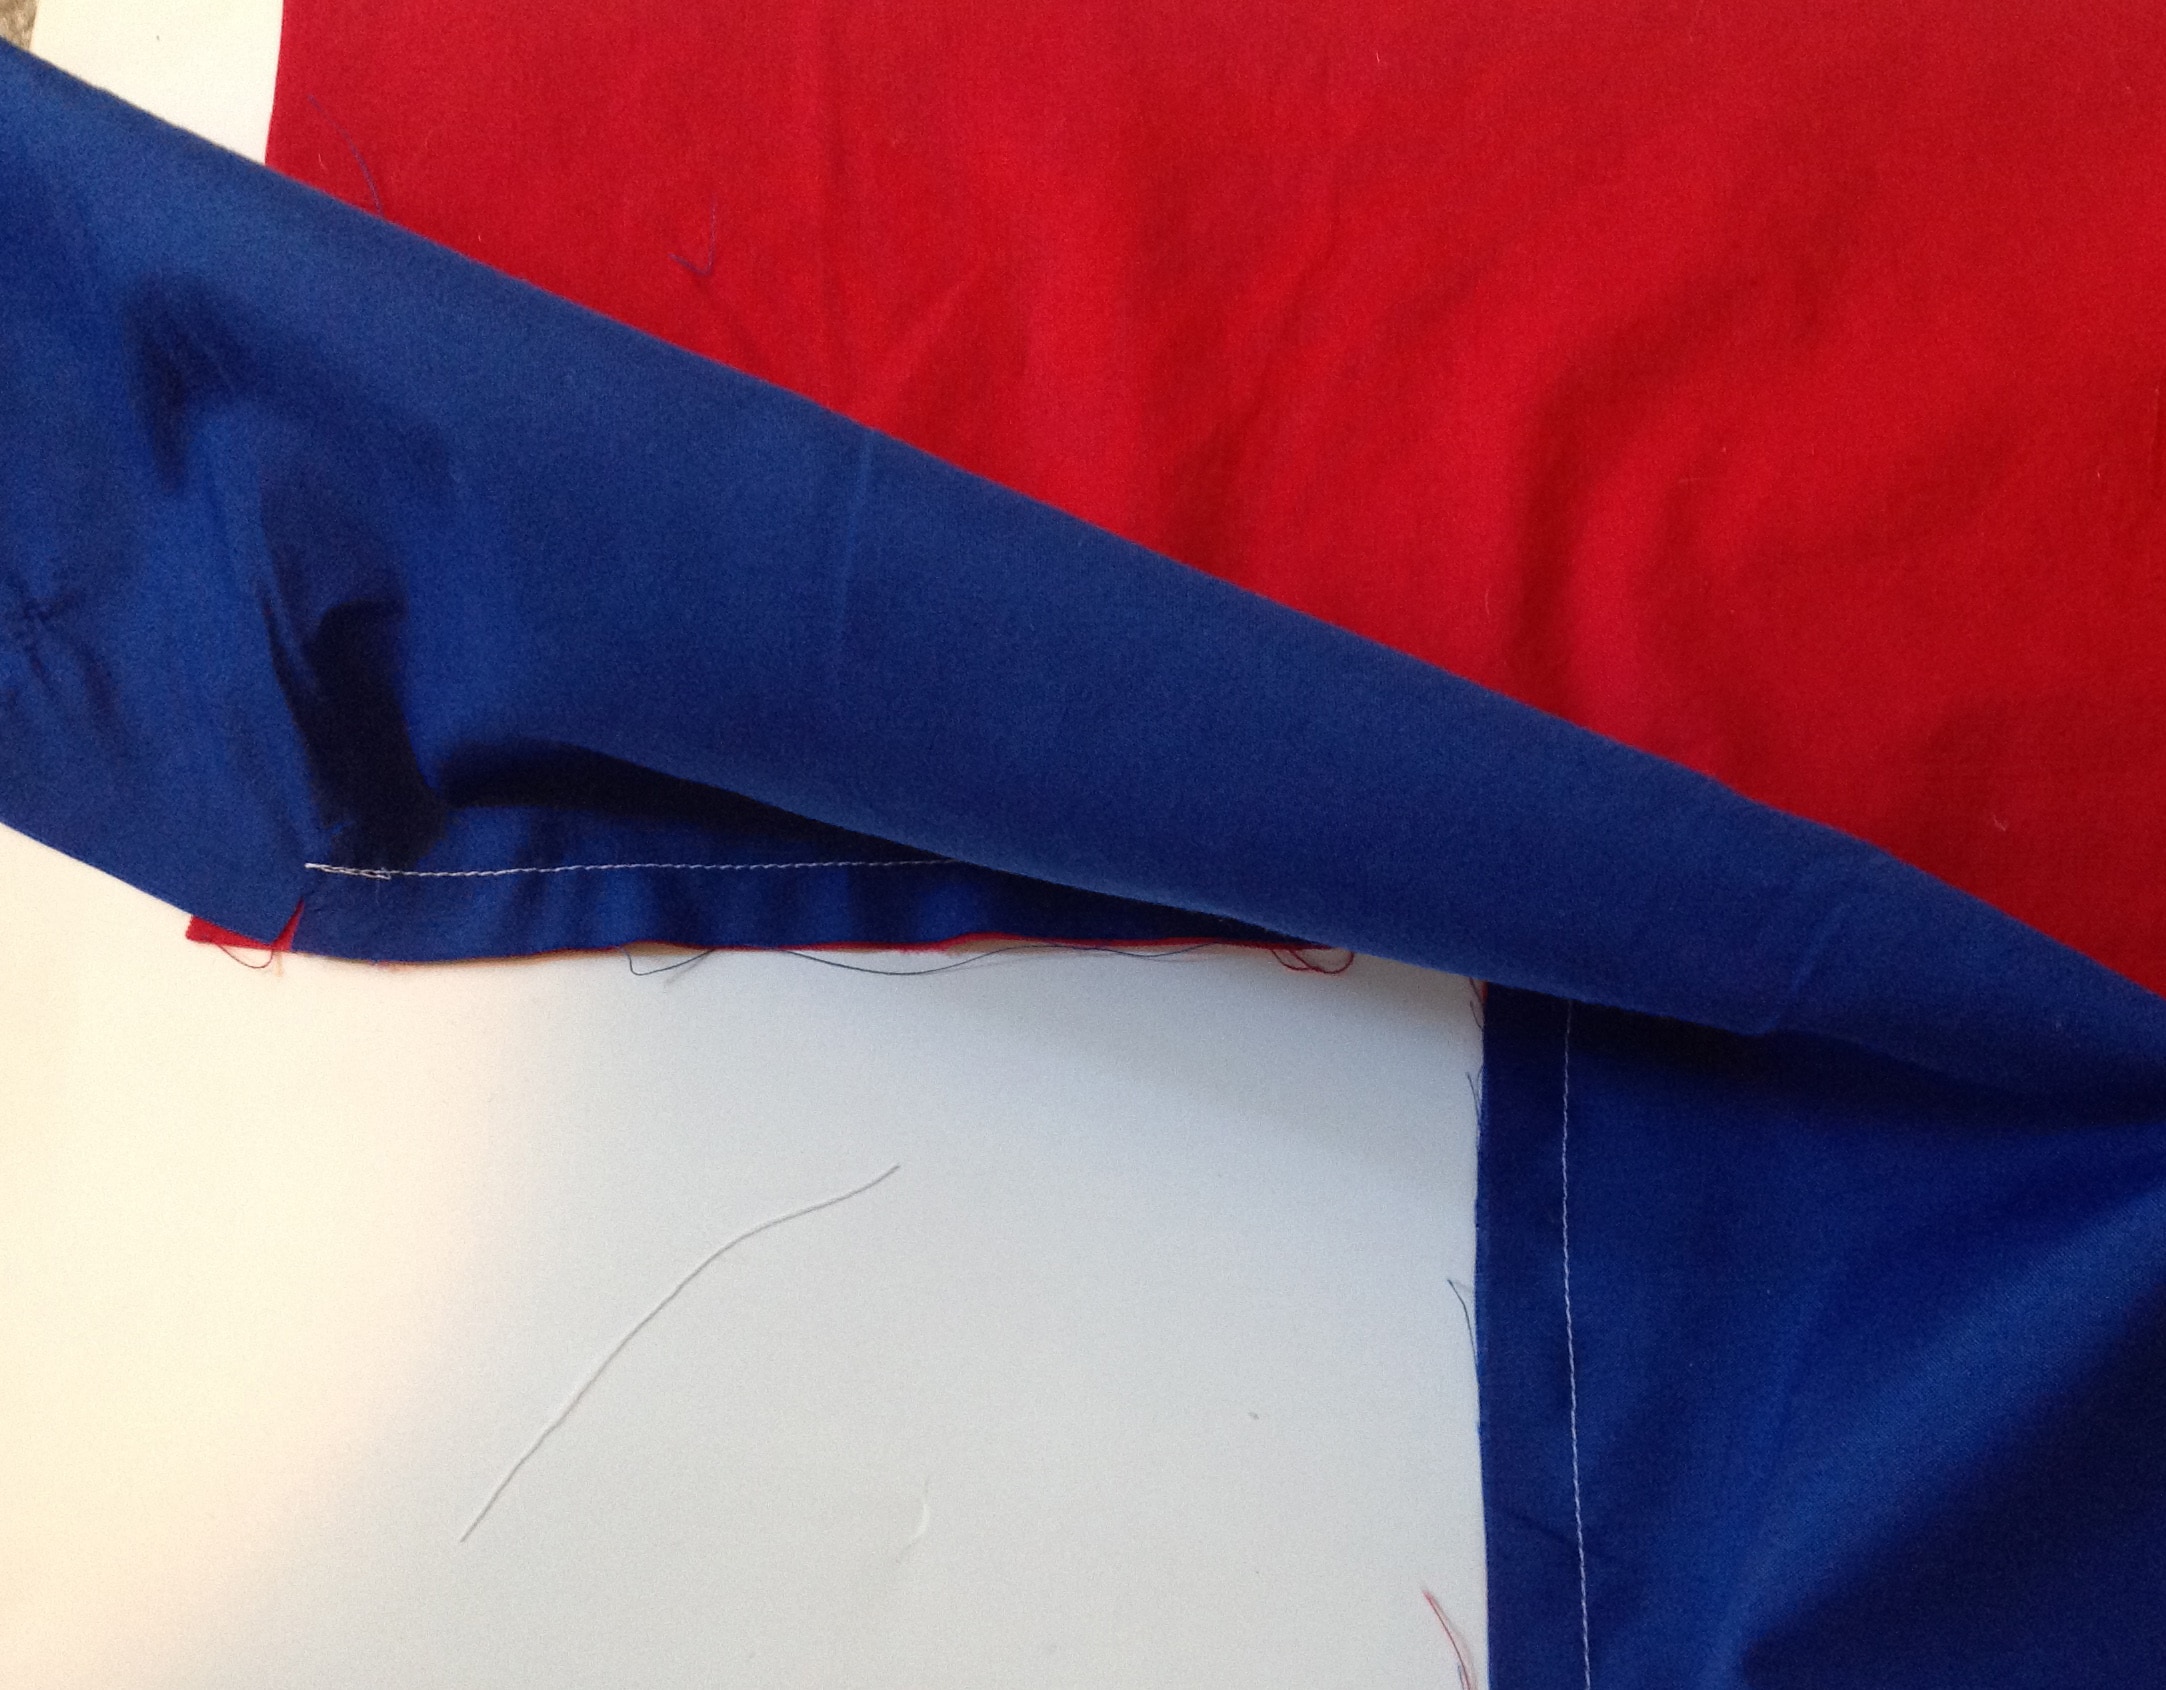
Now we want to take that bottom panel and align it with the bottom edge of the side panel.

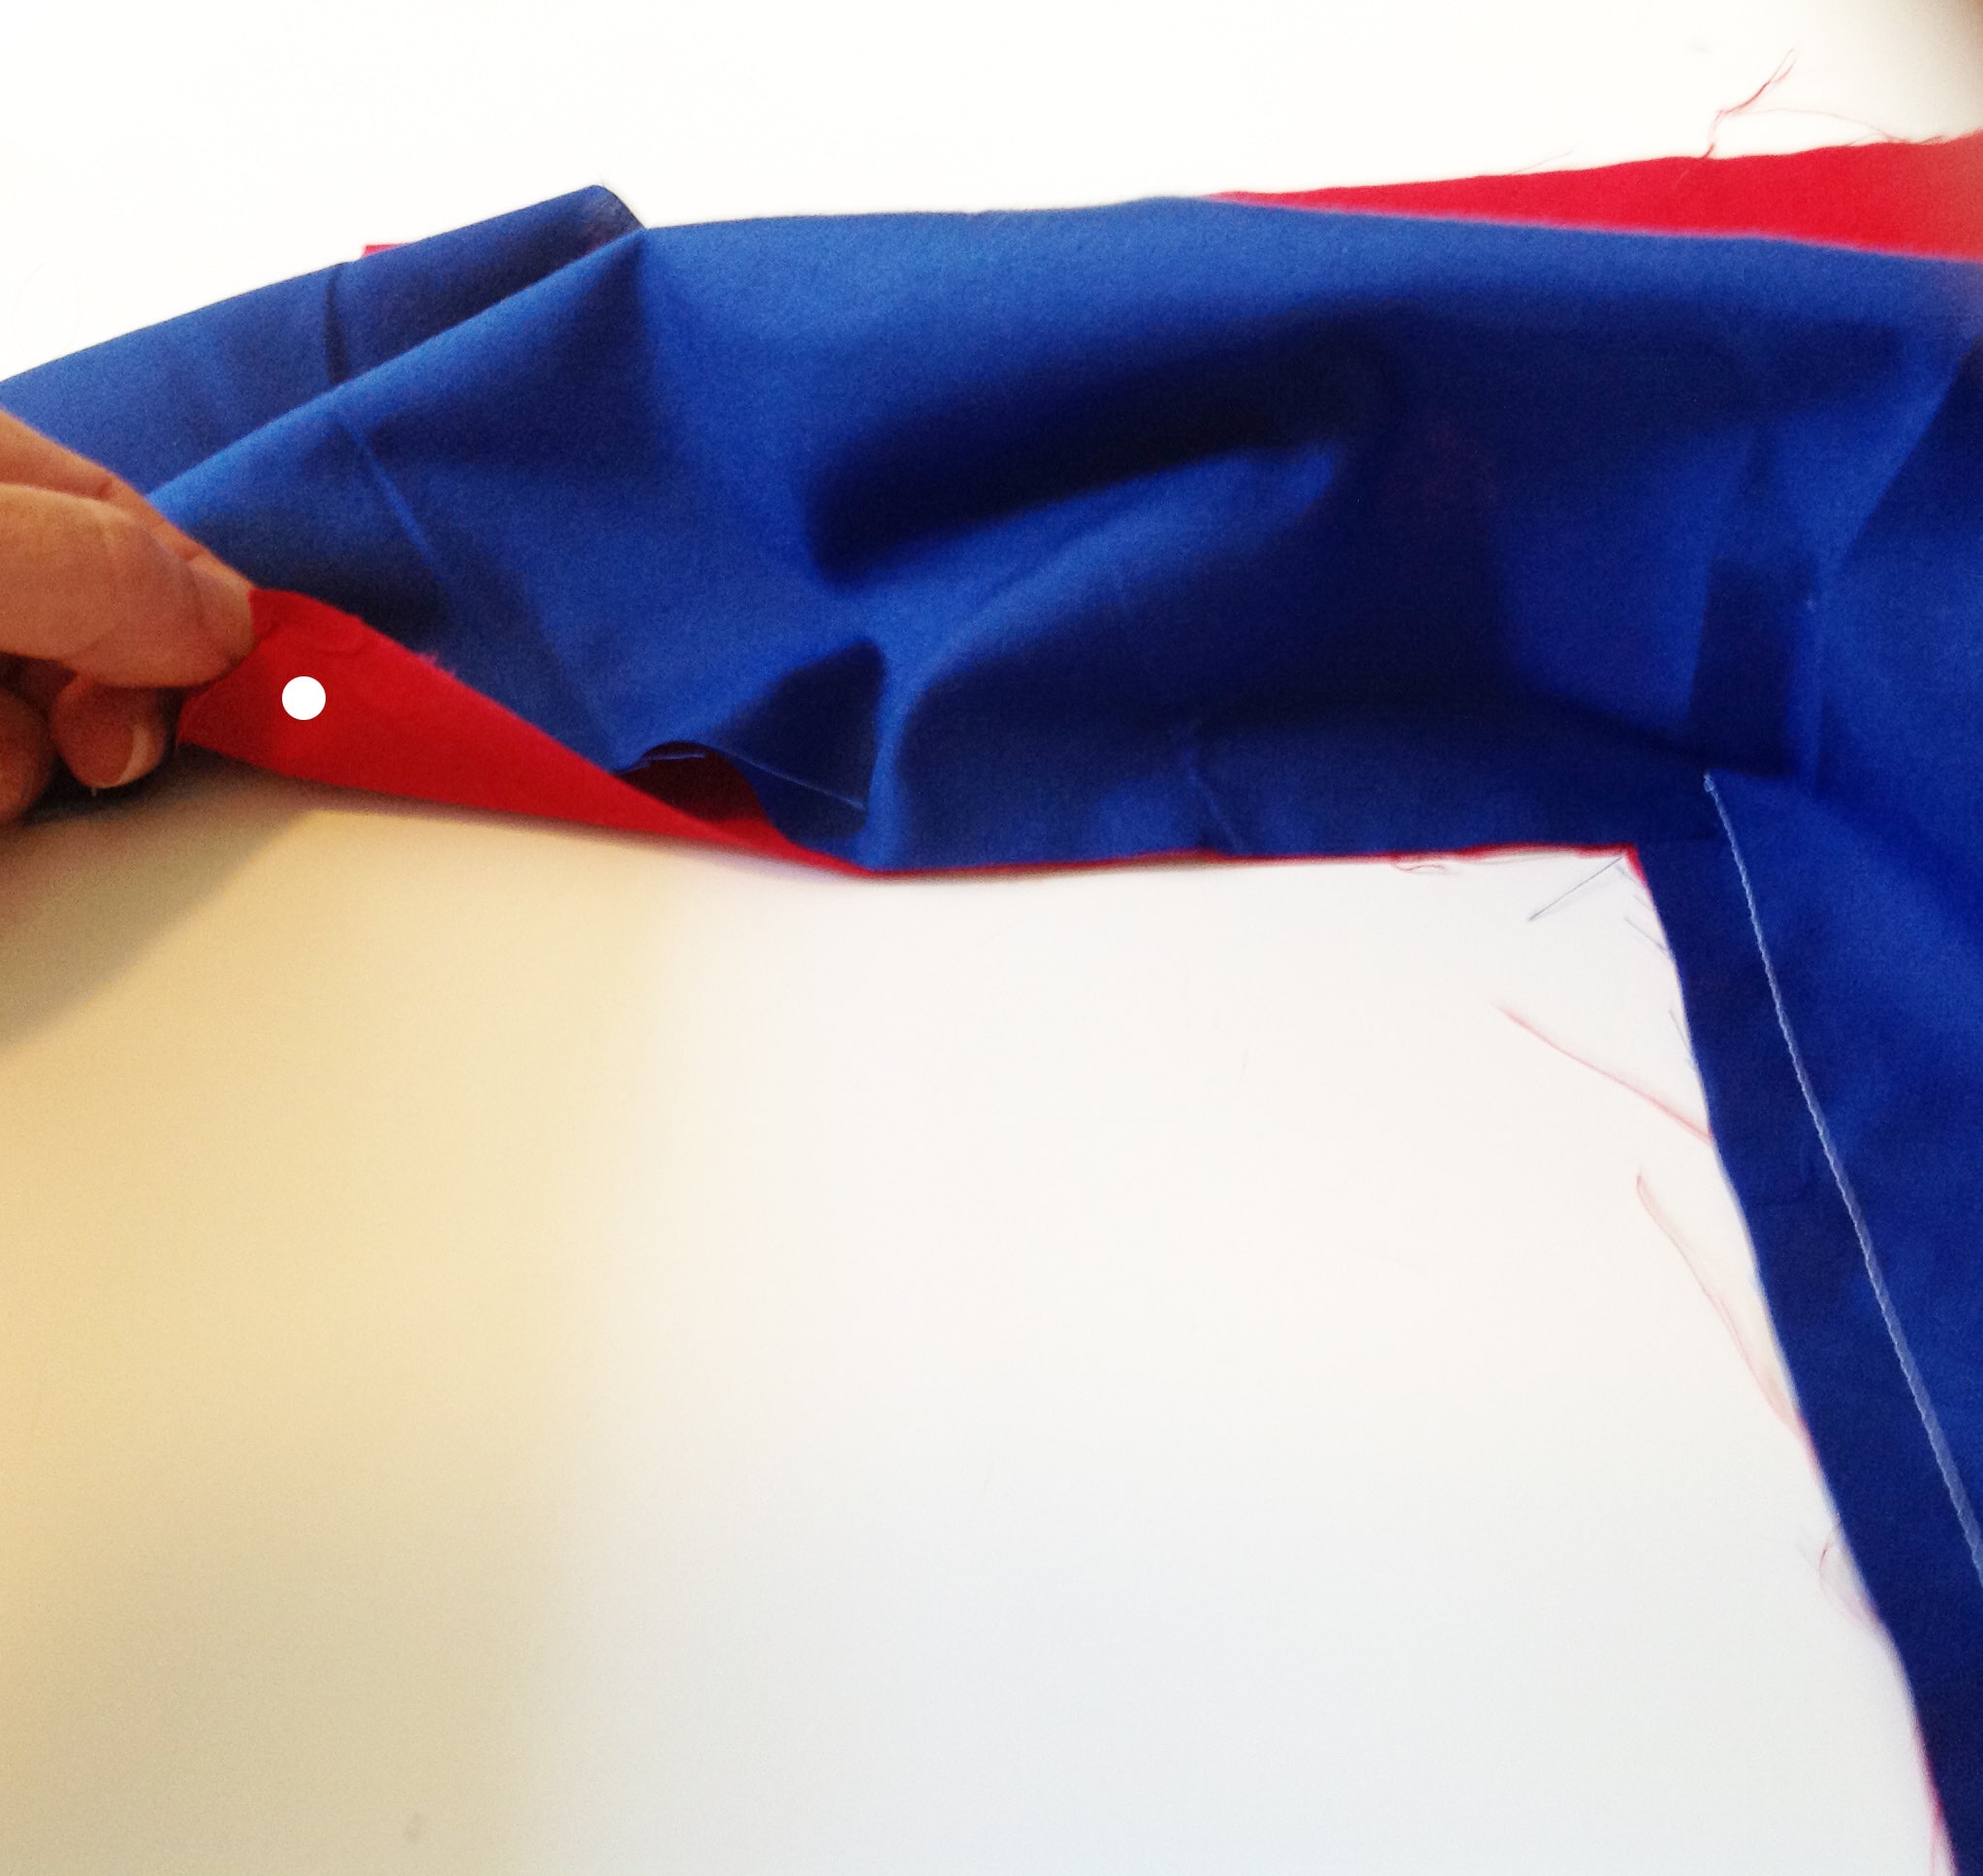
Peek under the Side Panel and find the dot on the corner of the Side Panel (shown here in white). Pin through both layers right on that dot.
Sew a seam from the previous seamline to the pin (sorry, pin is a little hard to see here).
Now, snip the Bottom Panel right at the end of that seamline…
Reposition the Bottom Panel along the next vertical edge. The snip you made will open up and let you do this neatly.
I like to pin the panel above the cut-out to be sure it stays put because the next seam needs to be accurate. 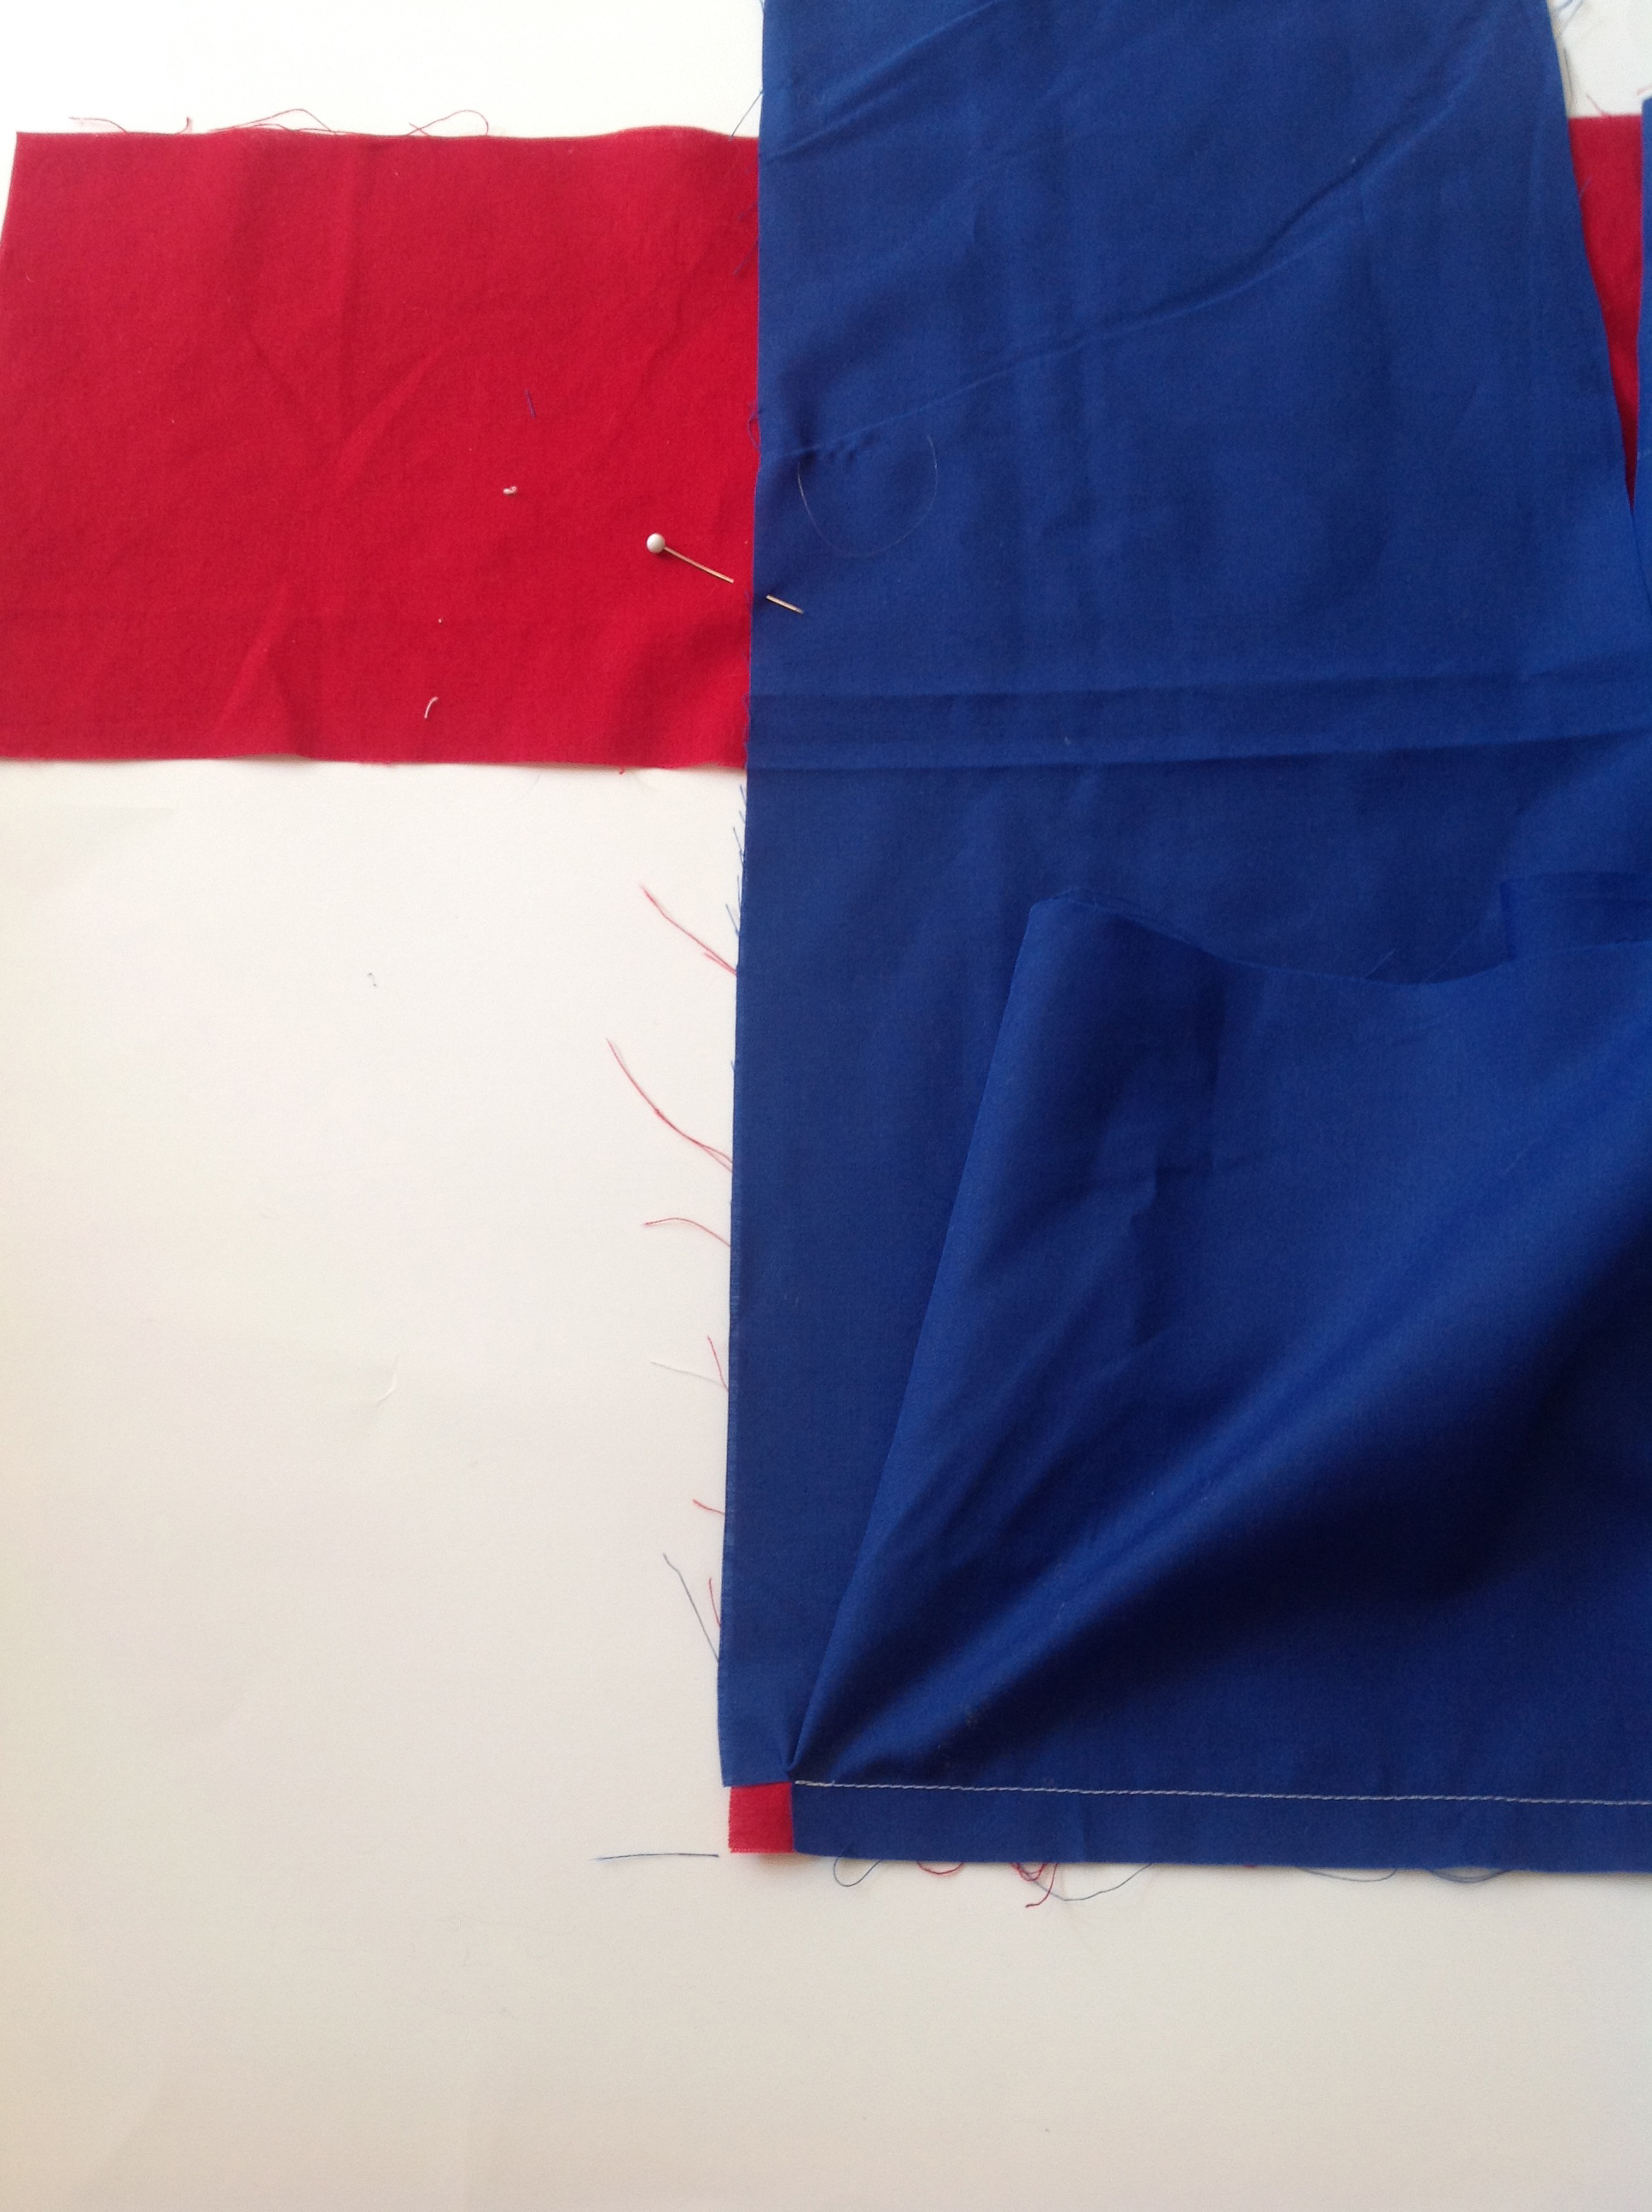
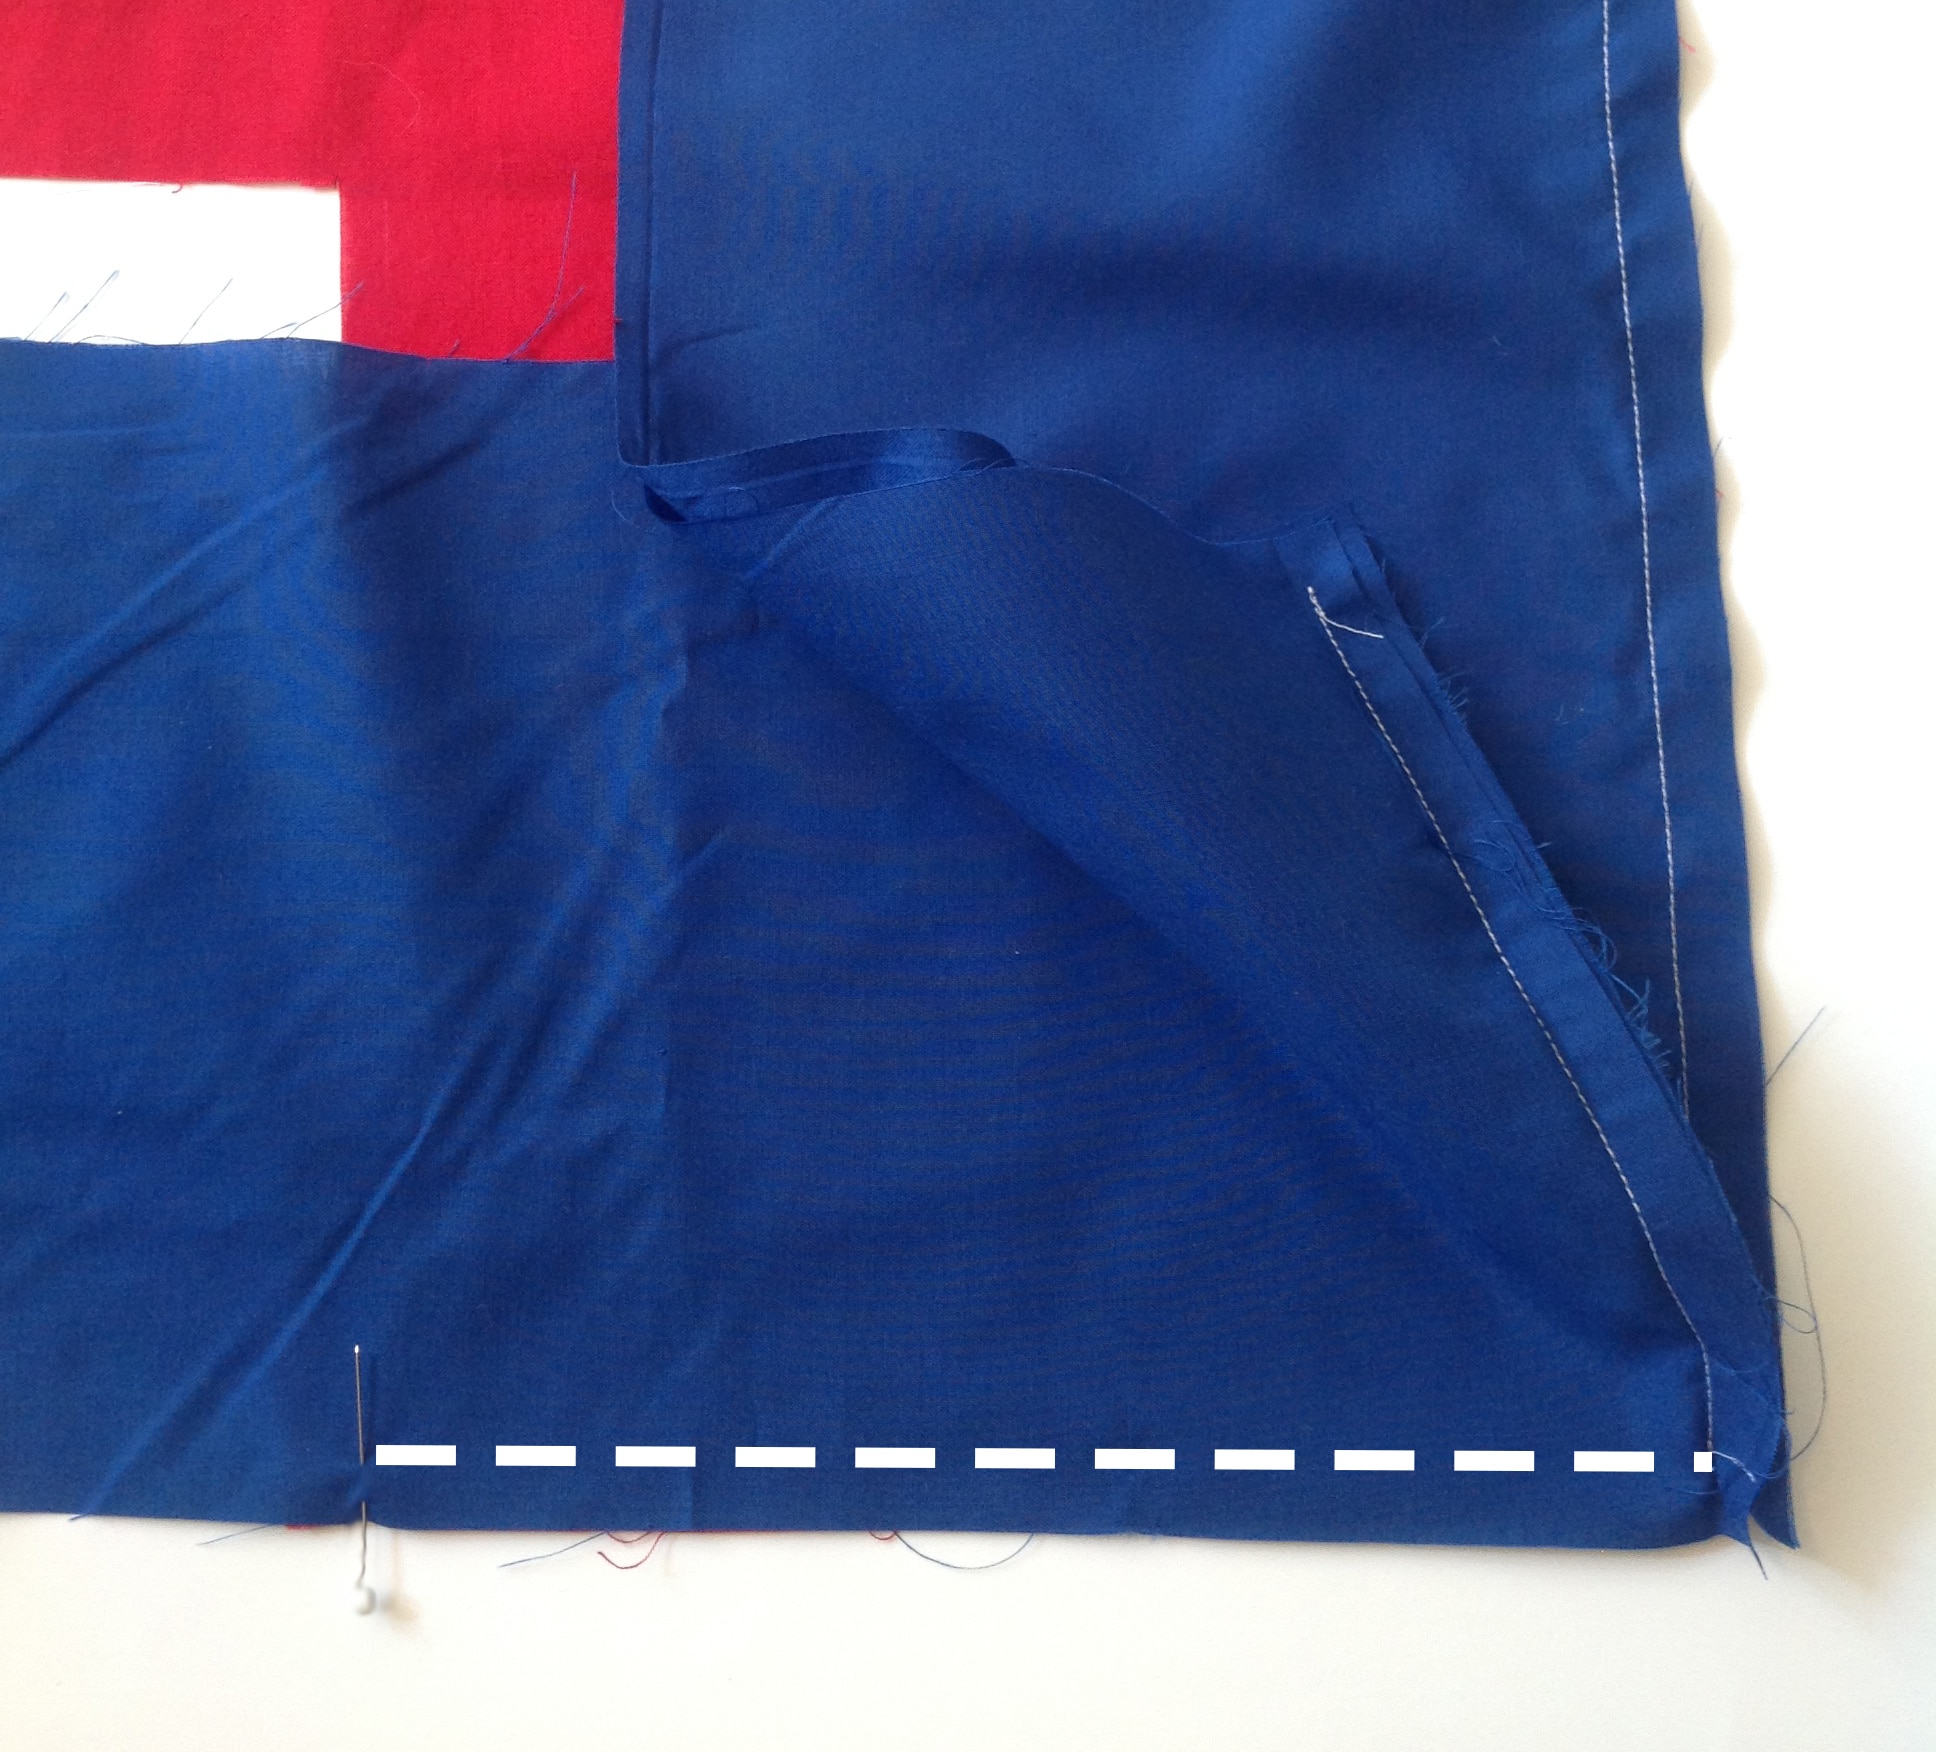
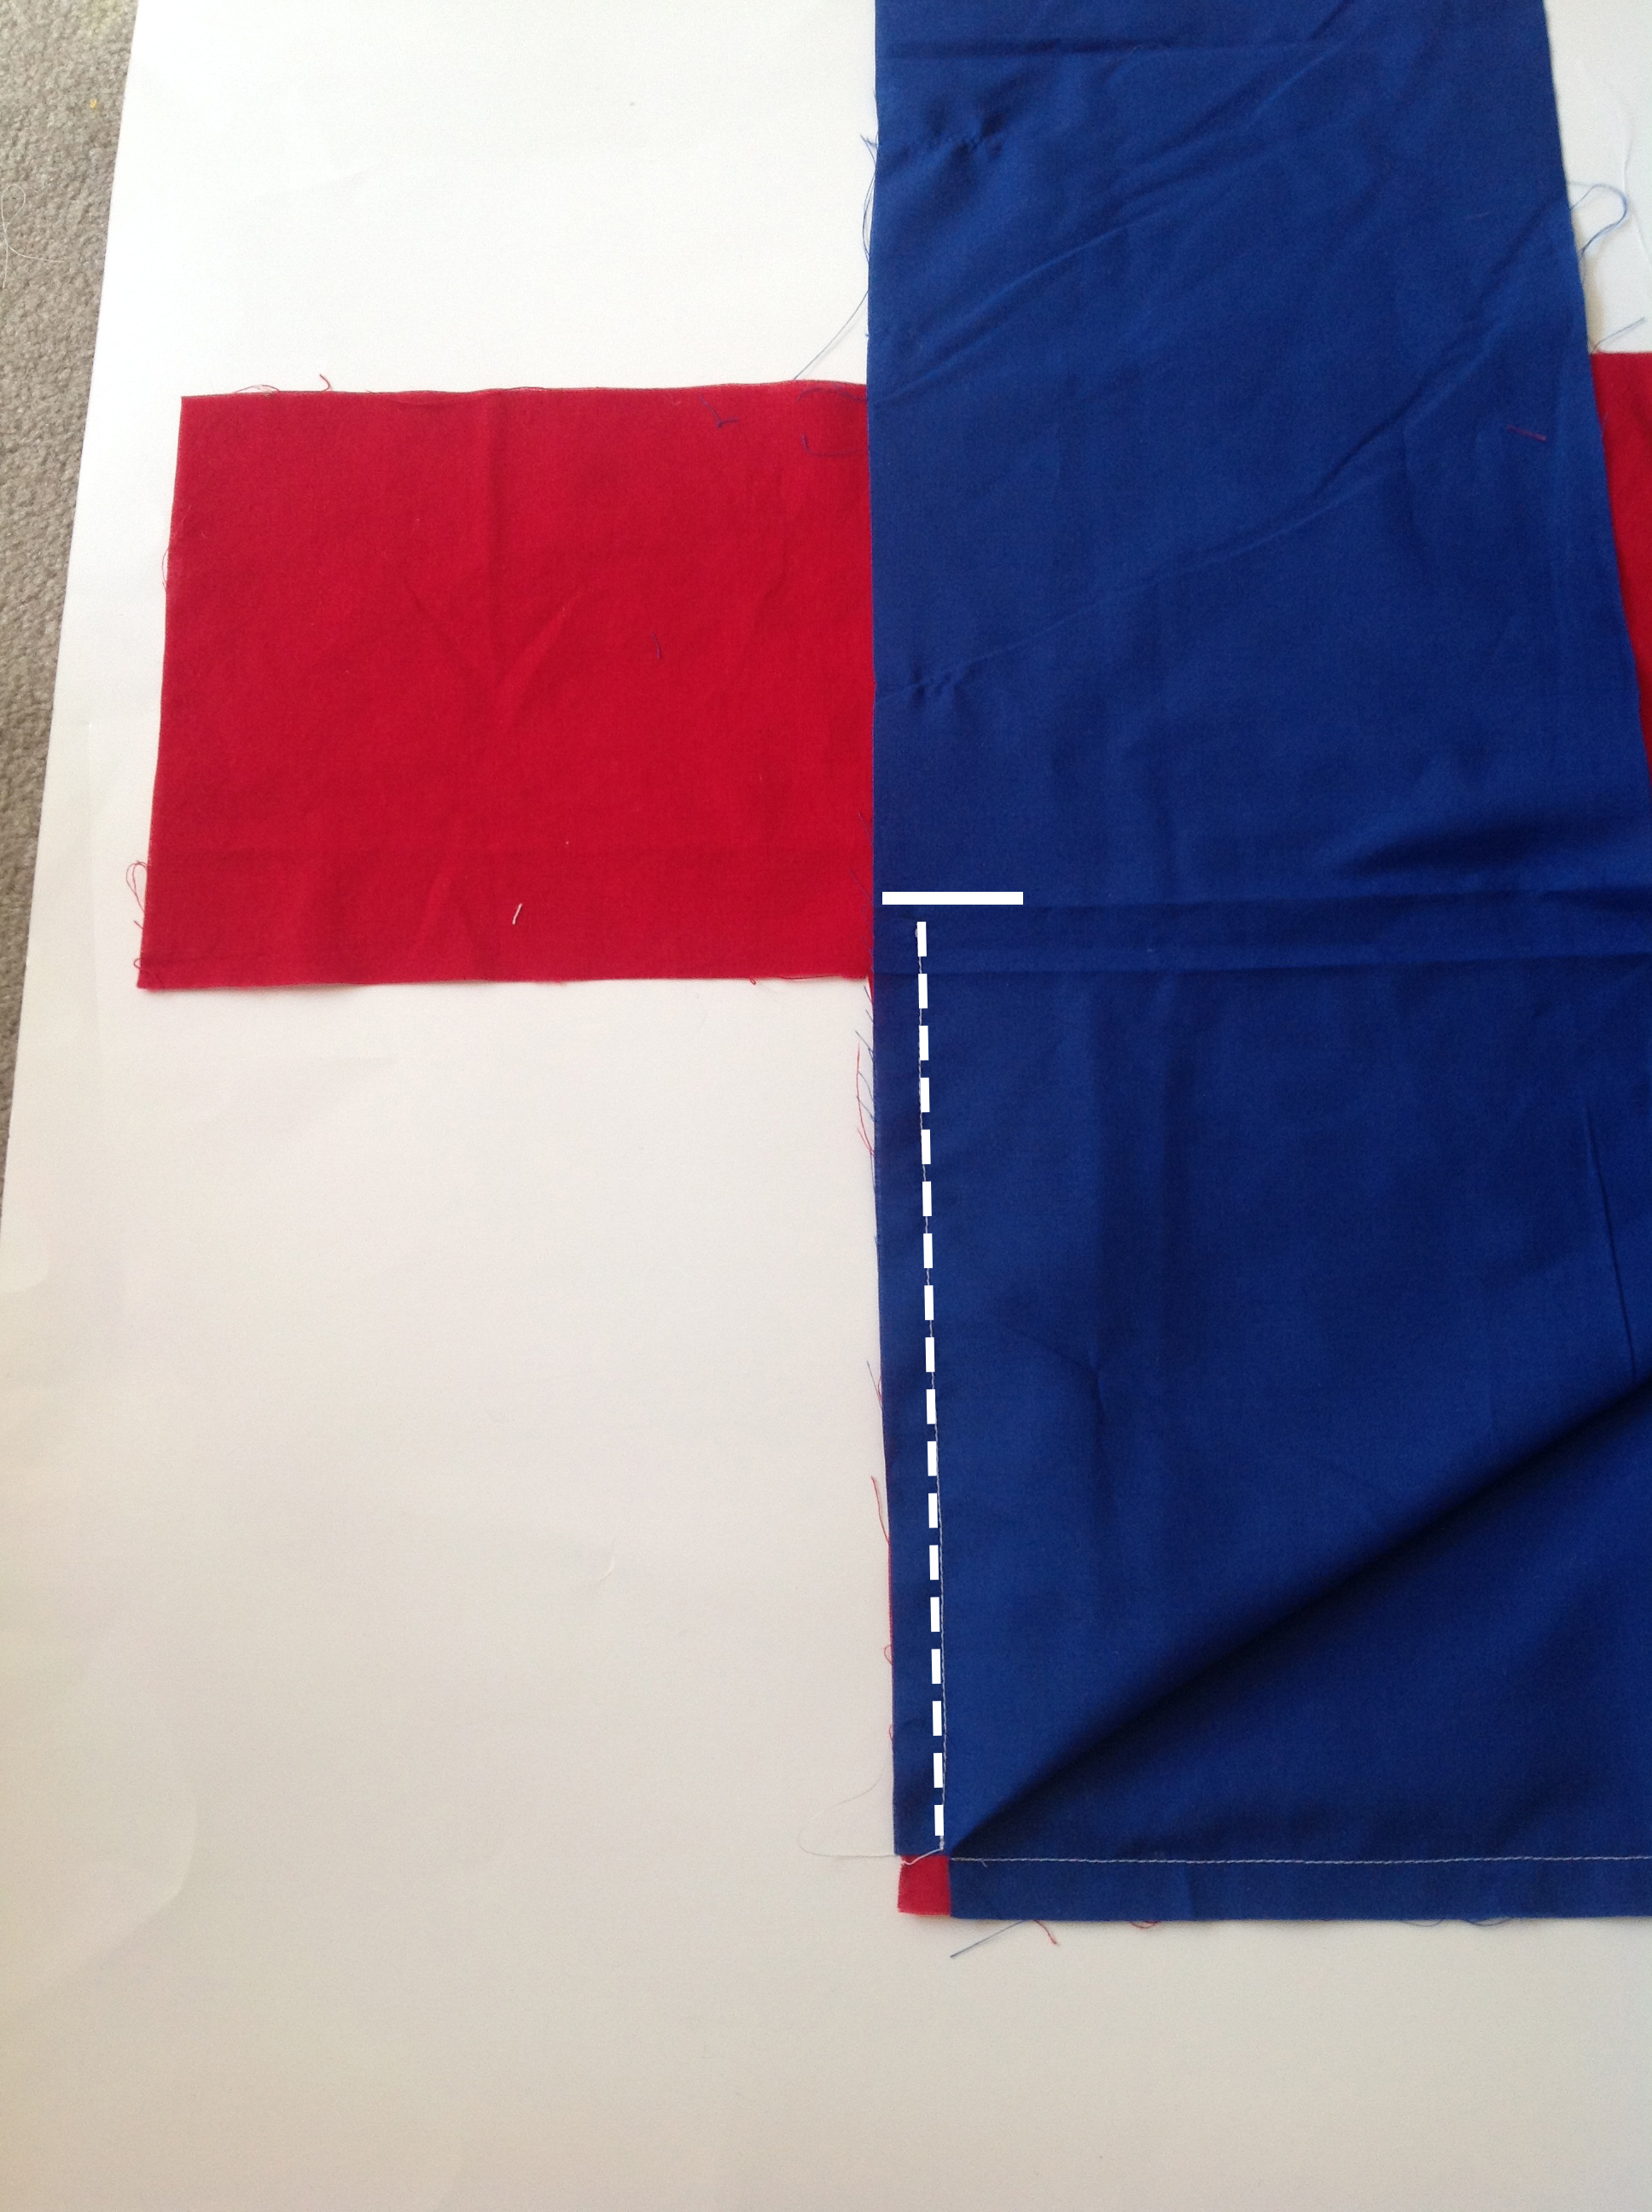
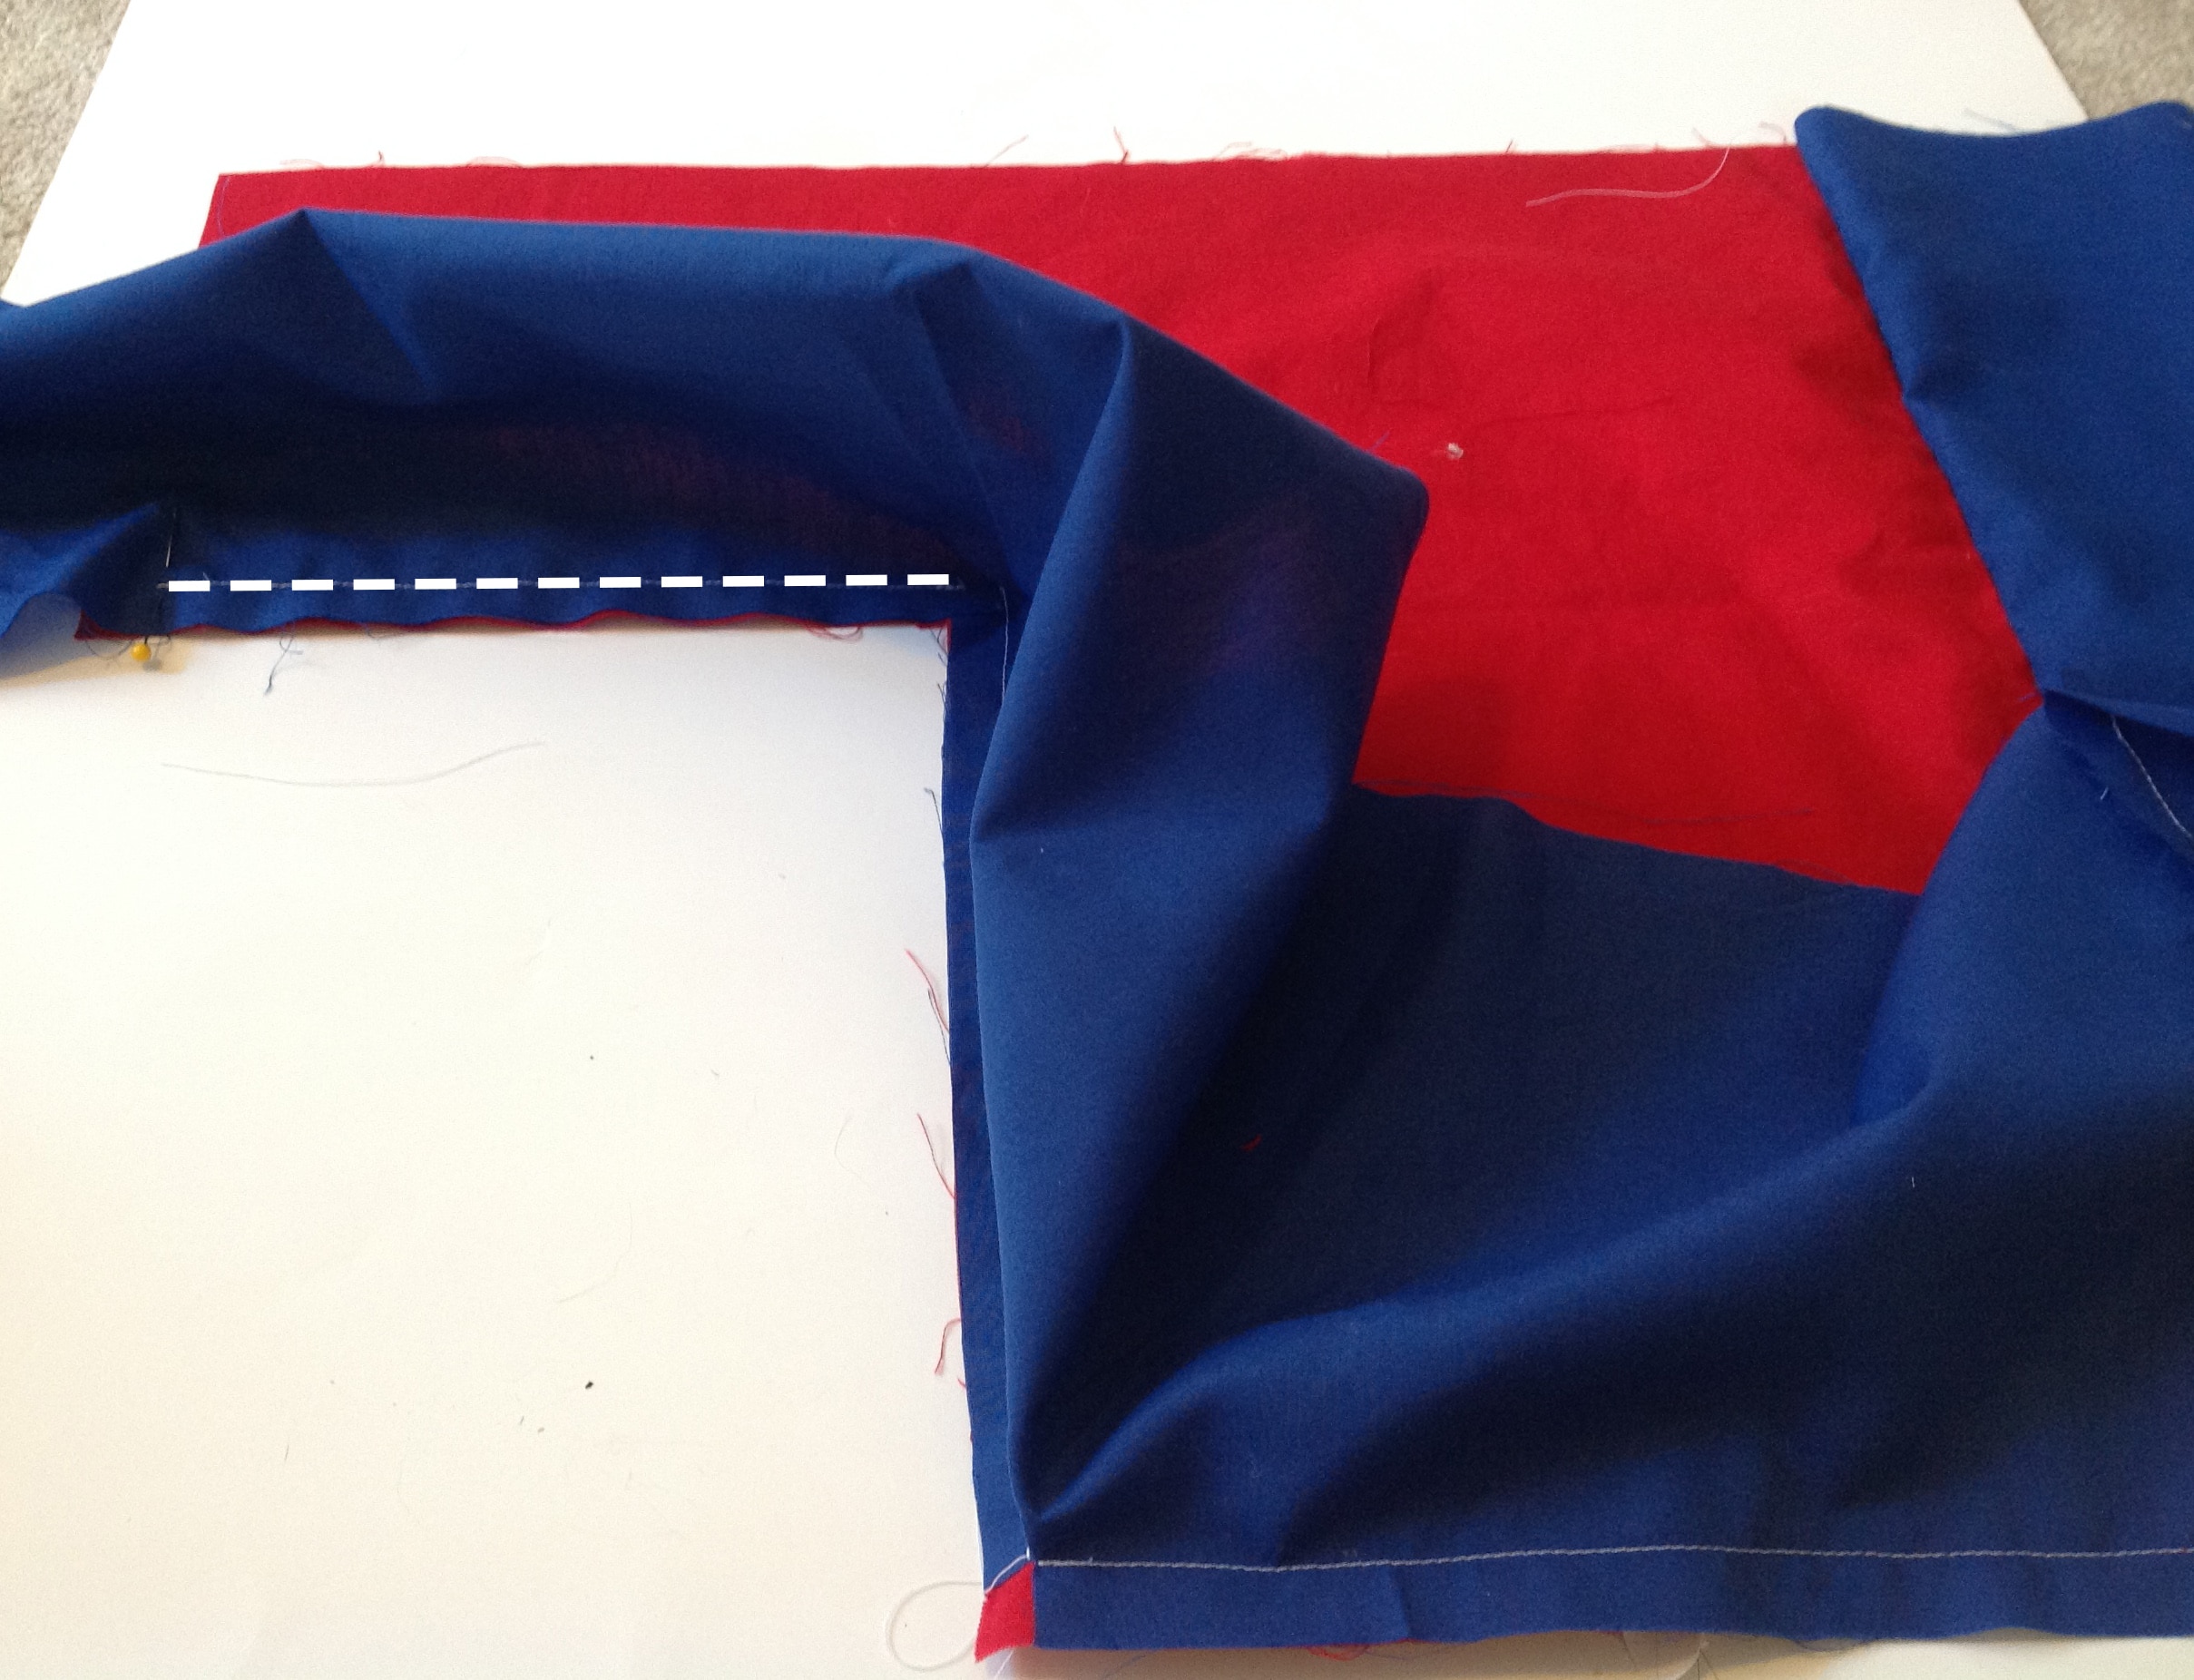
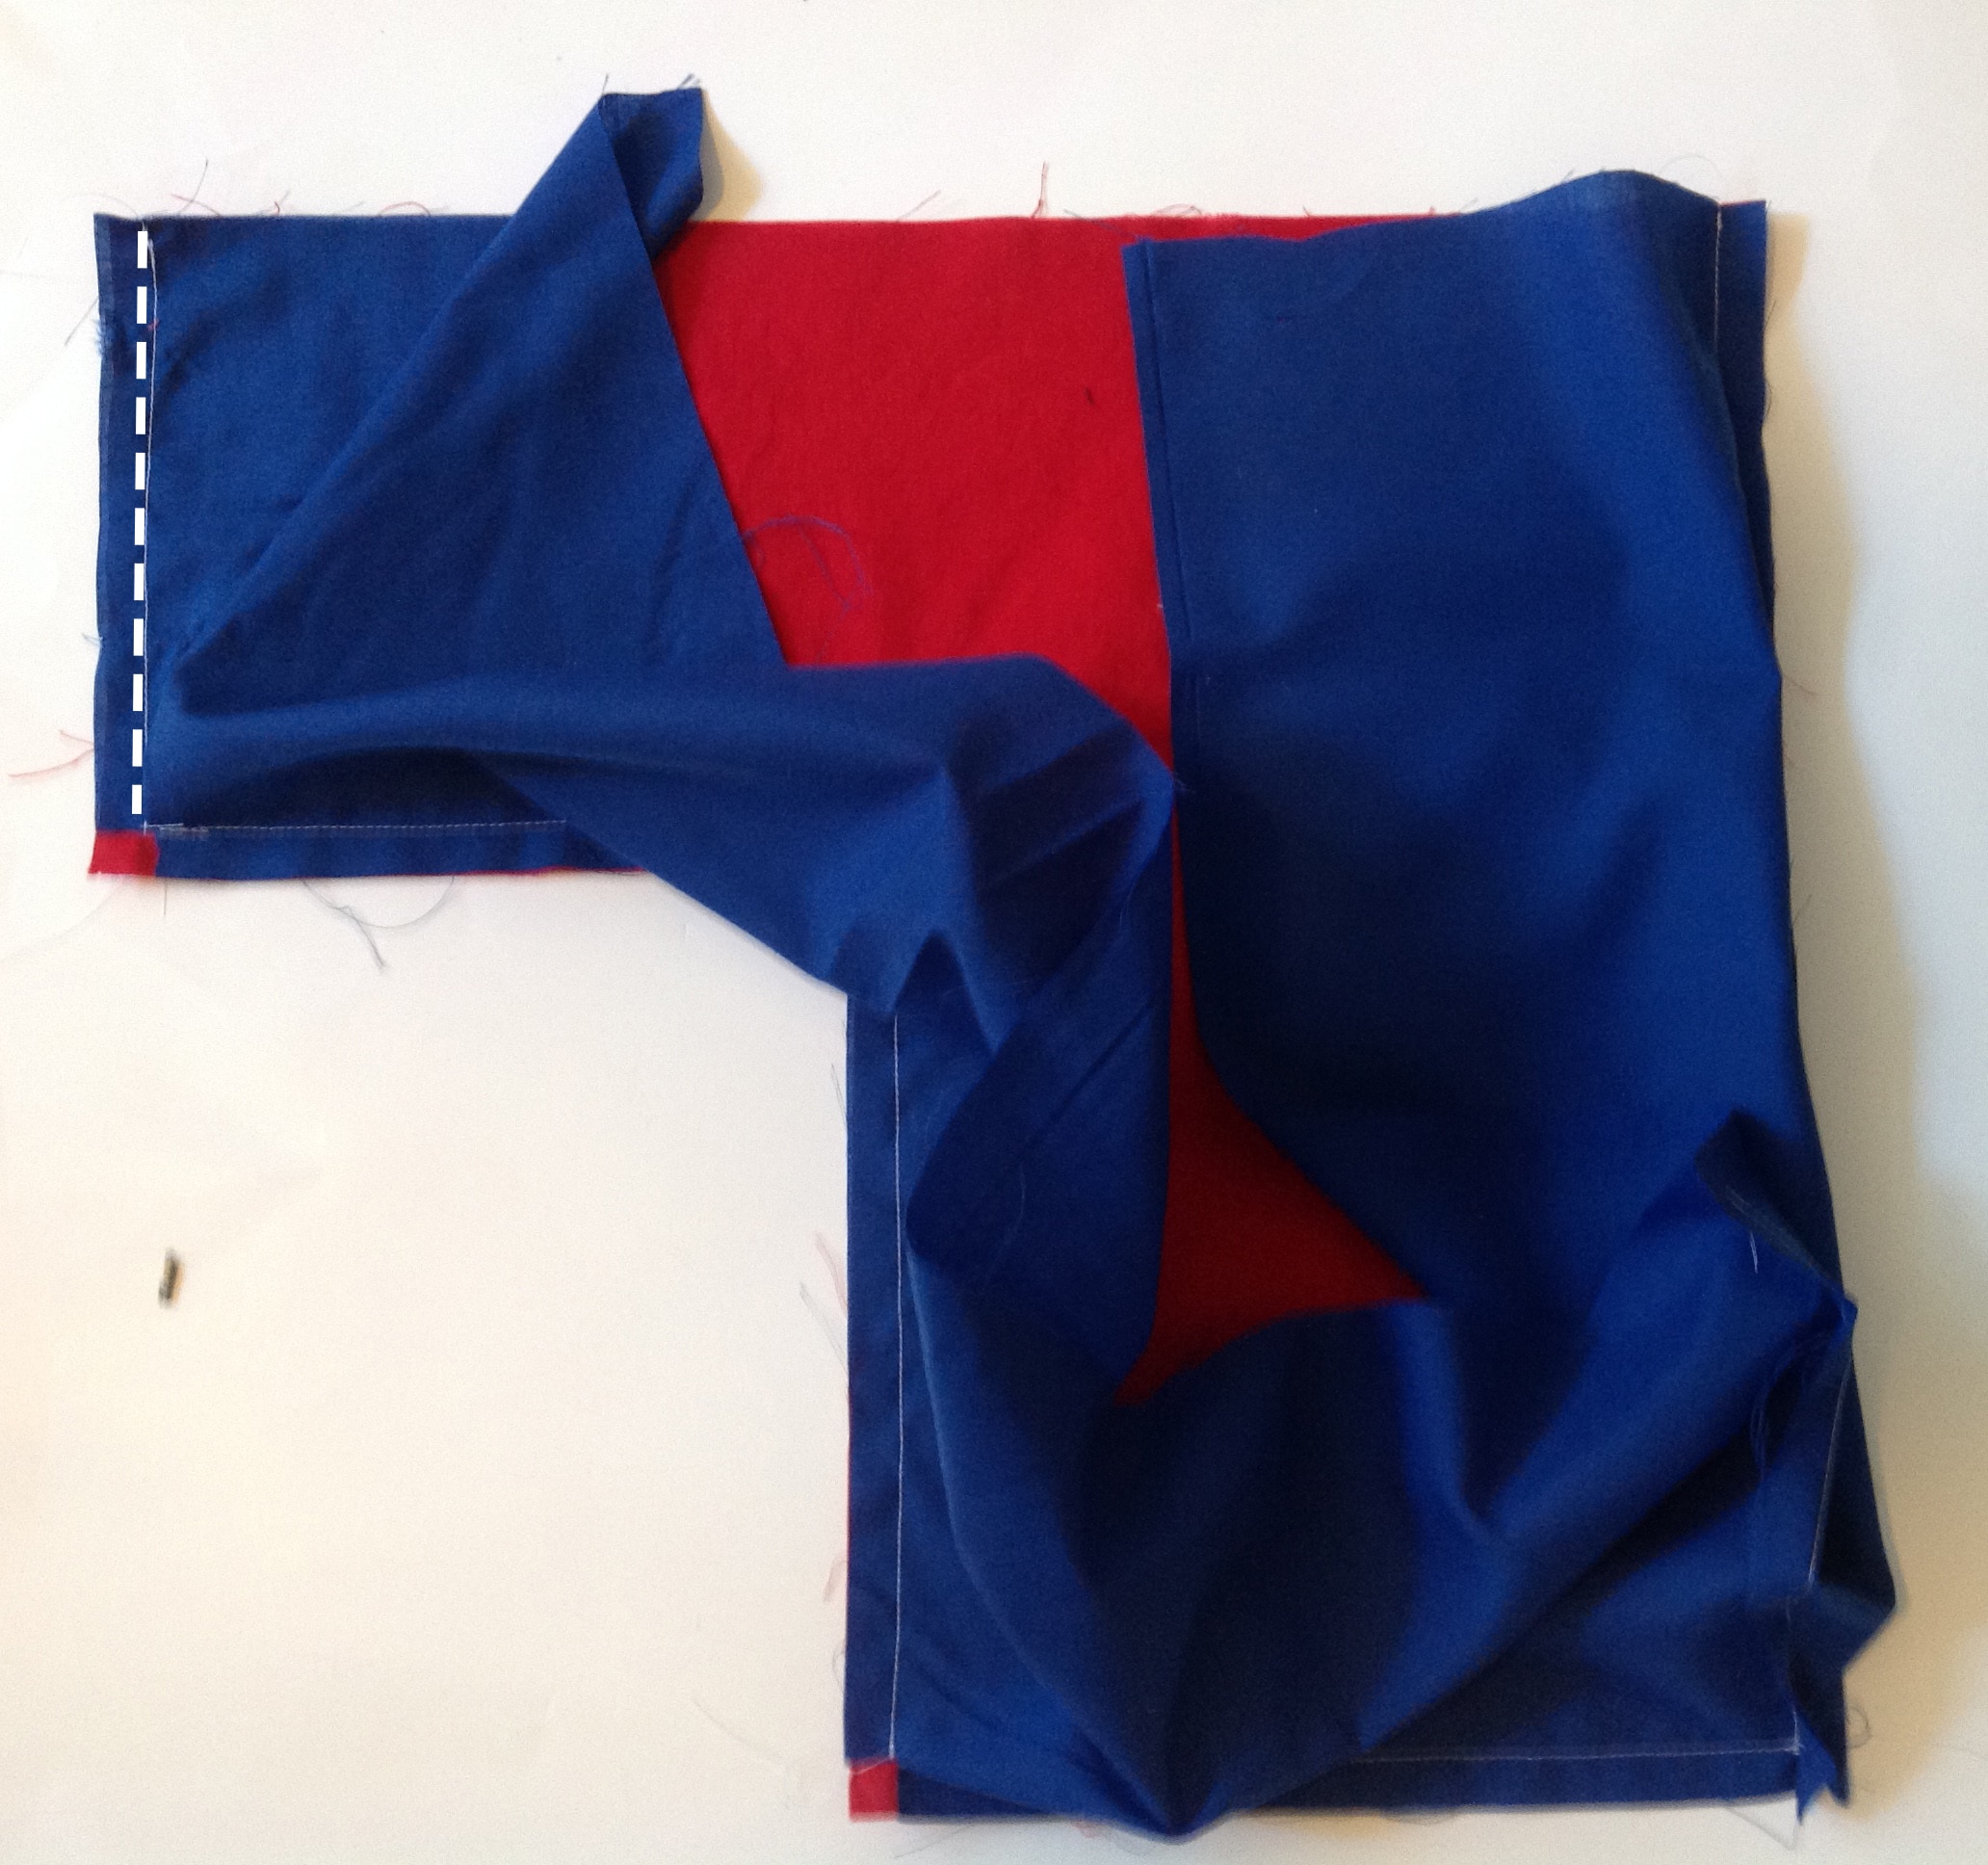
Grab a ruler of some sort and measure 1/2″ up from the horizontal edge of the cut-out and mark this position on the Bottom panel (see white line below).
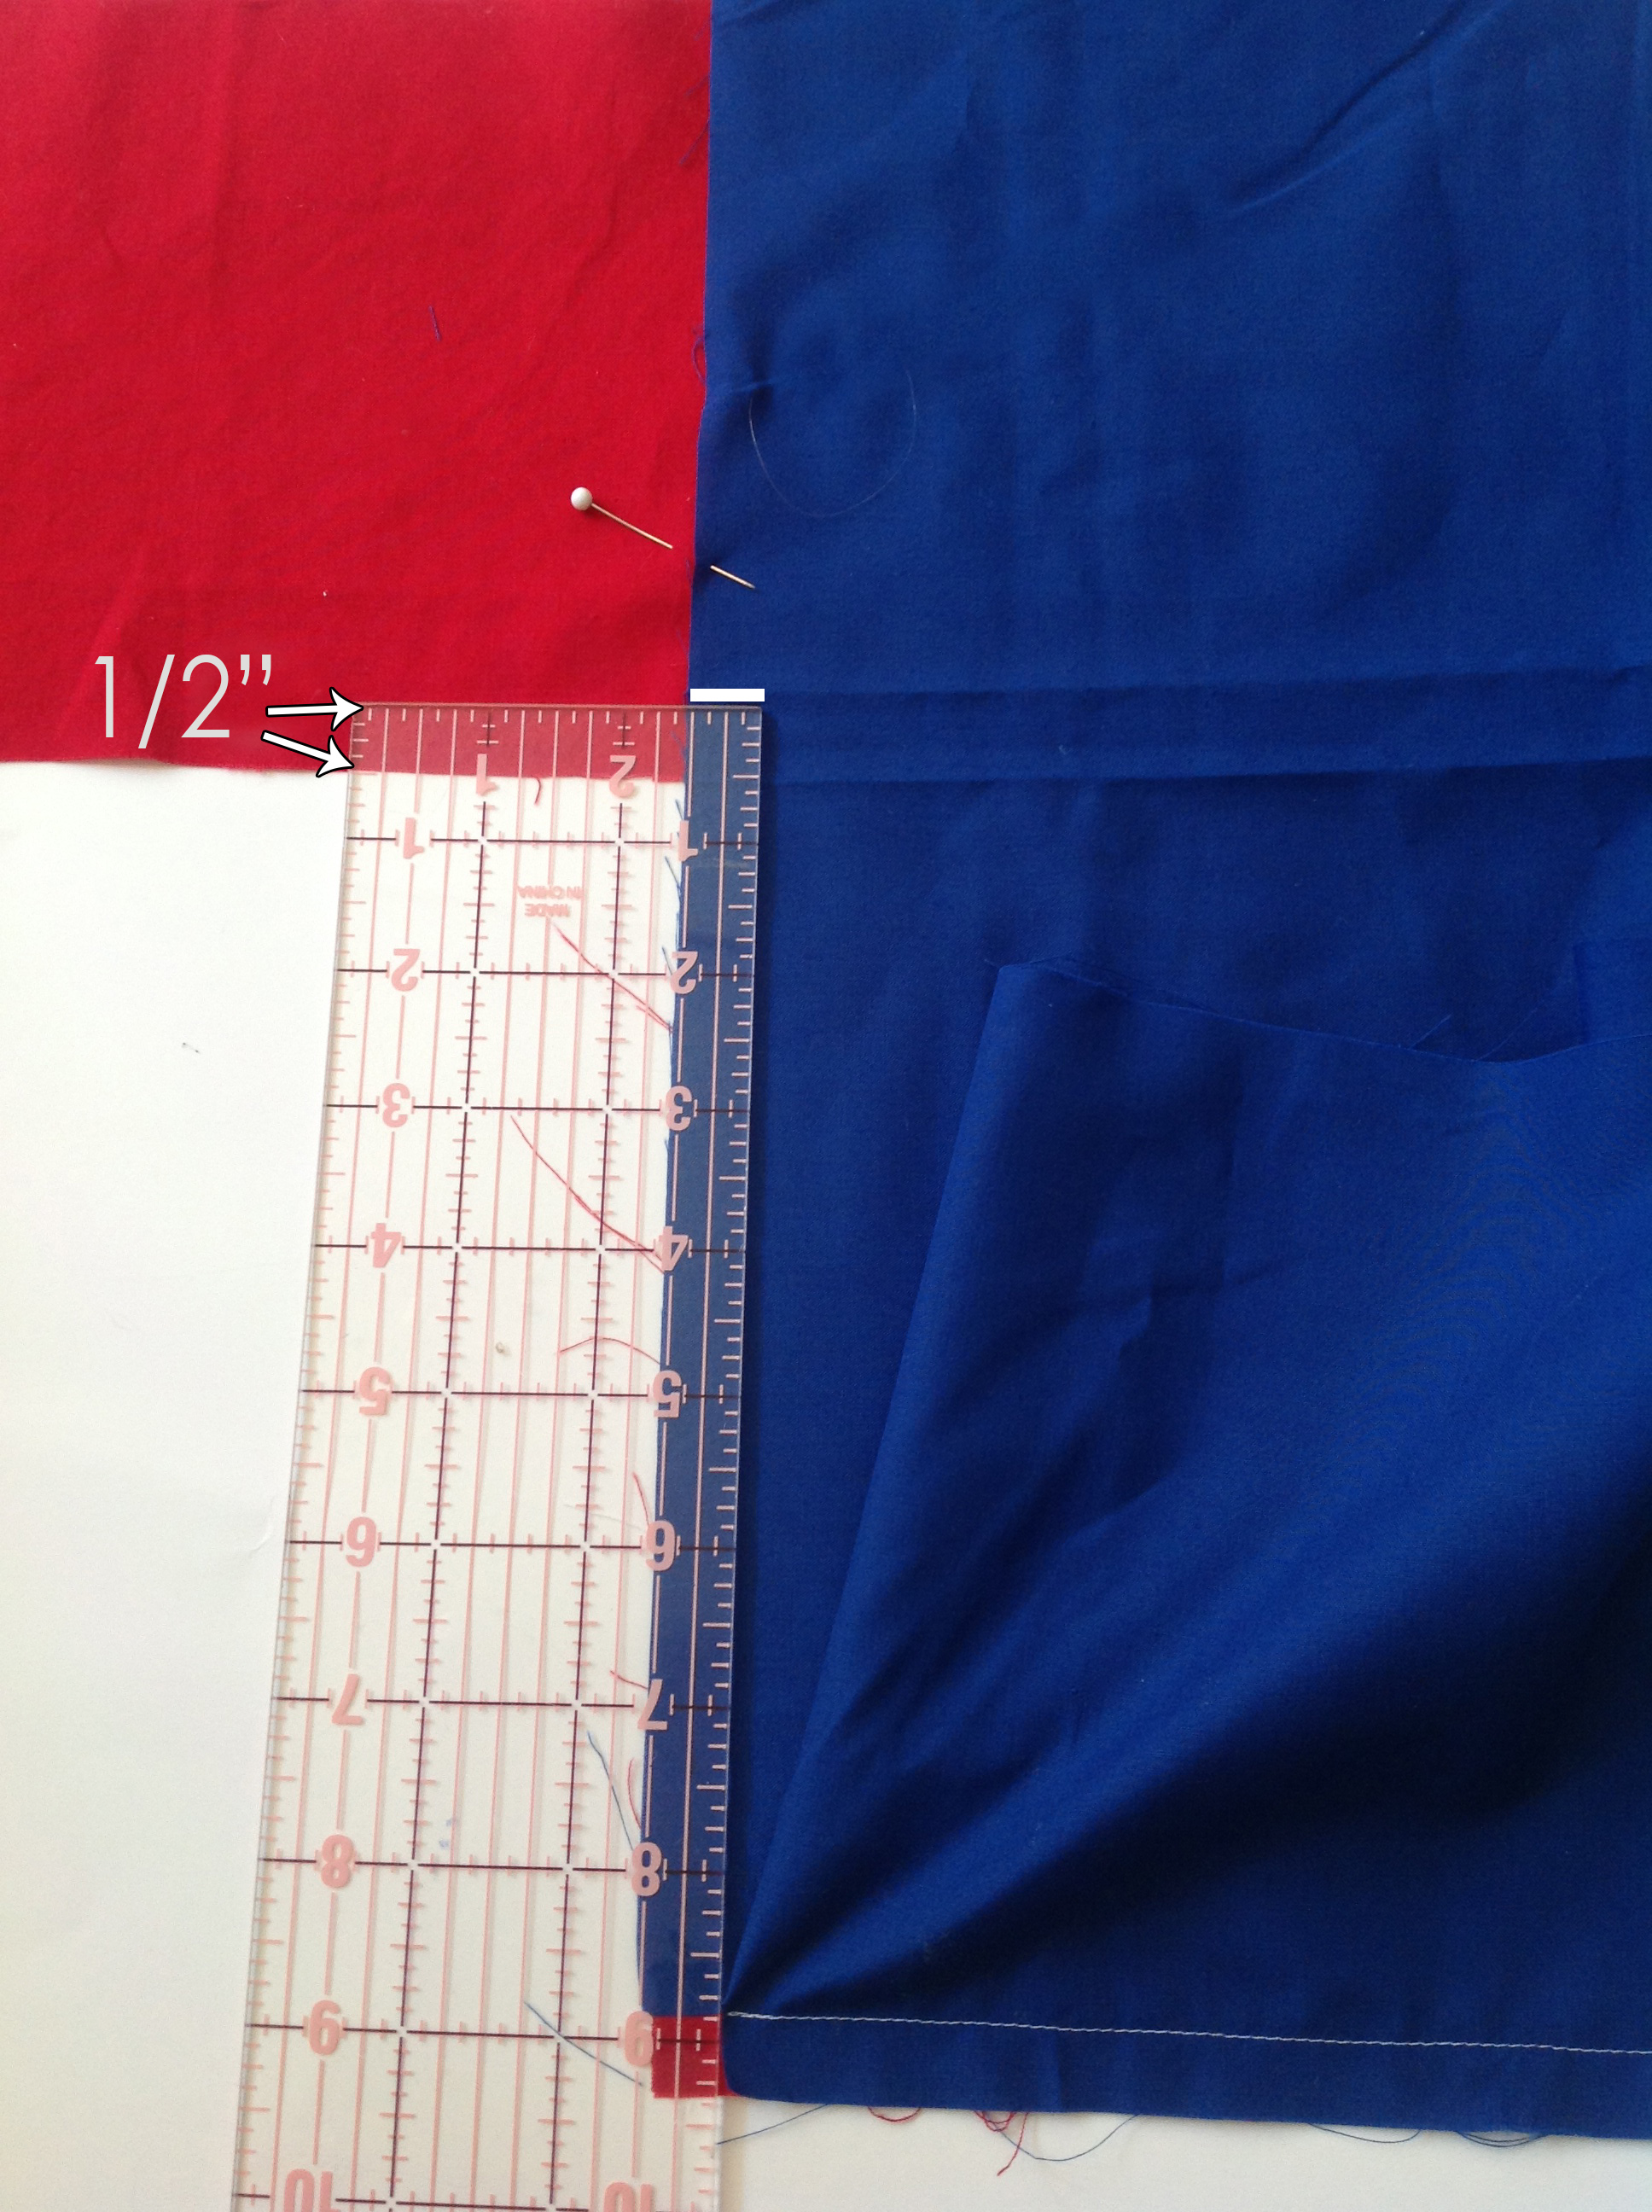
Sew from the previous seam line to this white mark.
Make a snip right at the end of that seam. 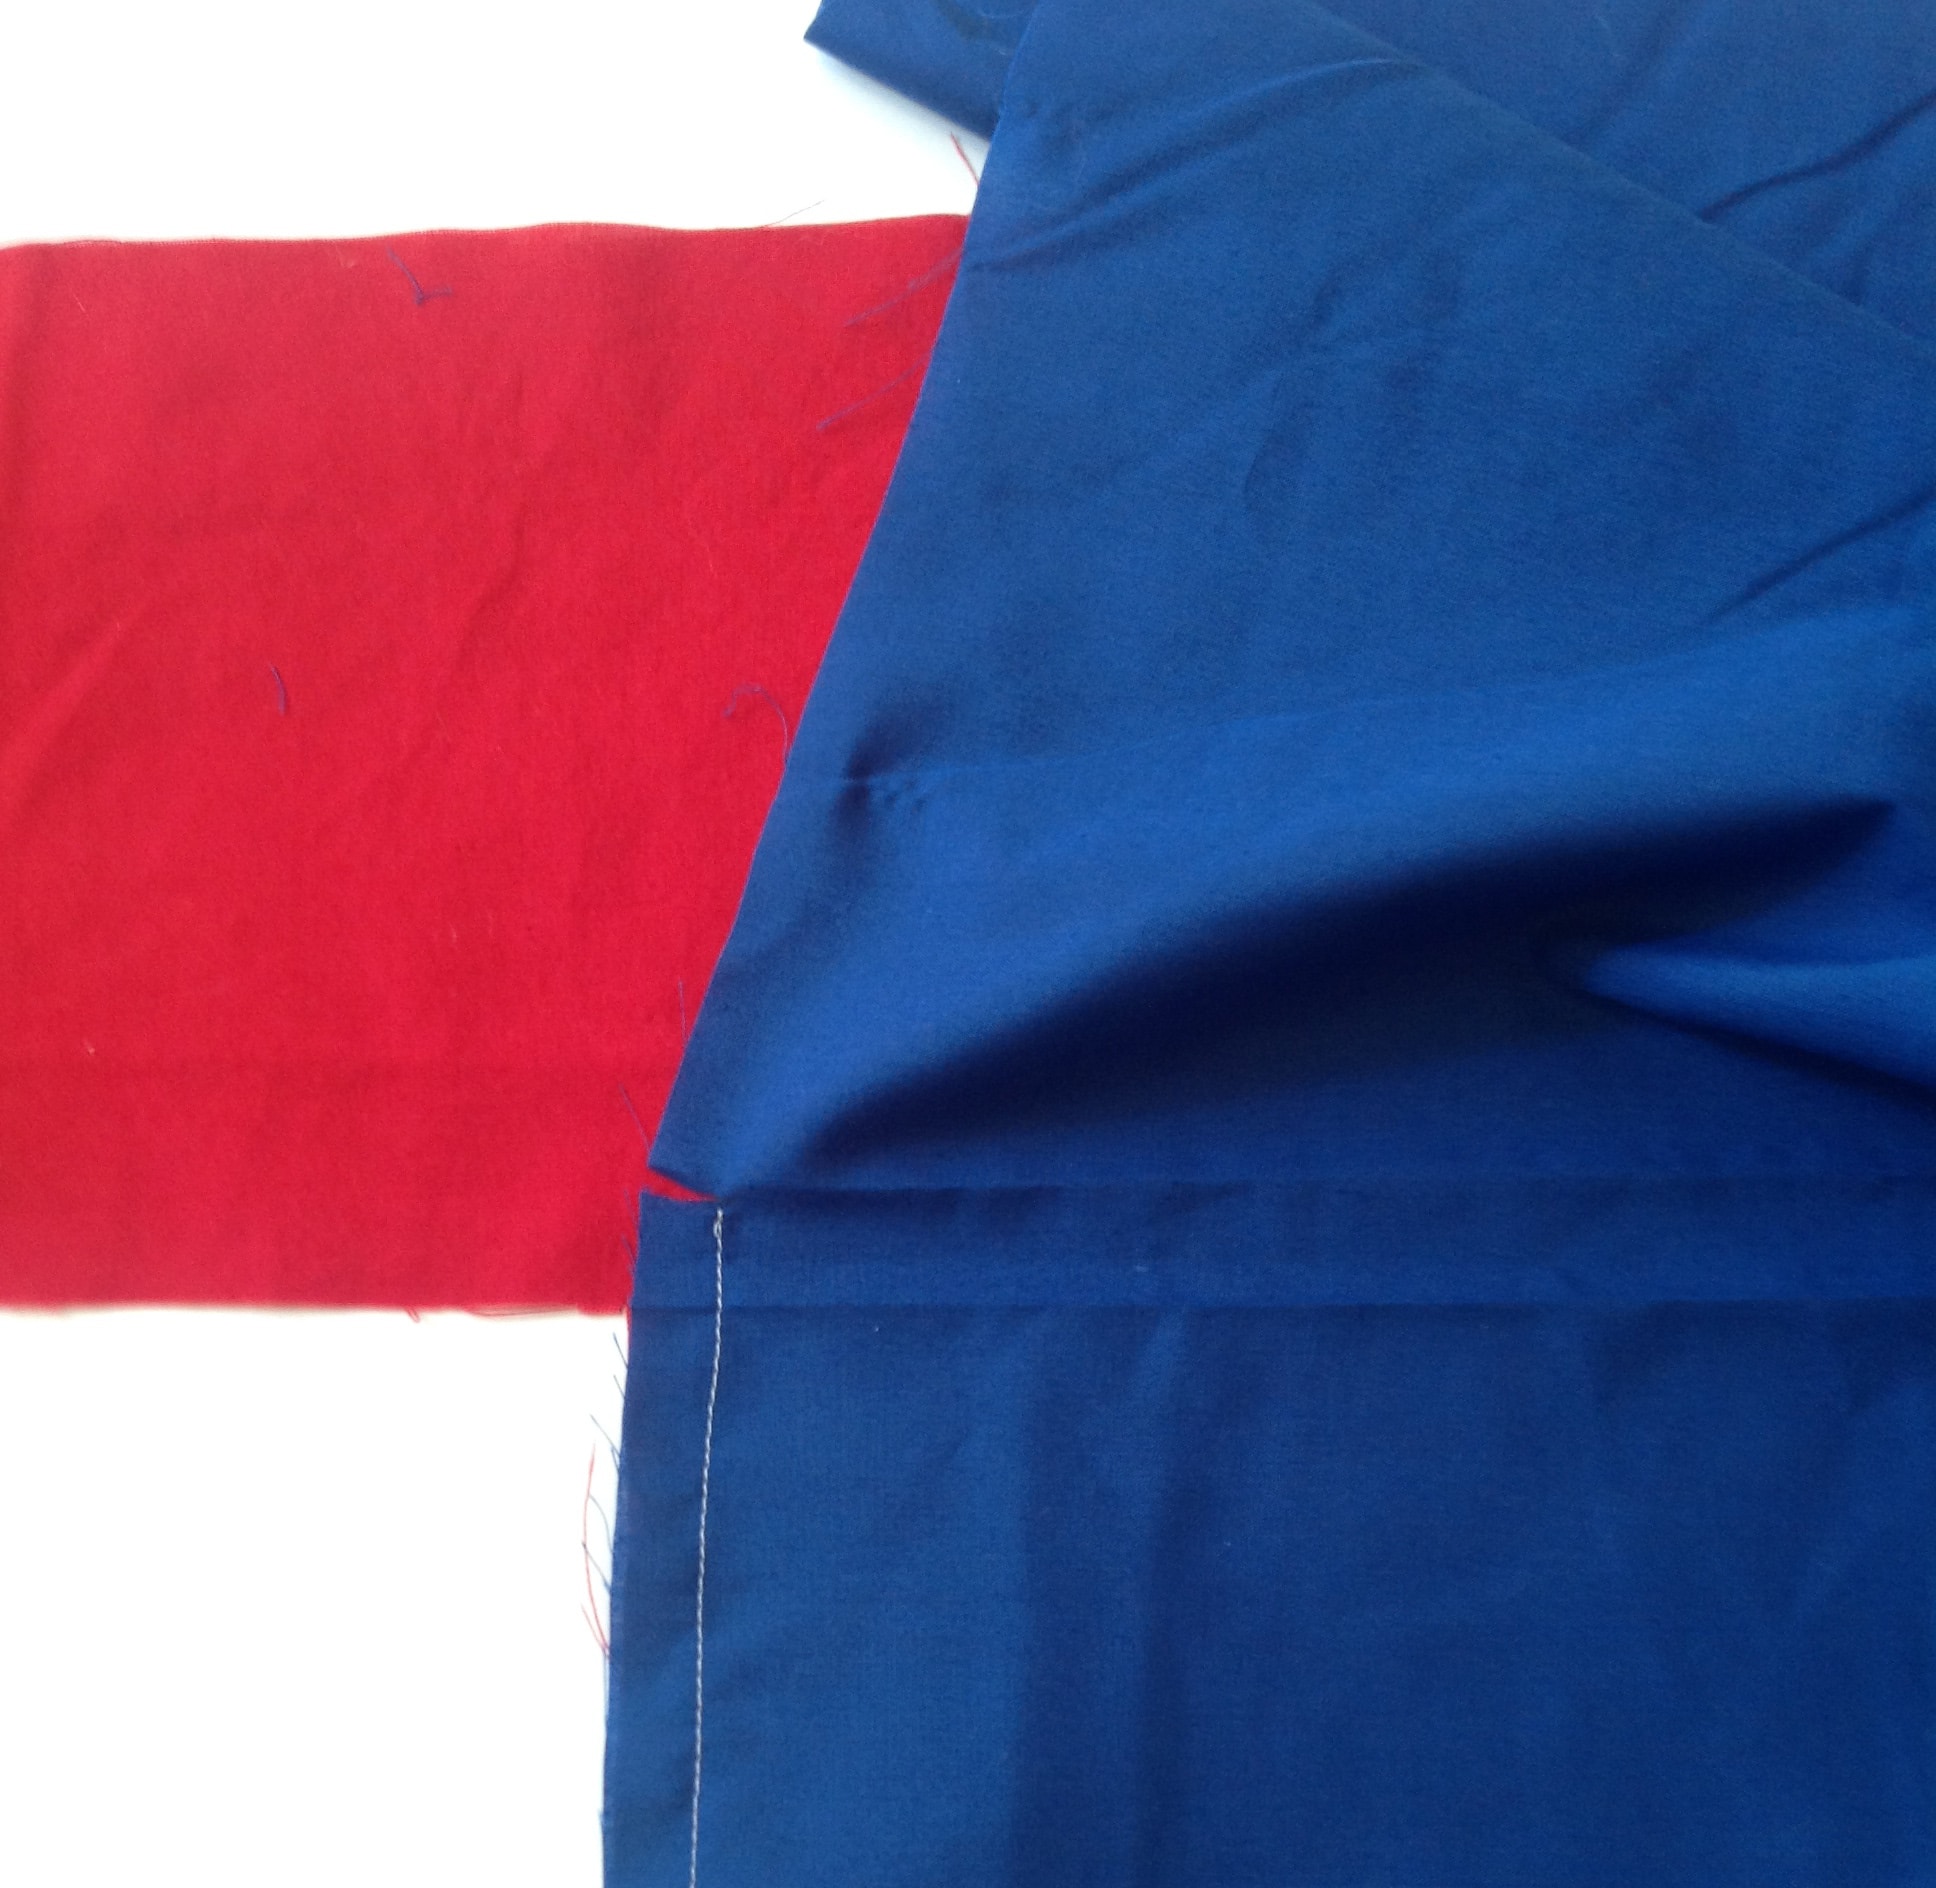
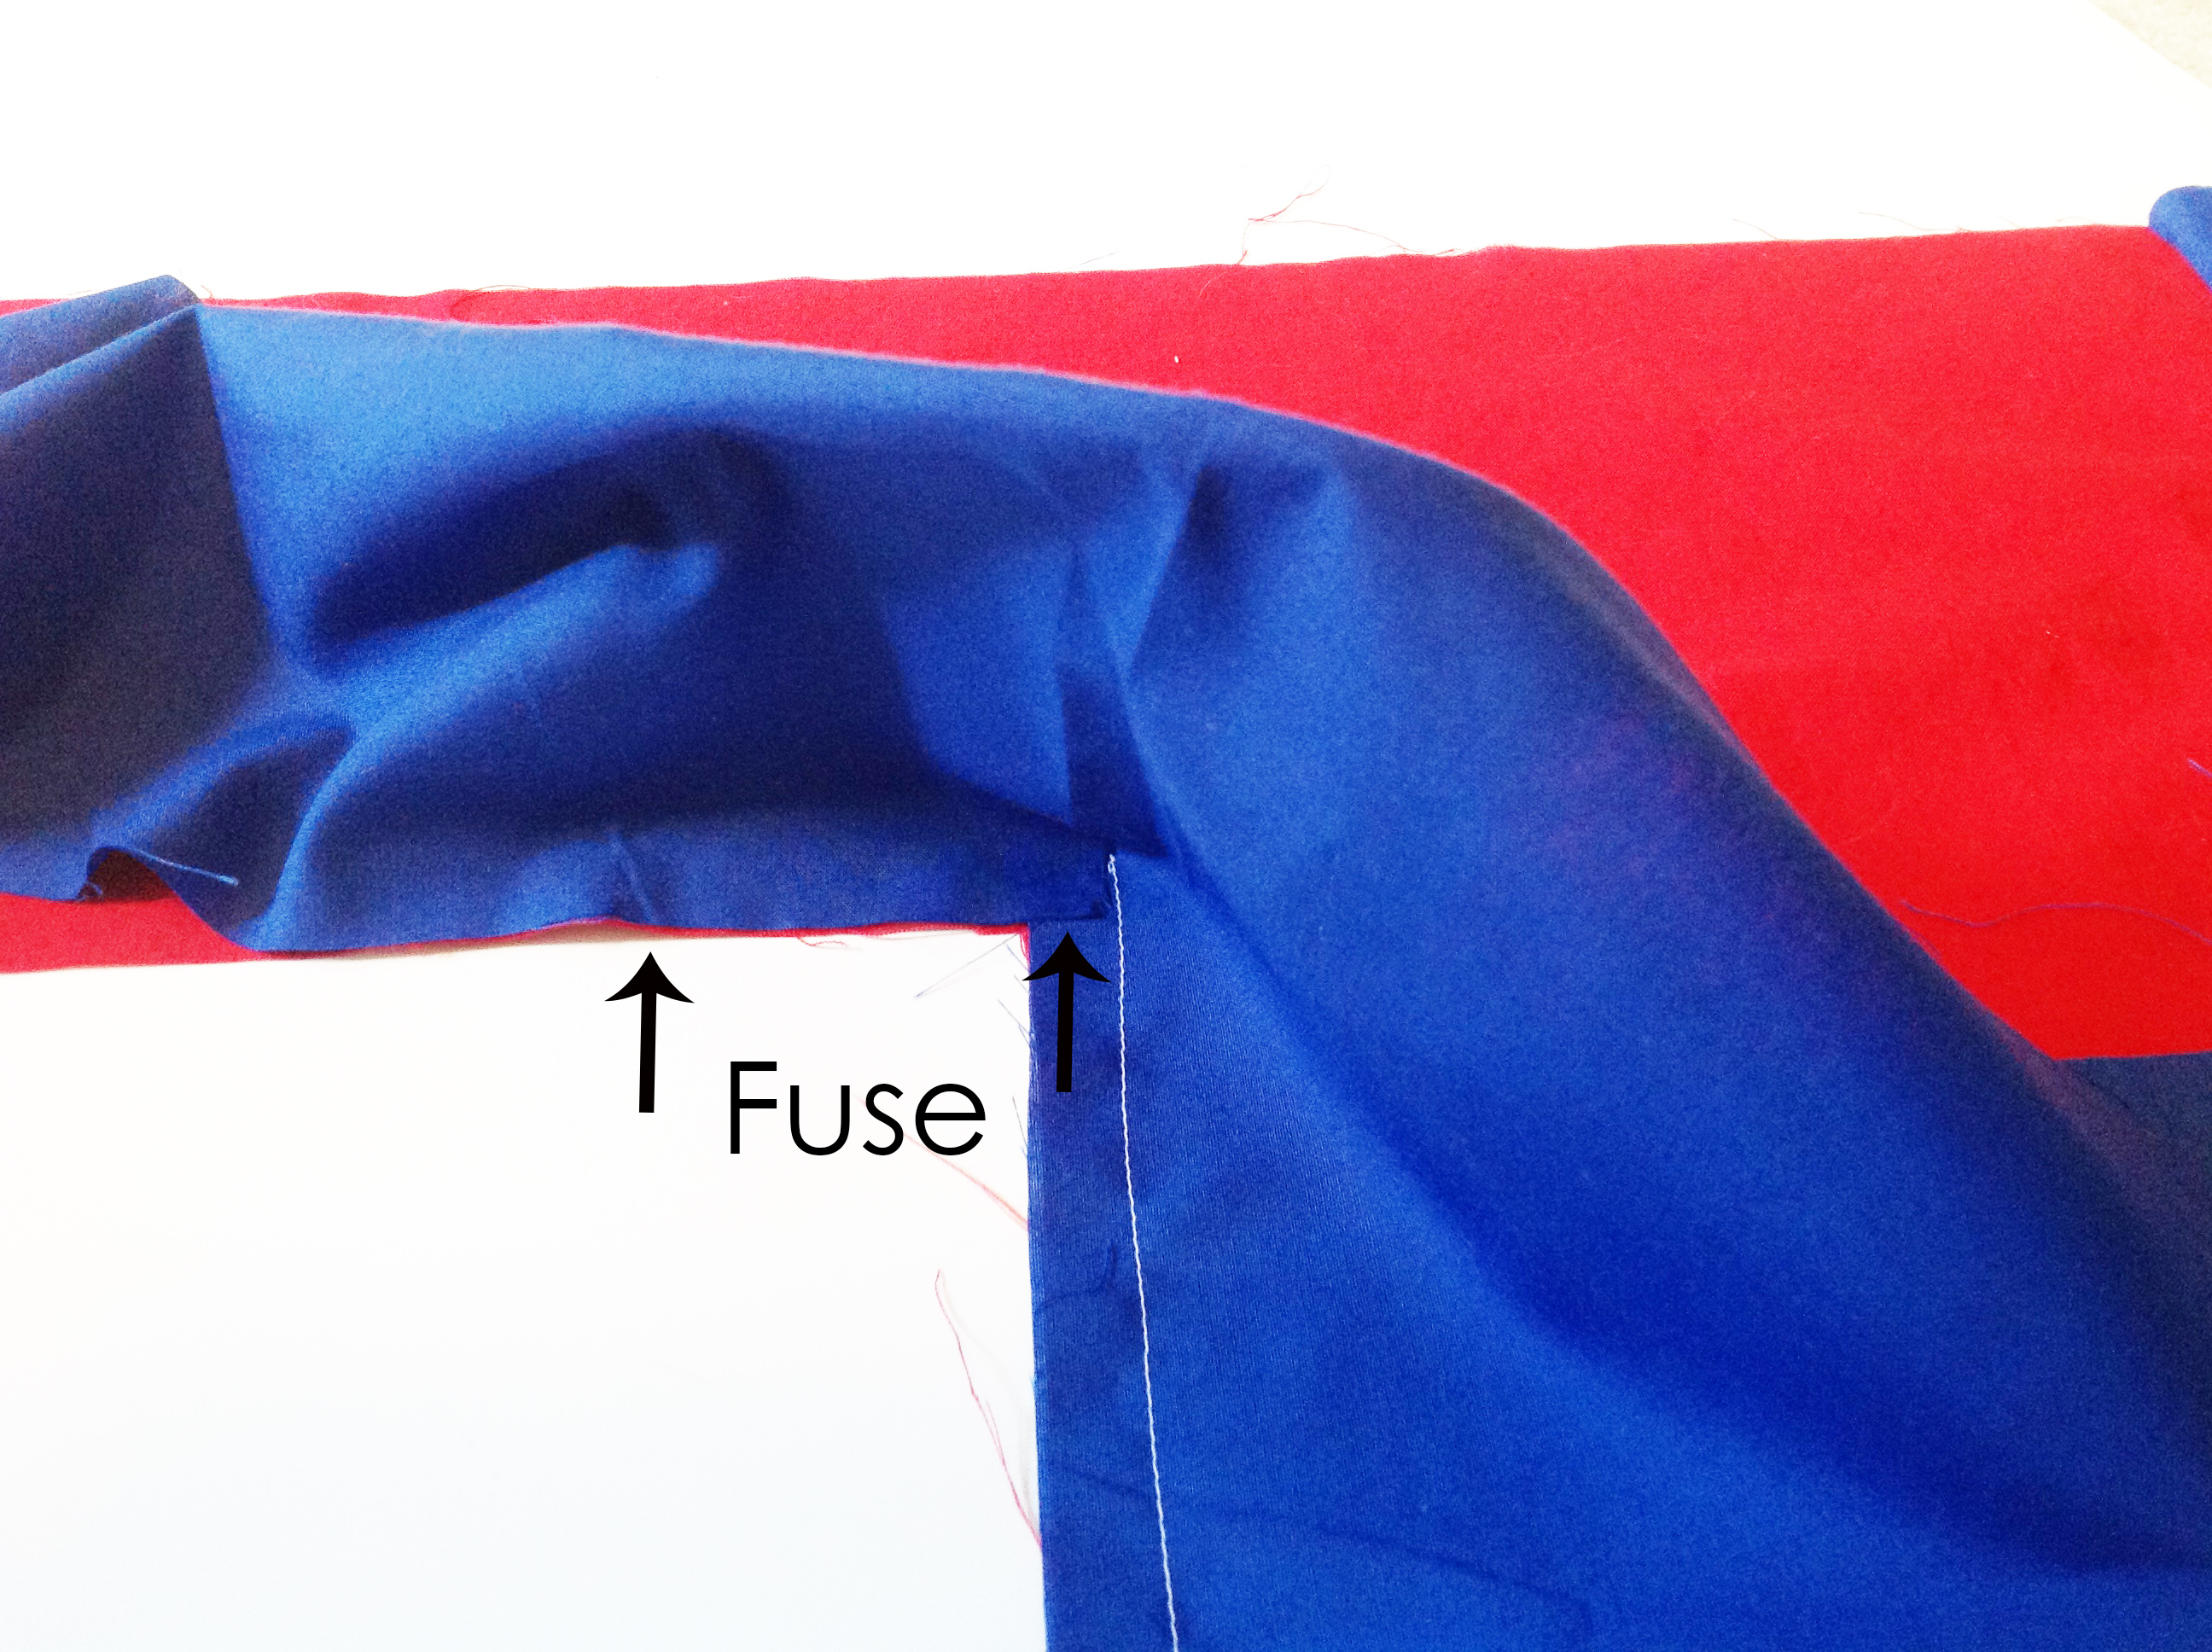
Now we have to turn this Bottom Panel around this inside corner. This is no big deal until it comes to sewing it down. The very corner is difficult to get to with the sewing machine so I have started cheating a little bit…you will need a little piece of fusible web or fabric glue or something for this. I like to use 1/4″ fusible web tape. So, fold the Bottom Panel down over itself so you are now seeing the right side. 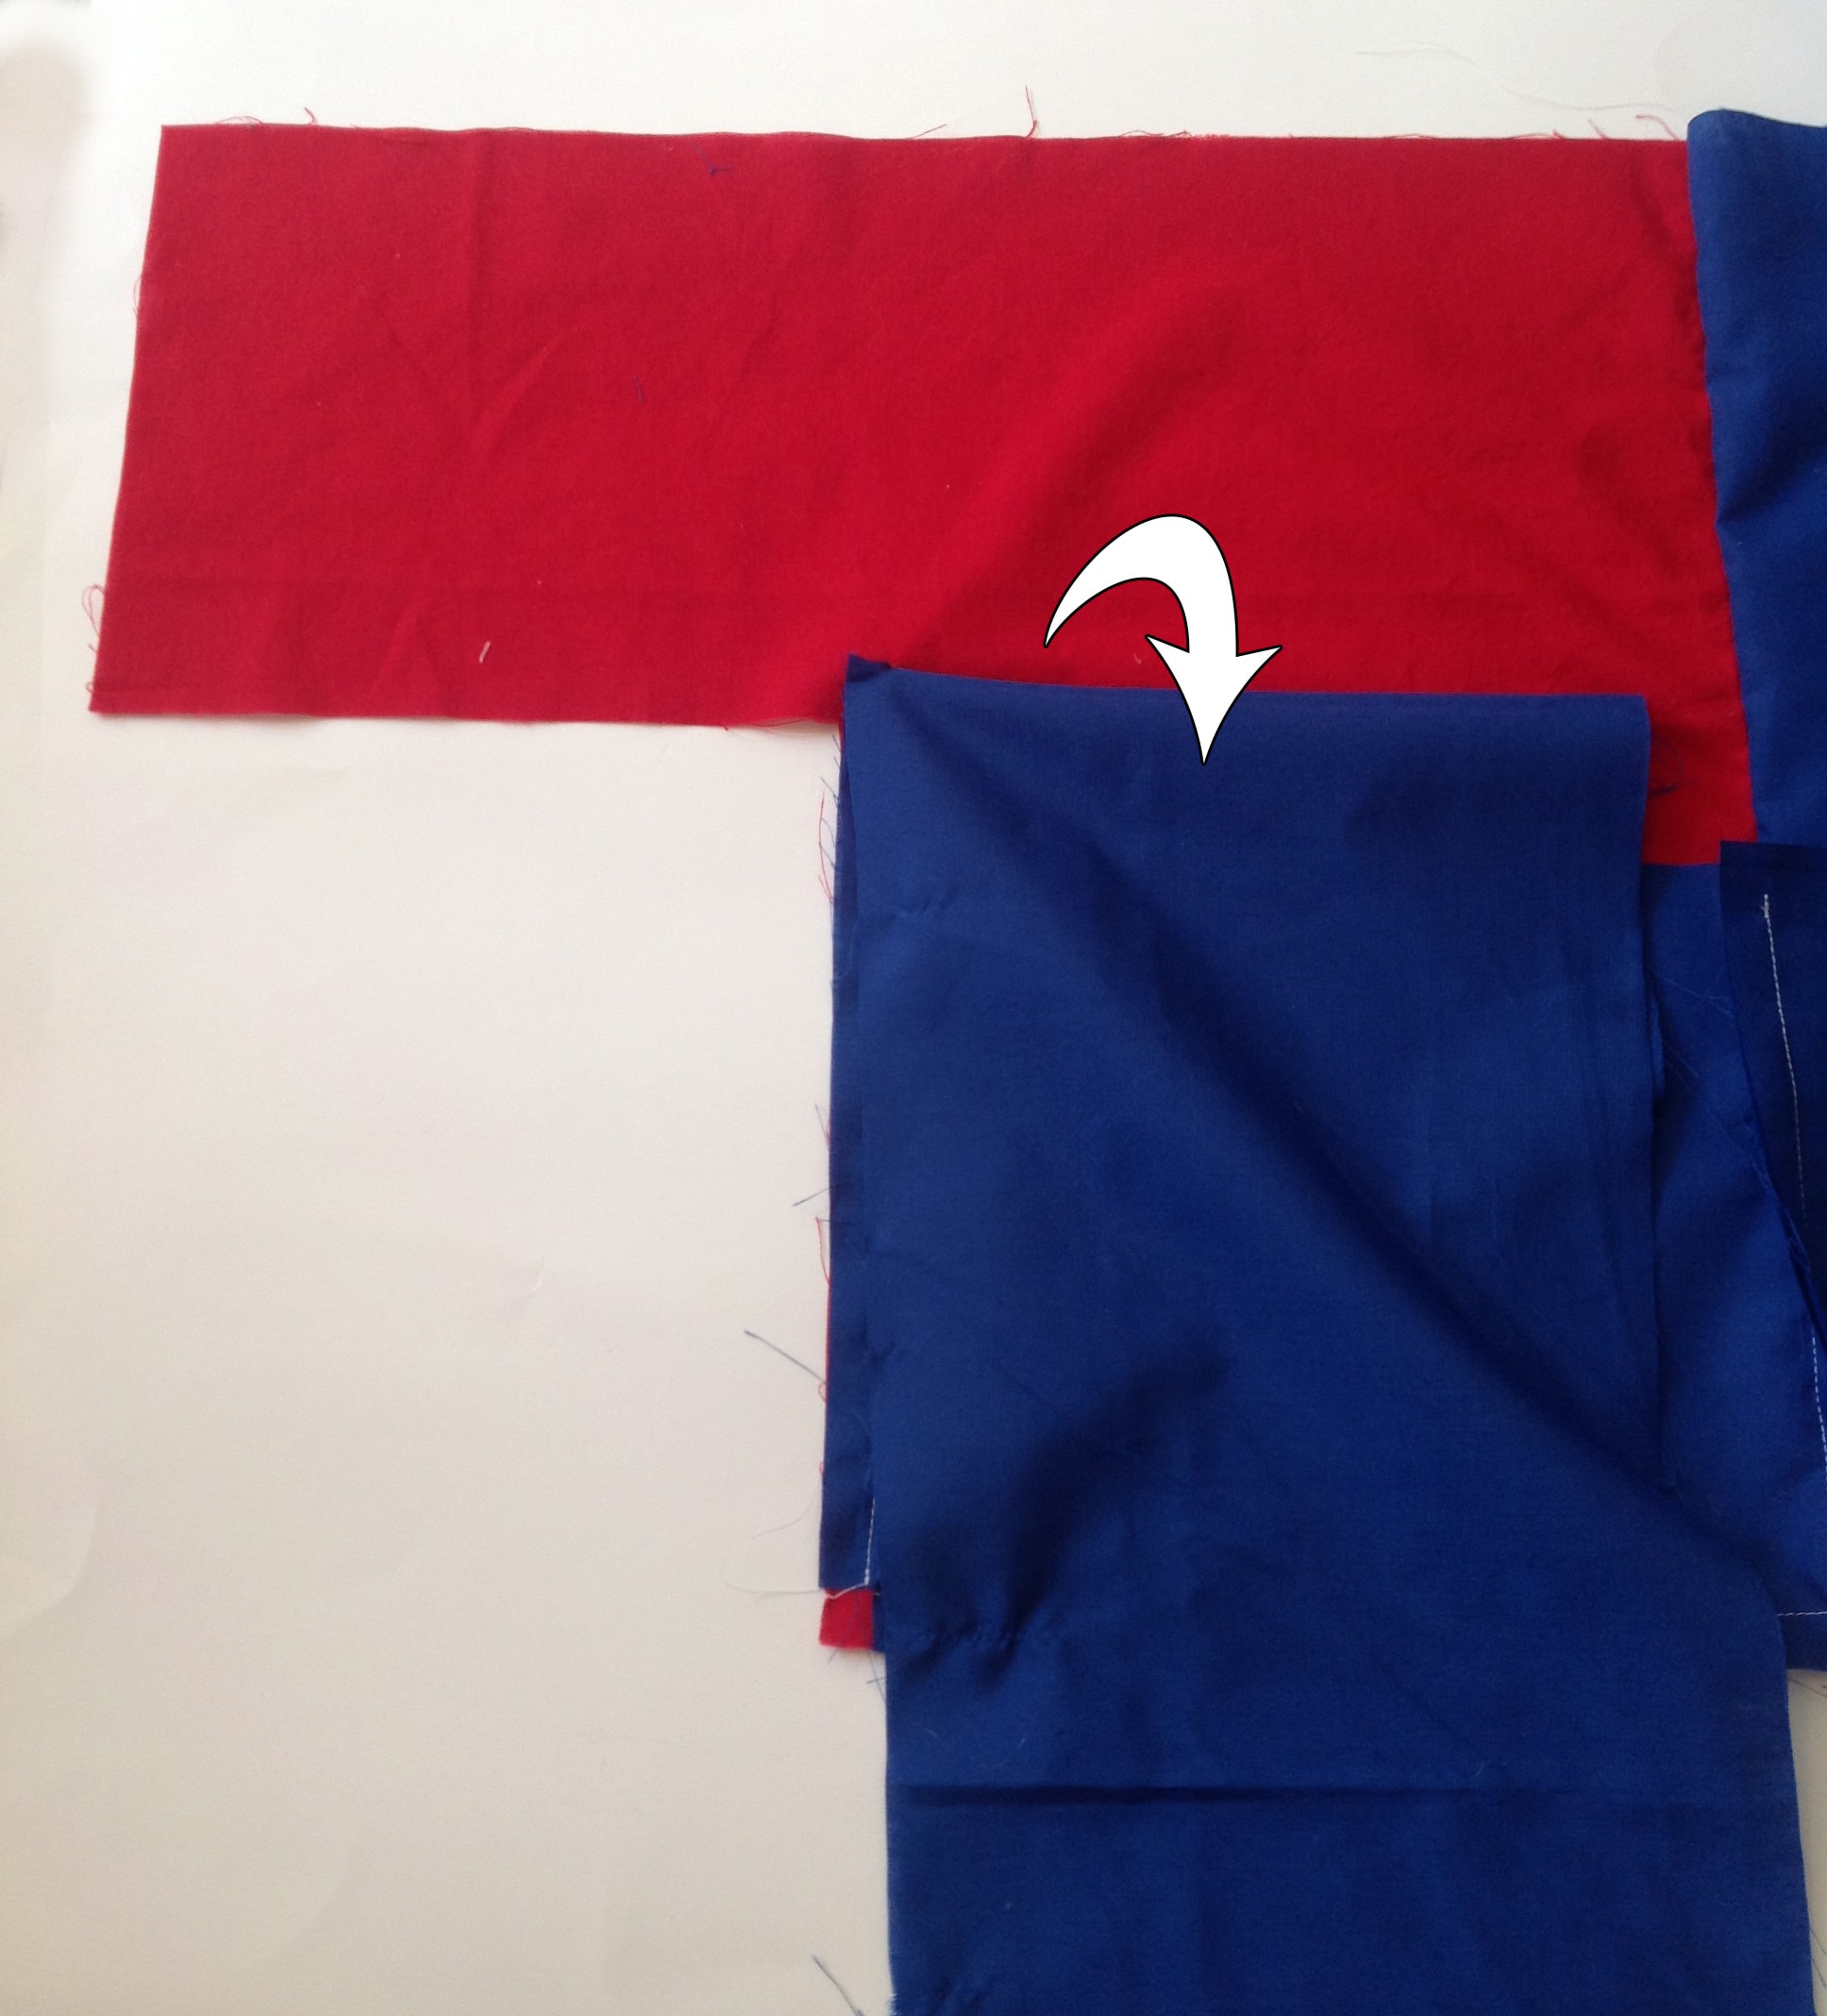
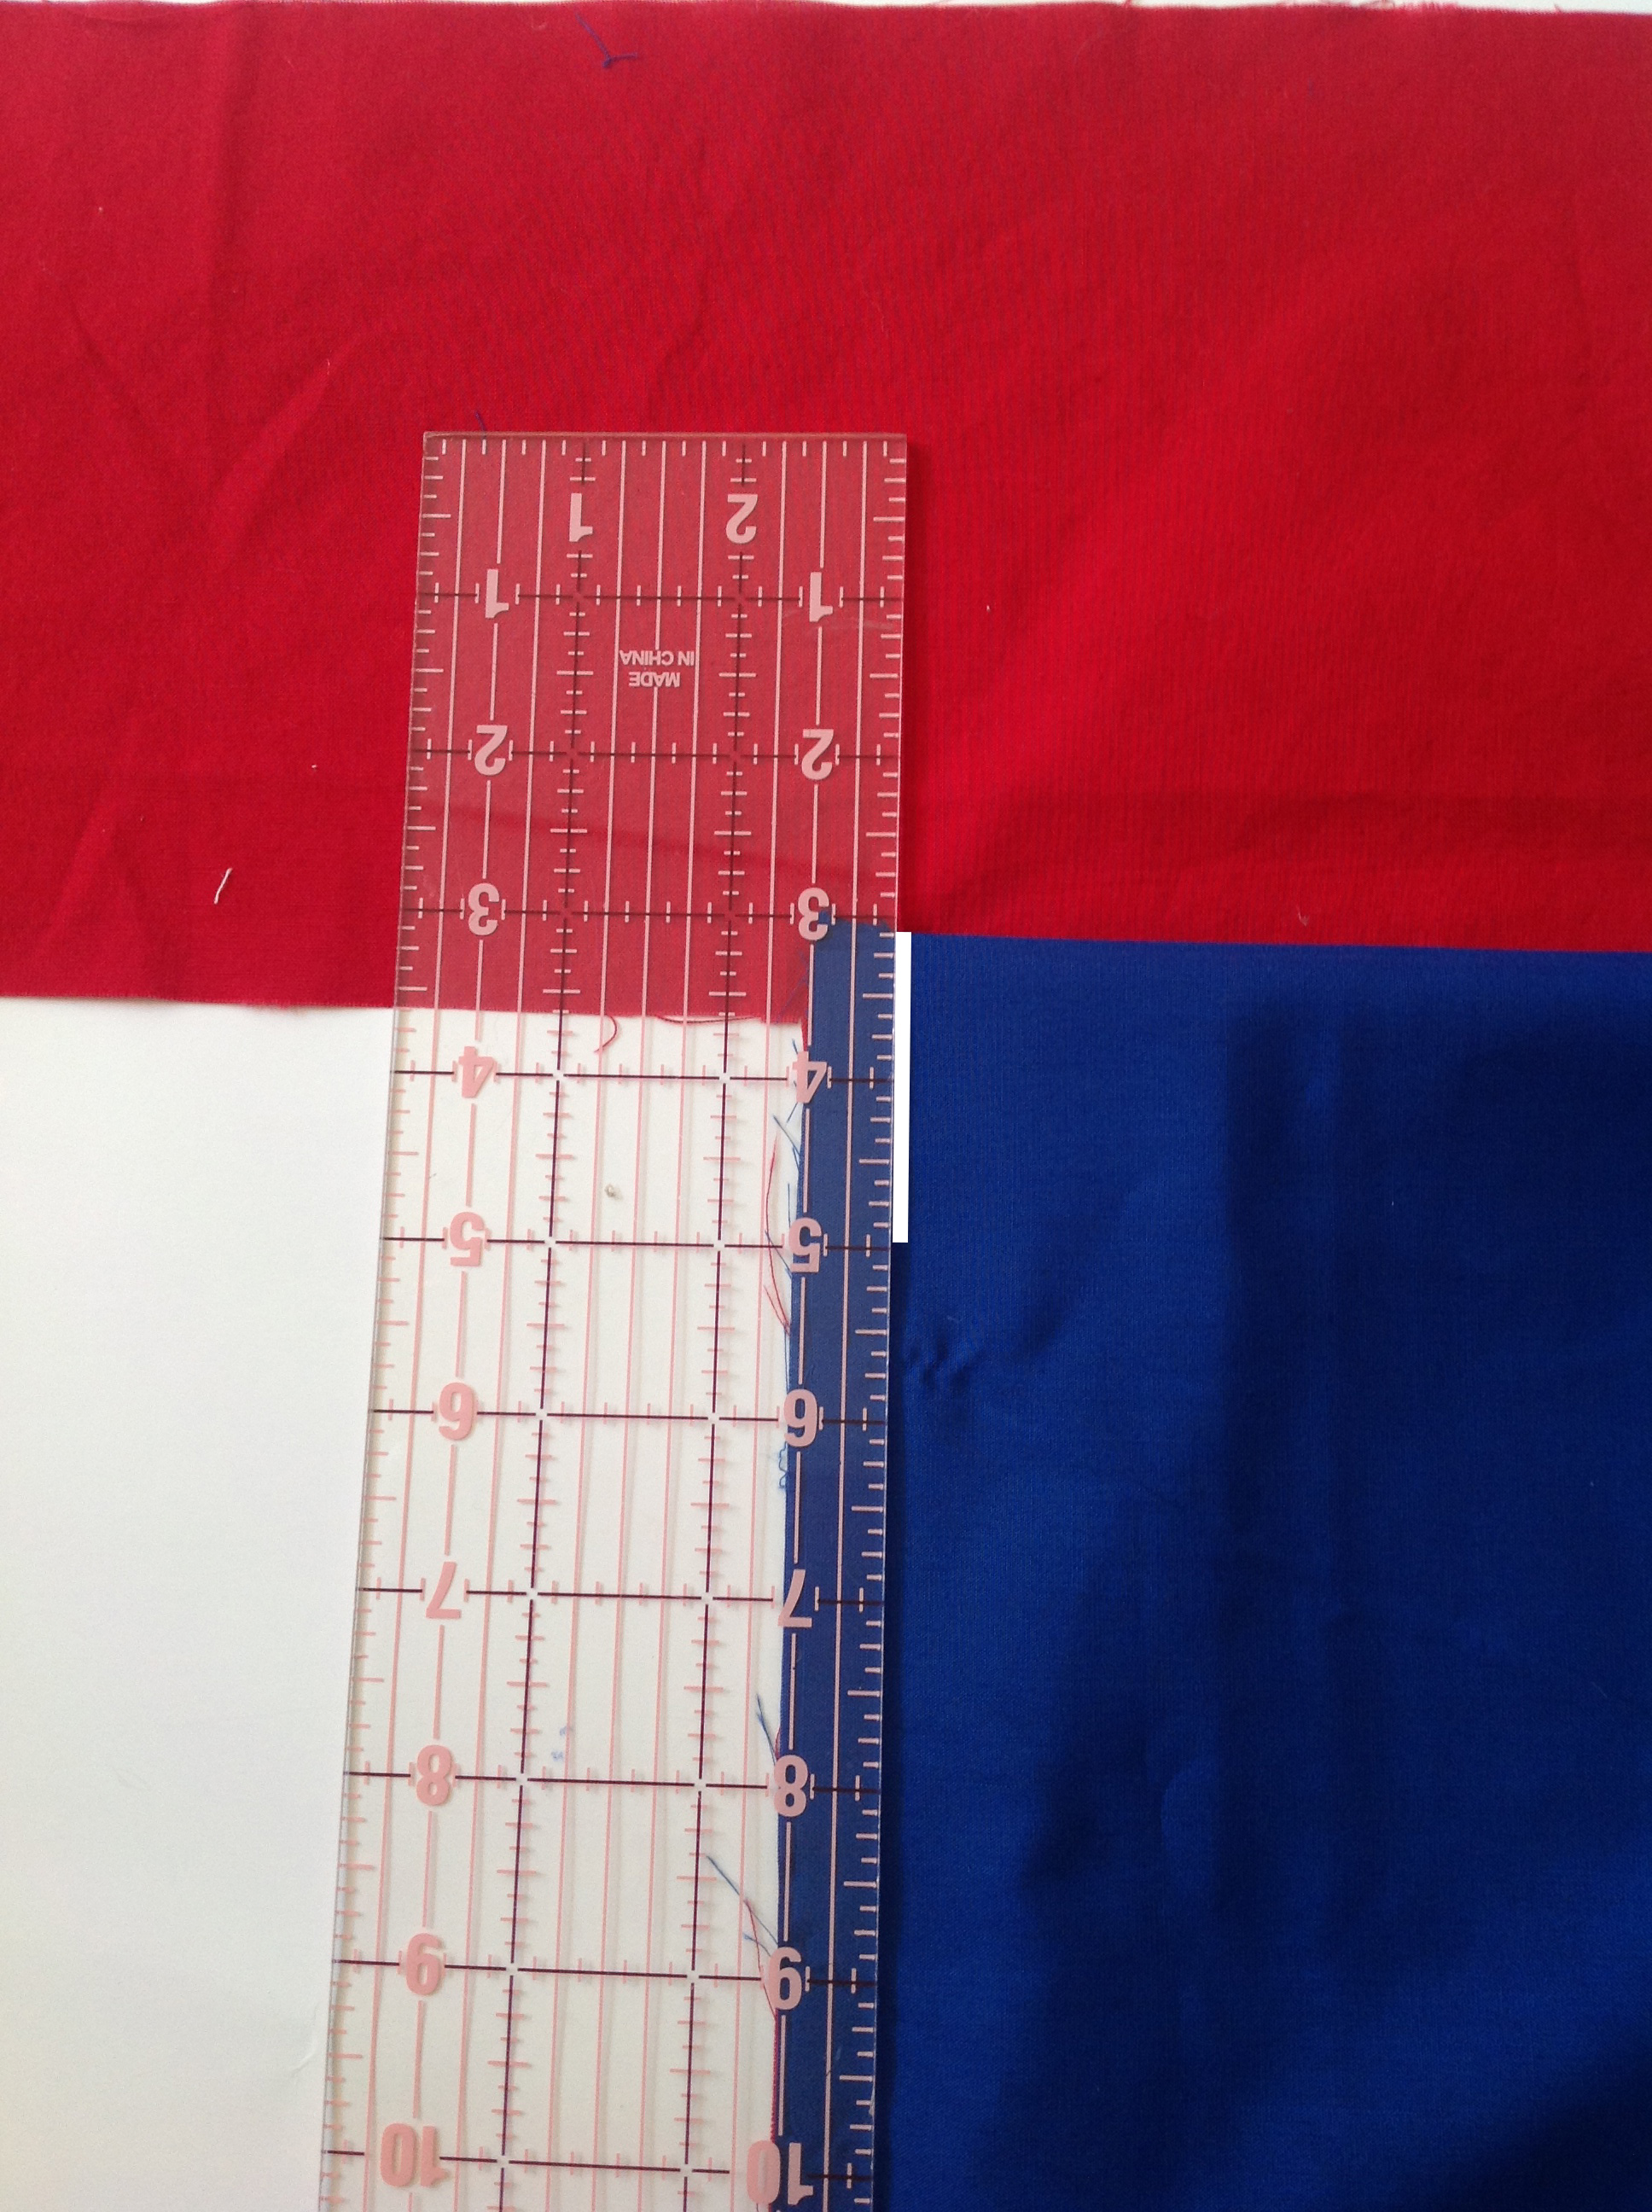
Get your ruler and measure 1/2″ from the side edge and mark draw a line from the snip down a few inches (see white line).
Put some fusible tape (or whatever you are using) to the inside and right up against the line you just drew. You only need a few inches here. If you are using fusible web, go ahead and fuse it down and remove the paper. 
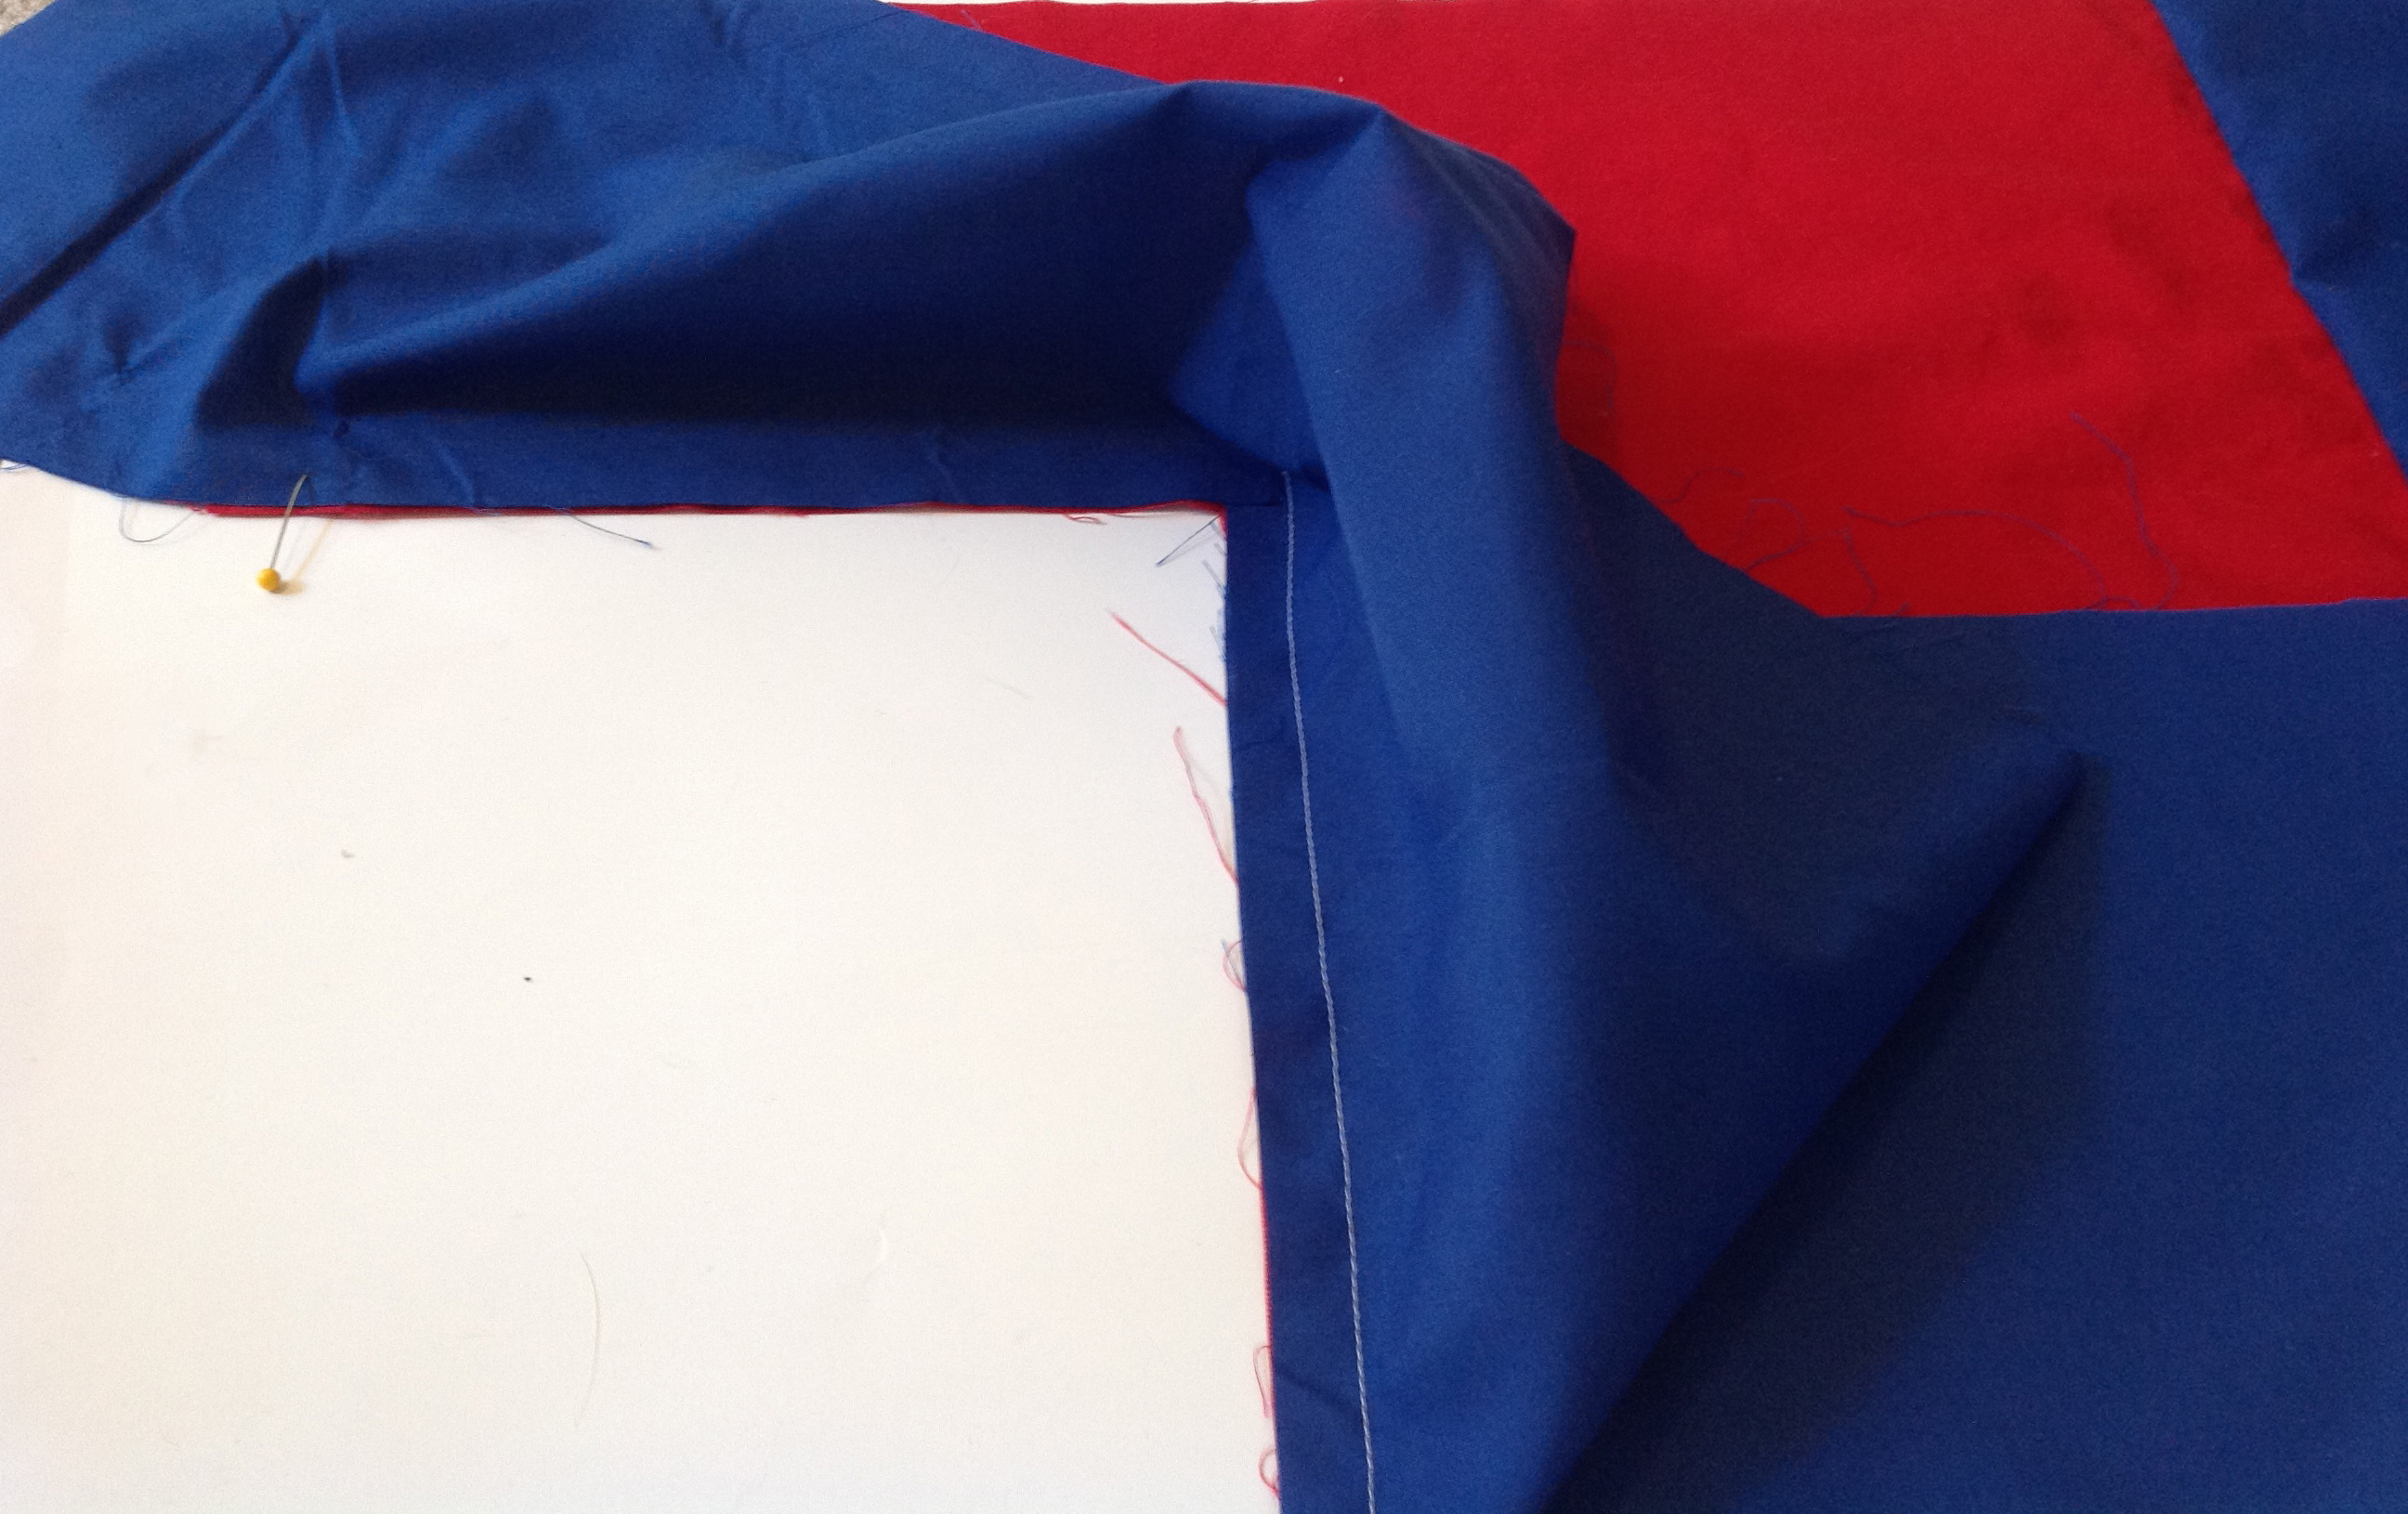
Now bring your Bottom Panel up and around to realign it to the horizontal edge of the cut-out. You can refer to the “All About Angles” section on page 7 in the pattern to see how this works and I hope you can see it here. The seam allowances need to overlap each other. Once you get it all lines up, fuse the fusible web down.
Now peek under the Side Panel again and look for the dot.
Put a pin in both panels right on that dot.
Starting as close to the corner as you can reasonable get, stitch to the dot.
Only one more edge to go!
Snip right at the end of the seam line.
Realign the Bottom Panel to the vertical edge (that snip will open up) and sew from the end of the previous seam to the top edge.
Yeah!!! Don’t trim any seam allowances just yet. We will do that after we have had a chance to check for fit on the basket’s frame.
Go ahead and attach the second Side Panel to the other edge of the Front/Bottom panel in the exact same manner. The only exception is that the Side Panel will be on top as you sew.
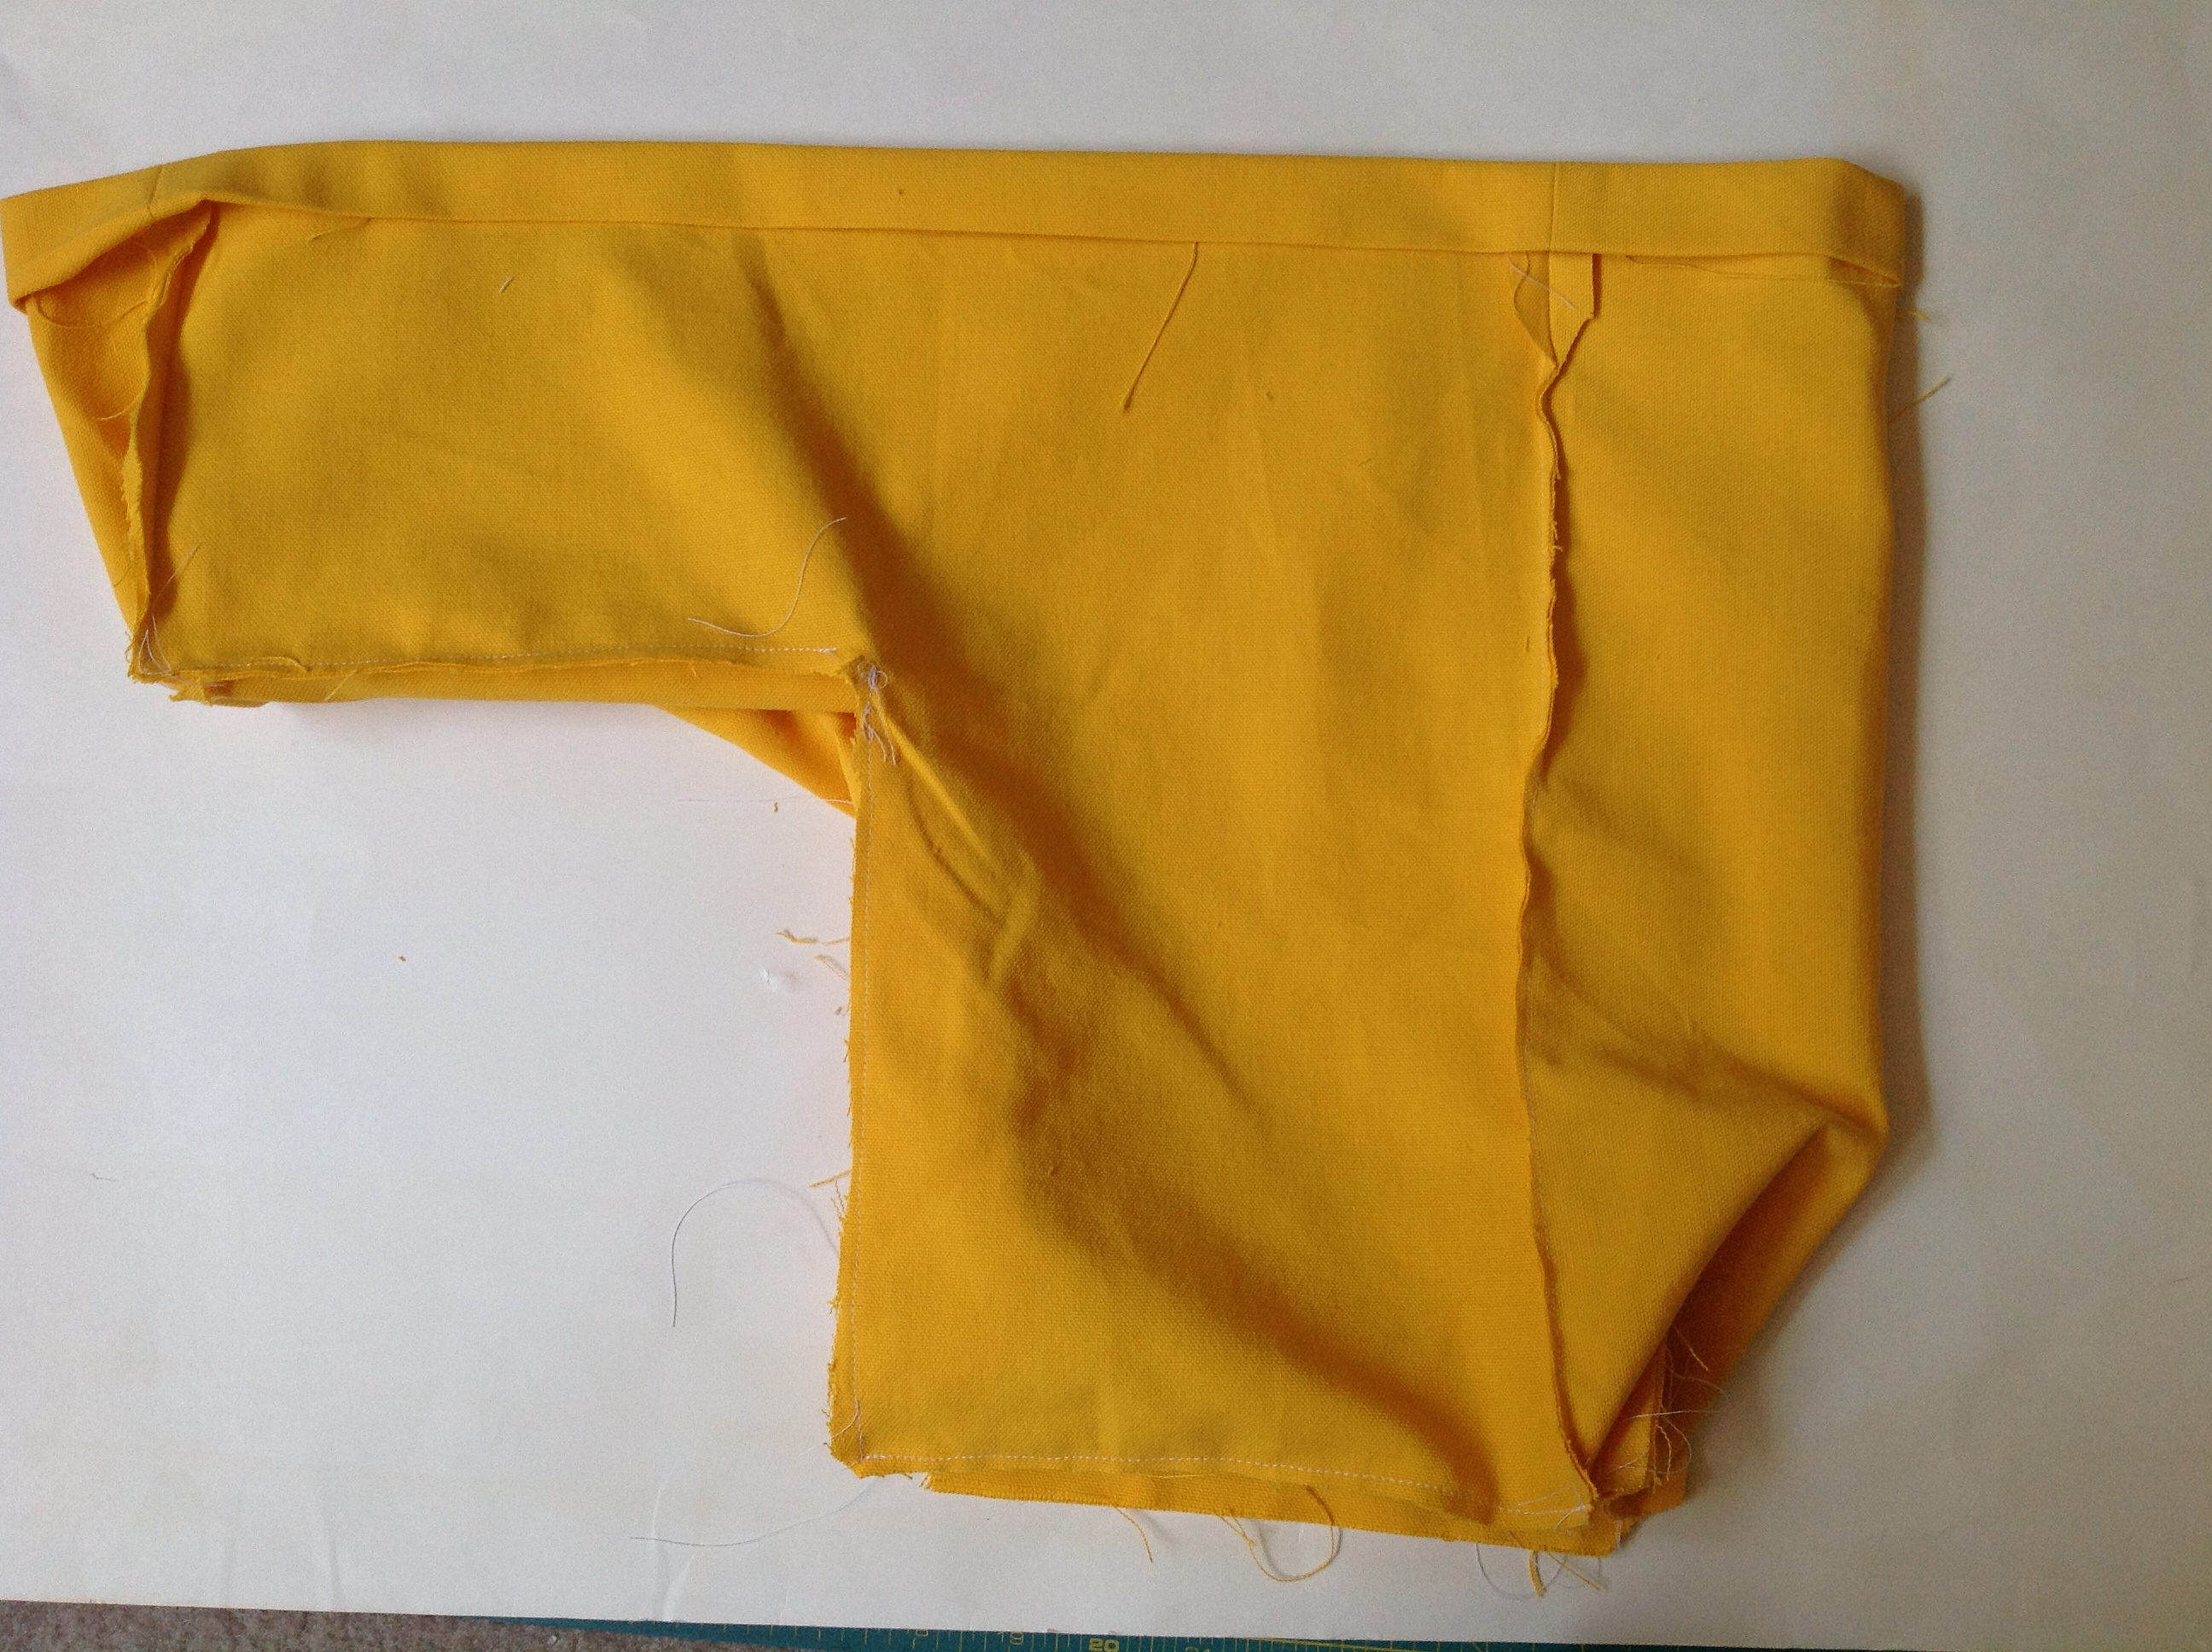
Also sew these same pieces of the Lining fabric together, they are done in just the same way, so you will be an expert by the time you have them done all of them! Here’s what mine looks like (ignore the fact that the top edge is turned down and the seam allowances are trimmed – this photo was taken in a later step)
I know this was a whole lot of steps and so we are going to take a few days off so everyone can get all this done. The next post will be on Monday, July 21st! We will be starting to built the frame of the basket!
You can find Day 5 here. See you then! Sarah
I have a question. When cutting the lining pieces H & I do you put the 16\” at the top and the 17\” 1/2 on the side when out cut out the rectangle from the corner.?
Thanks
Deb
Hi Deb,
Yes, 16 1/2 on the top. You can refer to the graphic in step 1 to see that illustrated. Thanks! Sarah