This tutorial covers steps 27-33 in the Convertible/Reversible Bag pattern.
At this point you should have you Zipper Gusset panel sewn to the zipper and the strap tabs attached. Your Upper Sides panel should be sewn on one end and with the center point marked.
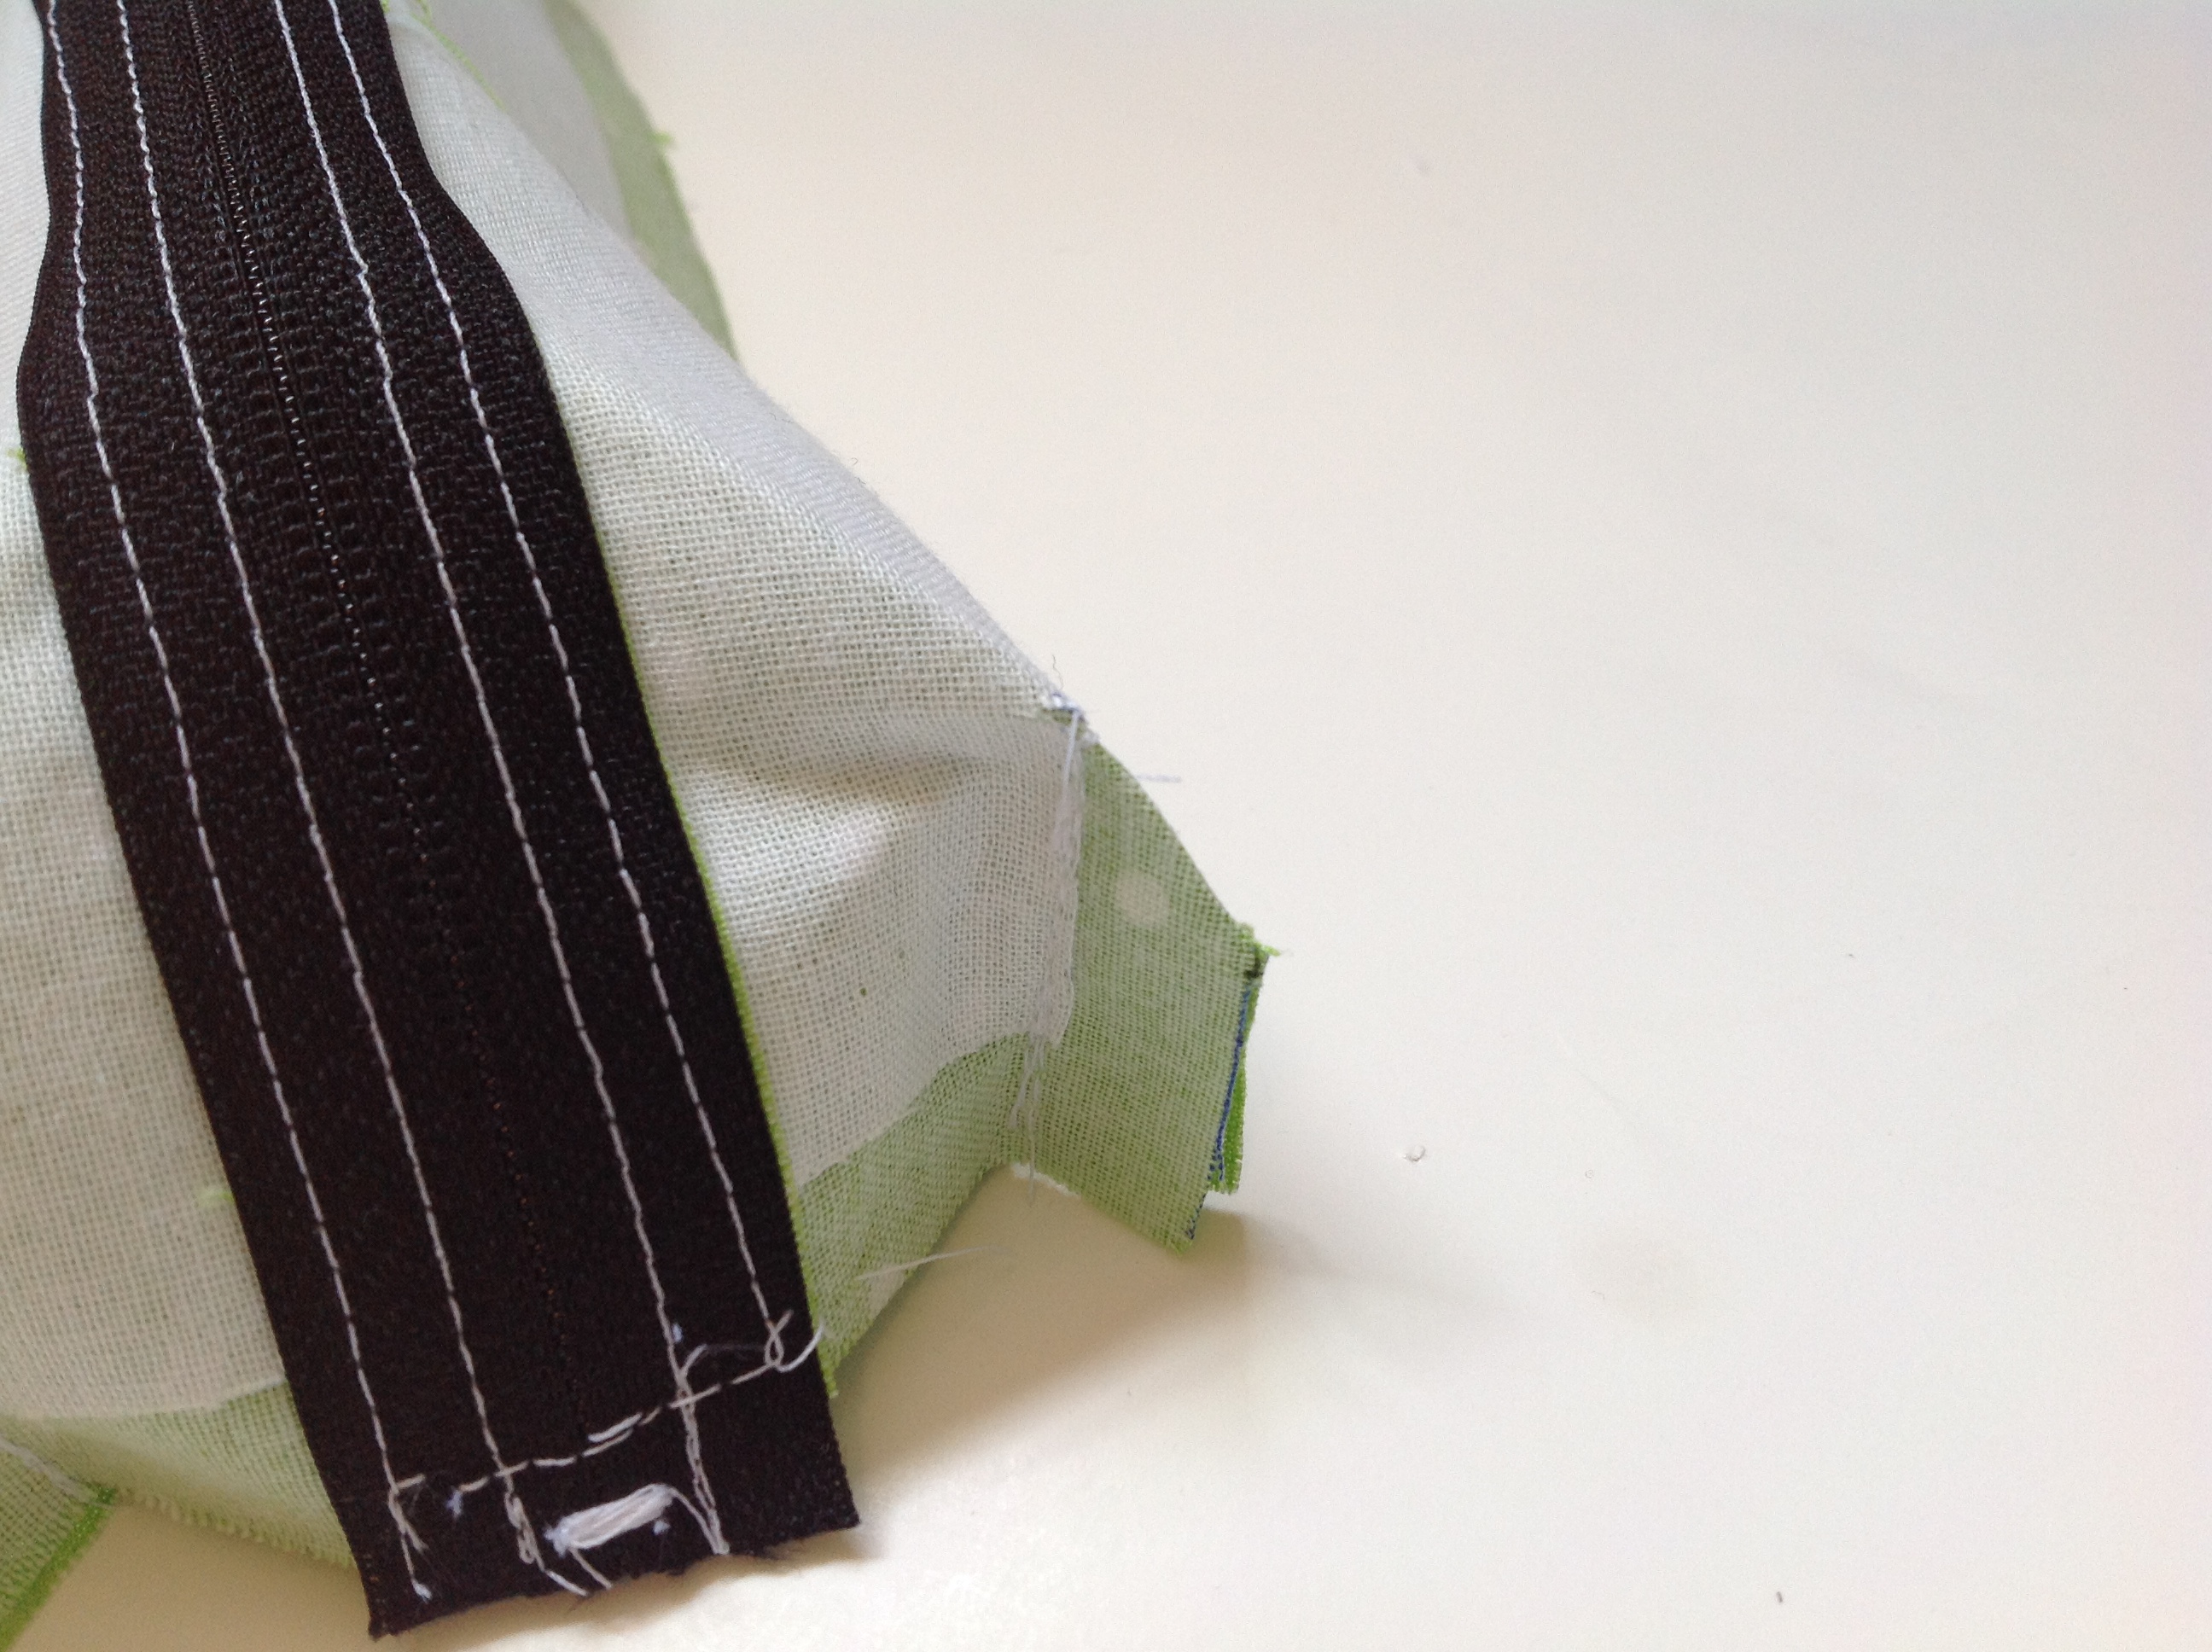
First we are going to create some depth and dimension with the corners of the Zipper Gusset. In each corner there is a square cut out. With the right sides facing, align the inner edges of the square with one another – Bring the inner edges of the square together with right sides facing. It should look like this:

Sew those ends together and you will have a corner with a little flap on it!
Do the same thing to the remaining 3 corners. Once you have done that, you want to cut the upper edge of the seam allowance so you can open it up. Be careful not to cut into your stitches but get as close as you can.

Open them and then baste them at the bottom using a 1/4″ seam allowance so they stay open.
.
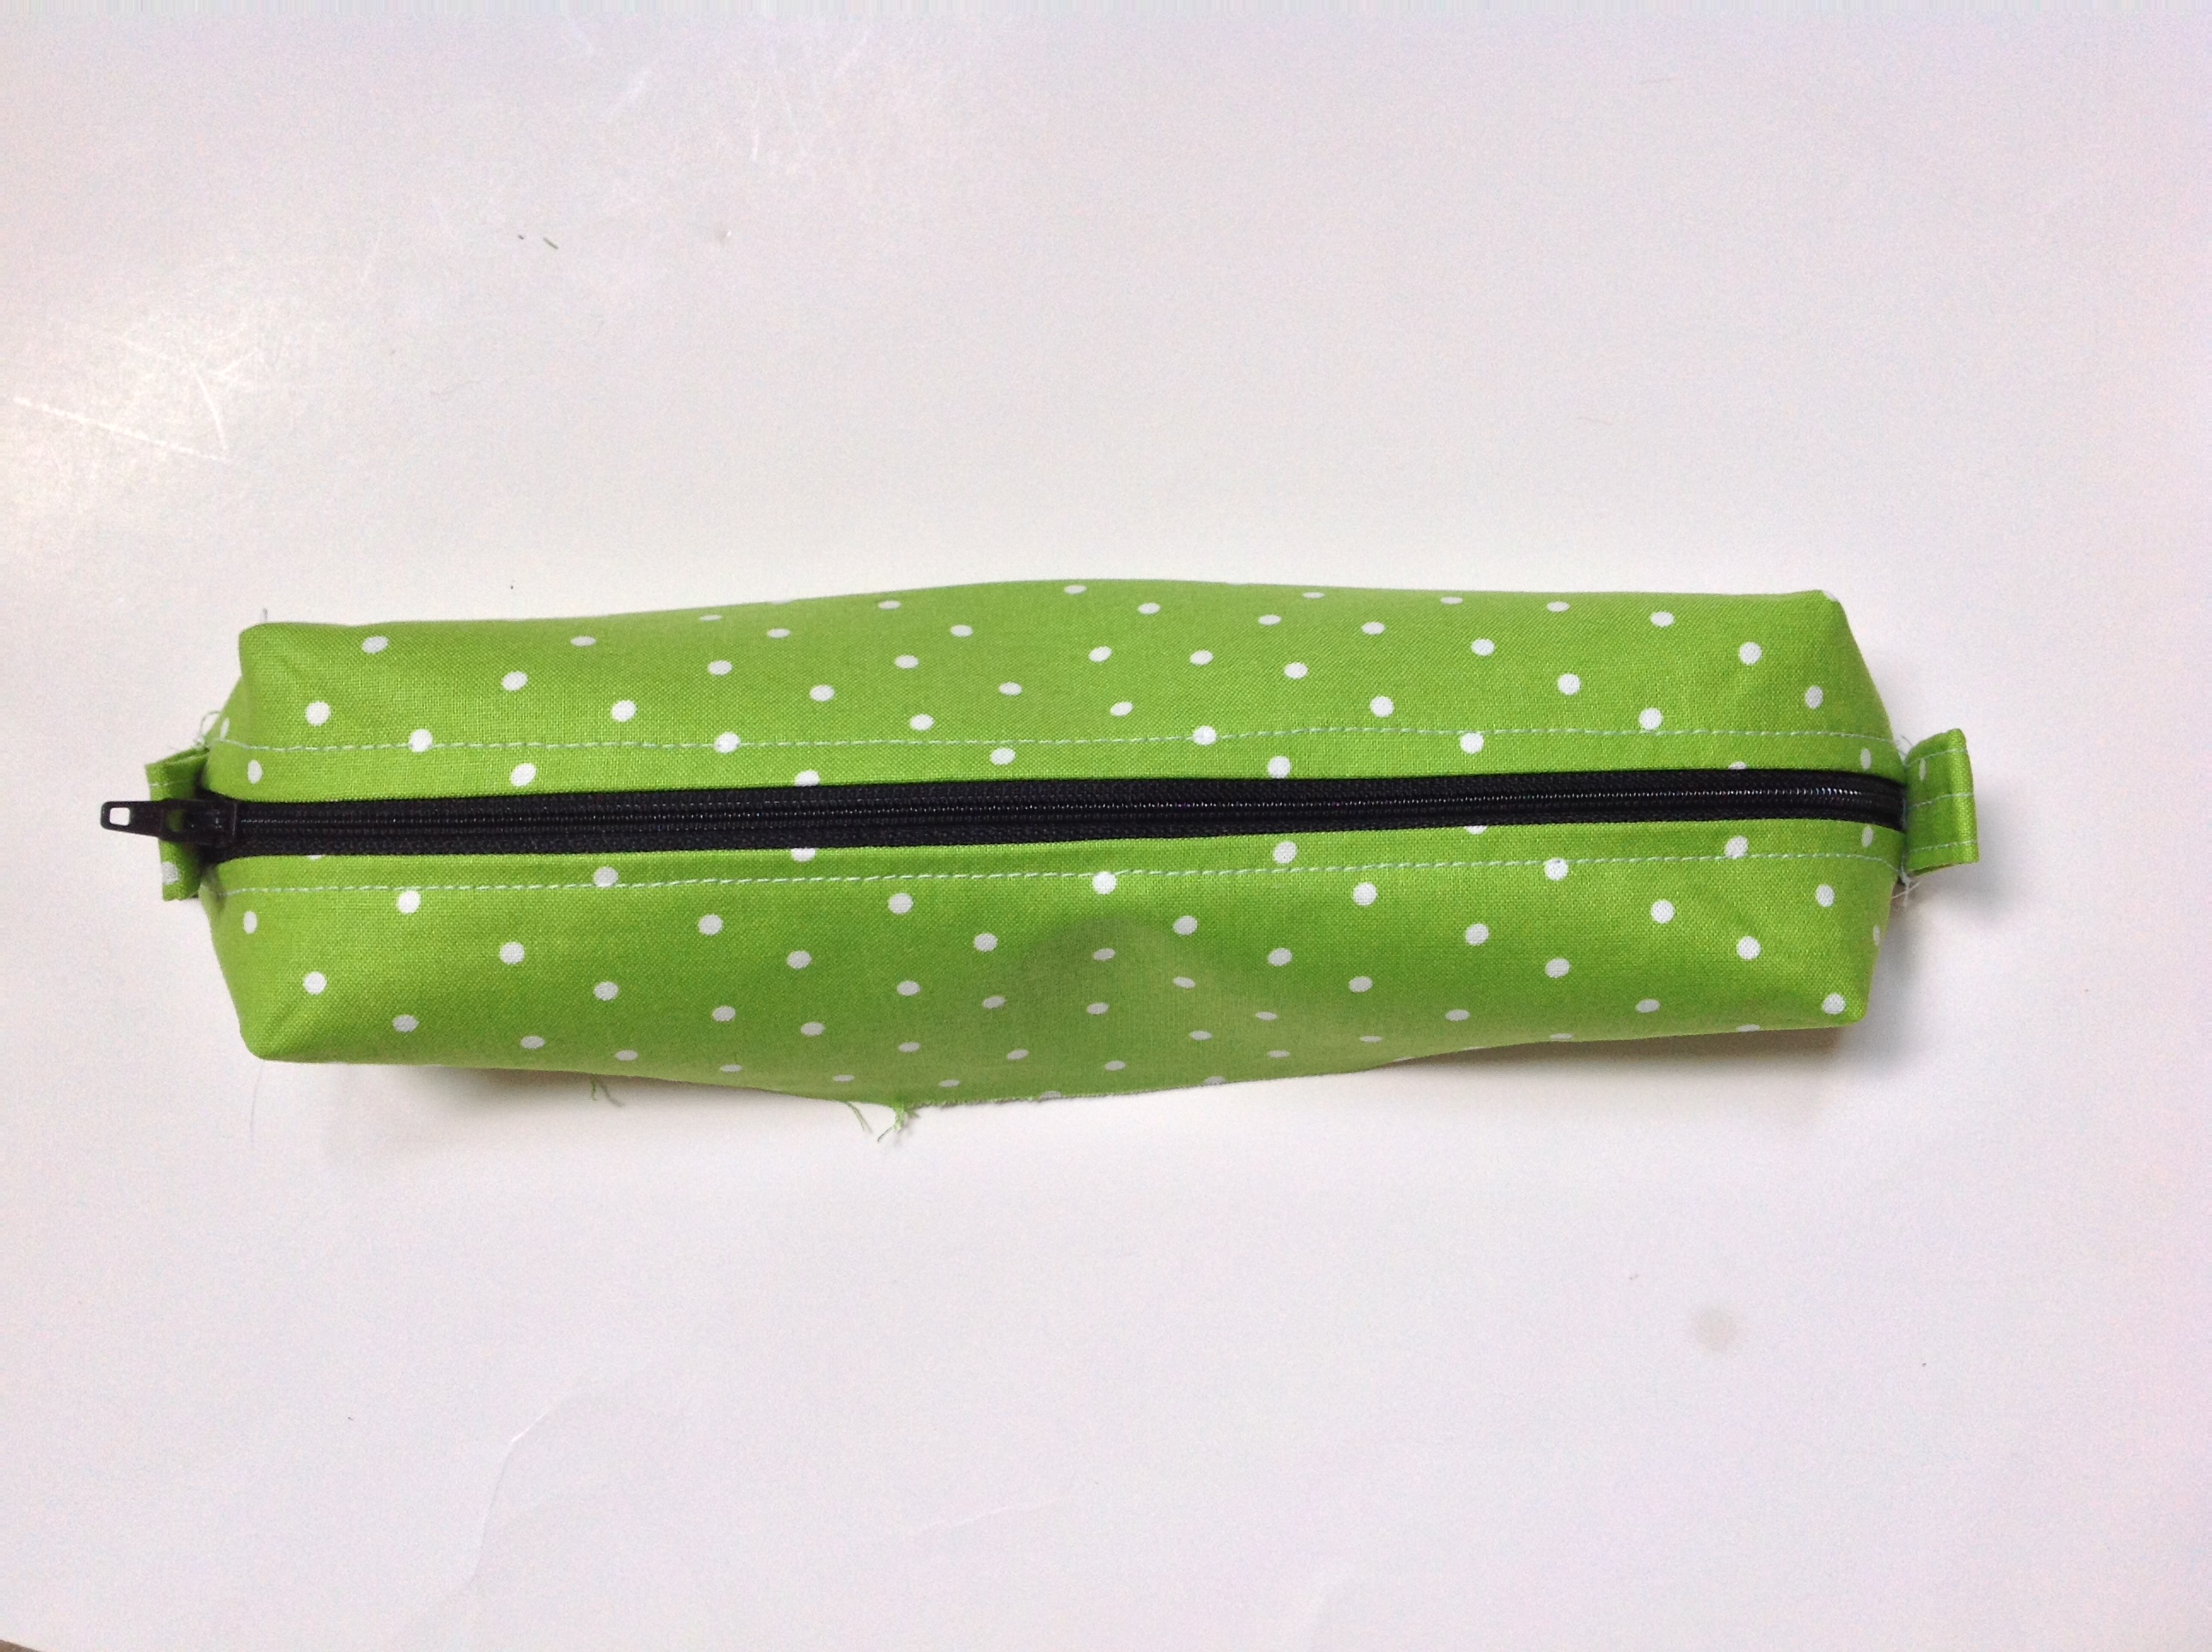
Turn it right side out, and this is what it should look like.
Now, open the zipper part way and find your Upper Sides panel. Put the Zipper Gusset into the Upper Side panel (if your print is directional, make sure you are putting the Zipper Gusset into the end of the Upper Sides that has the top of the print). Line up the side seam and center point mark on the Upper Sides panel with the center of the zipper. Align the raw edges.
Sew around the raw edges and then pull the Zipper Gusset upward.
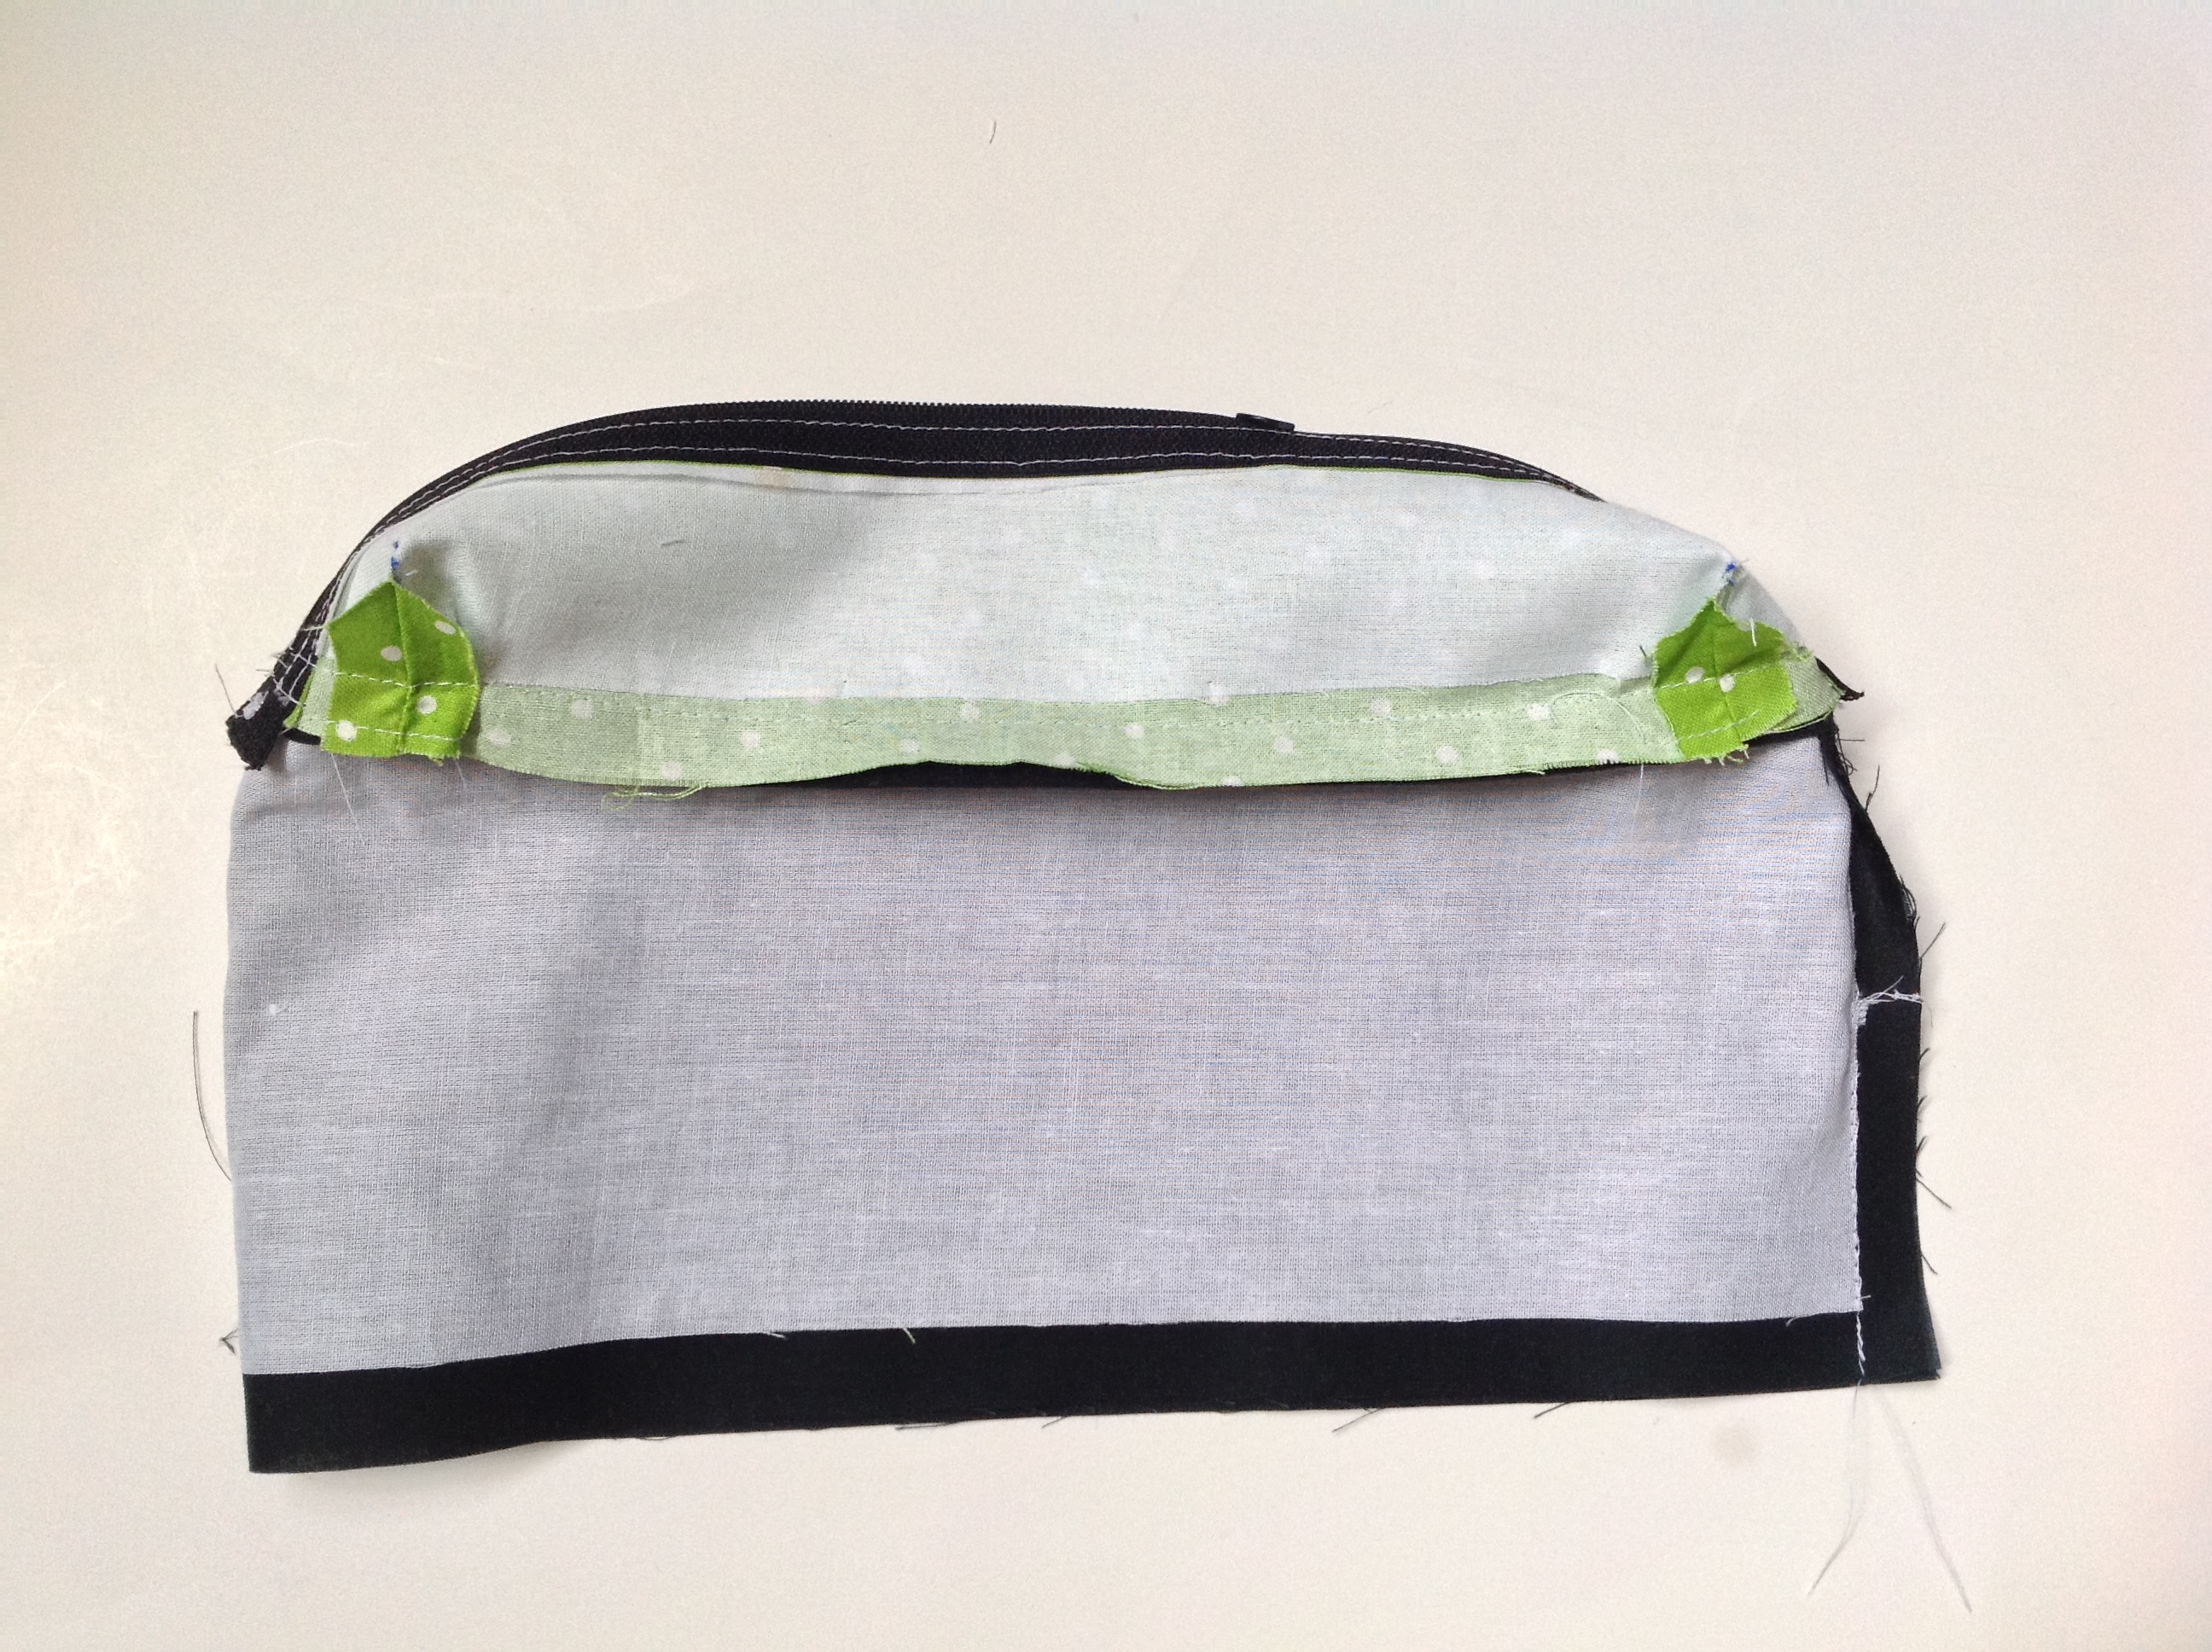
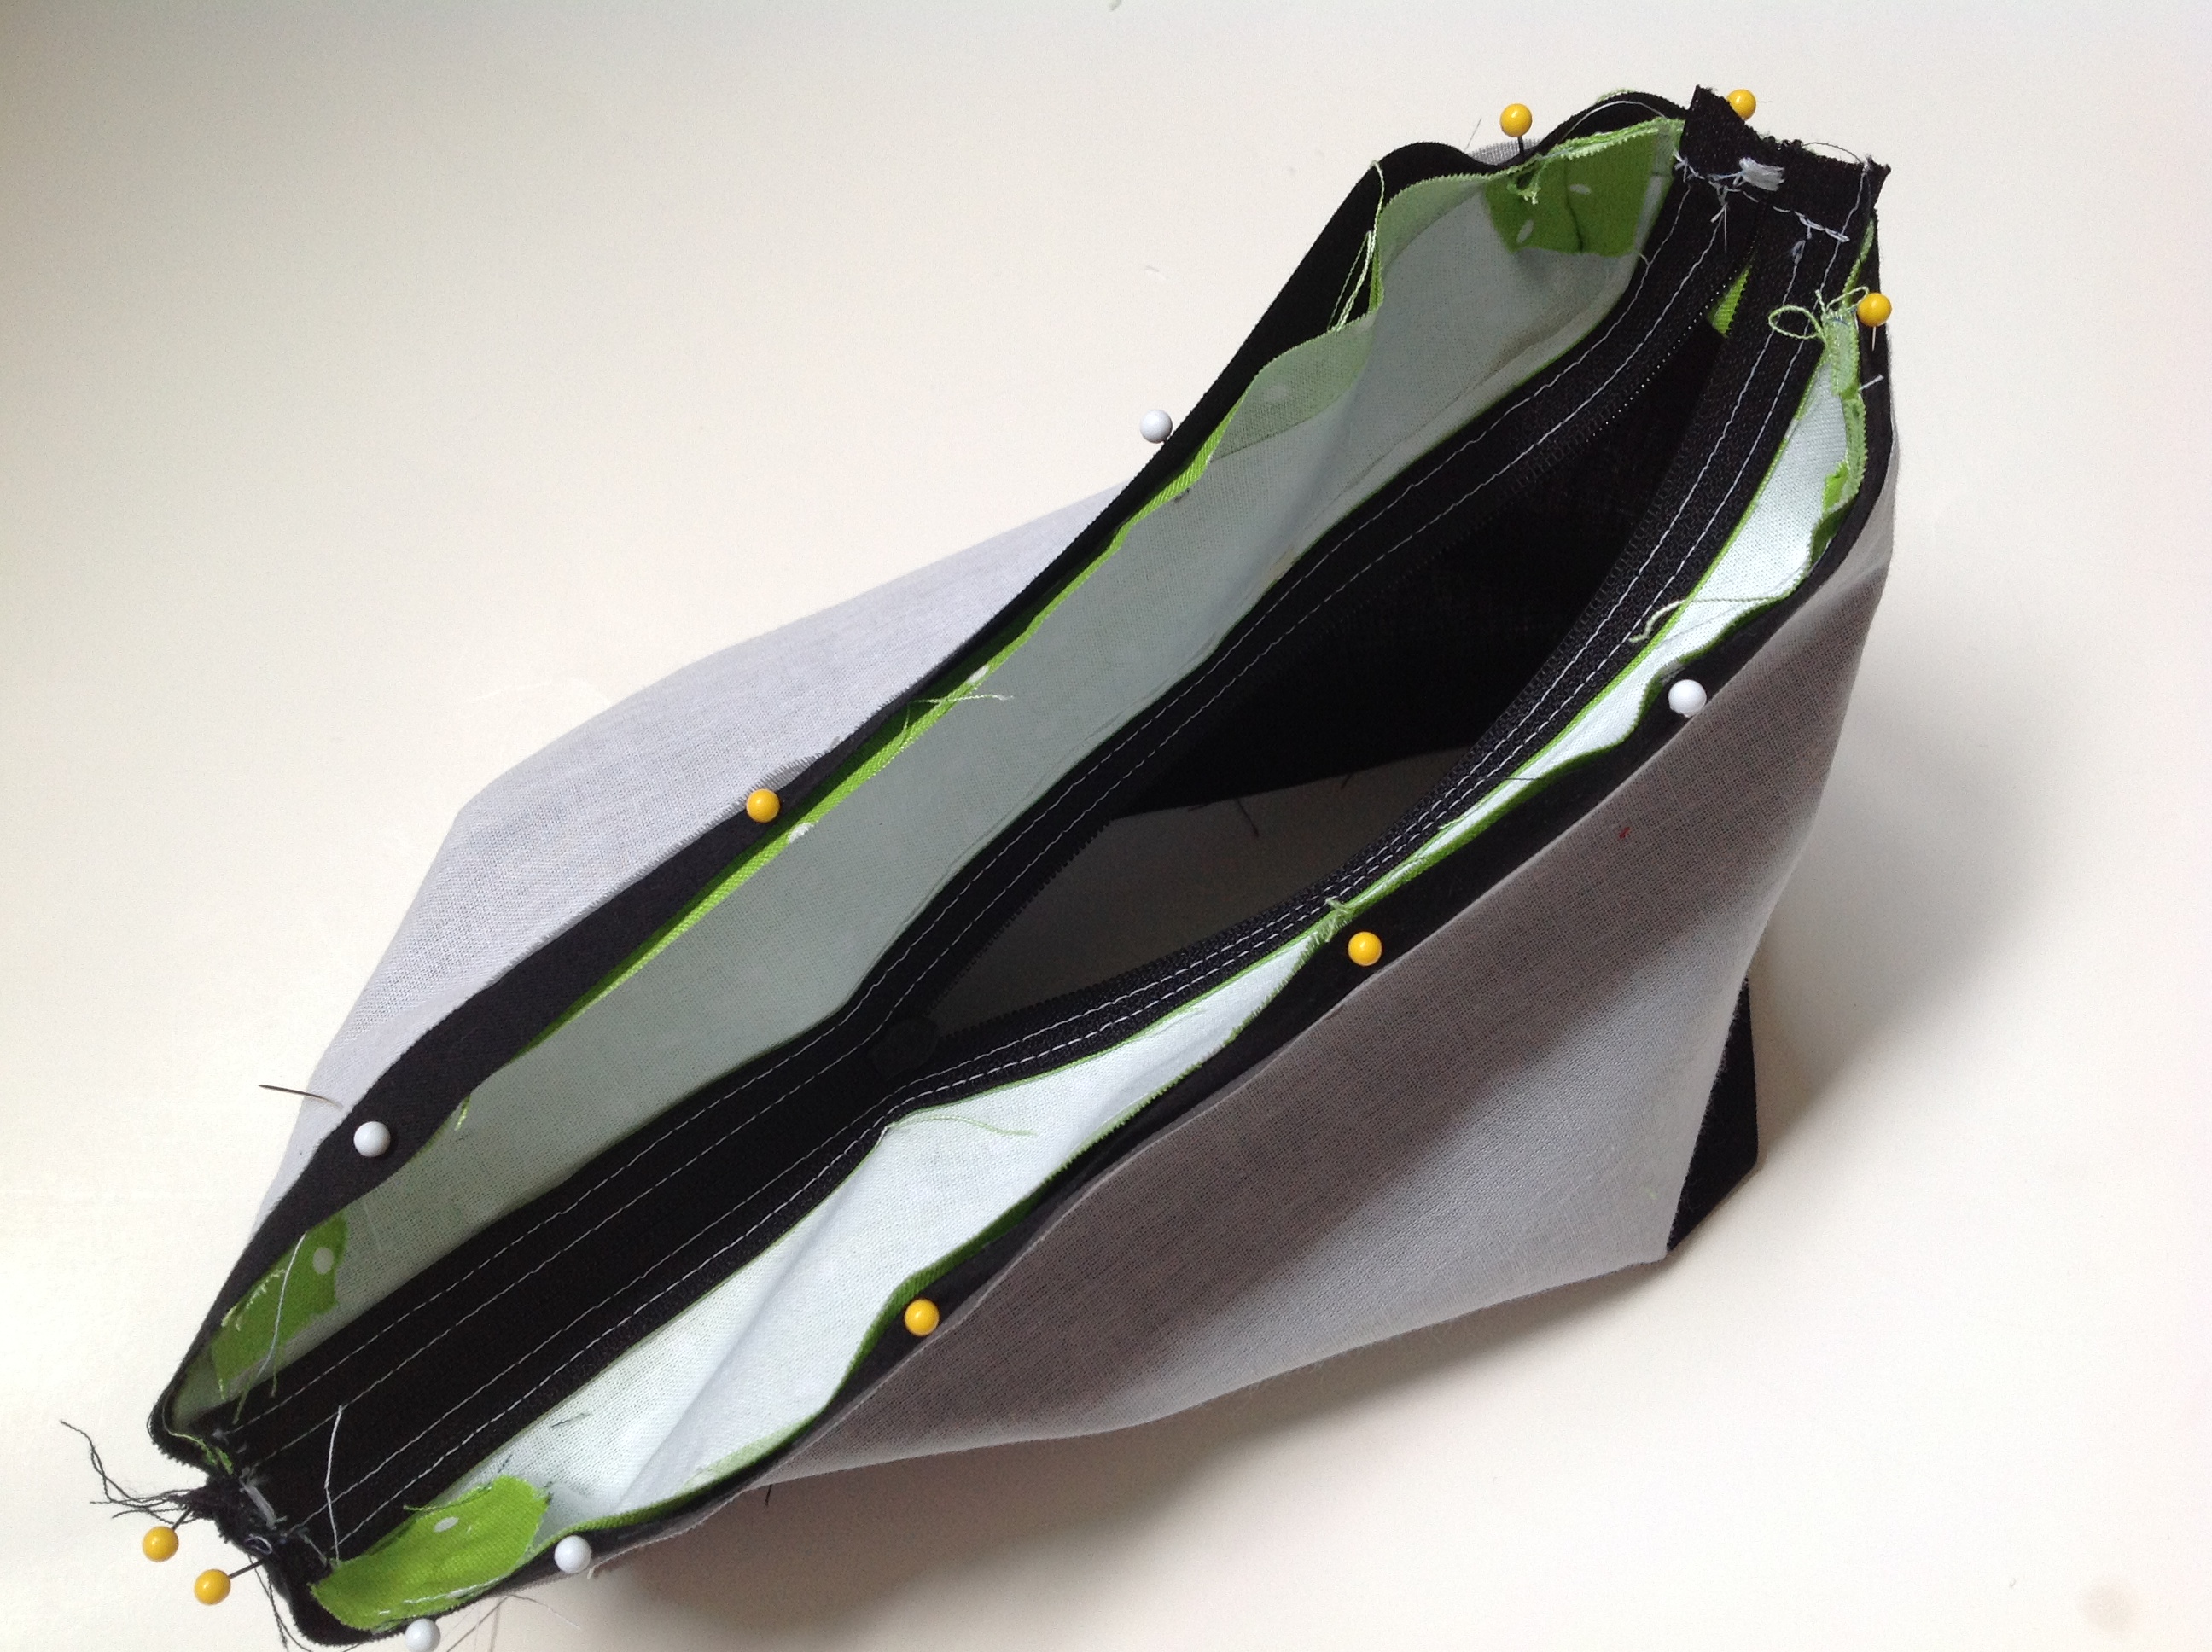
What you want to do now is separate the seam allowance. In the photo below you can see that they are separated, the green being the zipper gusset’s seam allowance and the black being that of the Upper Sides panel. We want to stitch the Upper Sides seam allowance down to the Upper Sides panel using a 1/4″ seam allowance. You will need to turn the Zipper Gusset’s seam allowance up and out of the way and you will have to pin the zipper ends up and out of the way also. Be sure you don’t hit your d-rings as you are sewing this seam!!
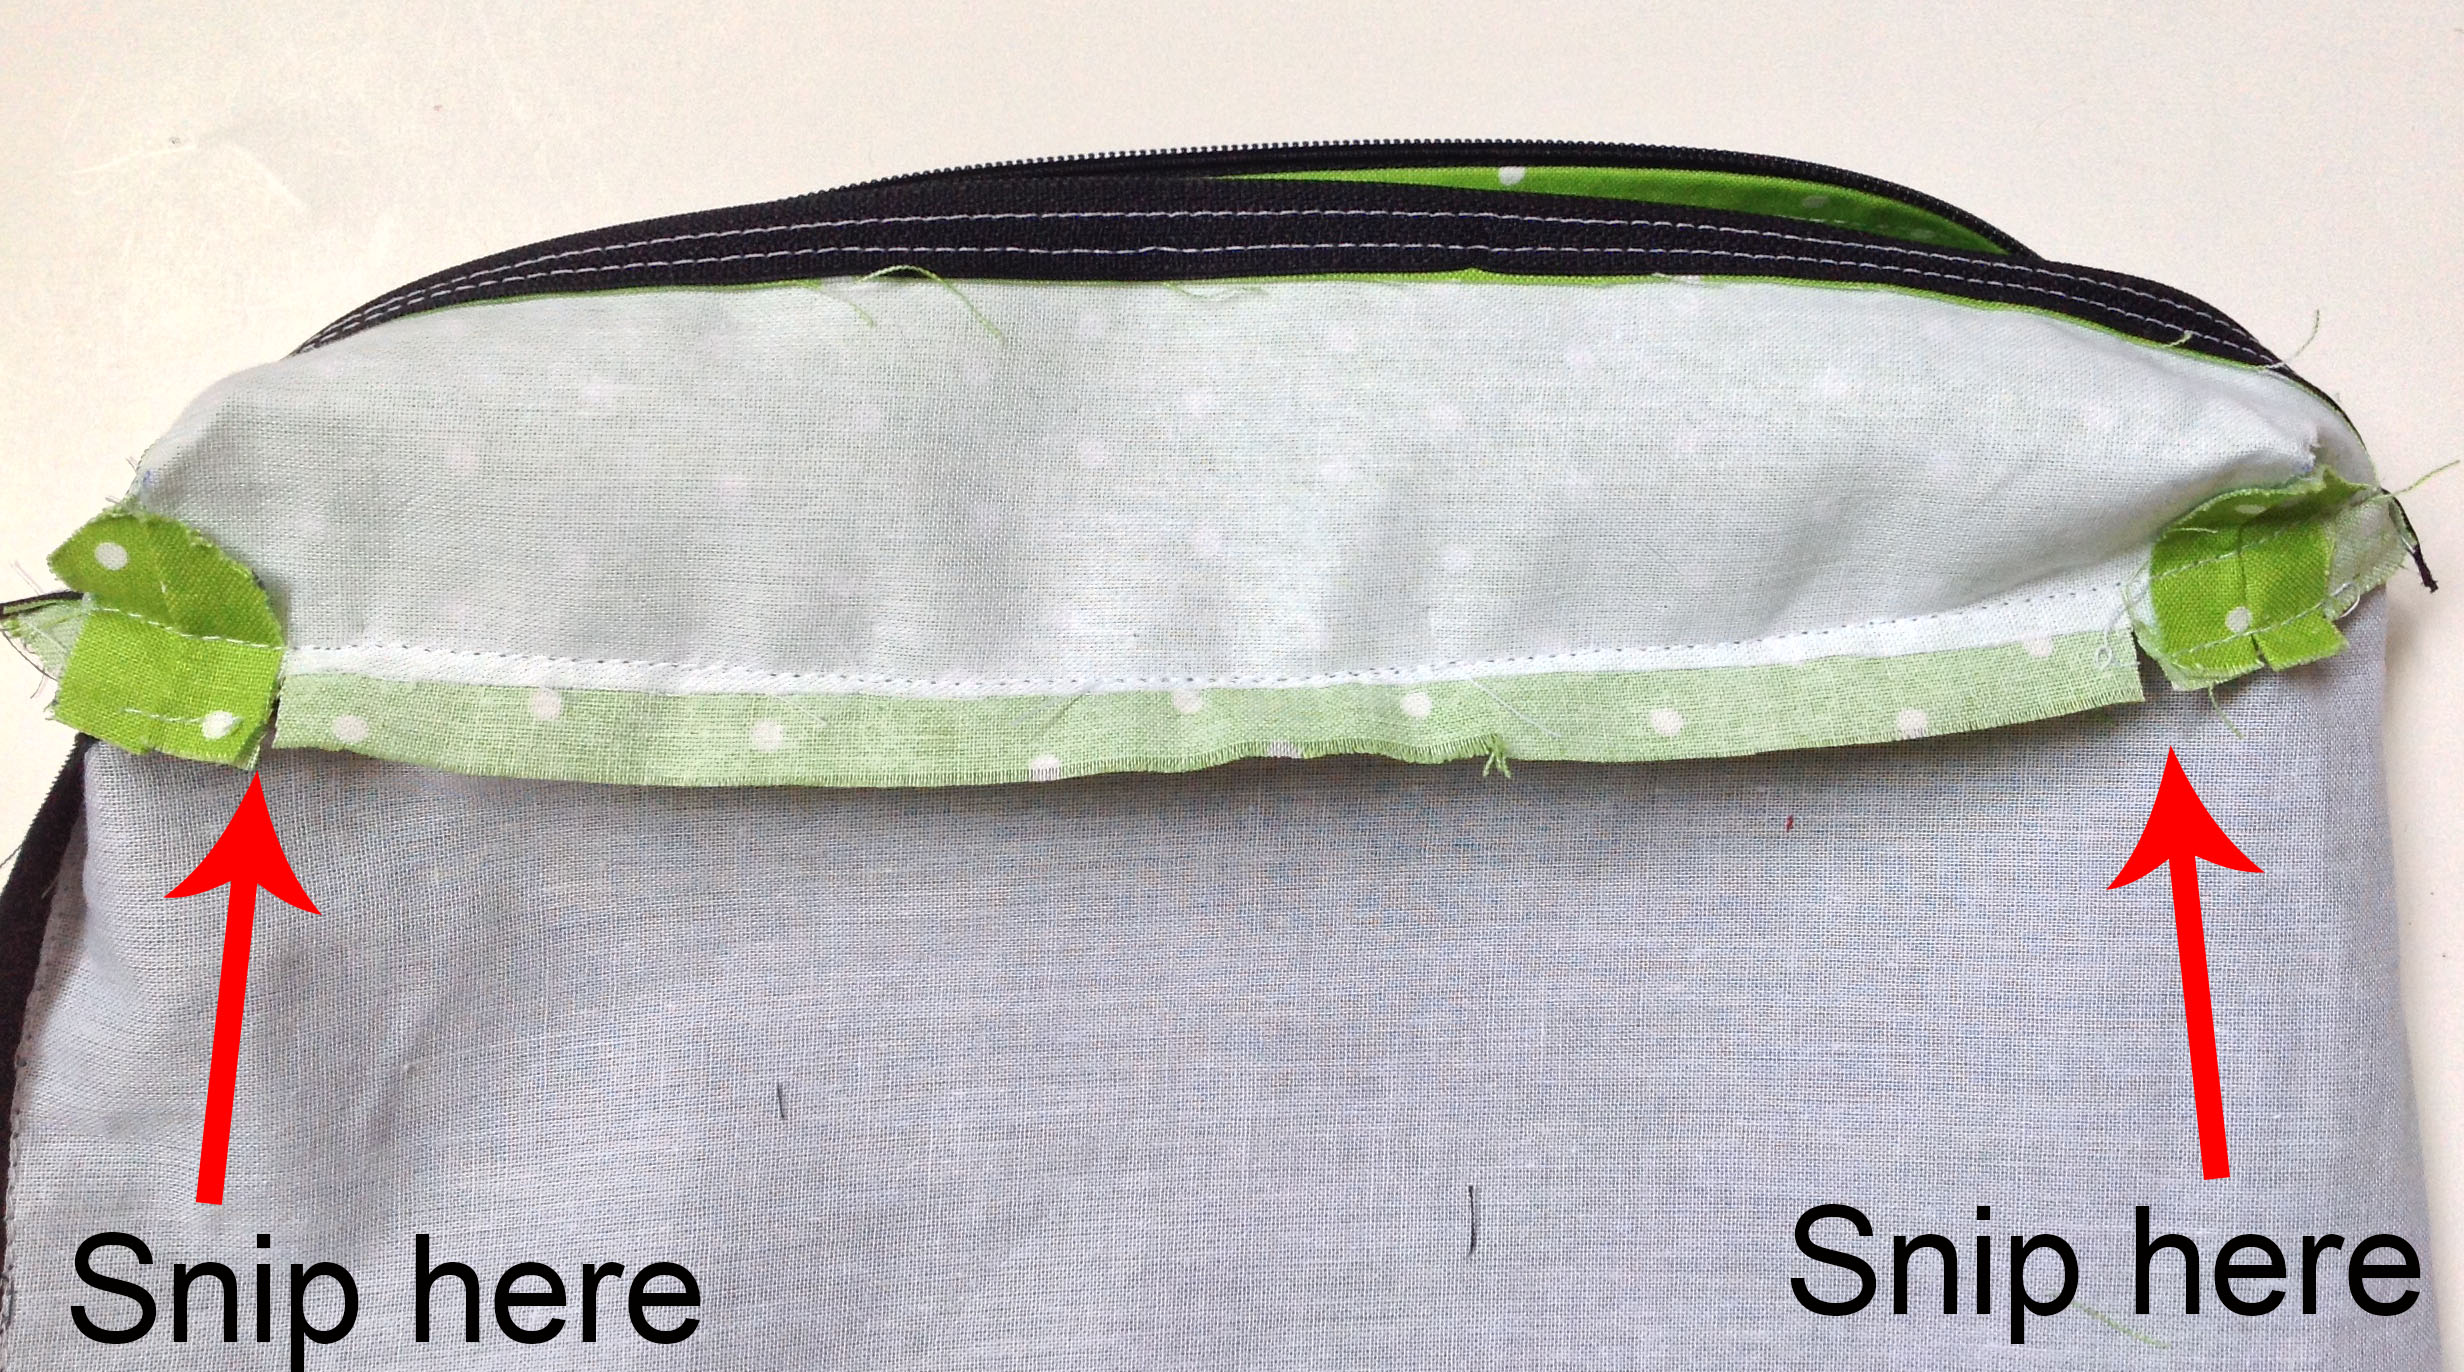
The last step is to snip into the seam allowance of the Zipper Gusset (green). You will want to do that right inside each of the Zipper Gusset side seams on each long edge. Later, we will use this long portion of the seam allowance to join the two bags together.
That finishes you up through step #33! Hope you are having fun!
Sarah
Leave a Reply
You must be logged in to post a comment.