***UPDATE: Patterns purchased between July 2015 -Januaray 2016 – need an additional pattern piece called B-Interfacing. You can download it here. ***
Hello! Welcome to Day 5 of our sew along! By the end of today you will have this: 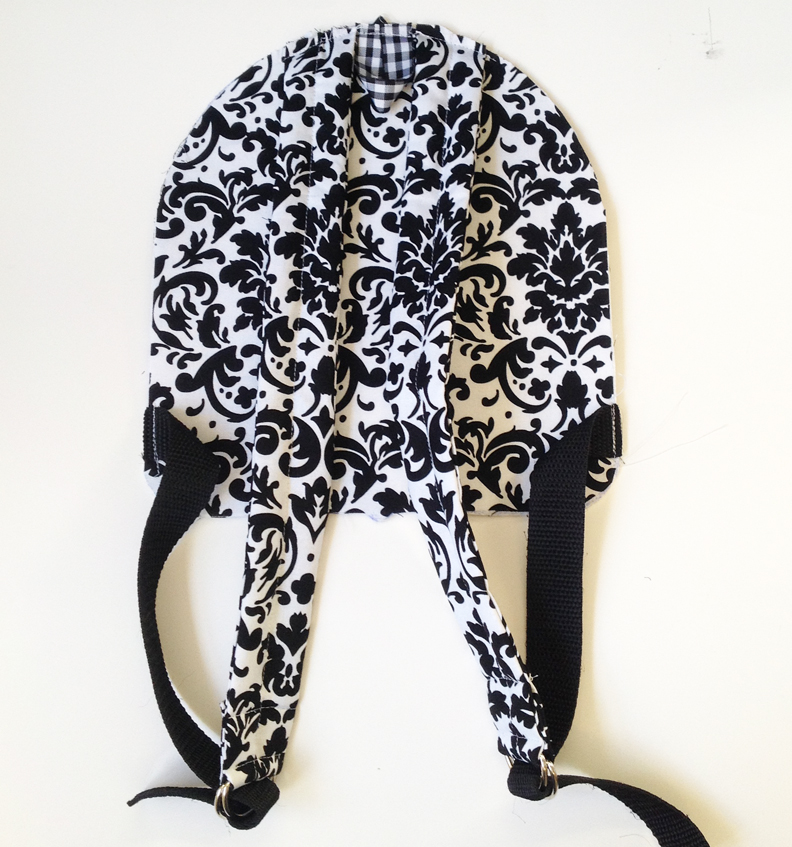 I know, it’s not much to look at, but it will bring us one step closer to our cupcake! We will cover steps 26-39 in the pattern today.
You will need:
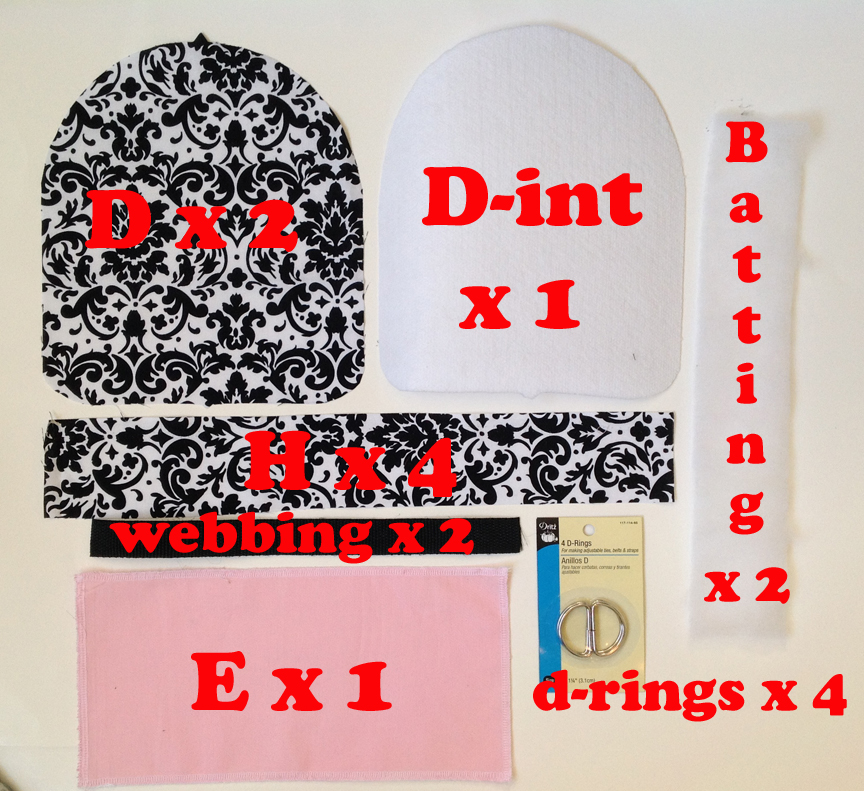
Not pictured: elastic and ribbon or ric rac for hanger loop
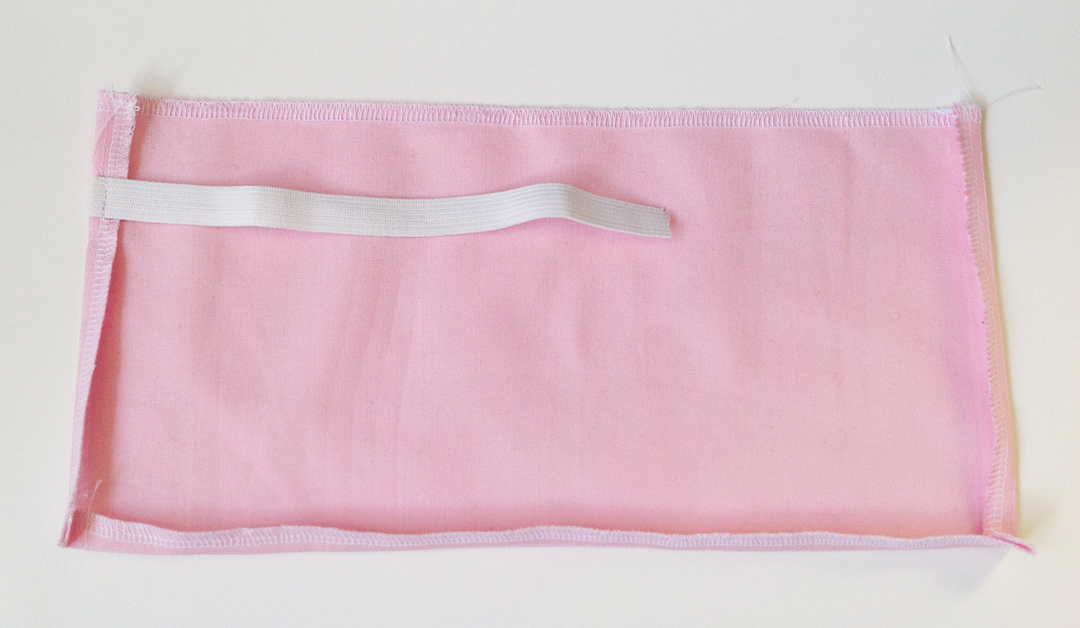
So our first step is to do the pocket (E). Finish all the edges of E. Then, sew a seam around the bottom and sides with a 3/8″ seam allowance. In the pattern I call this a staystitch but it really isn’t for the purpose of keeping the fabric from pulling out of shape, it’s used more as a guide for hemming the pocket.
Use that 3/8″ stitch to fold those side and bottom edges to the wrong side and press very well. Measure down 1″ from the top edge and place your elastic there. Baste the elastic on.
Move the elastic off the pocket and fold the top edge down about an inch to the wrong side. Stitch down using a 1/4″ seam allowance. Insert a safety pin through the free end of the elastic.
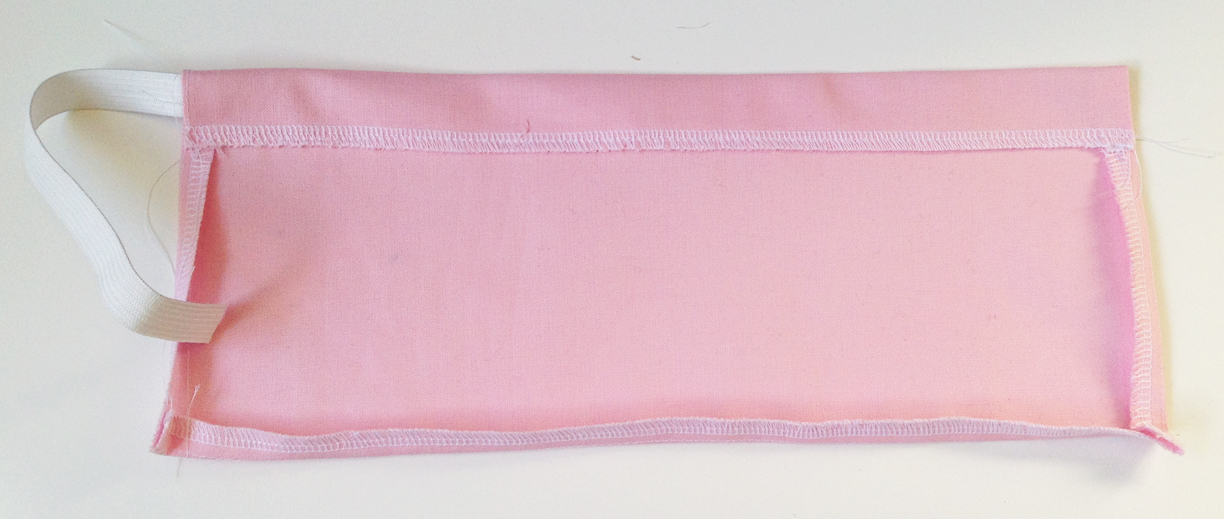
Insert the safety pin into the casing you just made and feed it through, gathering the fabric onto the elastic until it comes out the opposite end. Distribute the gathers along the elastic until it measures 6 1/2″ wide, then sew the opening of the casing shut. Trim off the excess elastic. 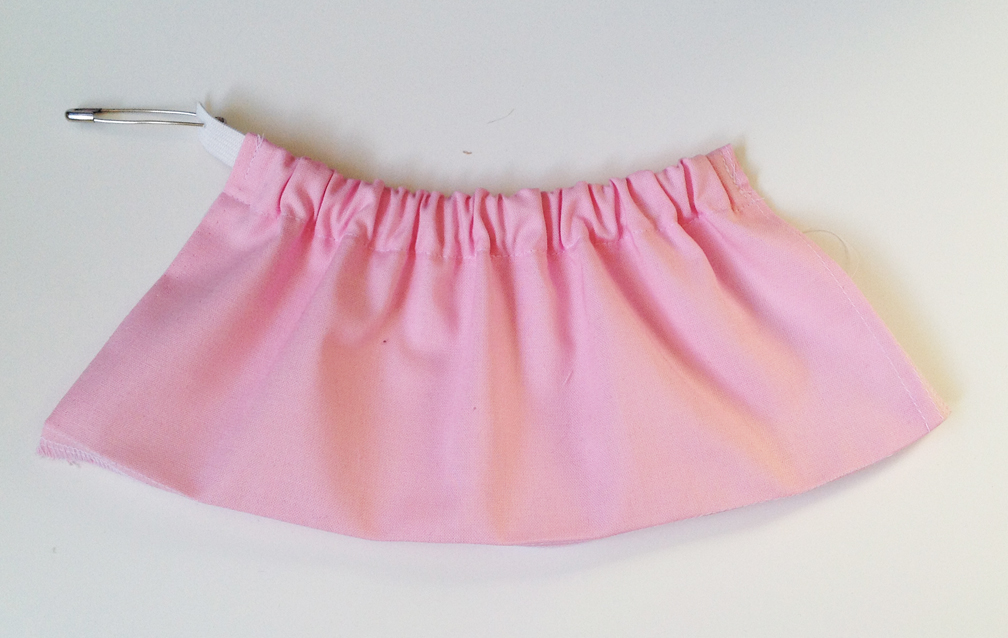
Now we’ll do a little work on the back panels (D), so grab those. Finish the edges of both panels (shoot, again too busy taking picture, forgot to do that step!).
Take one of the back panels (the one you want as the interior) and fuse your interface piece to it on the wrong side.
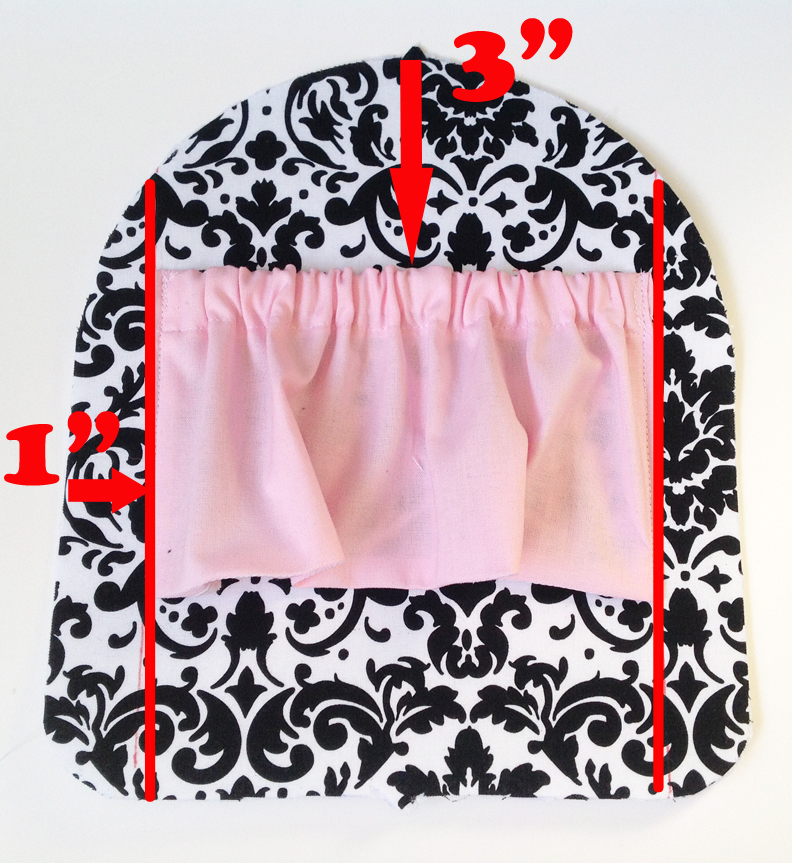
On the right side of that panel, measure and draw a line 1″ in from each side edge. Place your pocket on the panel 3″ from the top and then align the side edges with those vertical lines you drew. Create pleats with the excess fabric along the bottom, or do what I do and just slap your hot iron down on it and let the folds fall where they may!
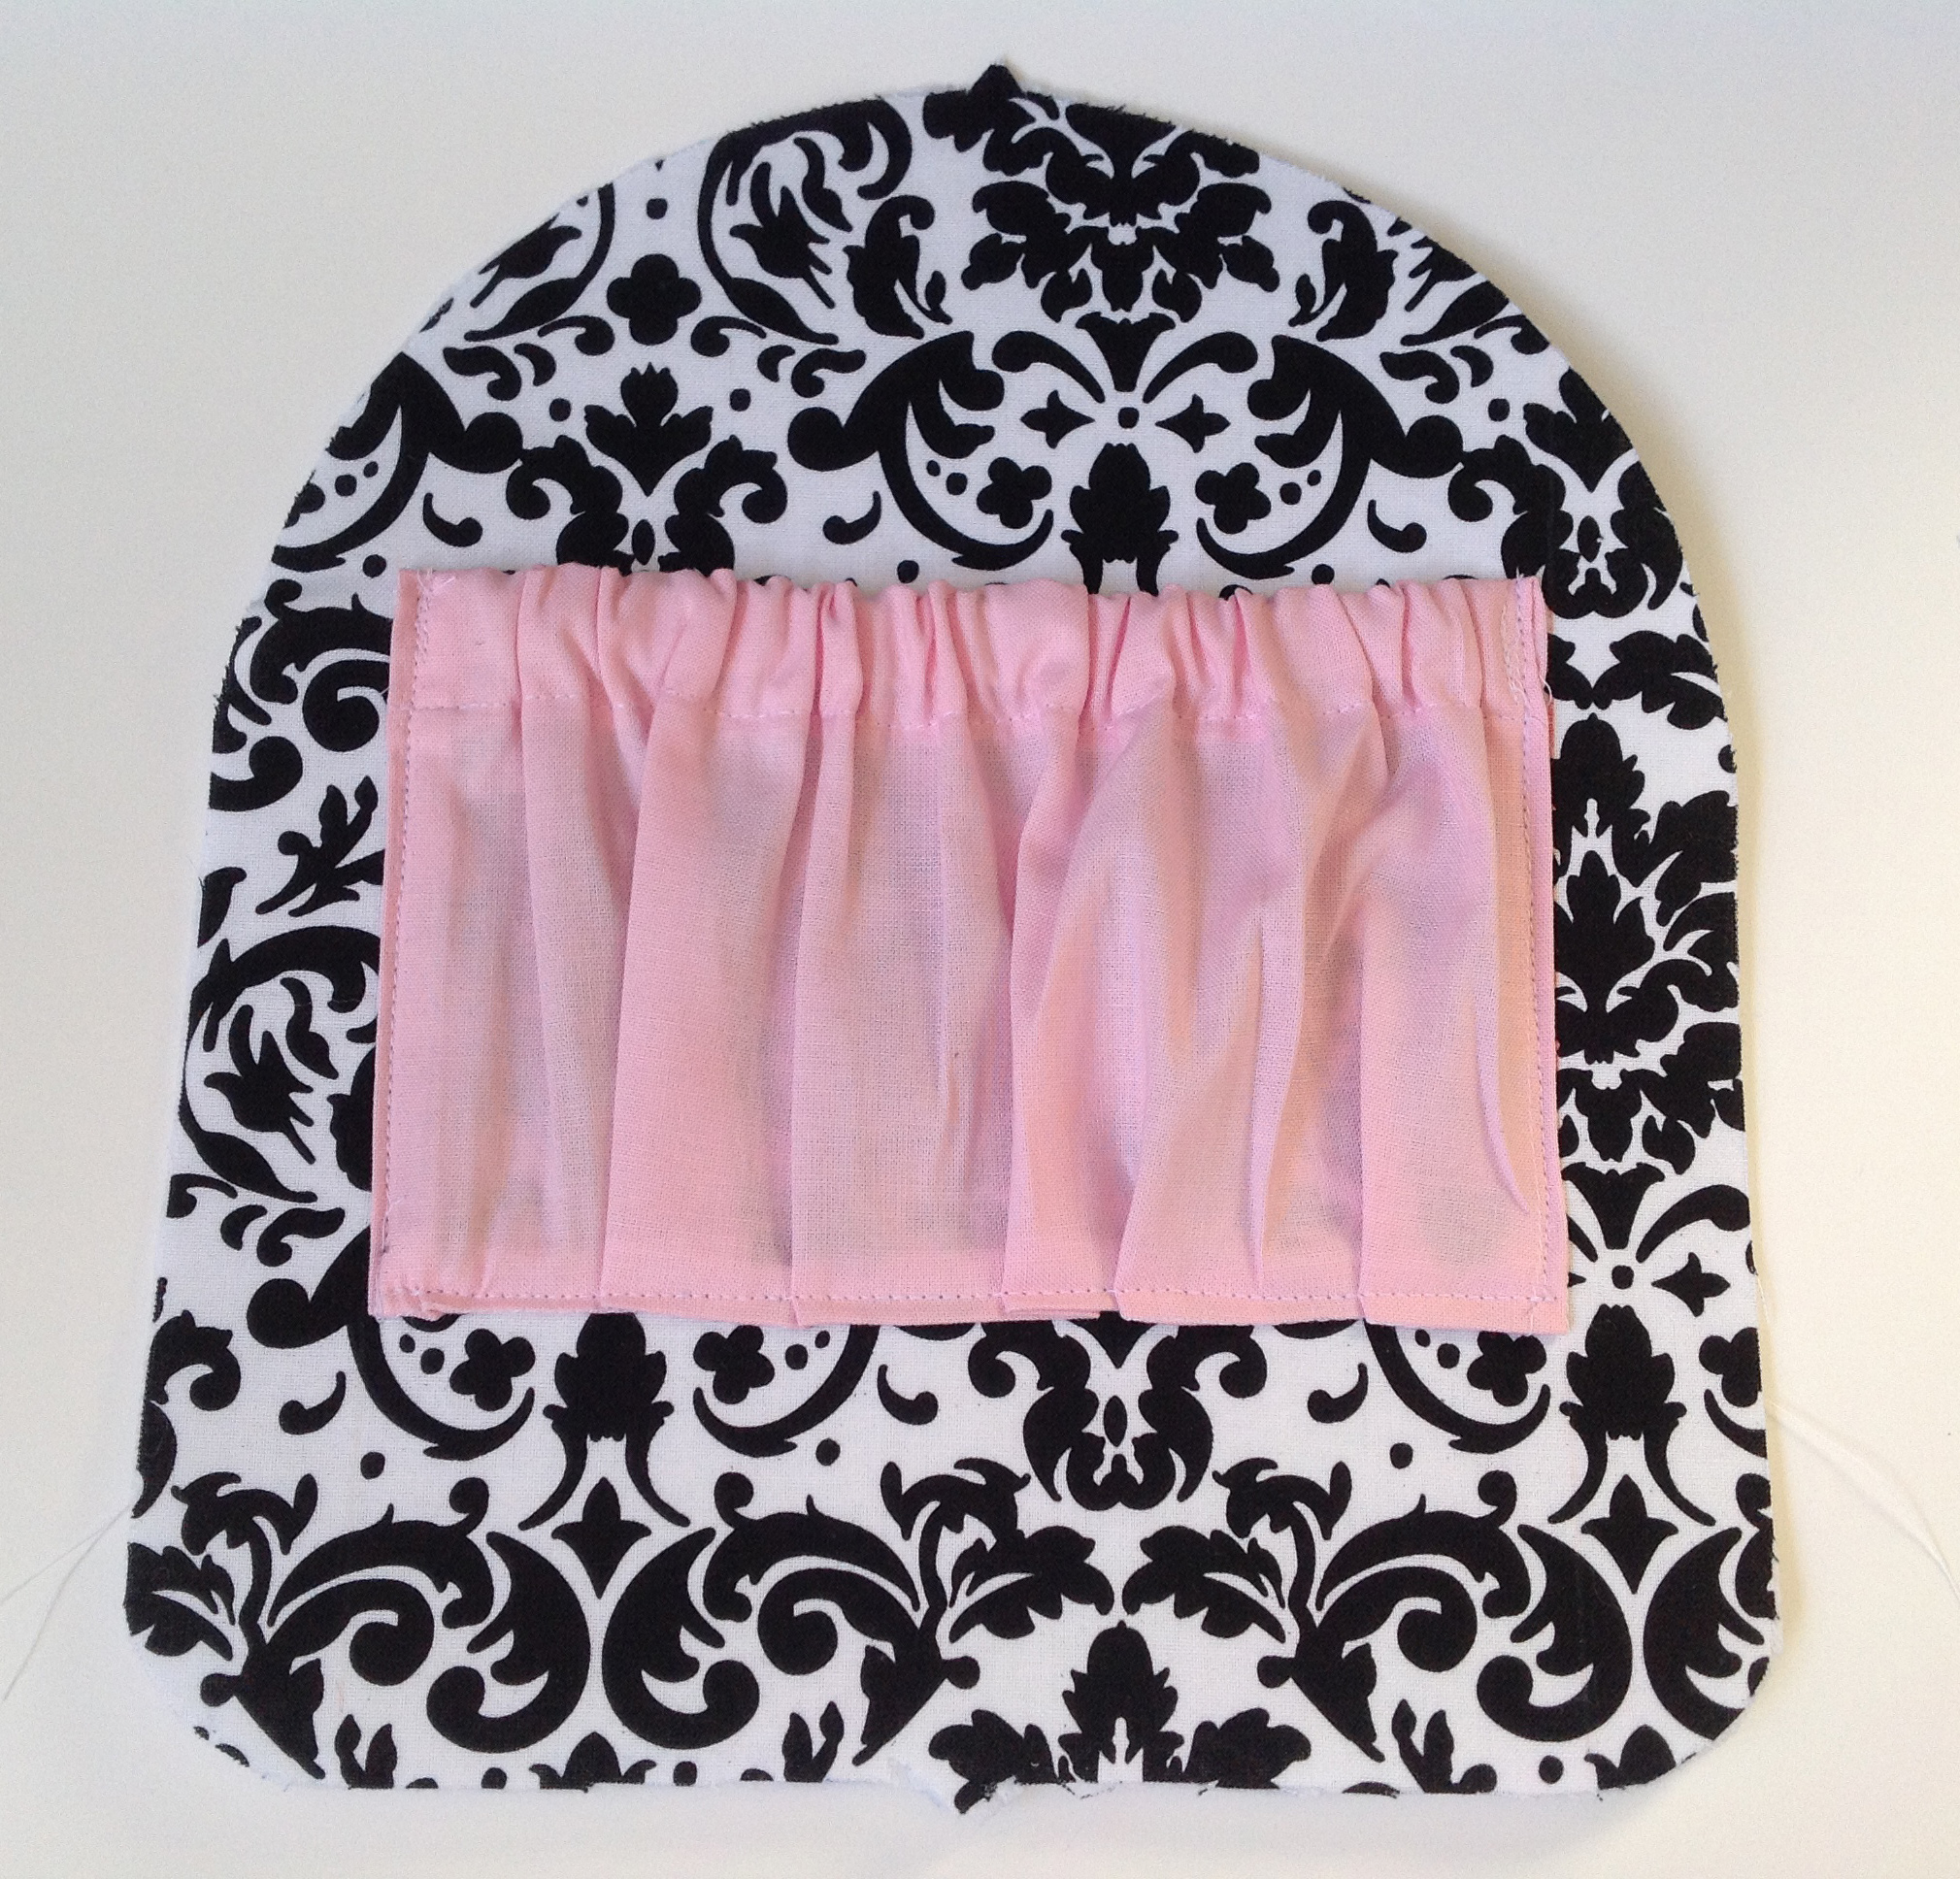
Stitch around the sides and bottom edge with a 1/4″ seam allowance and make sure you reinforce at the top edge.
Now fuse your the second back panel (the exterior) to the interior piece. Be sure that the wrong sides of both are facing and set it aside.
Onto the straps!
Take 2 of your strap pieces (H) and put them right sides together. If you are using a directional print, be sure that both of these panels have the print oriented the same direction. In other words, the ends that are at the top of the print should be together.
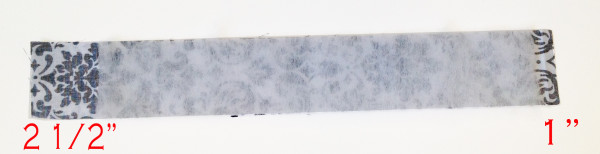
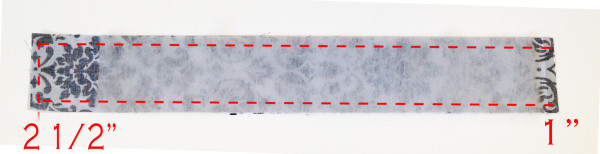
Then lay one of the batting pieces on top so that it’s 1″ from one end and 2 1/2″ from the second end. If you area using a directional print, make sure that the top of the print is at the end where the batting is 1″ away from the end.
Stitch both long edges and the short end where the batting is 2 1/2″ from end.
Snip the seam allowances in the corners of the sewn end. 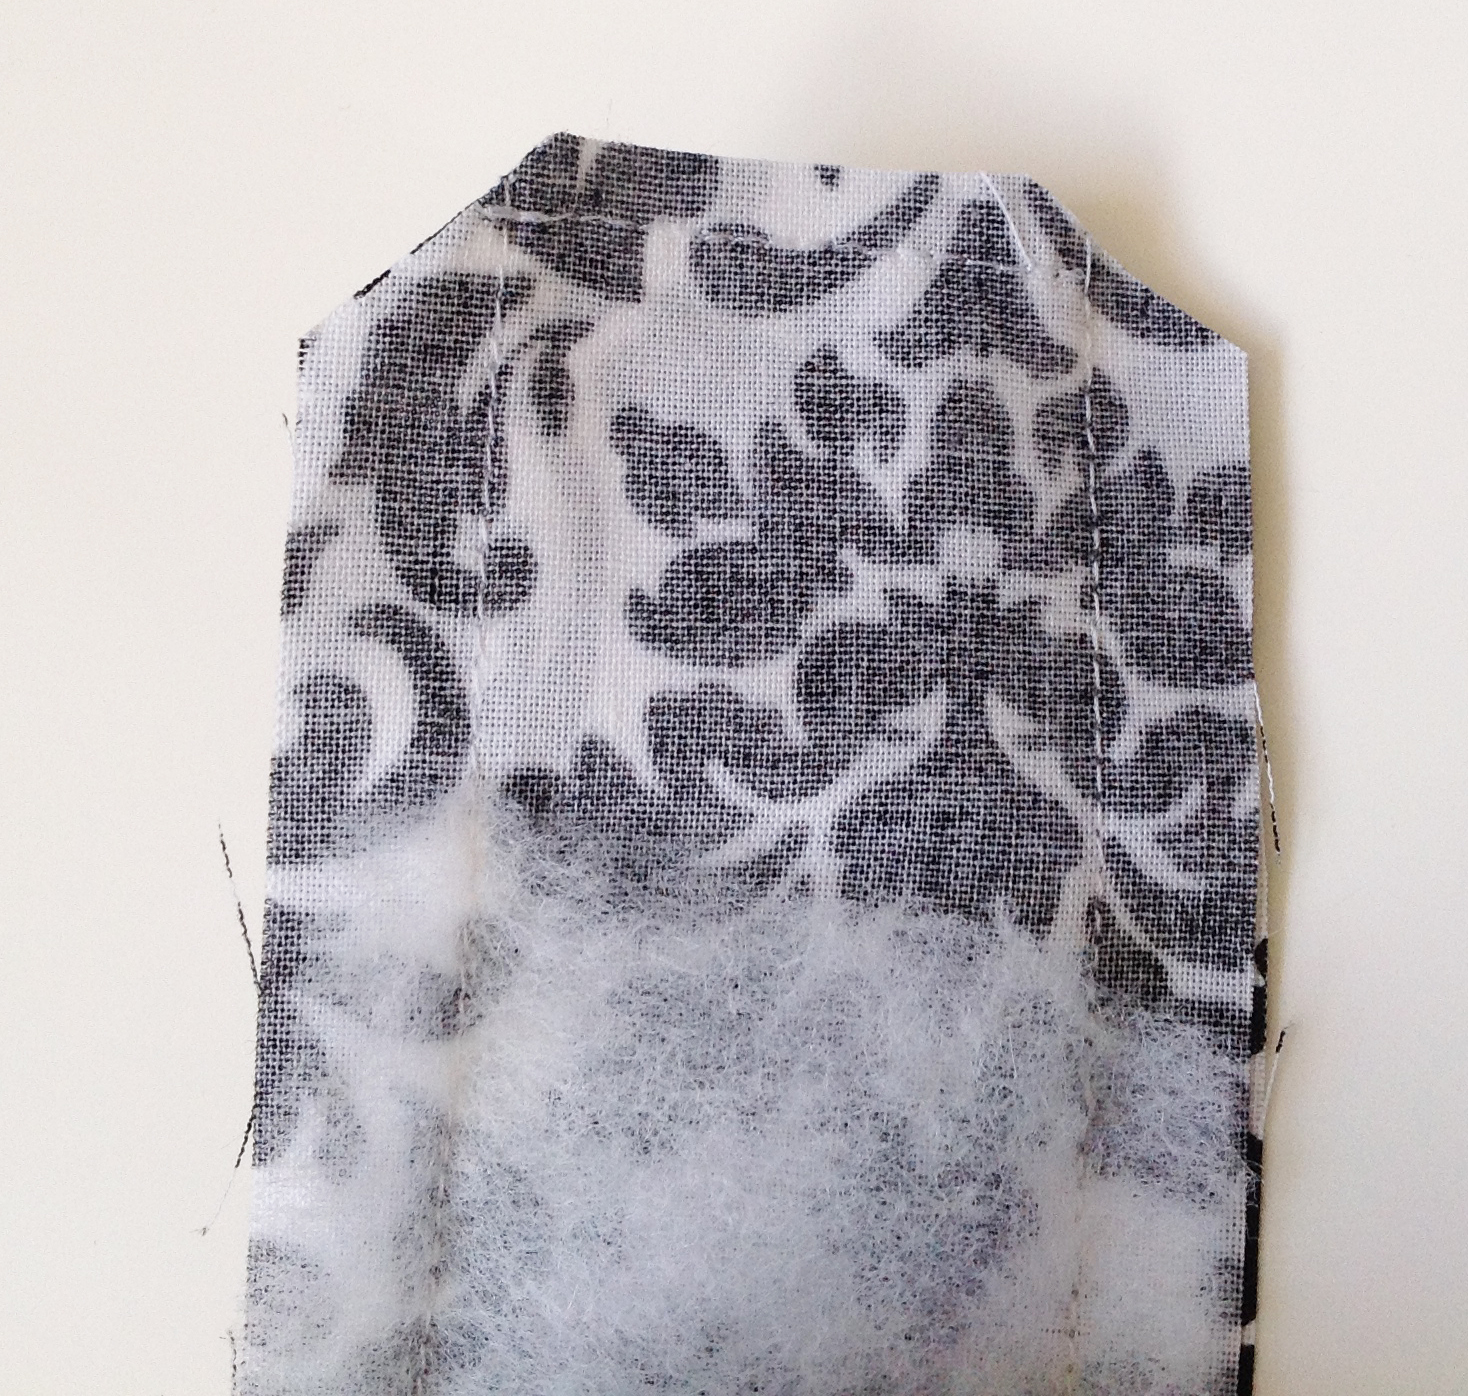
Turn your handle right side out. I have one of these tube turner gadgets that makes this easy but if you don’t, you can use a chopstick or something else that’s long and blunt. Once it’s turned out, press the handle and then topstitch right down the center which is a 3/4″ seam allowance.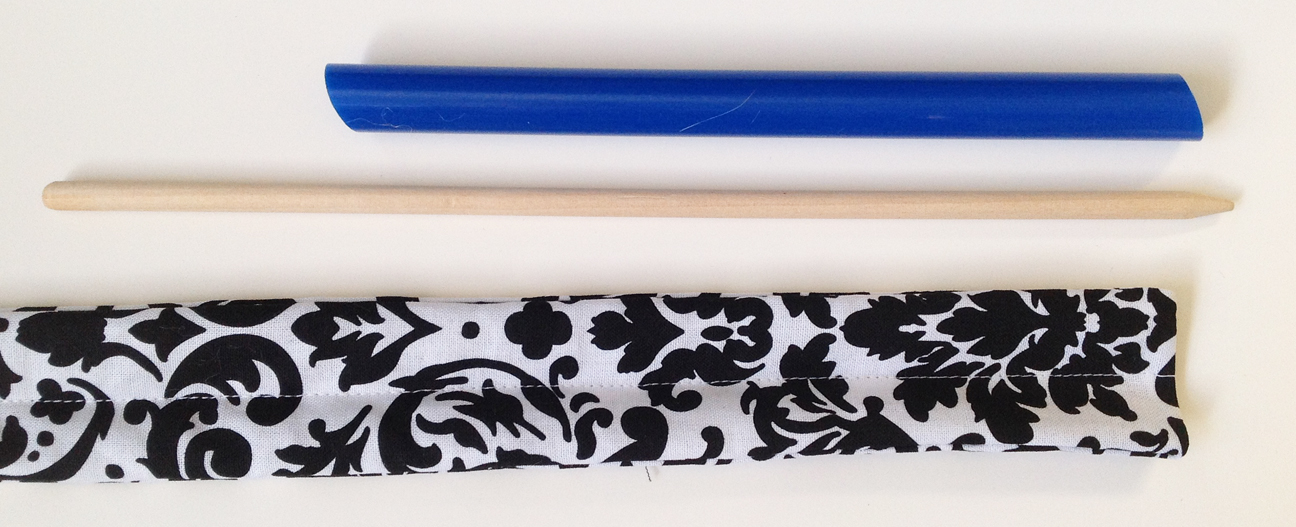
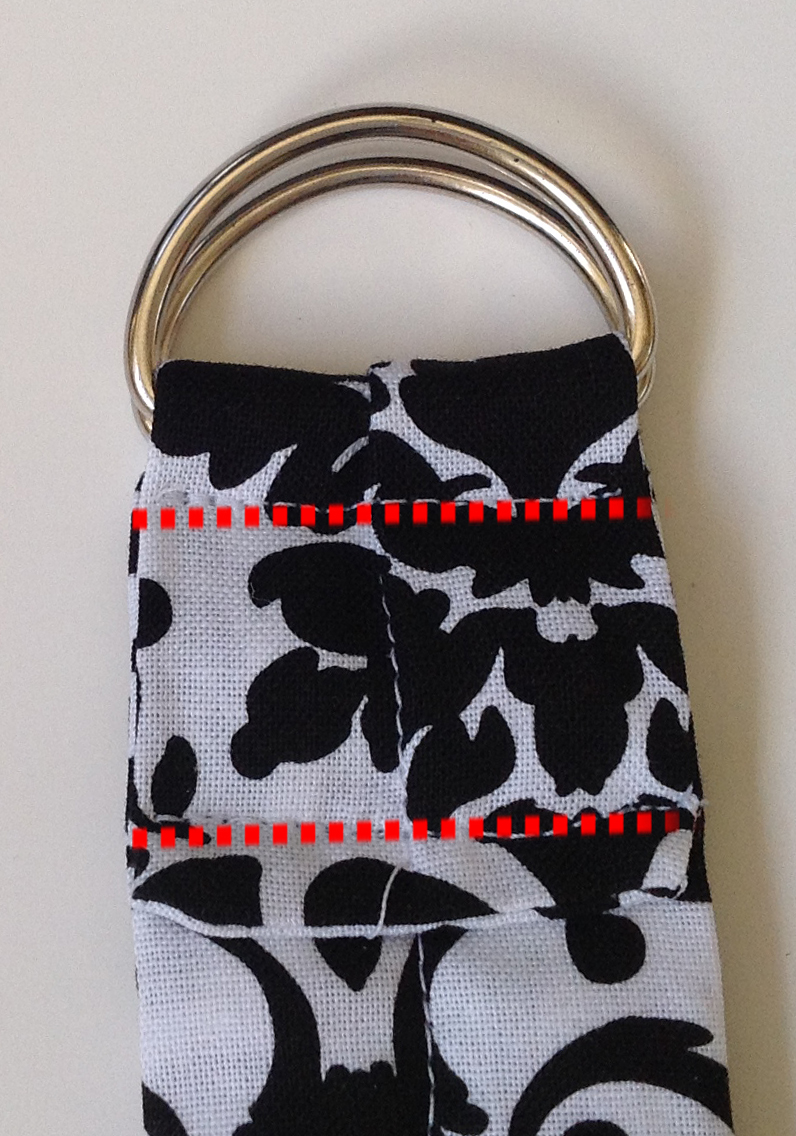
Now feed the finished end of the handle through 2 of your d-rings. You want your d-rings about 2″ from the end of the strap. Stitch close to those d-ring (you can use a zipper foot for this) and then stitch again 1/4″ from the tail end of the strap.
Take the Strap Template and put it on the unfinished end of the strap. Be sure that the pretty side of the strap is facing up for this (the side without the tail). Trace the curve onto the strap and cut along your trace mark.
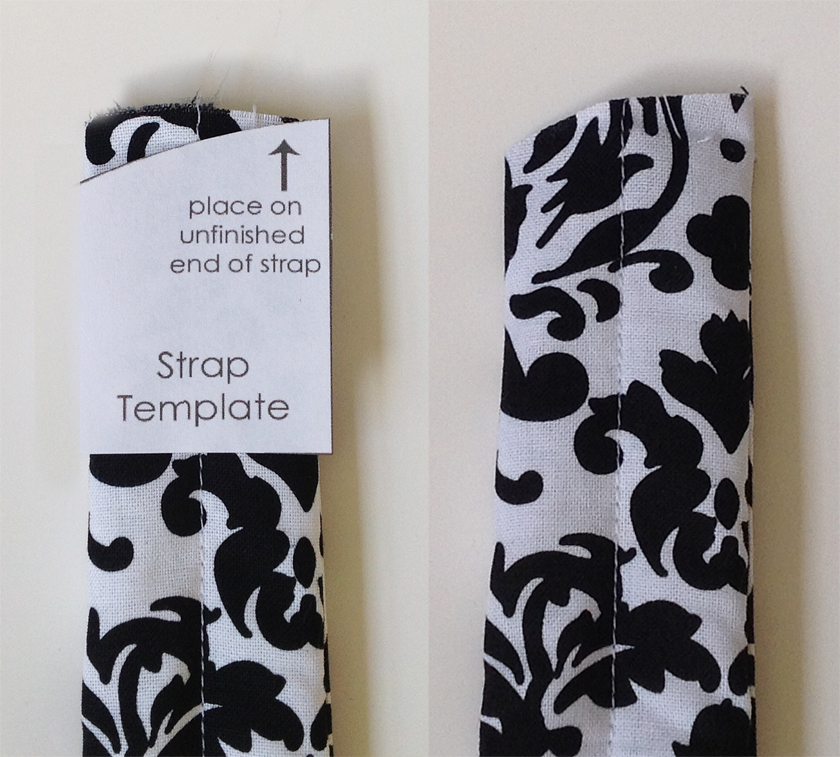
Do all that again with your second strap but when you get to the part where you trace around your Strap Template, be sure to reverse it (flip the template over).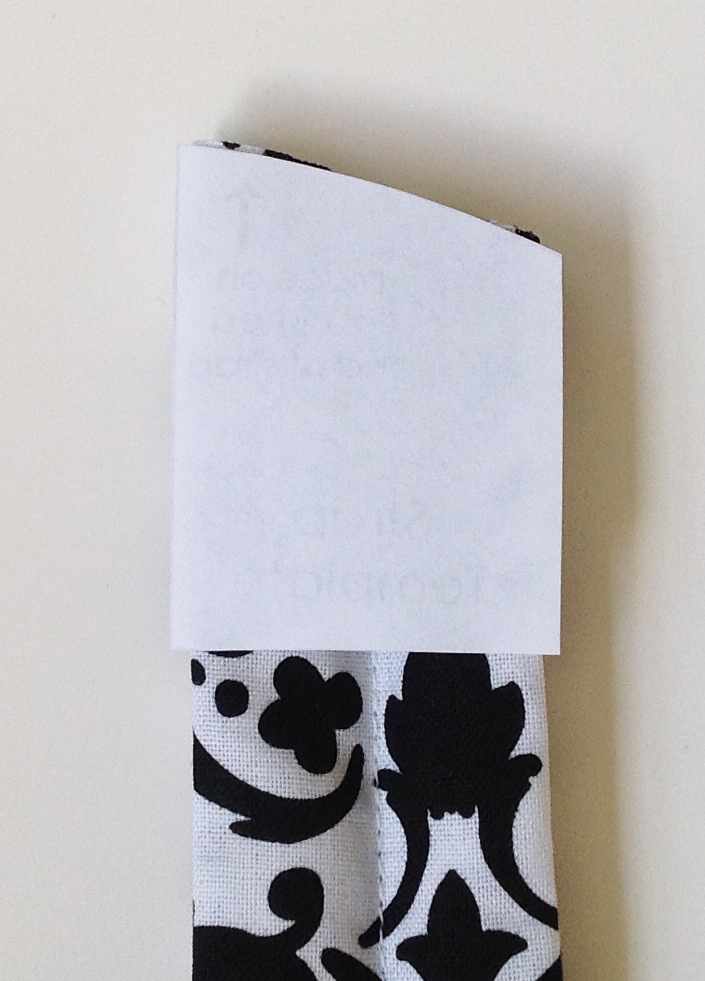
Now we’ll do a hanger loop. You’ll need about 3 1/2″ of ric rac or ribbon or whatever you like. Fold and center that on the exterior side of your back panel and baste it down.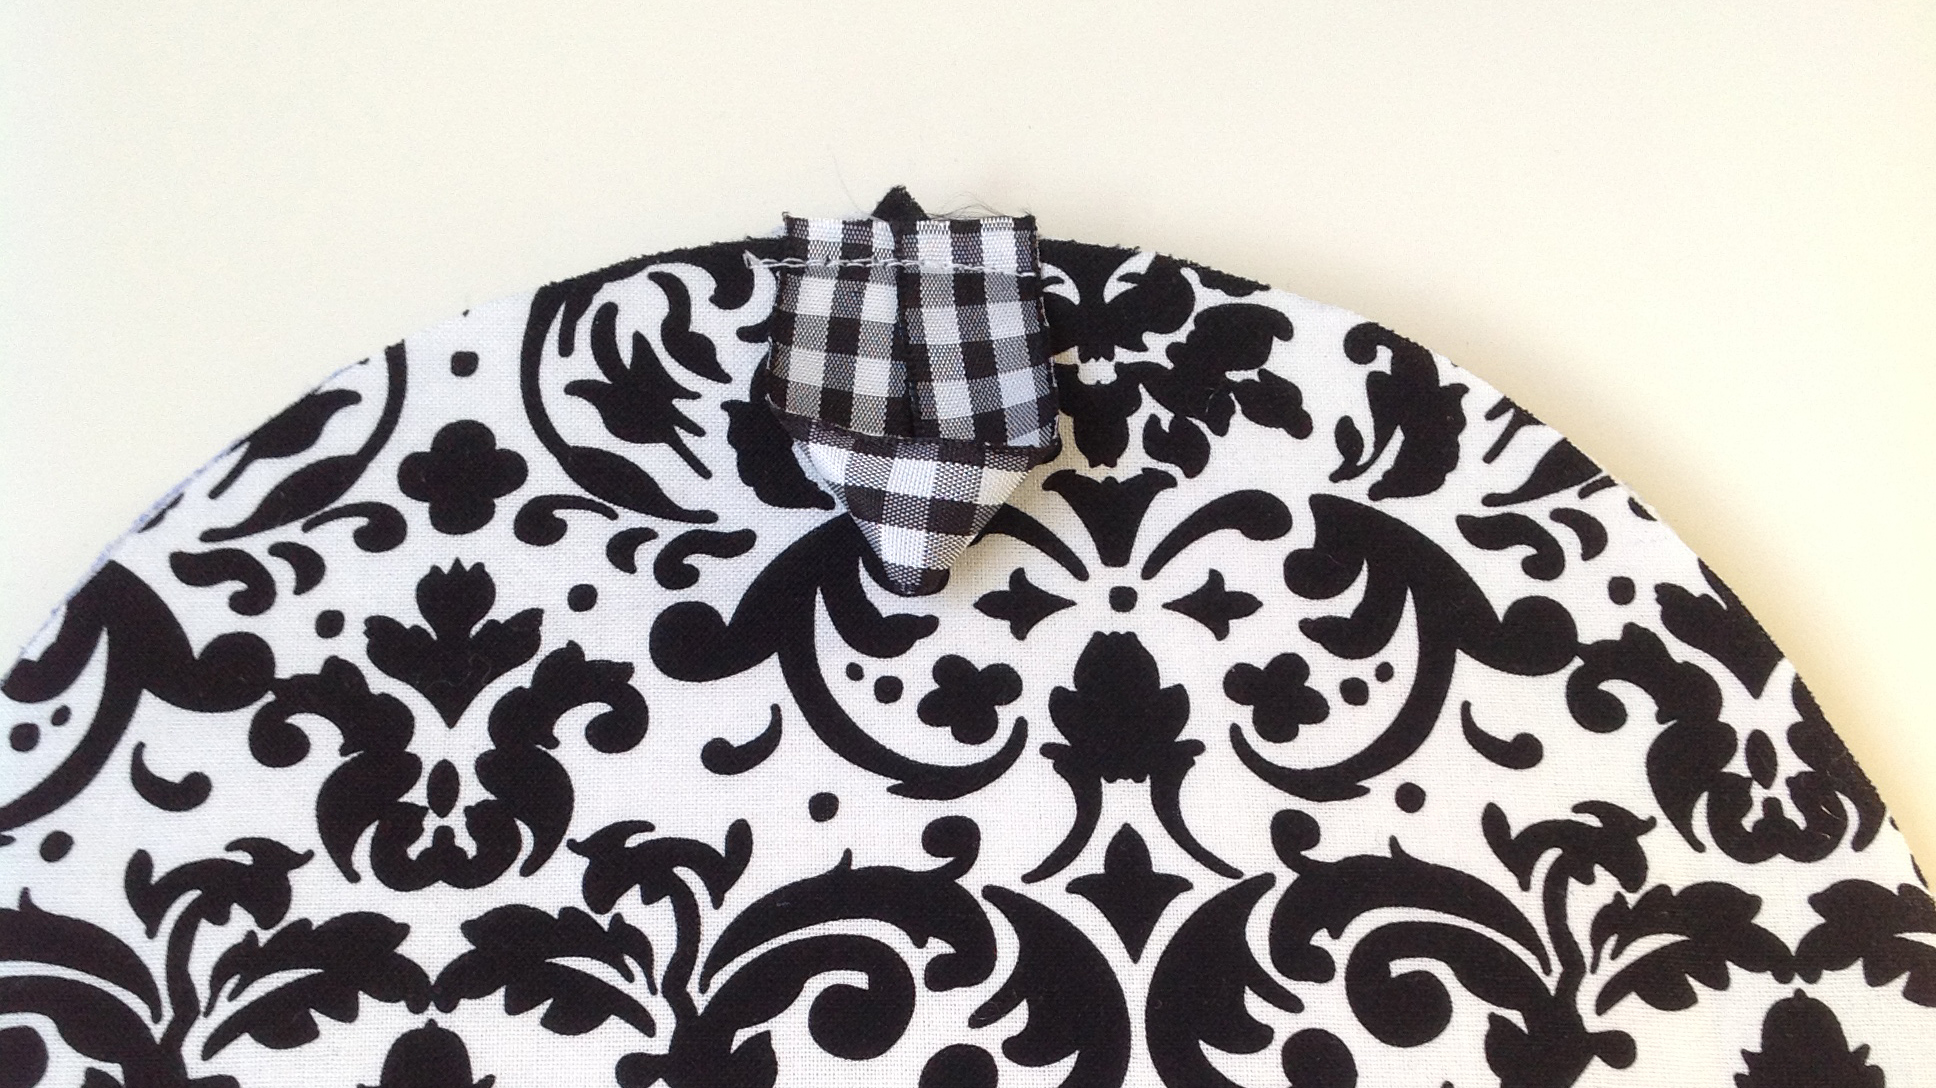
Take your straps and place them on each side of the hanger loop. They should be about 1″ or so apart. Be sure that the tail side of the straps are facing down. Baste them into place.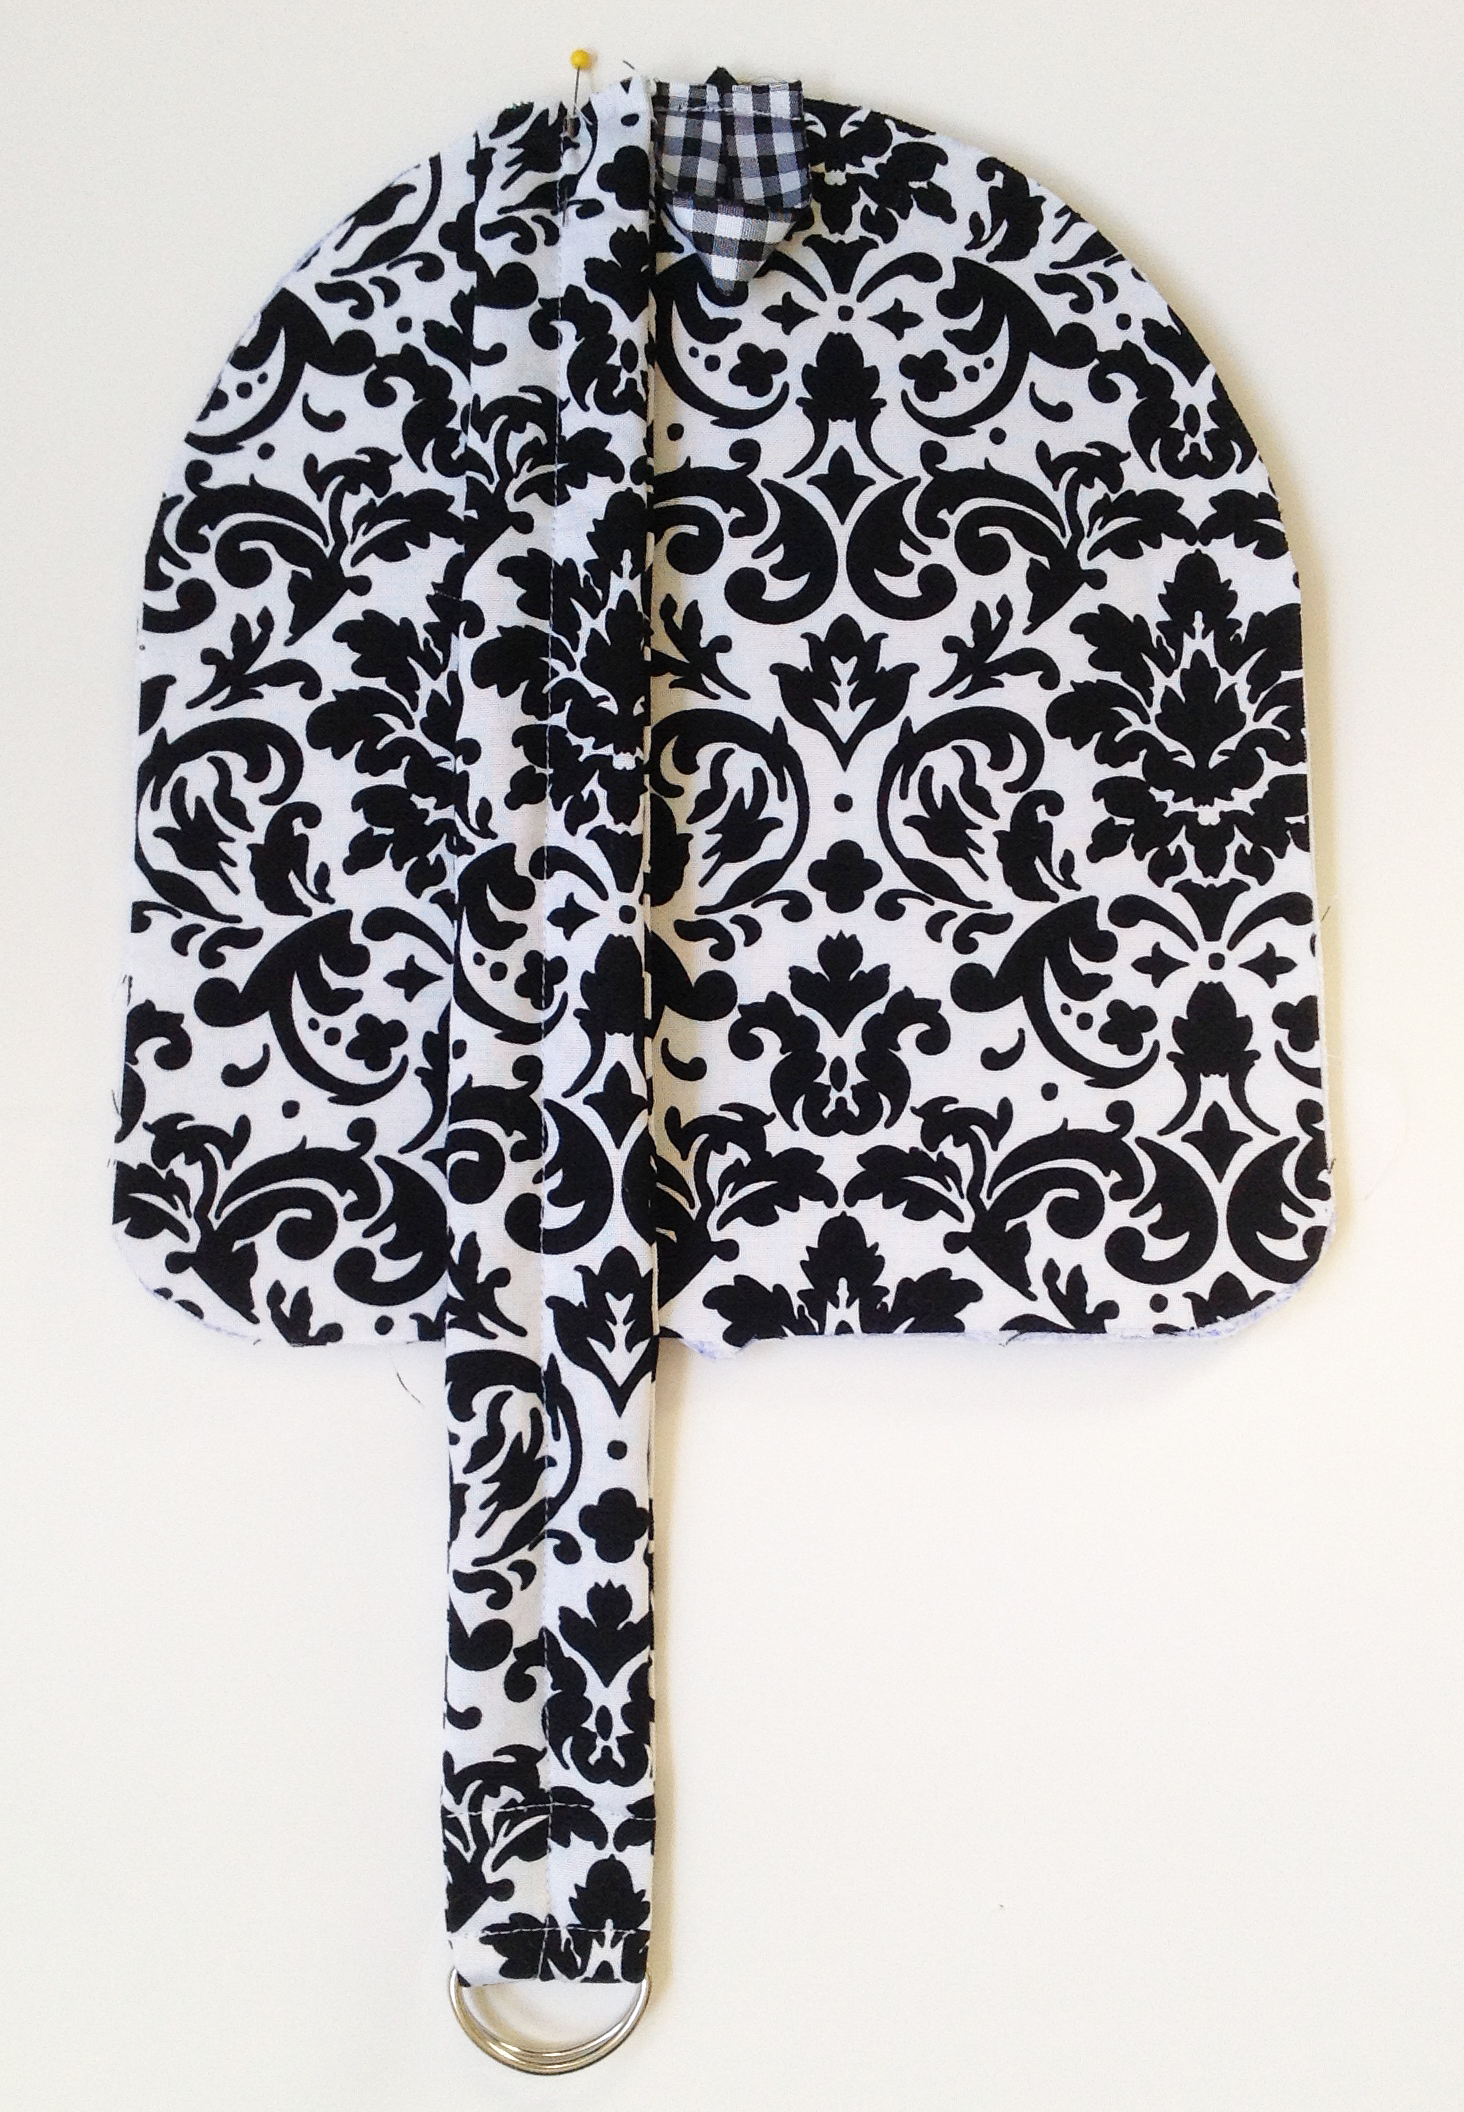
Measure 1″ up from the bottom edge and mark this spot on each side edge. Take your nylon strapps and zig zag or burn the ends to seam them off. Place them above the 1″ marks and baste.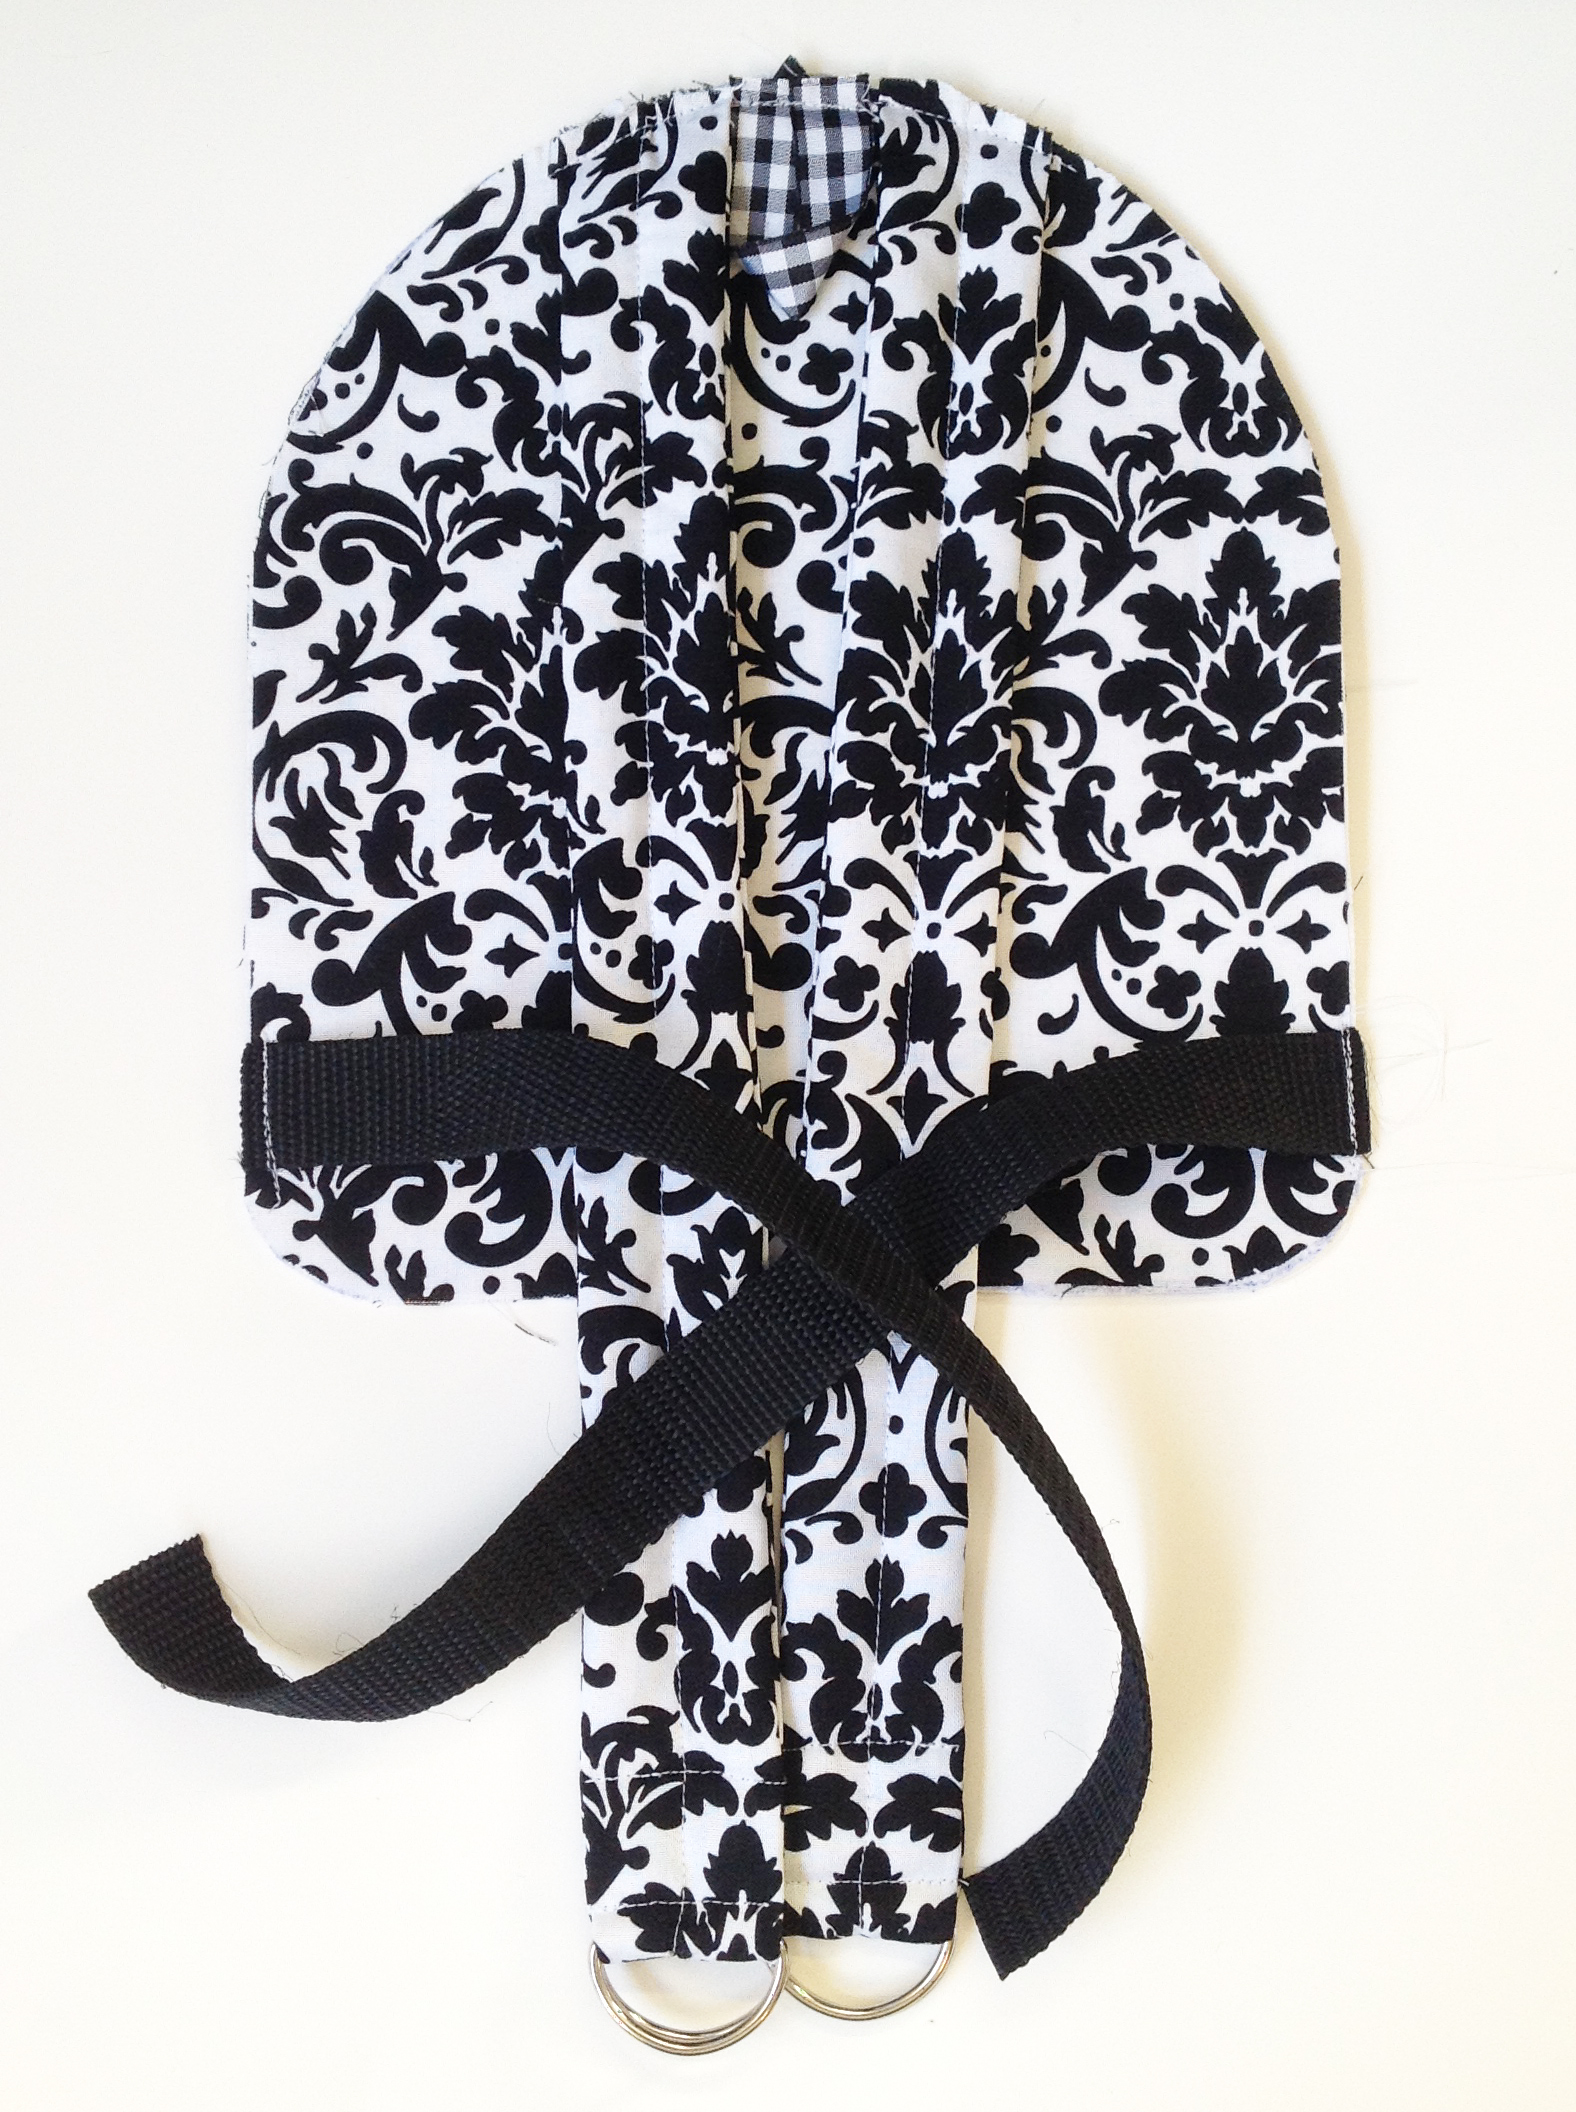
There’s the back! Tomorrow we’ll put in our cupcake on and then we’ll put the cherry on top! I’ll see you then!
Sarah
Leave a Reply
You must be logged in to post a comment.