• Home
  • Shop
    • All Items
    • Sewing Patterns
      • Printed Sewing Patterns
      • Digital Sewing Patterns
      • Seat Belt Sewing Patterns
    • Seat Belt Sewing Patterns
    • Seat Belt Project Kits
    • Seat Belt By-the-Yard & Swatches
    • Hardware
    • What’s On Sale
  • Galleries
  • Blog
  • Revisions
  • Wholesale
  • Contact
  • FAQ’s
  • My Account
  • Cart

cozy nest design

You are here: Home / diy / How to install a magnetic purse snap

How to install a magnetic purse snap

diy· free· organization· tutorial

19 Sep

Hello!

This tutorial will show you how to install a magnetic snap in any bag you are making.

The magnetic snaps come in wide variety of sizes and shapes.  Some even come in a little pouch that you can sew on – but that is a tutorial for another day!  The type of snap I am showing in this tutorial has prongs on the back side of the snap pieces.  Your snaps should come with male and female parts as well as a couple of washers. magnetic snap
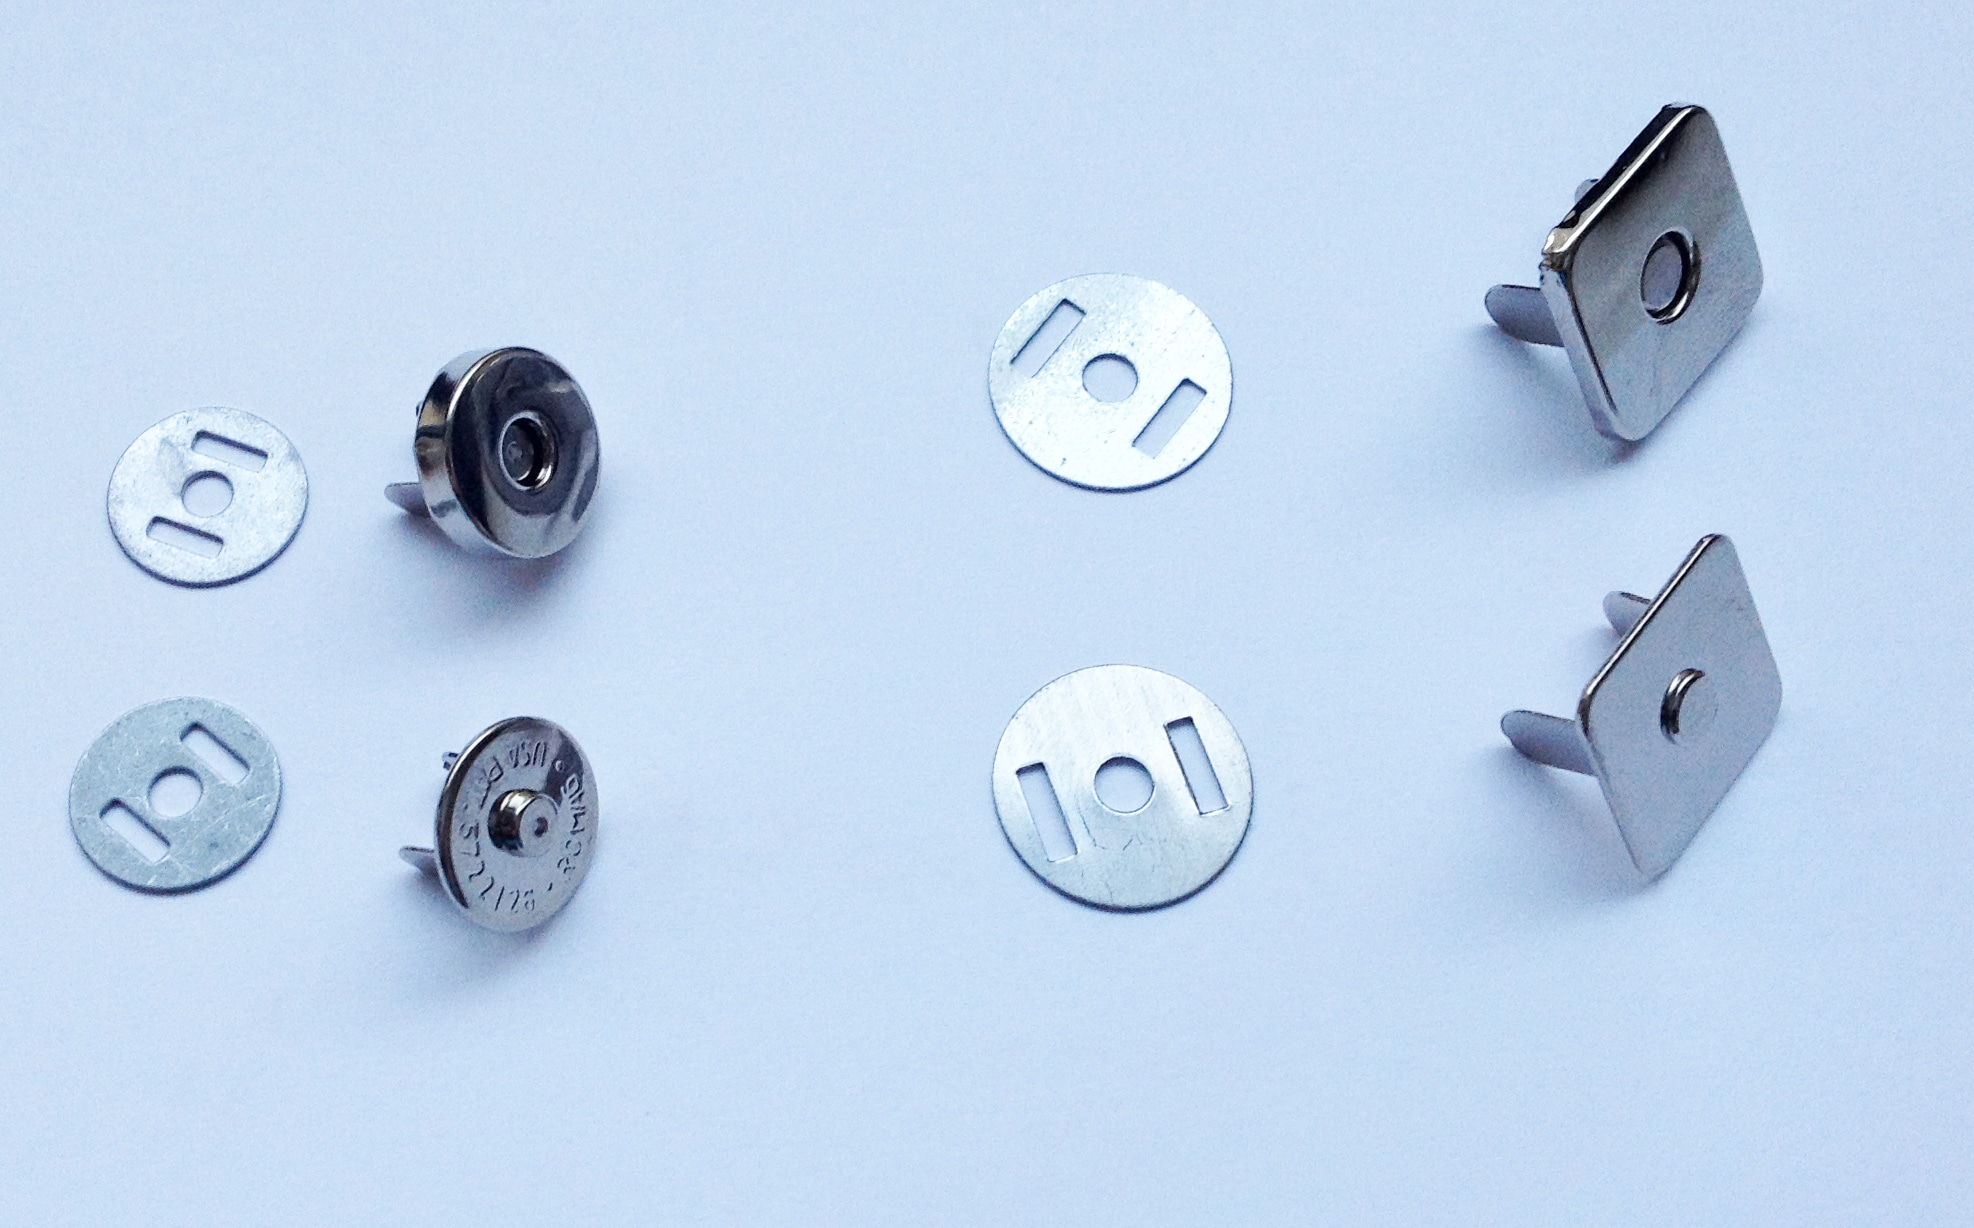
The first thing to consider is the placement of your snap.  I am adding the snap to the lining of my Spectrum Tote so I know just where the snap is going to be… spectrum tote in grey But in case you are creating your own design you may not know exactly where you want it to go.  Most likely, you will want it in the center of the bag and near the top. You can find the center of the lining by simply folding it in half width-wise.  When determining it’s position from the top of the bag, health take into consideration how wide the seam allowance is because you will probably be sewing the lining to the exterior of your bag later.  I like to put snaps anywhere from 1 1/2″ – 2 1/2″ down from the seam allowance at the top.

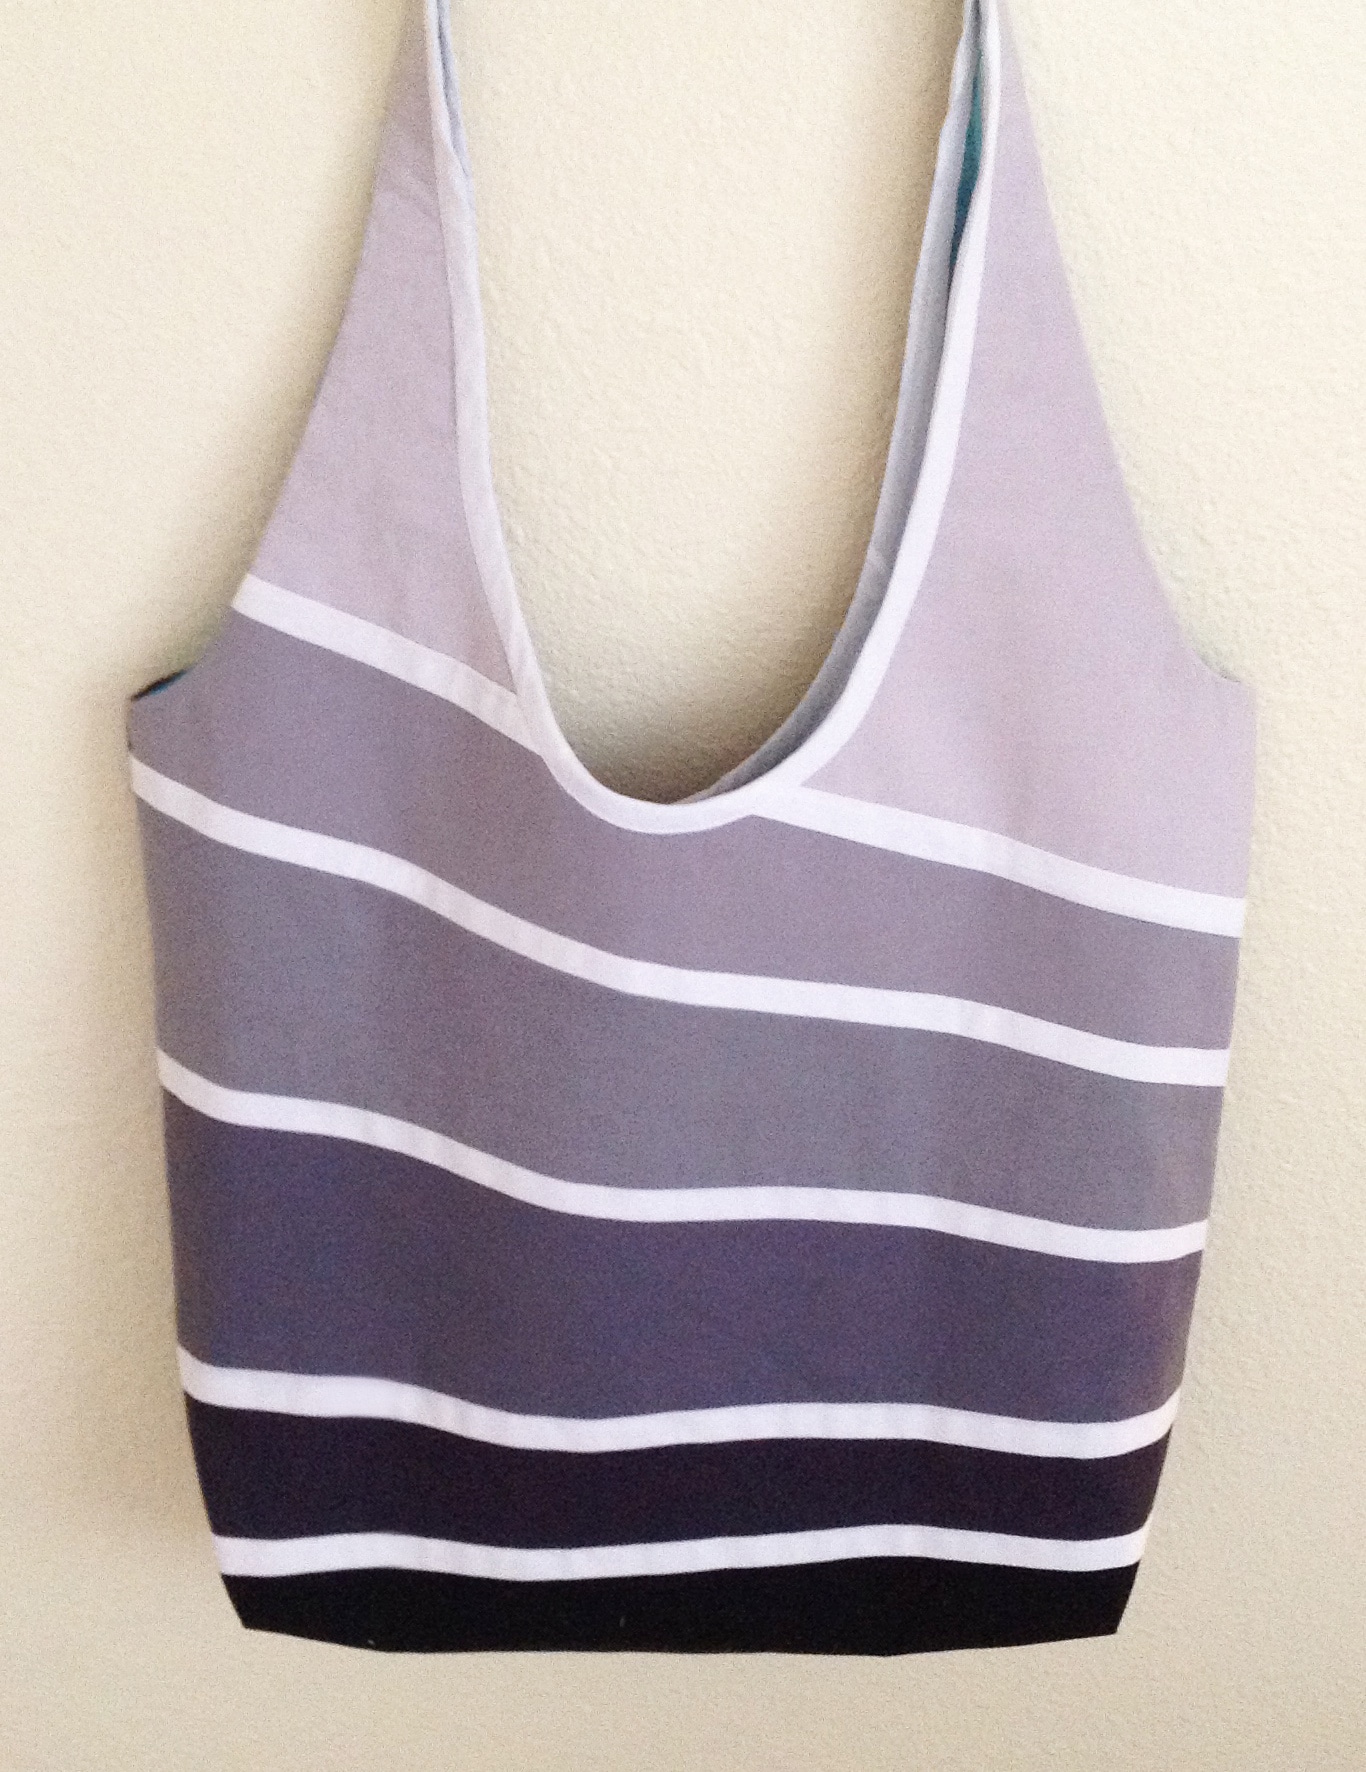
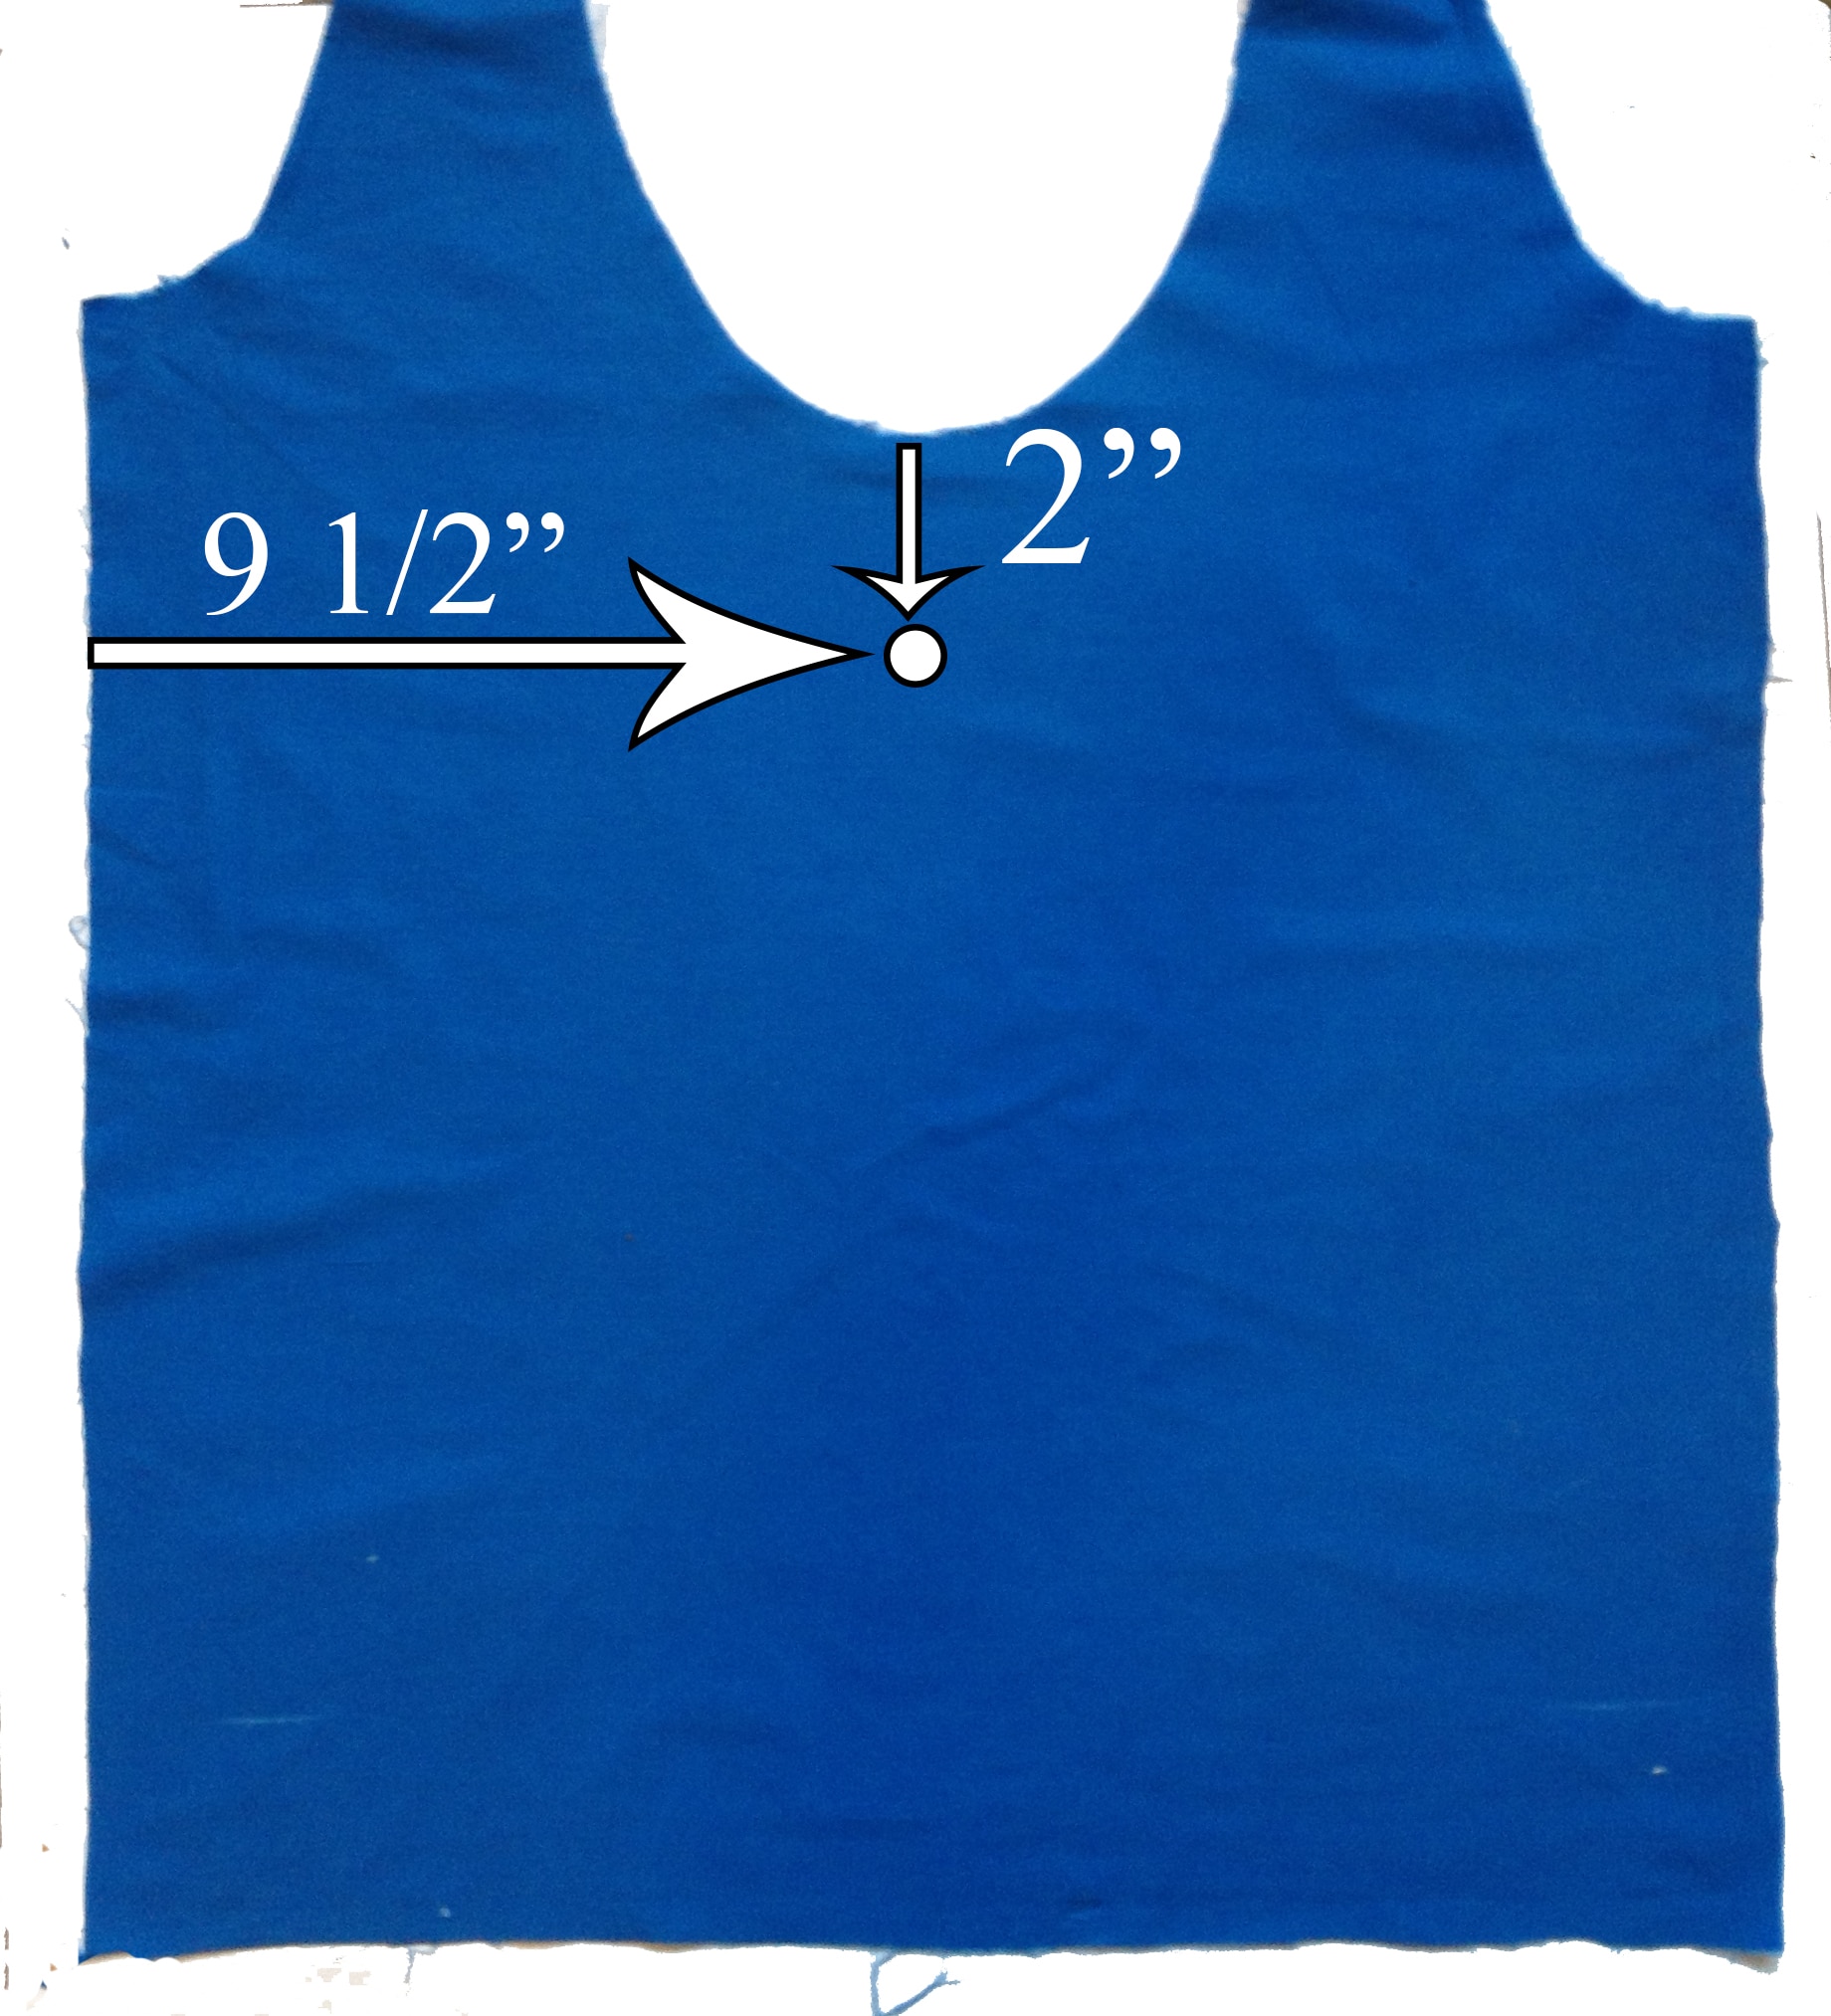
In the case of the Spectrum Tote, the snap is located  2″ down from the top edge and 9 1/2″ from the sides.  So I measure that out on the right side of both of my lining pieces and make a mark. By the way, it’s likely that your lining will be interfaced on the back, but for illustration purposes, I have left the interfacing off.

magnetic snap placement

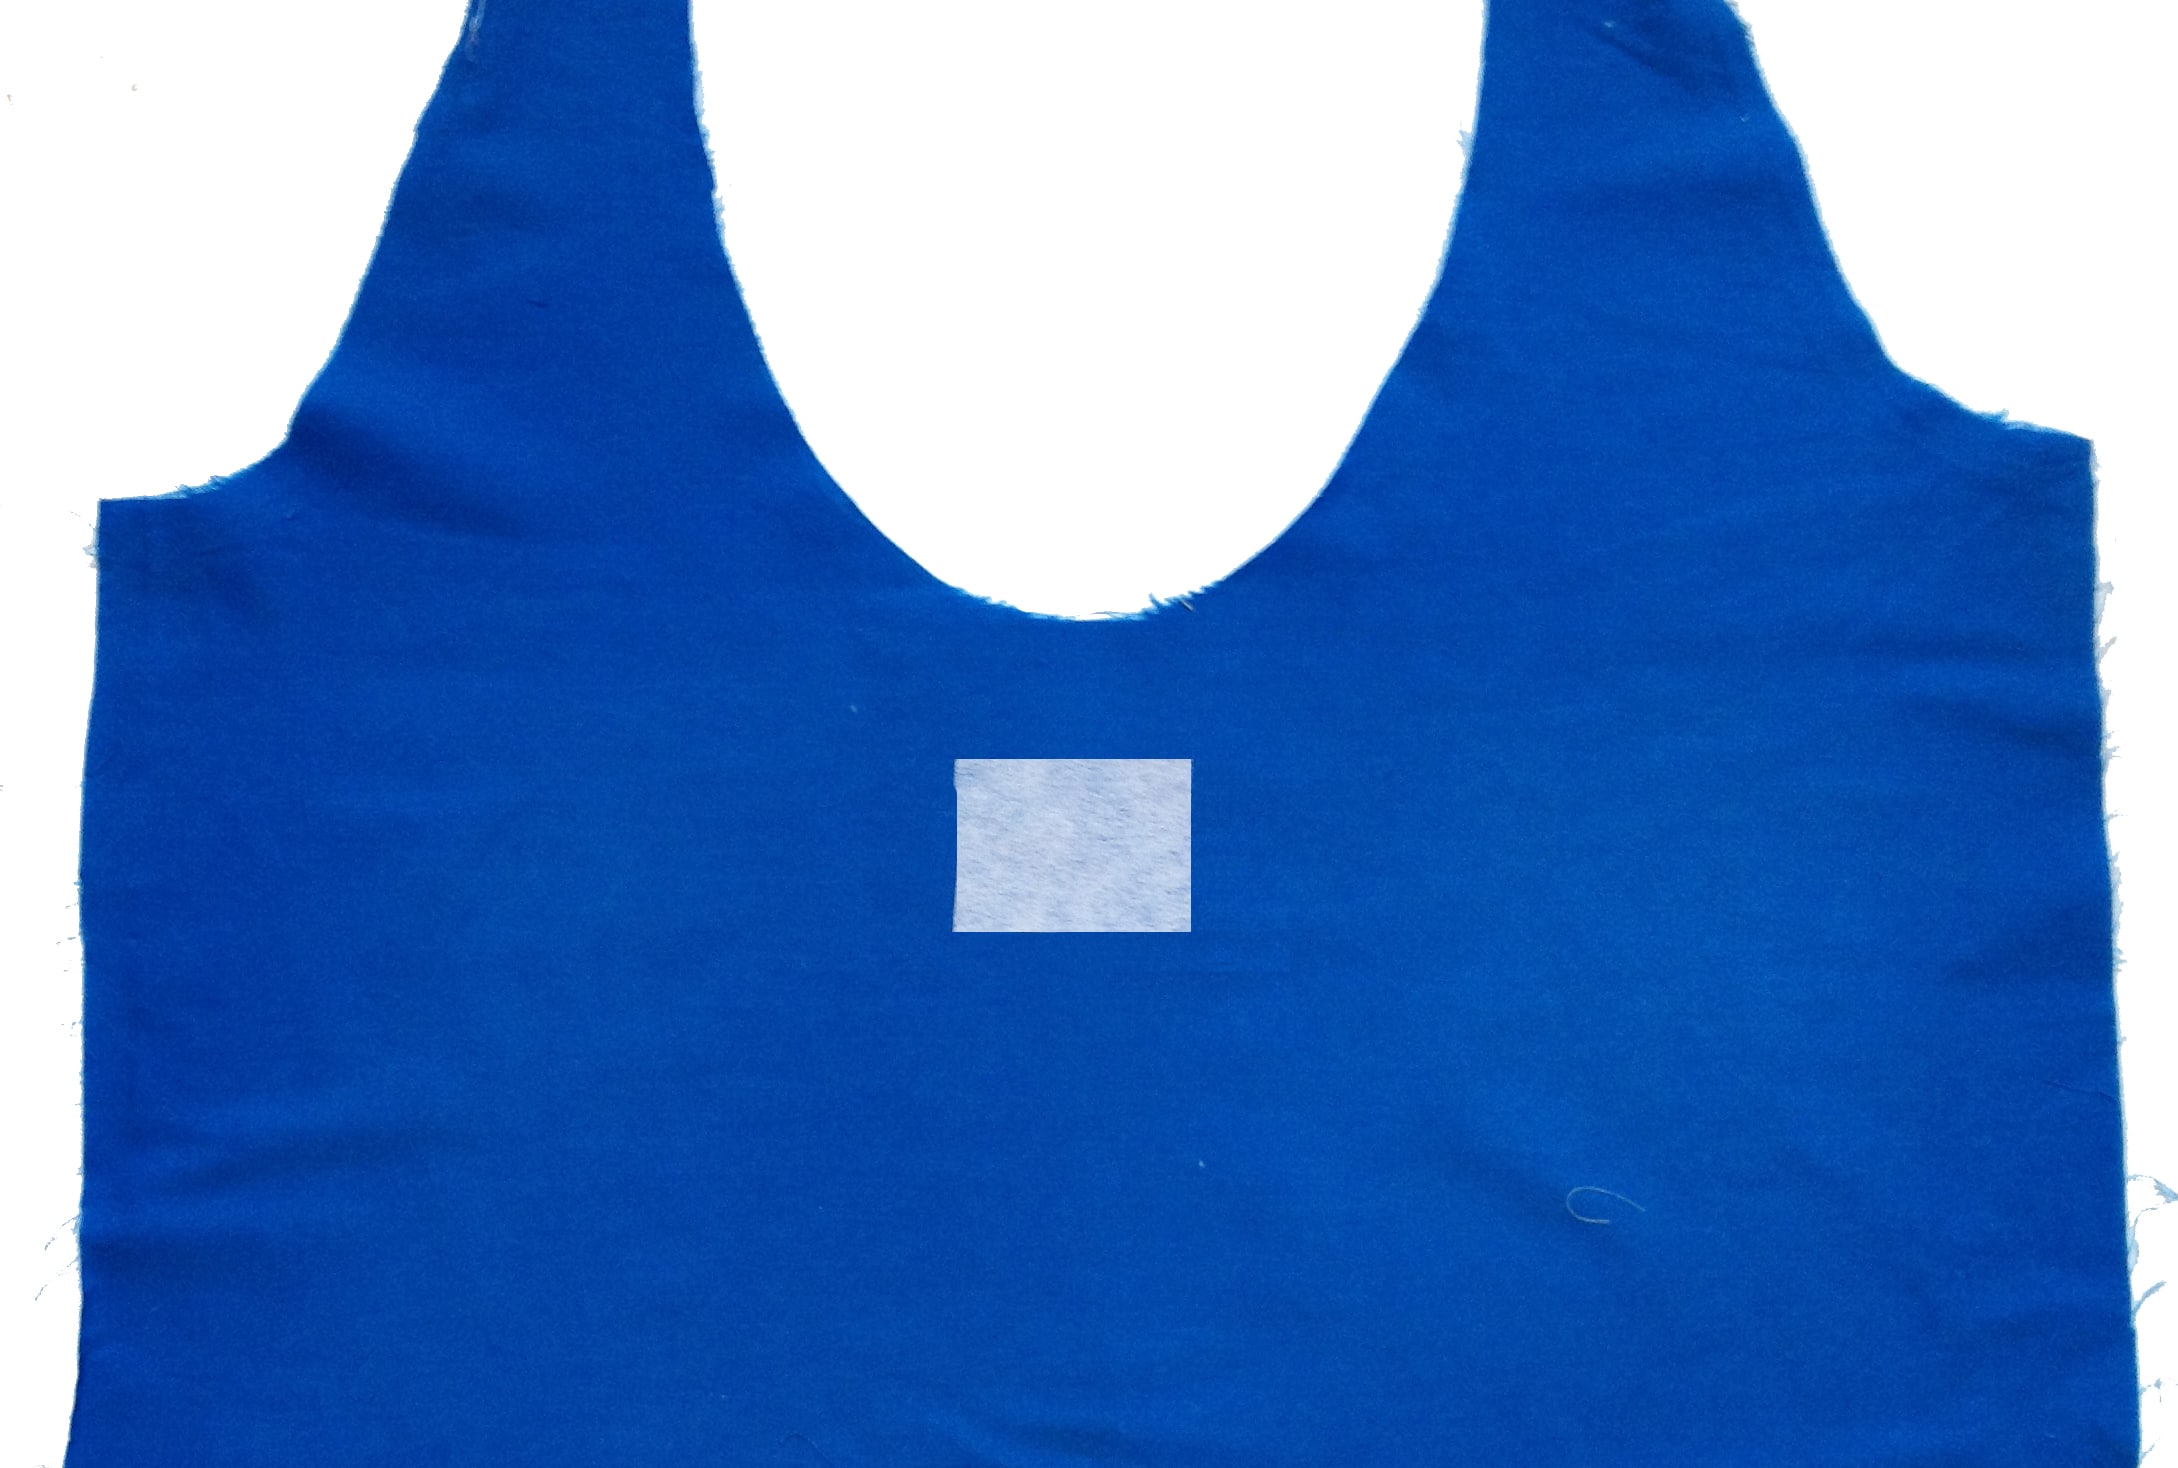
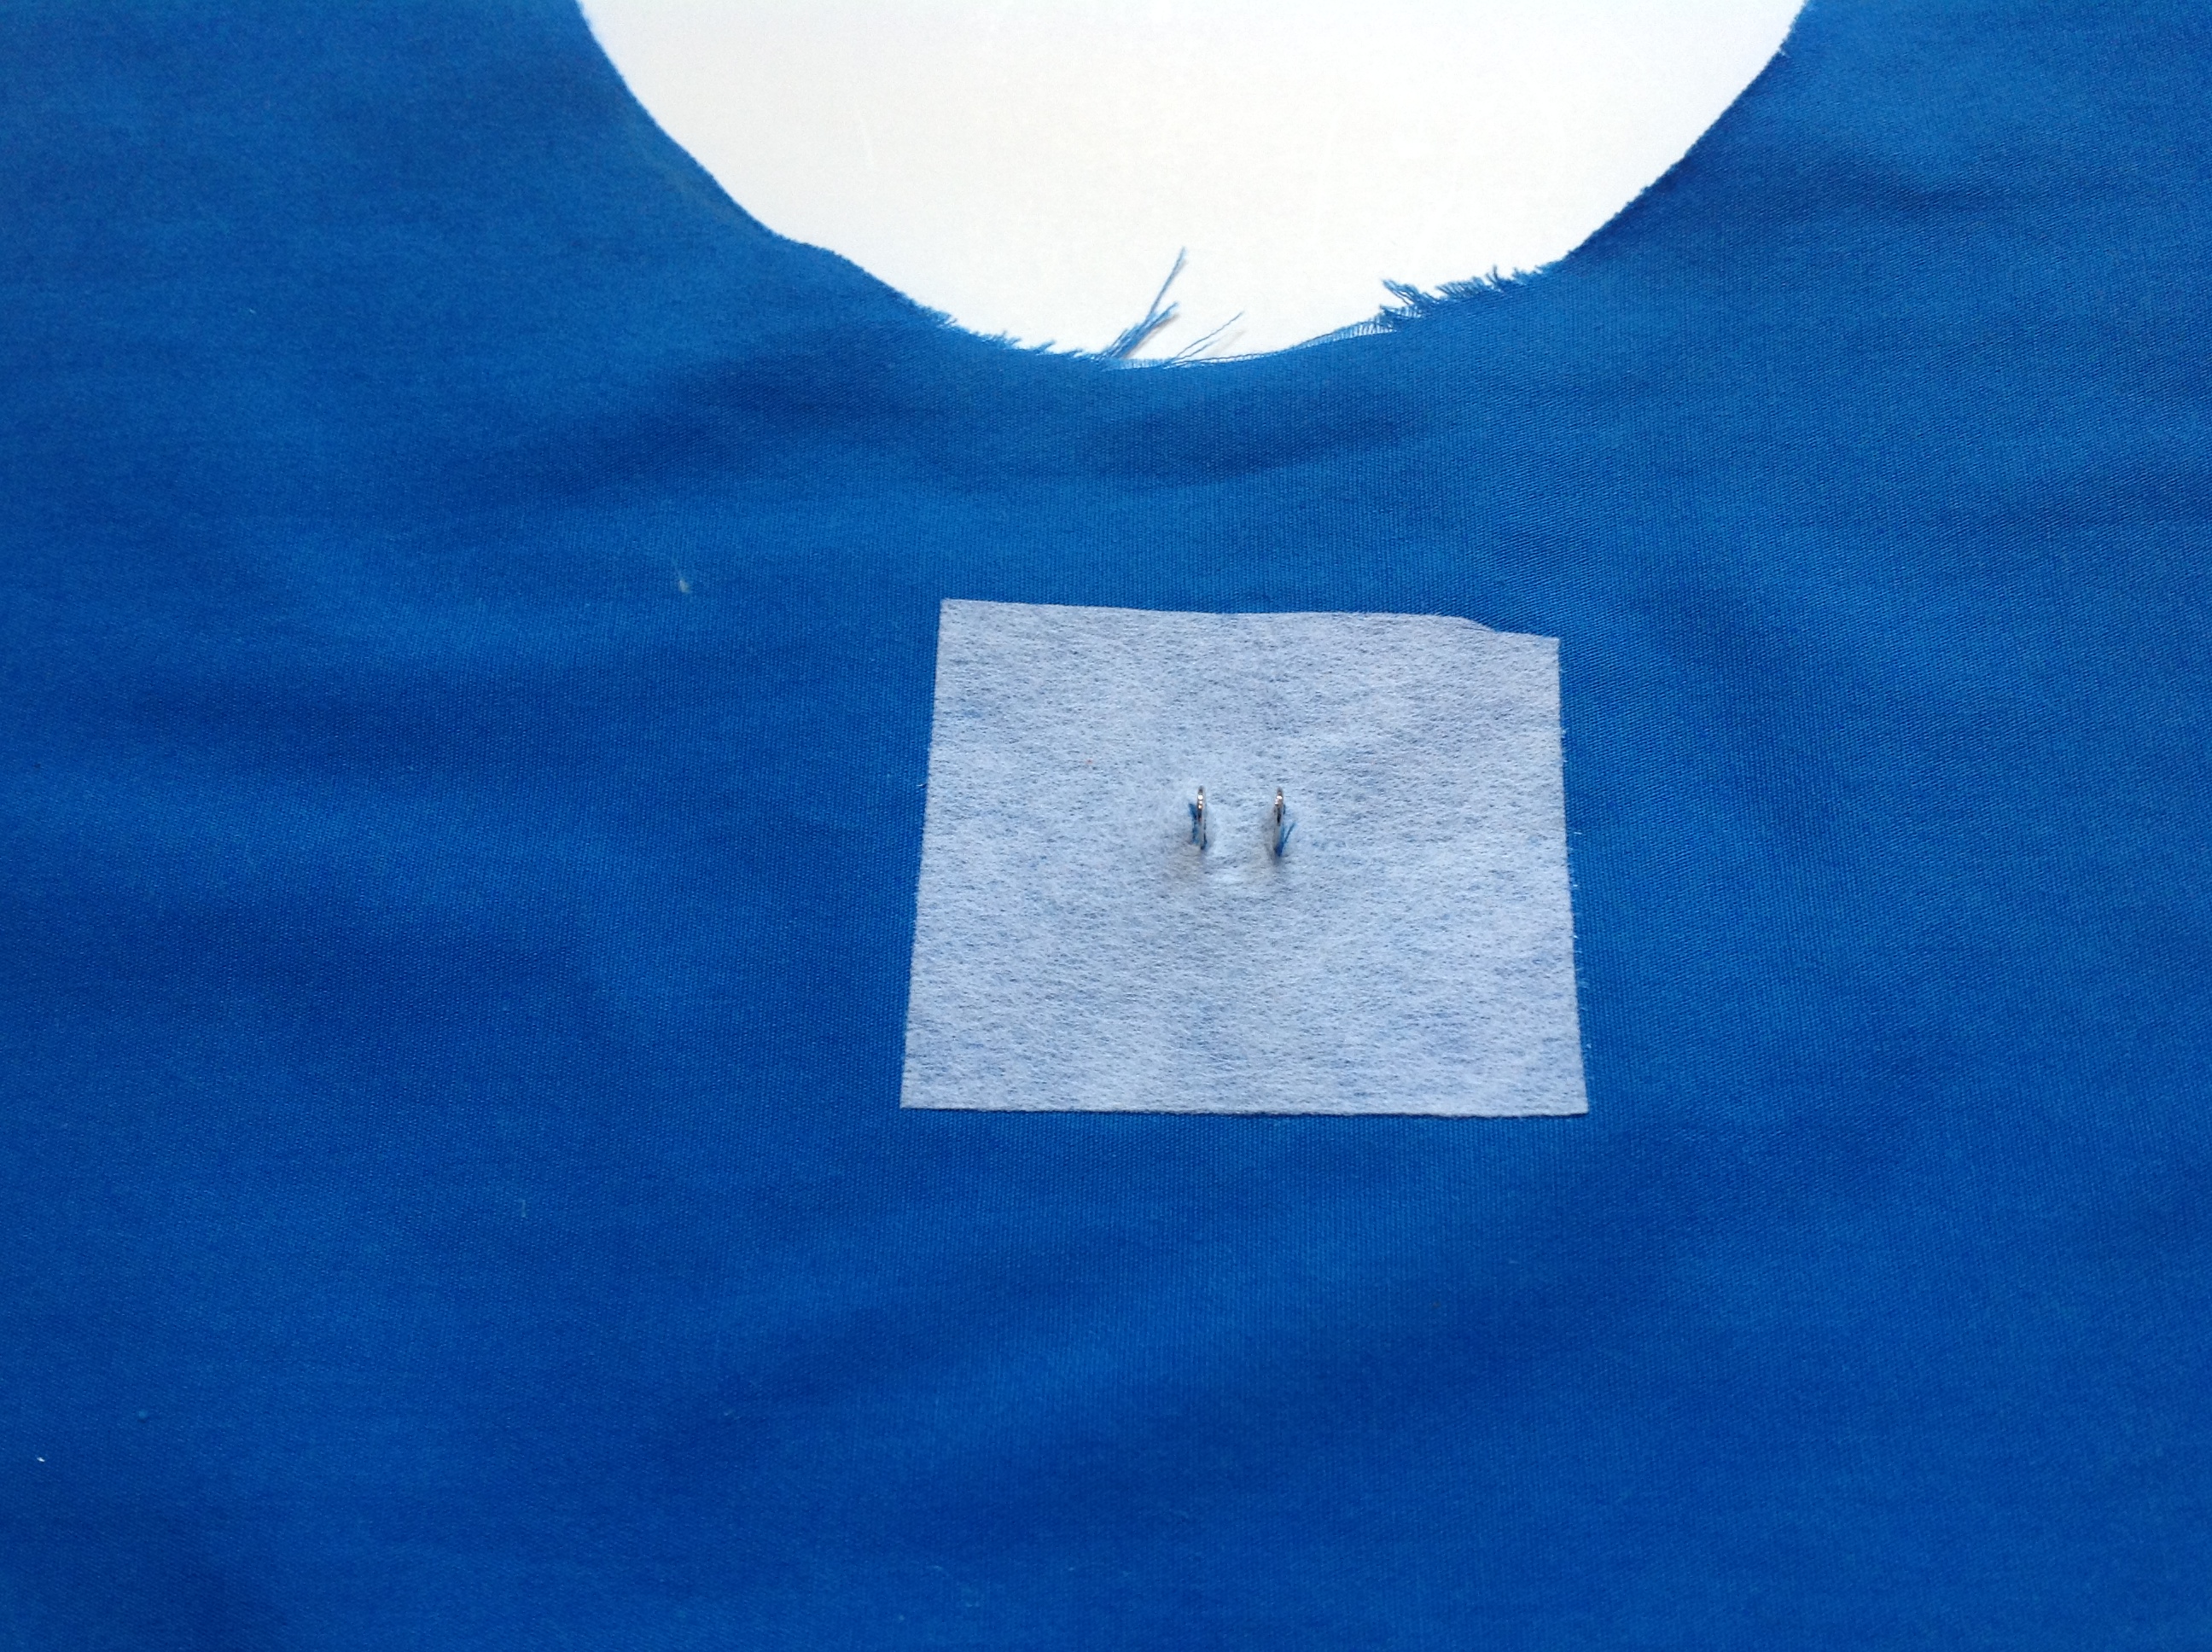
Now, fuse a small piece of medium-heavy weight interfacing to the wrong side of the lining just opposite the mark – this will help stabilize the fabric under the snap.

interfacing on lining

Turn the panel back over to the right side, and place one of the washers on the lining directly on over the mark.  Make sure you can see the mark through the center hole of the washer.  Use a pencil to mark the slits on both sides of the washer.

  washer on lining

mark fabric

Cut along the slits with small scissors.  I sort of  puncture the fabric with my scissors more than cut, but you have to be careful not to use too much pressure or the slit will end up too large. You might want to take a little seam sealant to the slits if you think your snap is going to endure some extra wear and tear. Now insert prongs of one of the snap pieces into the slits from the right side – here you can see the prongs sticking out on the wrong side of the lining.

insert prongs

In additon to the interfacing, I like to use a small piece of plastic canvas behind magnetic snaps.  Push the plastic canvas onto the prongs  – you may need to snip the plastic canvas a little to do this. insert prongs in plastic canvas
Now, if you decided to not use the plastic canvas, take a washer and put it over the prongs.  If you have used the canvas you can just throw the washer away, I have found you really don’t need them.  Then all you need to do is fold the prongs down over one another and repeat to put the other part of the snap on your other lining panel!
  fold prongs down

Now, wasn’t that a snap?!

Leave a Comment

Previous Post: « And the winners are…
Next Post: New Pattern: The Spectrum Tote is here! »

Reader Interactions

Leave a Reply Cancel reply

You must be logged in to post a comment.

Primary Sidebar

Hello!

Thanks for stopping by! I’m Sarah. I love to design and write sewing patterns. It’s a great way to justify the absurd amount of fabric I own! I live in Kansas with my husband, 2 sons, a dog named Bear, and a 2″ tall parrrotlet named Cheepy. I hope you find something here that inspires you to break out your sewing machine.

Connect with me!

Facebook Pinterest Email instagram etsy

Don’t miss a post!

Enter your email address to receive notifications of new posts:

Delivered by FeedBurner

Find me on Instagram!

Archives

  • February 2023
  • August 2021
  • July 2021
  • July 2020
  • April 2020
  • June 2018
  • January 2017
  • September 2016
  • August 2016
  • November 2015
  • June 2015
  • March 2015
  • September 2014
  • August 2014
  • July 2014
  • June 2014
  • May 2014
  • April 2014
  • February 2014
  • January 2014
  • December 2013
  • November 2013
  • June 2013
  • March 2013
  • February 2013
  • August 2012

Copyright © 2023 · Cozy Nest Design · Log in