This tutorial will show you how to make coordinating covers for the exposed snaps on your Convertible/Reversible Bag. The snaps are visible when Bag 2 is extended into the cross-body position (see 3rd photo below) . 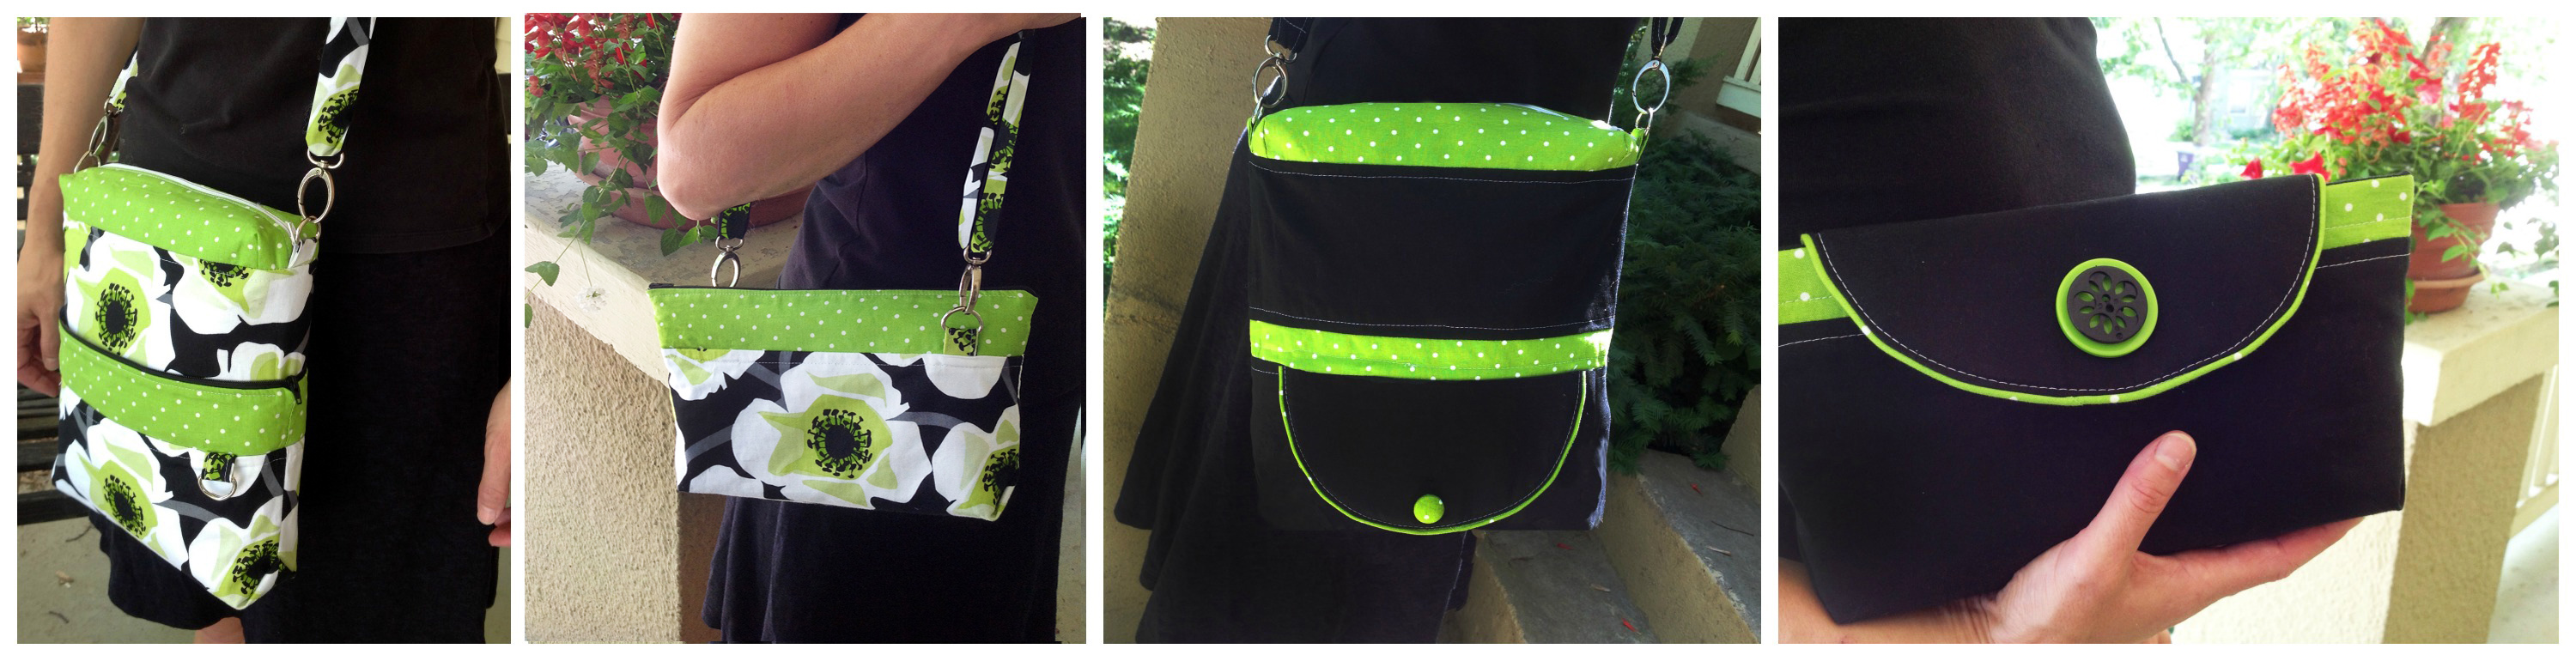
On the bags I have made using fabrics with a print, buy the exposed snaps were barely noticeable, but when I made this bag with solid black, the snaps stood out like a sore thumb.
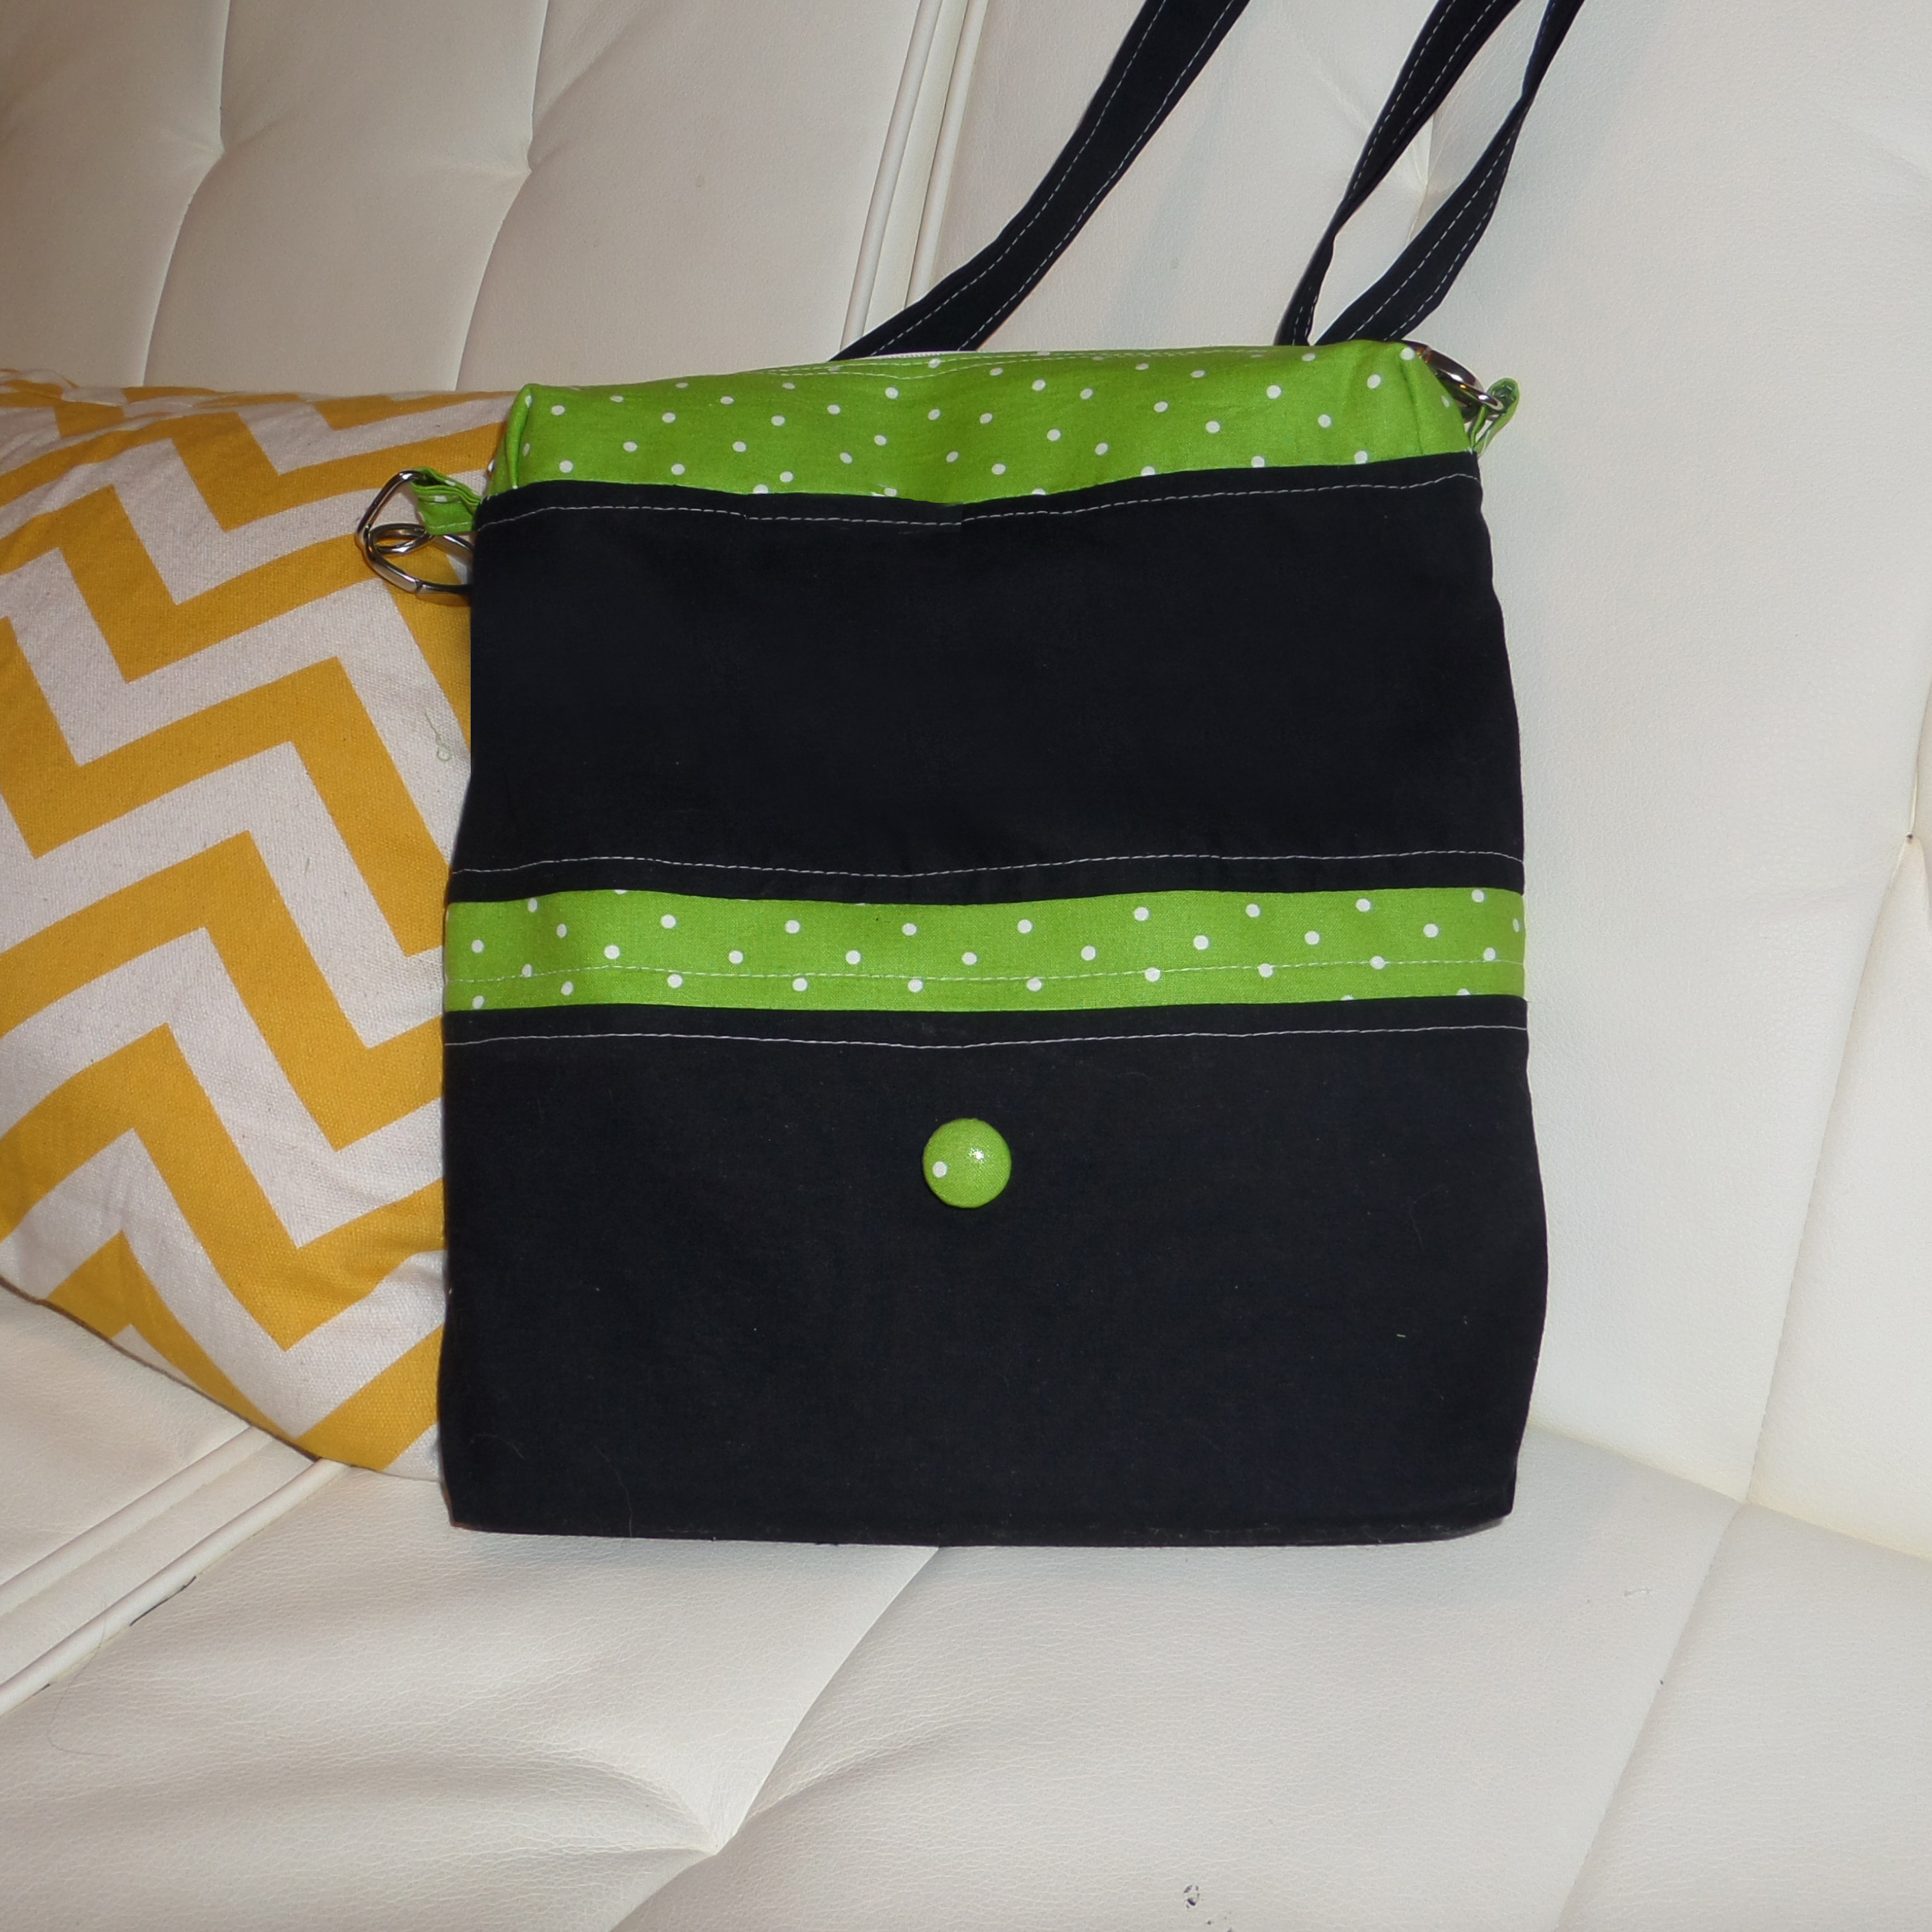
A perfect opportunity to embellish!
You will need to make two of these little covers the because snap has two parts to it.
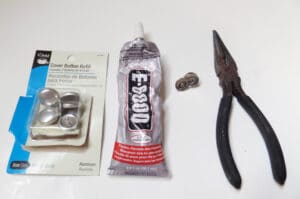
Here’s what you’ll need
- Covered button kit – the size you’ll need will depend on the size of your snap. Be sure to get something large enough to cover it. The diameter of the snaps I have are 5/8″ so I am using a 3/4″ (1.9cm) snap kit. It’s great if you can find the kit that has the flat backs but if not, that’s ok
- Wire cutters
- Glue – find some that works on metal
- 1 – Magnetic snap set

The first step is to remove the shank from the button back so you’ll need some wire cutters. At first I tried bending the shank off with pliers (I was too lazy to go upstairs for the wire cutters) but they must make that shank from titanium because it just wouldn’t bend! So, up the stairs I went. 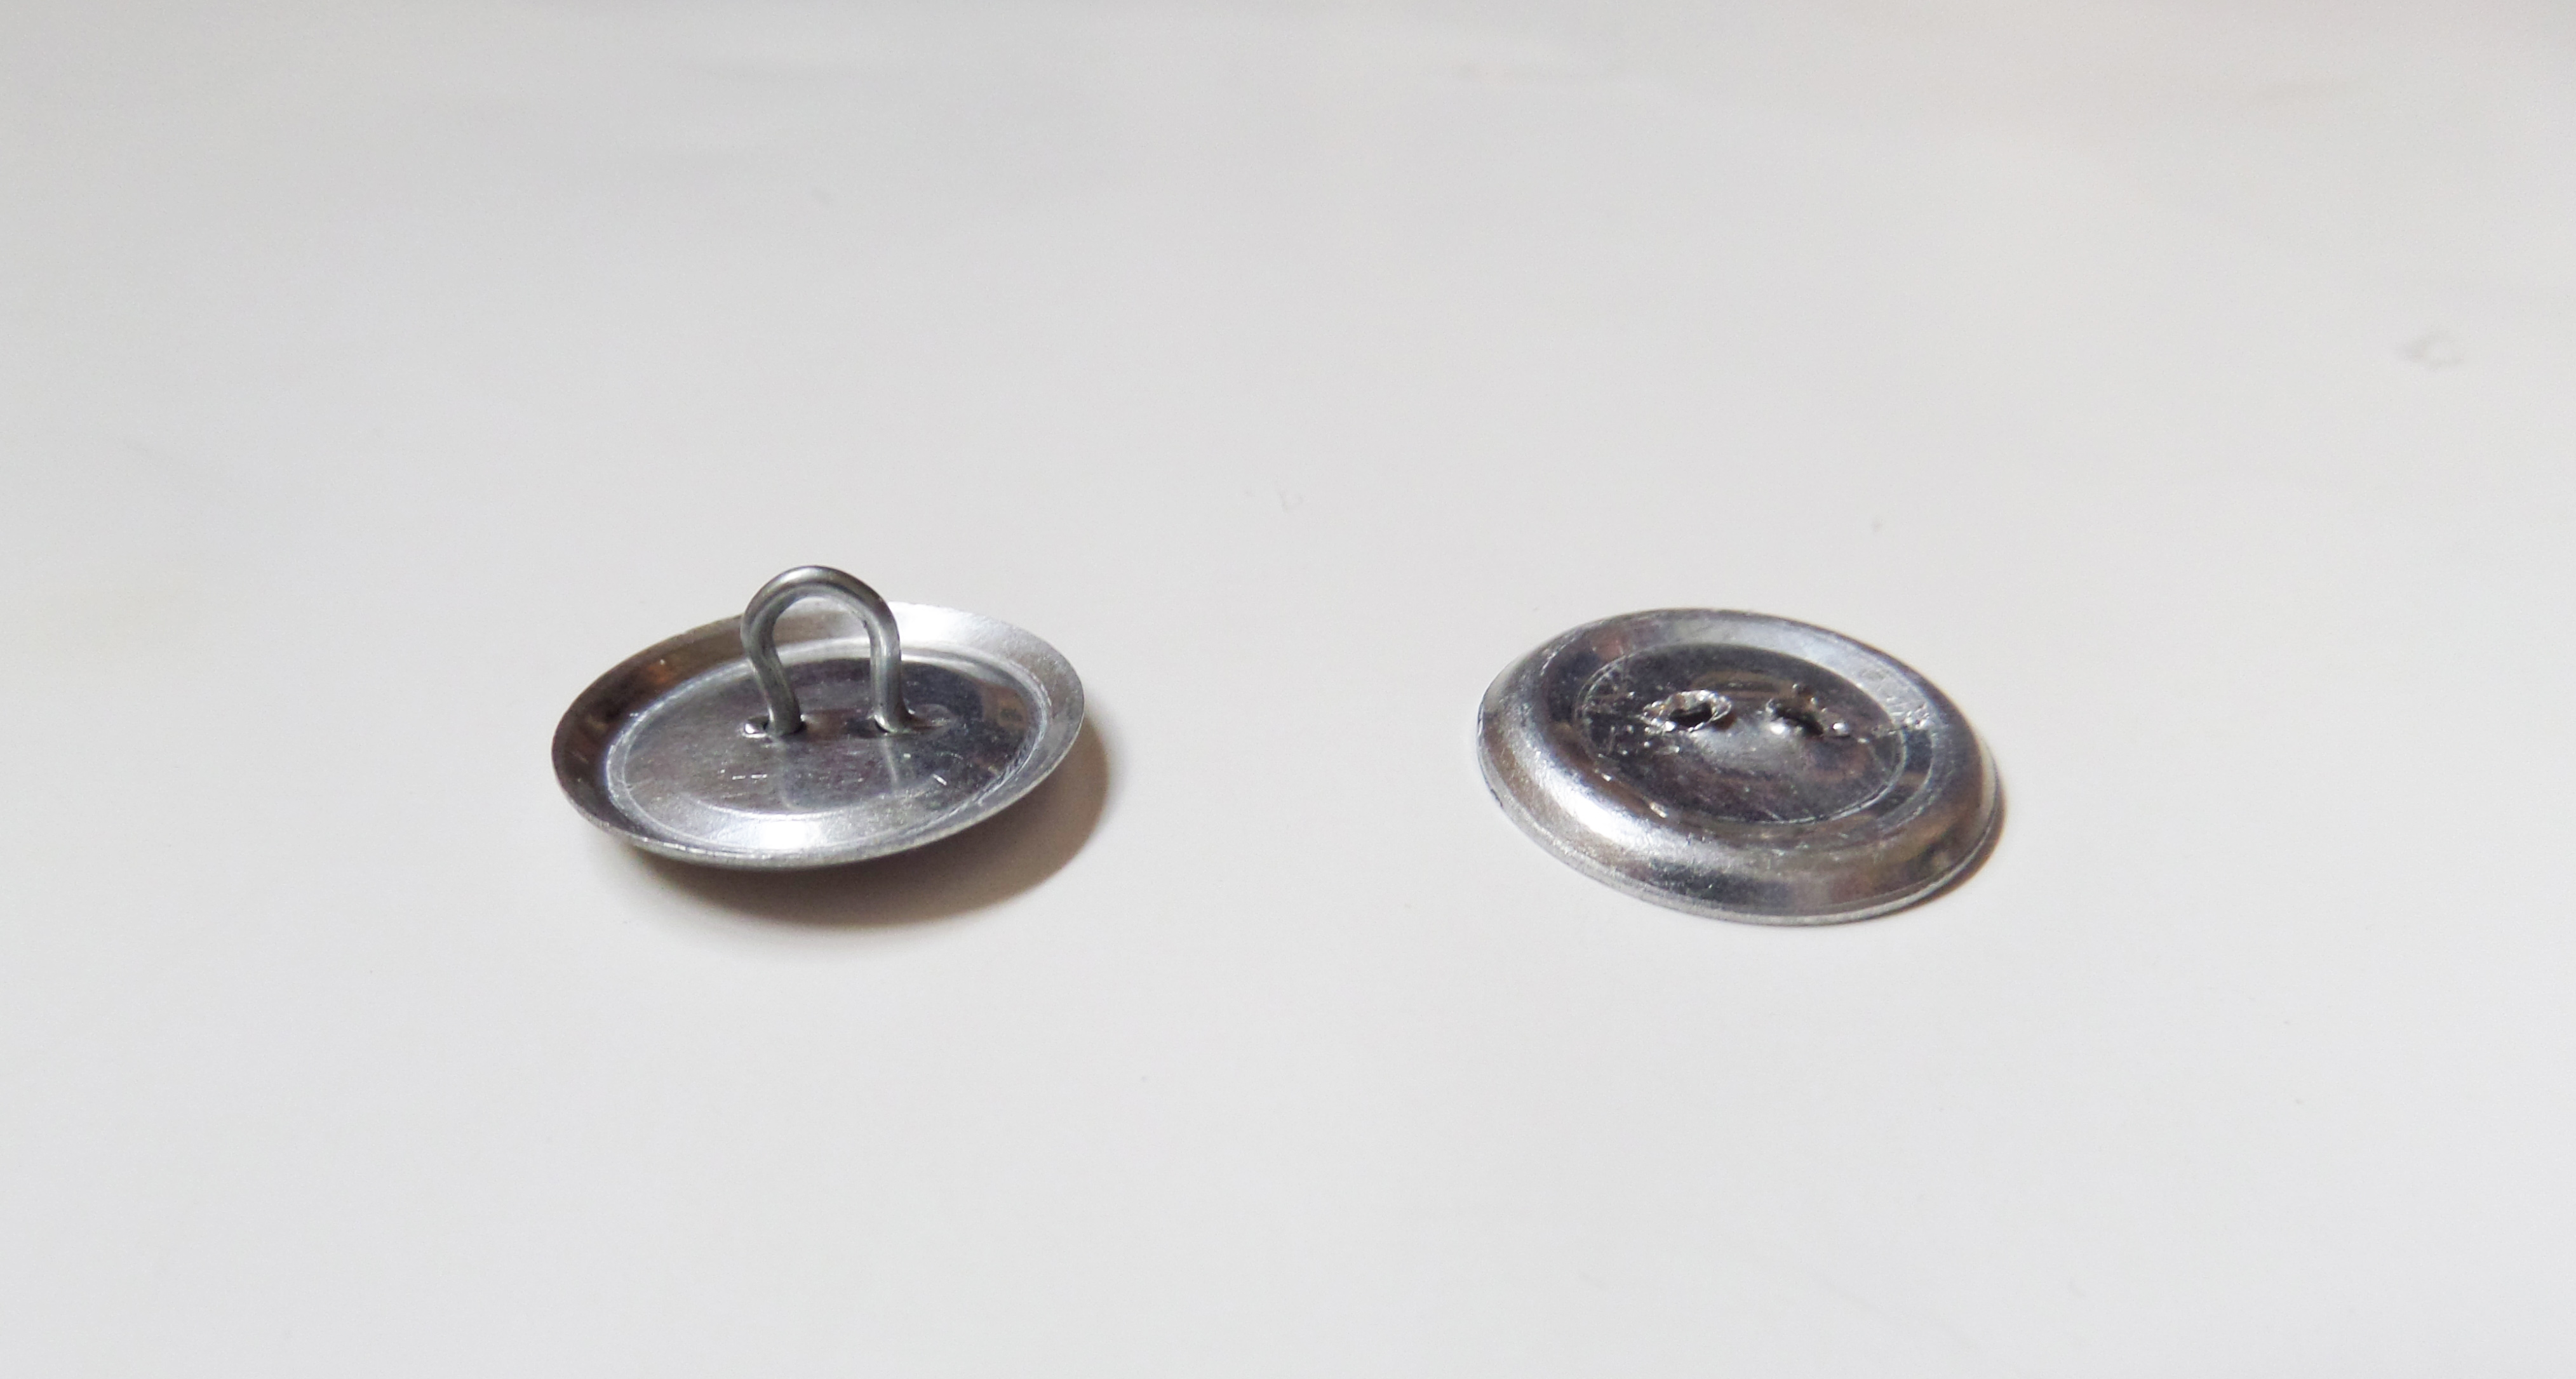
Next, remove the prongs from the magnetic snap. I found that just moving the prongs back and forth a few times was enough to get them it to break off.
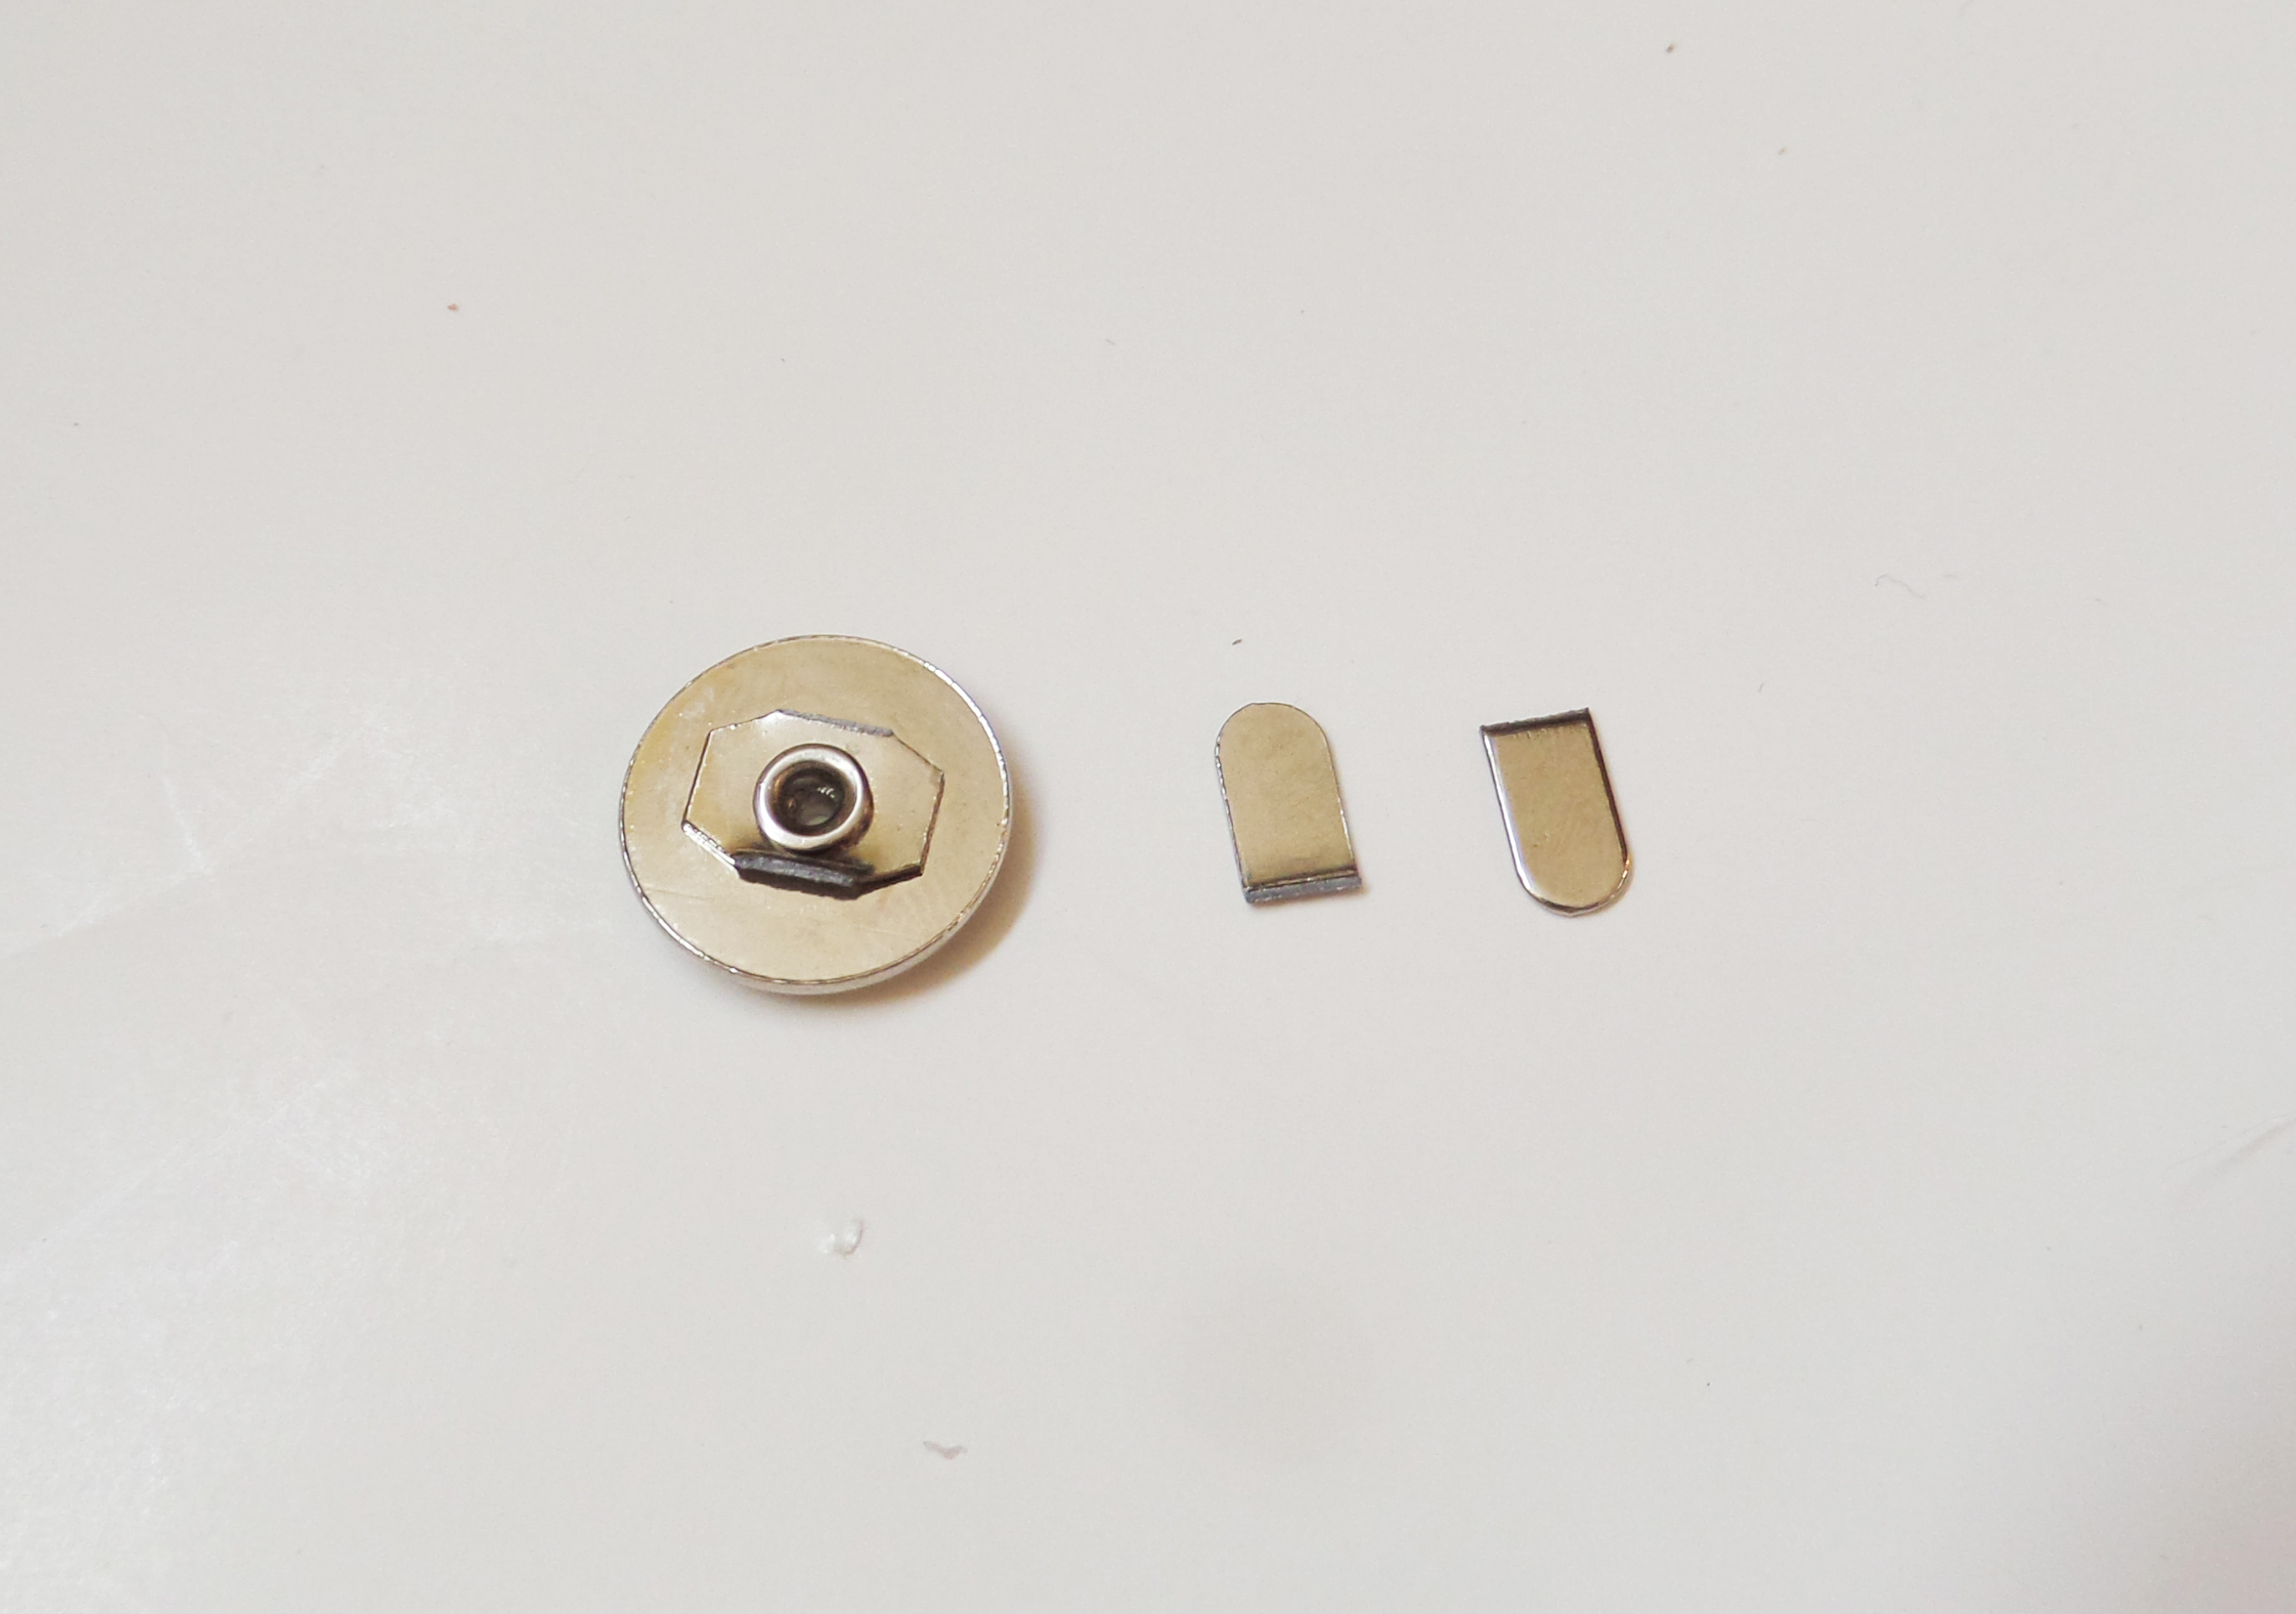
Now, you’ll need a little scrap of fabric – cut using the template from the back of the button kit, the doo-hickey that comes with the kit (the white object below), and a button shell.

Center your fabric wrong side up on the doo-hickey. Then center the button shell on top of that, with the concave side of the shell facing up.
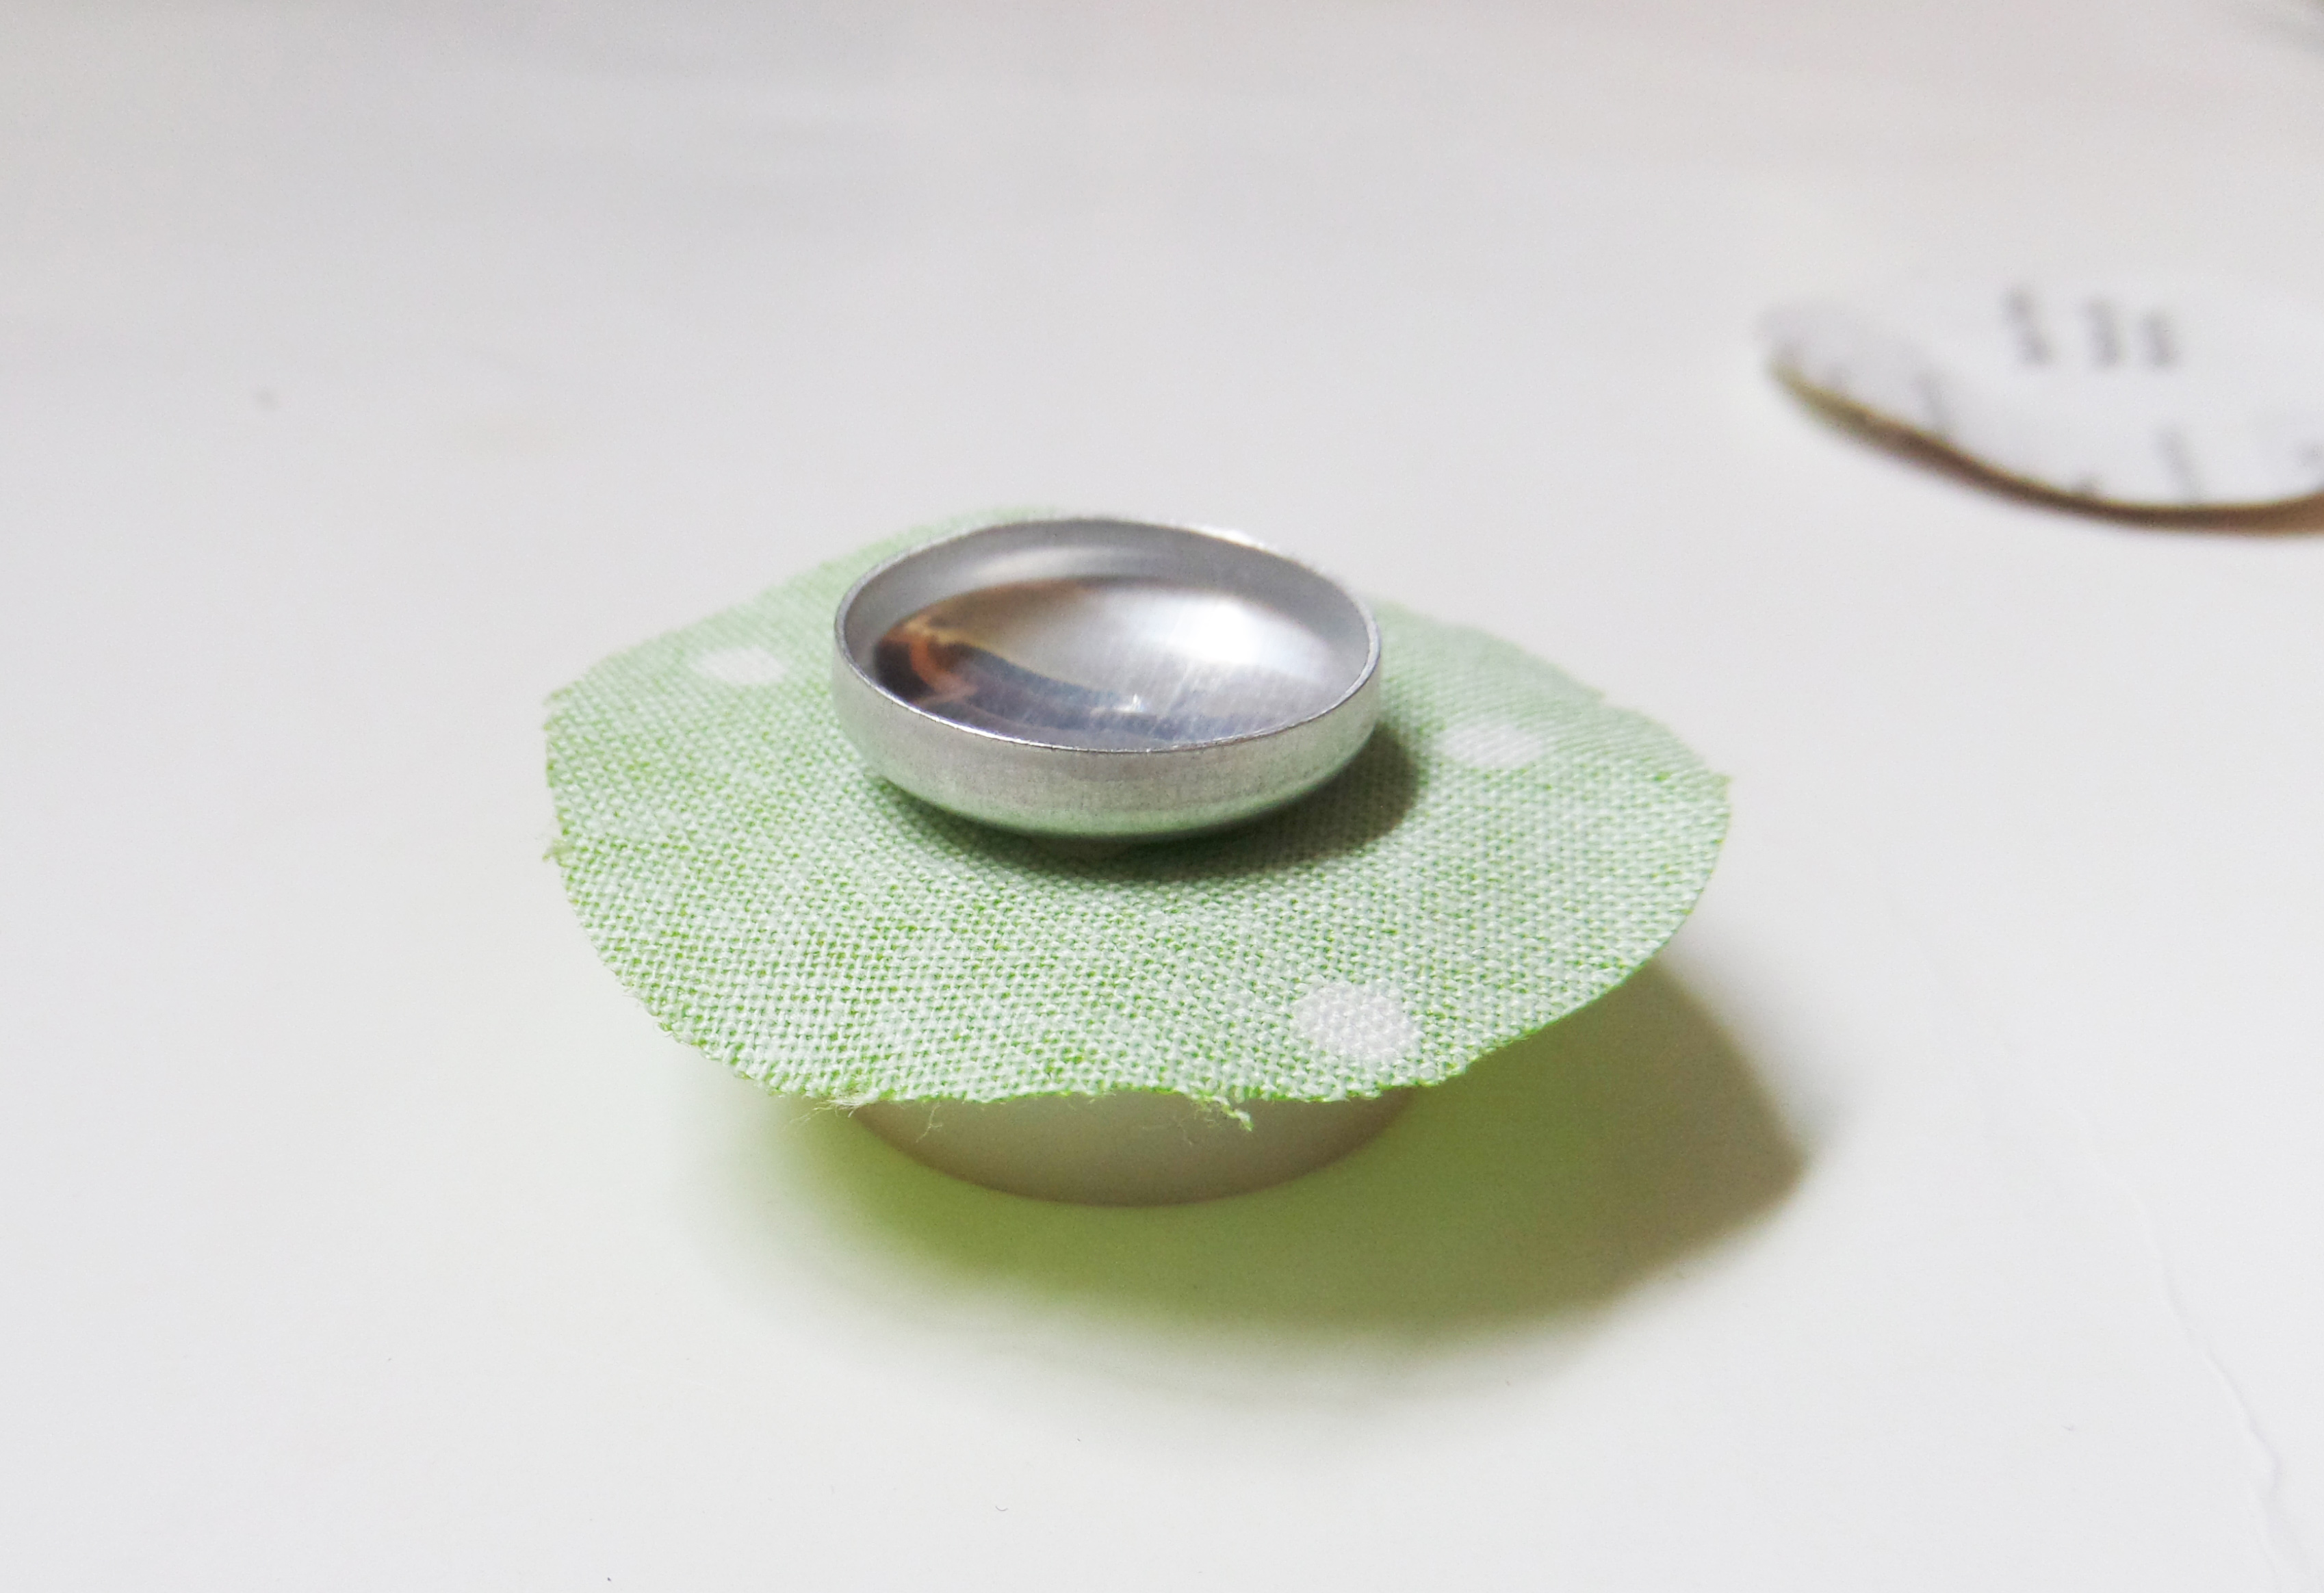
Your kit may have come with a plunger of some sort to push the button down into the doo-hickey. I bought a refill button pack, and my plunger is long gone, so I just used my finger to push the button shell down. The fabric is brought in evenly around the button.
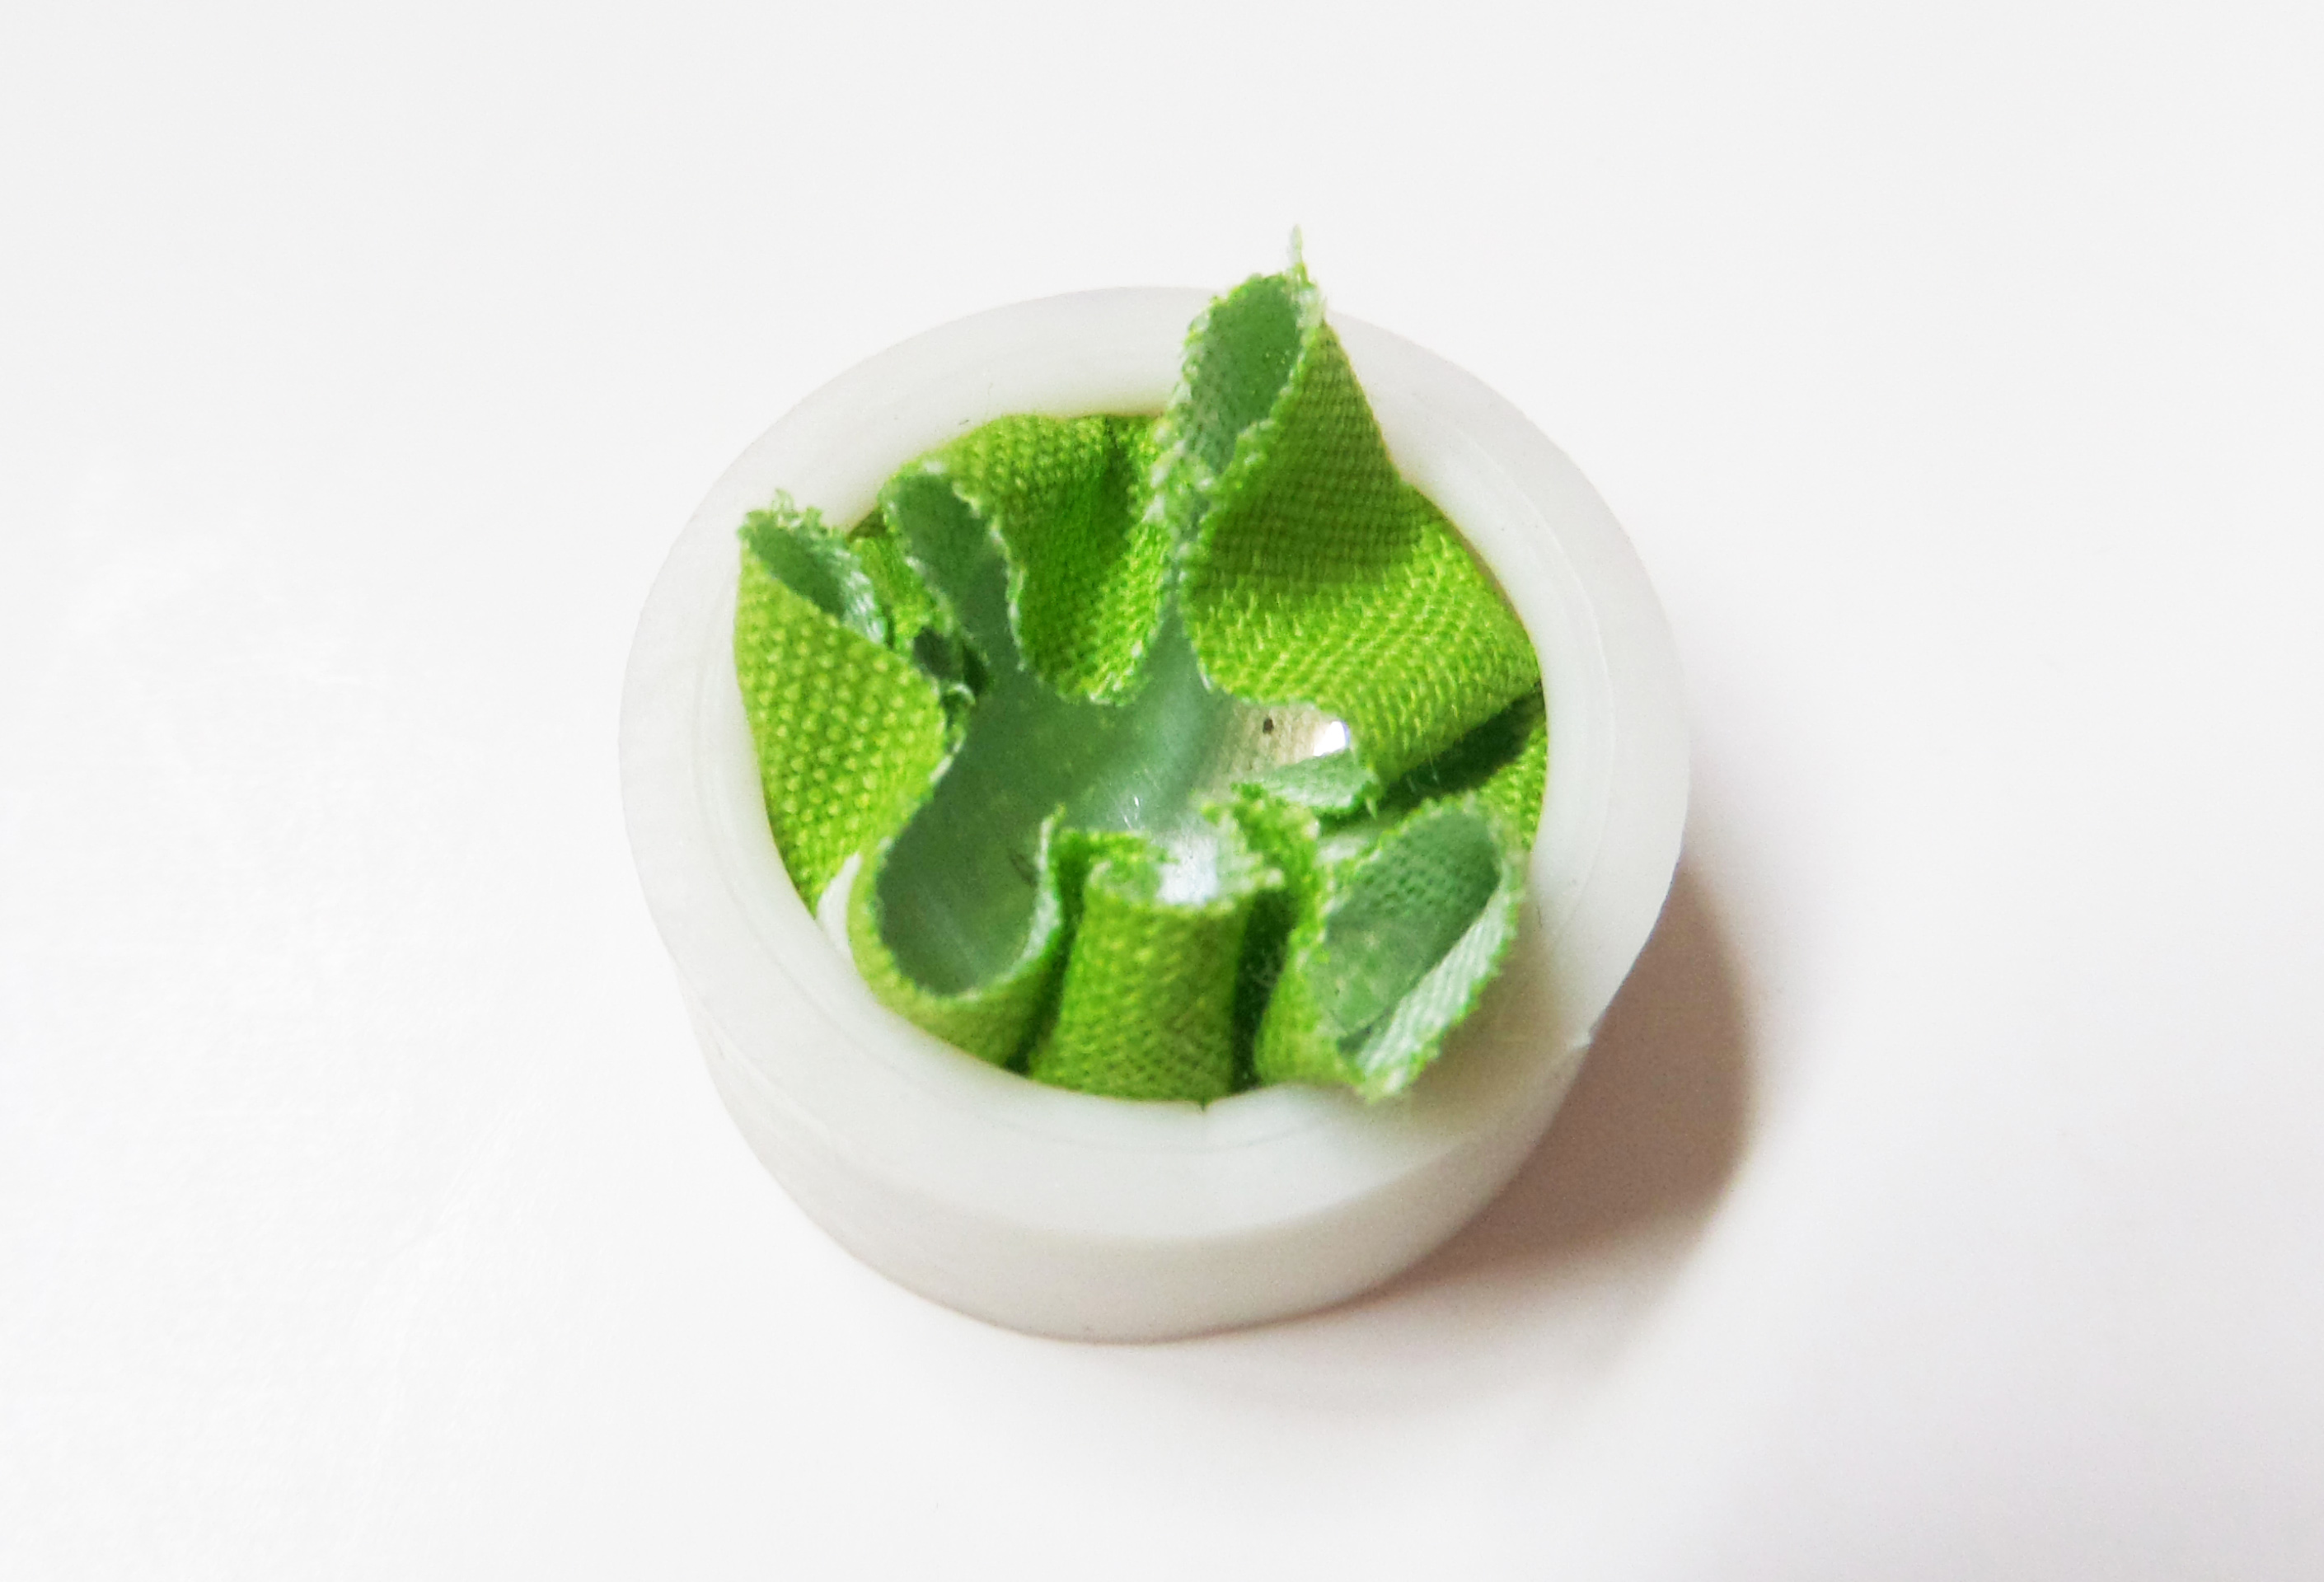
Now, push the crumpled up edges into the button shell as neatly as you can and push the back piece on. Again, I just used my finger here and followed it up by pressing around the edges with the handle of my wire cutters.
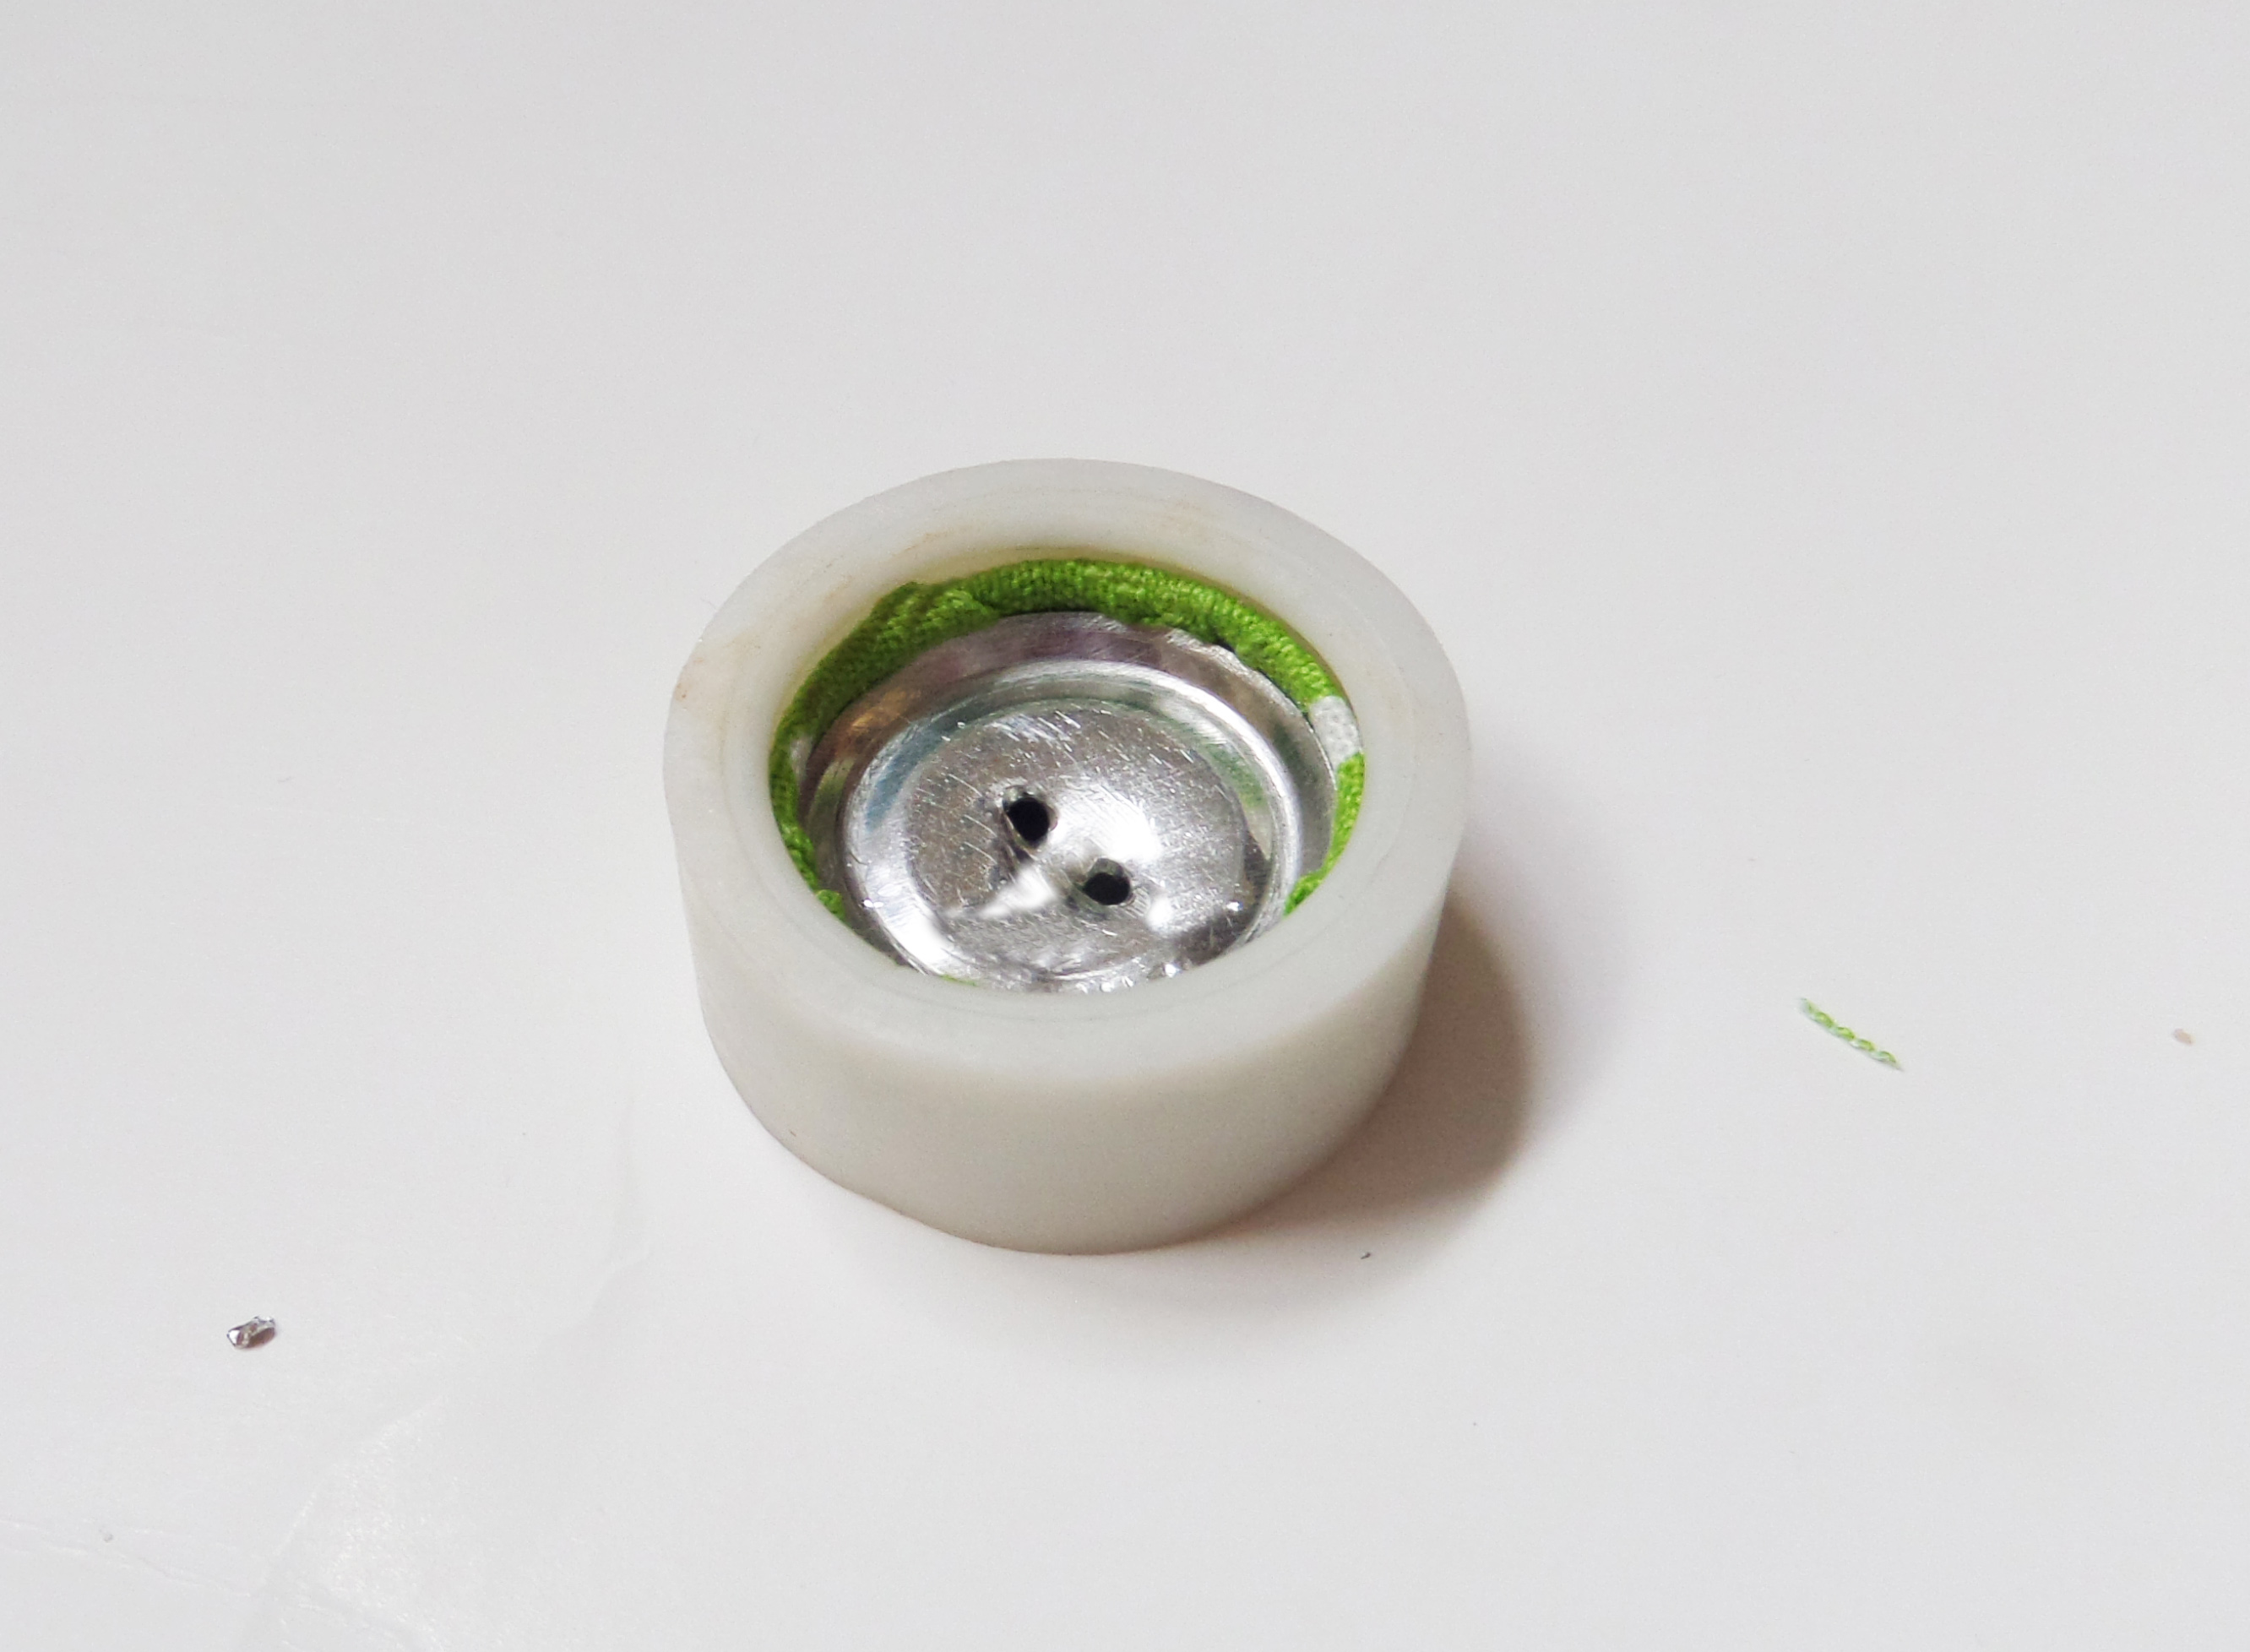
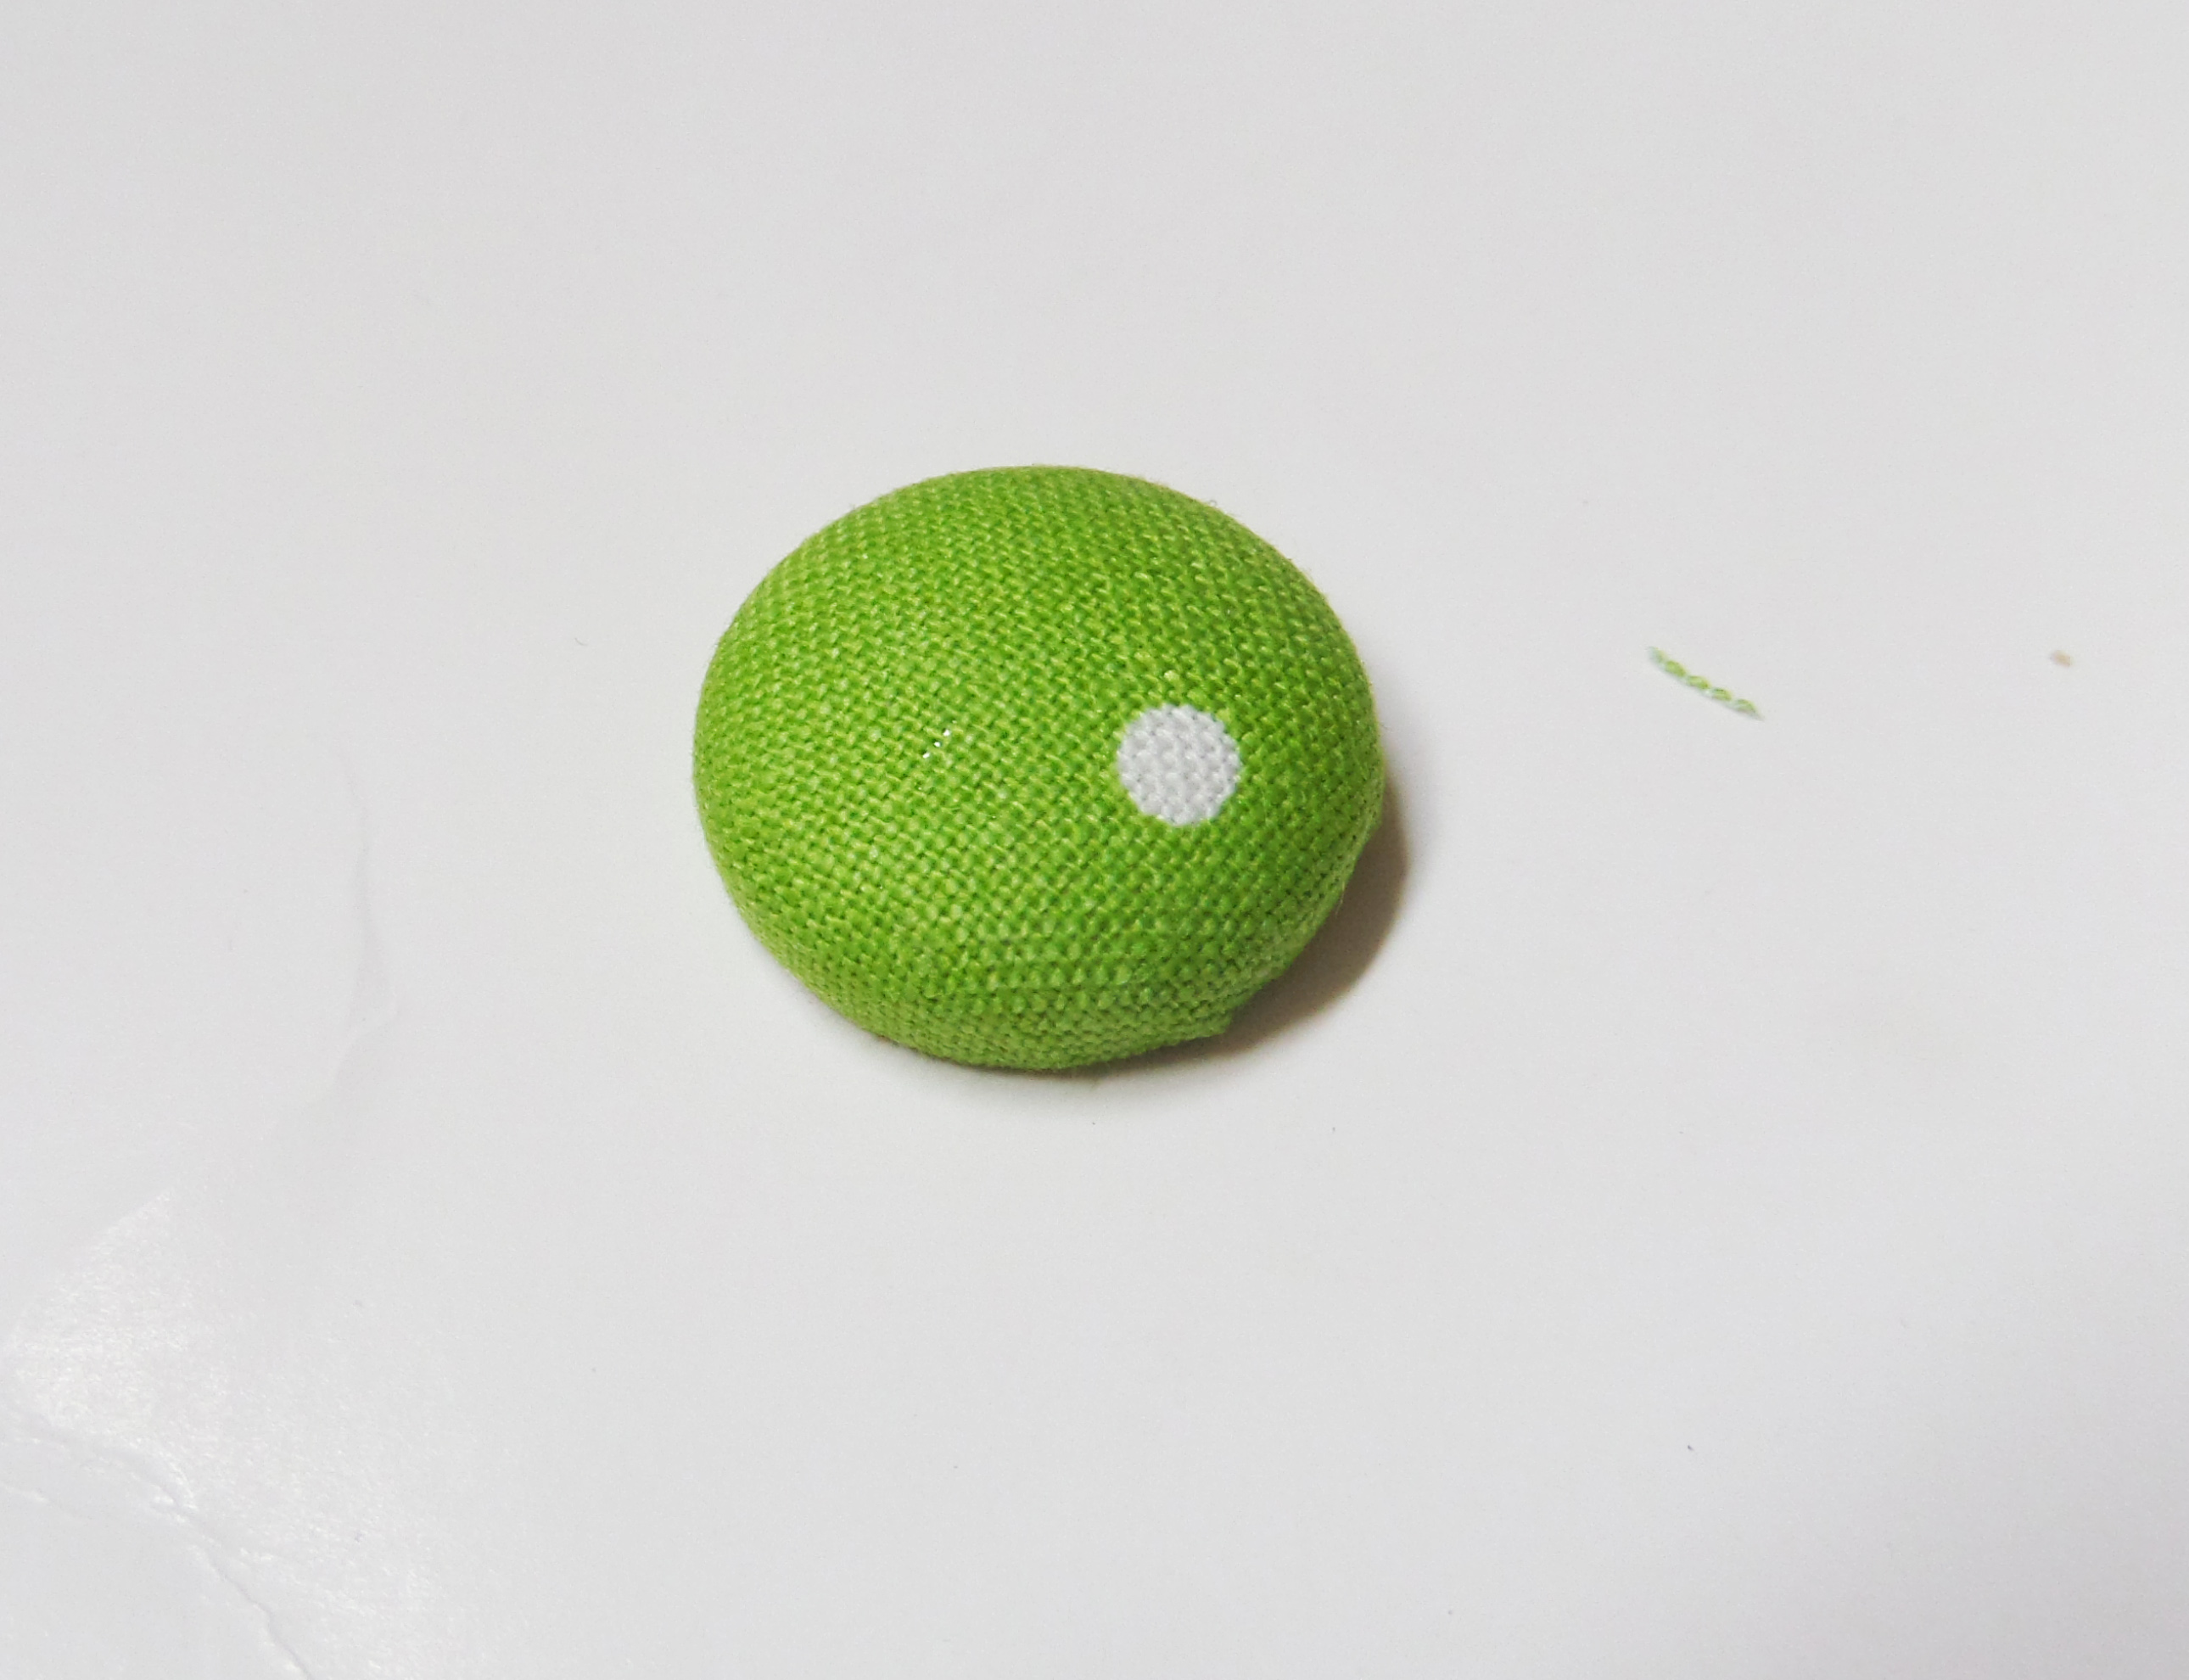
Pop it out and there you have it! It sort of looks like an olive!
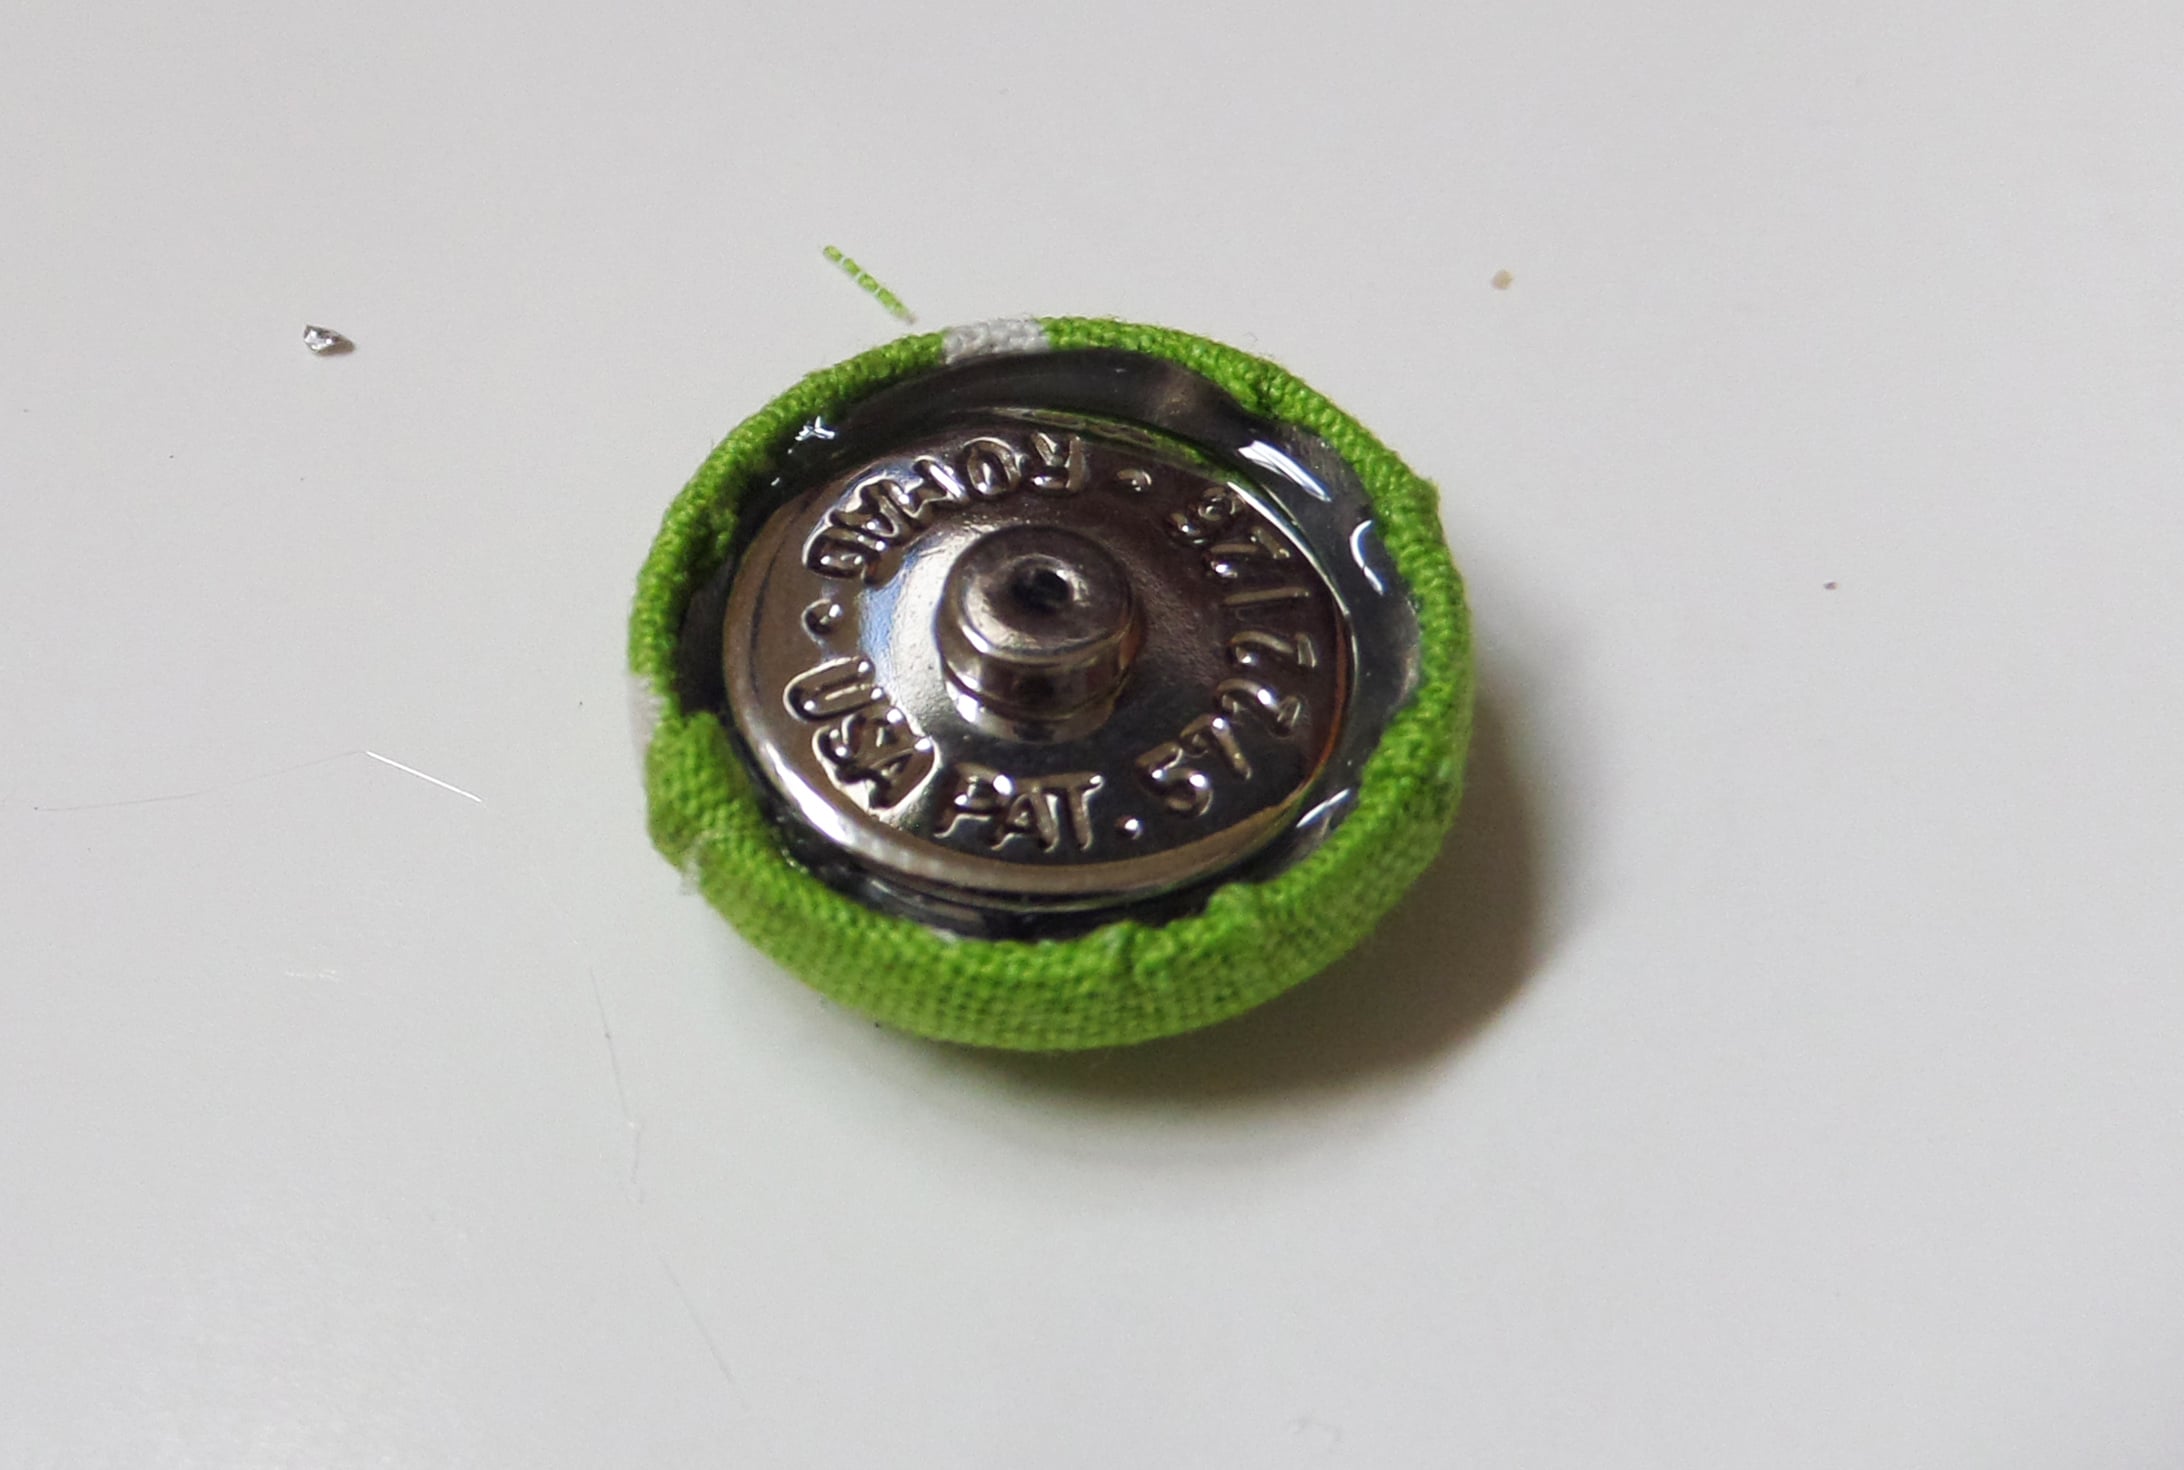
Now all you need to do is glue the snap onto the back…
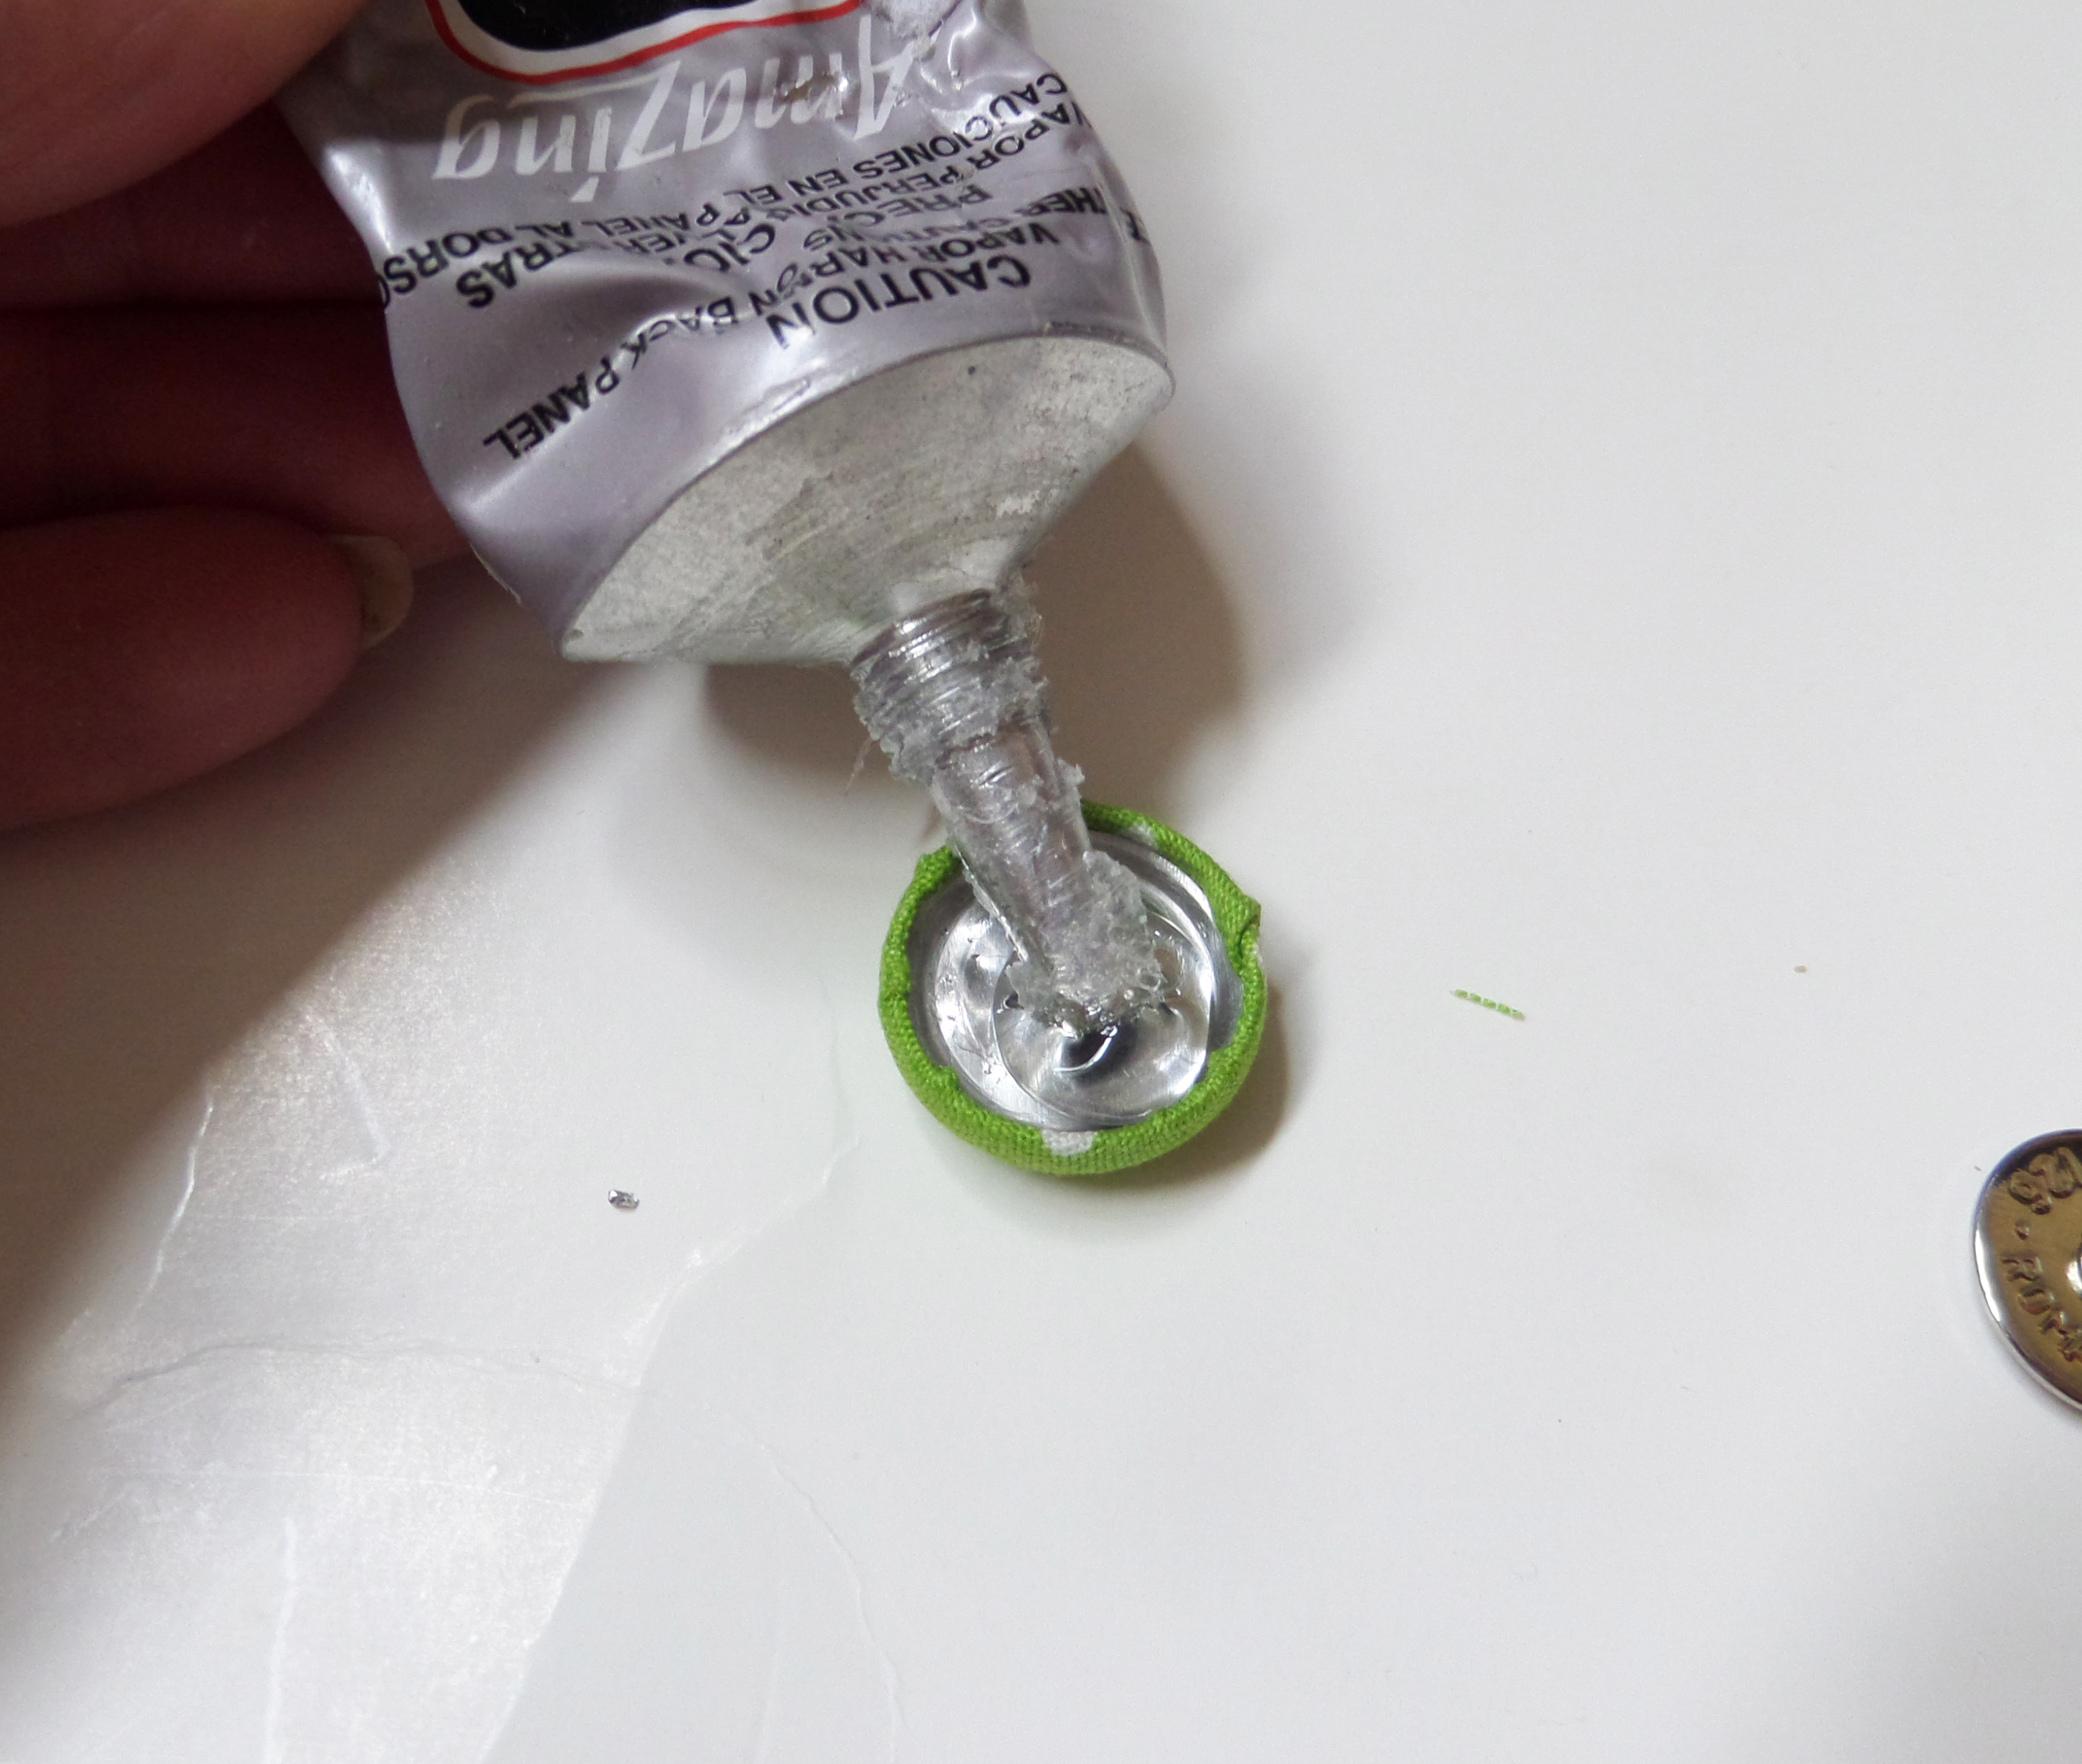
Of course you’ll want to get your snap level!
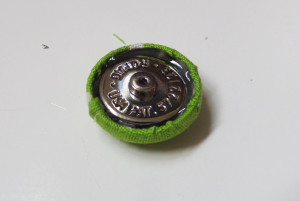
You can repeat the same steps on a second button shell for the male part of the magnetic snap.
Another option would be to glue a flower onto the magnetic snap – how cute!
Enjoy! Sarah
Sarah this is the perfect solution to cover the snap when Bag 2 is open.
I want to try a big flower – I think that would be cute, I’ll post when I get it done (could be awhile!)