• Home
  • Shop
    • All Items
    • Sewing Patterns
      • Printed Sewing Patterns
      • Digital Sewing Patterns
      • Seat Belt Sewing Patterns
    • Seat Belt Sewing Patterns
    • Seat Belt Project Kits
    • Seat Belt By-the-Yard & Swatches
    • Hardware
    • Free & On Sale
  • Galleries
  • Blog
  • Revisions
  • Wholesale
  • Contact
  • FAQ’s
  • My Account
  • Cart

cozy nest design

You are here: Home / tutorial / Seat Belt Rose Tutorial

Seat Belt Rose Tutorial

accessory· tutorial

19 Jun

Roses made of seat belts – YUMMY! Who would have thought of that?  I probably should have, considering I am surrounded by rolls of seat belts every day! But it wasn’t until Anastasiya Podunovich from Alaska sent me the following photos that I was introduced to the idea. 

Anastasiya is a great craftsperson and sells seat belt roses and other handmade seat belt goodies here.

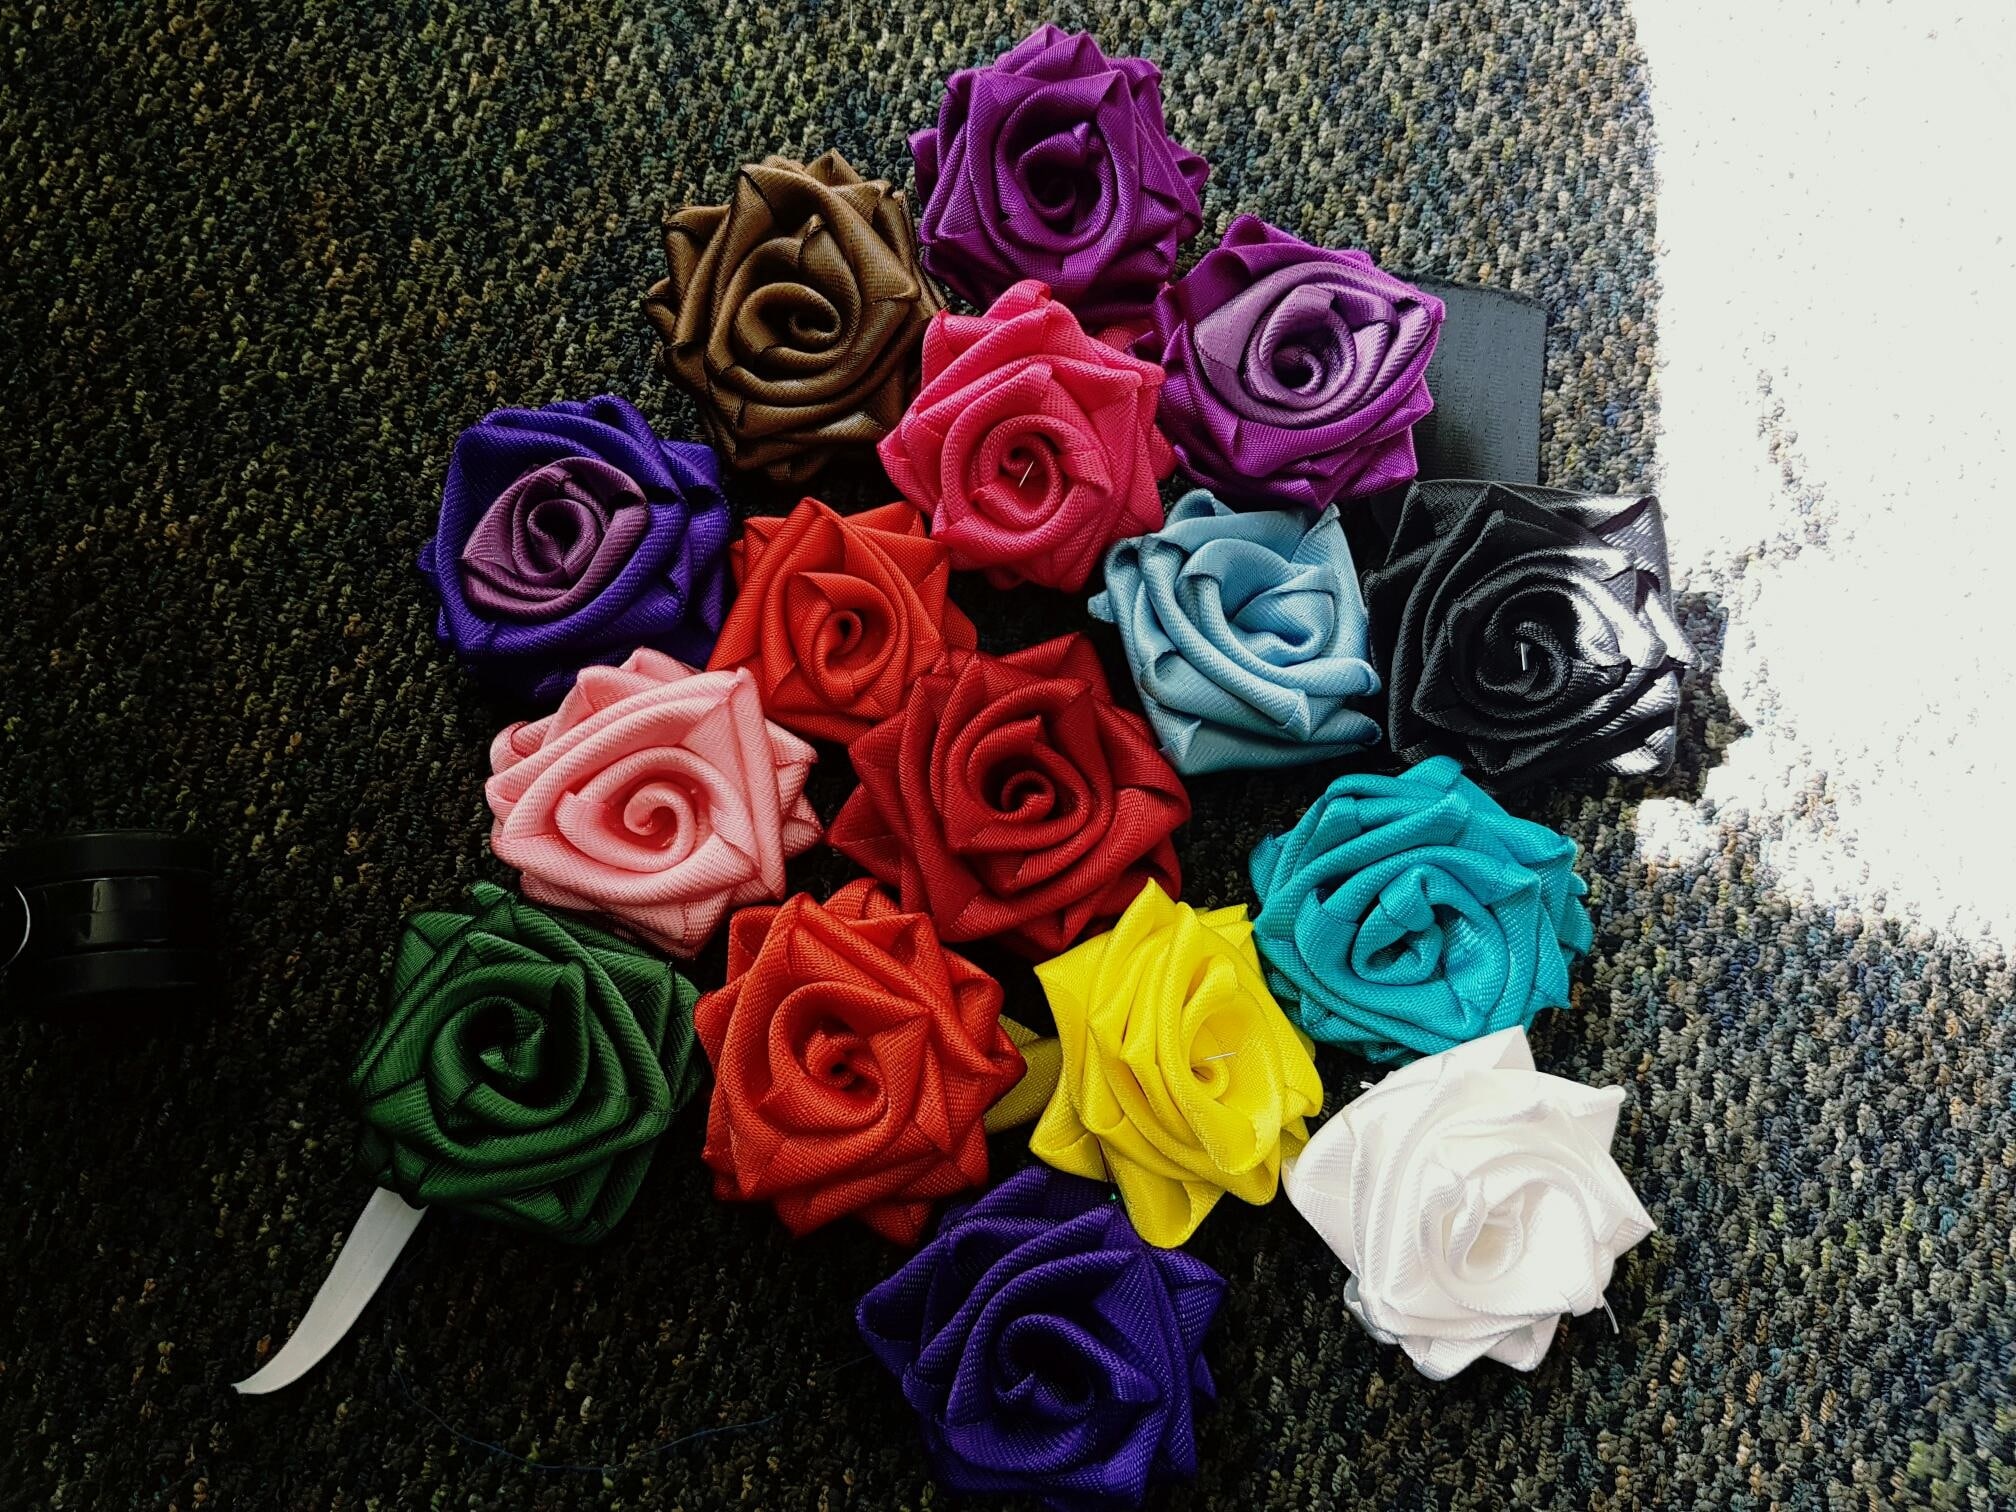
After seeing these lovelies I set to work finding a way to create them myself so I could share it with all of you. I found that, with a few tweeks, the same technique used for making ribbon roses will work with seat belts. I was fueled by the excitement of their unending embellishment opportunities! Here are a few ideas how you can use them on your projects:

Attach a rose to one of the Pouch Trio pouches

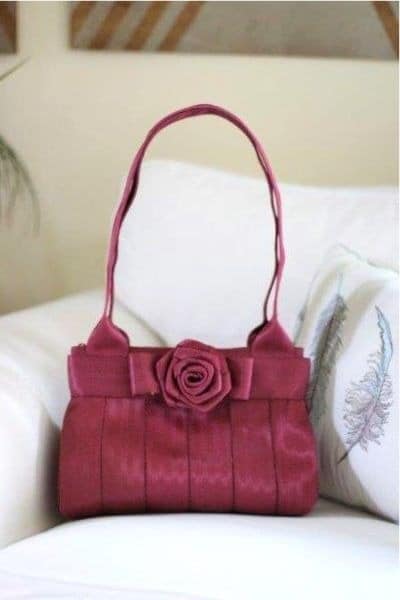
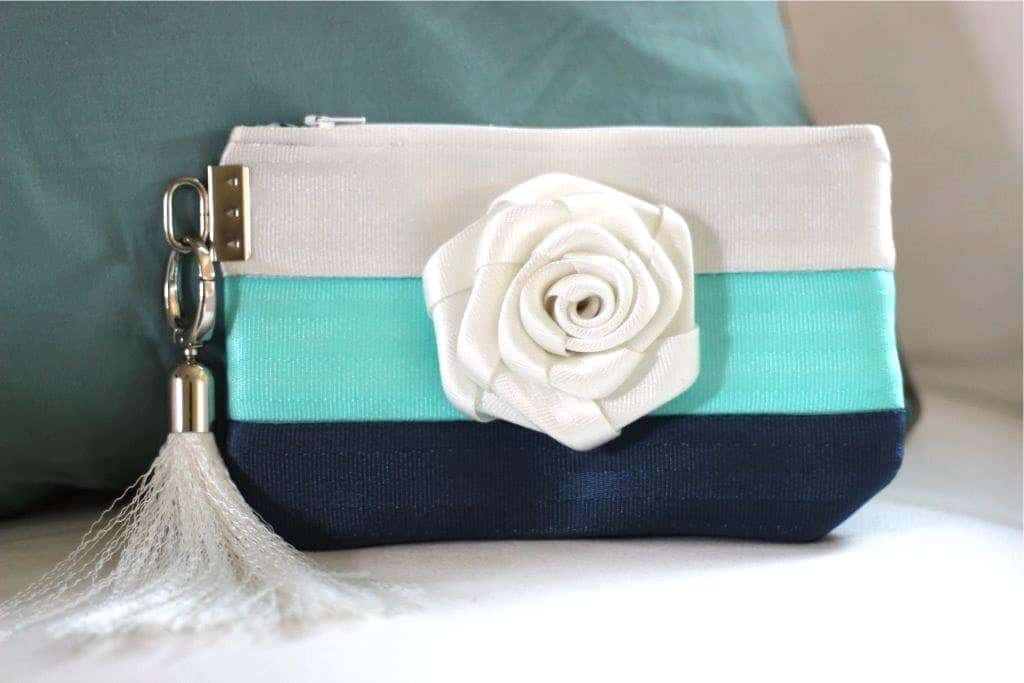
I added this rose to a small Everyday Bag. I placed it right on top of the bow.

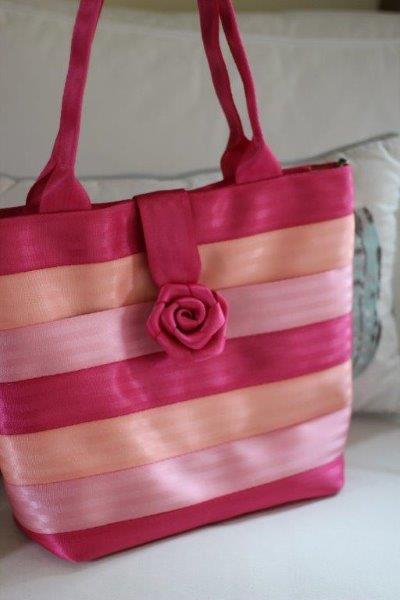
You can replace the metal ring on the Market Tote with one!

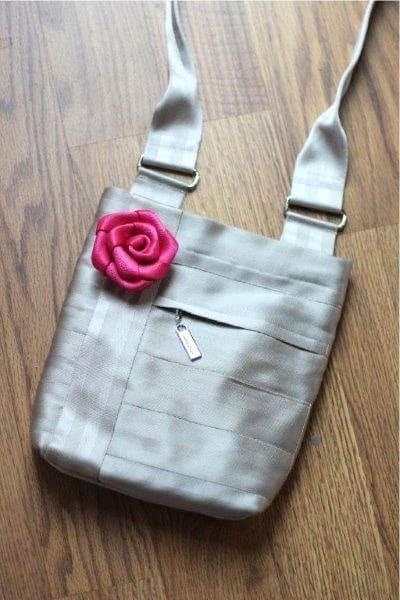
Dress up a Crossbody Bag

I have no doubt you all will come up with your own great ideas on where to put these beauties. I can’t wait to see what you come up with!

****************************************************************************

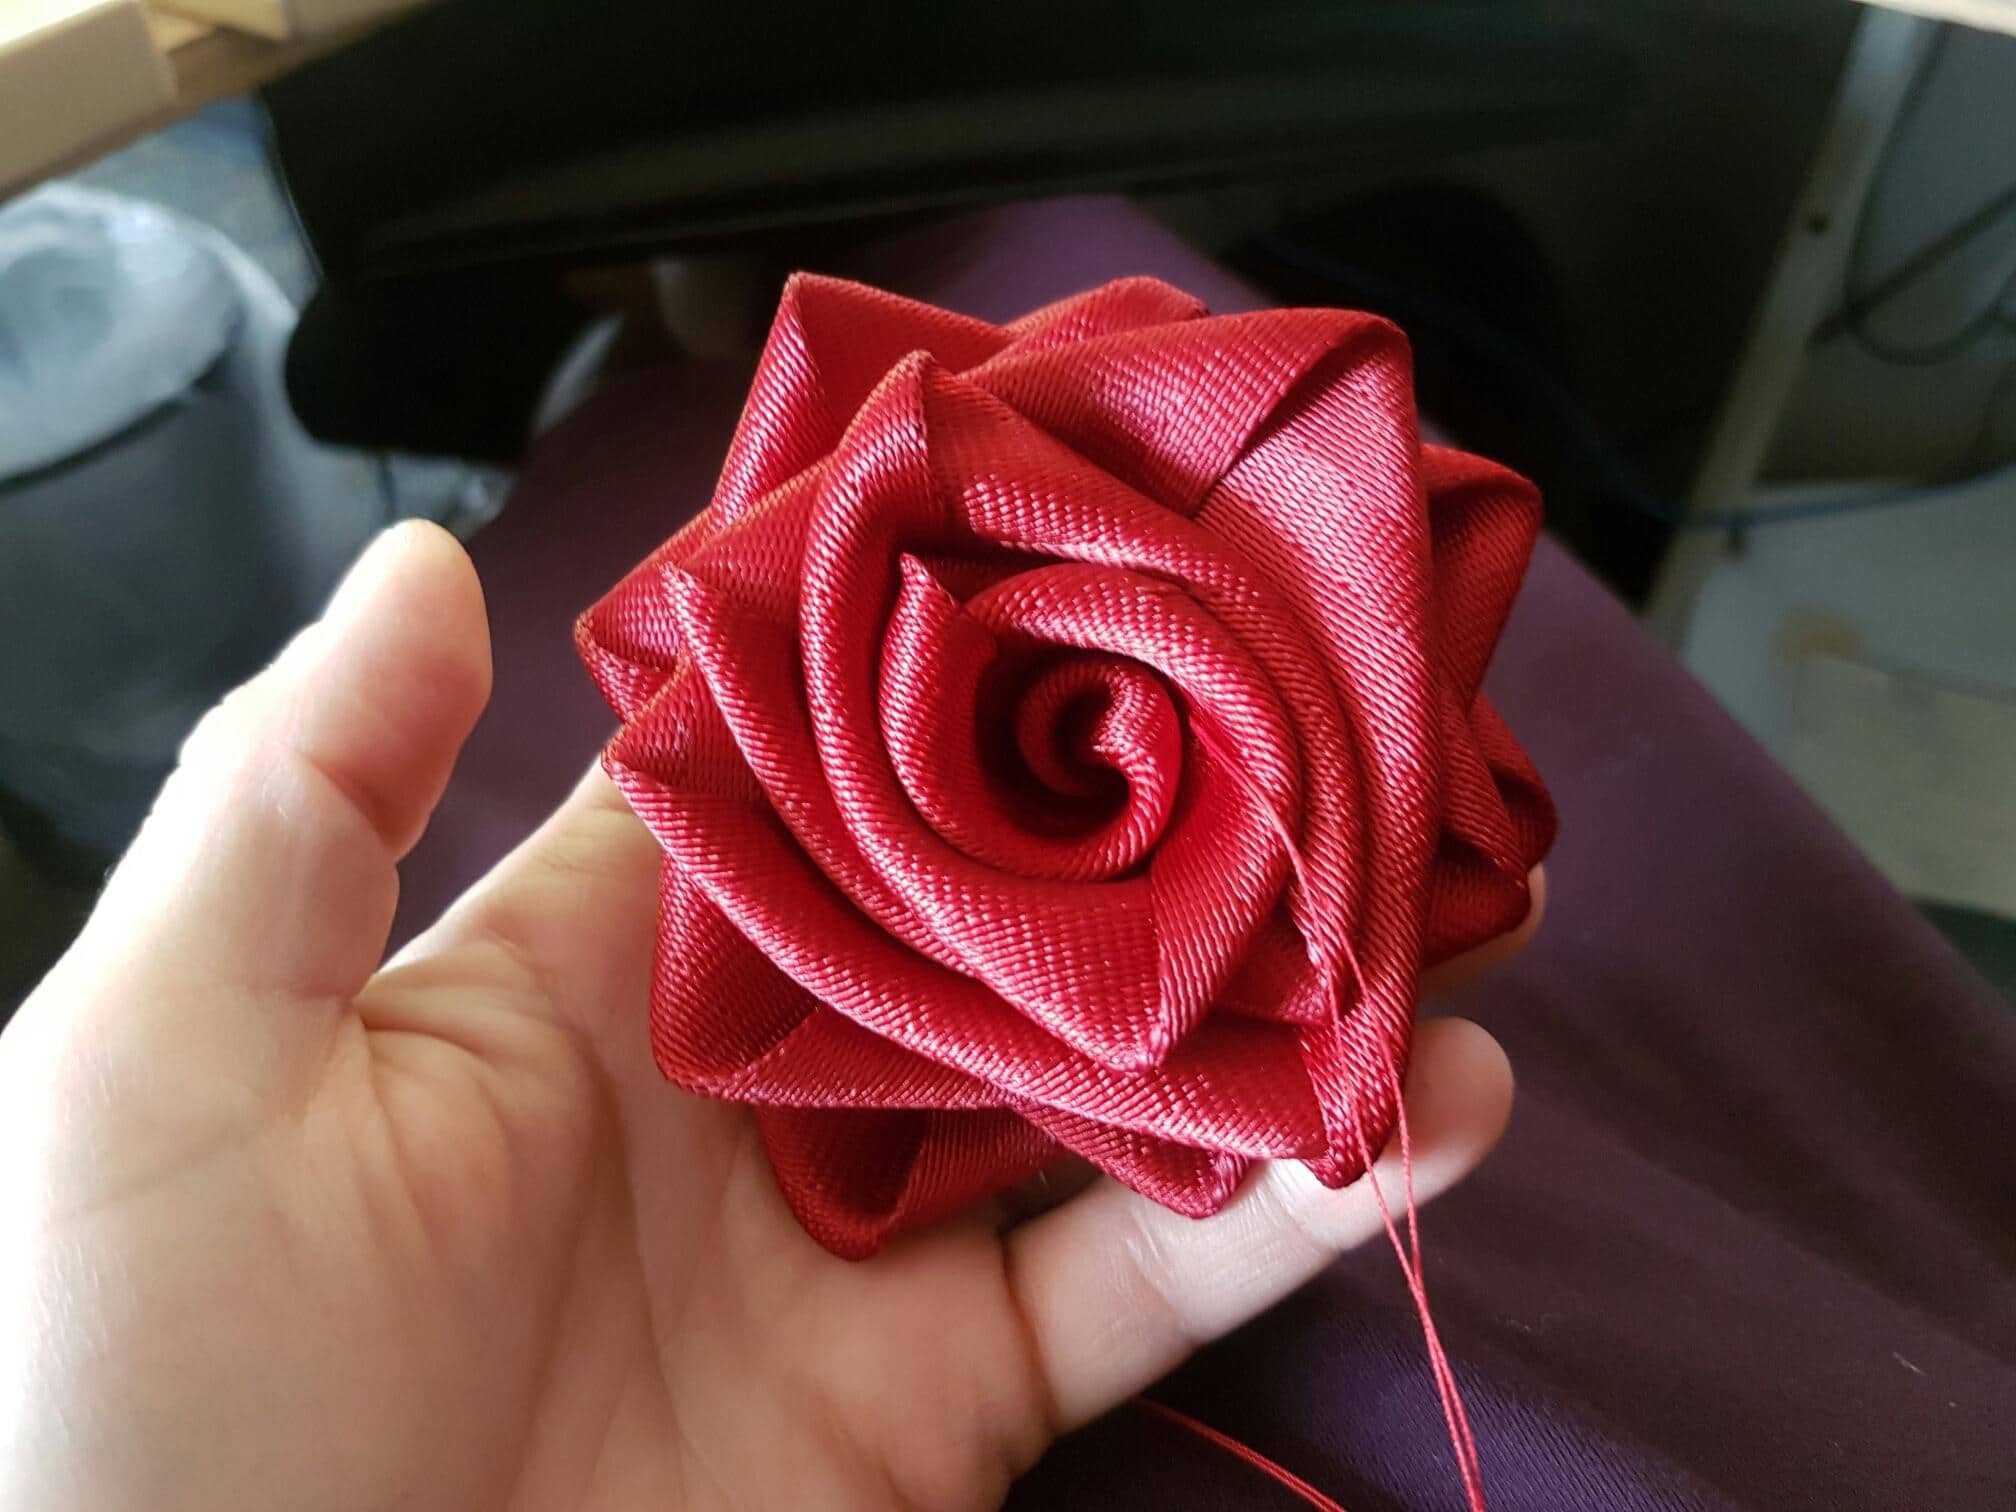
Seat Belt Roses: The Roll & Wrap Method

Supplies:
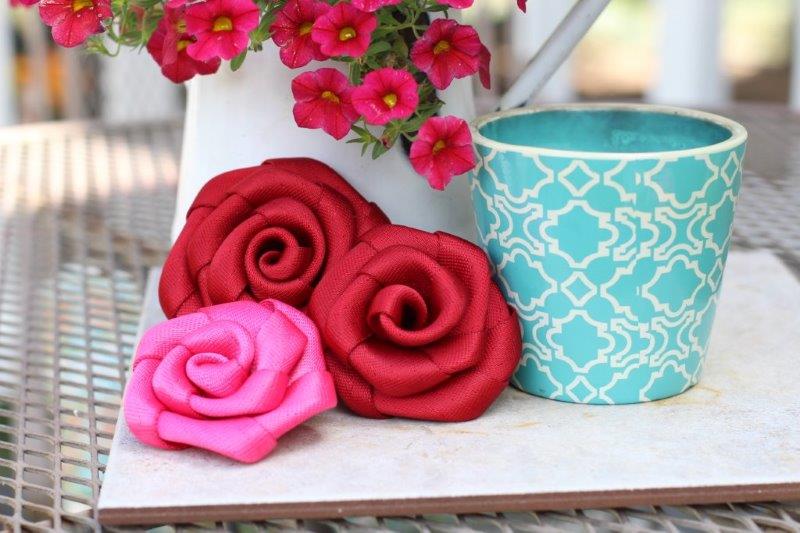
– 
Seat Belt Webbing – 18″ or longer depending on size desired. A 1/2 yard will make one the is about 2-3″ wide depending on how tightly you roll it.
– Super Glue –  Be sure to use a gel formula glue that says it can bond to plastic.  I had the best luck with Scotch Advanced Formula Super Glue and Loctite Super Glue but found it slower to dry. I attempted Gorilla Hot Glue Sticks which work fine but I grew tired of burning my fingers and of the lengthy cooling time.
– Felt in a matching color to cover back (optional)

I hope you have fun making these! Be sure to send me photos of your creations!

Sarah

Related Seat Belt Posts

Must-Have Seat Belt Sewing Supplies
How to make a seat belt pouch
How to make roses out of seat belts
How to make seat belt tassels – bell cap style
How to make a fold over style tassel
How to make a sleek drop tassel 

Leave a Comment

Previous Post: « A new “first” for me!
Next Post: Win-Win! Expand your sewing library & help fight Covid-19 ! »

Reader Interactions

Leave a Reply Cancel reply

You must be logged in to post a comment.

Primary Sidebar

Hello!

Thanks for stopping by! I’m Sarah. I love to design and write sewing patterns. It’s a great way to justify the absurd amount of fabric I own! I live in Kansas with my husband, two sons, and a dog named Bear. I hope you find something here that inspires you to break out your sewing machine.

Connect with me!

Facebook Pinterest Email instagram etsy

Don’t miss a post!

Enter your email address to receive notifications of new posts:

Delivered by FeedBurner

Find me on Instagram!

Archives

  • February 2023
  • August 2021
  • July 2021
  • July 2020
  • April 2020
  • June 2018
  • January 2017
  • September 2016
  • August 2016
  • November 2015
  • June 2015
  • March 2015
  • September 2014
  • August 2014
  • July 2014
  • June 2014
  • May 2014
  • April 2014
  • February 2014
  • January 2014
  • December 2013
  • November 2013
  • June 2013
  • March 2013
  • February 2013
  • August 2012

Copyright © 2025 · Cozy Nest Design · Log in

SHIPPING DELAY
Cozy Nest is on vacation.
Physical items purchased between May 13th - June 1st will be shipped June 2nd.
Digital items are still available for immediate download.
Dismiss