I have been designing and sewing handbags and accessories patterns out of seat belts for 6 years now and, in that time, I have found some special items that I find handy. Some of them you may have and some may surprise you. Let me know what your favorite seat belt sewing supplies are.
Please note that there are some Amazon affiliate links in this post which means I will get will get a few cents (at no added cost to you) if you purchase them. If you don’t want that, just type the item description into your internet search engine and you will find them. Either way, these items are worth getting!
Must-have Supplies for seat belt sewing
HOME SEWING MACHINE
A sewing machine is pretty obvious in a sewing studio but, in this case, I want to point out what you DON’T need. I am frequently asked if sewing seat belts require an industrial machine and, I can say with confidence, the answer is no. I don’t even own an industrial machine. ANY home sewing machine will work for sewing seat belts. I have sold thousands of yard and an equal number of seat belt project kits and no one has ever reported a problem.
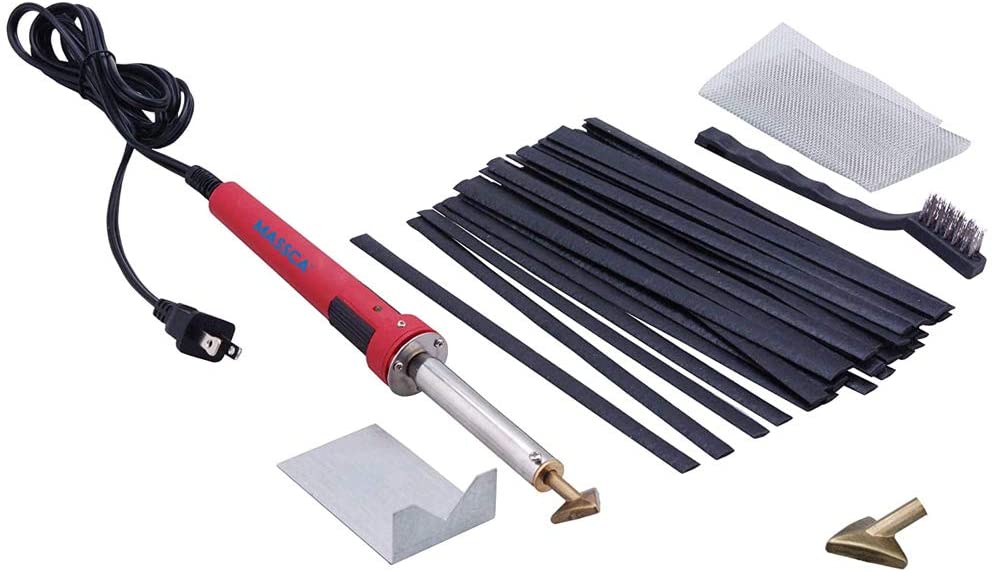
Plastic Welder
If you are like me and you end up becoming interested, ok, obsessed, with sewing stuff out of seat belts, you may consider buying a plastic welder. Once you cut a piece of seat belt you really do need to seal the ends in some way or it will fray on you (which is why it makes such awesome tassels!). A candle or lighter works, as does zig zagging the ends, but if you want a quick and very effective and clean way to do it, this is the tool for you. It is a handheld device, similar to a soldering iron, that makes quick work of sealing and leaves the cut end much for visually appealing. There are even larger irons that can cut and seal at the same time but, for my purposes, this small one is perfect. You can find the type I use here.
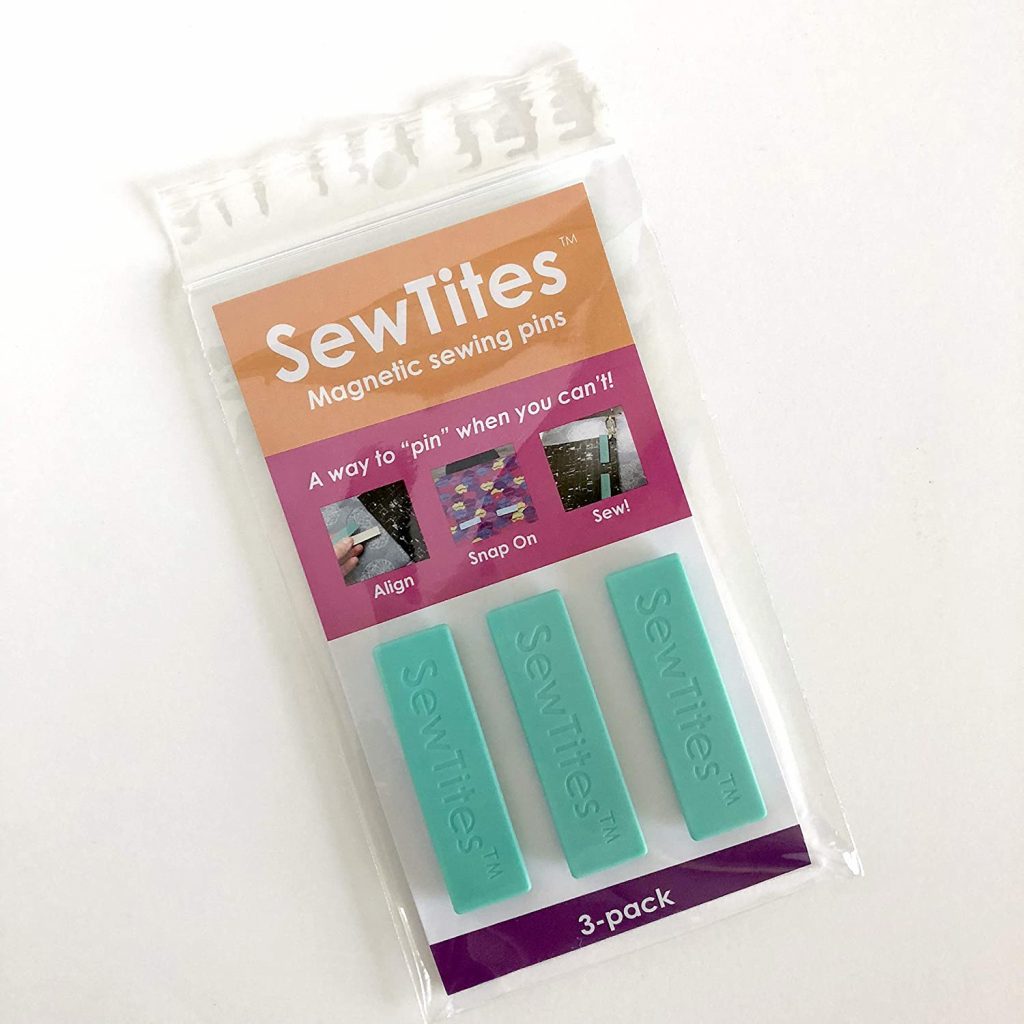
Sew Tite Sewing Magnets
Sew Tite Magnetic Sewing Pin are a great addition to you sewing arsenal. Each “pin” is two pieces. One piece is a metal plate and the other is a plastic piece with magnets attached. The idea is that you can replace normal sewing pins by keeping the layers using the magnets. And, they work! They come in several sizes, a variety pack, and they even have a set that has ultra strong magnets. The only had news here is that they are pretty spendy but I think they are worth the investment! You can find them here.
Update: My friend, Di Scarrott who makes wonderful handbag video tutorials suggested purchasing name tag magnets. They function the same and much cheaper. You can find some here.
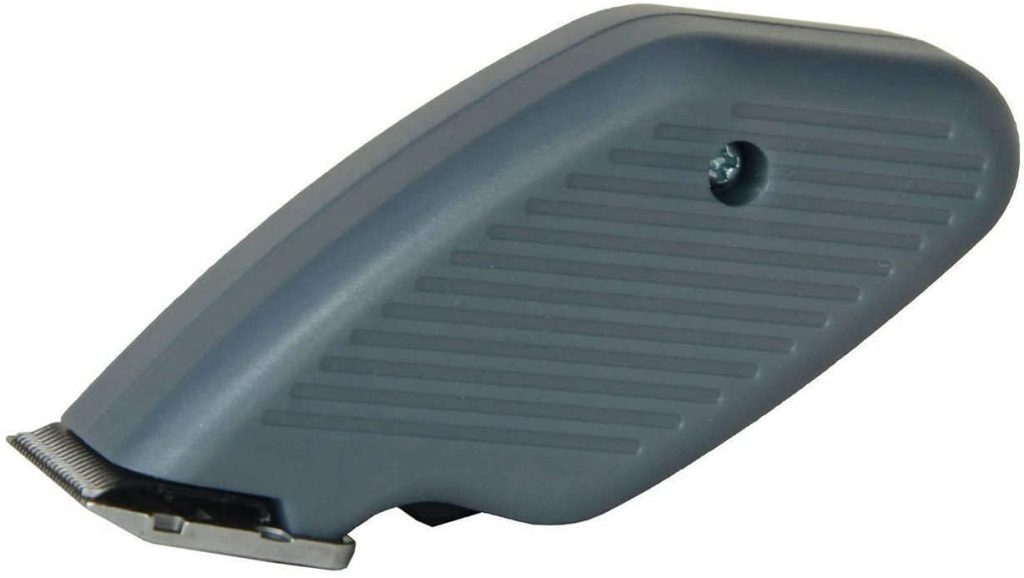
Electric Seam ripper
I’m sure you never need a seam ripper. BUT if you did, I can attest to the fabulousness of the electric one. Yes, I do believe it really is a hair trimmer, but all I can say is YES, this works. If you are using it to rip out thread between two pieces of fabric you do need to be careful. If you push too aggressively, you can cut a hole. But, if you are removing threads from seat belts, it will just zip right through lickety split. I love this thing. You can find it here.
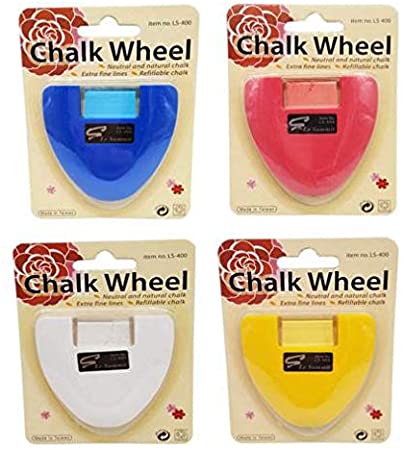
chalk wheel
I have yet to find the perfect marking tool for seat belts but I do have a couple favorites. One of them is a chalk wheel. Don’t confuse this for tailors chalk, that is entirely different. Chalk wheels are filled with powdered chalk. As you run the wheel at the bottom over the fabric it dispenses a think line of chalk. They come in lots of colors and are easy to see. That’s the good news. The bad news is that sometimes I find the chalk is hard to remove completely (without washing) because the powder gets caught in the seat belt fibers. I tend to use them in areas that won’t be seen after construction. Not perfect but they are still a favorite. You can find the chalk wheels here.
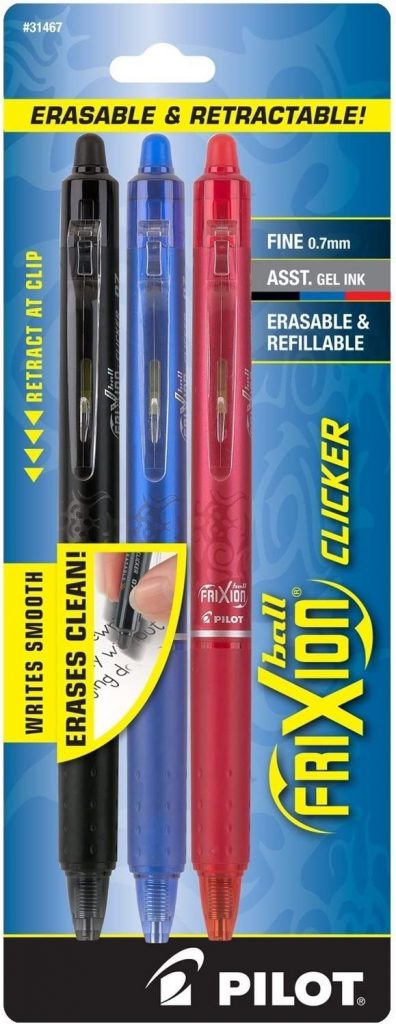
Frixon pens
My second choice for marking seat belts are Frixion pens. They come in lots of colors and are easy to find but they do have shortcomings. The good news is that they do completely disappear once heat, like from an iron, is applied. The bad news is that if you have marked your bag in a visible location and then you go into very cold weather, there is a chance it the marking will become visible again – not good. I have also experienced markings disappear just from the heat of my hands so you have to watch for that. With all that said, they still have a place in my studio. You can find them here.
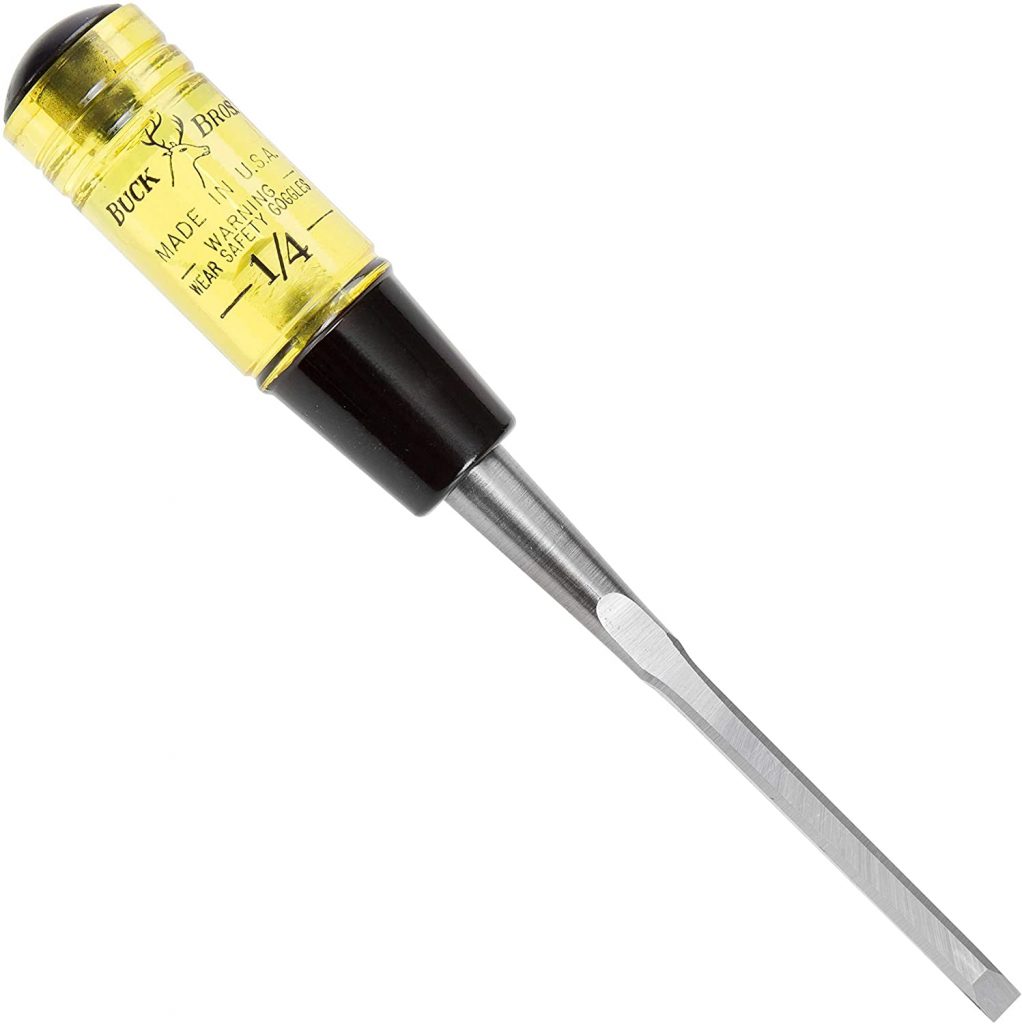
1/4″ chisel
A chisel may seem like a strange item in a sewing studio but if it’s just the thing for installing hardware that has prongs. For example, my “handmade” tags and handle bridge hardware both have prongs on their backs that are folded over to secure them in place. This 1/4″ awl cuts the perfect size slit in the seat belt for those prongs. All it takes is one good hit on the end of the awl and a perfect slit appears. After the slit is made, I dab a little super glue (see the next item) on the fibers surrounding the slit and that’s it! I will warn you that these chisels are very sharp so you want to use a piece of wood or something expendable underneath other than your table. You can find the one I use here.
Super Glue
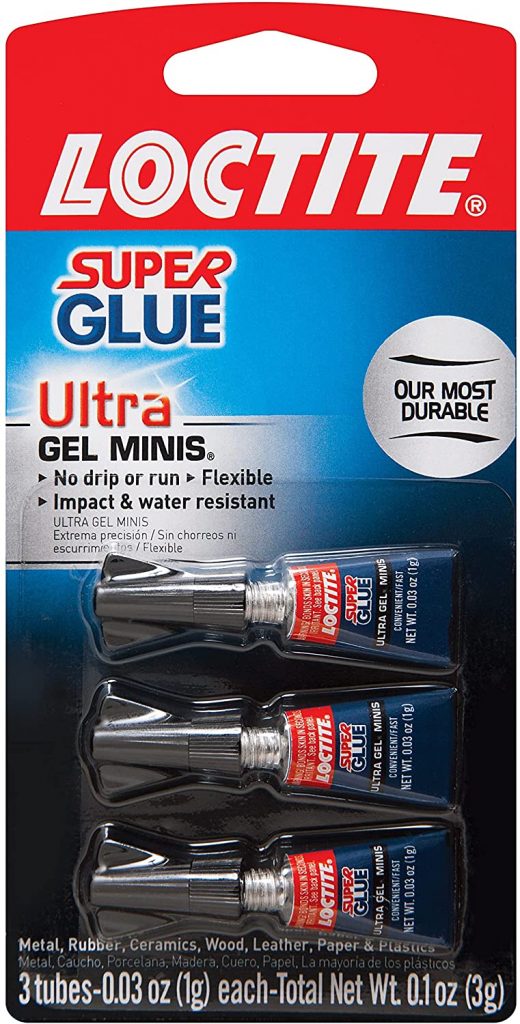
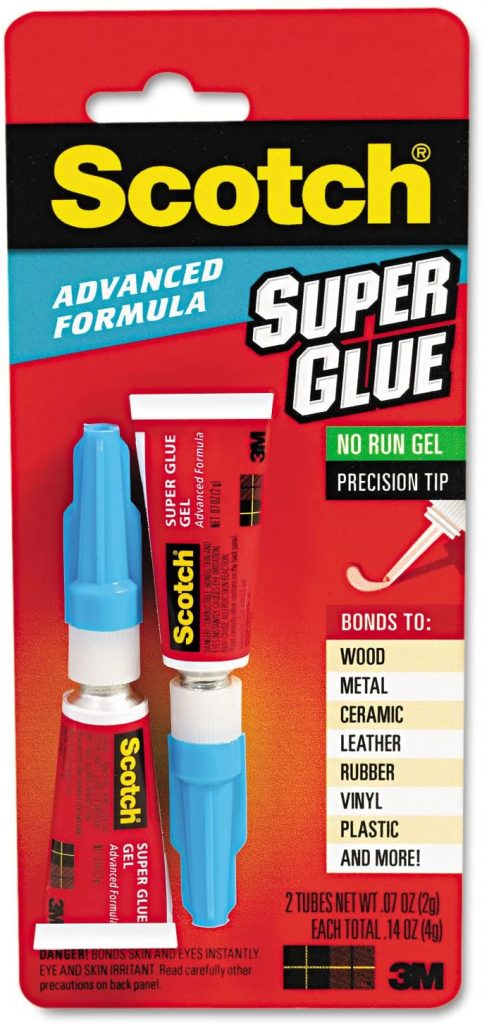
Sometimes you just gotta glue stuff! It’s not frequent but in the case of my seat belt roses or when I want to secure a hole cut in the seat belt for hardware, the right glue is essential. And, in the case of gluing seat belts, the right formula is needed because the the wrong type simply won’t stick. You must have a glue formulated to include plastic. There are several that are good including some for hot glue guns but I like these gel formulas in the small tubes. You can find the Loctite brand here and the Scotch brand here.
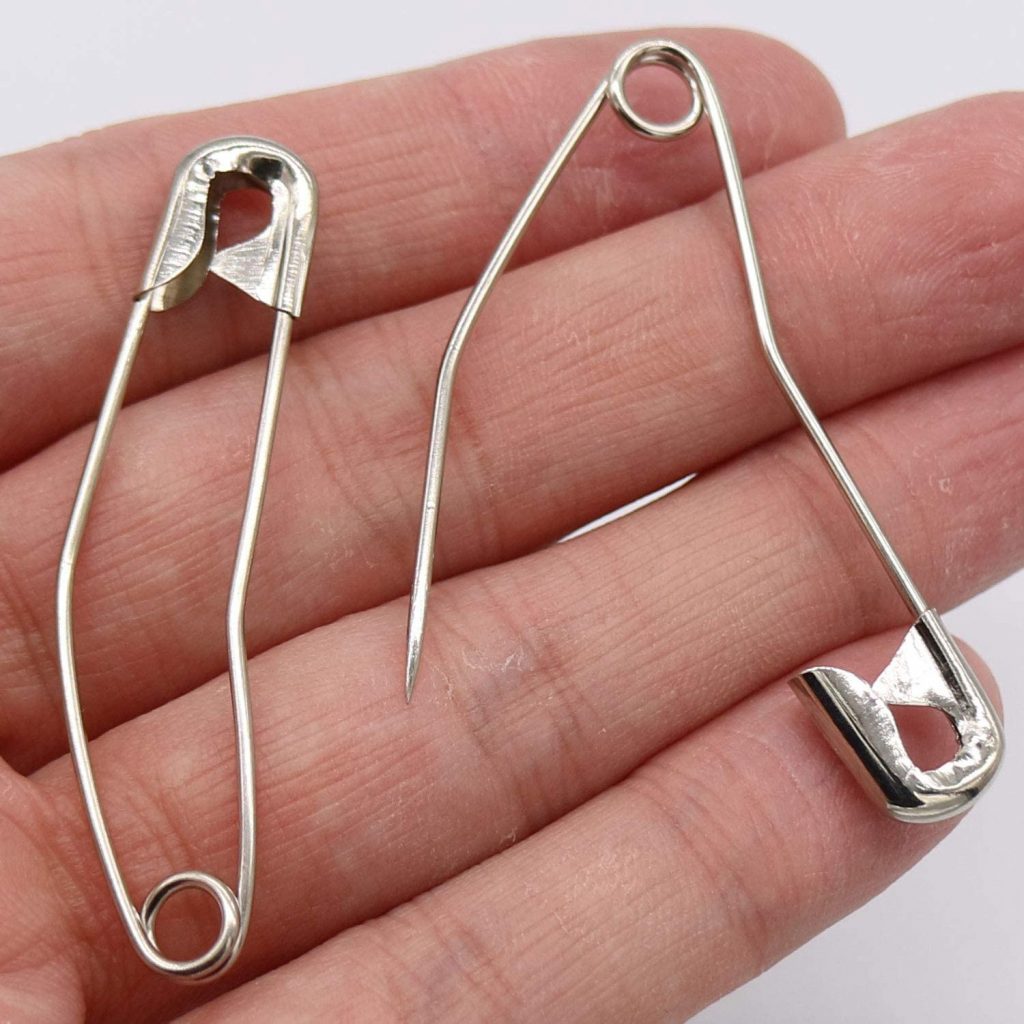
curved safety pins
I really like my Sew Tite magnets but sometimes they just aren’t the right tool for the job. There have been many occasions when I have broken out my curved safety pins and so I am including them in this list. These are generally used for quilting purposes. They are used to baste together several layers of fabric before the item is quilted. As you can see, they are curved to minimize shifting as they are inserted into fabric that is laying out. I have used these to hold down long handles until I can get them stitched on. You can find them here.
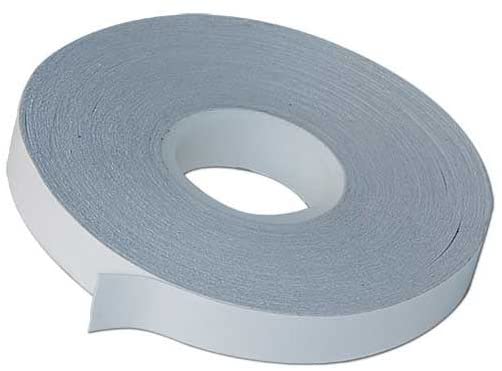
Leather Basting tape
This is one of my most favorite finds! Leather basting tape is a super strong double sided tape that can be used to hold pieces of seat belts together so they can be stitched down. This stuff is great but, just so you know, once it’s on, it’s very hard to reposition and this isn’t the type you stitch through, so keep that in mind when you are positioning it. I also love it because it’s pretty cheap! I use the type at Wawak Sewing but you might find it other places as well.
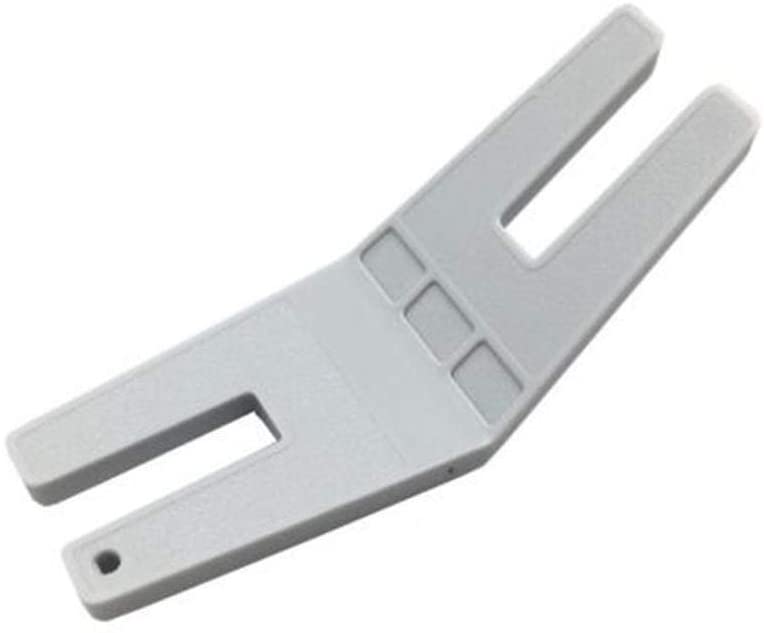
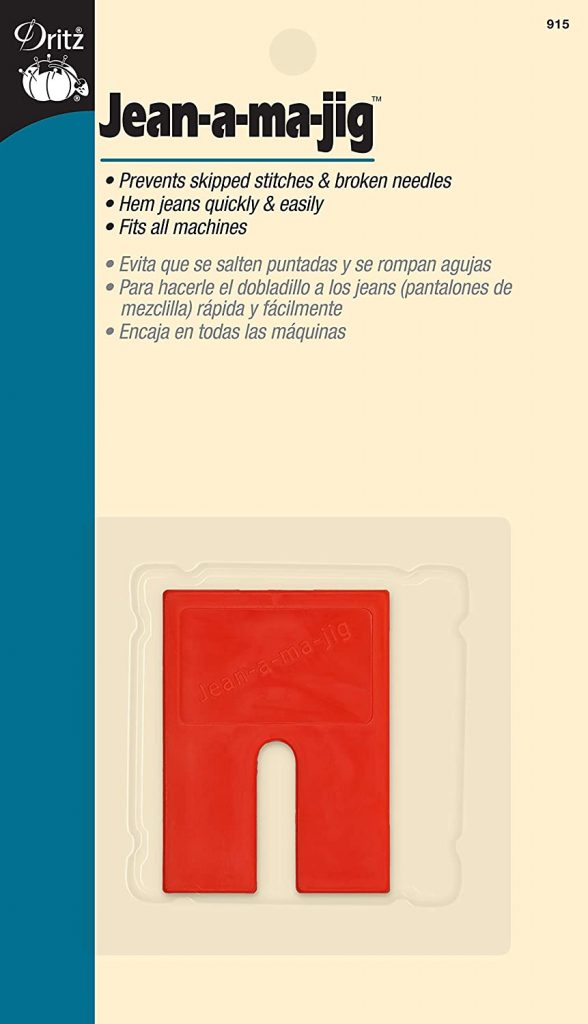
Hump Jumper or Jean-A-Ma-Jig
These wonderful little gadgets are used to ease the presser foot up and over a particularly thick spots which can cause skipped stitches and wobbly top stitching – yuck! It works by keeping the presser foot horizontal as you sew over high spots like handles, zippers or areas with alot of bulk. It’s a great tool for sewing seat belt projects. You can find the Hump Jumper here and the Jean-a-ma-jig here.
MONOFILAMENT THREAD
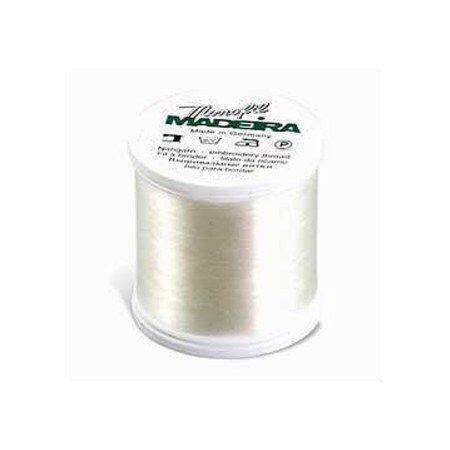
I’ll admit it, I have little tolerance for changing my thread color. Unfortunately, many seat belt projects have different colors of strips that are stitched on one right after another, so thread changes are needed frequently. Fortunately, clear thread (monofilament) exists in the world! I have used this for several years and love it. It’s proven to be very durable on the bags I carry myself and I highly recommend trying it. With that said, you will need to watch the quality and weight you use. Do not use the Coats brand that’s sold at JoAnn. I’m sure it’s great for some purposes but I found out the hard way that it breaks far too easily for bag construction. The only brand I can suggest (because it’s the only one I have ever used) is the Madiera Monofil 60wt.
masking tape
I keep plain ole masking tape in my studio. There are a few ways it comes in handy. I use it to label seat belt strips so I know what piece are which. It can also be used to mark areas to sew. For example, when sewing my Market Tote, several strips need be stitched part of the way down their length. I will use masking tape to mark where those seam lines are to stop. It sticks well but leaves no residue once it’s removed.
 Sewing Clips
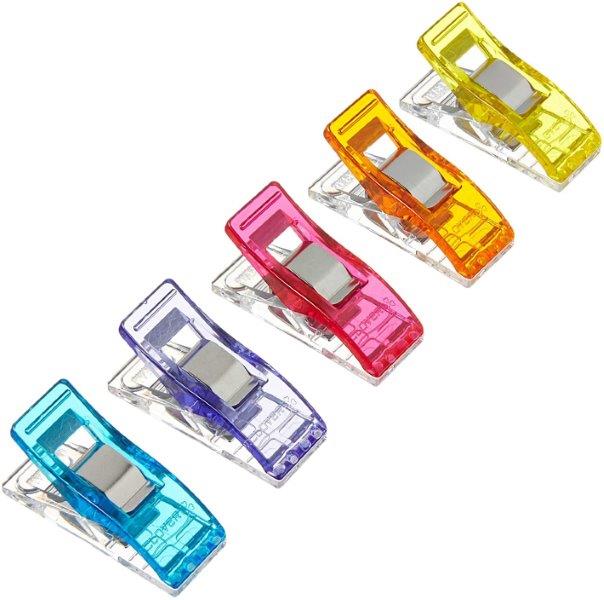
These sewing clips are everywhere these days. But I include them here on the off chance someone out there is missing out. You can use these in place of pins. You can find them here.
Until next time, keep stitching!
Sarah
Related seat belt posts
How to make a seat belt pouch
How to make roses out of seat belts
How to make seat belt tassels – bell cap style
How to make a fold over style tassel
How to make a sleek drop tassel
Leave a Reply
You must be logged in to post a comment.